
Sea of Thieves: A Pirate’s Life is here. Following its reveal at E3, the pirate adventure game from Rare finally crosses over with Disney’s Pirates of the Caribbean. In Tall Tale 2, The Sunken Pearl, you go to the dark ocean depths to discover the history of the sirens, an all-new enemy type that has been teased almost since Sea of Thieves was first revealed.
Whether you just need help to complete The Sunken Pearl quest or you’re looking for all of its Sunken Pearl journals, we’ve got your complete walkthrough guide right here.
Sea of Thieves The Sunken Pearl Walkthrough Guide
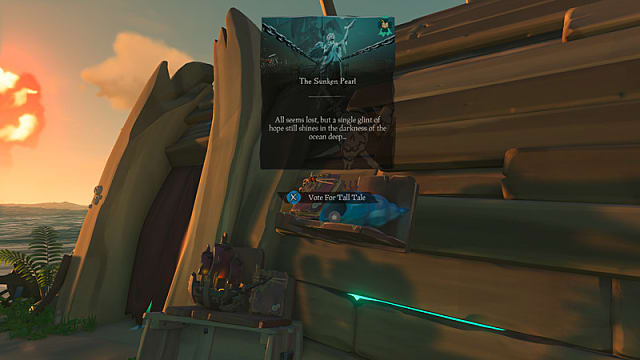
Pick up the quest at any Outpost by speaking to the Mysterious Castaway. The Sunken Pearl is the second Tall Tale in Sea of Thieve‘s A Pirate’s Life update, so it’s the second tale book on her shelf.
Vote on the voyage in your ship’s captain’s quarters to begin the tale.
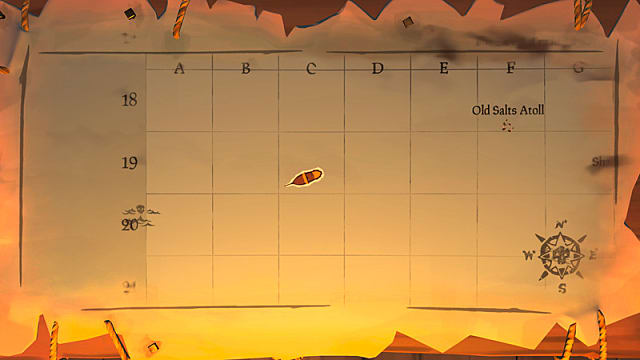
The tale book will be added to your quest inventory. The last few pages will hint at where you need to go, but this new bunch of Tall Tales seems less unpredictable, so we can confidently say your destination is the same as ours. Go to map grid C19, just southwest of Old Salts Atoll.
Even more helpful is the vibrant blue light spire that can be seen from any distance, glowing brighter as you approach.

Eventually, music will play, and you’ll find yourself nearby, where coral and ship parts lie floating on the ocean waves. Dive in and prepare for the deepest swim of your pirate life.
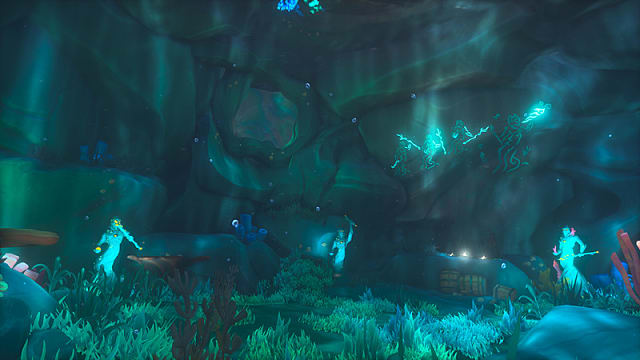
Don’t worry, the game lets you go much longer without taking a breath than it normally does for this part. Just follow the trail of debris deeper into the abyss until you finally reach the Sunken Kingdom to find a majestic sight: the Black Pearl!
For the rest of the Tall Tale, make note of the bubbly blue flora seen whenever you’re swimming. These will provide oxygen refills so you can swim without drowning. Use them as often as you’d like.
Exploring the Sunken Pearl
Head near the front of the ship to find an entrance to the lower deck. Move the debris when prompted, then continue onward, moving more debris and getting some air when you can.
Eventually, you’ll be on the bottom deck of the sunken ship, where a bright piece of coral hides a quest item: the Black Pearl key.
Take that to the captain’s cabin and open it to find another quest item: Jack Sparrow’s compass. This is automatically added to your inventory and unlike chests or keys, it can’t be misplaced.
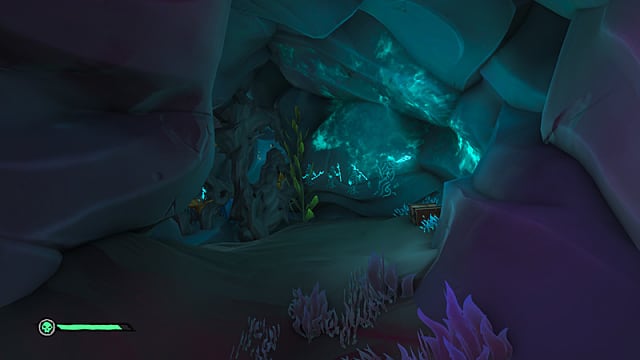
Use the compass and follow it to just outside the ship where you’ll find a somehow deeper cave. Head inside and follow the path until you get to a clearing.
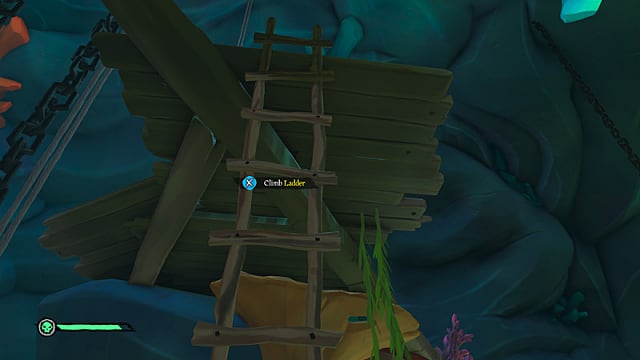
Slash or shoot the glowing flora to deactivate the sealed water door ahead of you. Keep moving inward, up the ladder, and into an open room, no longer underwater.
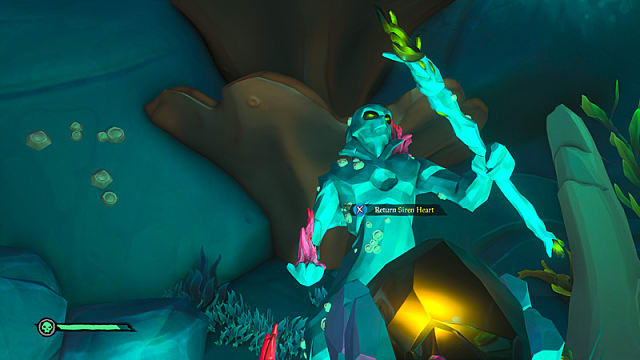
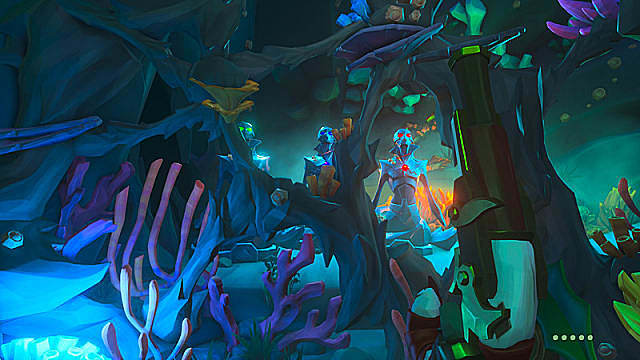
You’ll need to fight some of the new Ocean Crawler enemies you may recall from the first Pirate’s Life Tall Tale. Once defeated, one of them will drop a glowing stone called the Siren Heart. Pick it up and find the siren statue that lacks a heart like the others. Hint: it’s the one to the right when you first enter the room.
Now look to the wall for a cave mural that gives away a clue for this room’s siren statue puzzle solution: three smaller siren statues each holding a staff in their left hand and an object in their right.
What you’ll need to do is replicate the position of that staff in each of their hands.
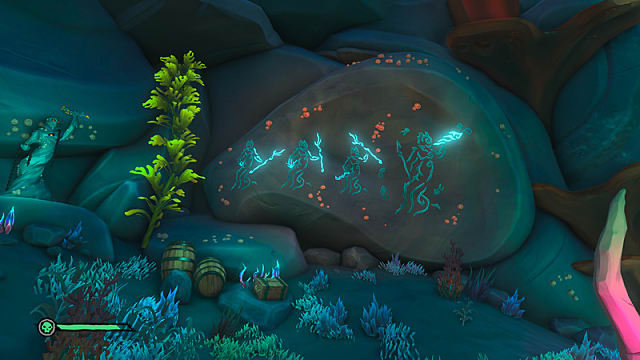
As these statues will reappear throughout the Tall Tale, we’ll refer to them as the Coral Statue, Chain Statue, and Gem Statue going forward. Each statue also has three possible positions where it can hold the staff: high position, middle position, or low position.
You can adjust how each holds its staff by hitting it, either with a sword slash or with a fired bullet. For this first part, here’s how you’ll need to set them up.
- Gem Statue: Low
- Coral Statue: Middle
- Chain Statue: High
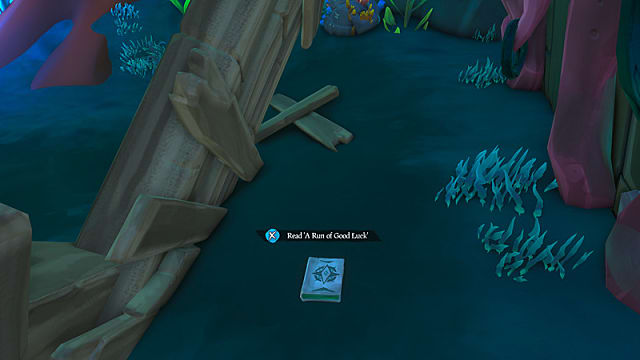
Before you do anything else, head to the large door with the purple coral draped over its top. Behind the shipwreck parts leaned against it is Journal #1/5.
Once all three statues are in that position, strike the larger, center statue. It should emit a horn-like noise and a golden rippling glow. Suddenly, water will fill the chamber, but don’t worry. That means you did it right.
The water will carry you to the second level where you’ll now be able to see another cave drawing. This time all three statues are holding their staffs high. Swim down to where you just were and position all three to hold their staffs high as depicted, then hit the center statue once more.
This time, the water won’t rise but a geyser will start spouting nearby on a rock just above the waterline. Stand on top of the geyser and wait for it to throw you to the next level. Here, you’ll need to fend off more Ocean Crawlers. The last one will once more drop a Siren Heart, so you’ll once more place it in the statue missing one.
Another cave drawing reveals a third go with this puzzle, only this time you’ll be using this new trio of statues. Note that one of them is tucked away around the corner and higher above you.

To see it, walk to the far end where an ammo box lays and turn around to take aim and fire to adjust its staff position. This time, you’ll need the statues propped up as so:
- Gem Statue: High
- Chain Statue: Middle
- Coral Statue: Low
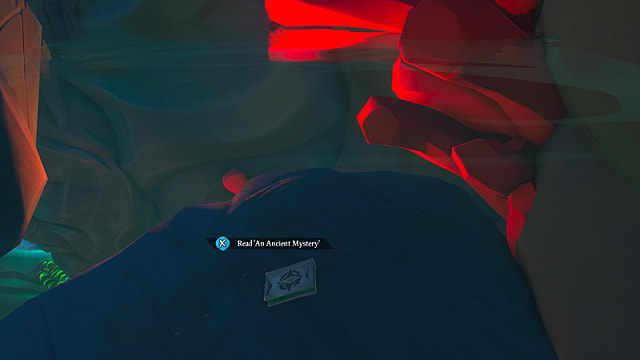
Once again, hit the main statue when the others are in place, and you’ll raise the water level once more. This will allow you to exit via a makeshift ramp made of sea monster vertebrae, but before you leave, look to the far corner, opposite the bridge. Loop around to find Journal #2/5 tucked away.
Head up the bridge and continue working your way through the vibrant dwellings. Slash the glowing flora whenever you need to unblock water doors in your path.
Eventually, you’ll come to the top of this structure, briefly out of the water, before you’ll have to take on new enemies, as well as an old favorite. Grab a Trident of Dark Tides, a brand-new projectile weapon on the ground in front of you, and wait for the villain to stop speaking. Once they do, the fight begins as soon as you cross the threshold in front of you.
When you’re ready, jump through the water door and into a vast open area, back underwater with more staffs and some air pockets below you. Swim down to the floor level so you’re not far from additional staffs if or when yours runs out of a charge. You’ll need to fend off waves of sirens now.
You can blast them away with your new staff, firing it like you would any gun in the game. Hold down the fire button to charge it and use its glow as a targeting reticule. If you use a staff too much, it will disintegrate, so you’ll need to grab another.
Eventually, you’ll defeat the sirens and be given another Siren Heart. Using your compass, or perhaps more easily, the chains extended from the back of the nearby sunken ship, you’ll come to a massive ornate cave door.
Two more small statues stand guard, with a third, larger statue being the door’s trigger once you’ve postured the small statues correctly again.
The cave drawing indicates both statues will need to hold their staffs at the lowest angle, so insert the Siren Heart into the statue on the right, position them in the low angle, and slash the large statue to open the door to yet another never-before-seen area: the Citadel.
Once inside, you’ll see some familiar trappings, such as more water doors and glowing flora that opens them when hit. Follow the paths and collect Journal #3/5 lying on an almost can’t-miss shipwreck part along your linear journey through these claustrophobic tunnels.
You’ll next need to fend off more Ocean Crawlers, collect a Siren Heart, and solve another cave drawing. By now you likely know what to do, yes? Just in case, here are the statue’s correct settings:
- Coral Statue: Low
- Gem Statue: Middle
- Chain Statue: High
The activation statue is hidden more than the previous ones. To find it, swim up toward the ceiling of this room where you’ll see you can’t move past the sturdy coral but you can gather some air and fire at the larger statue through the holes in the coral “gate.” This will complete the next part of your puzzle and you’ll be able to move into a new open-air room.
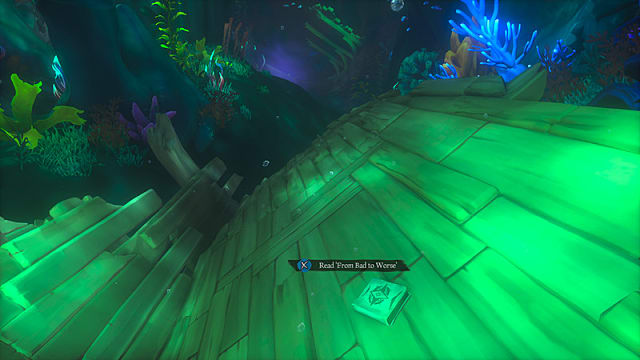
Before you continue, now is also a good time to jump in the water at the end opposite the shipwreck and swim down to some more wreckage, which is where you’ll find Journal #4/5.
Approach the pulley and pull on it to watch a nearby shipwreck piece, shaped sort of like a big C, sink into the area below. Let go and have your crew jump into it.
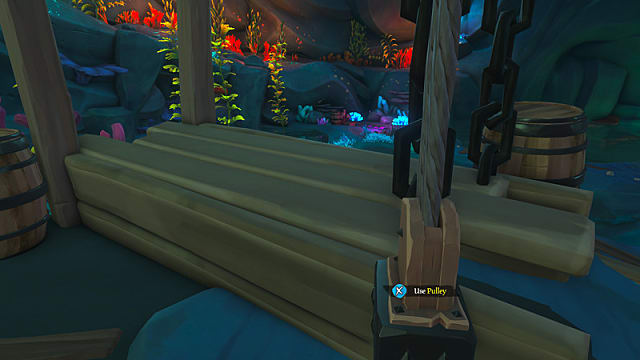
After a moment, it will start to rise again, but mind the fact that it will do this whether you’re on it or not, so be quick about it. When this improvised elevator lifts back to its resting position, you’ll be a level higher and able to walk around the far perimeter, passing a shipwreck on your way.
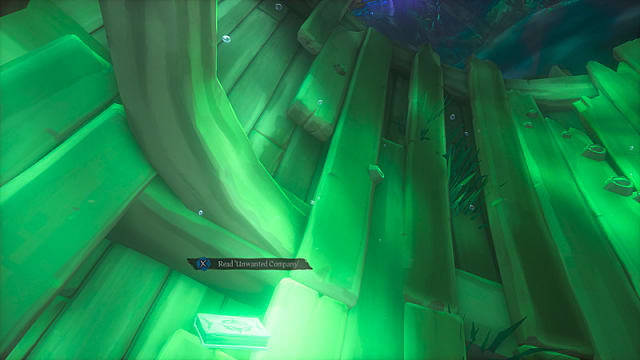
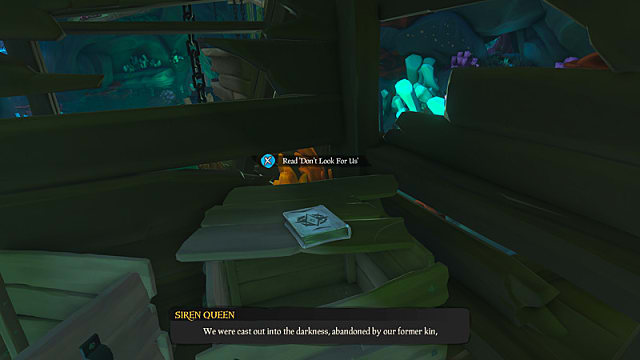
Head inside that shipwreck to grab Journal #5/5, you bookworm, you.
Keep walking around the perimeter, and use the next pulley to lift up a ramp that will allow you to swiftly move across the gap and into a small new room featuring another cave mural on the right.
However, before you go that way, divert off the pulley ramp and climb into the small glowing red cave on the left. Inside you’ll see the Silver Blade Key sitting atop a rock. Bring it with you to the next location.
You may have noticed a locked-away room the last time you completed a cave mural. Well, here’s why. By shooting at the same statues as before but using the new visible additional cave mural, you’ll complete the next part of the puzzle.
Return to the top of the Sunken Pearl shipwreck and stand on it or from a similar height nearby. Across the room, you’ll see the same larger activation statue as before. Fire at it to complete the puzzle. The water will rise, and you’ll be able to reach a ladder previously inaccessible.
Climb up that and use a new pulley in front of you to raise a short bridge, allowing you to move across the gap and into a new room where the sunken Silver Blade ship rests.
Climb atop it by using the westside ramp, and you’ll trigger an enemy encounter featuring not just more Ocean Crawlers onboard, but eventually more firing at you from across the opening. As that’s going on, open the captain’s quarters with your Silver Blade Key to find a Chest of Everlasting Sorrows. Just leave it there for now while you work on this battle.
They’re using cannons, so you may as well use yours too. Luckily, the Silver Blade sunk with hundreds of cannonballs, so pull from there. Defeat the Ocean Crawlers across the way, and when you’re done, turn the capstan to raise the ship one level at a time, defeating more enemies every step of the way.
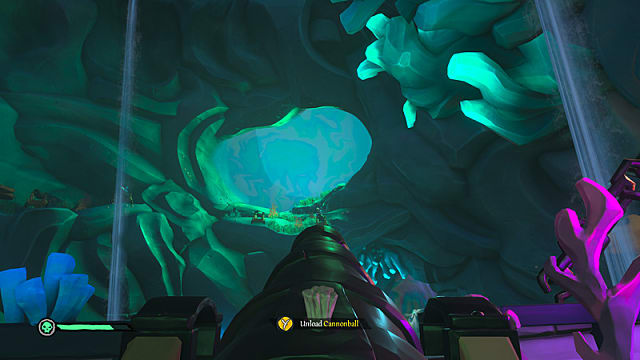
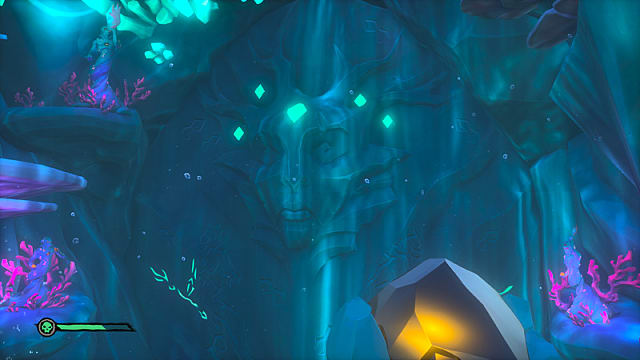
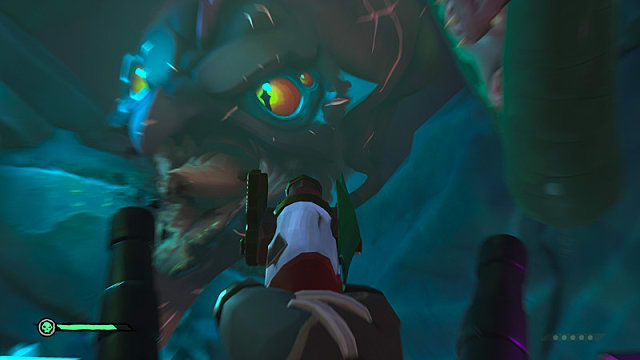
When you’ve reached the final vertical level of this madness, you’ll have to battle the Kraken, including the first in-game look at its face.
As interesting as it may be, that’s also precisely where you’ll want to fire. Over and over, hitting the Kraken in the head, you’ll eventually send it retreating (note that you can’t kill it).
You’ll once more be able to turn the capstan until it reaches its final resting place atop the room. Head up the crow’s nest while carrying the Chest of Everlasting Sorrows and you’ll come to another small room with a water door. Head through to see another forking path.
Take the chest into the side area on the right, but be quick about it. People are reporting a common bug in this spot that teleports you to the next area if you linger on this makeshift path for too long. Hopefully, it’s patched out soon.
Assuming you are able to enter the secret room, with a locked door that features a turquoise and magenta design similar to your chest in hand. Place the Chest of Everlasting Sorrows in front of the door to unlock it. Inside, you’ll find the apparent tomb of a skeleton king.
Interact with the trident he holds as well as the drawings on the wall, reading them clockwise starting from the drawing nearest to the door you entered on the left. Reading them all in their proper sequence will unlock the Tale of Eternal Sorrow Commendation. You can then exit and return to the forked path, now choosing the only other room to enter.
Before you stands the final boss area. Get ready to take down the Siren Queen.
How to Beat the Siren Queen

The Siren Queen is more powerful than the other sirens. She will disappear at times and send in some lackeys a few times, always doing everything in threes. Defeat her and you’ll see the water retreat, leaving you victorious and ready to escape once and for all.
In this room, you’ll find three locked-away cursed mermaid statues, but these aren’t like the others. Destroy each of them using your gun to reveal a surprise inside them that we won’t spoil here.
Listen to the dialogue unfold and complete the prompt to hand over the compass when you’re instructed to.
With that, The Sunken Pearl Tall Tale is complete! The achievement will pop, you’ll unlock a new sword cosmetic for your weapons locker, and you’ll unlock a handful of commendations, including Heart’s Desire. Head into the next room to either keep exploring the siren dwellings or return to your ship via the mermaid beacon statue. Don’t rest, though. There are more Sea of Thieves Tall Tales to complete!
Check out some of our other Sea of Thieves guides here on GameSkinny:
- SoT Legend of the Sunken Kingdom Voyage Walkthrough
- SoT Shrine of Ancient Tears Journals Walkthrough
- SoT Shrine of Hungering Journals Walkthrough
- SoT Shrine of the Coral Tomb Journals Walkthrough
- SoT Shrine of Ocean’s Fortunes Journals Walkthrough
- SoT Shrine of Tribute Journals Walkthrough
- SoT Secret Waters Commendation Guide
- Where to Find the Kraken in Sea of Thieves
- SoT Dark Desires Commendation Guide
- SoT Strike Your Colours Commendation Guide
- SoT Lost Shipments Voyage Guide


Published: Jun 24, 2021 04:11 pm