
You’ve done it, you’ve found and read all thirty journals hidden within the Siren Shrines of Sea of Thieves. Now it’s time to take on the Legend of the Sunken Kingdom Voyage, and earn yourself the Curse of Sunken Sorrow. This is long, multi-part quest. Put the kettle on, settle in, and let’s get started.
But first, a word of caution. There is only one chest in this voyage, and no checkpoints. Whatever you do, don’t lose it, or let another ship of scallywags scurry it from you. Ye be warned!
Sea of Thieves Legend of the Sunken Kingdom Voyage Walkthrough
When you initially log in to Sea of Thieves, and awaken from your stupor in the Tavern (as any pirate should), proceed outside and locate Larinna. She’s usually leaning against a post near the tavern door.
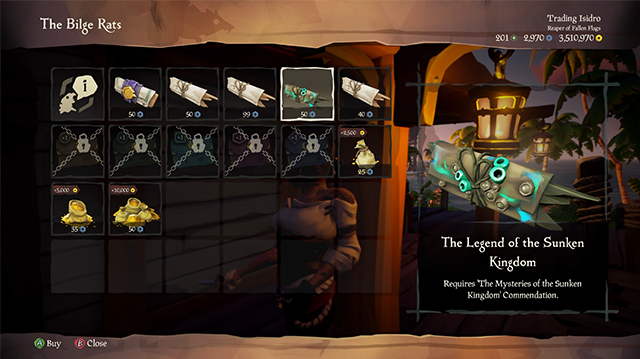
Ask to browse her stock and purchase the voyage called “The Legend of the Sunken Kingdom”. Drop that on the voyage table on your ship, and vote with your crew to launch it.
Two items will drop into your quest inventory once you launch the voyage.
First is the Golden Wayfinder compass which, similar to how it operates in vault voyages, points towards your next destination. Next is Humphry’s Note, addressed for “Gold Hoarder Eyes Only”, explaining that the chest has been buried, and is only to be dug up with good reason.
Set sail when you are ready, aiming where the compass compels you. Eventually it will guide you to a small island.
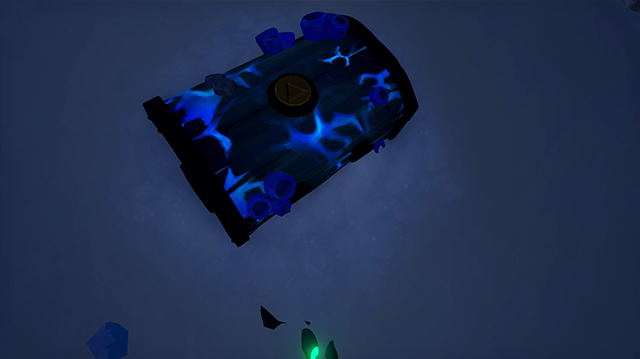
Disembark your vessel and follow the compass until the needle begins to spin uncontrollably. That’s your clue that you are standing on the spot. Dig, and you will expose the Forbidden Coral Chest, and drop another of Humphry’s notes in your inventory.
Ocean Crawlers will spawn around you. Deal with them, then finish uncovering the chest. Take it back to your ship, pull out your Golden Wayfinder, and set sail for the next destination.
The second island visit works the same as the first. Make landfall, and follow where the Golden Wayfinder points. Once it spins, dig.
This time you will uncover the Scholar’s Notes. In the first note Humphry explains that there the three keys that open the chest are hidden. The second note is a riddle, telling you to seek the shrine of hungering.
Sea of Thieves: How to Get The Shrine of Hungering Key
Sail to the Shrine of Hungering. You can either locate it in on the map aboard your ship, or follow the needle of the Golden Wayfinder. Once you arrive at the telltale glow indicating the shrine, dive beneath the waves. You are looking for the first of the keys, hidden behind a sealed door.
The Shrine of Hungering, you may recall, is filled with sharks and Siren Statue Puzzles. The puzzles are simple, find the three statues holding various objects, and strike them until their arms match their poses on a nearby cave painting.
Completing two of these grants you access to the upper area. Ascend up the shrine, and look for the sealed door to the left of the megalodon jaw.
To open the door, you need to find a special Gold Hoarder’s Medallion. It is easy to find, there is a trail of gold coins leading back down the shrine.
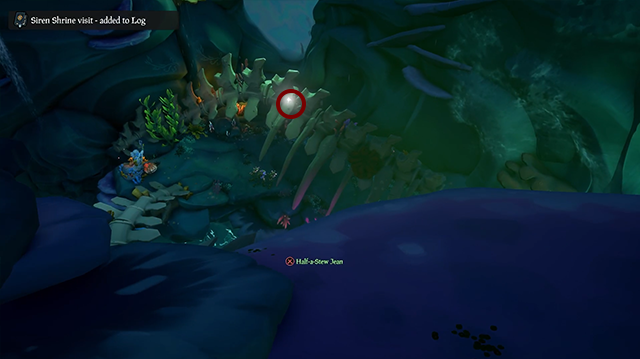
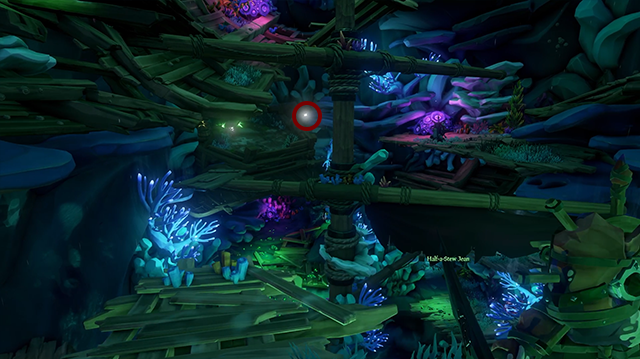
Descend across the broken mast and a bridge made of large vertebrae. At the bottom of these bones is a large ribcage. The medallion is atop these, nestled on the spine, and emitting the same eye-catching twinkle as other treasure.
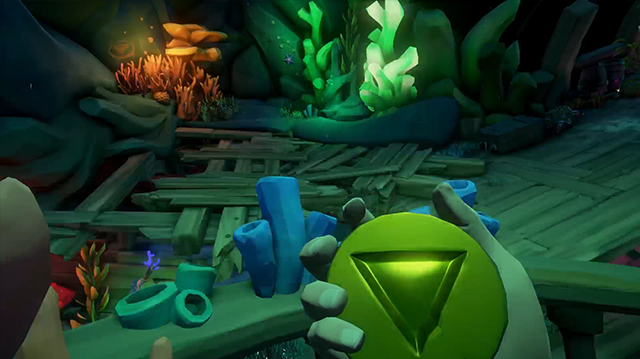
Take the medallion back up, place it in a pedestal by the sealed door, and retrieve the Forbidden Key. Doing so places the next Scholar’s Riddle in your quest inventory.
These keys cannot be passed to the surface through mermaid statues. Your best option is to proceed to the top of the shrine, and shoot the glowing red coral creating a barrier over the windows. Once you do that you are free to swim back to your ship. Put the key into the chest to release the first of the three locks.
Sea of Thieves: How to Get The Shrine of Ocean’s Fortune Key
The new Scholar’s Riddle will send you to the Shrine of Ocean’s Fortune. This shrine is a vertical climb through a series of platforming puzzles. There is a large initial room, a small enclosed arena for a skirmish above it, and a smaller top most chamber. The Sealed Door and Gold Hoarders Medallion are in this highest chamber.
Spin the various ship wheels to rotate masts, allowing you to cross the room and climb higher. The medallion can be found after you spin the third ship’s wheel, and cross that third mast. It’s on a coral platform to your right, as you ascend.
Pick up the medallion, and cross the mast towards a mermaid statue. Continue climbing until you reach the crow’s nest.
From here, with medallion in hand, jump across a small gap to a platform. The sealed door is on the wall straight ahead, slightly to the left. Place the medallion in the pedestal, and take the key and riddle.
Escape by shooting another coral sealed window, and return the key to your ship.
Sea of Thieves: How to Get The Shrine of Ancient Tears Key
Use the key to open the second lock on the chest. The last Scholar’s Riddle points you toward your final destination, the Shrine of Ancient Tears.
This time, make sure to take the Forbidden Coral Chest with you. Descend into the shrine, and drop into the large hole in the floor until you reach the room with the large well at the center.
This central room is surrounded by a pair of joined staircases. There are four pressure plates spread along this path that you’ll need to step on in succession.
Sprint all the way around the room, making sure to cross the plates, and a door at the top center, where the staircases meet, will open. Inside is a red throne. The medallion is sitting on one of the arms.

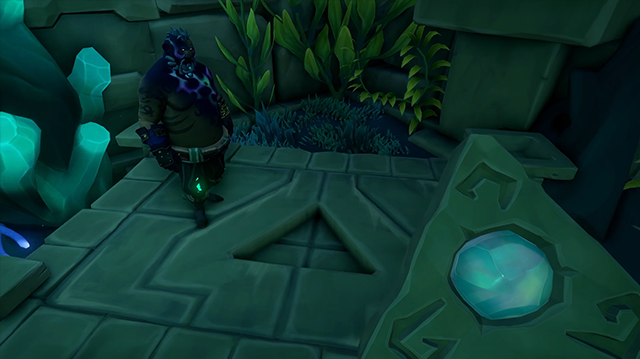
Pick up the medallion, and walk straight out of this room the way you came in. As soon as you drop down to the lower level the sealed door will be to your left. Open it to find the final key. Place it in the Forbidden Coral Chest, and open the chest to find… another key!
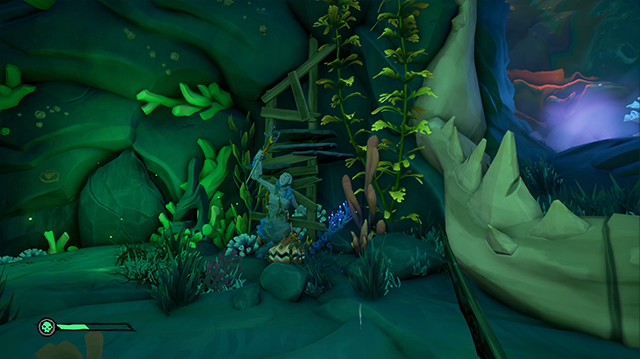
Ok, that’s anticlimactic. Take the key to the alter near the sealed door you just opened. Place it in the triangular indent to open a set of doors to your left.
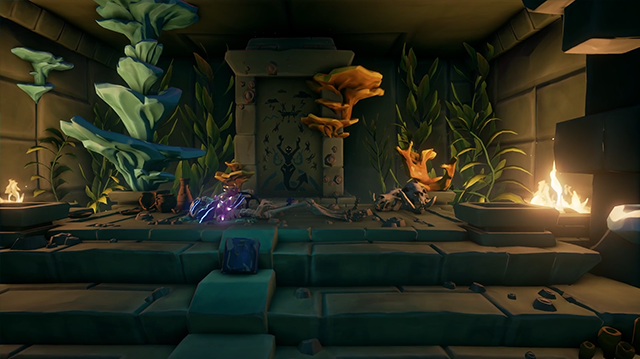
Inside is a coral encrusted skeleton, and a journal. Reading all of this journal completes the voyage and, if you’ve read the other thirty Siren Shrine Journals, grants you the Curse of Sunken Sorrow.
You’ve reached the end of a long journey, uncovering secrets aplenty in the lost journals, and opening Forbidden Coral Chest. Rest up, toss back a grog, and get ready for the next adventure.
Whether it be unlocking the crossbow, or finding a coin for Poor Dougie, there are mysteries aplenty to plunder, and adventures to be had.
Check out some of our other Sea of Thieves guides here on GameSkinny:
- SoT Shrine of Ancient Tears Journals Walkthrough
- SoT Shrine of Hungering Journals Walkthrough
- SoT Shrine of the Coral Tomb Journals Walkthrough
- SoT Shrine of Ocean’s Fortunes Journals Walkthrough
- SoT Shrine of Tribute Journals Walkthrough
- SoT Secret Waters Commendation Guide
- Where to Find the Kraken in Sea of Thieves
- SoT Dark Desires Commendation Guide
- SoT Strike Your Colours Commendation Guide
- SoT Lost Shipments Voyage Guide


Published: Oct 5, 2021 03:03 am