The Mantis quest brings you to the lair of a legendary bounty hunter in Starfield. Thought of as a fairy tale meant to keep children and pirates in line alike, The Mantis is revered as a vigilante peacekeeper. Armed with a legendary spacesuit, they can take down any outlaw others are unable to face. Here’s how to get the Mantis spacesuit in Starfield.
How to Get the Mantis Spacesuit in Starfield
To start The Mantis quest, you need to kill some Spacers. This is pretty easy since they pop up throughout most of the systems, but you’ll definitely encounter them during the main quest The Old Neighborhood. What you’re looking for is a note titled Secret Outpost, which invites you to Denebola I-B in the Denebola system. This registers The Mantis quest tracker in your log.
Before heading to Denebola I-B, you want to be prepared. You’ll be facing nonstop Spacer enemies of a variety of levels, all the way up to 35. Top off on ammo, Med Packs, grenades, and any other gear you typically use in combat. I was only about level 18 when I went through the lair, so it’s possible to clear at lower levels as long as you’re prepared.
The Lair of the Mantis Walkthrough
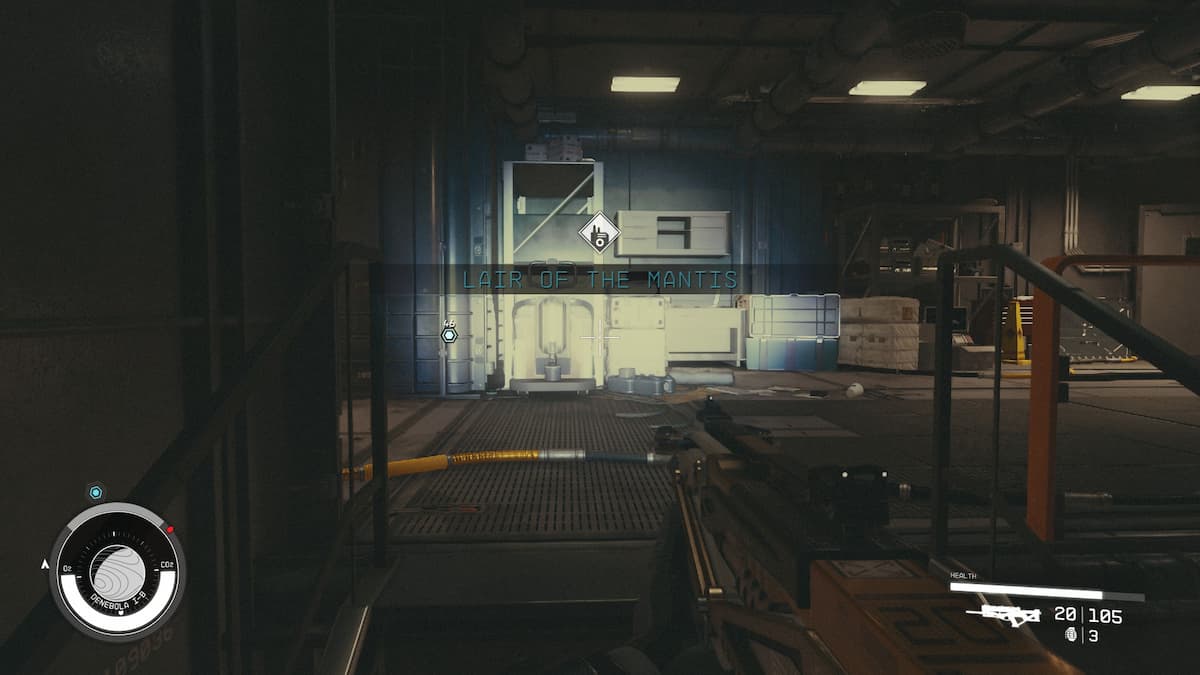
Landing at the Lair of the Mantis, take out a few Spacers outside, then head into the lair itself. You’ll notice a slate from Leon Voclain, who inherited the lair from his mother after her passing. The Spacers inside are part of a test to see if Leon can become the next Mantis. Slates are located throughout the lair, as well as on enemies. Through them, we learn a bit more about the bounty hunter’s story.
The next sections of the hideout are strictly dealing with all the Spacers. You’ll be facing a lot of firepower, so use hiding spots to your advantage. Many bodies will have ammo you can use and healing items if you need to top off. I found lobbing a grenade or two into the room before I edged my way to the entrance or went in helped immensely.
Matis Lair Puzzle Solution
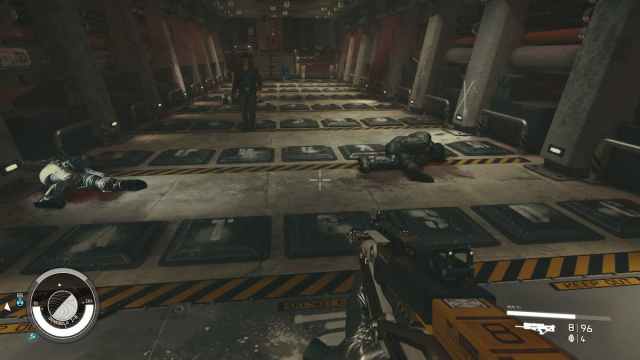
When you finally clear all the enemies and can take a breather, you’ll learn there’s one man remaining: Livvy. A Spacer himself, Livvy is unarmed but well-equipped when it comes to disarming traps. Unfortunately, he hasn’t been able to figure out how to get past the next room. You can enlist his aid in solving the puzzle, send him on his way, or kill him. Whichever your choice, you’ll be able to find his notes near a storage crate.
His notes aren’t entirely useful, however. They show what hasn’t worked, including Am Mantis, which is a good first guess when dealing with these puzzles. We also need to look at what the starting letters are, as they can narrow down the possibilities. If you get too close to the line, though, the turrets will start up.
What’s helpful are the recordings left by Leon. There’s one particular phrase he mentions: “Sic Semper Tyrannis.” His mother put it at the end of her will. You want to save before trying any words out. Even if you escape from the turrets, they won’t shut off once activated. The best way to test a theory is to try and die, reload the game, and try another word.
Looking at the puzzle floor, there’s an S and a T space you can start with, but the whole saying won’t fit. If you step on the S first, the turrets go off and shred you to pieces. The answer becomes clear: TYRANNIS is the word you need to spell out.
Even when you’re stepping on the correct letters, you need to be quick about moving to the next one. The turrets seem to have a short window between each line. If you accidentally step on the wrong letter about halfway through, you can make a run for the door. That’s what I did as I thought I stepped on an N when I had actually stepped on the letter next to it.
If you do this, you’ll need to be careful in crossing this area again. The turrets stay armed and will rotate to attack you as you come through the other door. While that may pose a problem in the future, for now you’ve attained victory.
You’re able to move on and claim the treasure of the Lair of the Mantis: The Razorleaf Spaceship and the complete Mantis spacesuit, helmet, and pack. If you asked Livvy for his aid, he’ll rush forward at this moment in an attempt to steal the treasure. Except it’s another trap that ends up killing him. From here on out, you don’t need to worry about any turrets, puzzles, or enemies. The inner sanctum has only been breached by you.
The Mantis’ spacesuit is found in the living quarters. When first entering the area from the hallway, go straight until you see a warehouse type area. Take the left into the bedroom just beyond the shelving. From there you’ll find a bedroom, bathroom, and vault room for the armor.

Mantis Spacesuit Stats
- Incendiary Mantis Spacesuit (Legendary)
- Technician: -15% damage from Robot enemies
- Resource Hauler: Resources weigh 25% less
- Incendiary: 10% chance to ignite nearby attackers
- Repulsing Mantis Pack (Legendary)
- Bolstering: Grants up to +100 Energy resistance and Physical resistance, the lower your health
- Leadlined: +25 Radiation Resistance
- Repulsing: 5% chance to disarm nearby attackers
- Basic Boostpack
- Incendiary Mantis Space Helmet (Legendary)
- O2 Boosted: +20% Oxygen capacity
- Liquid Cooled: +25 Thermal Resistance
- Incendiary: 10% chance to ignite nearby attackers
If you’re looking for the Razorleaf Ship the Mantis is known to fly, you’ll find it in the area to the right of the entrance. You first need to claim it at the computer, however. Exploring this area will reveal more about the legacy of The Mantis, as well as yield some loot.
That’s how to get through the Lair of the Mantis and claim The Mantis Spacesuit for yourself. The spacesuit and ship are some of the better items to have at the beginning of the game, but getting there can be quite a doozy. Make sure to bring plenty of healing items and ammo, just in case. If you’re looking for other legendary spacesuits, take a look at our growing Starfield guide hub for more walkthroughs.


Published: Sep 8, 2023 05:47 pm