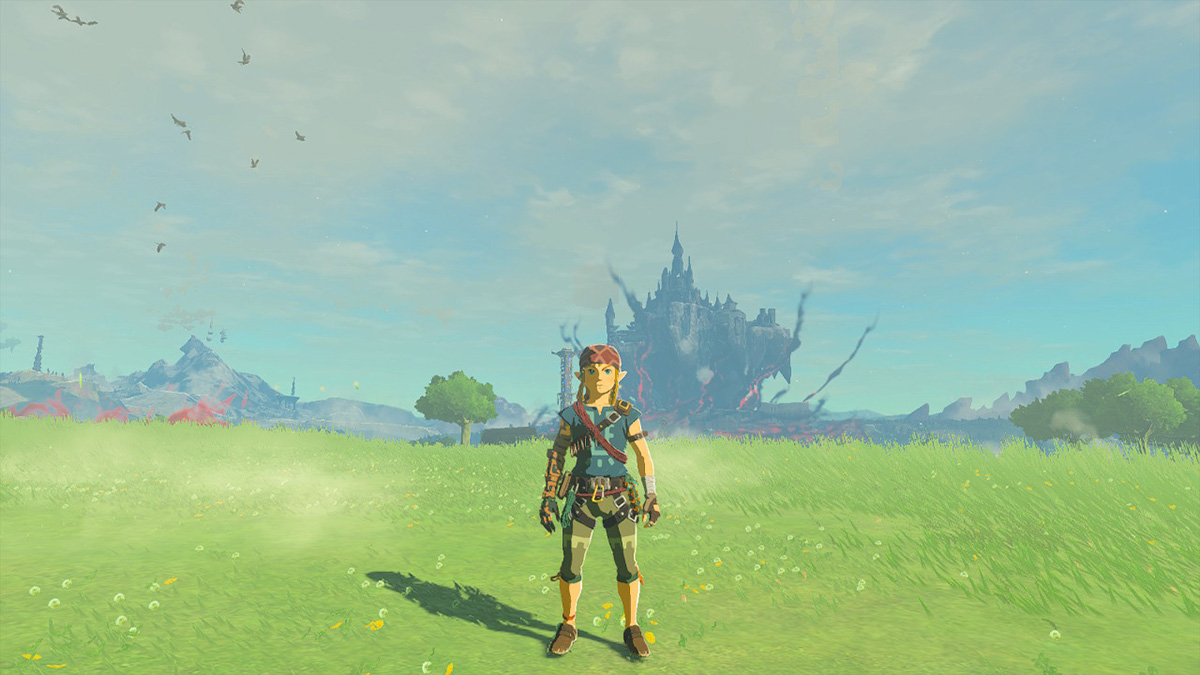
The Climbing gear set The Legend of Zelda: Tears of the Kingdom is essential if you want to reach some of the game’s highest heights. While the Ascend ability is a great — and fun — way to get up to new areas or escape enemies when it seems like you’re penned in, you can’t use it in every situation. Our guide covers how to find all three pieces of the Climbing armor set in this guide, as well as how you can upgrade it in TotK.
Where to Find the Climbing Armor Set in Zelda: TotK
- Climbing Bandana:
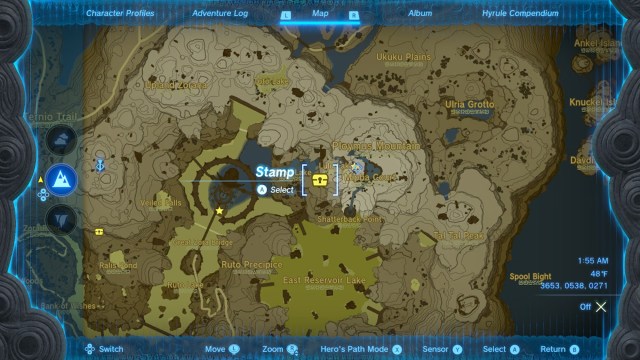
- Location: Ploymus Mountain Cave in Lanayru, north of East Reservoir Lake.
- How to get it: Climb the slippery walls to a cave below the highest waterfall using Froggy Armor or Sticky Food.
- Climbing Boots:
- Location: Upland Zorana Byroad in Lanayru.
- How to get it: At the end of the hidden ruins inside the cave at the location.
- Climbing Gear:
- Location: North Hyrule Plain Cave, northwest of central Hyrule Field.
- How to get it: Go to a broken bridge in the cave, use Ascend at the bridge, follow the path, and go behind the waterfall.
How to Get the Climbing Bandana
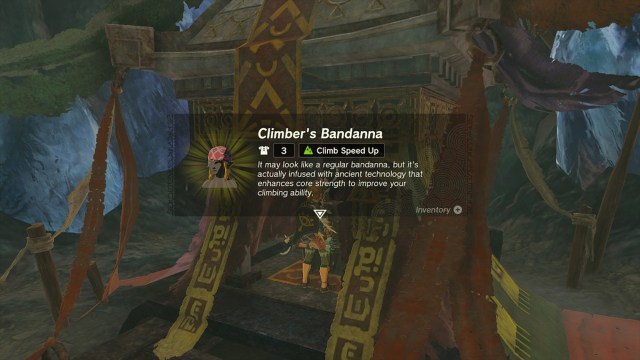
The Climbing Bandana is in the eastern part of Hyrule, in the Lanayru region, near Zora’s Domain. You’re looking for the Ploymus Mountain Cave, which is east of Zora’s Domain. If you’re at the highest waterfall, you’ve gone too far up. The cave is nestled in the blue stone rockface behind some trees. There’s also a small group of trees on the map.
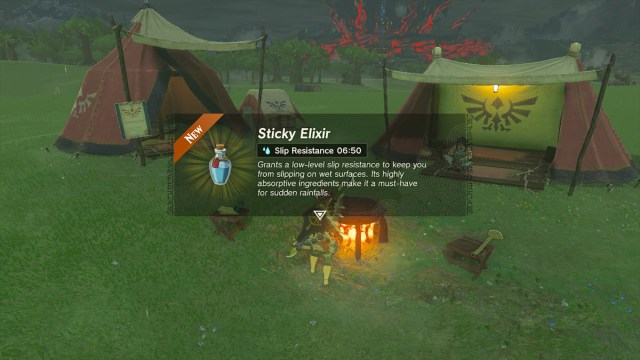
Getting to the treasure chest with the Bandana is straightforward enough, except for one annoying factor: the walls are slick. Breath of the Wild veterans would be in shambles, but there’s a cure for wet walls in Tears of the Kingdom: Sticky food and the Froggy Armor. If you have a Sticky Lizard or Sticky Frog, cook up a Sticky Elixir, and you’ll be climbing in no time. The Froggy armor lets you do so indefinitely, should you have the set.
If you don’t have any way to become Sticky, you can do what I did and use a Sapphire-powered weapon to make ice platforms, then Ascend your way up the platforms to the treasure chest. If you’re more about making wacky Zonai devices to solve problems, that works, too.
How to Get the Climbing Gear
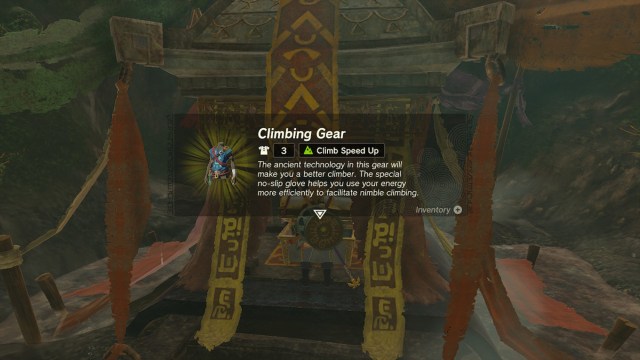
The Climbing Gear is a part of the Misko’s Treasure quest you get from a wandering NPC in Central Hyrule, and it’ll lead you to the North Hyrule Plain Cave (coordinates -1184, 0632, 0069) in Hyrule Plain, northwest of the central Hyrule Field.
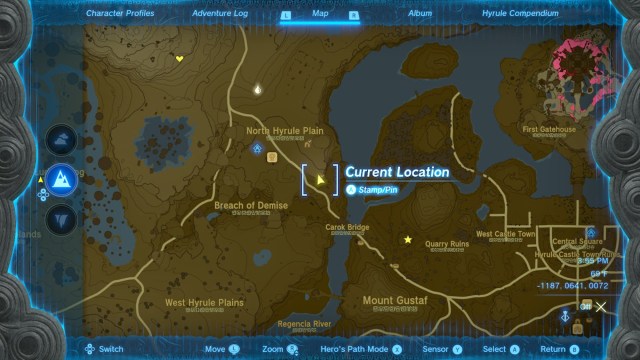
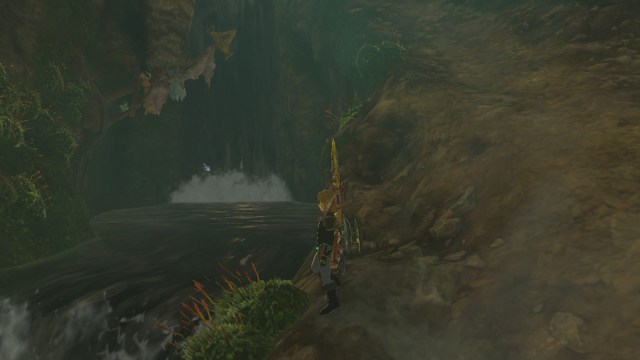
There are two easy ways to get there. You can either fast-travel to Lindor’s Brow Skyview Tower and head southeast or take the road west from Lookout Landing, across the river, and up to the cave entrance.
Once you make your way into the cave, actually reaching the treasure chest is pretty simple.
- Walk straight until you reach a broken bridge. There will be a Like Like guarding it. Kill it with fire (or whatever else you have handy).
- Ascend up through the bridge.
- Take a left turn and follow the path up through the cave.
- You’ll come to a waterfall on your left. Go through it to get to the treasure chest.
How to Get the Climbing Boots
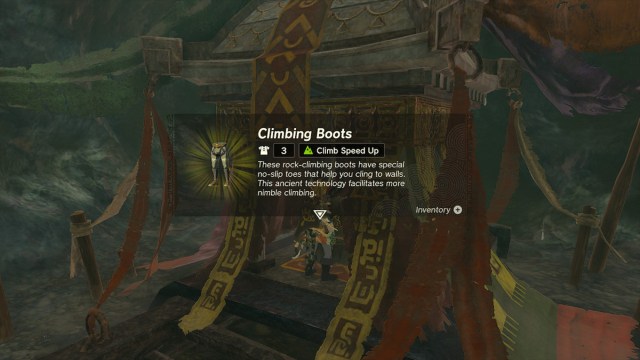
Like the Climbing Bandana, the Climbing Boots are in the Lanayru region near Zora’s Domain. However, they’re on the west side of the city. You’re looking for a place called Upland Zorana Byroad, which you’ll find directly south of the Upland Zorana Skyview Tower, and just north of Ralis Pond, tucked into the side of the rockface.
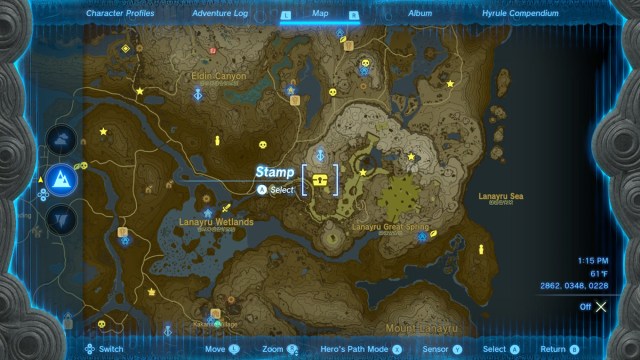
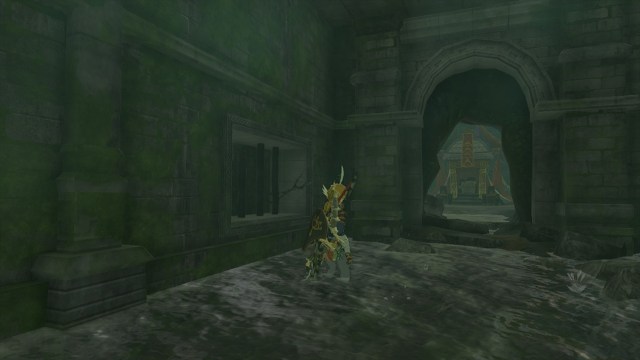
Your path to the Boots is a simple one:
- Soon after entering the cave, you’ll see another pathway to your right, somewhat hidden by an overhang.
- You’ll enter some waterlogged ruins.
- Make your way to the back of the ruins and use Ultrahand to open the gate. Doing so drains the water.
- There’s an opening in the ruins to the right of the gate that leads to the treasure chest.
With all three pieces of the Climbing Set now in your possession, you can climb about 50% faster for the same stamina cost as your default climbing speed, making any climb that much shorter.
How to Upgrade Climbing Gear in Tears of the Kingdom

Lastly, you can upgrade your climbing gear at the Great Fairy Fountains. This option becomes available as soon as you speak to the Great Fairy.
- Level I: 3 Keese Wing, 3 Rushroom.
- Level II: 5 Electric Keese Wing, 5 Hightail Lizard.
- Level III: 5 Ice Keese Wing, 10 Hot-Footed Frog.
- Level IV: 5 Fire Keese Wing, 15 Swift Violet.
That’s everything you need to know on how to get the Climbing armor set in TotK. We’ve covered plenty of other content in the latest in the franchise, including the 10 best armor sets, how to get into Hyrule Castle early, and tons of Shrine and Korok Seed location guides in our Tears of the Kingdom guides hub.



Published: Jun 30, 2023 03:16 pm