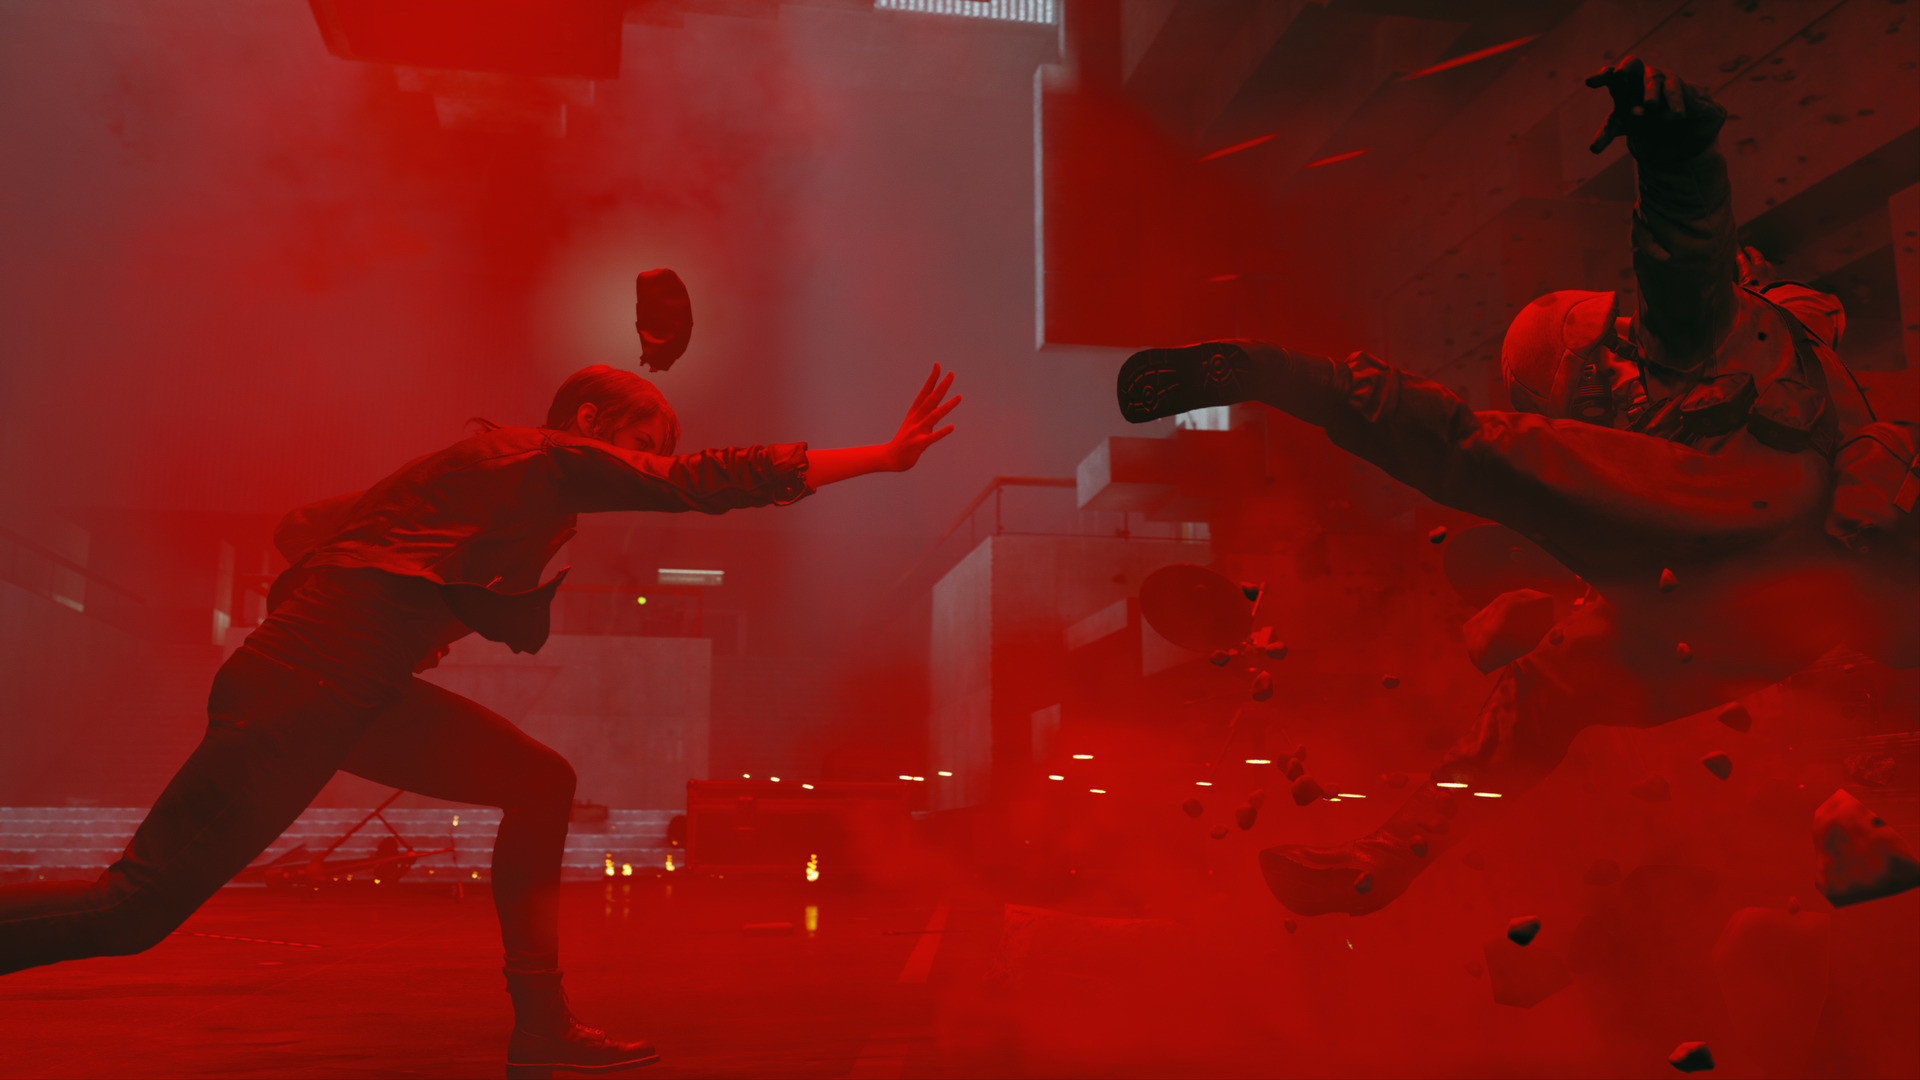
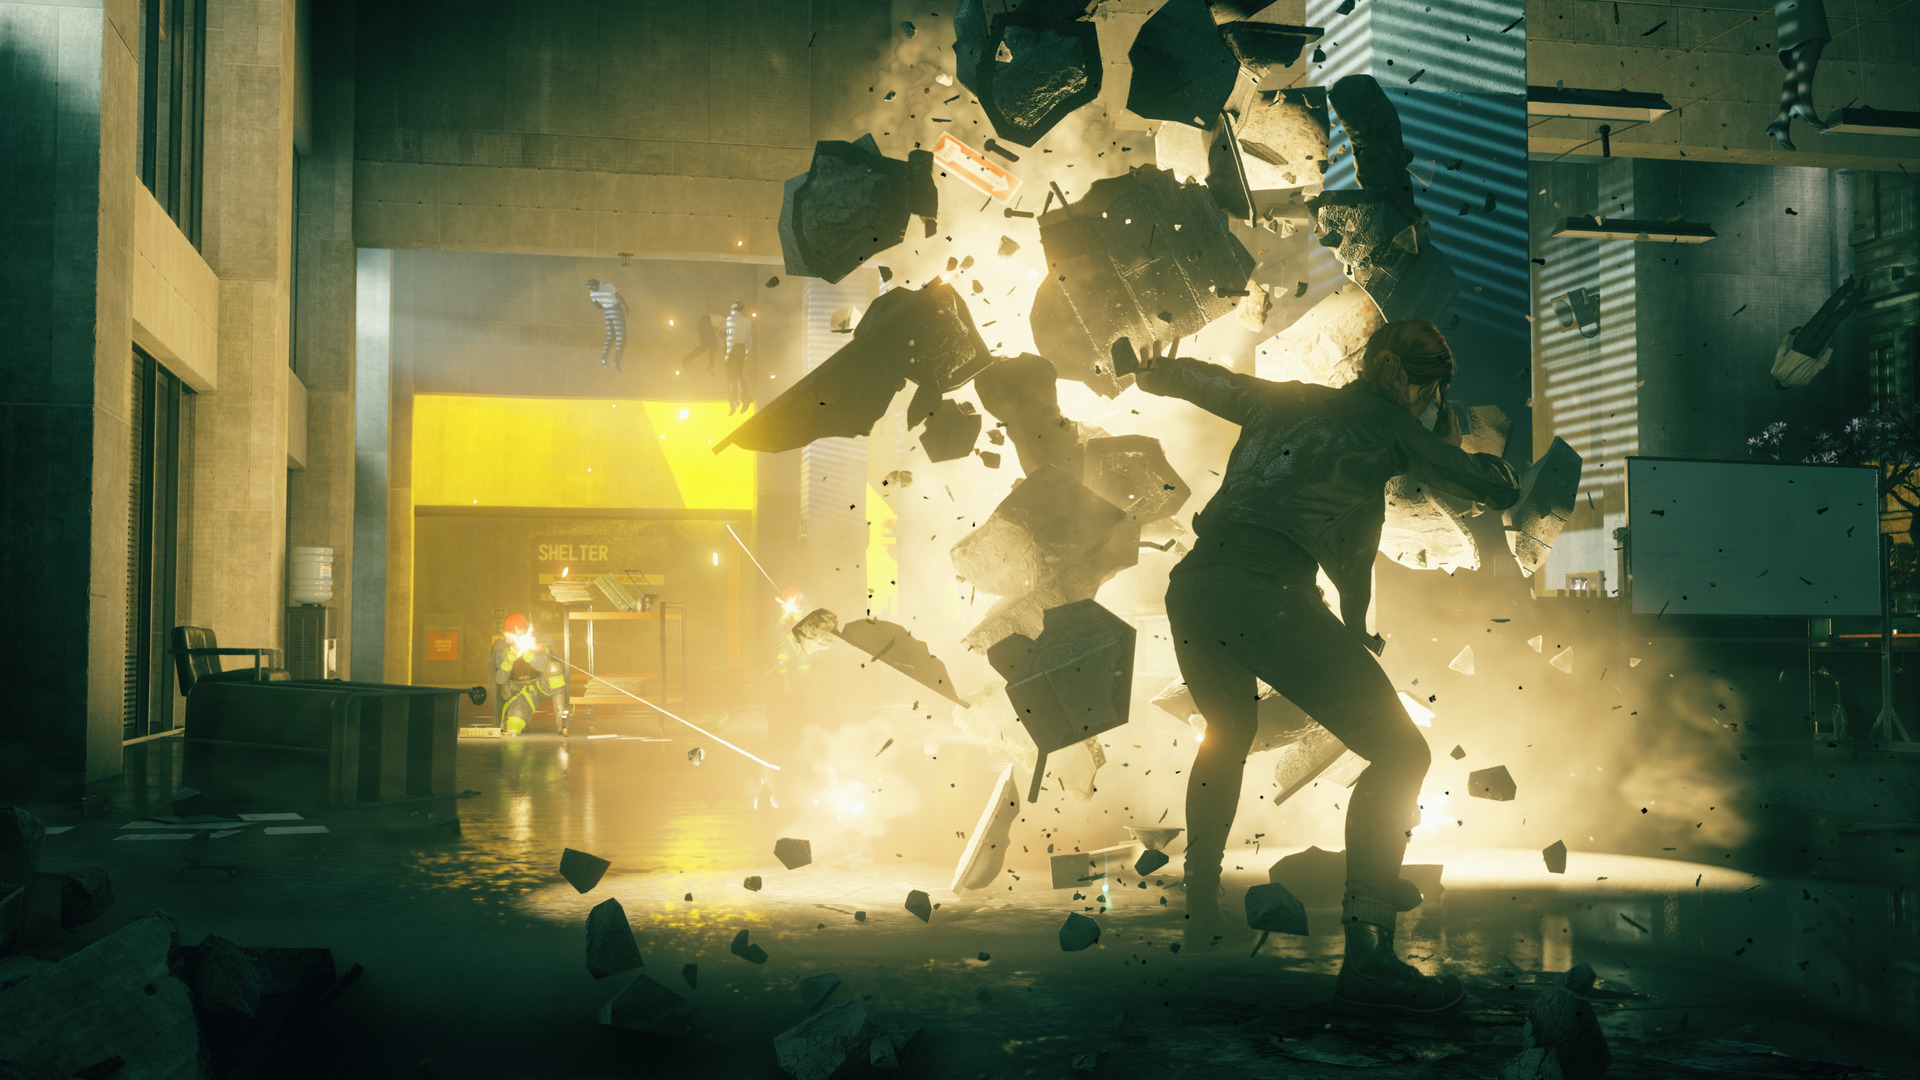
Remedy Games’ seventh studio release is finally here. Control casts players as Jesse Faden, reluctant and newly minted Director of the Federal Bureau of Control as she fights to take back, well, control, of The Oldest House, an ever-shifting headquarters for the U.S. government’s most mysterious agency.
To get you going on the right foot and working down the extensive skill tree efficiently, we’ve compiled this guide to all things in Control related to skills, weapon forms, and mods. Here’s everything you need to know, including the many weird new terms used in the game’s upgrade menus and which skills are best to prioritize.
The Service Weapon
Jesse’s role as Director grants her exclusive use of the Service Weapon, a shifting handgun that can take many forms. Each form has its own name, and though they can be confusing at first, our guide will explain how each form follows a familiar archetype.
Ammo collecting isn’t a worry in Control, as the Service Weapon reloads automatically over time. During cooldown periods, you’re meant to use evasive tactics or attack with Jesse’s paranatural abilities, but we’ll get onto those in a moment.
Here are the different version of the Service Weapon:
Grip: Handgun
Spin: SMG
Shatter: Shotgun
Pierce: Sniper
Charge: RPG
Weapon Mods and Personal Mods
Over the course of the game, you’ll be able to unlock additional forms for your Service Weapon, as well as more buffs for Jesse, and by the end, diligent players will have unlocked all forms and upgraded several of them and Jesse too.
Each weapon can attach up to three mods after they are fully upgraded, as can Jesse. These mods can be unlocked using a variety of resources found in containers throughout The Oldest House or from dropped by enemies.
The names of these many resources seem to be a bit confusing on purpose, but just understand that you can track how much you have of each variant, as well as how much you need for any upgrade, under the Astral Constructs menu at any Control Point (fast travel location).
The primary resource you’ll need to acquire is the only one simply named: Source. At any given point, you may have tens of thousands of Source, and you can use it in a number of ways.
How to Spend Source
- Constructing weapon and personal mods: 1,000 Source
- Refreshing list of randomized mods for construction: 1,000 Source
- Unlock and upgrade Service Weapon forms: Cost varies
Other Crafting Materials
You can view all other crafting materials by pressing the left menu button on controllers. These materials seem to be dropped randomly, so there’s currently no known way to farm them other than to take every corner you can and uncover more resource bins.
These will often grant you mods or materials immediately without further construction needed. The other materials are:
- Undefined Reading
- Ritual Impulse
- Threshold Remnant
- Hidden Trend
- Intrusive Pattern
- House Memory
- Astral Blip
- Remote Thought
- Entropic Echo
- Corrupted Sample
- Untapped Potential
Abilities
Jesse has 43 skills available by the end of the game, though these are rolled out slowly over time as most games do. To unlock them, you’ll need skill points which usually come in bunches at the end of main and side missions.
For this reason, it’s crucial you do every side mission you come across. Not only are they quite varied and fun in their own right, but many of them will grant you the most vital powers to use through the rest of the game, or give you that extra bounty of skill points you’ll so need.
Let’s break down the many branches of Jesse’s skill tree.
Health
Overall vitality of the player
- Upgrade 1: +10%
- Upgrade 2: +20%
- Upgrade 3: +20%
- Upgrade 4: +20%
- Upgrade 5: +30%
Energy
Spent on Launch and Shield; recharges automatically:
- Upgrade 1: +10%
- Upgrade 2: +20%
- Upgrade 3: +20%
- Upgrade 4: +20%
- Upgrade 5: +30%
Melee Damage
To pack a better punch:
- Upgrade 1: +10%
- Upgrade 2: +30%
- Upgrade 3: +30%
- Upgrade 4: +30%
- Upgrade 5: +50%
Launch Damage
Telekinetic tossing:
- Upgrade 1: +25%
- Upgrade 2: +50%
- Upgrade 3: Launch grenades and rockets back at the enemy
- Upgrade 4: +50%
- Upgrade 5: Launch basic enemies when their health is low
- Upgrade 6: +50%
- Upgrade 7: Launch large enemies when their health is low
- Upgrade 8: +75%
Shield Strength
Jesse’s temporary blocking ability:
- Upgrade 1: +10%
- Upgrade 2: +20%
- Upgrade 3: When released, Shield propels debris at enemies
- Upgrade 4: +20%
- Upgrade 5: +20%
- Upgrade 6: +30%
Seize Duration
Turn enemies into allies who fight for you:
- Upgrade 1: +5%
- Upgrade 2: +10%
- Upgrade 3: +10%
- Upgrade 4: Seize an additional enemy
- Upgrade 5: +10%
- Upgrade 6: +15%
- Upgrade 7: Seize large enemies when their health is low
Levitate Duration
To fly over enemies, flank, and rain devastation:
- Upgrade 1: +10%
- Upgrade 2: +10%
- Upgrade 3: Ground Slam ability while levitating
- Upgrade 4: +10%
- Upgrade 5: +10%
- Upgrade 6: +10%
Recommended Abilities
Now that you know all there is to know about mods, weapon forms, and Jesse’s complete skill tree, it’s time to build the Director that best suits your playstyle.
We put in over 30 hours with Control, running around the halls of The Oldest House and roughing up additional Hiss after the credits. Here are some tips we think should help get you going fast and furious.
Health and Energy are Top Priority
Control has no difficulty settings, so everyone will have to play on the game’s base setting, and it can get really tough sometimes. For that reason, we recommend treating health and energy as the 1A and 1B skill trees to climb down early and often.
Your Service Weapon needs to reload regularly, and you’re meant to counterbalance that with your abilities, but a lowly energy bar could leave you without much of anything to use on offense.
Meanwhile, a shortened health bar can make some early encounters tough. When the game gives you your first four skill points in one bounty as it will, spend one on each of the four available branches, but with the next batch, start looking at health and energy first.
Launch and Shield Come Next
With some early attention paid to those foremost ability trees, you’ll then want to sprinkle in some attention to the launch and shield abilities.
The telekinetic throw is super powerful from the start, but it can really pack an incredible punch as you work down the ability upgrades for it.
Meanwhile, shield is critical against some enemy types, and the early unlock that allows you to toss shield debris at enemies will not just get you an achievement/trophy, it’ll keep you alive in some tough fights.
Launch is the best way to remove enemy armor too, often clobbering it right off in one hit, so if you can upgrade your shield and launch trees a few times early, you’ll feel well equipped to take on The Hiss.
Pick Your Favorites After That
From there, it becomes more a matter of playstyle and preference. Melee, Seize, and Levitation can all suit different players and eventually, you’ll want to unlock the whole tree anyway. However, it’s getting there where you’ll not want to mess it up.
If you like close-quarters battles, the melee damage increases are awesome. But if you expect you’ll be playing back and picking your shots, levitate and seize may be the better options. Enemies seized to your side will fight until death for you, so once they’ve been made good guys, you can stop worrying about them.
Levitating above enemies is a great way to flank those annoying Hiss Clusters which heal all enemies in the area. Drop in from above and take them out fast — seriously, this is a must.
Make Up for Deficiencies with Mods
Before the last few chapters, you’ll always have a few weak spots, and that’s okay. That’s by design. You can minimize your Achilles’ heel by supplementing your abilities with smart mod use.
There are a ton of mods available in the game, and not all are worth using for every playstyle. If you find yourself dying a lot, think about installing some health buffs, like those that give you more base health or return more health to you when health is picked up from dead enemies.
If you’re the type that likes to focus a lot on launching furniture at the Hiss (like me), you’d be very wise to employ some mods that refill your energy faster, or perhaps those that use less energy for launch in the first place.
You can even stack mods. On my Grip gun, I combined two headshot buffs to give myself almost 180% damage increase whenever I connected with the Hiss above their necks. The difference was stunning.
It’s crucial you examine how you’re doing, where you could use help, where you may even benefit from a proverbial cherry on top, and using mods smartly in those places.
Replace Mods and Upgrade the Constructs Level Regularly
The last bit of information we think is vital to success in The Oldest House is to remember that your mods early on will be of low levels, and even if you have the right buffs employed, you’ll want to replace them before long.
As you work through the game, you’ll find better mods and even be able to upgrade the semi-randomized mod constructs. If you think your +21% health increase mod is helpful, wait until you come across the +48% variant.
Every mod has its own level, numbered in Roman numerals from I to V, and you can view them in your loadout. Since you will acquire new mods so often, make sure to swap out low-level improvements for their bigger, better variants.
Don’t be afraid to upgrade your mod constructs at a Control Point, too. That way, you’re only ever dealing with items on your level. Just because it’s Jesse’s first day on the job doesn’t mean she has to be equipped like it.
Lastly, be sure to break down old mods so you have more room and more Source.
—
That’s all you need to know about skills, mods, and abilities in Control. For more, be sure to head over to our Control guides page, as well as our review for the game.
- How to Solve the Luck and Probability Room Puzzle
- How to Solve the HRA Machine Puzzle
- How to Solve the Clock Puzzle
- How to Get the Shield Ability
- How to Get the Compel Ability


Published: Aug 26, 2019 01:48 am