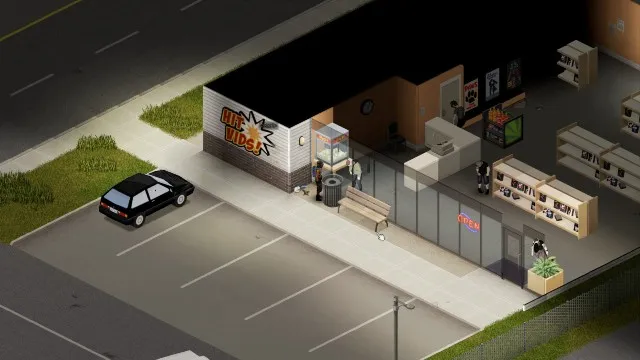
Category: Tips Project Zomboid VHS Tapes: Where to Find Them All Gavin Burtt Gavin Burtt Jan 18, 2022
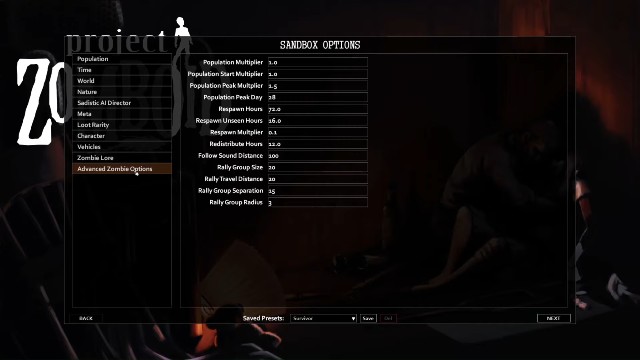
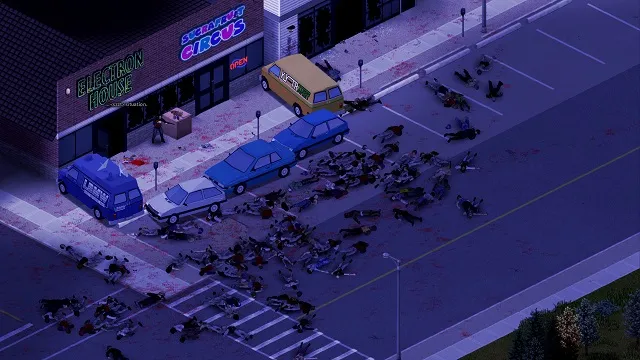
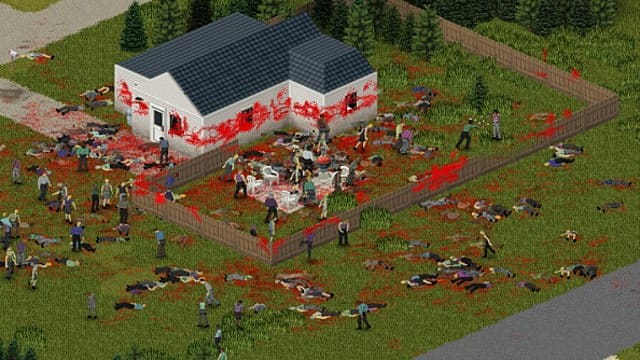
Category: Tips Project Zomboid Zombie Spawning: How to Adjust Spawns Gavin Burtt Gavin Burtt Jan 17, 2022
Category: Tips Project Zomboid VHS Tapes: Where to Find Them All Gavin Burtt Gavin Burtt Jan 18, 2022
Category: Tips Project Zomboid Zombie Spawning: How to Adjust Spawns Gavin Burtt Gavin Burtt Jan 17, 2022
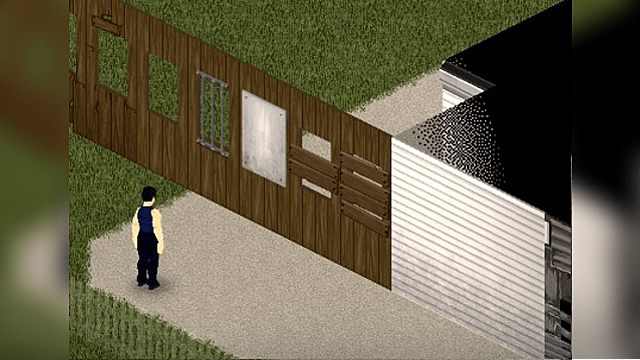
Category: Tips Project Zomboid: How to Barricade Doors and Windows Gavin Burtt Gavin Burtt Jan 14, 2022
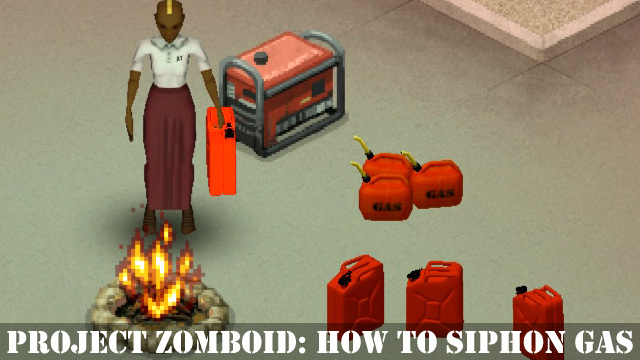
Category: Tips Project Zomboid: How to Siphon Gas and Get More Gas Serhii Patskan Serhii Patskan Jan 14, 2022
Category: Tips 20+ Great Online Co-op Games Currently on Steam for Less Than $30 Ashley Shankle Ashley Shankle Jun 30, 2018
Category: Listicle 5 of the Best Survival RPGs You Probably Missed Daniel Lopez Daniel Lopez Jun 29, 2016
20+ Great Online Co-op Games Currently on Steam for Less Than $30 Ashley Shankle Ashley Shankle Jun 30, 2018