
Just like any sandbox adventure game, My Time at Portia has a lot of opportunities for developing different skills, including mining. After you’ve managed to craft a few basic tools, you can start going mining basic ores.
The mines in My Time at Portia are indicated by orange circles on your map. Each one of the mines has an entrance fee and a reset fee, so be sure to make the most out of each one. If you want to know more about mining in My Time at Portia, then follow the guide below.
How Mining Works in My Time at Portia
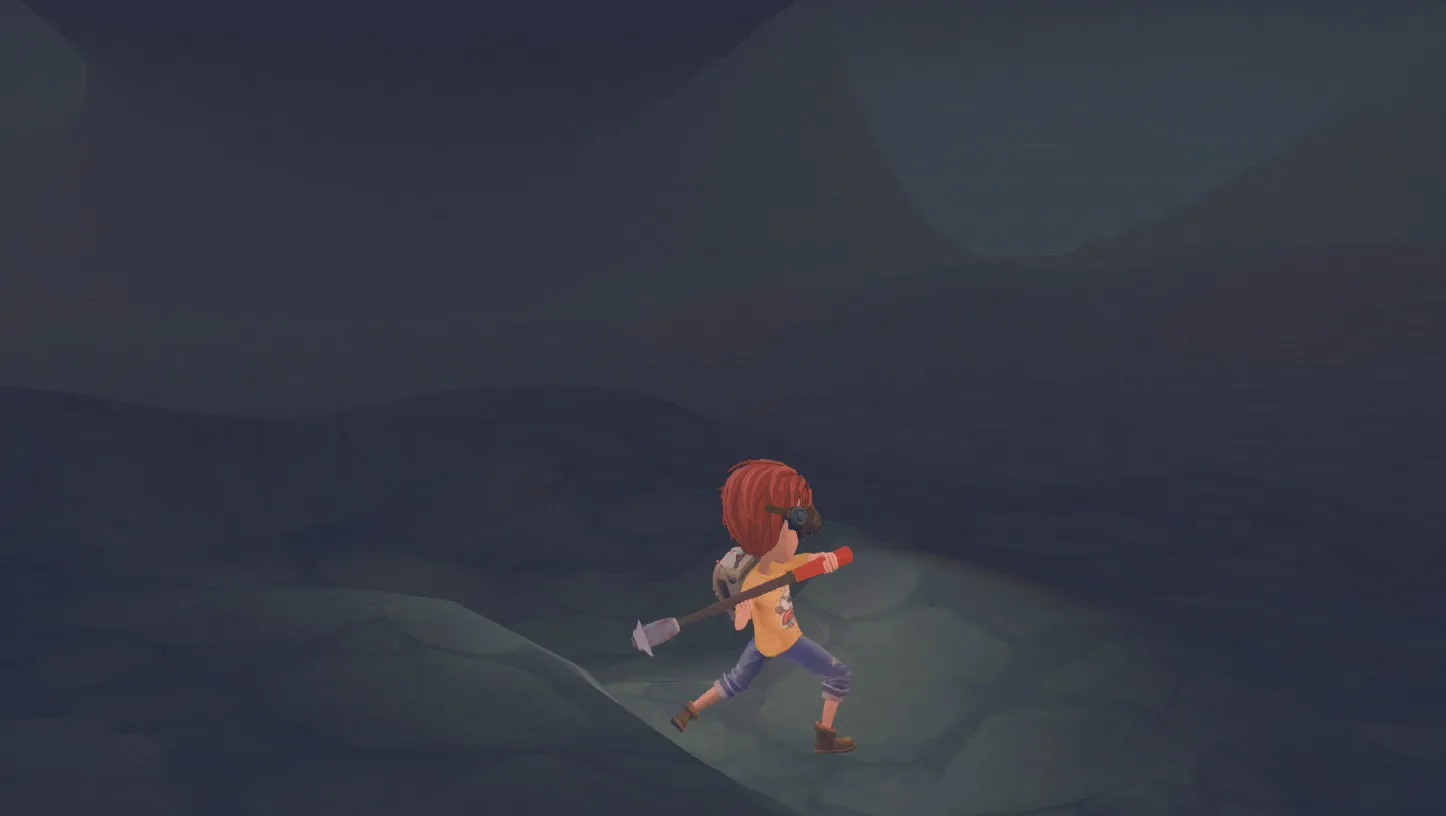
You can start mining by using your pickaxe as soon as you find patches of rock with a certain colorization, such as brown, that differs from the main colorization of the mine. However, to get the most out of mining, you may want to use your scanner first by pressing the F button. You will get the scanner from the Civil Corps prior to entering the Ruins, which means that you will have to give it back as soon as you leave. But you will be able to retain all the ores and relics you will find inside the mines.
This scanner will allow you to identify the location of the relics, such as Small Engines, Power Stones, Data Discs, and more. As soon as you activate the scanner while mining, a small yellow dot will appear. Match the circle in the center with the yellow dot of the scanner and you will see numbers that will tell you how far you need to mine in order to get the relic. in question
In the process of mining for relics, you will produce some ore as well. So its always a good idea to use the scanner. But if you aren’t up for looking for relics yet, then you can simply use your pickaxe to get some copper or iron ore. If you stumble upon sine parts of the mine, which can’t be mined with the usual pickaxe, then you will have to upgrade it to a bronze or an iron one as soon as you reach levels 5 and 10 respectively.
How to Get to Abandoned Ruins #1
There are two mining locations in My Time at Portia: Abandoned Ruins 1 and Abandoned Ruins 2. You will begin with the first one, which is accessible at the start of the game. You can find Abandoned Ruins 1 under the Church of the Light building and behind the A&G Construction building.
It has an entrance fee of 200 gols per week, and if you want to refresh the mine, then you will have to pay additional 20 gols for the reset.
Abandoned Ruins 1 contains the following ores and relics:
- Copper Ore
- Tin Ore
- Data Disc
- Eye Glass
- Fan
- Leather Sofa
- Old Parts
- Power Stone
- Small Clock
- Small Engine
- Racket
There is also a secret room in Abandoned Ruins #1, which is hidden underneath the elevator platform within the pipes. Inside this room you can mine two additional relics:
- Carbon Steel Bar
- Red Mushroom
How to Get to Abandoned Ruins 2

The second mining location in My Time at Portia can be found behind the Civil Corps building at the top of the hill of Portia. However, Abandoned Ruins 2 will become accessible to you only after you’ve built the bridge to Amber Cave.
Abandoned Ruins 2 entrance fee is also more expensive and will make your purse lighter by 300 gols each week. But don’t worry, the quality and the amount of ores and relics is also better than in the first mine.
Abandoned Ruins 2 contains the following ores and relics:
- Iron Ore
- Lead Ore
- Manganese Ore
- Carbon Fiber
- Copper Wire
- Data Disc
- Gear
- Industrial Engine
- Large Iron Bucket
- Old Parts
- Power Stone
- Small Engine
- Small Silicon Chip
- Spring
- Steel Cable
- Washing Machine
- Racket
Abandoned Ruins 2 has no secret room, but there are more than enough relics on its own. So use that scanner to great advantage.
—
With the help of these basic tips and tricks you will be able to make the best out of mining in My Time at Portia. If you enjoyed this guide, be sure to come back soon for more game tips here at GameSkinny!


Published: Feb 3, 2018 10:43 pm