Fast travel in the Saints Row reboot doesn’t work how you might think. In a game that largely stays faithful to the historical gameplay and structure of the series, the way you quickly jump from one point to another in Santo Ileso is a unique twist to the formula that involves photos. However, that also means it’s not immediately intuitive.
As you progress in Saints Row, you’ll take on missions further and further away from your HQ. While driving cars or gliding with your wingsuit Batman-style are both viable ways to traverse the desert city of Santo Ileso, unlocking fast travel points early will save you a lot of time in the long run.
Saints Row Fast Travel Explained
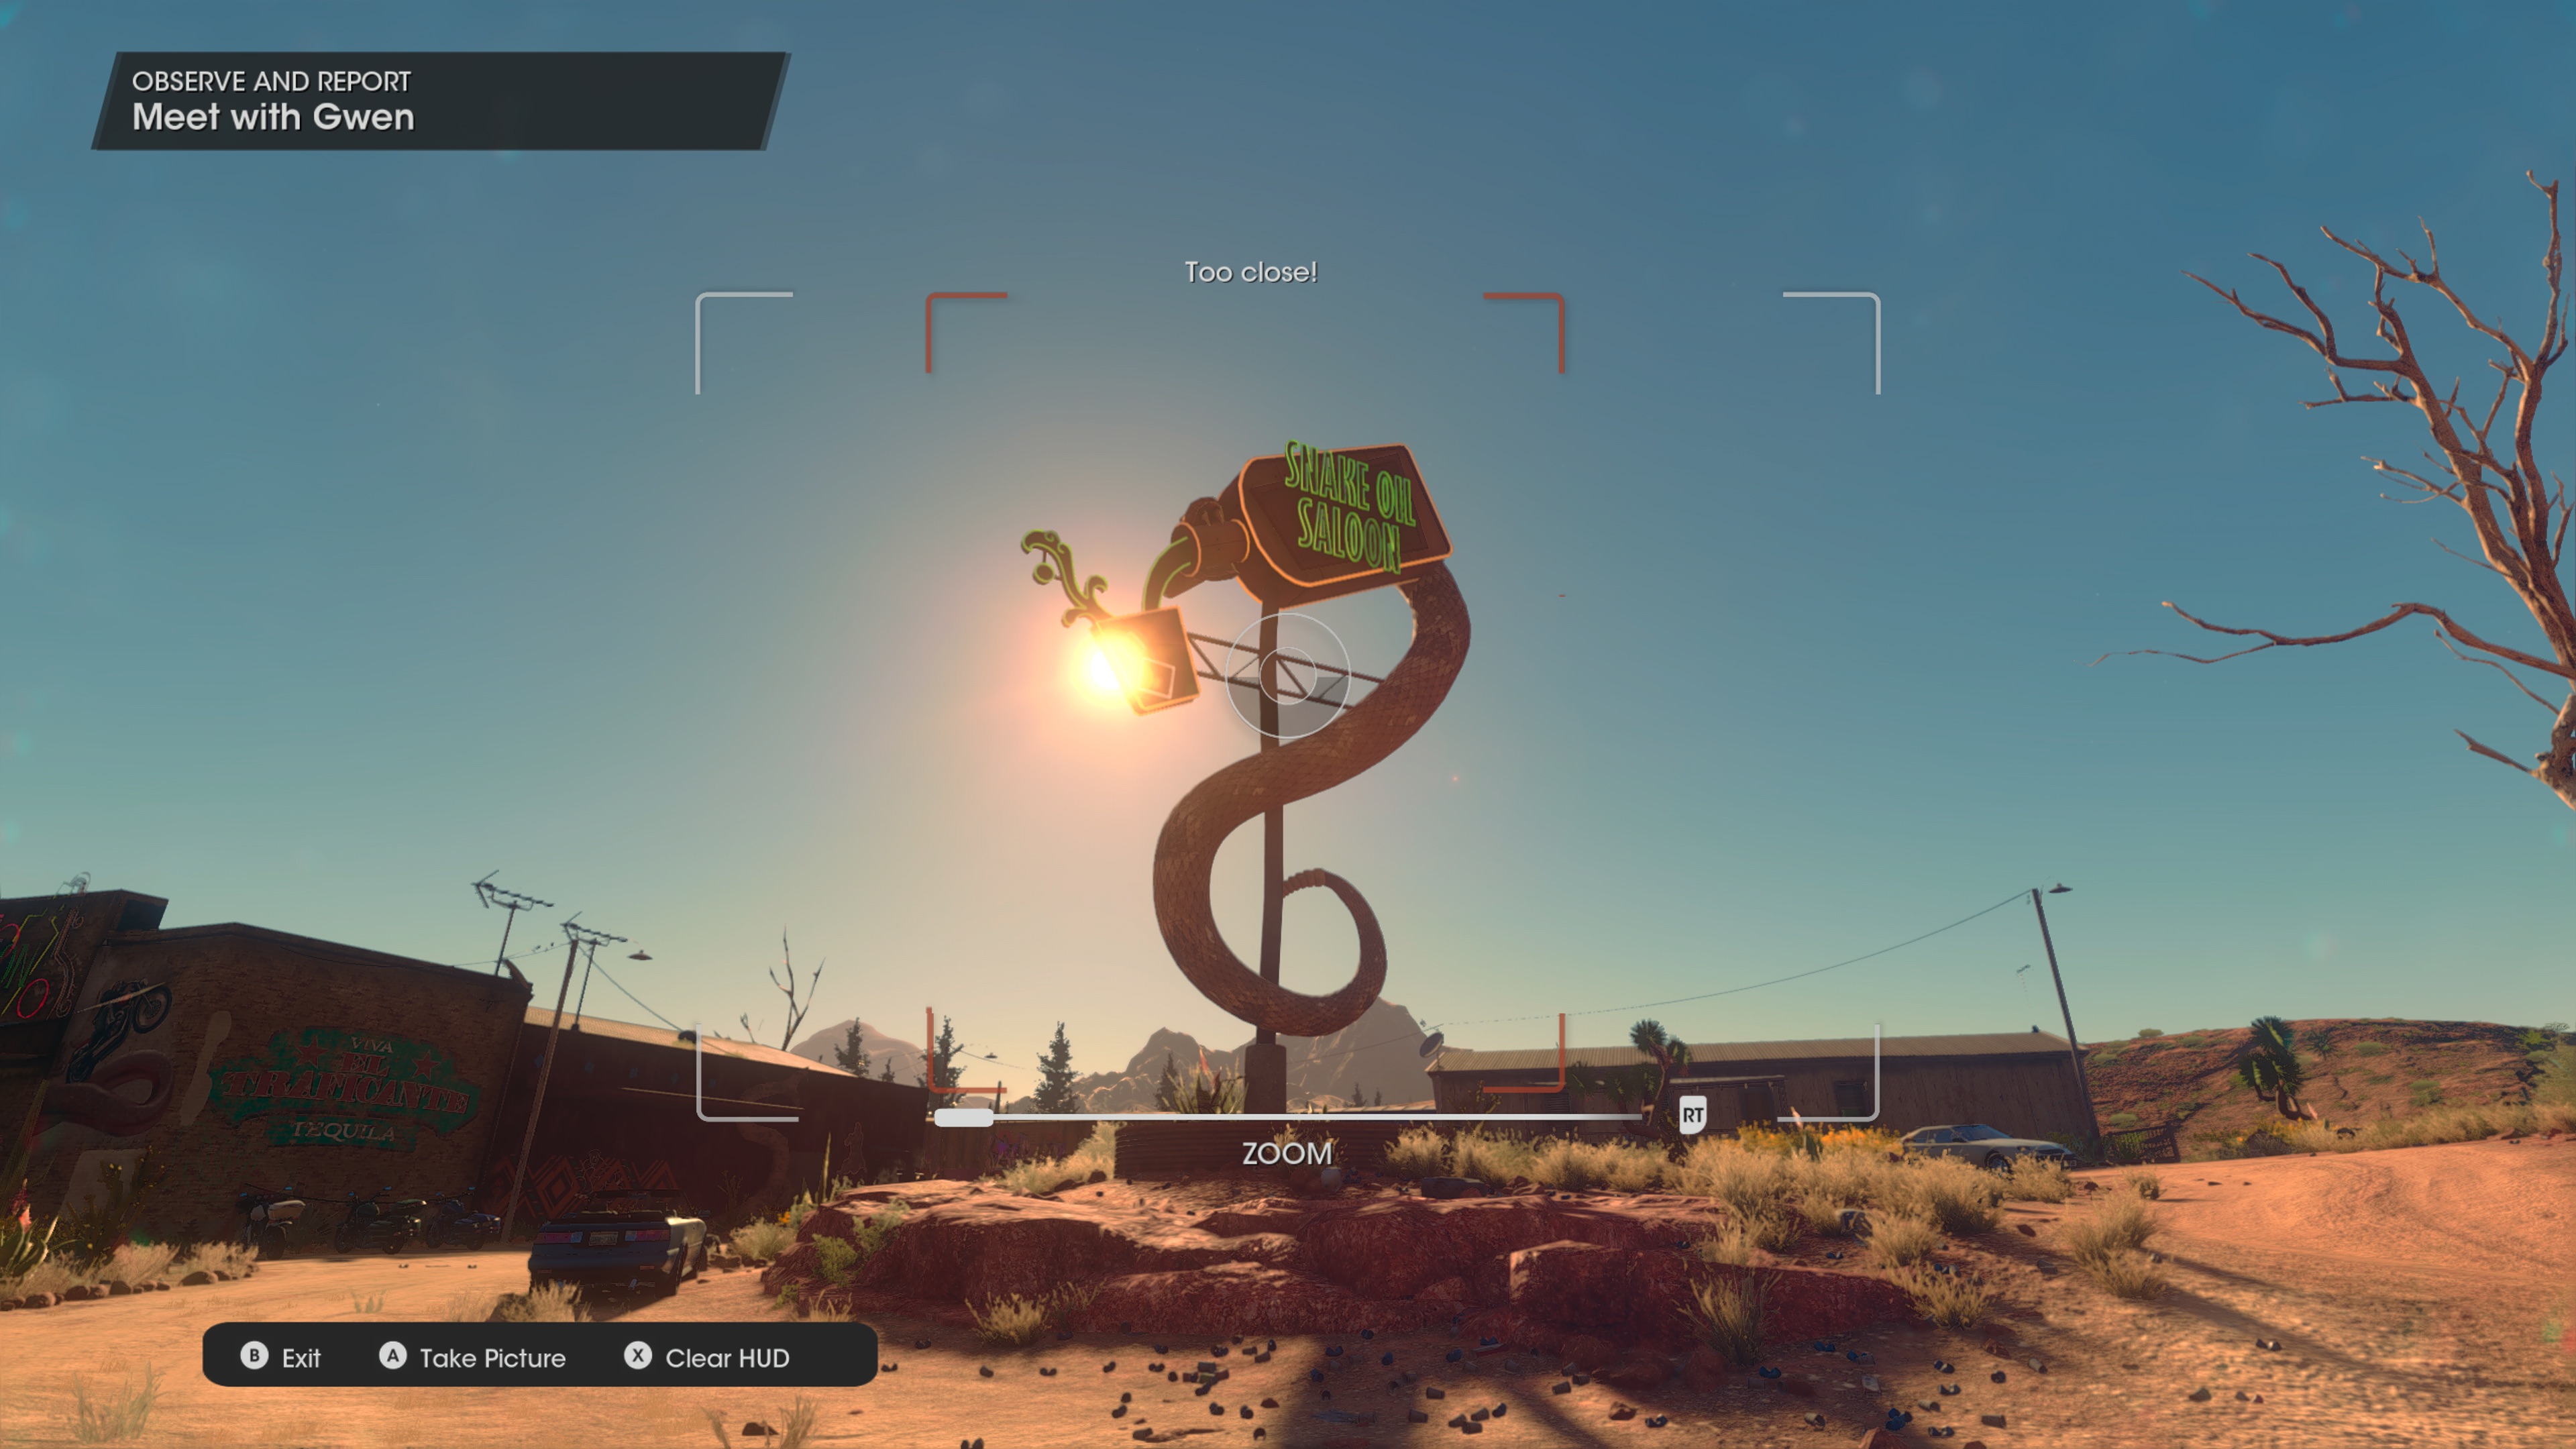
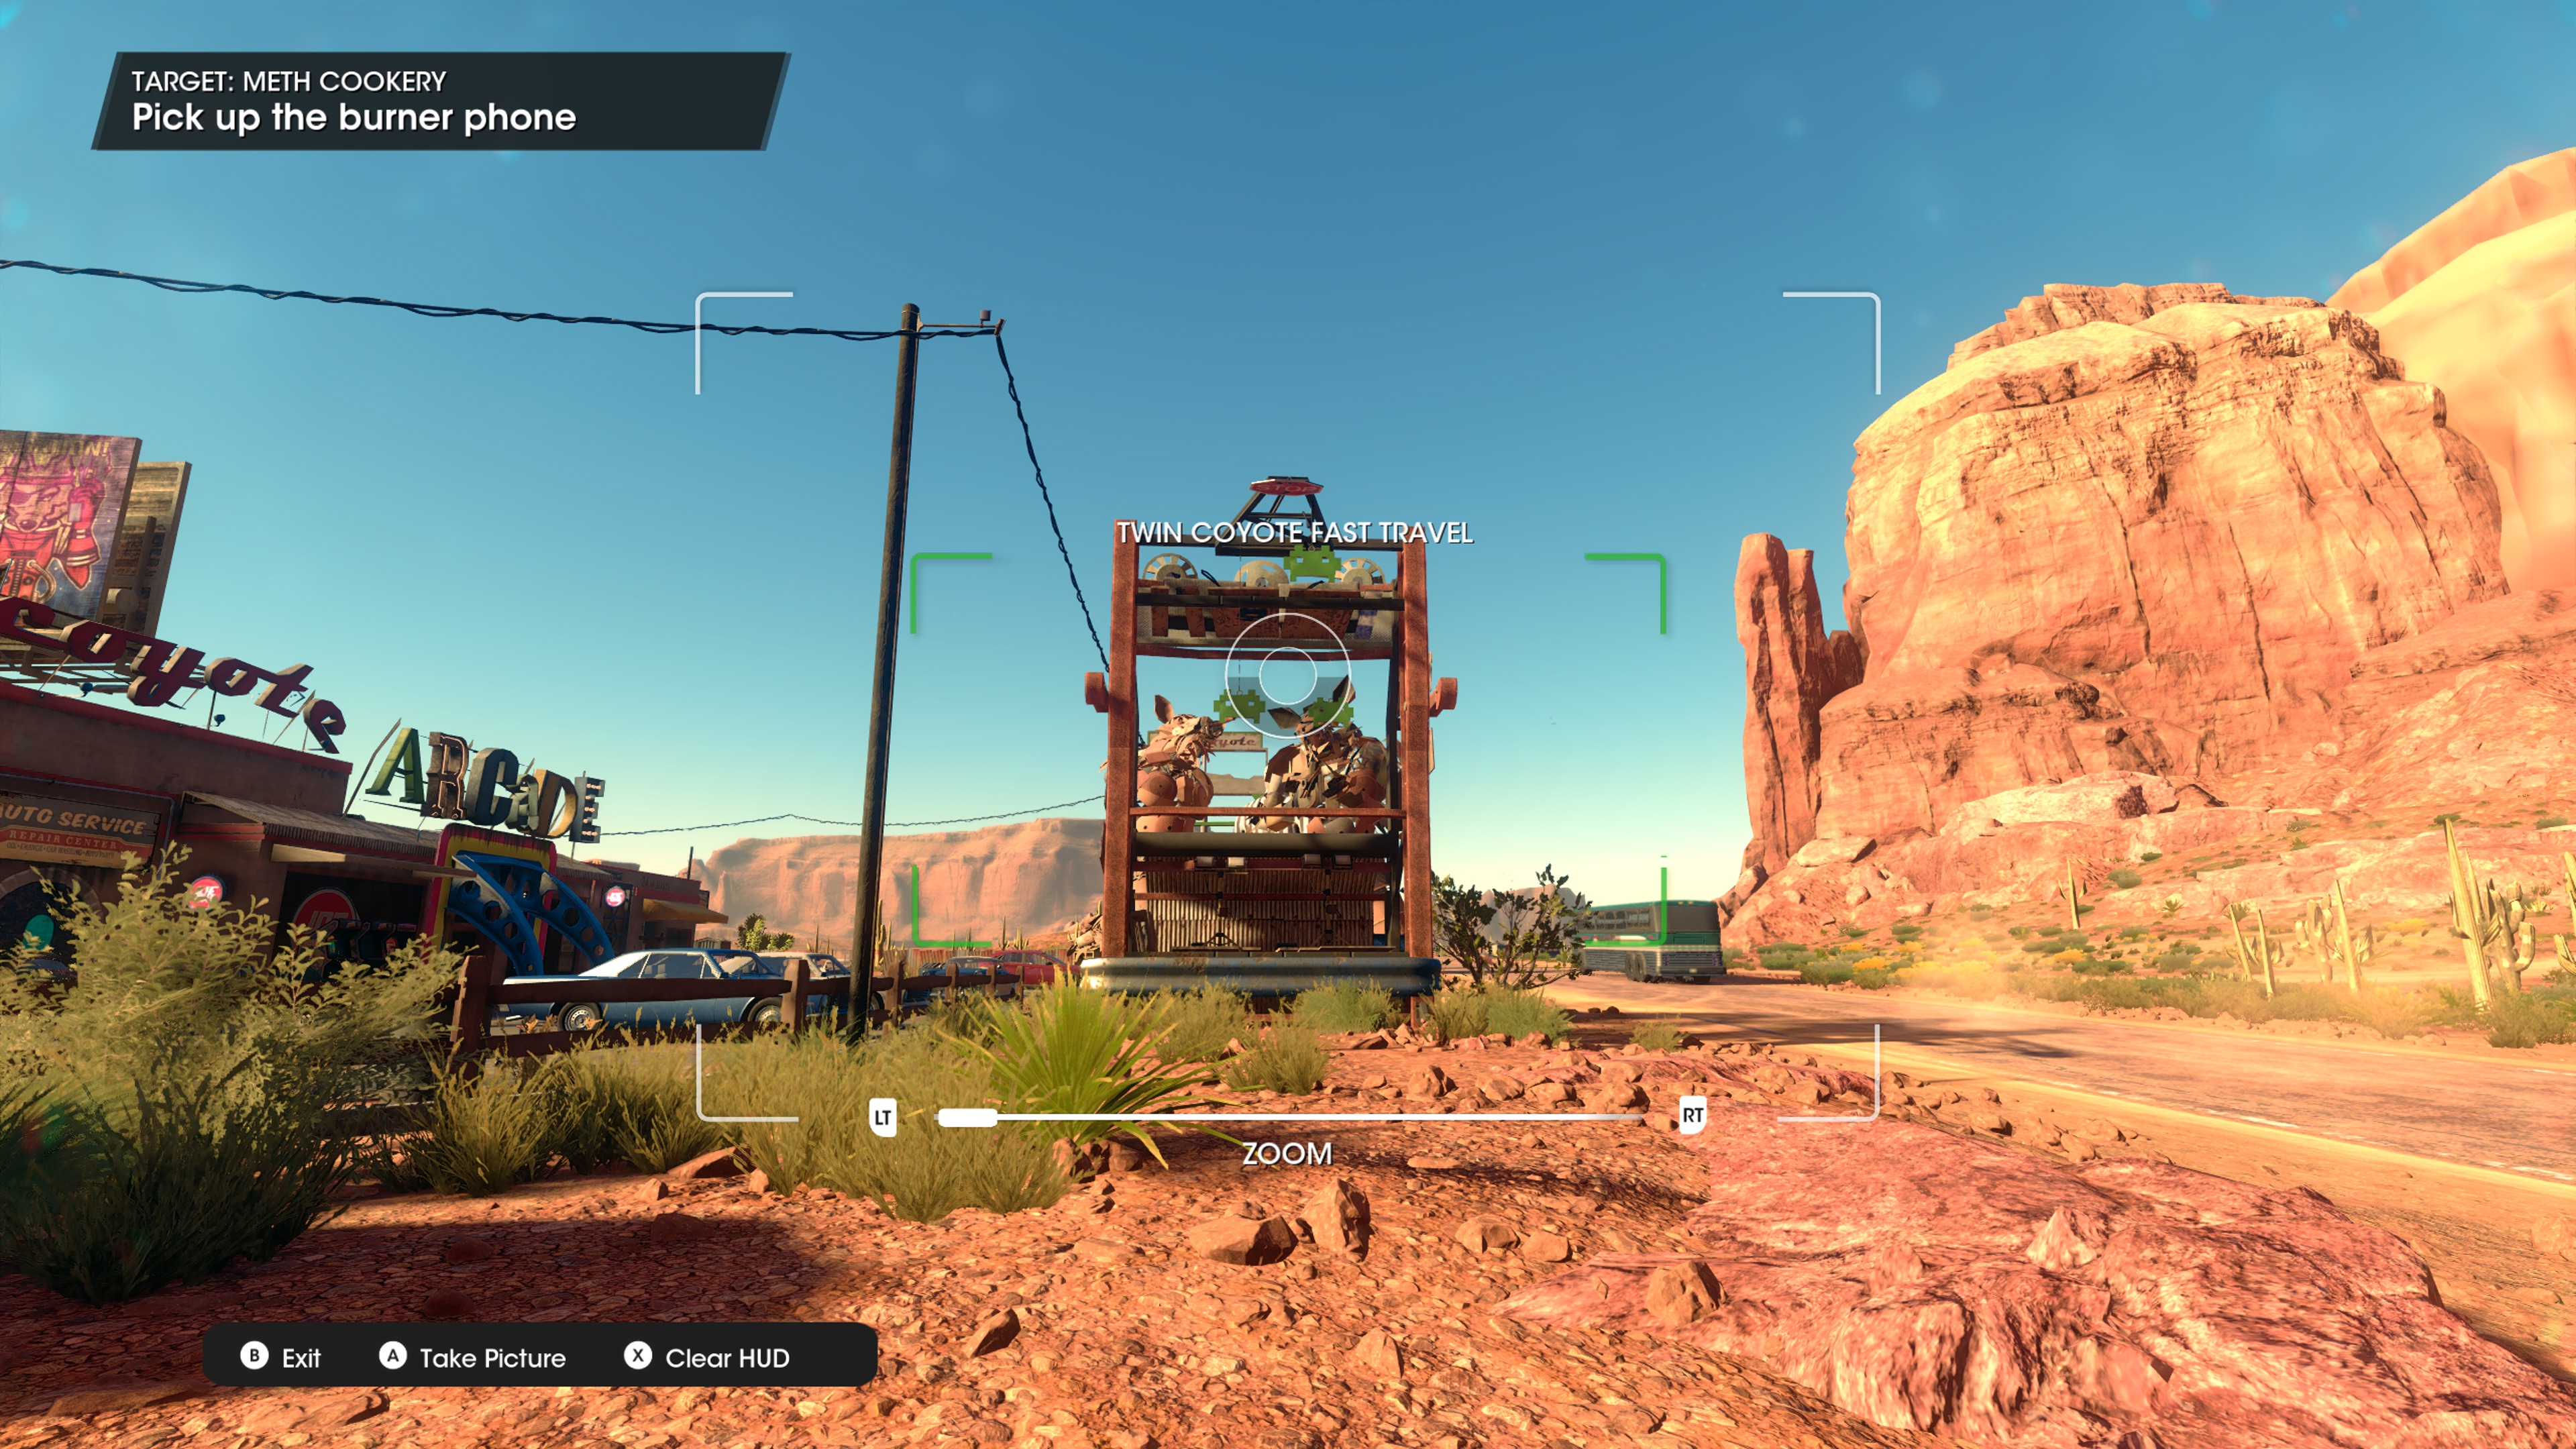
To unlock fast traveling in Saints Row, you must take a photo of a fast travel marker before you are able to use it. These photo-op spots are marked on your map as a yellow train car icon. If you hover over the icon, you’ll be able to see a TKTK pop-up of the image you’ll need to recreate in your photo. Mark these locations on your map with waypoints and drive to them to get your fast travel photo.
To use your camera:
- Open your phone menu and select the camera app, found on the far right side of your phone, top row;
- Or press up on the D-pad.
From there, focus on and center the fast travel sign you’re capturing in order to unlock it for use. The game will highlight it once you bring it into your camera’s view and will let you know if you’re too close or too far. When the frame lights up green, you are good to snap that photo, collect your XP, and unlock a new fast travel point.
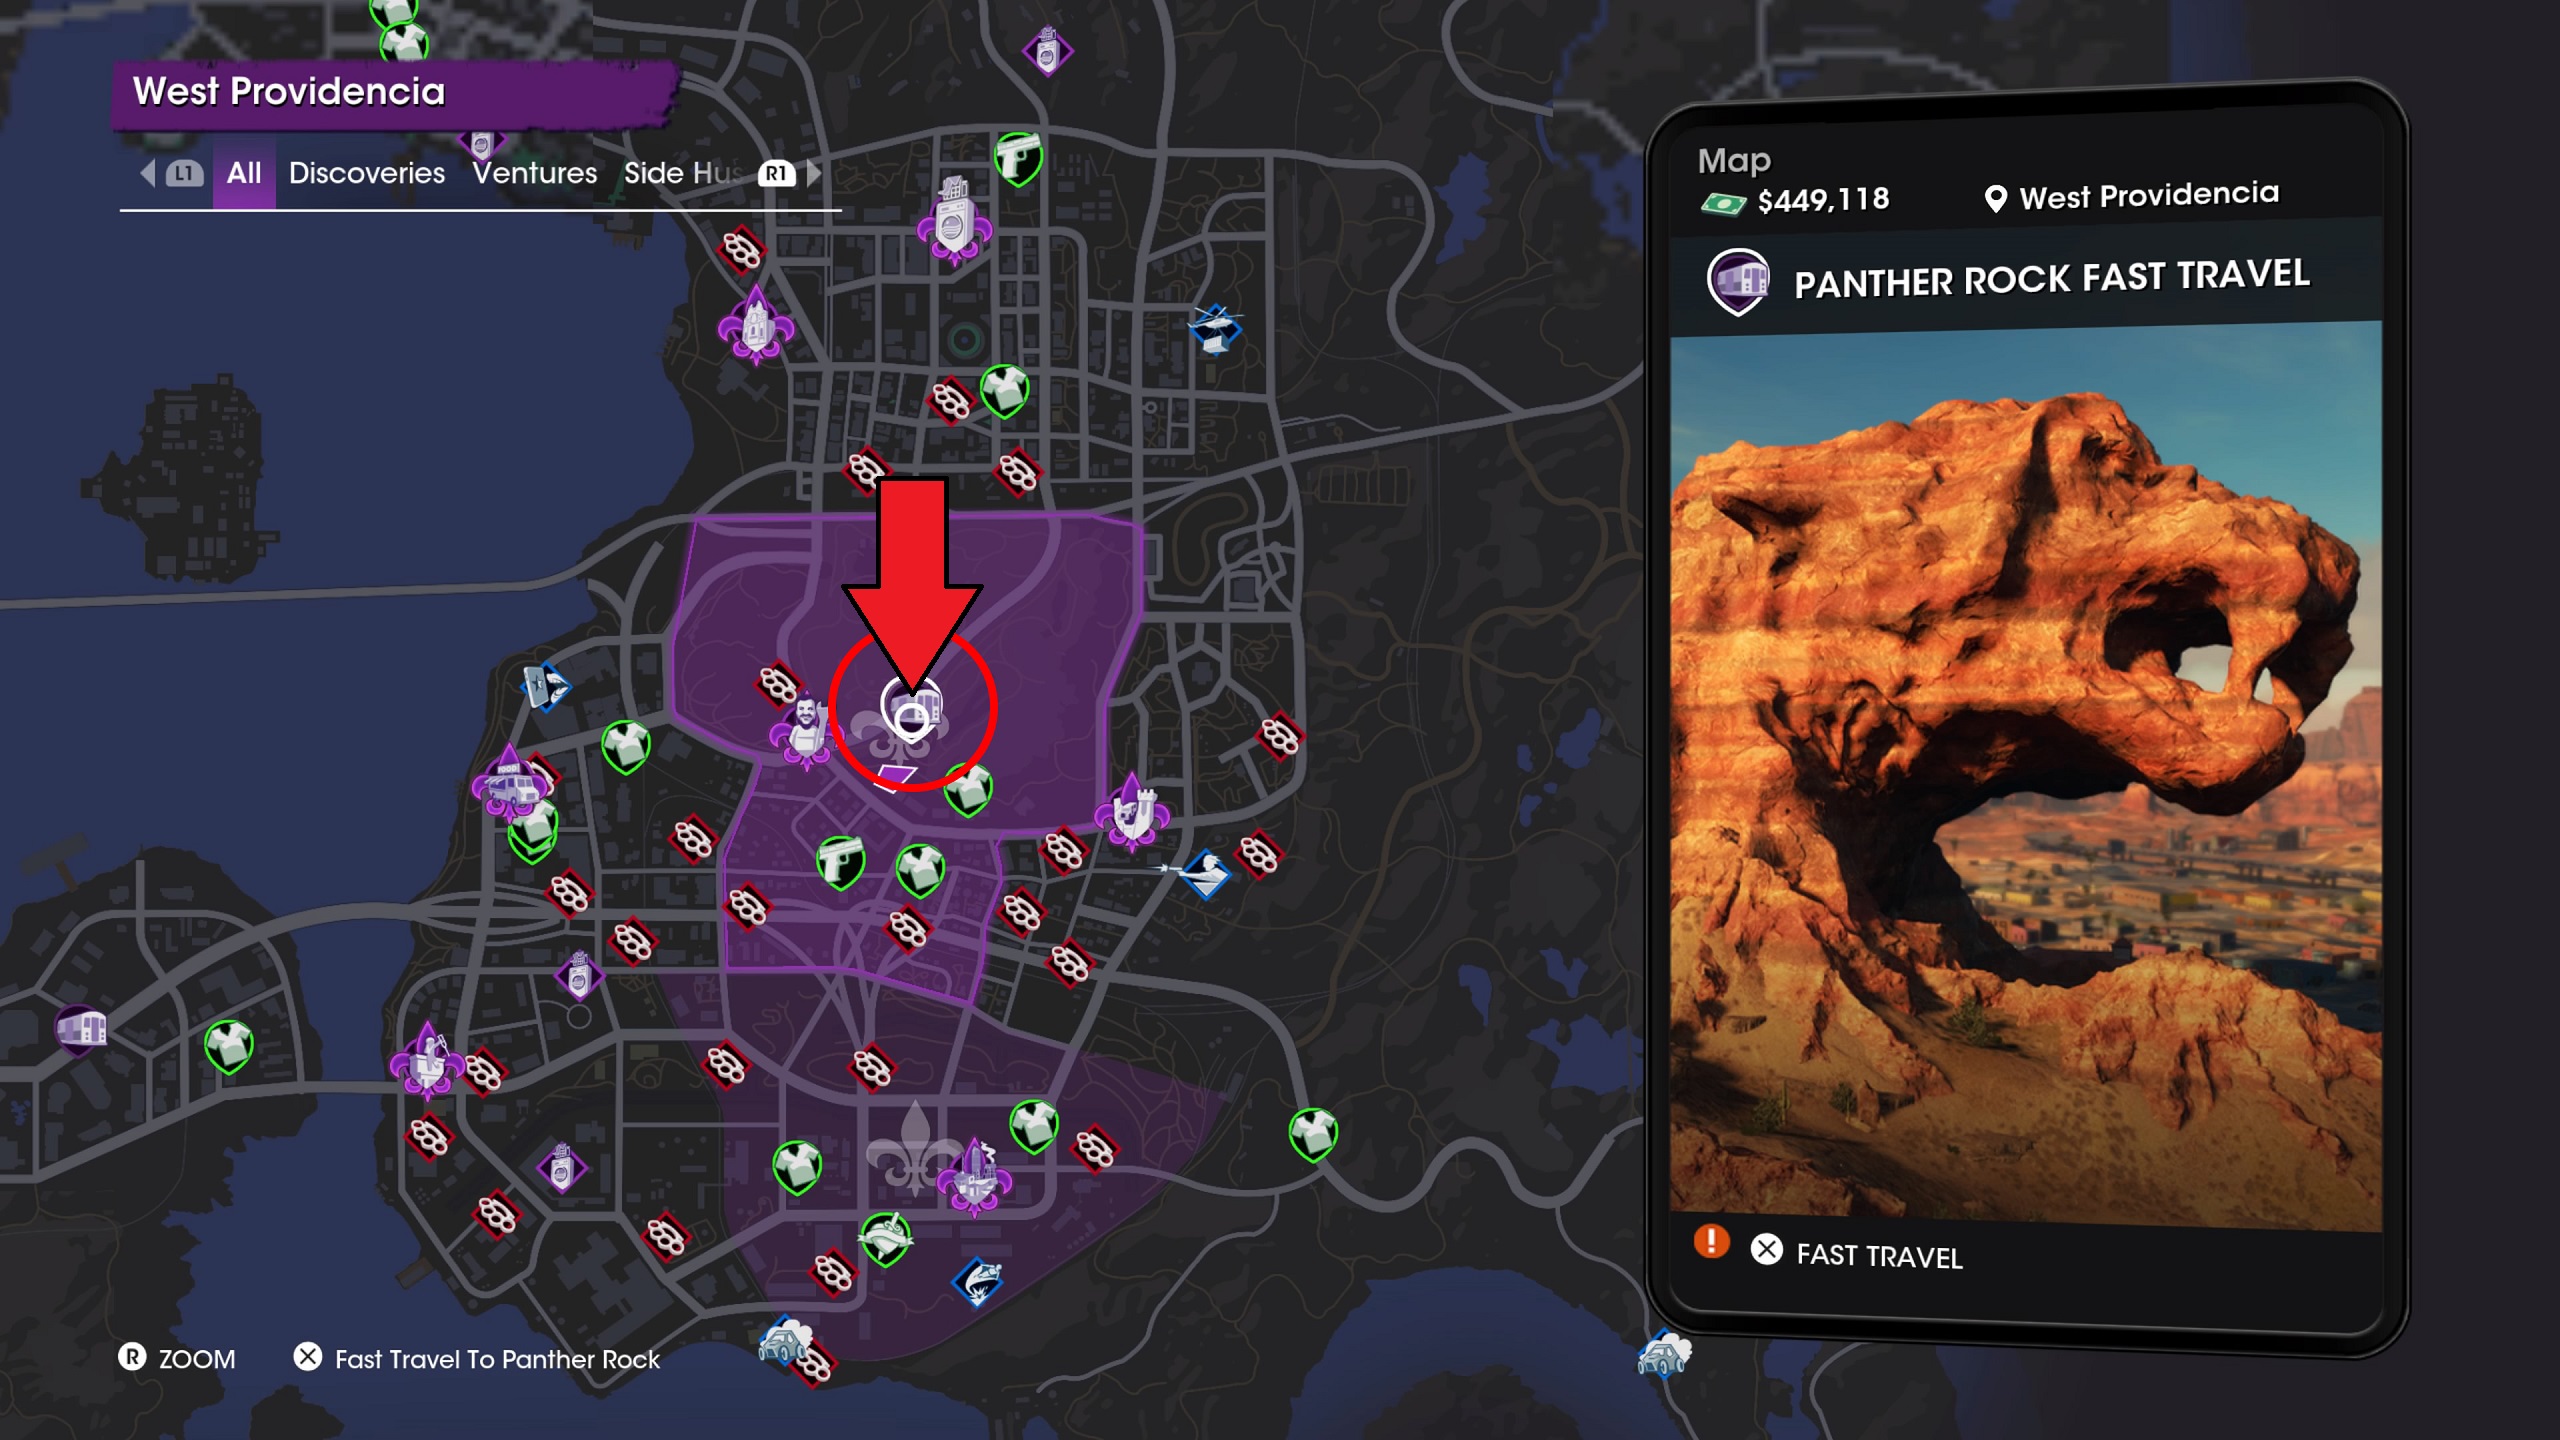
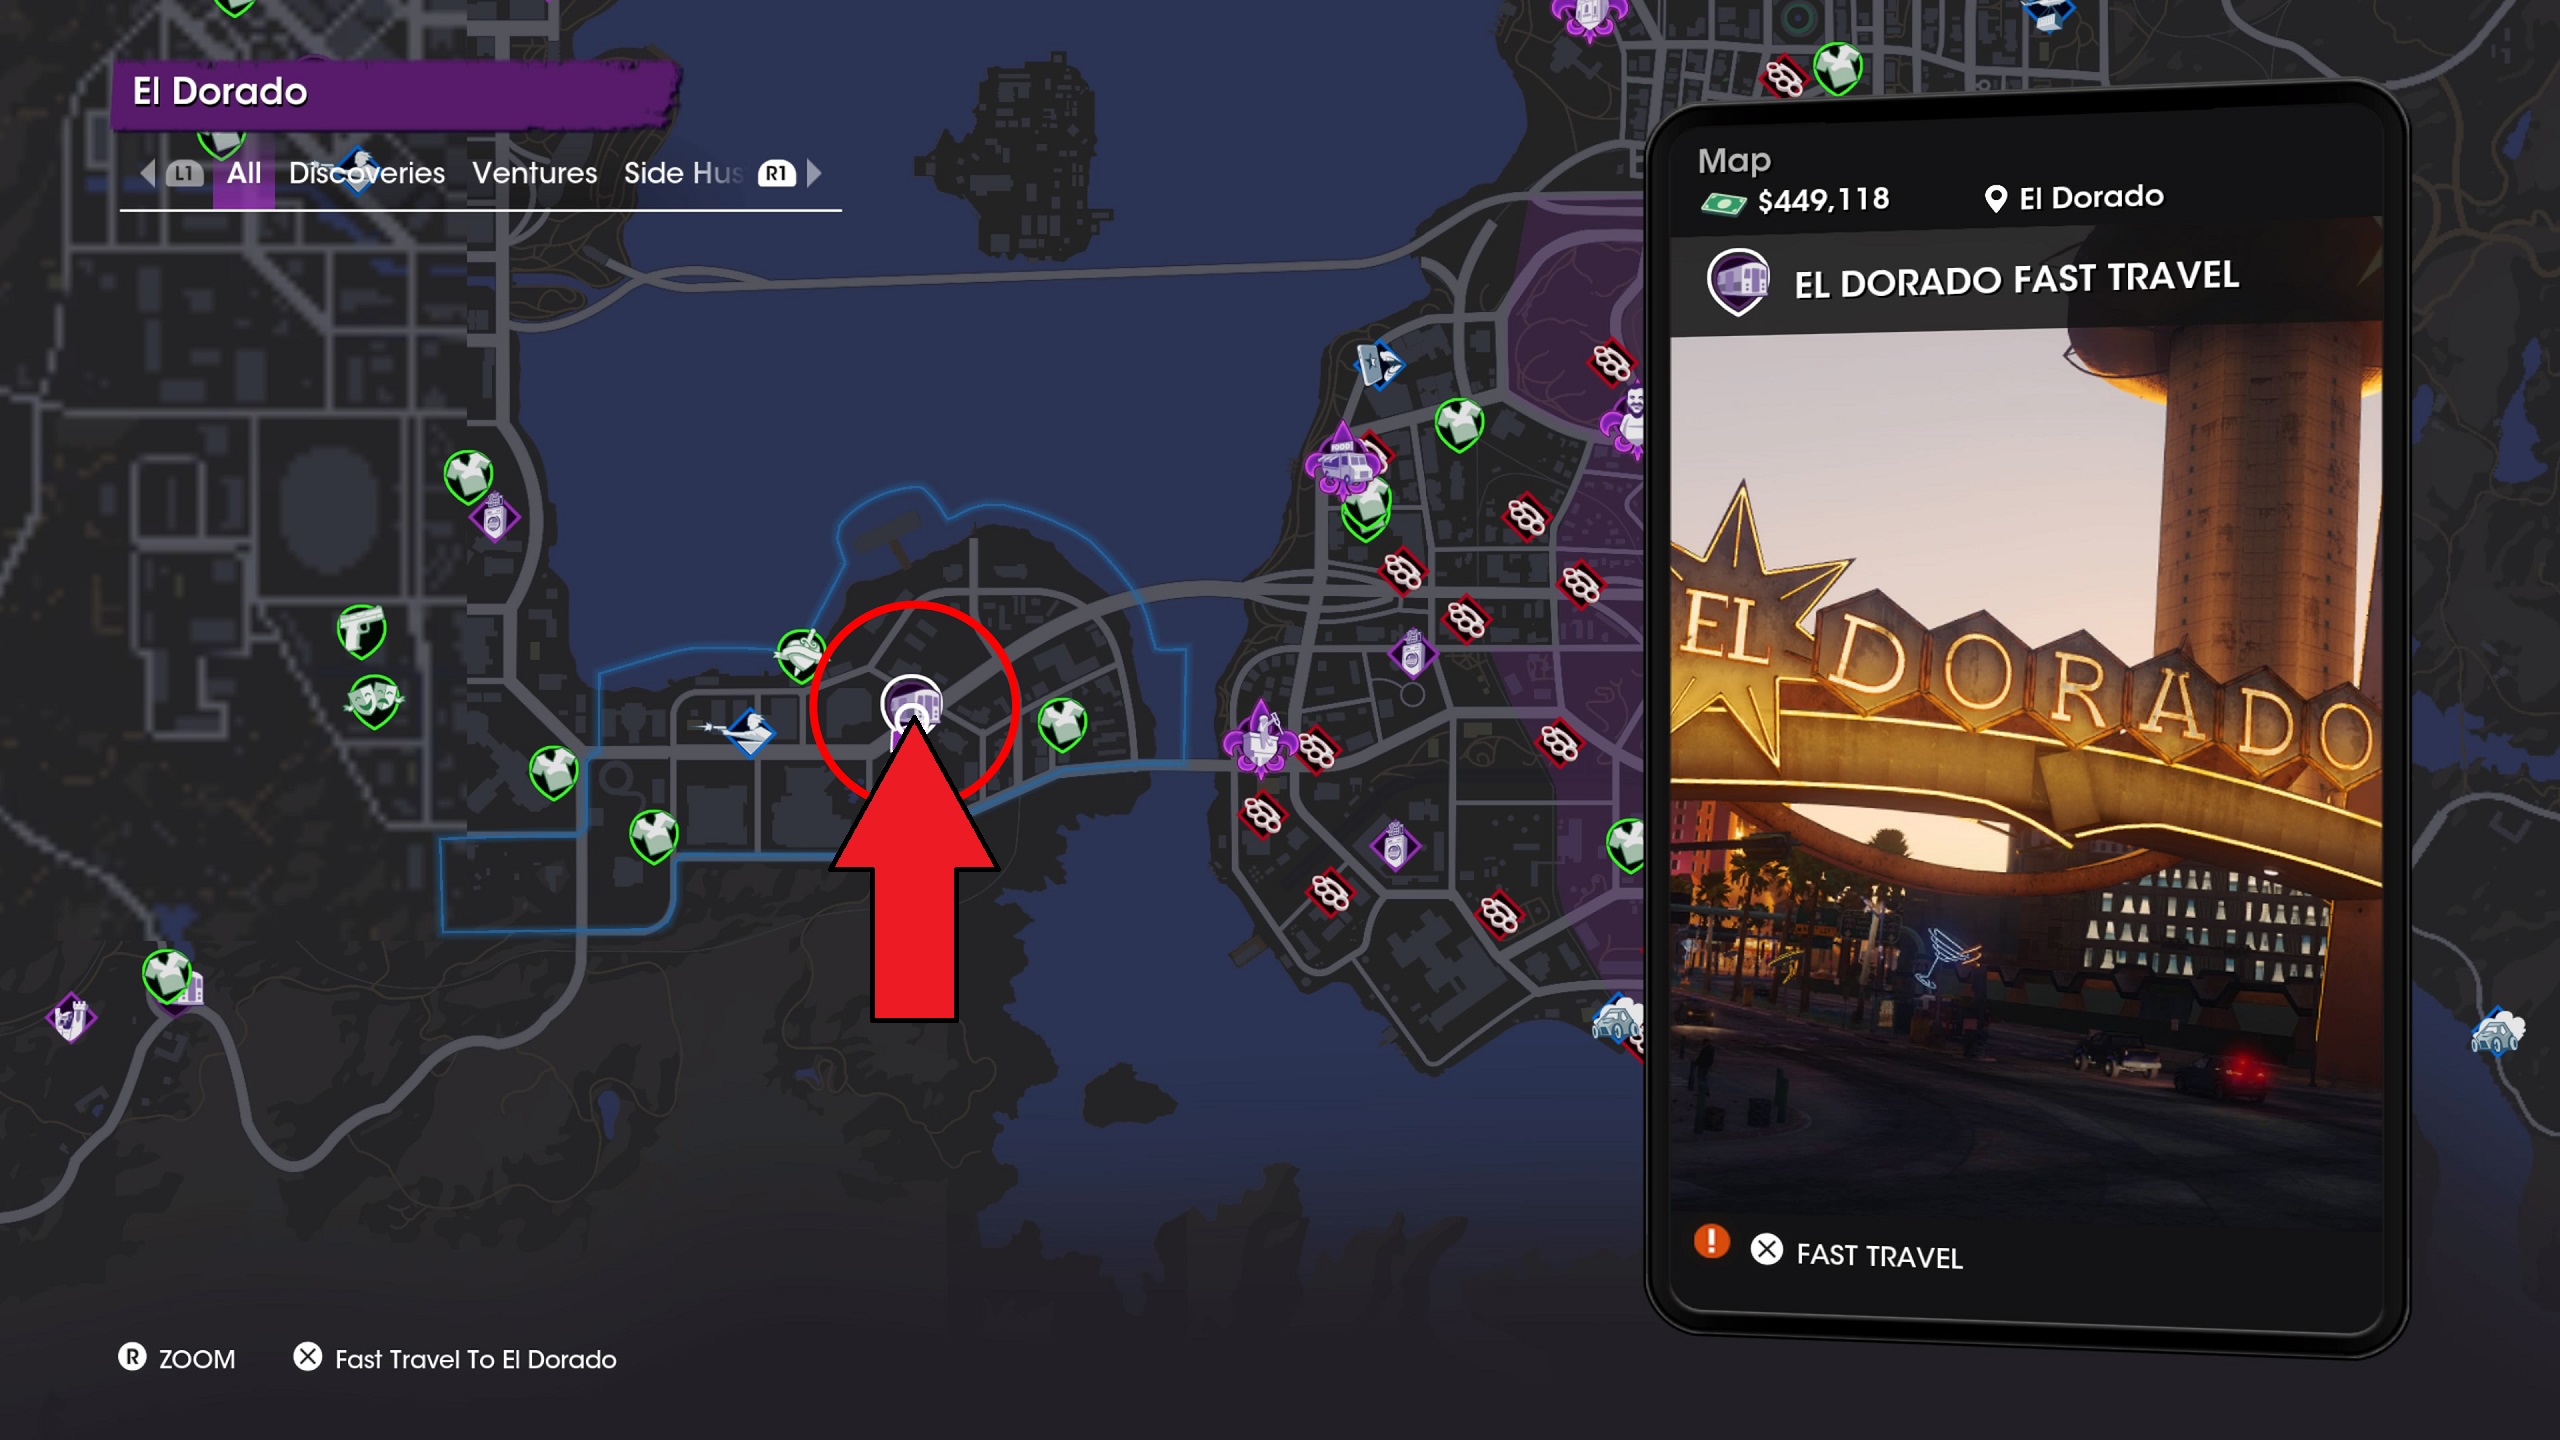
Make sure you are far enough away from whatever you are photographing when you take out your camera. Your boss moves extremely slowly while they have the camera out, so you’ll want to be in place before you do so. Fast travel icons will turn purple once they’re unlocked.
To actually warp to a location, including your HQs, hover over their icons, and press X on PlayStation, A on Xbox, and E on PC. You cannot fast travel during a mission, including Wanted missions.
All Fast Travel Photo Locations
Panther Rock: West Providencia
El Dorado Sign: El Dorado
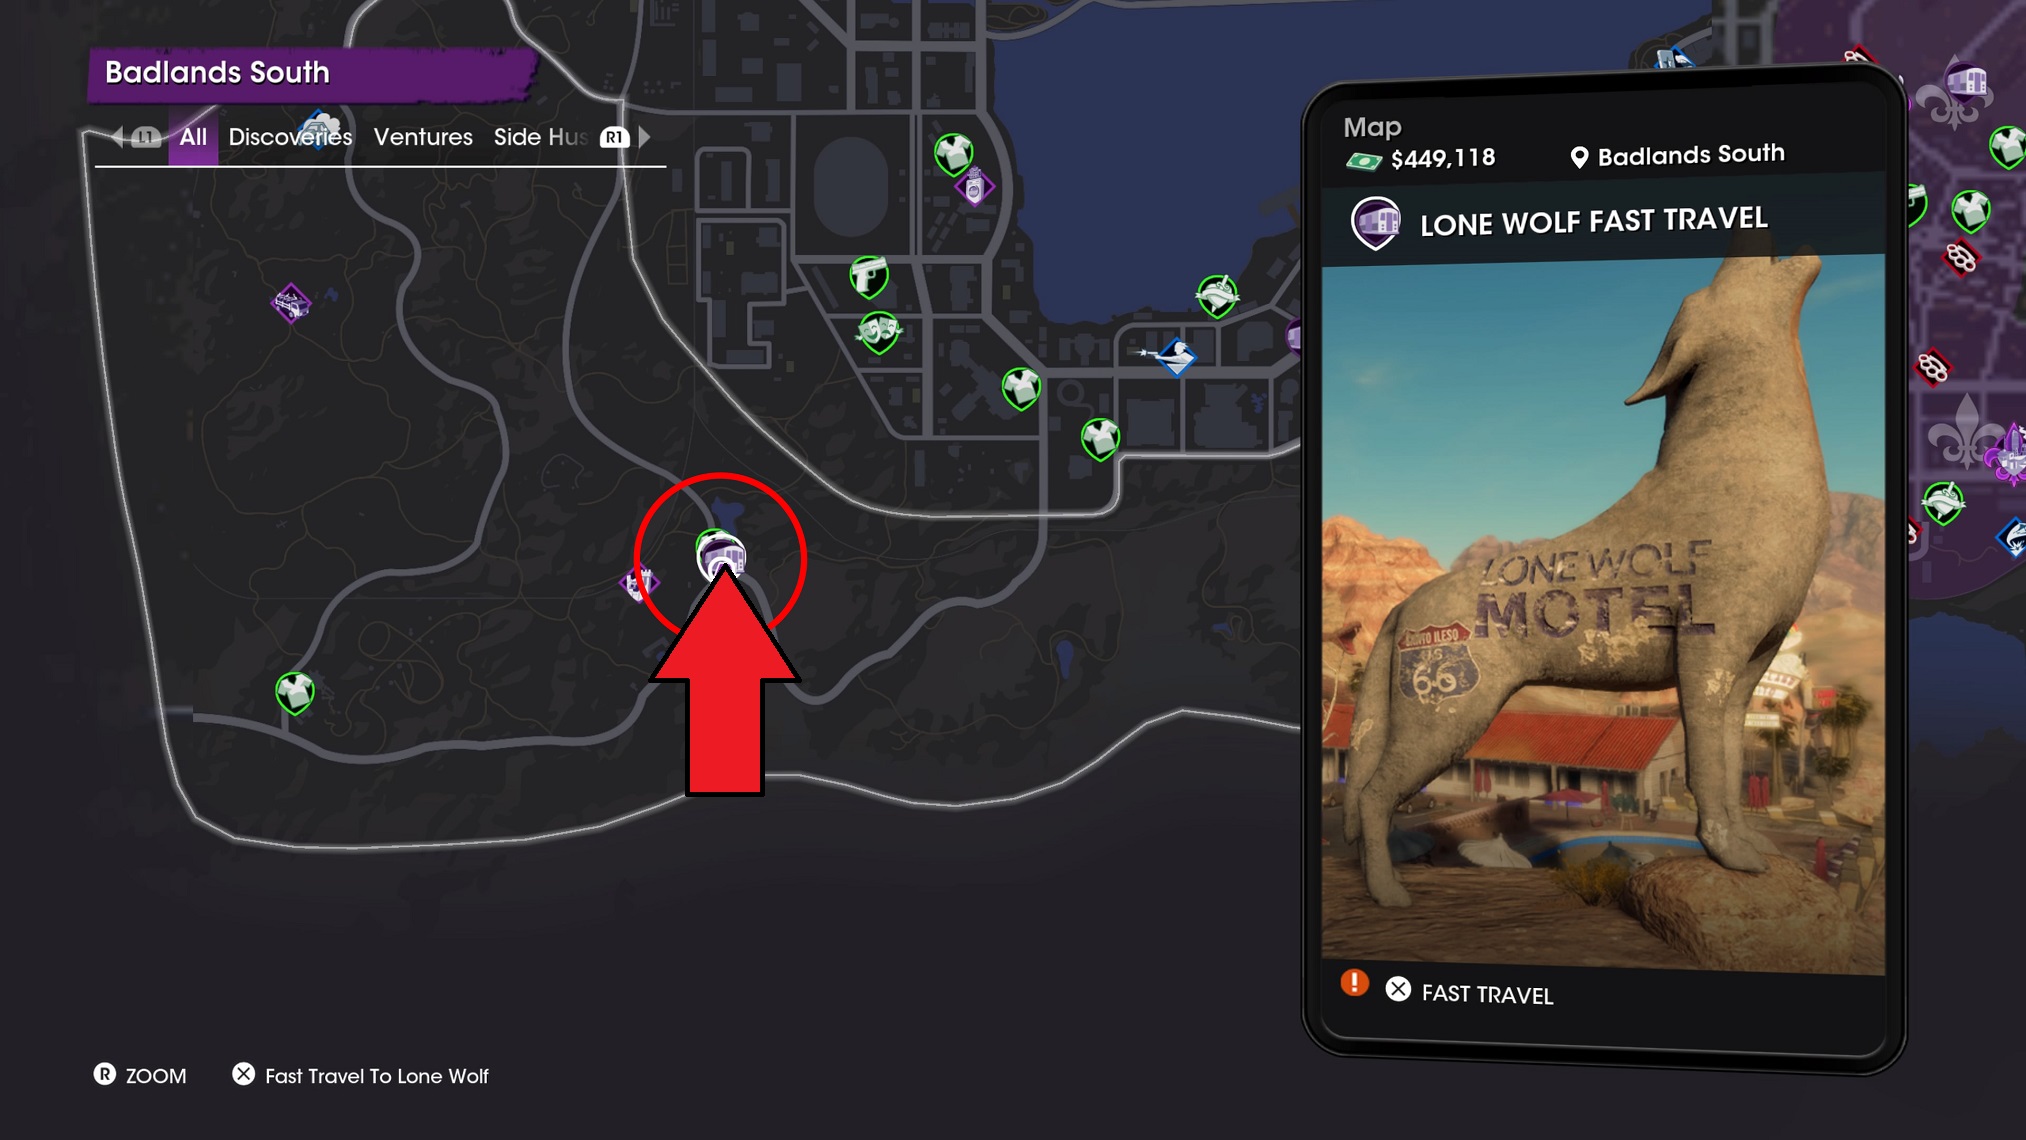
Lone Wolf: Badlands South
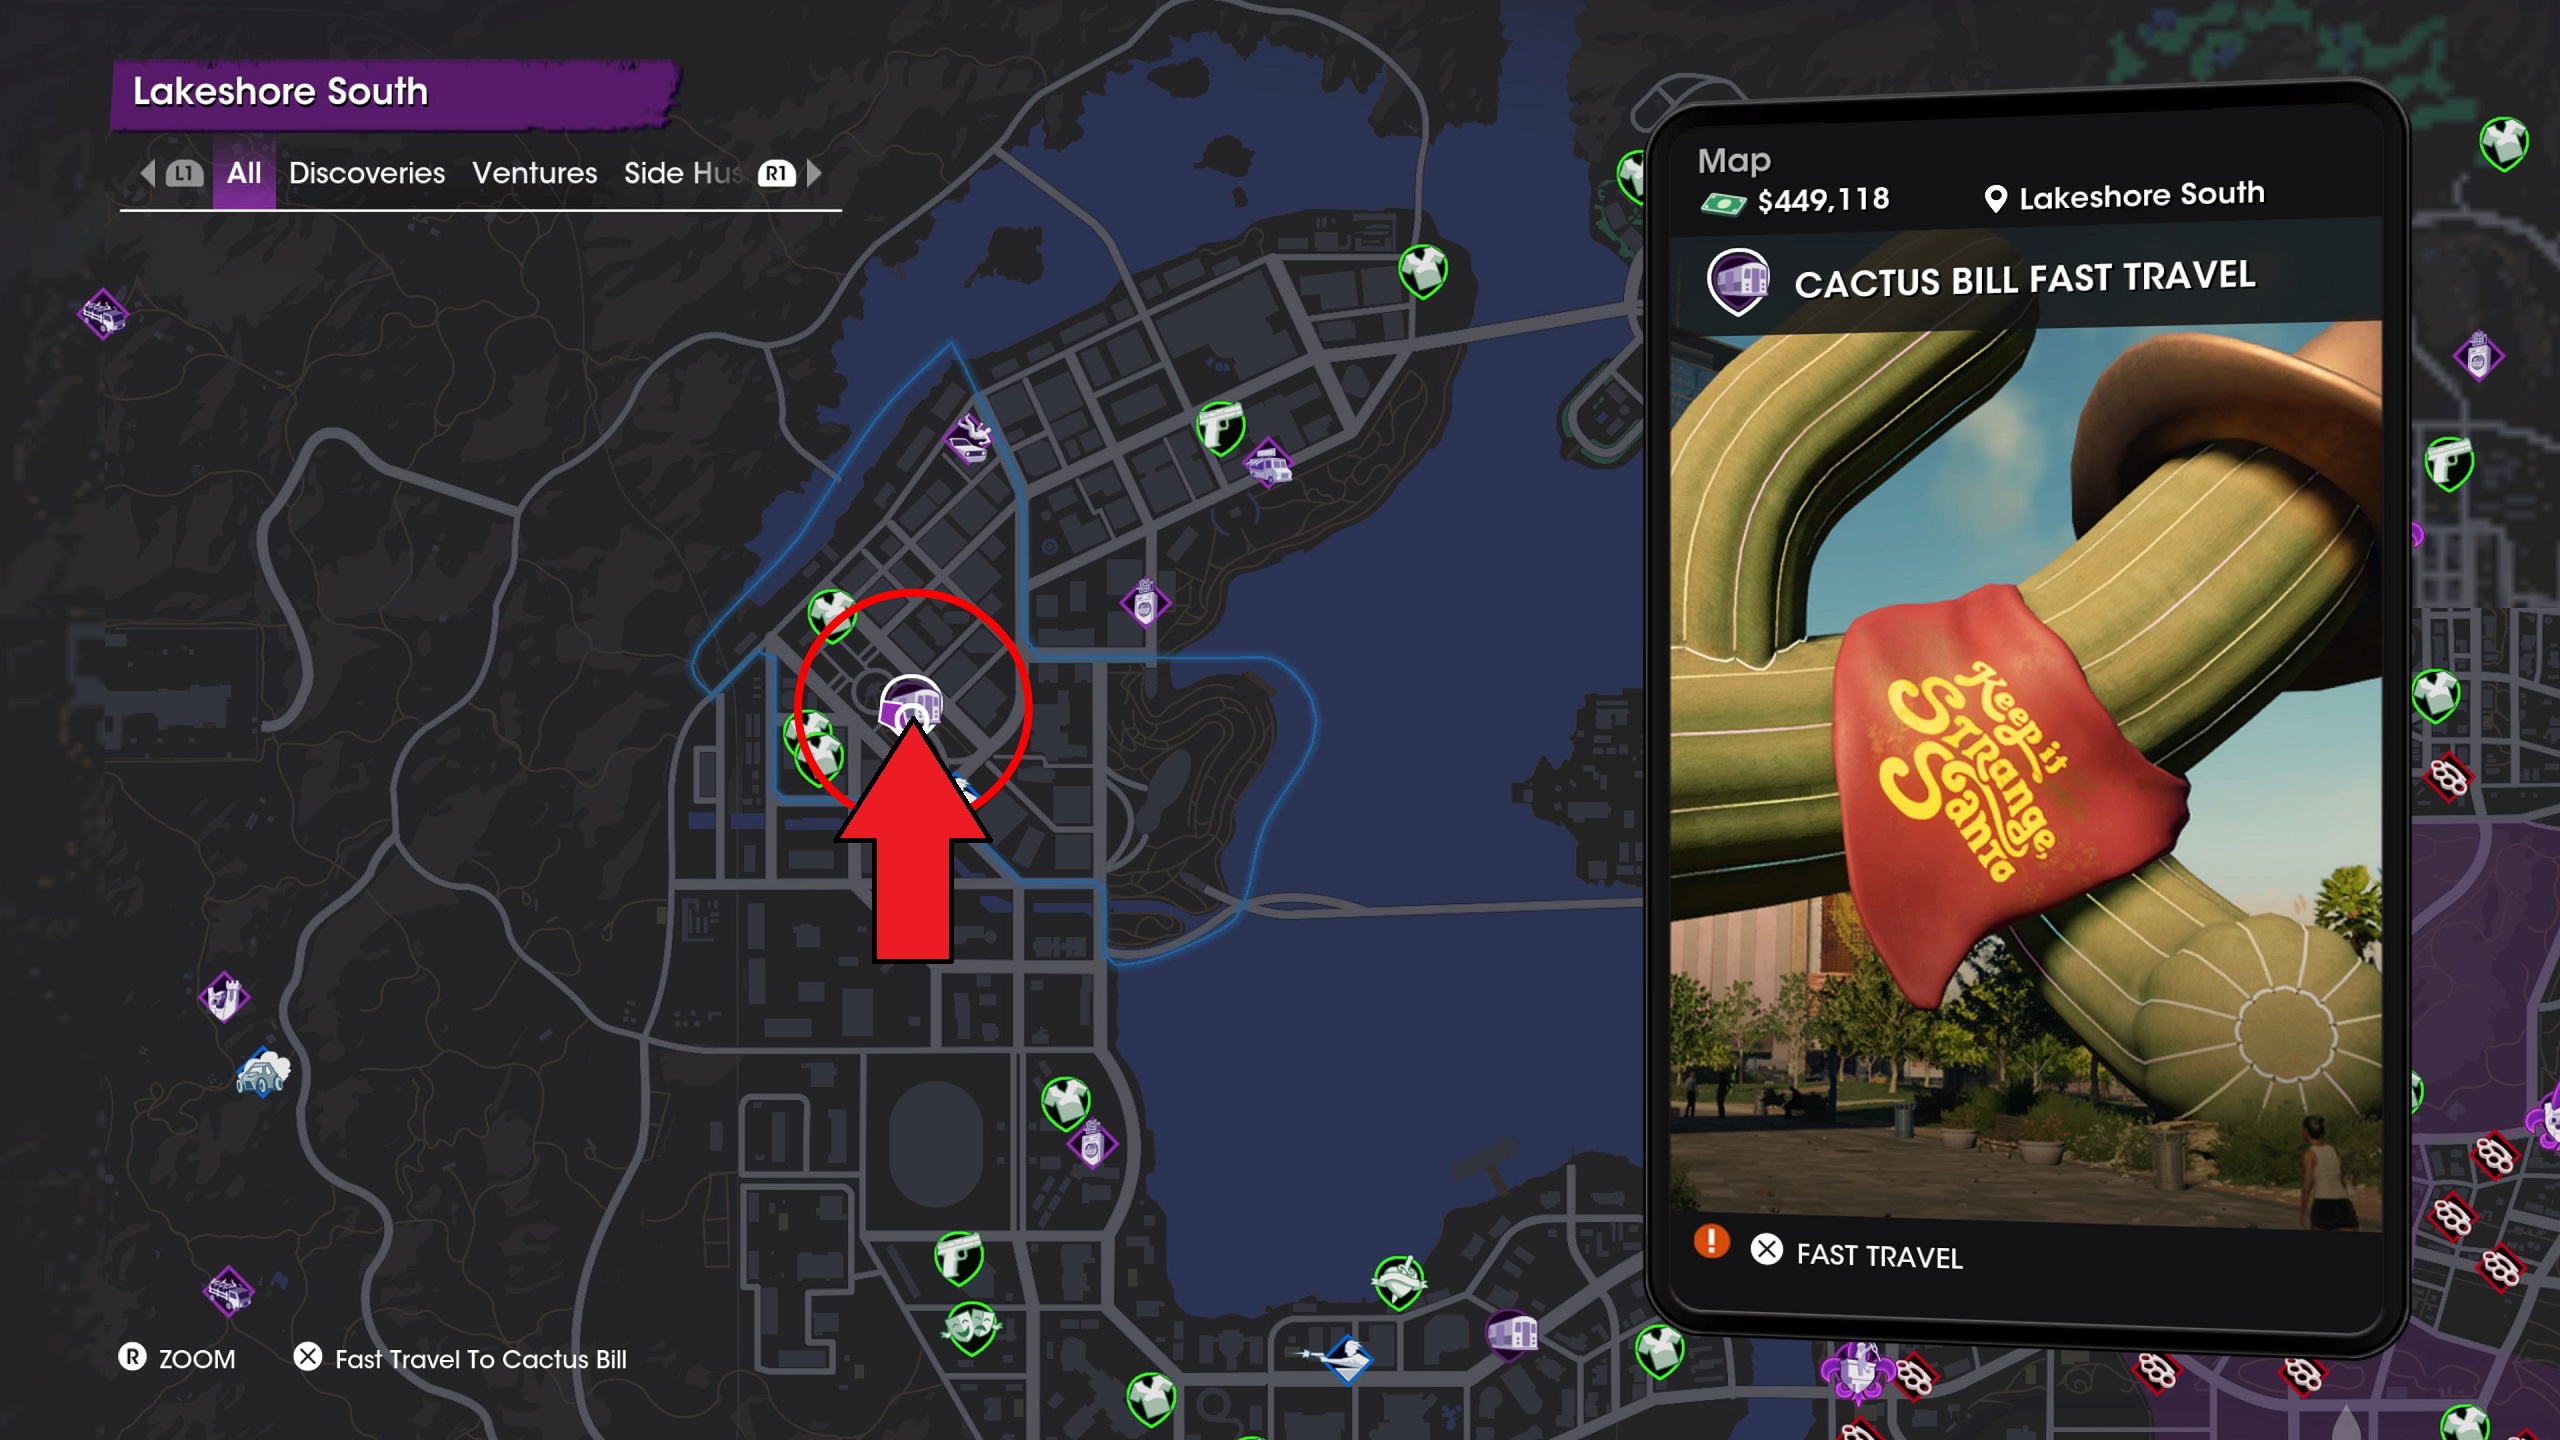
Cactus Bill: Lakeshore South
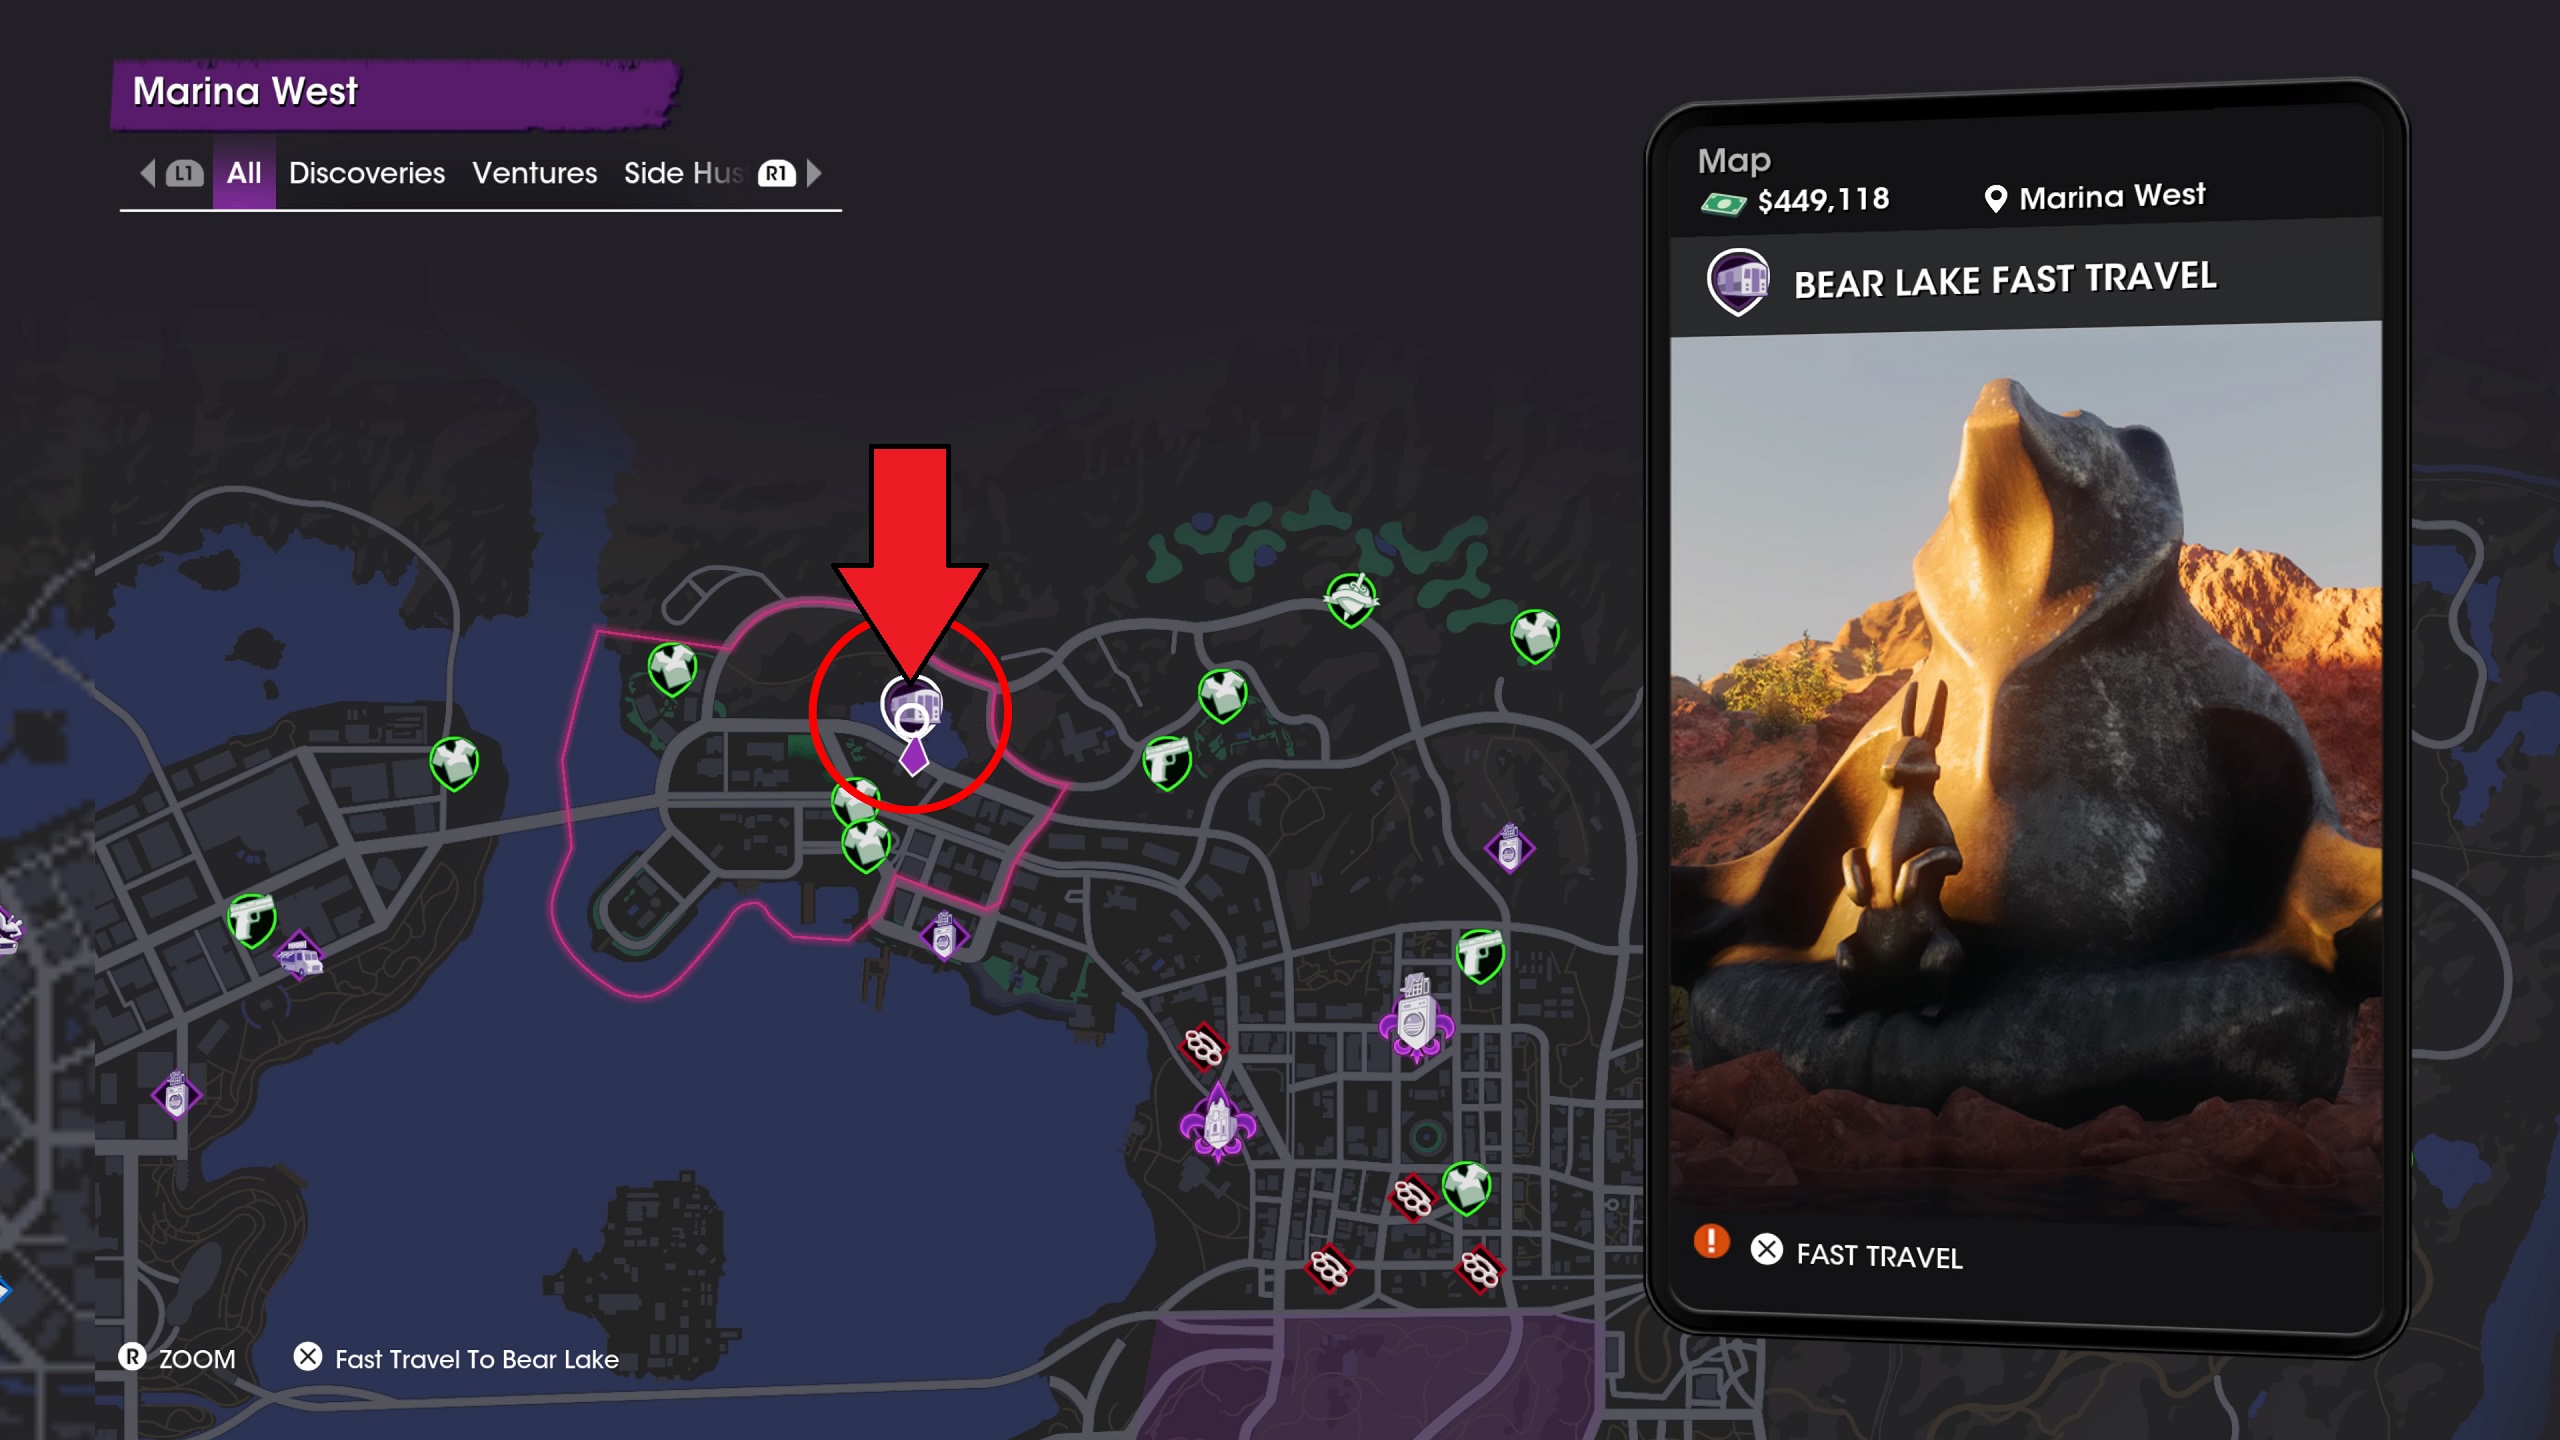
Bear Lake: Marina West
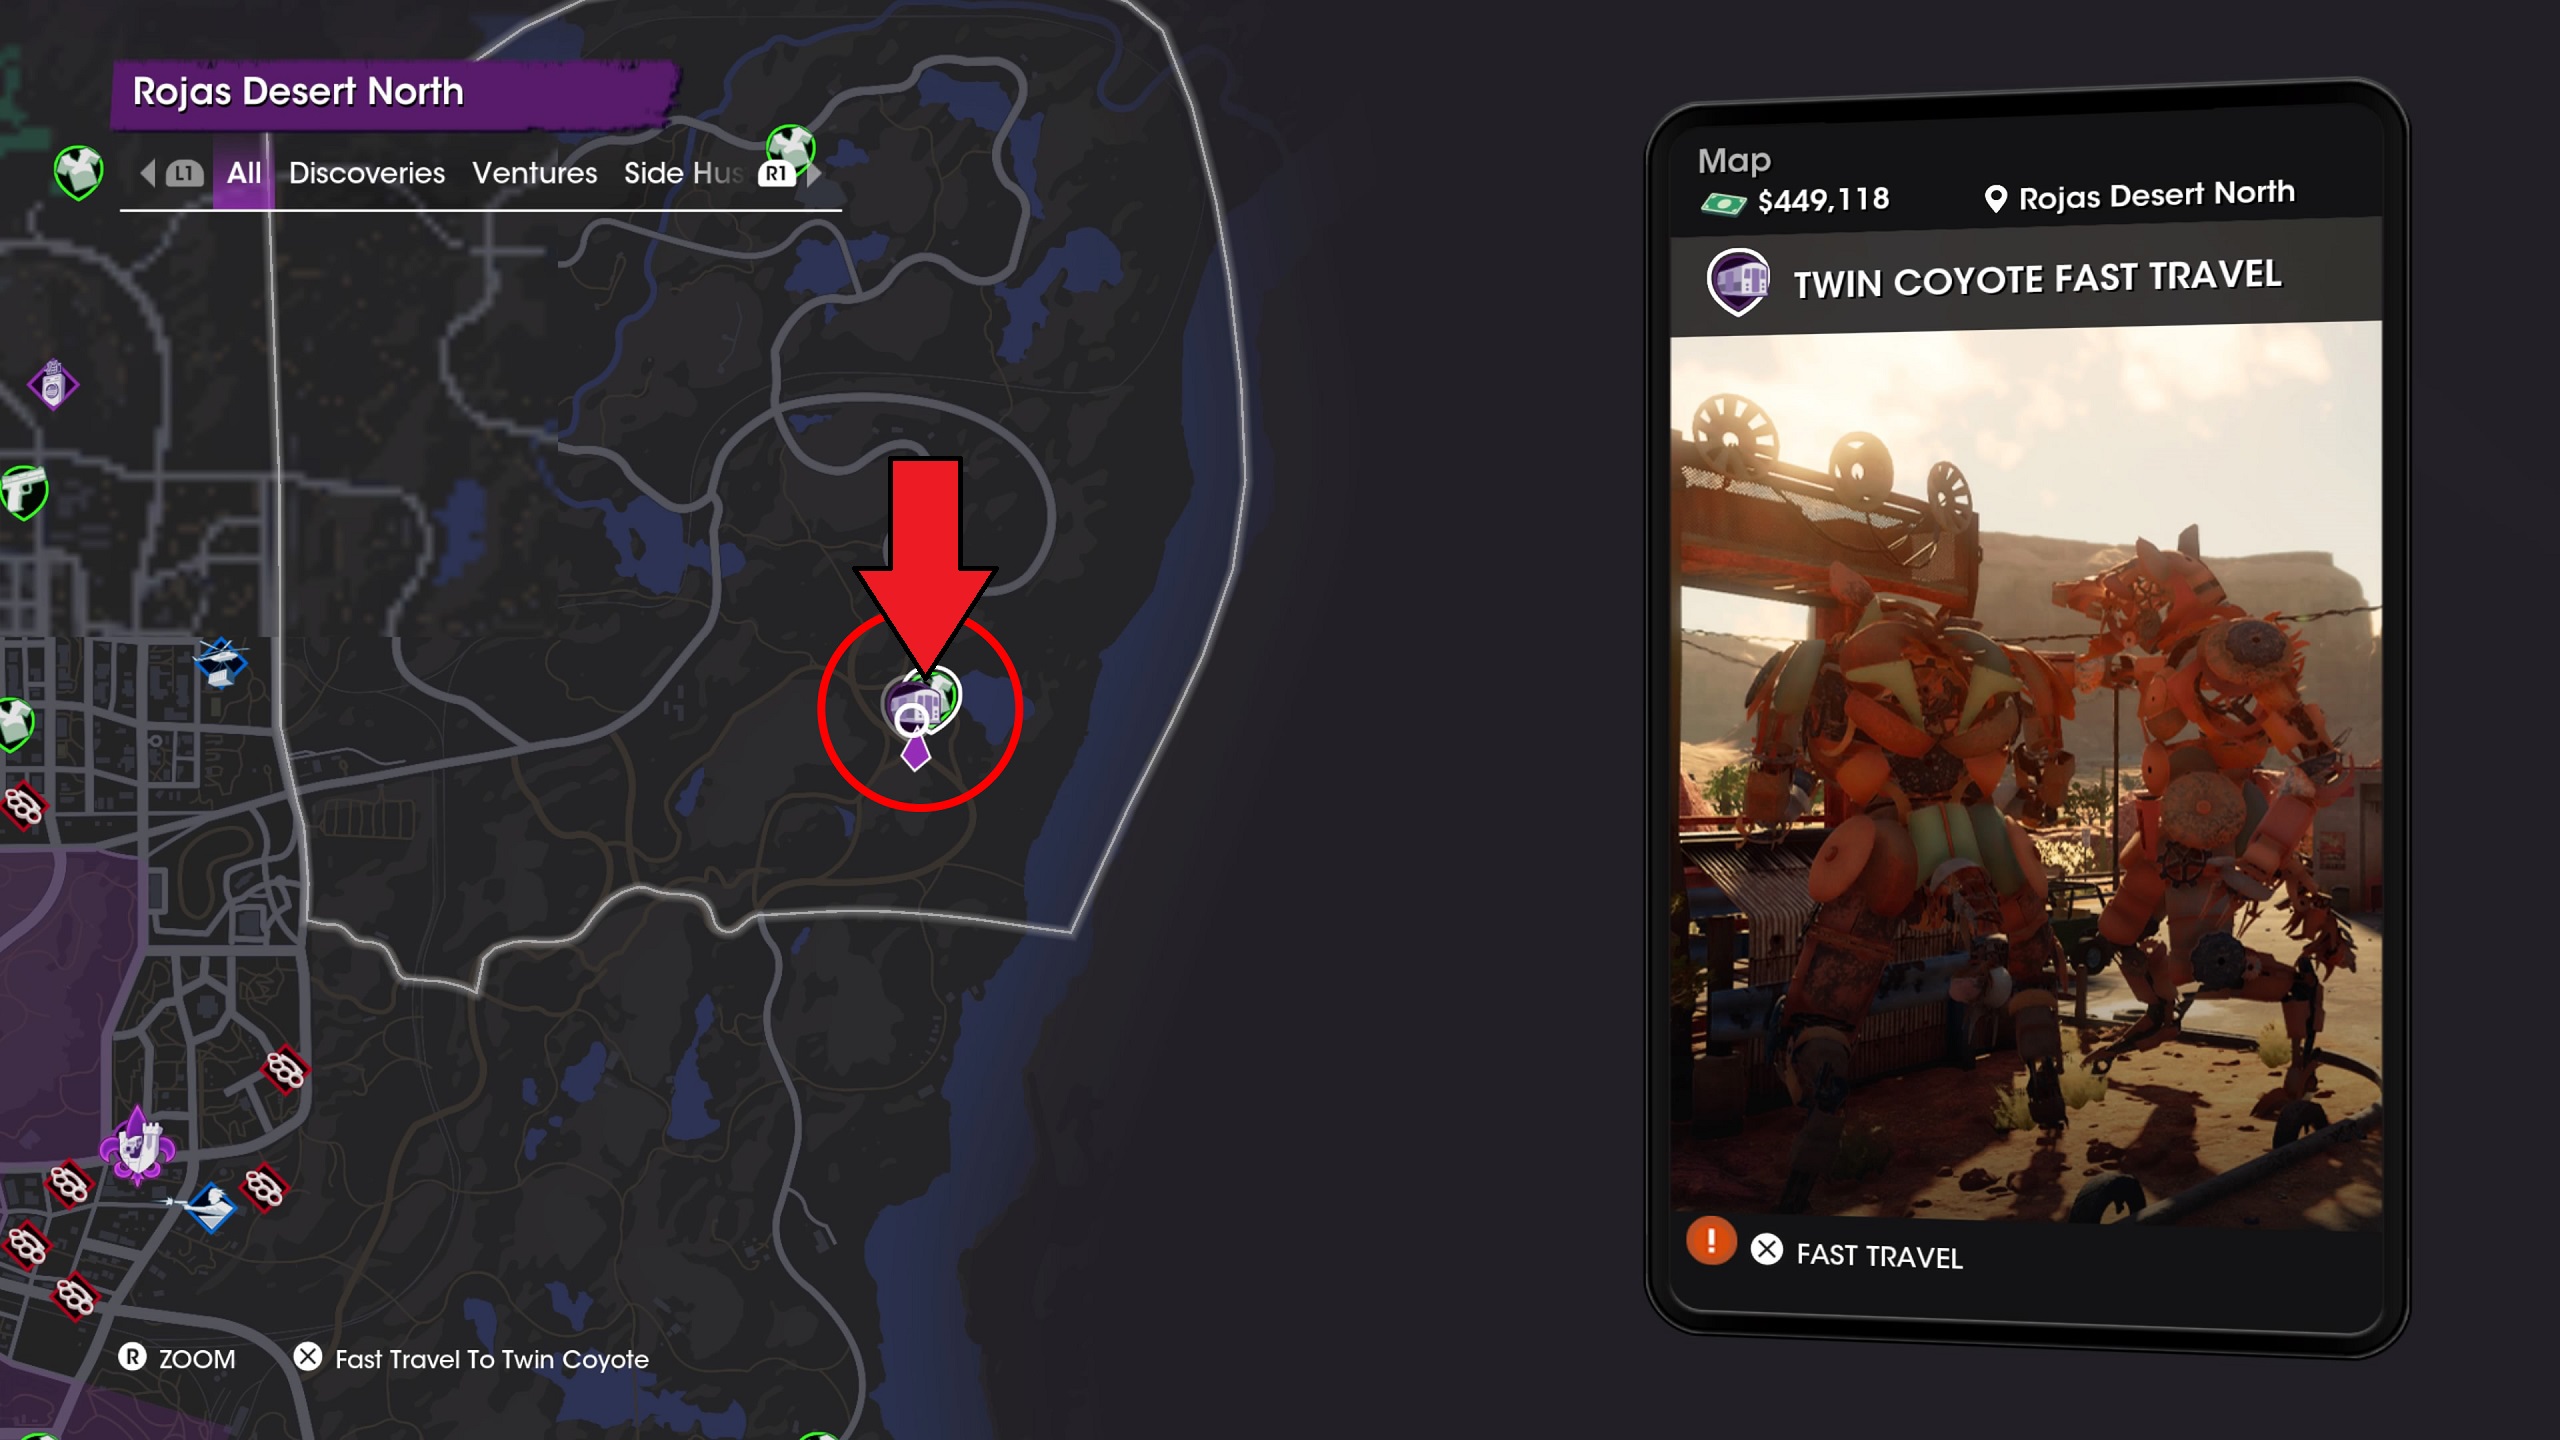
Twin Coyote: Rojas Desert North
You’ll want to check your map frequently early in the game for fast travel photo opportunities. Unlocking these points is easy once you know what to do, and they can save you huge amounts of time traversing the map. For more Saints Row guides and tips, take a look at our dedicated game hub for the open-world mayhem generator.


Published: Aug 25, 2022 10:35 am