Rise of the Tomb Raider offers nine challenge tombs as optional side quests. Neglecting these puzzle treasure troves won’t just keep you from some of the best platforming and puzzles in the game, but you’ll lose out on exclusive loot and weapon upgrades you can’t find elsewhere. These hidden tomb entrances can be a pain to find, however, so here’s a quick guide on their exact locations as well as their rewards to further motivate your hunt and aide your quest prioritization.
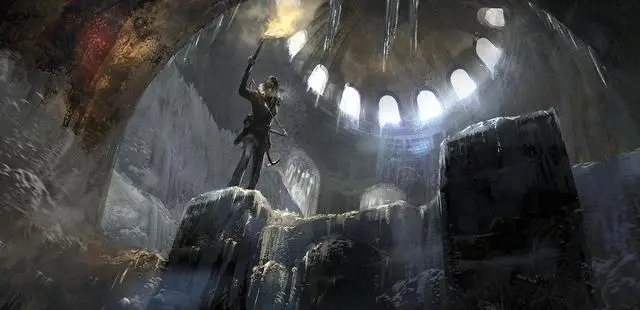
1. Ice Ship
Location: Glacial Cavern
Reward: Ancient Abilities. Quickly shoot up to 2 successive arrows without the delay of redrawing from the quiver.

Precursors: The first tomb’s entrance is relatively easy to find as you pass it while moving through the Glacial Cavern area during Best Laid Plains. Upon reaching this location, players attempt to jump over to an ice wall to latch on. Lara winds up falling into a cave below when the ice breaks off. Following the main path of this cave, you’ll take Lara and swim under a barrier into the next room. Take the ramp on the far left and jump over a gap into a tunnel. Follow this to another gap, jump over, and latch on to the ice wall to climb up to the ledge above it. Here you’ll find a wooden bridge.
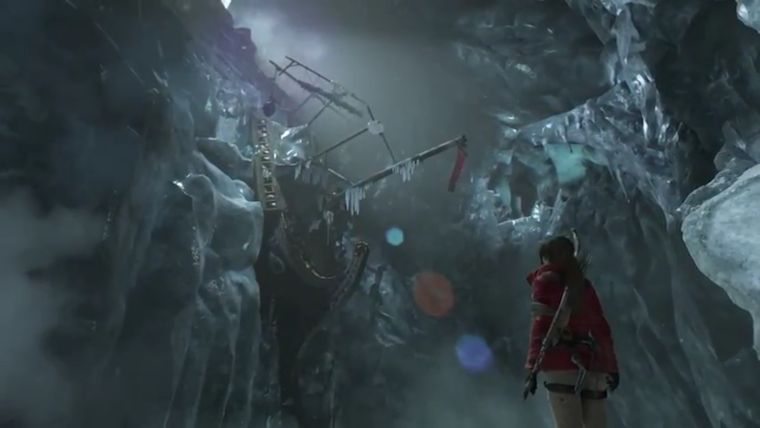
Tomb Entrance: Start walking the wooden bridge, but take the wooden plank to the left of it instead of following it all the way up to the next area. Jump from the wooden plank to an ice wall, latch on, climb up, and you’ll find the Ice Ship tomb hanging from a wall directly ahead.
2. Ancient Cistern
Location: Soviet Installation
Reward: Natural Instincts. Nearby resources automatically appear on the map and glow when nearby.

Precursors: This tomb’s location can be found within a sawmill after Lara’s initial arrival at the Soviet Installation. Prior to the tomb, you’ll have already taken Lara through part of the main story’s path and past several enemy encounters. You’ll also witness one cutscene before you’re close. After climbing a wooden tower (post cutscene) and taking a zip line to a new building, exit said building and head toward a large crane at the top of a hill to the left.
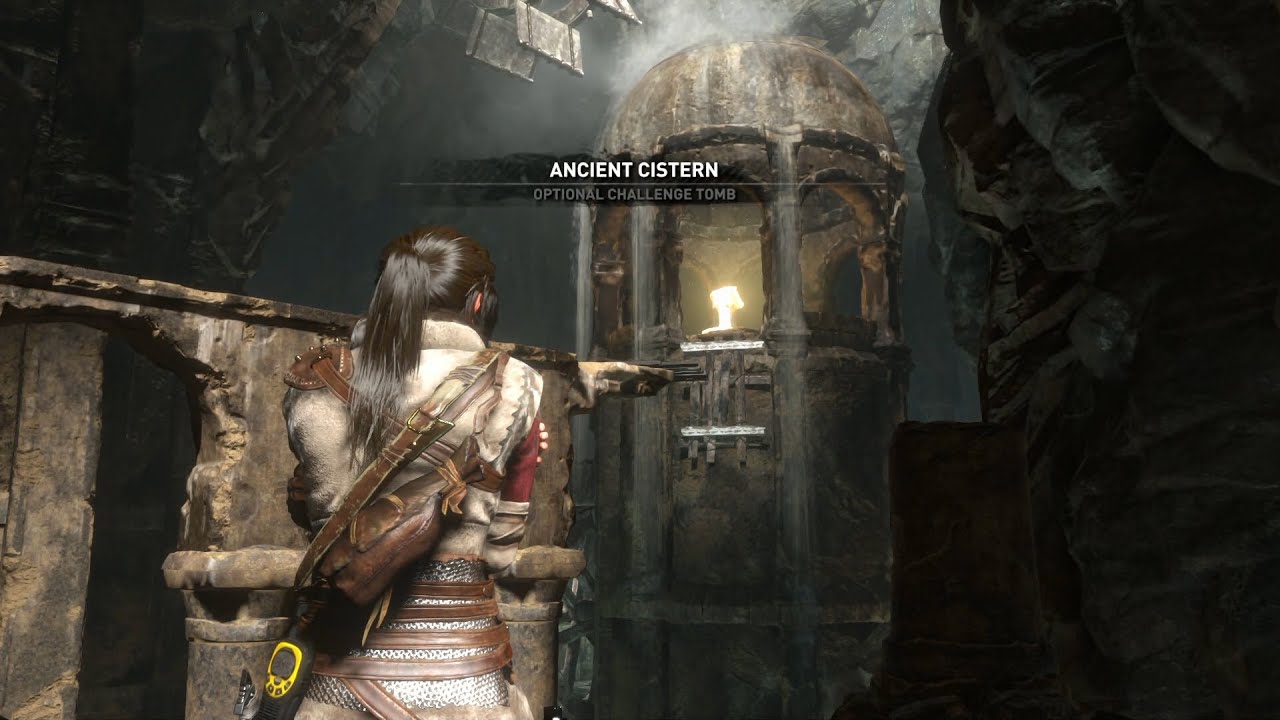
Tomb Entrance: You’ll see a boarded hole near the crane. Shoot the block holding a log hanging from the crane to obliterate the boards directly underneath. These blocked your entrance to an underground shaft. Climb down the newly uncovered shaft using a ladder in the hole. The entrance to the tomb lies in the cave at the very bottom of the ladder. You’ll see an opening – the entrance – ahead of you and slightly to the left.
3. Voice of God
Location: Soviet Installation
Reward: Inner Strength. If critical injuries are sustained in battle (indicated by the screen turning gray) health will be automatically restored. This instant regeneration of health will occur only one time per combat encounter and will refresh between encounters.

Precursors: Find this tomb only after obtaining Lara’s Rope Arrows. This item comes with story progression, after the second cutscene of the Soviet Installation ends.

Tomb Entrance: Start off at the Sheltered Ridge campsite. As you can see, this isn’t far from the Ancient Cistern location. Facing south, drop down to find a cave entrance. Defeat a wild cat inside. Head inside to find a door covered with wooden planks. Using Lara’s rope arrows, tear the wood away. Use Lara’s ice axe to open the gate.
Follow the passage to a new camp. Exit the cave and follow the narrow cliff to the cliff, squeezing through the gap at the end. Jump across a large gap, latching onto and climbing the cliff wall to your left. Use ledges to get around the cliff face and continue climbing up. Cross over a narrow beam when you reach it. At the end, jump off the pillar and grab onto the rocks ahead. Head toward the right and then down to enter the tomb.
4. The Red Mine
Location: Soviet Installation
Reward: Bright Eyes. Improves Survival Instincts to cause nearby traps to glow automatically.

Precursors: This tomb is found in the Copper Mill Yard. The tomb’s location lies in a locker room close to the area where Lara first learns how to make molotovs. Rope Arrows are required, so it’s best to tackle this challenge during the Alone Again mission.

Tomb Entrance: Climb a small set of stairs nearby the area where Lara learned how to make molotovs. Look behind you to locate a ledge, marked by the map location above. Jump across to the ledge and turn to the left. You’ll see yellow symbols and a green light. Drop down to the floor below. Walk up to the console in this room and hit it to open a door. This is your tomb entrance, so head right inside.
5. House of the Afflicted
Location: Geothermal Valley
Reward: Fast Healer. Bandage wounds more quickly when healing.

Precursors: This tomb comes up pretty early in the Geothermal Valley location. Right away, Lara will encounter a zip line, a cutscene, and a base camp. You follow a basic path to reach the tomb, passing the optional Defensive Strategy side mission along the way.

Tomb Entrance: Start at the Valley Farmstead Base Camp. Head north toward a dilapidated wooden bridge over the river and cross it. Use a rope swing to jump the gap. This brings to the map location above. You’ll find an iron door with a small hole at its base, in the wall directly ahead of you. Crawl through the hole.
Wolves await you on the other side, so take care of them before proceeding toward the metal door and opening it. Turn right and follow the path up some stairs, squeeze through a rock gap halfway through, and find a new campsite. The tomb lies just beyond it.
6. Baths of Kitezh
Location: Geothermal Valley
Reward: Iron Grip. Climb ropes faster.

Precursors: Lara needs the Rebreather equipment before taking on this tomb. Like the Rope Arrows, this item comes with campaign progression. You’ll acquire Rebreather in the Flooded Archives after two different gun fights. After the second one, you’ll find yourself racing to escape flames above the water in a tunnel. Swim underneath these as quickly as possible to gain the Rebreather ability at the end of the sequence.

Tomb Entrance: Start off at the Ridgeline camp. Head east to cross the river, dropping down into a muddy pool afterward. Climb up to the other side to find a zip line that will take you to the ground. Turn around and enter the cave behind you, which corresponds to the location on the map above. Surprise! You’ve found a bear.
Lead the bear outside to defeat it. This may take some time, since bears are no pushovers in Rise of the Tomb Raider. Try head-shots at a distance and be prepared to dodge whenever the bear gets too close.
Head back to the cave. Toggle on Lara’s Survival Instincts to highlight a weak, crumbling wall. Use your ice axe to break through it. You’ll need to swim down a passageway, diving under a wall at one point. Head through a gap in the wall on the other end and climb onto a thin branch circling the area. Forward past water-gushing vents and up another wall lies your pre-tomb-exploration camp.
7. The Pit of Judgement
Location: Geothermal Valley
Reward: Geologist. Gain the ability to mine Chromite Ore.

Precursors: You’ll need Lara’s Axe Grapple skill for this tomb. You should have obtained this skill before reaching the Flooded Archives while following the path of the campaign. It would have occurred after a gunfight, using a rope arrow to cross a gap before jumping at hoops. The game prompts you to grab the hoops with your axe by tapping X so Lara can swing safely to the other side.

Tomb Entrance: Head northeast from the Ruins Encampment so you’re facing a waterfall. Pass the waterfall by swimming underneath it. Turn left on the other side to find a series of stairs. Climb these flights to reach a cave. Inside, use the Axe Grapple ability to cross the gap. Squeeze through a small crack in the wall after this to find a cozy camp waiting for you with the tomb entrance just beyond it.
8. Catacomb of Sacred Waters
Location: Geothermal Valley
Reward: Anatomical Knowledge. Hunt animals with greater efficiency.

Precursors: Nothing special for this one. Just continue with your map progression until you’ve reached the Aqueduct Ruins camp.

Tomb Entrance: Start at the Aqueduct Ruins camp. Head east toward a cave, marked by the location on the map above. You’ll need to jump into the water near camp, pull yourself out and onto a fallen log, and jump over to the cave from said log. Follow the cave’s passageway. You’ll need to slide down a slope, swim across a pond, and climb through another opening. Use rope arrows to get across the water. Follow a set of stairs and a spiral ramp beyond them to reach the tomb’s camp.
9. Chamber of Exorcism
Location: The Lost City
Reward: Greek Fire. Fire arrows and Molotov Cocktails do more damage, even through armor.

Precursors: This final area features some heavy gunfights before Lara can reach the tomb. You can head straight for the tomb once you’ve reached the Threshold of Kitezh camp.

Tomb Entrance: Start at the Threshold of Kitezh camp. Drop down to the ruined city. You’ll want to head toward the northeast corner of the city from here. Pass between two ruined pillars and enter a cave home to a polar bear. It hates you, so kill it, but be warned: he’s no less dangerous and powerful than the last.
Use Lara’s Survival Instinct once the bear is taken care of to find a weak wall. Like before, you’ll smash through this using your ice axe. Run down the passageway. Dive into the water, swim through the tunnel directly ahead, and find your campsite.
Map Images Source: Patrick Garratt on VG247
Don’t forget to check out my 9 Essential Beginner’s Tips for Rise of the Tomb Raider in case you missed out on some crucial techniques! It might even help you react to those vicious animal ambushes.


Published: Nov 18, 2015 09:35 am