While only kicking off with three factions in the base game, Dawn Of War III (reviewed on GameSkinny) features a wide range of tactical options within those factions. The most skill and stealth based is easily the Eldar, who have less of a mob rush mentality and require a little more finesse to use properly.
While we previously covered several general multiplayer tips when we offered our first impressions of the beta awhile back, today we’re going to look a bit closer at the specific Eldar strategies you should be using to attain victory in the campaign or multiplayer matches.
Basic Unit Strategies
First and foremost: Eldar units tend to have much higher requisition costs than the other two factions, so you want to keep them alive as they are more costly to replace.
Don’t be afraid of avoiding confrontation or even fleeing superior forces, and head back through webways placed strategically around listening posts if you are losing to regroup and counterattack later.
Since they cost so much to build, make sure to also spend the requisition and energy on upgrades for whichever units you use more frequently. You’ll need them to compete against hardier Space Marines and Orks.
With their increased speed over other factions and advanced battlefield control via various teleportation abilities, your basic units should regularly be making quick strikes against enemy shield generators and turrets to net Elite points for bringing out your more potent units.
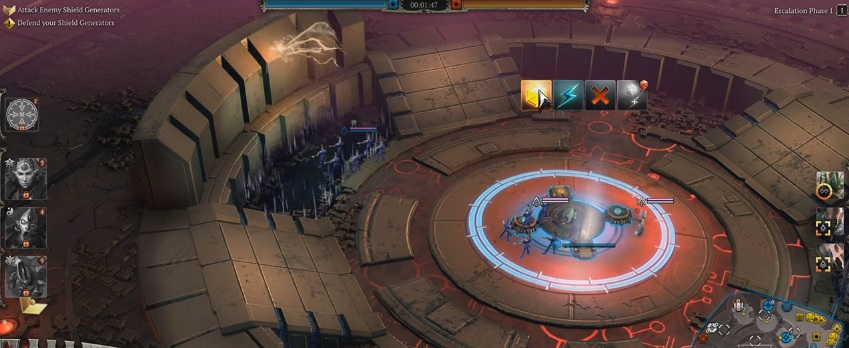
 Attacking Shield Generator With Webway Bonuses
Unlike the Space Marines — which can pretty much just charge into battle and have a decent chance of coming out victorious — you need to be focusing on using the special ability of each Eldar unit.
Plasma grenades from Dire Avengers are an ability available early in any match that should be put to good use. Grenades knock down enemy squads, giving you those crucial few seconds you need to gain the upper hand.
A cascade of well-timed plasma grenades will keep powerful units off balance long enough to destroy them before you take devastating losses. Keeping a unit in a stealth section of the map can be useful here, launching a plasma grenade while hidden to knock them off balance and then striking.
Later on in a match, a grouping of Howling Banshees using the upgraded Battle Screams ability can completely screw up the enemy line, forcing them into formations you want and preventing them from escaping when on the verge of total annihilation.
 Lying In Wait From Stealth
Due to their extremely high maneuverability, Eldar air units can be incredibly useful, but also tend to be much squishier than other unit types.
If you are going to heavily utilize air units, always keep them well behind your front line ranged and melee combatants, and keep them in a separate group using the Control keys that moves forward later than the rest of the army. With their increased speed, it’s too easy to accidentally have Vypers arrive at the battle early head of everything else.
Using Buildings Effectively
Unlike the other factions, your lowly Bonesinger production unit can be absolutely essential to a winning strategy, due to the nifty ability to teleport and then build webways behind enemy lines.
Used wisely, teleporting to an enemy area and then constructing a webway allows you to move large forces of troops into unexpected locations, or in the campaign can be used to you move ground troops quickly across chasms without having to run around the long way.
Bonesingers aren’t the only teleporters though. Most of your production buildings can also be teleported, which means Eldar can quickly move troops like no other faction in the game. Your buildings are meant to be mobile, so move them ahead where needed rather than leaving them back at your main base.
Besides facilitating troop movement, Webways are critical for the bonuses they offer, increasing unit movement speed, providing boosts to shield generation, and letting you requisition new units to depleted squads. In short, if you are attacking somewhere, there should be a webway not far behind backing you up.
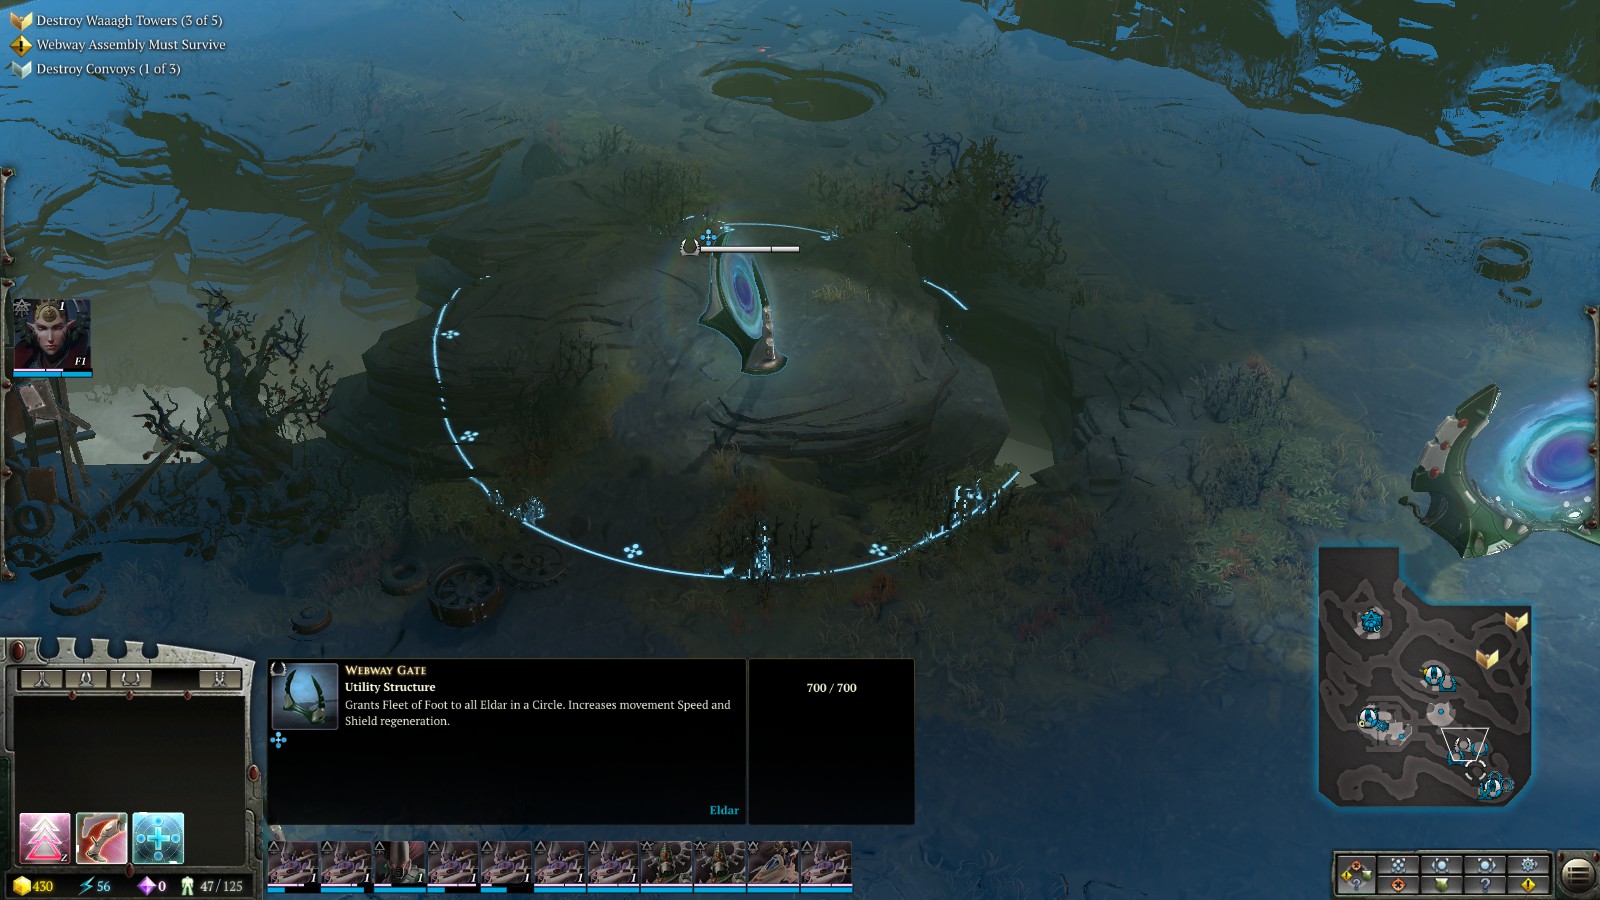 One Lone Webway Gate Can Completely Change The Battle
Elites And Doctrines
Your base Elite unit Macha can be excellent at crowd control with area effect abilities — launch her spear into a large mass of enemies who foolishly haven’t spread out, then activate her area damage ability Psyker Blast.
Potentially even more useful is the ability to put enemies in stasis in a line by using Temporal Weave. You can’t damage enemies in stasis, but simply taking a squad or two out of the fight for a few seconds is all you need to gain the upper hand, or safely head away from battle with a tactical retreat.
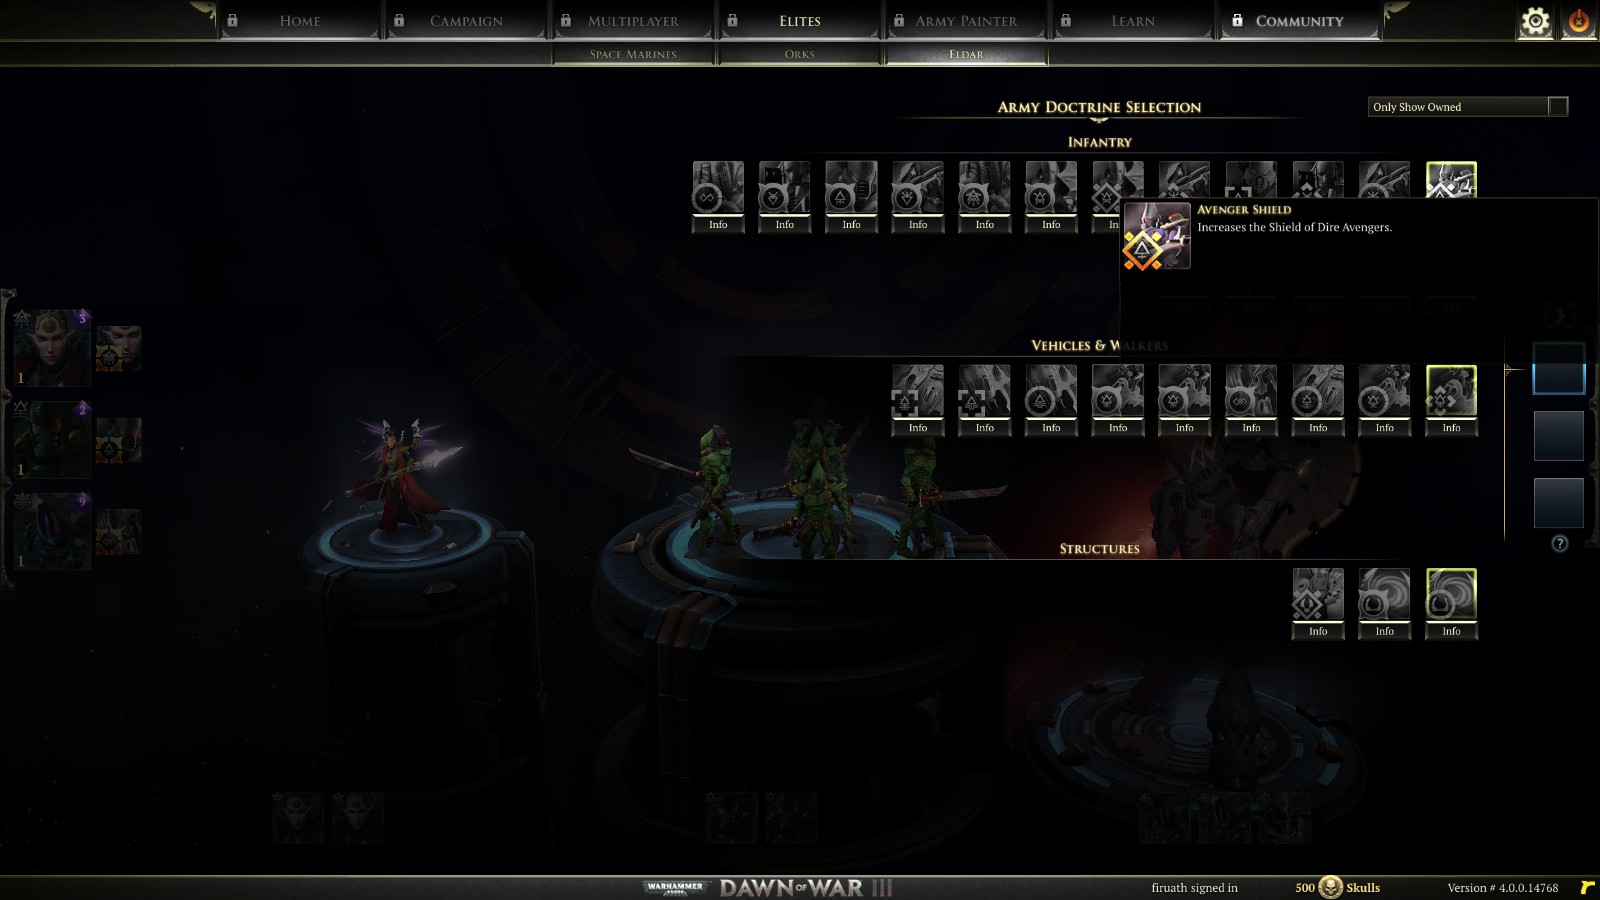 Eldar Army And Vehicle Doctrines
Unlike with the Space Marines, the starting Elite doctrine for Farseer Macha isn’t as useful as you’d think. Sure, if you have multiple Elites out on the map it can be absolutely killer — but that’s assuming you’ve managed to gather enough Elite points to summon multiple high end units and none of them have died yet. It’s more of a late game Doctrine and not very helpful for starting out.
The army Doctrine Webway Holo-Field on the other hand gives you even more stealth options with your Webway, and is a must if you plan on using hit and run tactics or intend to attack from unexpected directions.
Avenger Shield is quite useful as well, allowing your basic unit types to take more punishment without spending resources on upgrades.
Now that you know which abilities, Doctrines, and unit types to deploy, you are one your way to dominating in any given Dawn Of War III multiplayer match! What strategies do you use with the Eldar? Let us know in the comments below!


Published: Apr 27, 2017 05:43 pm