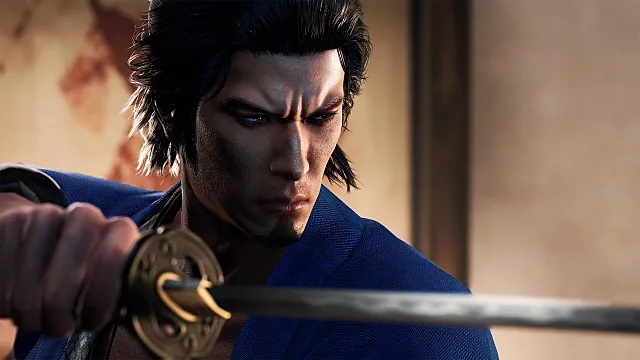
The Yakuza / Like a Dragon series is no stranger to sidequests, and the latest installment is no exception. The Like a Dragon: Ishin! Wanted Men sidequest is a little different, however, because it isn’t related to the game’s substories. You’ll have to find and complete this one on your own, and it’s easy to miss. To help you out, we’ve collected all of the locations for the bad guys.
But before we proceed, know that this guide to Wanted Men in Like a Dragon: Ishin! contains spoilers. Proceed at your own risk.
Where to Find the Wanted Men Sidequests in Like a Dragon: Ishin!
 Screenshot by GameSkinny
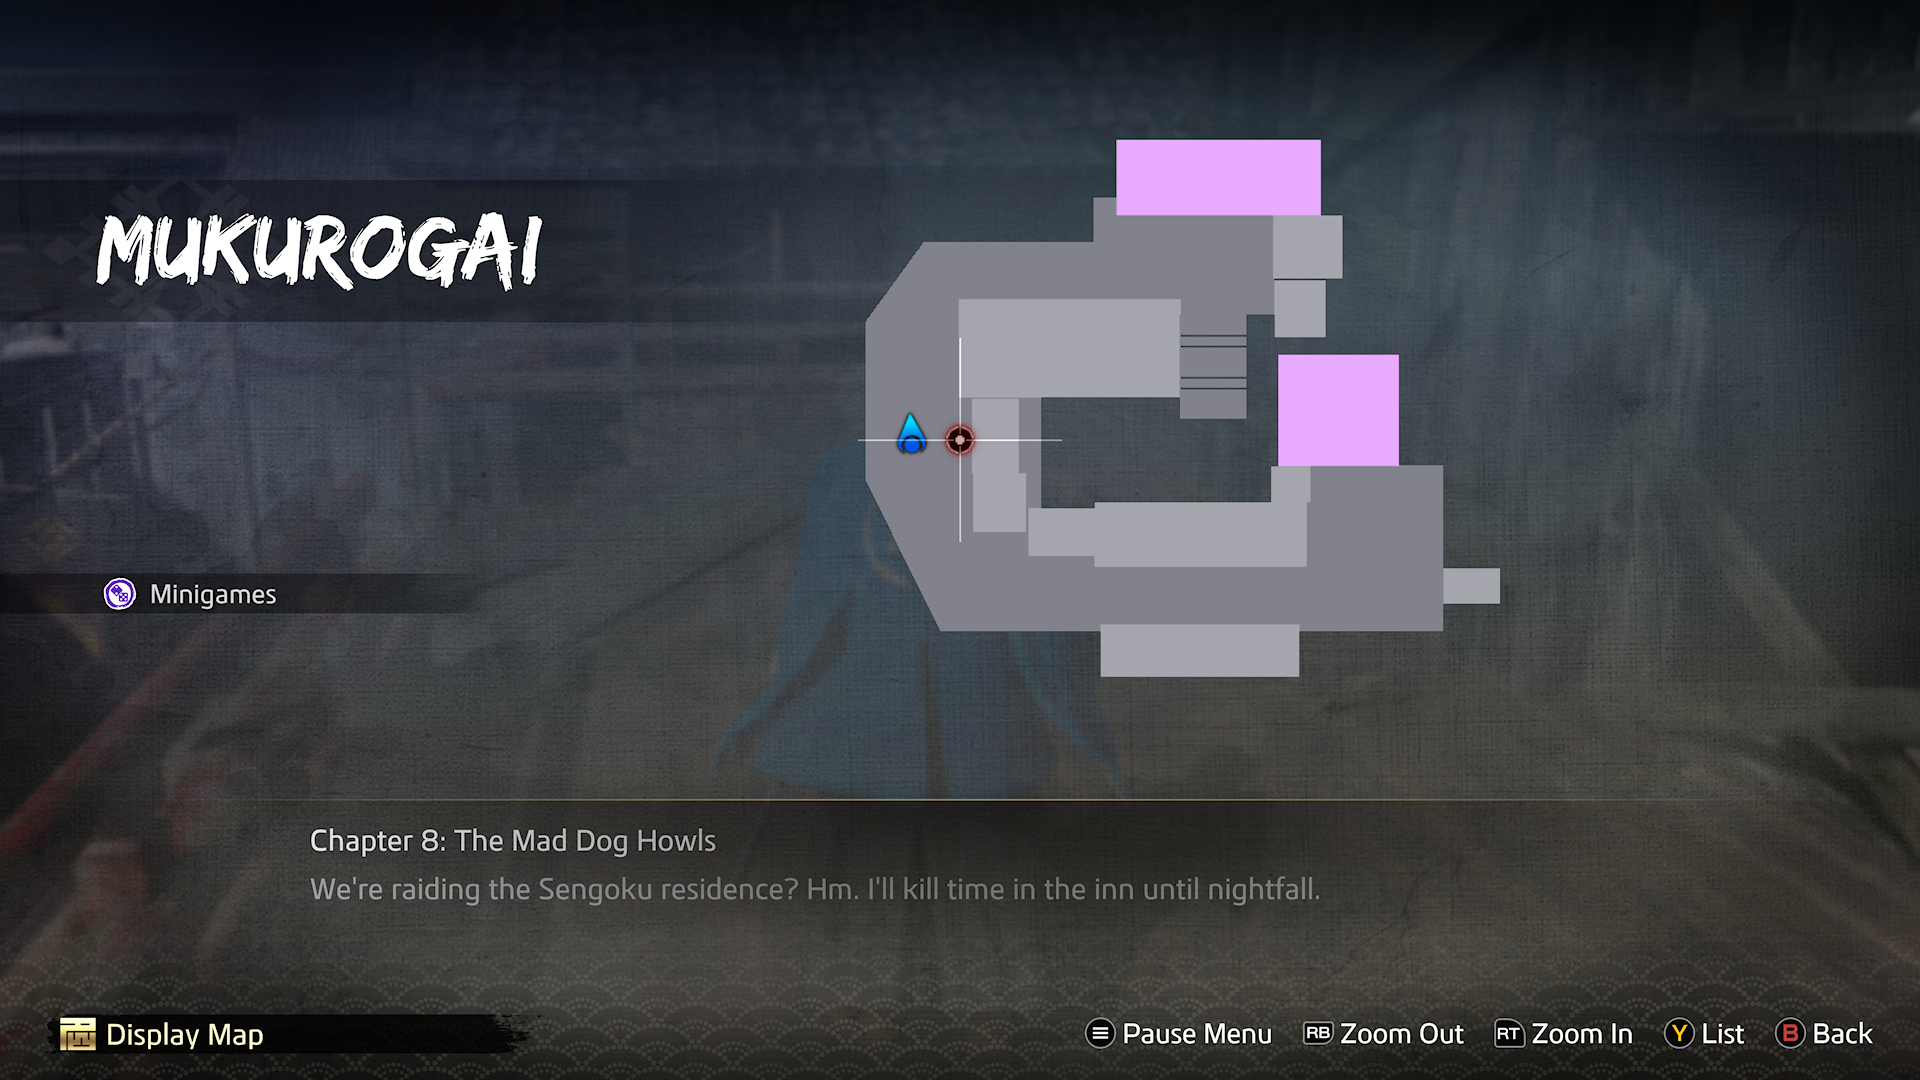
You can start the Wanted Men sidequest any time after Chapter 2. To kick things off, go to Mukurogai and wander up to the west side of the second floor. There, you’ll run into three men wearing Tengu Masks. After you defeat them, a woman named Omatsu comes up to Ryoma and asks him to join the Tachibanagumi, a group that hunts down criminals to keep Kyo’s streets safe.
Omatsu will take you to Tachibanagumi HQ (also located on the west side of Mukurogai’s second floor) and show you the bulletin board where the group posts wanted posters. Ryoma agrees to help. From there, you can pick up the Wanted Men missions.
All Like a Dragon: Ishin! Wanted Men Sidequests
1. Man in Tengu Mask
- Location: Eatery in Umekojicho.
- Objective: 8 men in Tengu Masks.
- Reward: 2 Ryo.
For this one, head over to Shady Bar, and talk to the Men in Tengu Masks lounging at one of the tables to trigger the fight.
2. Jozo Tengu: Jozo
- Unlock conditions: Mission 1 cleared, some time has passed.
- Location: Near Mukurogai.
- Objective: 8 Men in Tengu Masks.
- Reward: 4 Ryo.
This is the first of many two-part Wanted Men missions. Once you have the quest, talk to the two men just inside Mukurogai’s north entrance. Afterward, find the man wearing the Tengu Mark in East Umekojicho to start the fight.
3. Mysterious Ninja
- Unlock conditions: Mission 2 cleared, some time has passed.
- Location: Fushimi.
- Objective: 1 White Ninja.
- Reward: 2 Ryo.
You’ll find the White Ninja in South Fushimi, in Ichibangai, near Uorin Fish Market. Catch him to complete the mission.
4. Street Killer
- Unlock conditions: Mission 2 cleared, some time has passed.
- Location: Kuramachi.
- Objective: 1 Street Killer.
- Reward: 2 Ryo.
This Wanted Man will ambush you behind Teradaya. Defeat his surprise attack with a well-timed QTE, and take him out.
5. Mysterious Ninja (Blue)
- Unlock conditions: Mission 3 cleared, some time has passed.
- Location: Fushimi.
- Objective: 10 Blue Ninjas.
- Reward: 2 Ryo.
You’ll find the Blue Ninjas in Ichibangai, south of Utamaruya. You won’t have to do any fighting here; just chase all 10 of them down.
6. Street Killer
- Unlock conditions: Mission 4 cleared, some time has passed.
- Location: Umekojicho.
- Objective: 2 Street Killers.
- Reward: 2 Ryo.
Another two-parter. You’ll find the first part in North Umekojicho, west of Creepy Bar. The second is located south of the Rakugai Arms Dealer. As usual, be on the lookout for ambushes.
7. Escort Request
- Unlock conditions: Missions 5 and 6 cleared, some time has passed.
- Location: Near Shikokuya.
- Objective: Escort Akumi.
- Reward: 2 Ryo.
After picking this one up, talk to Omatsu and Akumi in Tachibanagumi HQ to start the quest. Exit Mukurogai and find Akumi in plain view just across the bridge. Escort him just past Shikokuya and win the fight there to complete the mission.
8. Touken Clan: Yukimitsu
- Unlock conditions: Mission 7 cleared, some time has passed.
- Location: Touken Clan Hideout.
- Objective: 5 members of the Touken Clan.
- Reward: 5 Ryo.
Talk to Omatsu after picking up the quest, and you’ll be transported to Touken Clan HQ. From there, win the fight. Completing this mission also rewards the Book of Revelations: Smash.
9. Chivalrous Shinobi: Mysterious Ninja (Green)
- Unlock conditions: Mission 8 cleared.
- Location: Near Teramachi in Rakunai.
- Objective: 3 Green Ninja.
- Reward: 3 Ryo.
You’ll find this one east of the Shogi Parlor, near the bridge. Chase down the three Green Ninjas, no fighting required.
10. Jozo Tengu
- Unlock conditions: Mission 8 cleared.
- Location: Umekojicho.
- Objective: 8 Men in Tengu Masks.
- Reward: 3 Ryo.
You’ll find these guys near Uji Tea Parlor. Take them out.
11. Chivalrous Shinobi: Tojiro
- Unlock conditions: Missions 9 and 10 cleared.
- Location: Meet with Green Ninja in North Yashimachi.
- Objective: 8 Men in Tengu Masks.
- Reward: 5 Ryo.
You’ll find this Green Ninja just south of Fushimi Dojo. Talk to him to fight Tojiro and 4 ninjas. You’ll also receive a Tear of the Dragon.
12. Jozo Tengu: Man in Tengu Mask
- Unlock conditions: Mission 11 cleared, some time has passed.
- Location: Mukurogai.
- Objective: Men in Tengu Masks.
- Reward: See Mission 14.
You’ll find these guys west of Paradise. There are only three of them, so it’s a pretty easy fight.
13. Chivalrous Shinobi: Mysterious Ninja (Red)
- Unlock conditions: Mission 11 cleared, some time has passed.
- Location: Rakugai Entrance.
- Objective: Secure the Red Ninja.
- Reward: See Mission 14.
You’ll find the Red Ninja just north of Utamaruya. Chase him down.
14. Touken Clan: Remnants
- Unlock conditions: Mission 11 cleared, some time has passed.
- Location: Rakunai.
- Objective: Several Ronin.
- Reward: Completing Missions 12-14 unlocks Mission 15.
Another two-parter. You’ll find the first on the street east of Don Quijote. The second is around the corner on the right after finishing the first. Watch out for ambushes.
15. Jozo Tengu: Jozo
- Unlock conditions: Clear Missions 12-14.
- Location: Shrine in Rakunai.
- Objective: Jozo Tengu.
- Reward: Access to Mission 16.
You’ll find this group at the Shrine at the very Northwest of Rakunai. Jozo Tengu is backed up by 5 other guys, so come prepared.
16. Mysterious Man
- Unlock conditions: Clear Missions 12-14.
- Location: Rakugai Riverside.
- Objective: Mysterious Man.
- Reward: 15 Ryo.
Surprise! Inabara Akumi (the suspicious guy you escorted in Mission 7) was the bad guy all along. He’s got six other guys with him, and he can deal a ton of damage while absorbing a lot of punishment. Make sure you upgrade your gear and get some healing items before you fight him.
Like a Dragon: Ishin! Wanted Men Sidequests — Additional Rewards
 Screenshot by GameSkinny
In addition to the 15 Ryo reward, Omatsu will reward you with the Virtuous Hood for completing this mission.
But that’s not all. Return to Teradaya, and a courier will bring you a letter instructing you to meet with Bakamatsu Bob, who is located in the back of Teradaya. Bob will reward you with the rare and powerful White Dragon Spear.
There’s still more, though. Head to Shinsengumi HQ, and you’ll run into Yukimitsu, Tojiro, and Jozo Tengu, the leaders of the three factions you tangled with during the Wanted Men quests. Each offers to join the Third Division, and you should take them up on it. They’re super rare Trooper Cards and quite powerful.
And that’s everything you need to know about the Wanted Men sidequests in Like a Dragon: Ishin!. For more on Like a Dragon: Ishin!, head over to our guides page.
Featured Image via SEGA


Published: Feb 24, 2023 09:37 pm