Zombies mode makes a triumphant return in Call of Duty: Black Ops Cold War, and there are some significant changes to systems and progression structure in this version of the mode. Whether you’re a Zombies veteran or Cold War is your first foray against the undead, there’s a lot of new information to take in and strategies to learn about.
This Zombies tips and tricks strategy guide will go over the five most effective ways to survive into high rounds in Zombies, covering weapons, perks, upgrades, resource management, and more. If Dark Ether camo is your ultimate goal, keep reading.
Call of Duty Black Ops Cold War Zombies Survival Tips & Tricks Guide
How to Make a Zombie Train
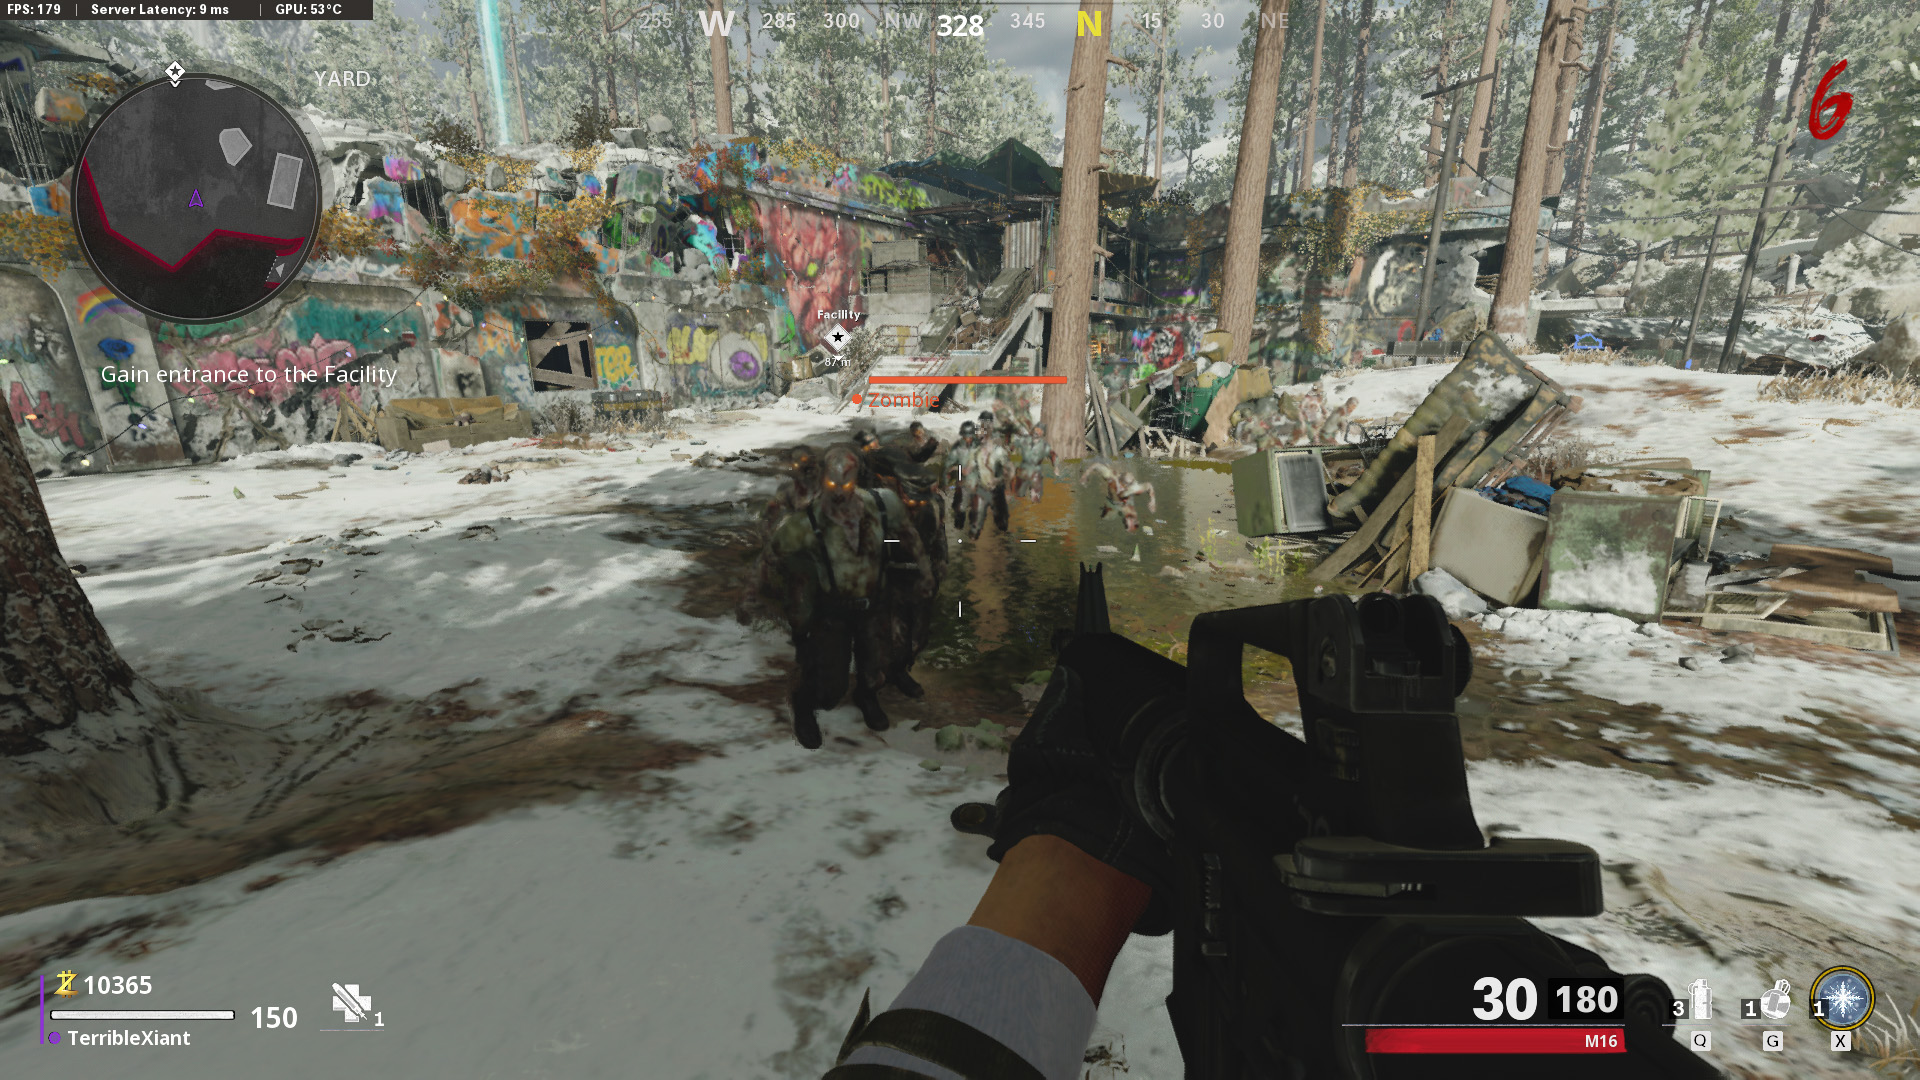
One essential skill to develop in Zombies is running a train. In short, you want to move all the zombies into a rough line, then kill them all at once with a few magazine dumps.
It’s a vital talent because to do anything in Zombies, you need points. And the only way to get points is by killing zombies.
You’ll get:
- 90 points for a regular or explosive kill
- 115 points for a critical headshot kill
To put that into perspective, it costs more than 5,000 points to unlock all the doors leading to the power switch if you take the optimal route.
In Cold War’s Die Maschine map, the best place to learn to build and maintain a train is the starting area. Wait for all the zombies to climb over the fence or out of the ground, then start moving in a circle around the trees. Steer clear of going around the tank, as in later rounds. It’s liable to get you killed.
As you move in a circle, keep an eye out for new zombies spawning. They will often do so right in your path, and you’ll need to dodge between the train behind you and the undead in front of you. Sprinting is usually enough to get you through, but use the slide if your way forward is closing too fast.
An important note: even sprinting zombies do not move faster than your standard walking speed. Sprinting serves primarily to put distance between you and the train, so you have time to turn around and shoot.
Keep in mind that you can also manipulate the shape of the train by slowing down, stopping, and moving from side to side. Zombies will always attempt to take the shortest possible path to you, so you can mold and shape your train with careful movement as zombies appear and shamble toward you.
In smaller spaces, training takes a little more finesse, as you won’t be able to pull as many zombies into a group safely. Such areas call for a more aggressive culling, so rather than having 20 or more undead around you, keep no more than 10 in the area at any given time.
Regardless of how many zombies are in your train, eventually, you’ll need to kill a few or all of them if you want to go fast. Aim for the head and empty as many bullets into them as feels safe, then resume training.
How to Turn on the Power
Upgrading your weapons and armor doesn’t happen without power, so once you’ve built up 6,000-8,000 points, you can open the way. You can also clear a path one door at a time, but you need to be sure you can get back to your kiting zone safely.
Start your journey through the door at the far end of the starting area. Do not go through the bunny door. Head up the stairs, then turn around. Run up against a destructible wall with an X on it. If you see Juggernog and broken plane parts, you’ve gone the right way.
From Juggernog, keep to the right until you come to another destructible wall. Blow it up and proceed through the blast doors that open to your left.
You’ll come to a “T” intersection with openable doors on one side and debris on the other. Take the door and make your way to the particle accelerator chamber.
Once you’re in the accelerator room, head to the opposite side and open the grates blocking off the room bathed in red light. Hit the power button, then the two other buttons on either side of the room. The power will now be on.
Upgrades and Resource Management
Cold War Zombies introduces crafting to the undead experience, and you’ll be collecting materials of all kinds from the zombies you kill. The two materials that matter are Scrap and Salvage.
- Scrap is a green drop
- Salvage is a blue drop
- You can view how much you have of each at the bottom of the score screen
There are many uses for Scrap and Salvage, but only two are important from the very beginning: weapon and armor upgrades.
Empowering your weapon increases both its rarity and damage, with an increased cost for each improvement. In previous iterations of Zombies mode, all weapons had set damage and the only way to improve them was through using the Pack-a-Punch machine.
Upgrading your weapons grants a modest increase to base damage. The first upgrade is 250 Scrap, then 500, then you’ll need blue Salvage to improve it further.
You might find your first level of armor from a Zombie drop, but getting Level 2 and Level 3 armor takes Scrap and Salvage. Armor isn’t quite as important as raw damage, but you take 50% less damage from all outside sources so long as you have some. Self-damage through things like the Ray Gun or falling go straight through but does not cost armor.
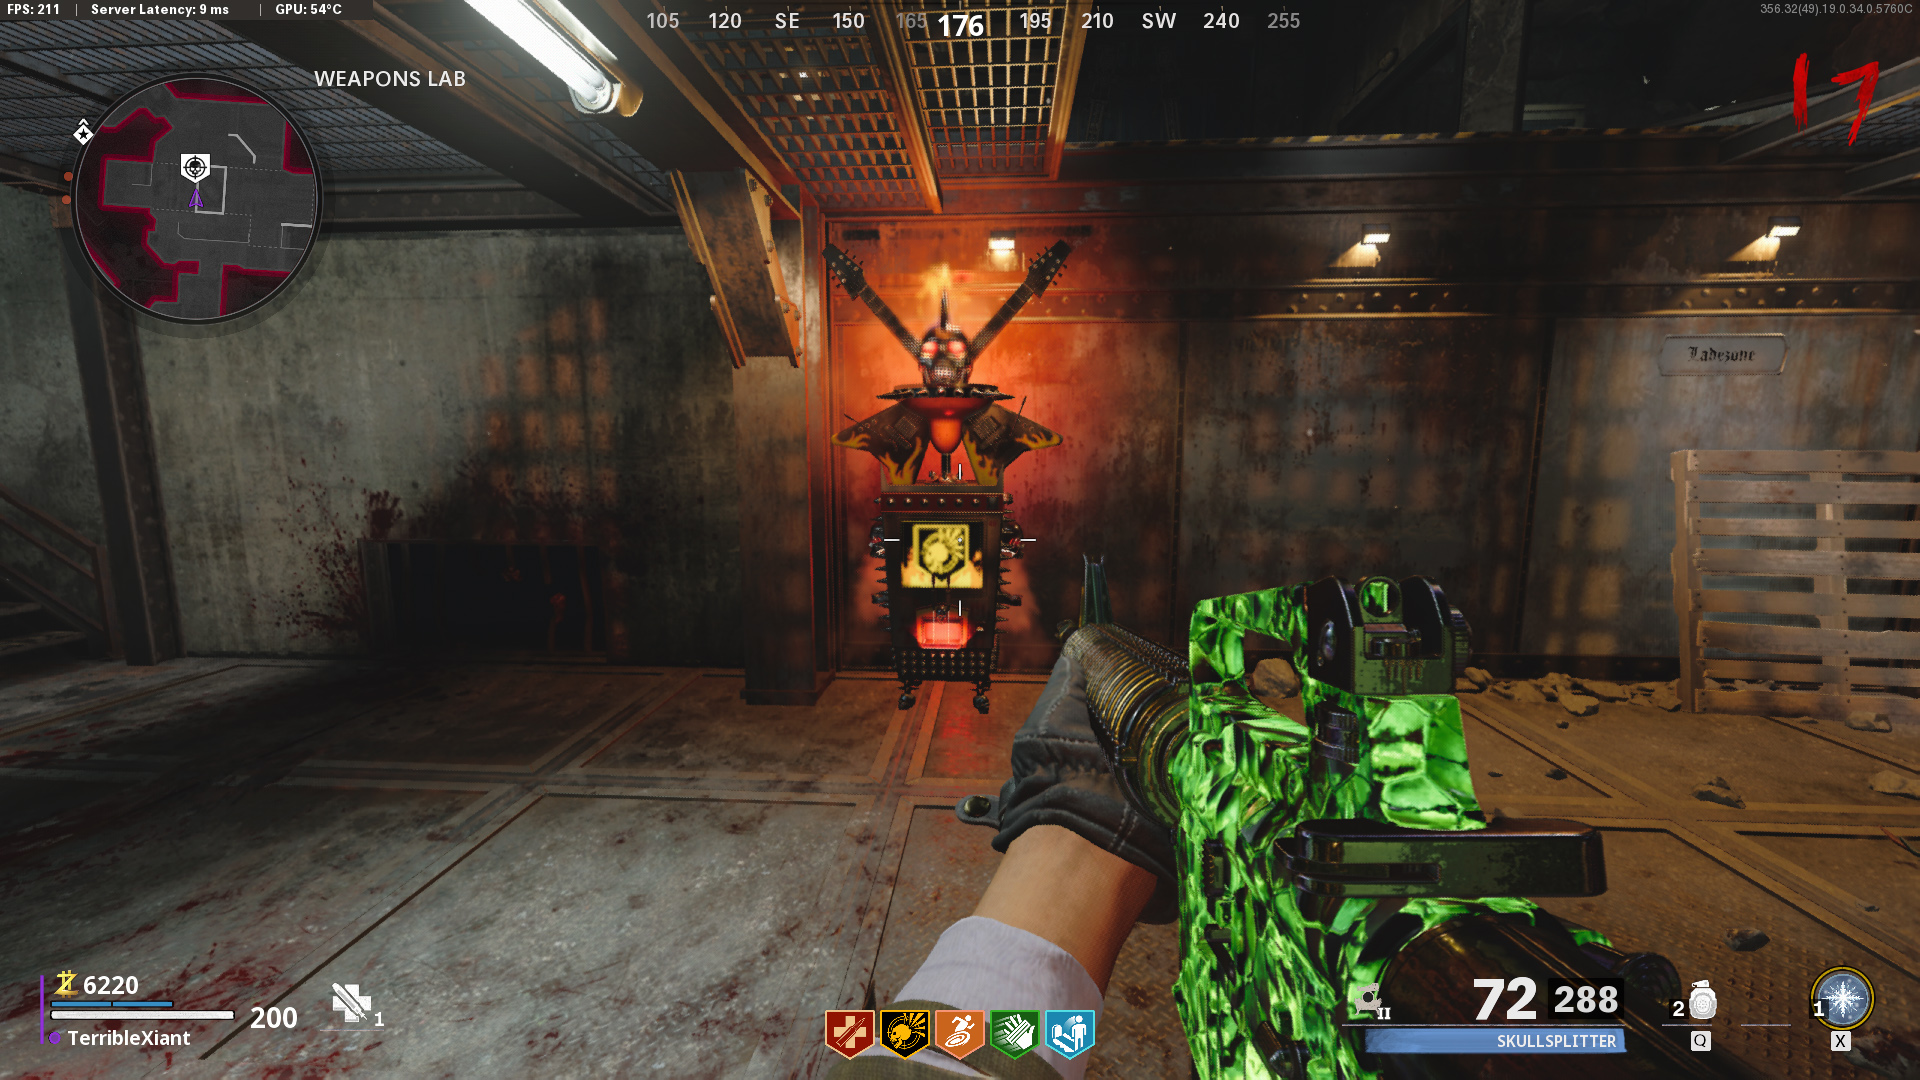
How to Open Pack-a-Punch
Putting your weapon in Pack-a-Punch is a little more complicated now.
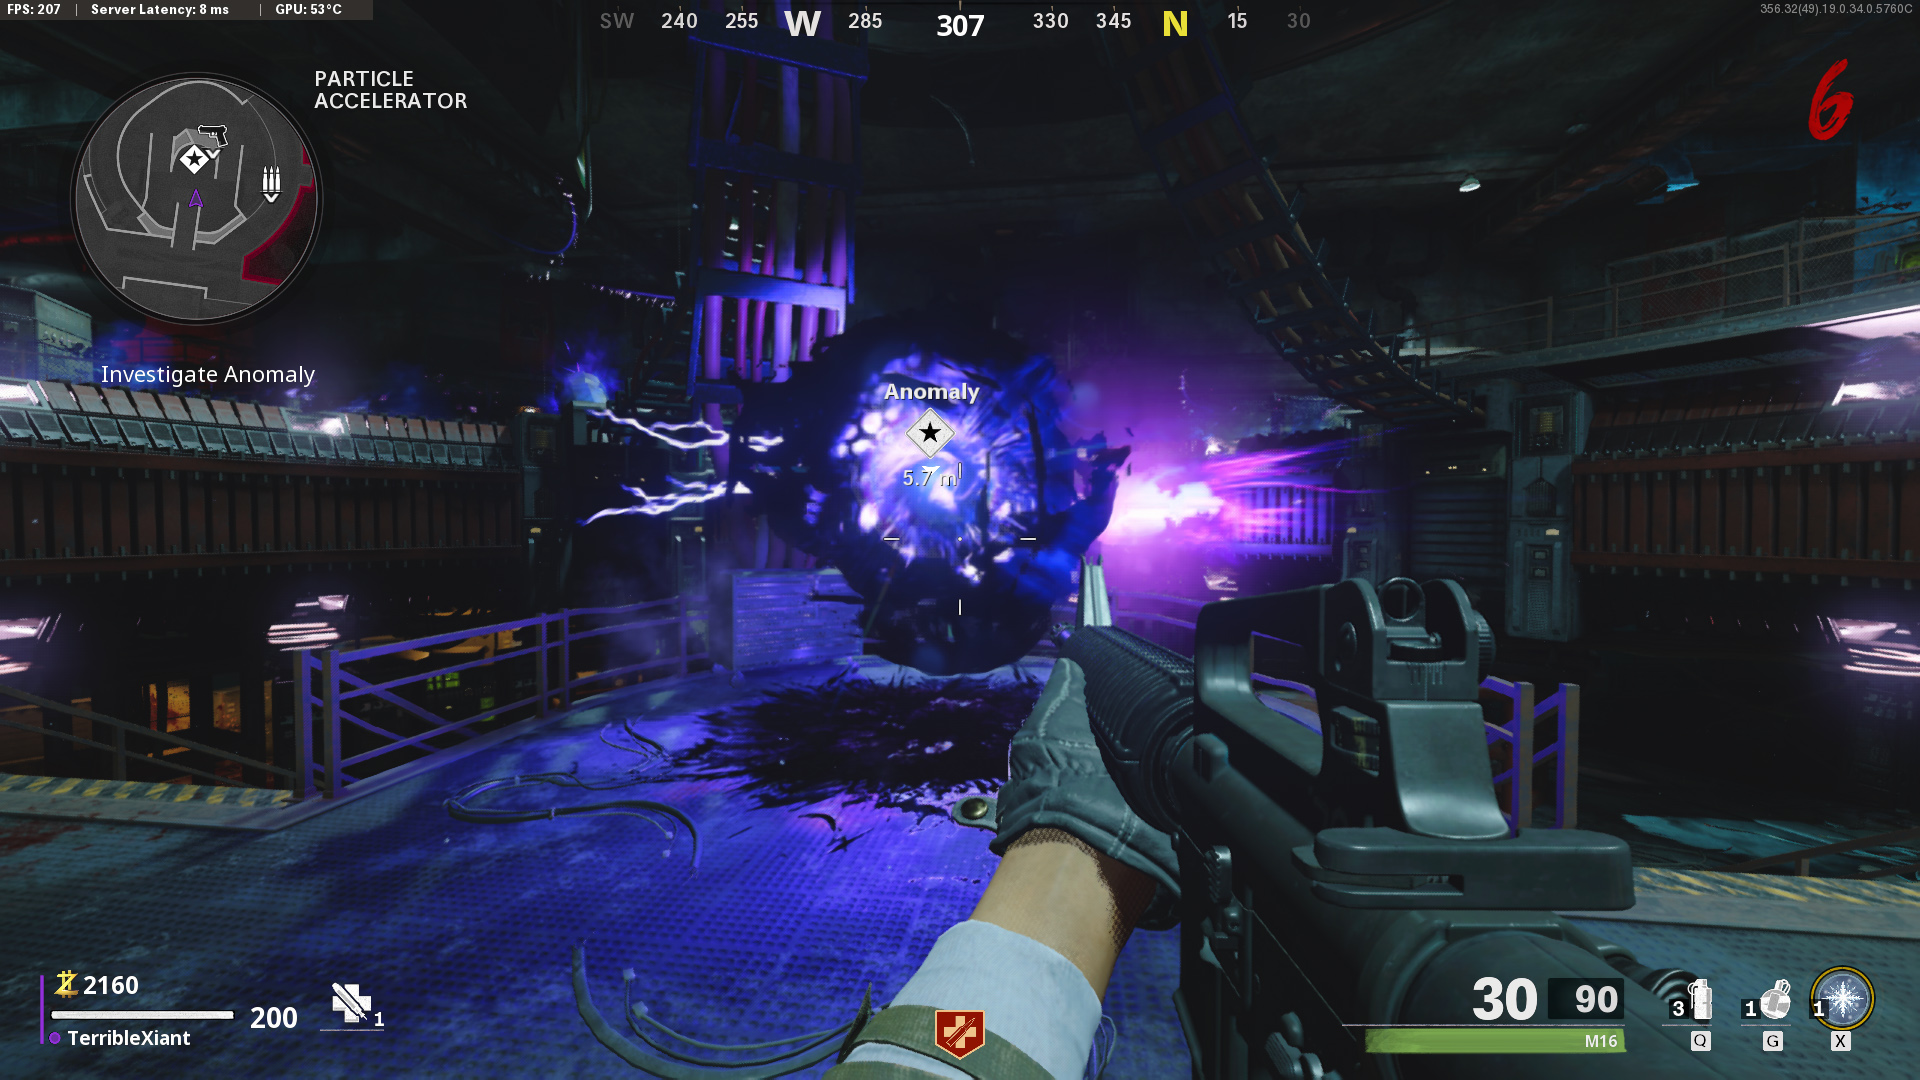
Once the power’s on, an Anomaly will appear in the particle accelerator room. Activate it to go into the Aether realm and head up the stairs leading away from the power button.
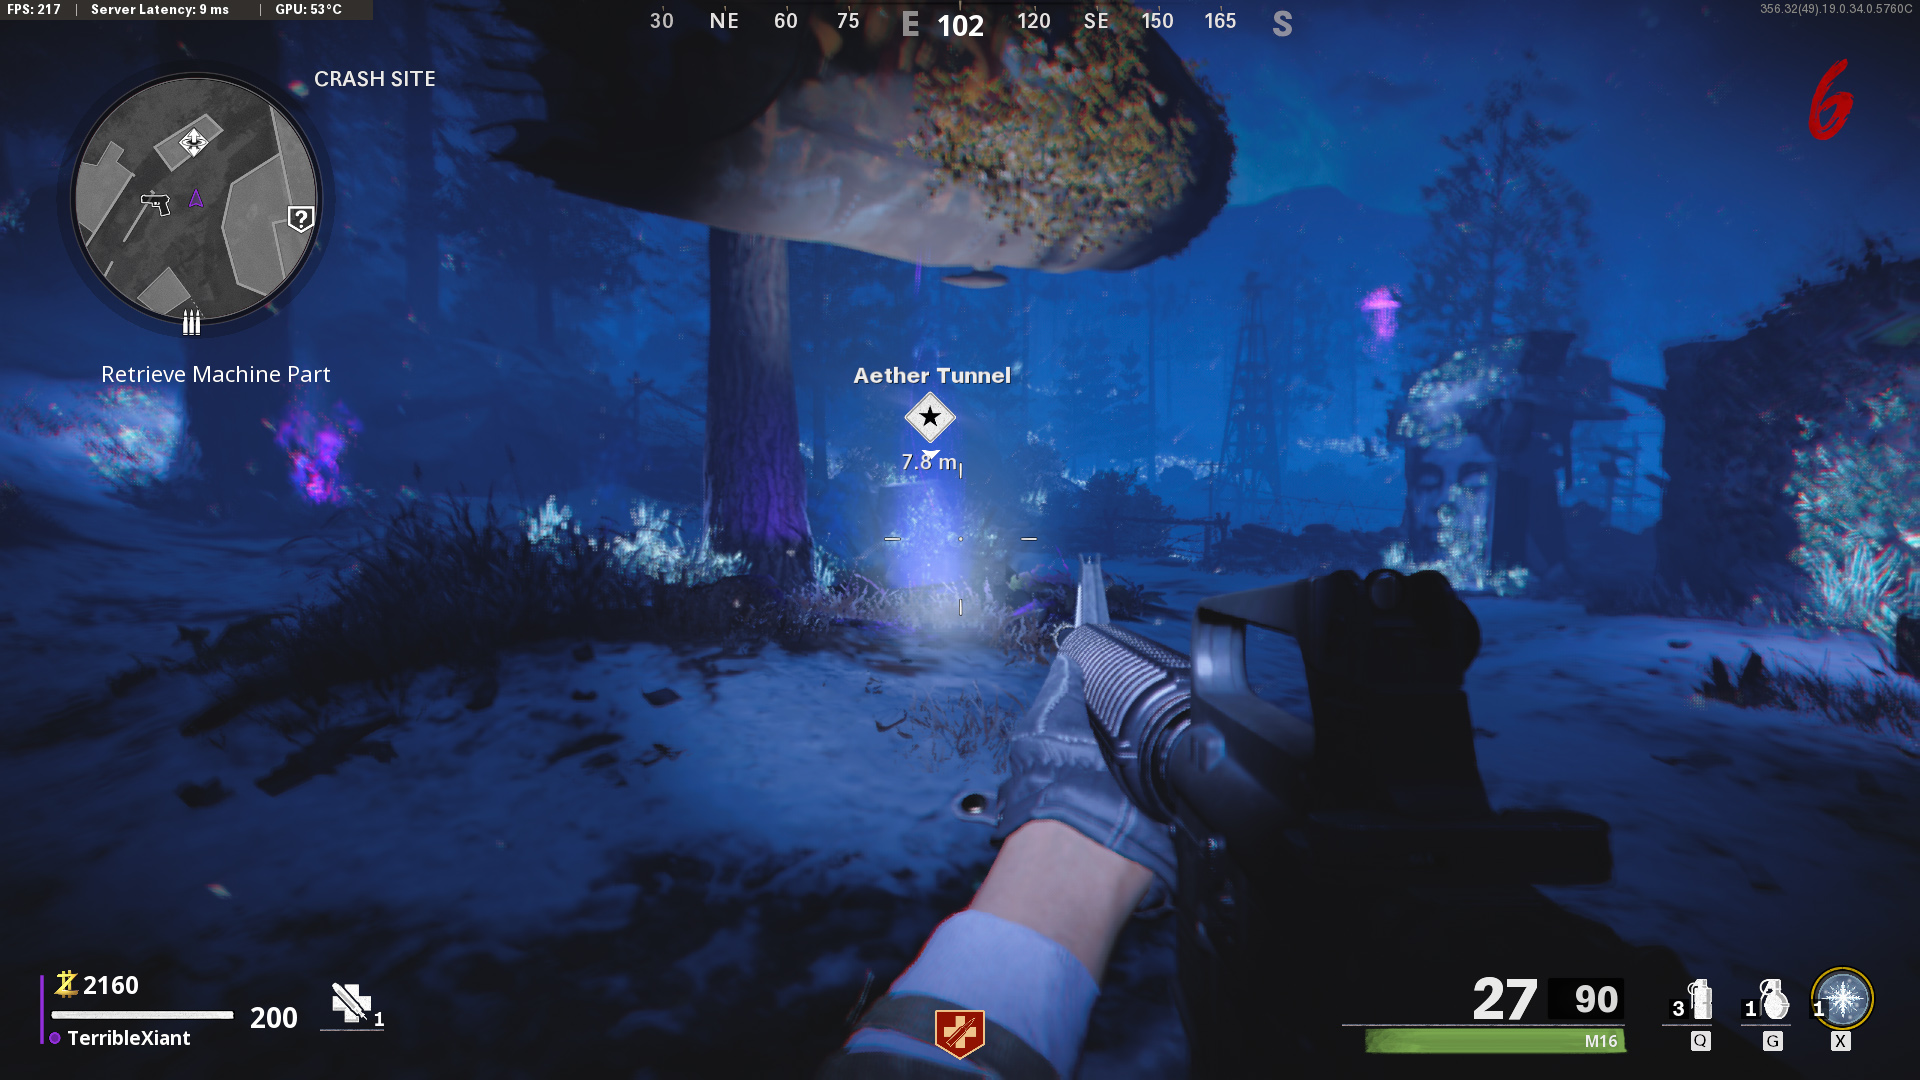
Now the map will have purple portals all over it. One of them will be marked on your map with a star. Go to that one. Be sure to save a few thousand points, as you might need to open a door or two to get there.
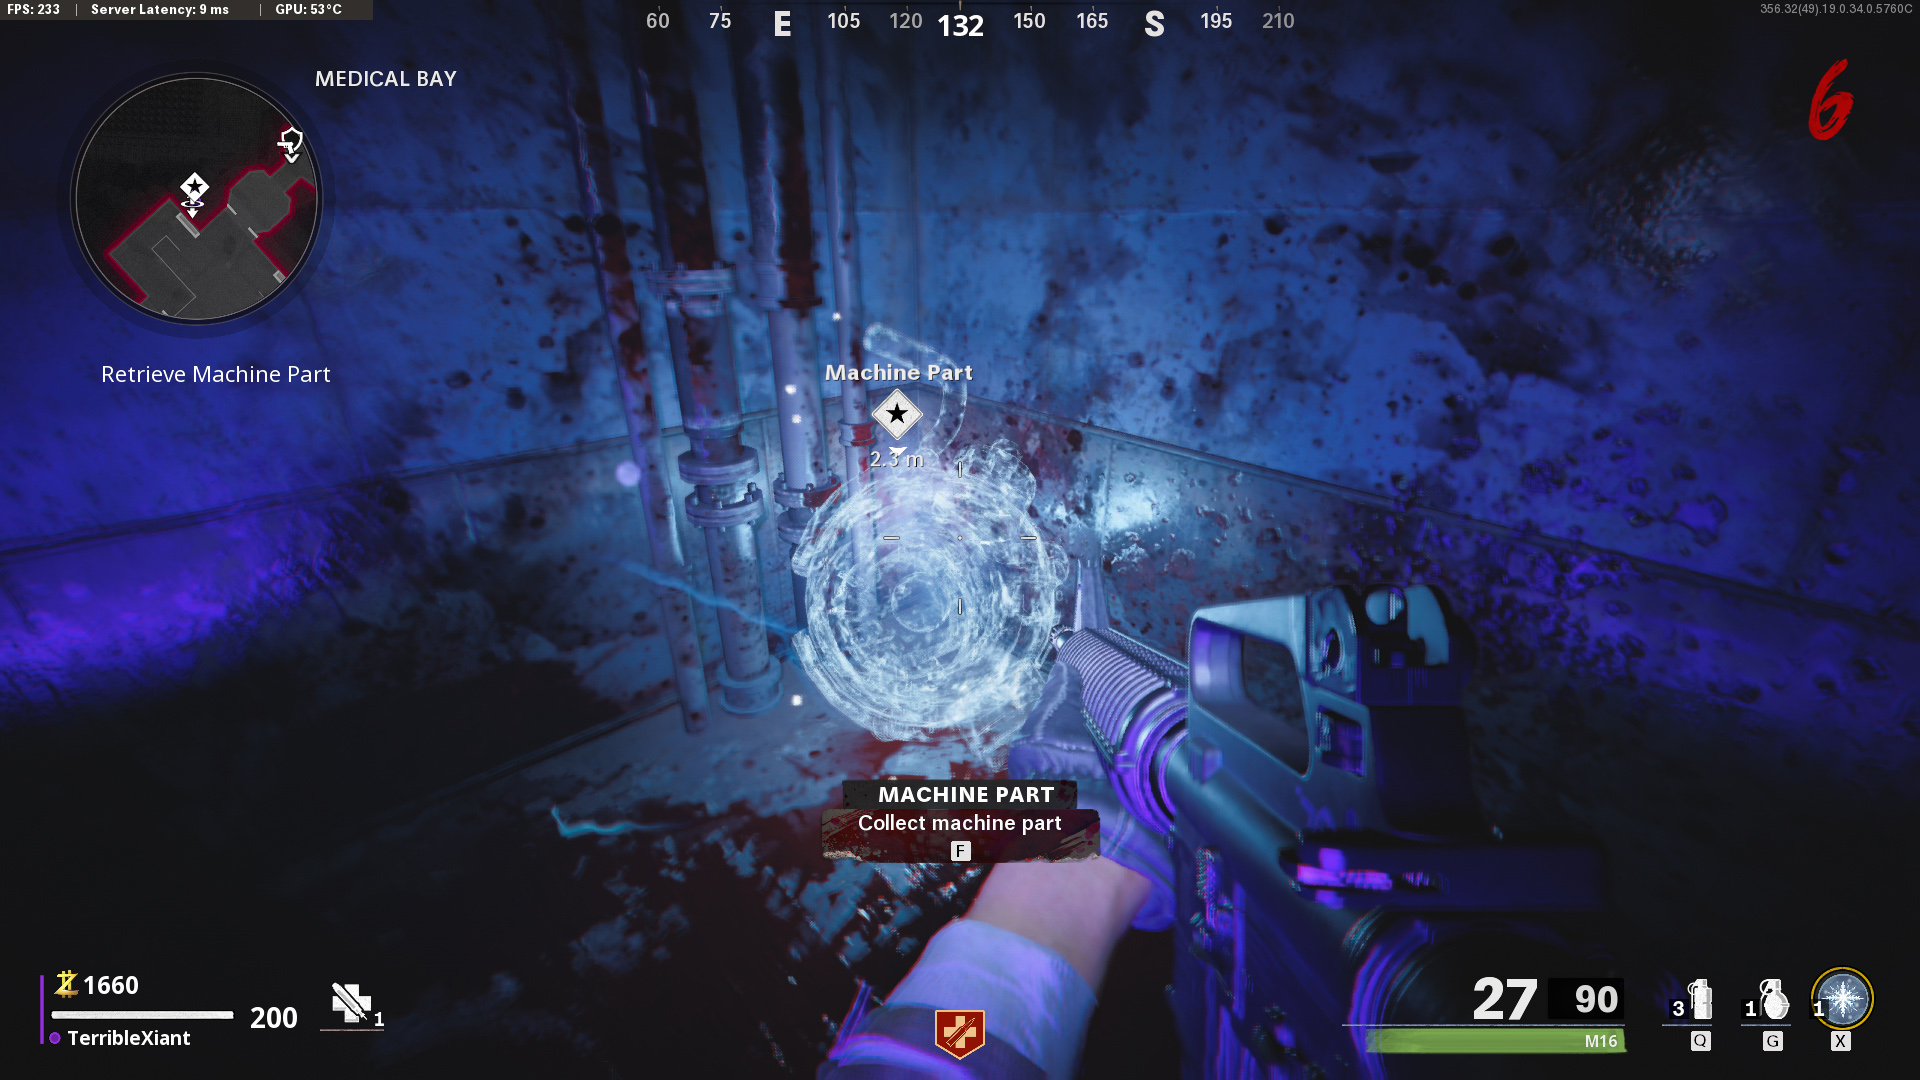
Reach the marked portal and activate it for 500 points. You’ll be transported to a room with a wire-mesh-looking machine part. Pick it up and take it back to the accelerator room, where the Pack-a-Punch machine awaits in a similar wire-mesh outline.
Place the part, then prepare to take your equipped weapon to a whole new level.
There are three grades of Pack-a-Punch, the same as standard weapon upgrades.
- Level 1 is 5,000 points
- Level 2 is 15,000
- Level 3 is 30,000
For camo grinding, you’re unlikely to need more than Level 2 Pack-a-Punch, as experience begins to fall off at Round 20.
No matter how far you go, though, you’ll want to use the machine at least once. Standard-issue weaponry can carry you to the upper rounds, but it’s much more comfortable to have a bright and shiny Pack-a-Punched gun to make the journey.
Perks and Weaponry
Zombies has Create-a-Class now, so you can bring every weapon into the mode and unlock camos for them, which you’ll want to do if you want the Dark Ether camo.
Grinding weapon XP will take you some serious hours, as you’ll be taking every weapon to Level 50 to unlock all its camo challenges, then using it even more to unlock each skin. And you’ll be grinding every gun, launcher, melee, and special weapon this way. It’s 150-200 hours at the absolute fastest. Buckle up.
Making your way to the pinnacle of Zombies will see you using most, if not all, of the Perks available. However, there are three perks you’ll want no matter what: Juggernog, Stamin-Up, and Deadshot Daiquiri.
Juggernog: There’s no reason not to pick up Jugg the instant you have the ability. It’s a flat increase to your health, to a maximum of 250. You start with 150, so an ultimate upgrade of 100 HP on top of any armor makes it hard for you to go down. Not impossible, but you’ll have to mess up something fierce.
Stamin-Up: You go faster. That’s the perk. Both your walking and sprinting speed increase by around 25%. That means a more comfortable escape from a horde, easier movement from place to place, and a better quality of life.
Deadshot Daiquiri: Deadshot is a flat, random damage boost to headshot damage. When Deadshot activates, your headshot damage doubles, and with a Pack-a-Punched weapon, your magazines usually double in size, too, so start a train and rack up the points.
Upgrades on the Field
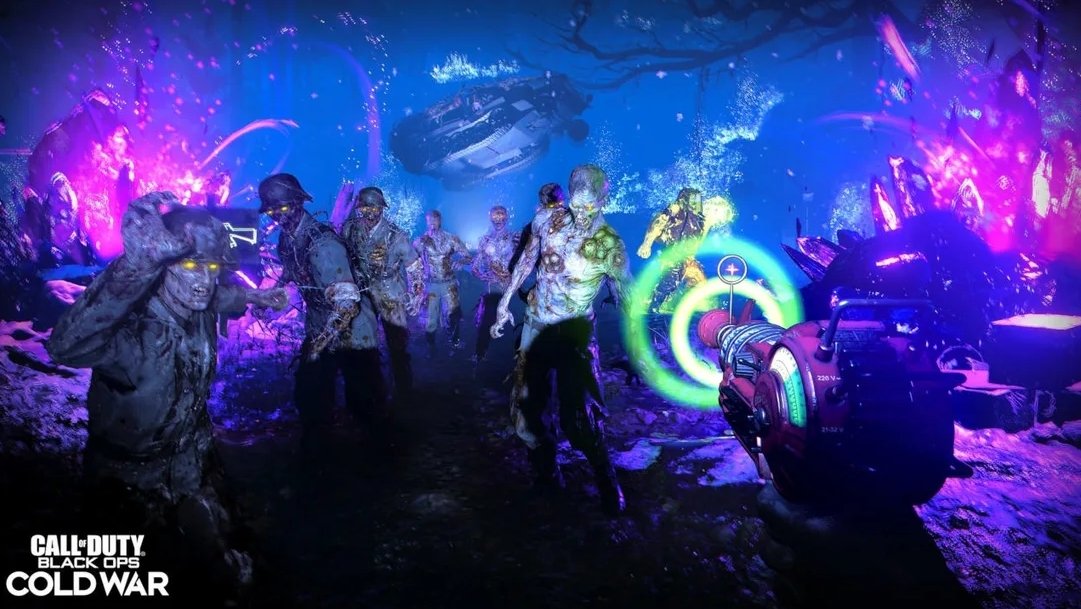
Field Upgrades are your “Oh, shit” button. They’ll allow you to turn invisible, summon a powerful bomb, wreathe an area in fire, freeze every zombie close to you, or heal yourself and your allies. At their base, they’re all good, but you’ll be improving them with Raw Aetherium Crystals you accumulate by advancing rounds and completing challenges.
All upgrades have their uses, but Ring of Fire and Healing Aura are by far the most useful, both for yourself and if you’re playing in a group.
Healing Aura: Exactly what it sounds like, this upgrade heals you over time and, once upgraded to Level 3, can revive downed teammates. It’s got a long cooldown (which you reduce by killing zombies), but if you or your team need a pick-me-up, Healing Aura is where it’s at.
Ring of Fire: Exactly as it states on the box, activating this upgrade wreathes you in a ring of purple Aether fire that deals high damage over time to any zombie near you or in the path of flames you leave behind.
That’s it for our Call of Duty: Black Ops Cold War Zombies survival guide. There are more minor aspects of the Zombies experience that will optimize your runs further, but maximize your efficiency with the above five factors, and you can’t go wrong. If you found these tips helpful, consider giving this guide a share!


Published: Dec 8, 2020 10:14 pm