There are four encounters in the Spire of the Watcher Dungeon, new to Destiny 2 with the Season of the Seraph. The first one, which asks you to reestablish power, lacks any reward save access to the rest of the activity.
Still, it’s essential that you master this first section because it’s the foundation of the rest of the Dungeon. There are no boss-level enemies or other challenges beyond swarms of enemies, but the mechanic you learn here — connecting Arc energy cables — is key to every major encounter afterward.
We’ll cover everything you need to know about completing the Reestablish Power encounter in this guide.
How to Complete the Reestablish Power Encounter in the Destiny 2 Spire of the Watcher Dungeon
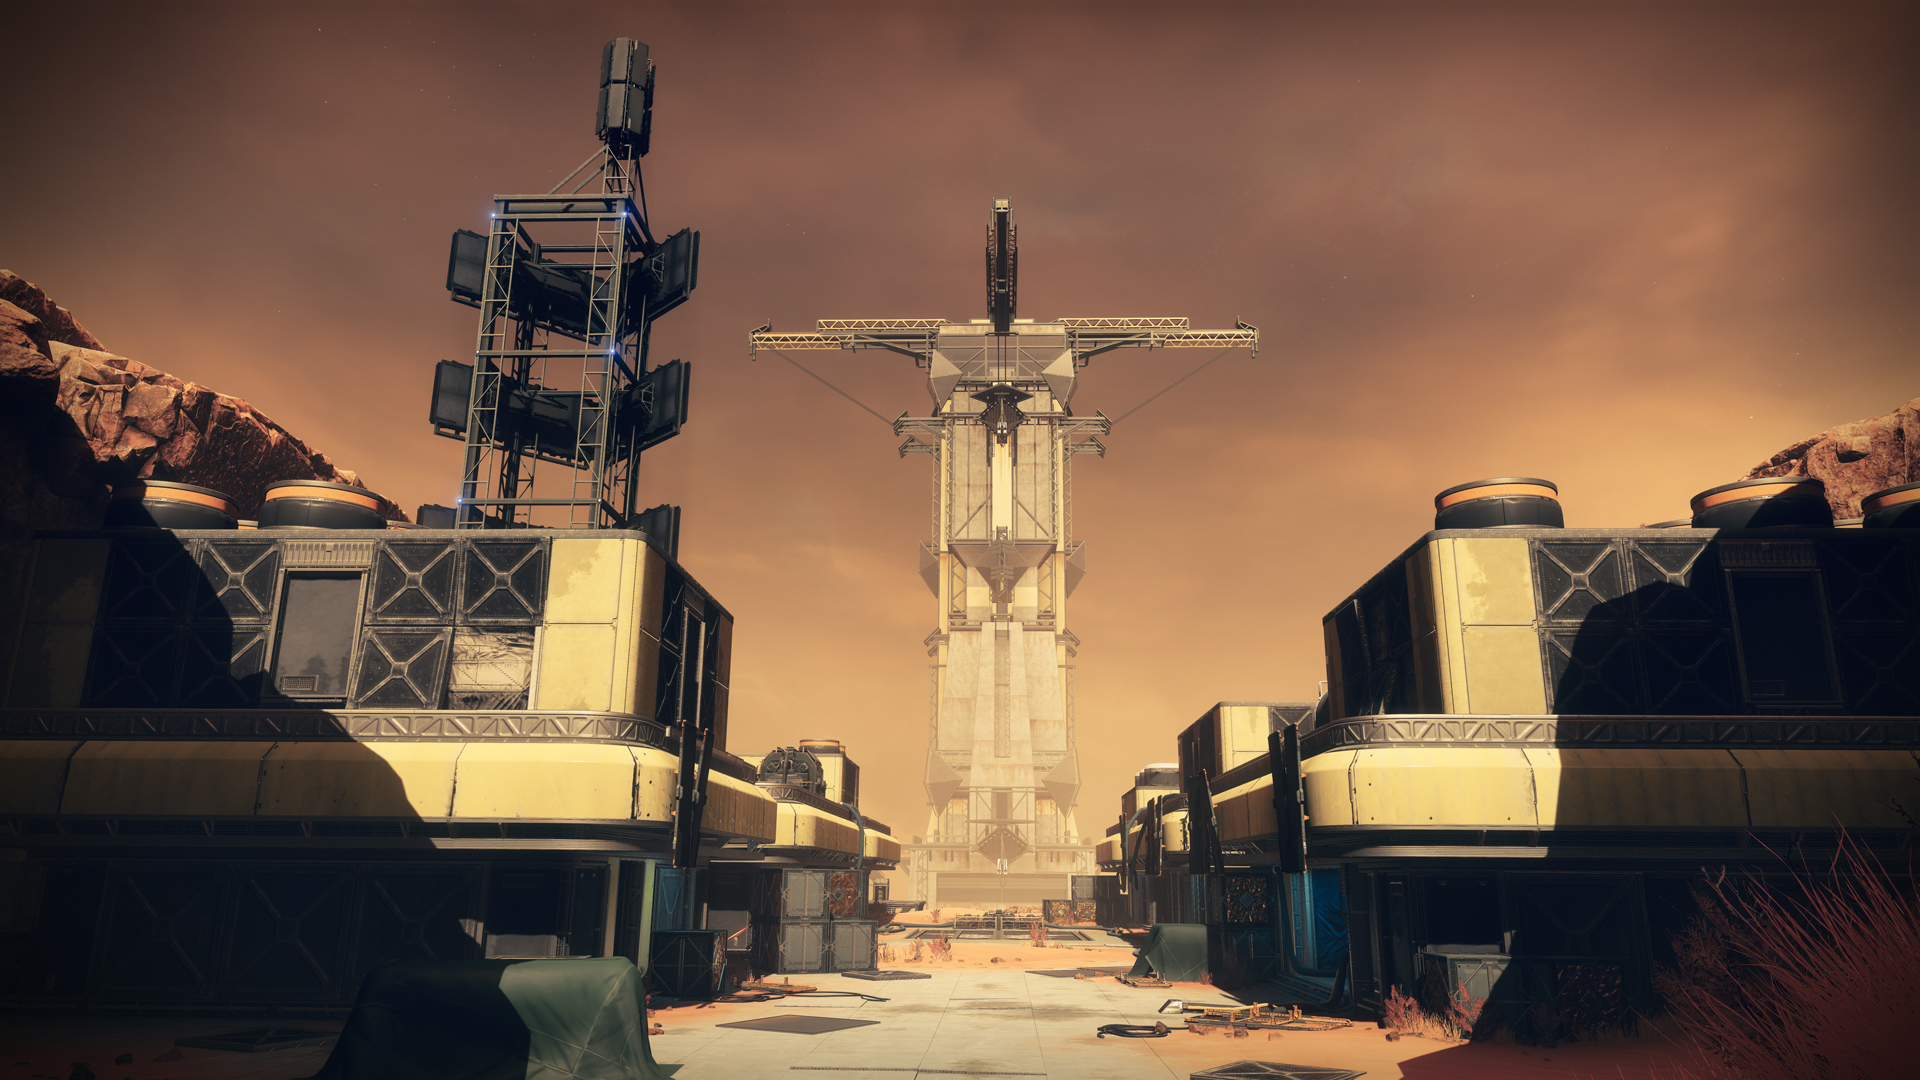
Shortly after you load into the Spire of the Watcher Dungeon, you’ll reach a set of four buildings. A tumbleweed will cross your path, and Vex will begin to spawn once you advance far enough through the structures.
Two Minotaurs will appear at either end of the central path, along with dozens of Goblins. There will also be four Cyclops on the cliffs above you, which you’ll want to deal with immediately. Note that as you progress through the encounter, those Cyclops will periodically respawn each time to clear them whenever they reappear.
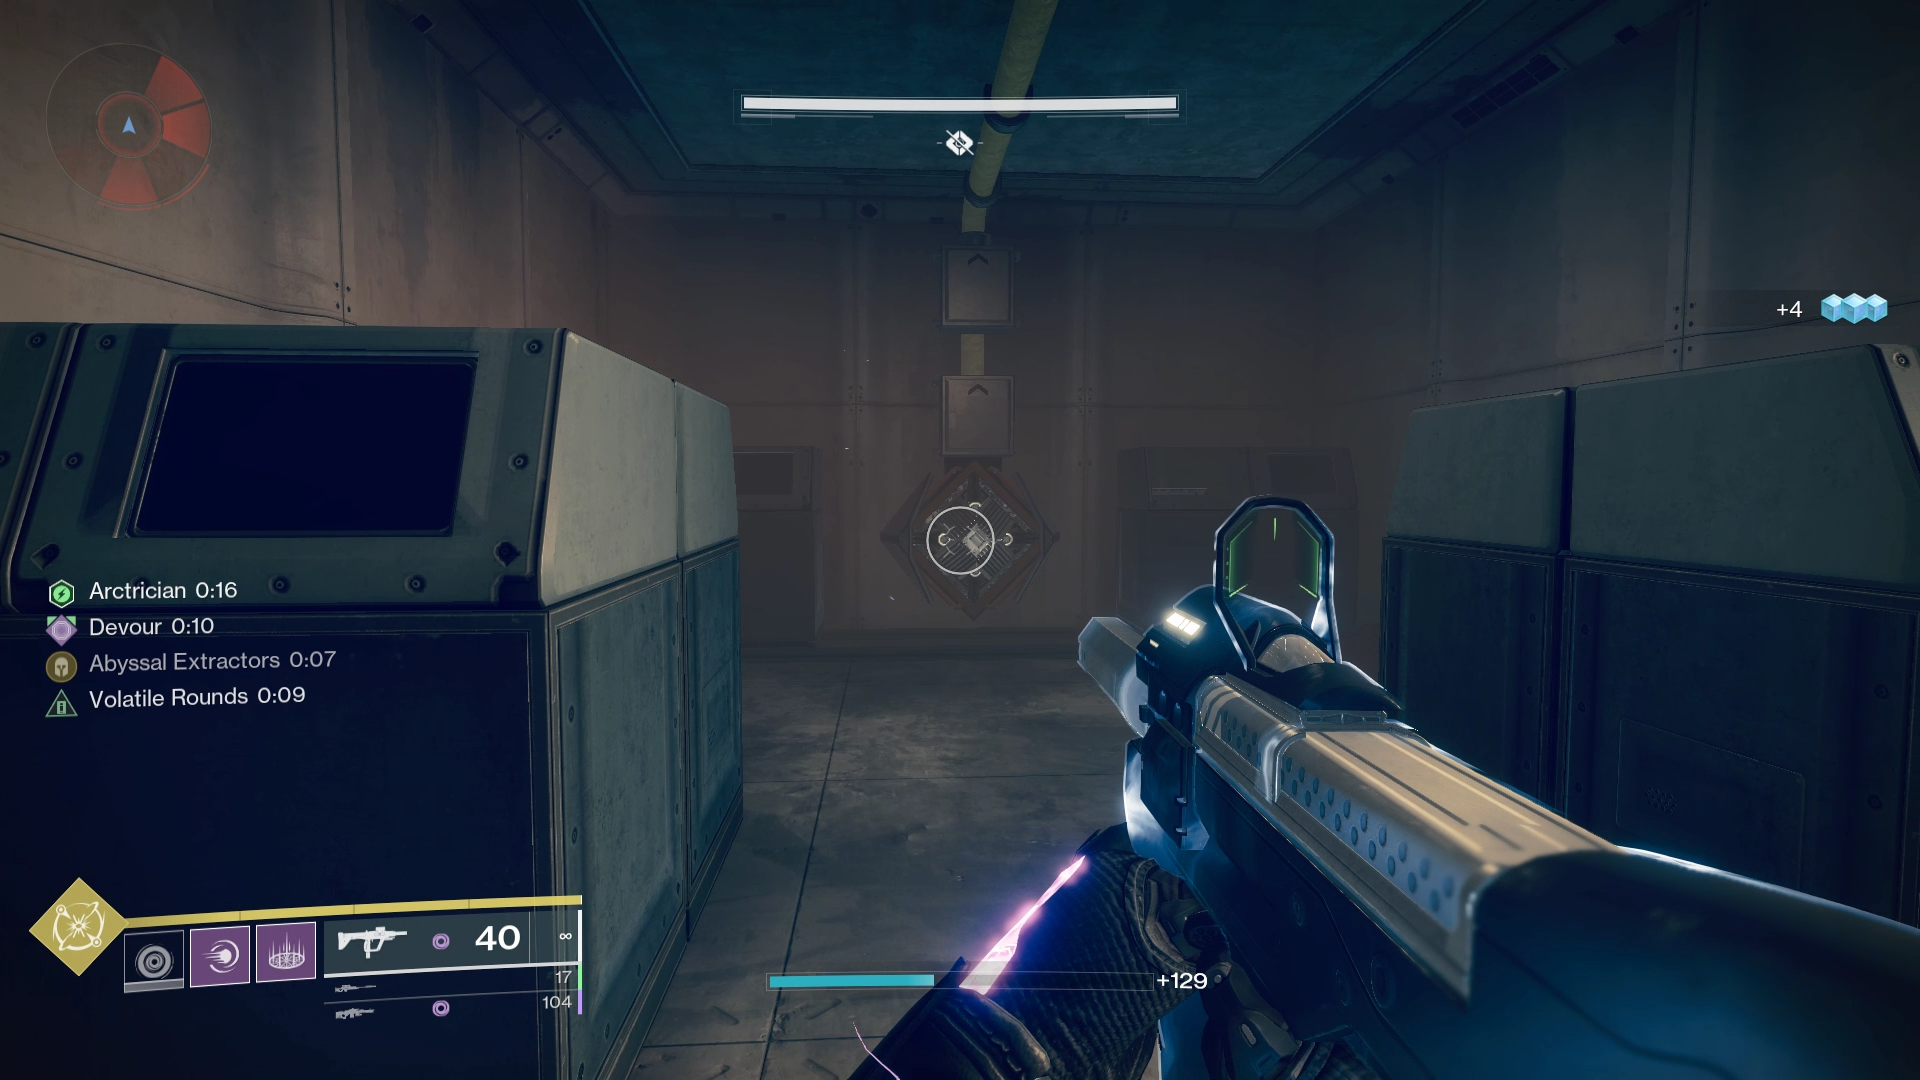
The Minotaurs are another critical component of the Dungeon. They drop a pool of Arc energy that provides a buff called Arctrician. You need this buff to activate the various Arc node conduits that activate elevators and start damage phases in later encounters. The Arctrician buff lasts 30 seconds, and activating nodes adds five seconds to the timer.
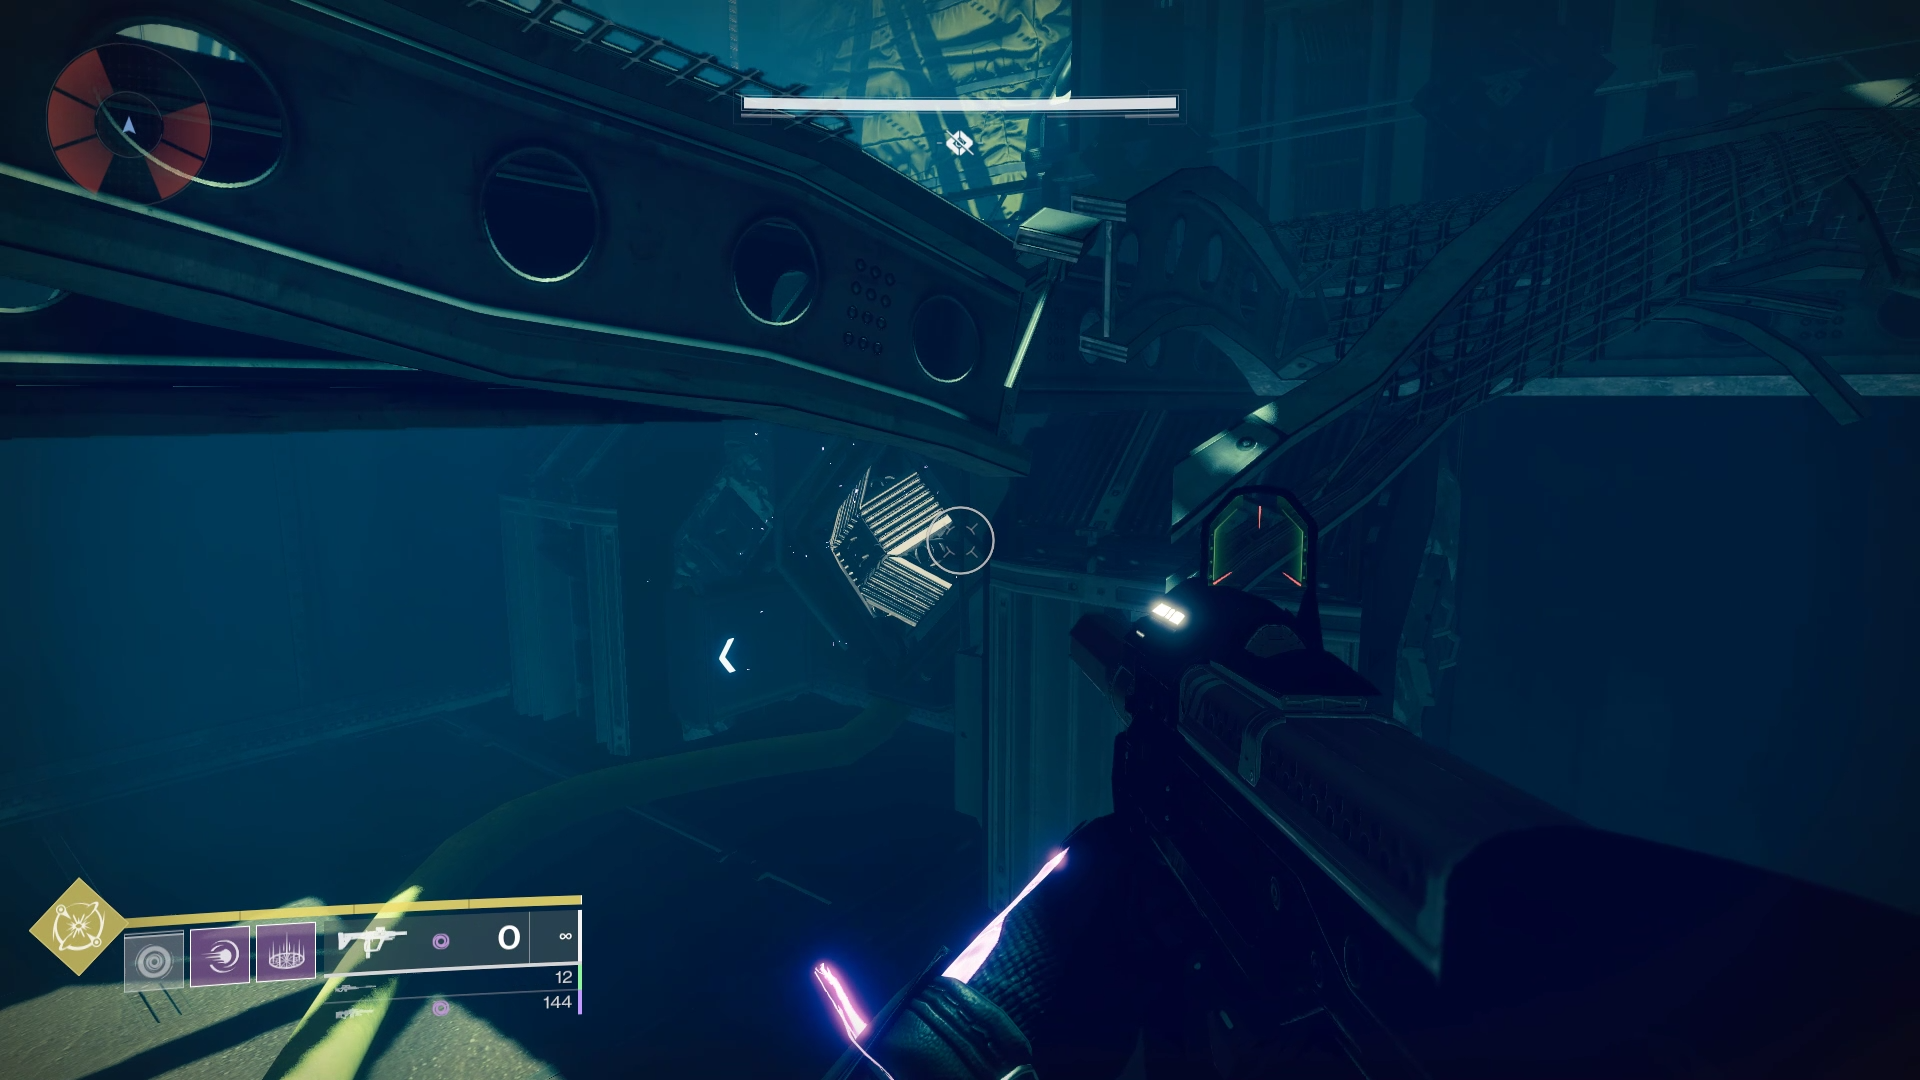
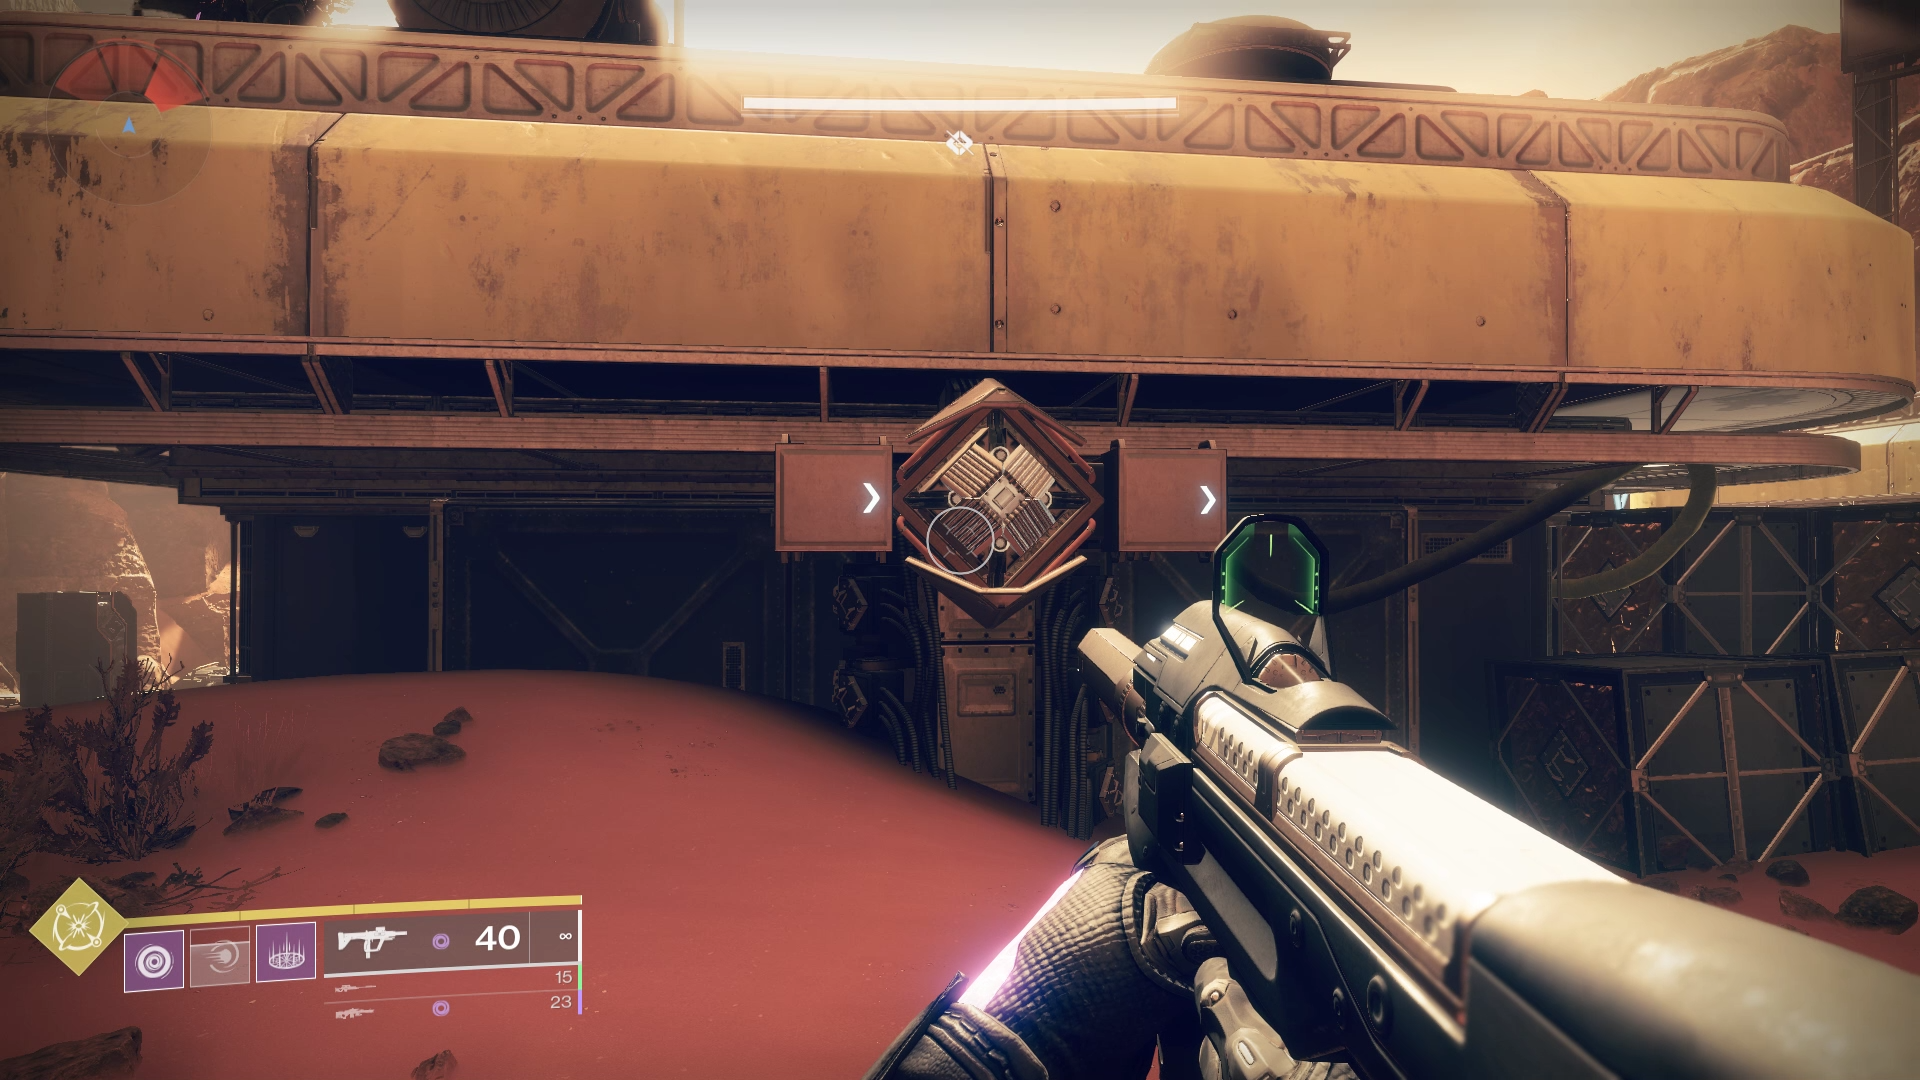
Your goal for this encounter is to draw Arc energy from specific nodes — they’ll have a box attached with glowing arrows — to a central collection of four terminal nodes near the end of the central pathway. Once the initial node is active, you must daisy-chain the energy through additional nodes connected by thick yellow wiring. Once two nodes are successfully connected, the yellow wiring will glow a bright blue.
Completing this encounter requires you successfully power all four of the central Arc node conduits — a message saying “All Arc node circuits completed” will pop up in the bottom left of your screen when you’re done.
How to Connect the Bottom Right Arc Node Conduit
The easiest Arc node conduit circuit is the one at the bottom right of both the central node and the bottom right building. Almost everything you need to do is within. Head down through the opening in the floor, then through the ripped metal hole for the first node. Activate it, the travel along this pathway:
- Out of the holes and to the node near the two boxes.
- Go to the node behind the pillar just across the room.
- Go to the node by the doorway.
- Out of the doorway and on the near wall in shadow to your right, also by some boxes.
- Shoot the central node.
How to Connect the Top Left Arc Node Conduit
Once you complete the first connection, two new enemy types will spawn. Harpies will begin to fill the skies and float around above the rooftops. The more immediate threat is the Supplicants, exploding Harpies that will chase you around and blow up when they’re near you. You’ll be able to hear their high-pitched beeping as they get closer. One might not kill you, but several of them certainly will.
The starting node for this section is in a small outbuilding on the rooftop of the bottom right structure. Harpies will likely swarm it, so clear them and activate the node. The order from start to finish is as follows.
- From the start, head out the doorway and activate the node to your right attached to the machinery.
- Jump down onto the main path and look for the node attached to the roof of the bottom right building.
- Jump back onto the roof and shoot the node in the far outbuilding.
- Turn around and shoot the node attached to the machinery with the pods.
Shoot the central node.
How to Connect the Bottom Left Arc Node Conduit
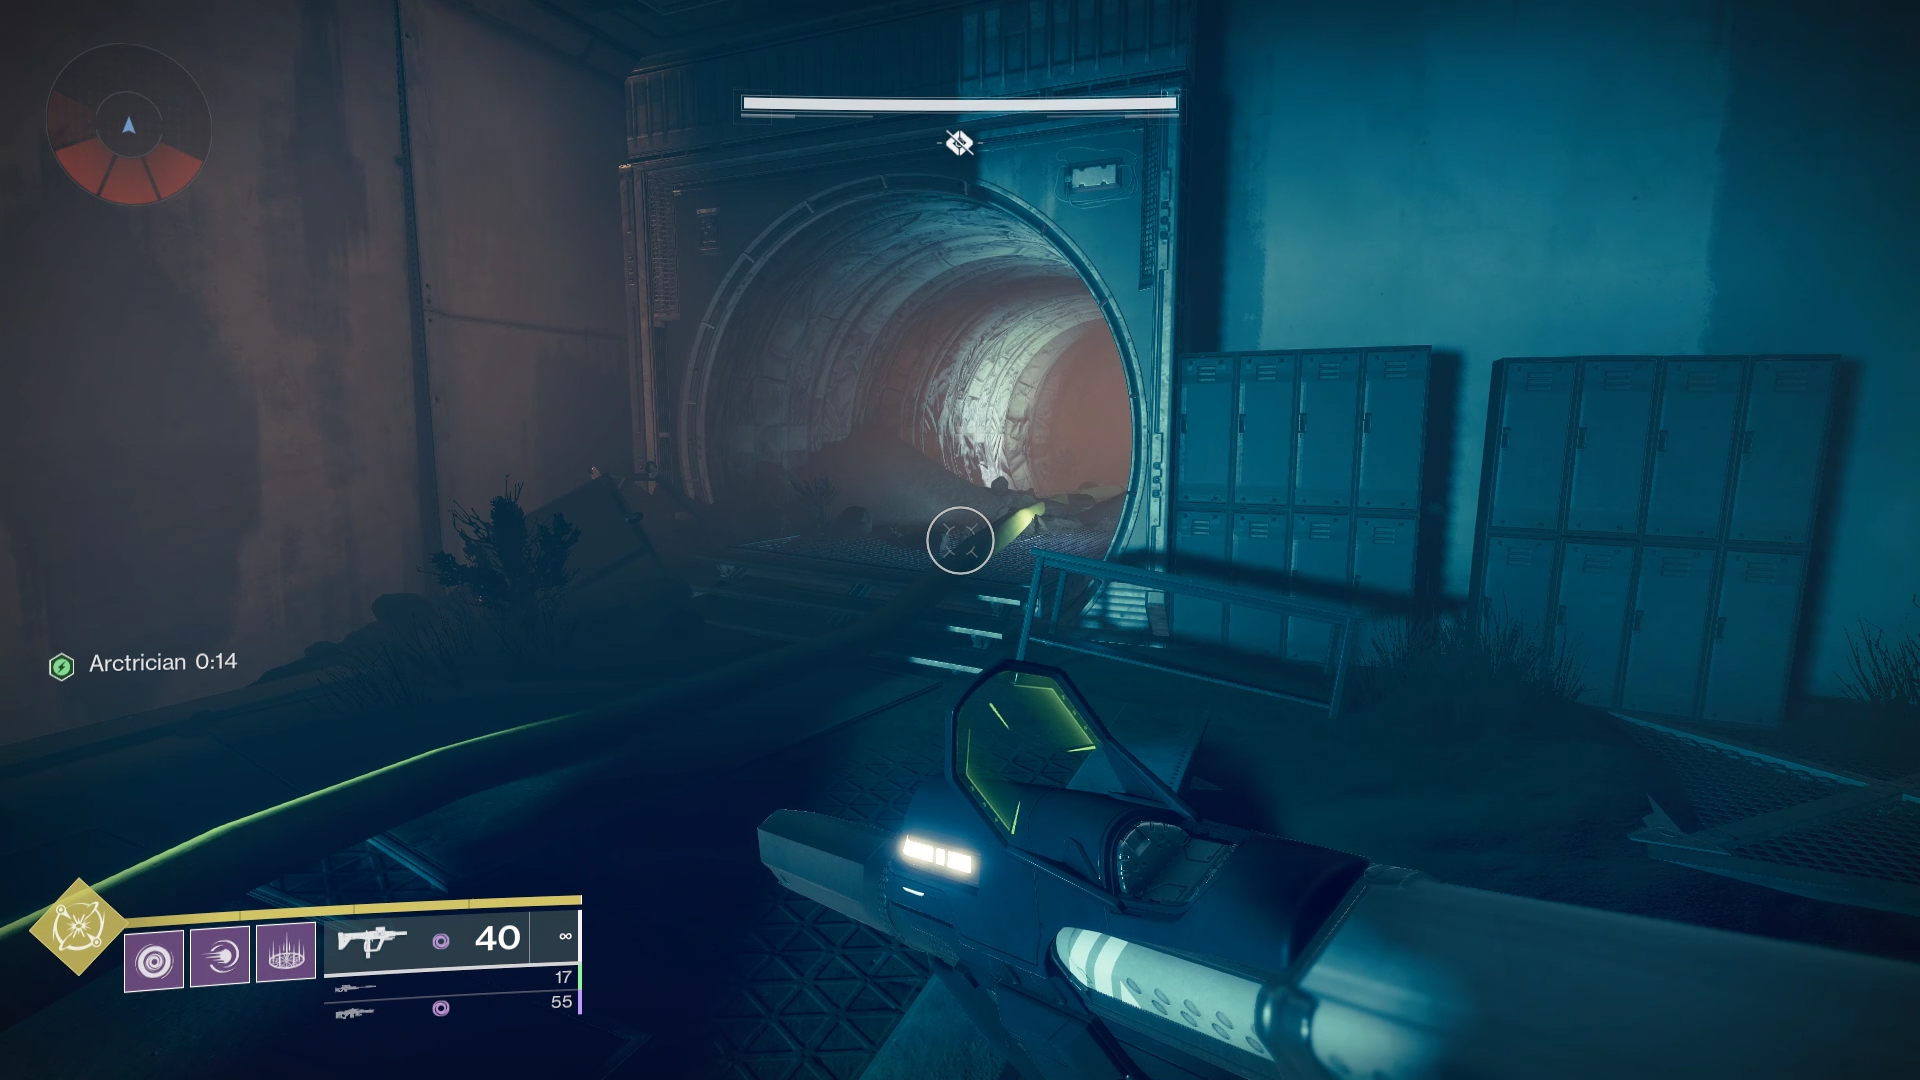
Oddly, the bottom left building leads to the top left Arc node conduit. To activate the bottom left one, head to the top right structure, and at the back of the room is a tunnel leading beneath the cliffs.
The first node is attached to some machinery in a small area at the other end of the tunnel. Activate it, head back to the main encounter area, and activate the additional nodes in this order.
- There is a node at the back of the building behind some mainframes. Shoot it.
- Head outside and turn right. Head to the building nearer the entrance to the encounter area. You should see the node on the upper wall to your right.
- Shoot the central node.
- Remember to clear any Harpies, Supplicants, or Cyclops that appear.
How to connect the Top Right Arc Node Conduit
The final Arc node conduit starts at the back of the encounter area, on the wall facing the spire on the right side. From there, follow the wires to the additional nodes in this order.
- Jump up onto the rooftops, travel all the way to the other end of the rooftop, and shoot the node on the side of the outbuilding near some tubes.
- Turn around and hug the right side of the rooftops, then head into another outbuilding for another node.
- Shoot the central node.
Once you complete the final connection, the blast doors on the ground will lower and open, giving you access to the next section of the Dungeon. There’s lots more to cover about Spire of the Watcher, and we’ll be going through it all here. Our Destiny 2 guides hub will have all of it, so head there now for more.


Published: Dec 11, 2022 02:53 am