It wouldn’t be a new CoD without a horde mode to play with your buddies, and Call Of Duty WW2 is no exception. Finally more horror-focused, this version of the classic Zombies Mode is less tongue in cheek than the totally tubular ’80s rendition from last year’s Infinite Warfare.
Every Zombie Mode iteration, of course, has to bring in movie stars for its main characters, and this time we’ve got Dawn Of The Dead alum Ving Rhames to offer his trademark commentary while we wade through hordes of Nazi zombies. Dr. Who fans will, of course, recognize a certain Mr. Tennant as well.
Below we cover everything you need to know to get started with Nazi Zombies, from picking your loadout to powering up the map.
 Ready to kill some zombies, Ving?
Nazi Zombies Party Loadouts
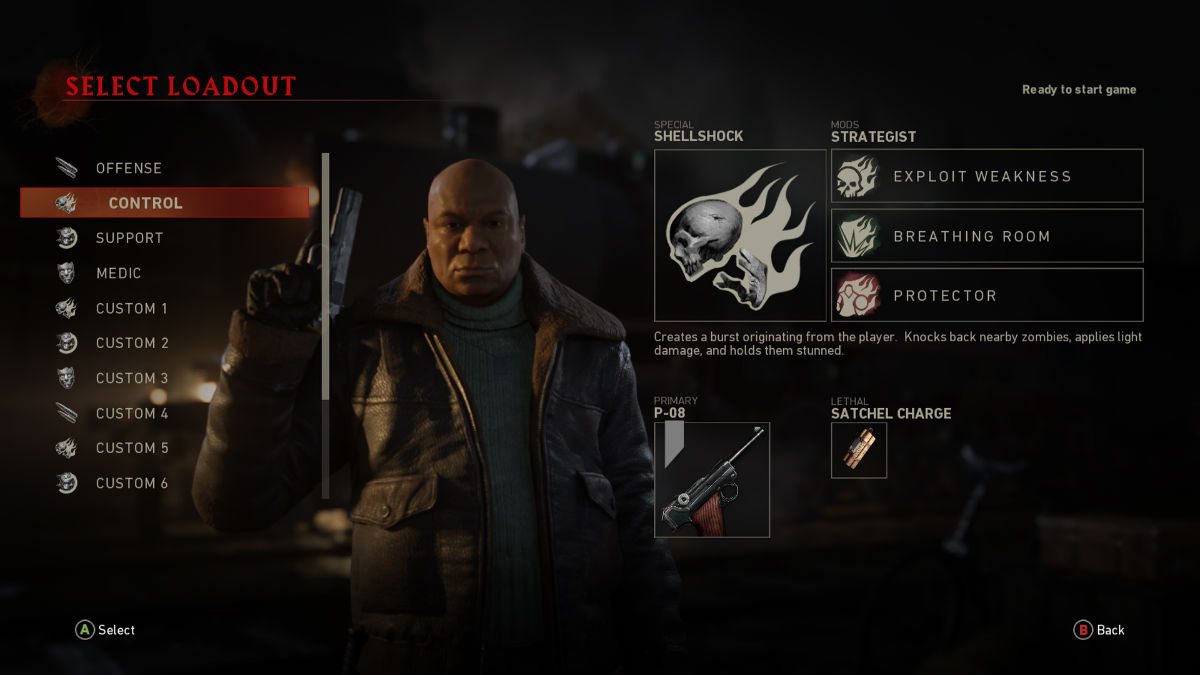
The new WW2 loadout system gives you specific abilities at the start and lets you power up your character in different ways. While all the basic or custom loadouts are viable, one is head and shoulders better than the rest:
The Medic’s Camouflage ability is hands-down the best offering in Nazi Zombies. Having every enemy on the map ignore you (so you can either mow them down unhindered or get away quickly to re-up your ammo or armor) is an absolutely huge advantage.
In a full group, though, multiple loadouts can work well together in tandem. For instance, Shellshock, from the Control loadout, can be a lifesaver in hairy situations where you are surrounded.
Make sure to complement your loadout by picking up randomly dropped power-ups when zombies go down. The Insta-Kill power-up is one to always be searching for, as it lets you kill any zombie with a single bullet, no matter where they are hit.
Regardless of loadout or power-ups, make sure to grab some armor and an auto-revive at the stations located around the map. If you are soloing, you simply can’t progress without an auto-revive, but it’s still very helpful even if you have a full party.
If your friends are low on funds and need an auto-revive or some ammo, don’t forget you can drop excess jolts to give to other party members using the D-Pad.
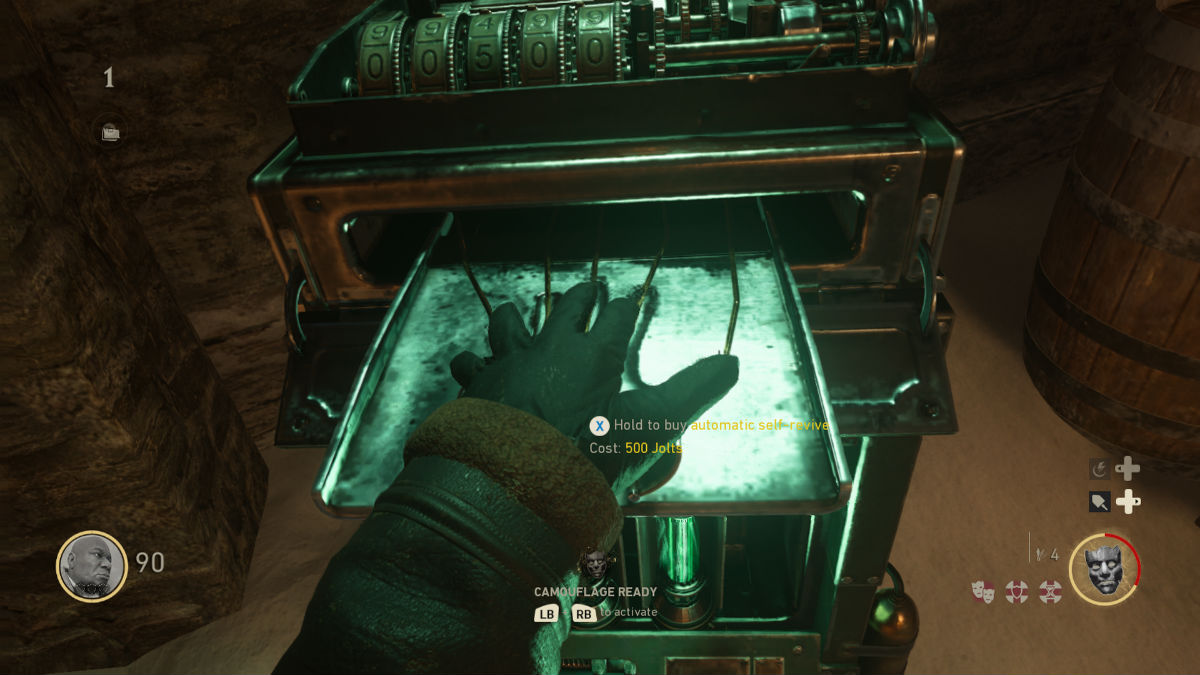 500 jolts is a small price to pay to stay alive!
Restoring Power/Opening The Sewers
After opening the first gate in the starting alley, you will quickly come across a generator in Village Square connected to a device that opens up a hole into the sewers. The generator isn’t working, though, and you need to activate it by pumping several valves.
Restoring power to the door doesn’t just give access to new locations and weapons, but more importantly, it gives you breathing room to maneuver. The waves very rapidly escalate, and there’s not much space to lead zombies on chases or get into position in the early section of the Final Reich map.
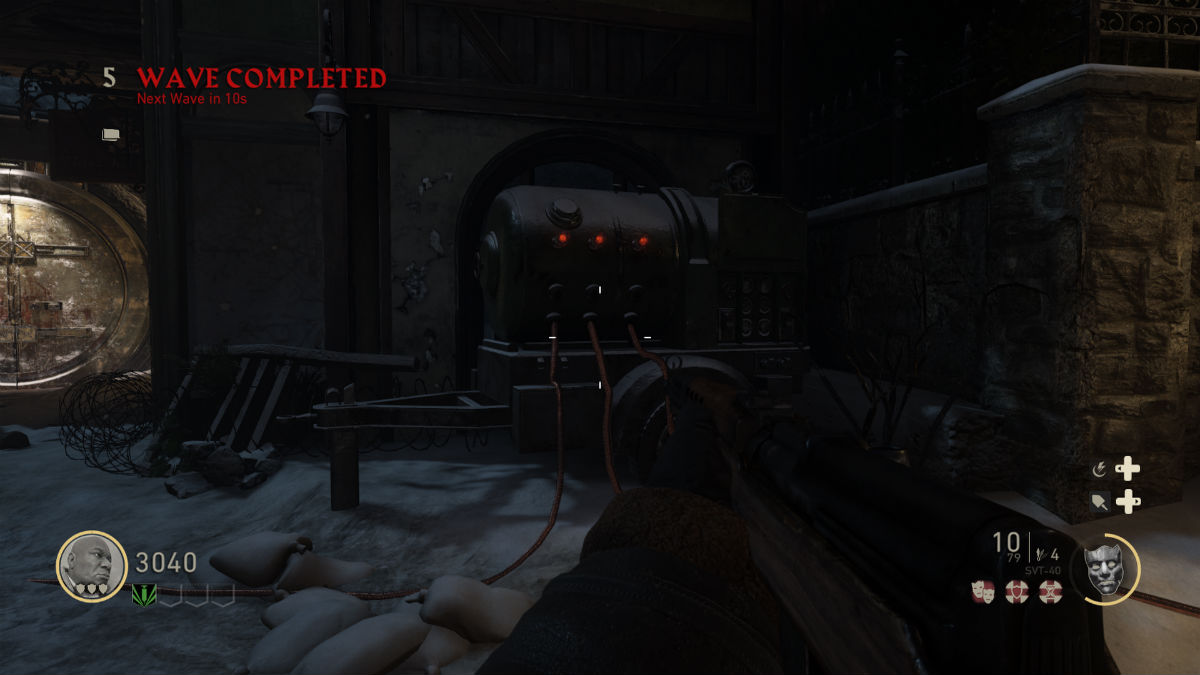 Village Square Generator
The three valves take time to turn on, so you either need someone watching your back while you turn them, or you should wait until the very end of a wave to get started. If you picked the Medic loadout, using Camouflage is also a great way to turn on valves without getting eaten.
You can find the valves by following the cables running on the ground and across the buildings from the generator. Following the cables, you can find the three valves in these locations.
- Next to the armor station in Village Square
- Outside the bunker door in Village Square
- Through the Riverside gate (1,500 jolts to unlock)
After all the pressure valves are on, use the pilot light near the bunker door to blow a hole in the ground and open up a new area. Be ready for a surprise wave of flaming zombies!
 Turning on a valve
That only helps with Village Square, though! To turn on power across the map, you need to redirect power to the command room by using the power stations in the Mortuary and the Laboratory.
There’s a strict time limit here, as both must be turned on one after the other, which is much easier to do with a team. After the power is rerouted, you can access the Salt Mine door through the command room (1,500 jolts) and then turn on power across Final Reich.
Weapons And Upgrades in WW2‘s Nazi Zombies
Oddly enough, the shovel can be used in the first round or two to conserve ammo and save jolts, but from there, you will need a new weapon to upgrade your sad pistol.
The first wall shotgun (available just after unlocking the first fence) is worse than useless. While it can stop a zombie in its tracks right in front of you, the two shot limit and massively-long reload time leave you far too vulnerable to be worthwhile.
Your first picks should be the automatic pistol and then a trusty rifle for better aim. It’s a good idea to have both a spraying gun for the fast moving pest zombies and an aiming rifle type weapon for the slower moving normal undead.
Although more powerful versions of all guns become available as you unlock new areas, upgrading your existing guns is absolutely essential to survival. The zombies constantly get more powerful, faster, and come in larger numbers, so the base versions won’t cut it for long.
Guns are upgraded at a station in the sewers beneath the Village Square, but unlock the upgrade station is a quest all on its own. For full details, check out our complete Pack-A-Punch guide here.
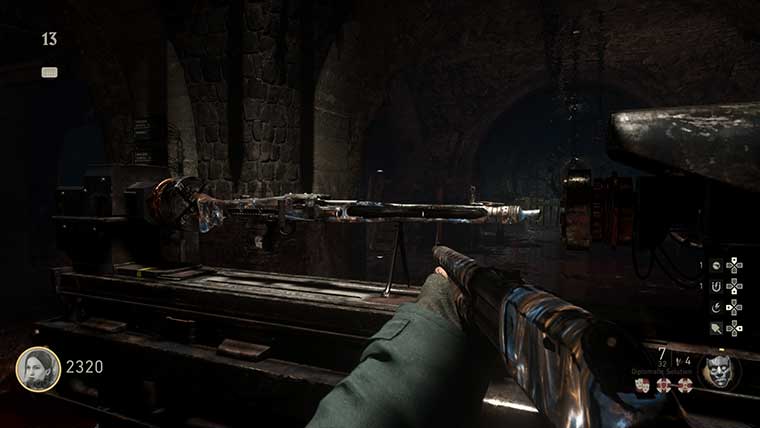 Upgrading a weapon at the Pack-A-Punch
Those are all the basics you need to know to get started surviving waves in Call Of Duty WW2’s revamped zombie mode! Have fun exploring the area while learning the map’s secrets, and stay tuned for a full Easter Egg guide coming soon.
Need help with any other part of the game? Take a look at our full list of Call Of Duty: WW2 guides here.


Published: Nov 3, 2017 03:47 pm