In Rebel Galaxy Outlaw, your mission isn’t to conquer all of space. Instead, you’re trying to make as much money as possible and survive any fights that come your way. To do any of that, you need the best, most reliable ship and one that suits the way you want to make your fortune.
A bounty hunter will need something different from a merchant hauler who’ll need something different from a pirate.
This guide aims to give you the lowdown on every ship in Rebel Galaxy Outlaw, why you should or shouldn’t use them, and how to outfit your perfect build. We’ll also discuss the basics of ship-to-ship combat, so when you do run into trouble, you’ll know how to take out your enemies or make it out alive.
Nine of Ships
There are a grand total of nine ships in Rebel Galaxy Outlaw as of writing, though four of them are refits/retoolings of the regularly available models. These additional ships are only available after finishing the Bountiful Vista quest in the Eureka system. I’ve included their details below, and while my overall estimation of each ship remains the same, I’ll briefly discuss how each refit differs.
That said, every ship has its place, and though some are better than others at certain tasks, you can make thousands upon thousands of credits with any of them.
Yes, even the Platypus.
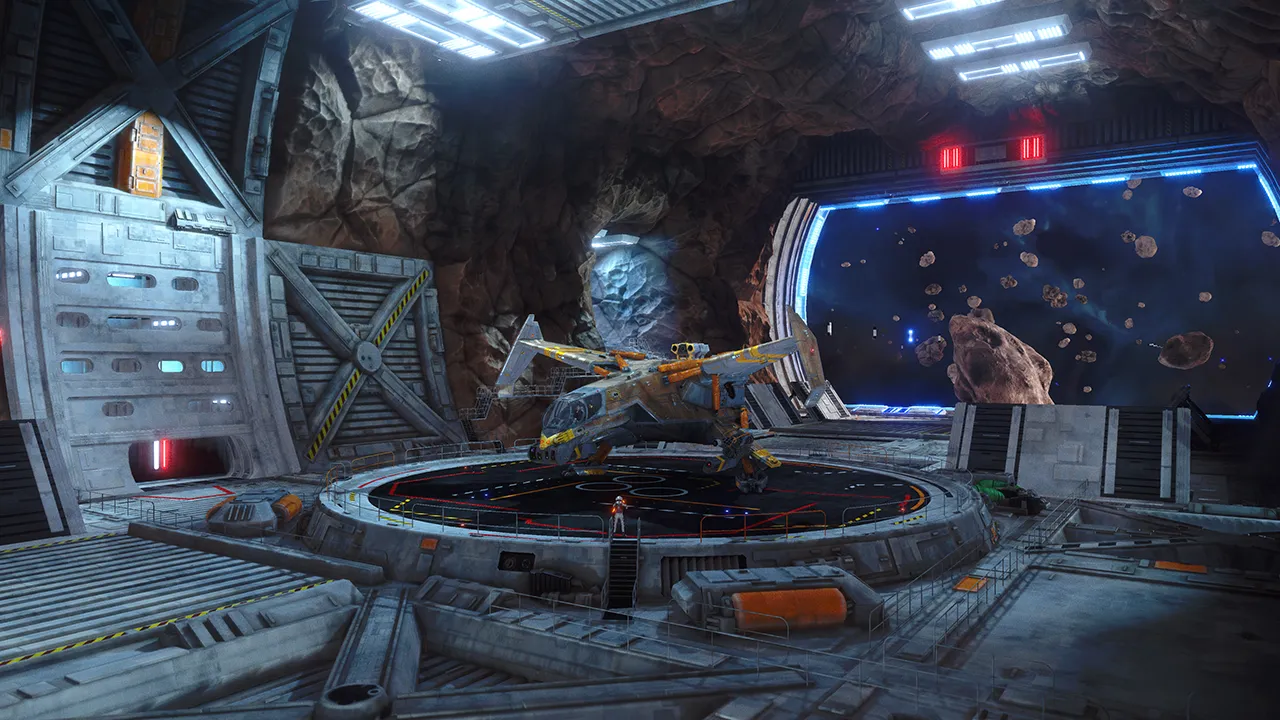
The Platypus
Basic Stats
- Base Speed: 360 MPS
- Maneuverability: 80 DPS
- Hull: Light
- Weapon Hardpoints: 2
- Missile Hardpoints: 1
- Component Slots: 2
- Hold Size: 10
- Turrets: 0
- Max Shield Rank: 2
- Max Powerplant Rank: 2
- Max Cargo Rank: 1
- Price: 7,000 Credits
Don’t look down on the starter ship too much. What it lacks in power, defense, and maneuverability, it makes up for in hefty cargo space and a good number of weapon hardpoints for its size and cost.
In the early-game systems, and even some of the ones with a “High” threat level, you can spend a few hours running cargo or taking on low-risk bounty missions. Equip your scow with a Cargo Extender 1 (the only version you can use), and you’ll have a respectable 14 units of cargo space. With that kind of hold, you can have two or three cargo missions going at once.
You’ll also be in a good position for extended bounty hunting or freighter assault. Because every piece of potential cargo in the game takes up a single unit of space in the hold, even the humble Platypus can haul around tens of thousands in contraband. That much valuable cargo is worth dozens of times more than the Platypus’s 7,000 credit price tag.
Another thing: if you want a way to increase the Platypus’ damage, invest in a high-end missile launcher. It’ll transfer to whatever ship you buy next, and will pay for itself in both credits and damage output.
All that said, even with a fully kitted Platypus — top-tier armor, shields, powerplant, etc. — you won’t be able to do much outside the early areas. Not that you absolutely can’t complete the game with just the starter ship, but unless you’re a master of evading fire, you won’t have the DPS required for the later missions. Two turret hardpoints won’t breach the shields of endgame enemies before their friends rip you apart.
The next ship in the lineup can boast a much more reliable survival rate.
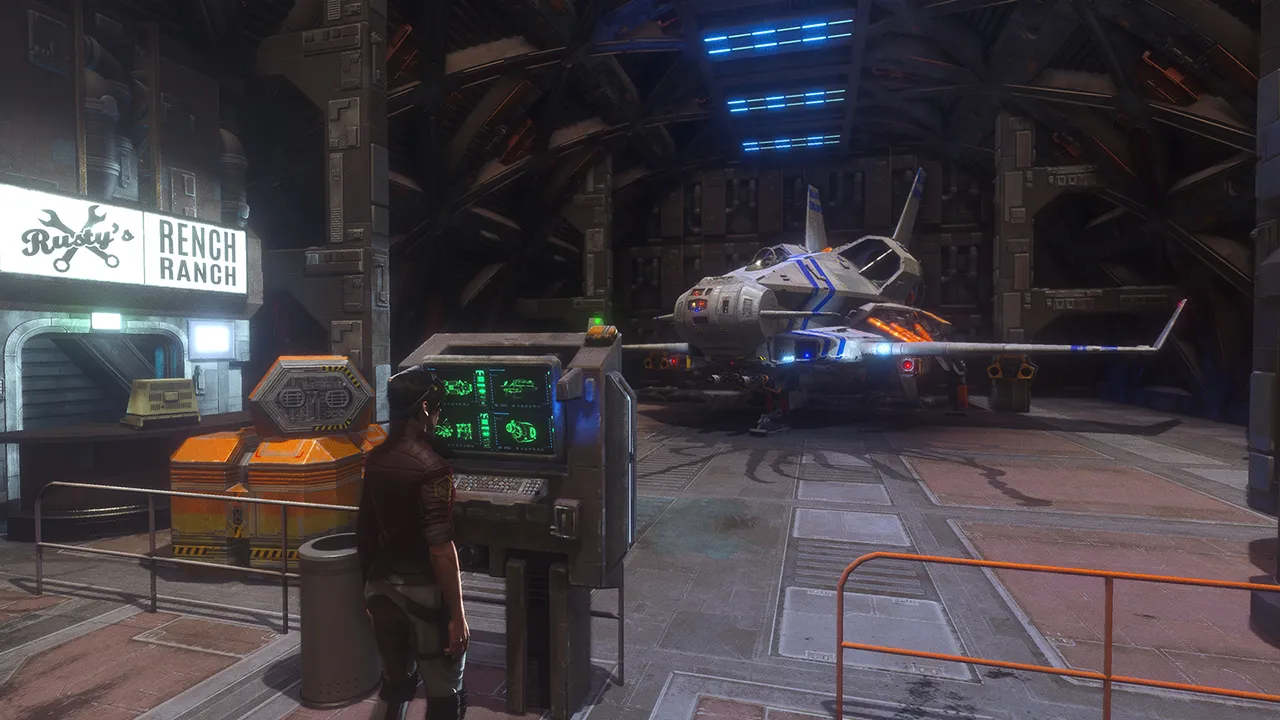
The Sonora
Basic Stats
- Base Speed: 370 MPS
- Maneuverability: 80 DPS
- Hull: Medium
- Weapon Hardpoints: 3
- Missile Hardpoints: 1
- Component Slots: 2
- Hold Size: 12
- Turrets: 1
- Max Shield Rank: 2
- Max Powerplant Rank: 2
- Max Cargo Rank: 2
- Price: 100,000 credits
For the price, there are no better ships in Rebel Galaxy Outlaw than the Sonora or its refit the Sequoia. They’ve got better cargo space than everything but the Durston; a thicker hull than everything but the Durston; more DPS than the Platypus; and more survivability than any other ship in space if you play your cards right.
The Sonora does absolutely everything you will ever need out of a ship. With a full kit of end-game gear (that it can equip anyway), it’s the fastest non-combat oriented ship around. It’s relatively agile for the thickness of its hull.
You’ll be hauling up to 16 units of expensive goods, and best of all, you’ve got an extra weapon hardpoint to dish out some serious damage.
Will it take down a similarly equipped SandHawk or Coyote? Probably not, but a good pilot with a lesser ship will overcome a poor pilot with a better ship almost every time.
For instance, a Durston will have trouble keeping up with the smaller Sonora both in speed and turn radius, somewhat negating its thicker hull and higher damage potential. And while the Coyote and SandHawk are more maneuverable, they’re also flimsier, sporting only Light hull types, putting the DPS race on more even ground.
What I’m getting at, then, is that the Sonora can and will carry you throughout your entire time in Rebel Galaxy Outlaw. There are other ships better and specific things, but nothing beats a Jack of all trades.
The Sequoia
- Base Speed: 380 MPS
- Maneuverability: 85 DPS
- Hull: Medium
- Weapon Hardpoints: 3
- Missile Hardpoints: 2
- Component Slots: 2
- Hold Size: 16
- Turrets: 0
- Max Shield Rank: 2
- Max Powerplant Rank: 3
- Max Cargo Rank: 3
- Price: 120,000 credits
The Sequoia is in many ways just a better Sonora, as is essentially the case for each of the Bountiful Vista ships on offer. More firepower, more missiles, better powerplant options, more cargo space, and more maneuverability — this things got it all. There is no better argument for going out of your way to complete the Bountiful Vista quest than this ship right here.

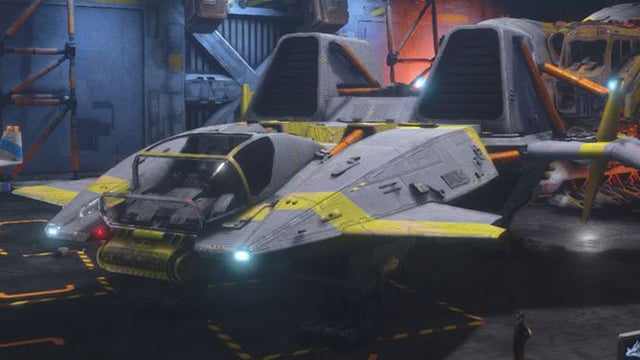
Sandhawk
Basic Stats
- Base Speed: 440 MPS
- Maneuverability: 110 DPS
- Hull: Light
- Weapon Hardpoints: 4
- Missile Hardpoints: 1
- Component Slots: 2
- Hold Size: 6
- Turrets: 0
- Max Shield Rank: 2
- Max Powerplant Rank: 2
- Max Cargo Rank: 1
- Price: 107,000 credits
If destruction is your only goal in Rebel Galaxy Outlaw, then you’ll be rocking a SandHawk until you can pull together big money. It’s fast, it’s powerful, and won’t be nuking your bank account from orbit.
The SandHawk’s biggest advantage is its sheer speed. No other ship matches it, allowing you to get into and out of fights on whichever terms you’d like. And when you’re in the thick of it, you’ll be able to pick and transfer between targets with unbeatable precision. Tracking enemy ships is a breeze, too, because you aren’t fighting thousands of tons of extra steel.
Your biggest struggle in a SandHawk will be keeping your power supply in check. You’re limited to just a Mk 2 Powerplant, but you’ll be managing four different turrets, shields that tend to drop too quickly, and engines that want full throttle when you can let them have it.
Piloting a Sandhawk is like a delicate, fast-paced dance. You don’t want to sacrifice too much of the speed that gives you an advantage, but without the means to pump up your defenses, you won’t last long in many of the fights the game throws at you.
My advice? In one- or two-on-one fights, keep your engines revving, but give your shields a little boost in less-favorable engagements. And if there’s ever a ship to count on if you have to make a quick exit, it’s the SandHawk.
The Blood Eagle
- Base Speed: 440 MPS
- Maneuverability: 110 DPS
- Hull: Light
- Weapon Hardpoints: 4
- Missile Hardpoints: 2
- Component Slots: 2
- Hold Size: 6
- Turrets: 0
- Max Shield Rank: 2
- Max Powerplant Rank: 3
- Max Cargo Rank: 0
- Price: 155,000 credits
Want to make your SandHawk an even meaner combat machine that could care less about anything except death? Well, my friend, the Blood Eagle is for you. There’s no extra room for cargo here, just more bullets. This ship is as fast and maneuverable as its standard-issue brethren but packs a much heftier punch. You won’t be pulling as much salvage from your endless raids, but if you’re rocking a Blood Eagle, destruction is its own reward.

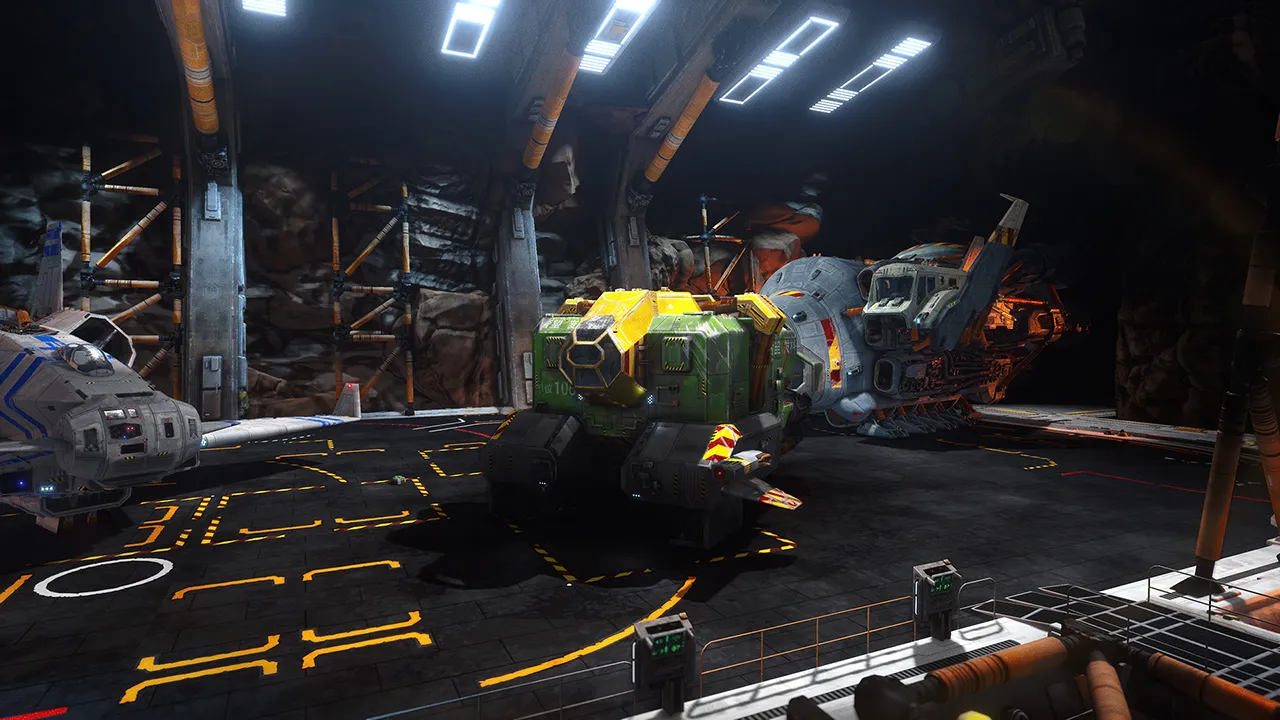
The Durston
Basic Stats
- Base Speed: 300 MPS
- Maneuverability: 70 DPS
- Hull: Heavy
- Weapon Hardpoints: 4
- Missile Hardpoints: 2
- Component Slots: 2
- Hold Size: 24
- Turrets: 2
- Max Shield Rank: 4
- Max Powerplant Rank: 4
- Max Cargo Rank: 3
- Price: 180,000 credits
If you don’t mind a lot of extra after-market cost, the best overall ship in Rebel Galaxy Outlaw is probably the Durston.
It’s got immense defense, both in its armor and its shield capabilities. It’s got more weapon and missile hardpoints than you’ll know what to do with, more power than you’ll ever need, and almost too much cargo space.
Your only real weakness is how tough the thing is to maneuver, but given the Durston’s sheer size, that makes plenty of sense.
A Durston can take almost any fight it’s caught up in, and if you find yourself in an unwinnable situation, I’m liable to blame the pilot and not the ship.
Why? The Durston can equip the best of literally everything. The best shields. The best powerplant. The best cargo expansion. The best armor, weapons, — anything you want to put on the thing, it can equip.
True, even an Mk 4 powerplant might squeal from all the different systems it has to energize. Delineate your power circulation correctly, however, and you can make mincemeat out of even the toughest situations.
The one problem you will run into with a Durston is overcommitment. If you take a fight that suddenly turns sour, I’m sorry to say you’re probably dead. The Durston doesn’t have the acceleration to escape hostile situations fast enough. You can always try pumping your shield and hoping, but, at least in my case, by the time I realized my tank had sprung a leak, things had already escalated too far.
My earliest statement still stands despite these last quibbles. There’s no better ship in the game so long as you’re willing to deal with the up-front cost of equipping it properly. Not even the final entry on our list.
The Beluga
- Base Speed: 300 MPS
- Maneuverability: 70 DPS
- Hull: Heavy
- Weapon Hardpoints: 4
- Missile Hardpoints: 1
- Component Slots: 2
- Hold Size: 20
- Turrets: 3
- Max Shield Rank: 4
- Max Powerplant Rank: 4
- Max Cargo Rank: 3
The Beluga is a more specialized, combat-oriented variant on the classic Durston, with three turret hardpoints at the cost of missiles and cargo space. Turrets are incredibly effective damage dealers in the right hands, and coupled with the Beluga’s heavy armor and shield capacity, you’ll have plenty fo time to switch between them as you’re swarmed by smaller, faster ships. Increased turret points also help alleviate the Beluga’s poor maneuverability, as you won’t have to reposition the ship to take out hostiles. All you’ll need to do is swap between your various turrets. I’m of the mind that the Durston is still a slightly better option, but that will ultimately come down to taste.
The Coyote
Basic Stats
- Base Speed: 430 MPS
- Maneuverability: 100 DPS
- Hull: Light
- Weapon Hardpoints: 6
- Missile Hardpoints: 2
- Component Slots: 2
- Hold Size: 5
- Turrets: 0
- Max Shield Rank: 4
- Max Powerplant Rank: 4
- Max Cargo Rank: 1
The Coyote, the very best (at combat) there is. If you absolutely, positively must kill every other ship in space, accept no substitute. You won’t do big cargo runs in this thing. You undertake long treks for small payouts, and you won’t pay less than top dollar for the most powerful ship on the market.
While I think it’s is the best ship overall, even the Durston holds no candle to the sheer destructive capabilities of the Coyote. In this ship, you’ll obliterate the Platypus, outshoot the SandHawk, and give a Sonora the worst day of its life.
Your only weakness is the lower strength of your hull and the small size of your cargo hold.
That last factor can be a killer if you’re trying to gobble up all the juicy salvage from your latest kill. With a maximum of only nine units of cargo hold space, you’ll need to memorize the most valuable loot in Rebel Galaxy Outlaw and prioritize accordingly.
The other balancing act, much like the larger Durston, is your power output. Though an Mk 4 powerplant can do a lot, if it takes even a little damage in combat, your six guns will drain it faster than you’d like. Thankfully, because the Coyote’s speed is only 10 MPS lower than the SandHawk’s, you’ve got essentially the same escape potential.
I’d wager that the only “escaping” you’ll be doing in this ship, however, will be from the scene of yet another massacre.
The Dingo
- Base Speed: 400 MPS
- Maneuverability: 95 DPS
- Hull: Light
- Weapon Hardpoints: 4
- Missile Hardpoints: 4
- Component Slots: 2
- Hold Size: 8
- Turrets: 0
- Max Shield Rank: 4
- Max Powerplant Rank: 4
- Max Cargo Rank: 2
Like the Sequoia to the Sonora, the Dingo is essentially a straight upgrade to the standard-issue Coyote. You sacrifice a bit of speed and agility for a major increase in damage potential and a slight improvement in cargo capacity. If you’ve put in the time to upgrade Bountiful Vista to its fullest potential and want to obliterate everything that stands in your way, the Dingo is a no-brainer of a purchase.
Making Your Perfect Build
Rebel Galaxy Outlaw doesn’t offer the largest customization suite, but there’s enough here to make a few worthwhile builds that follow a core set of rules. Those rules are:
- Maximize your damage output
- Maximize your defense
- Maximize your cargo space
- Optimize your power consumption
Unlike more granular space simulators, in Rebel Galaxy Outlaw, your only real economy games are damage optimization, power consumption, and rocket/deployable count.
Those first three are linked at the hip. The amount of power your ship delineates to each system determines everything else about its operation. Too much power to your shields makes your weapons energy hogs. Put too much energy into your weapons, and suddenly you move at a snail’s pace.
For the time being, though, let’s focus on what the best builds look like.
Optimal Damage Build
There are three different kinds of weapons in Rebel Galaxy Outlaw:
- Energy blasters: heavily affect shields and draw on the powerplant
- Projectile blasters: take down armor that has a reload time
- Missiles: pack a punch on both shields and armor; have finite ammo
In my experience, you’ll want to mix and match your Weapon hardpoints with some parts energy and some parts projectile.
There are a few reasons to split damage duty, but the most important is that energy weapons have no downtime. You’ll be waiting about three seconds on average for projectile guns to reload after they’ve exhausted their ammo supply. Even if you don’t do a ton of damage to the enemy’s hull, some damage is better than none if it’s consistent.
As for which weapons to use, that depends entirely on the power supply your ship has on hand.
For lower-power ships like the Platypus, Sonora, and SandHawk, my preferred setup is at least:
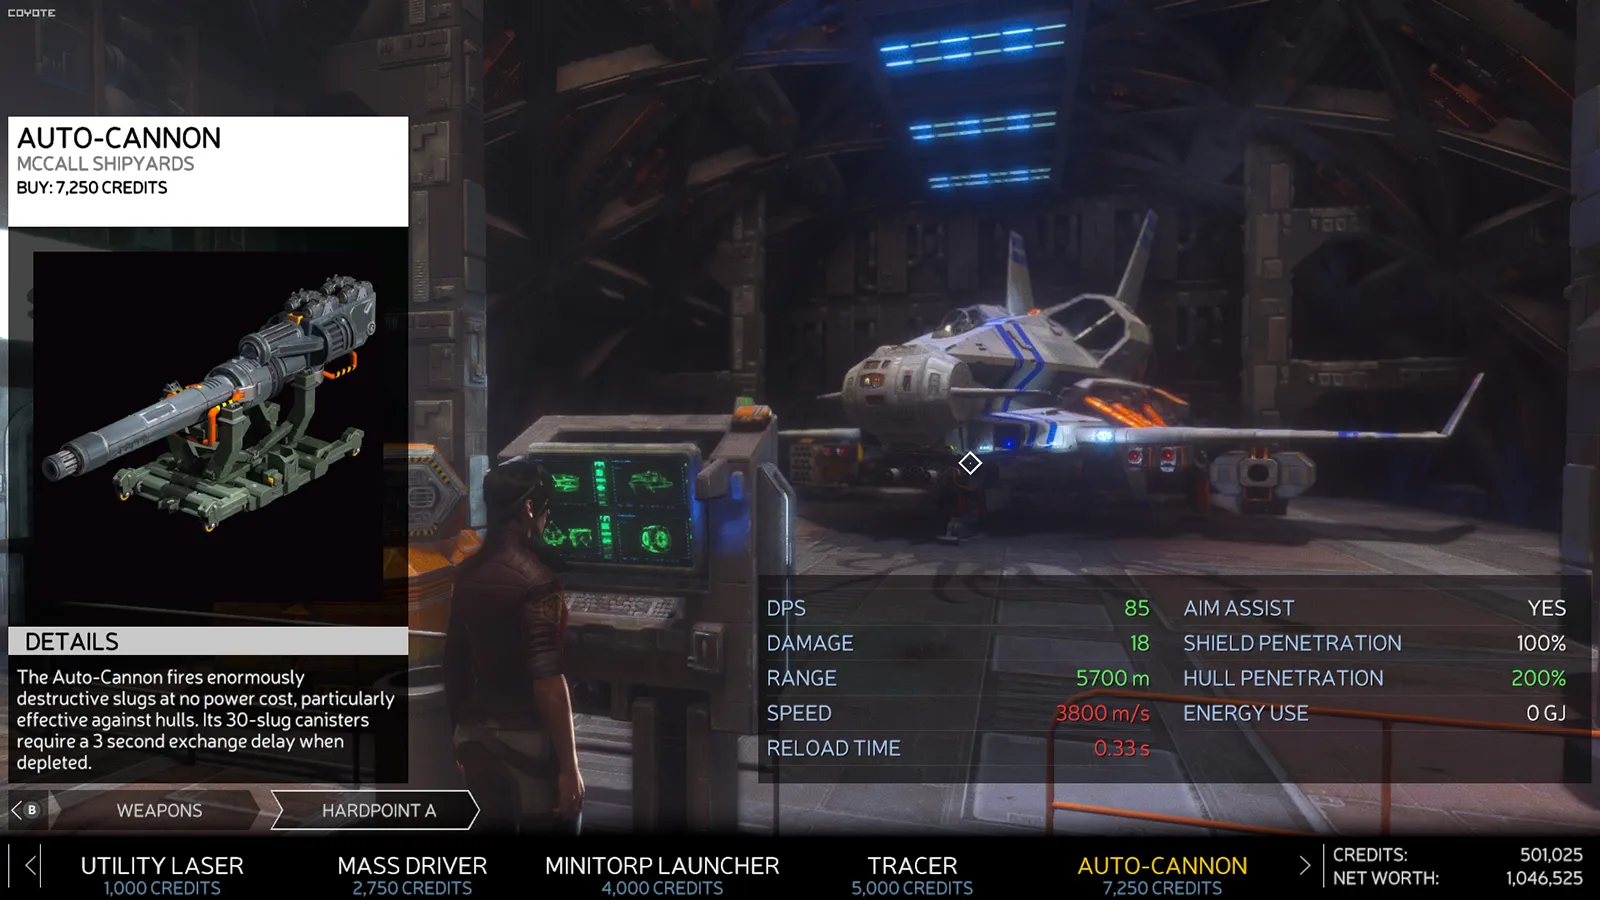
- Two Auto-Cannons
- A single Photon Cannon
For the SandHawk, the fourth weapon hardpoint is up to you, but I’d recommend something with a fast fire rate and low downtime.
On ships like the Durston and Coyote, you have a little more freedom, especially with the freighter and its more limited hardpoint count. I’d steer clear of the Tachyon Gun on the Coyote only to ensure you’ll have plenty of power for shields and your other weaponry.
In both cases, I think a 50:50 split between energy and projectile is ideal. The former keeps your enemy’s shields down, the latter tears through their armor.
As for missiles, the ImRec and Swarm launchers are always my go-to. Their ammo capacity is a bit lower, but combined with a constant onslaught from your turrets and a little conservatism with your missile usage; you’ll hardly be through half your capacity before everything on the field is space debris.

Optimal Defense, Power, Cargo Space Build
These are pretty straightforward. You want the best armor and shields money can buy. The same is true of your power supply.
Invest early in Duratanium Armor and either a Shield Generator 2 or 4 (as your ship allows). You’ll also want an ECM 3 for the inevitable barrage of missiles you’ll encounter.
Load up with either a Powerplant 2 or 4 (again as your ship allows) to ensure you’ll have as much juice as your weapons and shields need.
For cargo space, you’ve got two main options: smuggler or merchant.
As a merchant, all you care about is carrying as many goods as possible, so invest in the highest level Cargo Extender your ship allows. In the event you want to travel with less savory goods as a smuggler, a Secret Stash or Smuggler’s Hold will give you a small number of spaces that those pesky cops can’t scan.
Lastly, I’d recommend upgrading your Tractor Beam and Radar. A better tractor ensures you can scoop up salvage from far away, of course, but a good Radar system makes dogfights much more bearable. I recommend any of the Ranger models, with the Infinity being your ultimate goal.

Ship-to-Ship Combat Basics
No matter how well-equipped your spaceship, without a working knowledge of how to fight, you won’t last long in Rebel Galaxy Outlaw’s Dodge Sector.
Below are the three primary skills you’ll want to develop if you’re going to survive.
Skill 1: Power Management
Key to any engagement is how you manage which systems receive the most power and which you let lay fallow. On a controller, you’ll bring this menu up with either Triangle (on PS4) or Y (on Xbox), and you’ll change your allocation settings with the directional buttons.
Your first priorities here are:
- Survivability
- Damage Output
Your ship defaults to an equal distribution across your shield, engines, and weaponry. These values will need to change depending on the ship you’re flying and where their vulnerabilities lie.
Fast ships are lighter on the armor, so you’ll need to prioritize your shields over your weaponry and your engines. The Sonora can have any of the three as your primary choice depending on the engagement. The Durston should focus less on its shields and more on its engines, helping you keep the smaller enemy in sight whenever possible.
Also, you’ll need different power allocation setups depending on the number of opponents you’re facing. In one-on-one fights, weapons take center stage. Ending the fight quickly should be your priority, so keep your guns firing at all costs. Larger-scale combat should put shields at the top of your list. When attempting an escape, try to strike a balance between engines and shields.
If you want to out-skill your enemies in fast ships, a healthy mix of engines and weapons will keep you one step ahead. Then you can pepper them of their fire and still have an escape option if one becomes necessary.
Skill 2: Tracking
Every projectile in Rebel Galaxy Outlaw, whether it’s energy or physical, has a travel time. That means you can’t just lock onto your enemies and let the computer do the shooting.
Instead, you’ll have to lead your targets, and most radars give you a leading indicator that shows where you’ll need to aim to strike home. This isn’t a skill I can teach in text, though. As you play, you’ll have to make a concerted effort to learn how to readjust your aim to account for your enemy’s movement.
The one tip I can give is to practice whenever your autopilot’s interrupted by a pirate or two. Instead of just spacing them, use their wild flailing as an opportunity to practice your tracking. Take a shot every few seconds to make sure you’re going to hit them, and once you’re satisfied with your practice, send them to hell.
Skill 3: Target Prioritization and Chasing
Many of the enemies in Rebel Galaxy Outlaw follow a hit-and-run attack pattern. That is, they’ll fly straight for you, shooting with every gun on their ship, then fly away for a few seconds before repeating the pattern.
Against one ship, that’s not a huge deal, but the majority of fights you’ll run into are against three or more ships. And all of them will be employing this tactic.
To combat this sometimes annoying tactic, you’ll need to learn to switch targets on the fly or to keep close-range opponents in sight to confirm the kill.
For that second point, use these tactics as a baseline. As an enemy ship flies past you, the best way to attach yourself to their tailpipe is to engage your afterburners while pulling back on the stick. That way, you’ll be making a hard 180 while still maintaining your speed. Keep an eye on your ship’s radar, and you should be able to tell which ship just buzzed by you. Odds are they’ll still be pretty close, and you’ll be behind them.
As for reprioritizing your targets, here are my hard and fast rules.
- Don’t be afraid to let one guy get away if it means you can take them all out. If there are multiple enemies on your tail, it’s better to ensure you can survive the next few seconds than it is to make sure one guy eats it. Use the below rule to get in a better position.
- Once you’ve lost your first target, listen. You’ll be able to hear where the nearest gunfire is coming from, and with some deft usage of afterburners and plenty of turn radius, you can catch your aggressor off guard.
- Finally, know who the real threats are. The big ships in a fight might be slow, but they’ve got the most firepower. The small ships don’t pack as big of a punch, but there are more likely to be a lot of them. You know which you have more trouble with, so take out your problem enemies first and deal with your easier targets afterward.
And that’s our guide to ships in Rebel Galaxy Outlaw. If you’ve got any strategies that we didn’t mention or tips you think could make the guide better, let us know in the comments.
Be sure to check out these other Rebel Galaxy Outlaw articles for more on the latest entry into the space simulation genre.
- The Best Ways to Make Money in Rebel Galaxy Outlaw
- Rebel Galaxy Outlaw Review: Fight On, Space Cowboy
- How to Play Rebel Galaxy Outlaw with a PS4 and Xbox One Controller
- Visit the Rebel Galaxy Outlaw article hub for more


Published: Aug 19, 2019 01:22 am