Course Correction, Chapter 3 of the Dead Space Remake, sees you take Isaac further into the Cameron-esque hellscape that is the USG Ishimura. As with the previous two chapters of the game, there are plenty of collectibles to be found as you make your way to the Centrifuge. These include logs, Nodes, and schematics, as well as a few weapons and upgrades.
While you’ll need to scour every nook and cranny of the ship’s bloody halls and corridors, you’ll automatically pick up several logs along the way, expanding on the game’s lore and story, including:
- Video Log: Engine Diagnostics
- Video Log: Kendra is Alive
- Audio Log: Engines are Refueled
- Audio Log: Centrifuge is Online
- Audio Log: They Found an Artifact
- Video Log: Go to the Bridge
- Audio Log: Nicole?
As with our Chapter 1: New Arrivals and Chapter 2: Intensive Care guides, this collectibles walkthrough will not include the Marker Fragments you’ll need to collect in order to get the alternative, secret ending in Dead Space Remake‘s New Game Plus. It’s worth pointing out that you’ll be able to get the following upgrades from the shop throughout Chapter 3: Course Correction:
- Kinetic Autoloader (Pulse Rifle Upgrade)
- Heat Accumulator (Plasma Cutter Upgrade)
- Ricochet Tracer (Ripper Upgrade)
- Gellafield Hydrazine (Flamethrower Upgrade)
All Collectibles in Dead Space Remake Chapter 3: Course Correction
Text Log (It’s Mine)
 Screenshot by GameSkinny
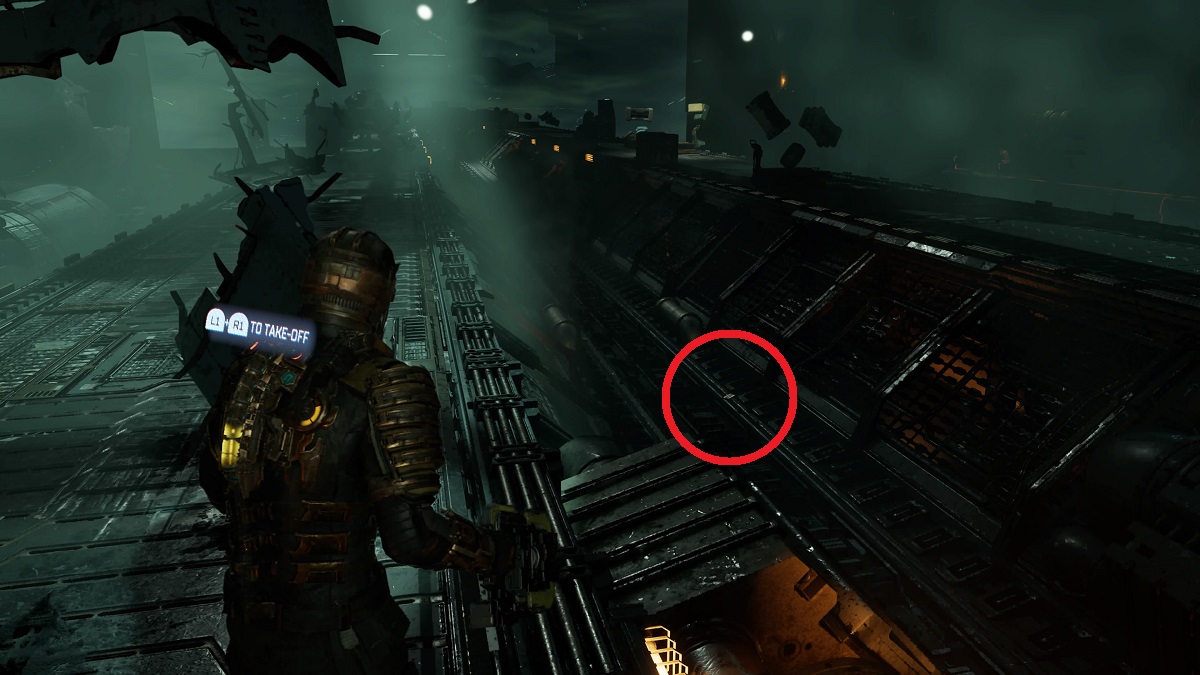
When you make it back to the hangar at the very beginning of the chapter, you’ll enter Zero-G on the platform leading to where the Kellion once was. As you walk down the platform, Hammond will open the hangar doors. Look into the trench on the right side to see a log on the ground. Use Kinesis to pick it up. It’s so early in the chapter that you’ll get the trophy or achievement for completing Chapter 2 and the graphic overlay for Chapter 3 when you’re near it.
Voelker’s Rig
 Screenshot by GameSkinny
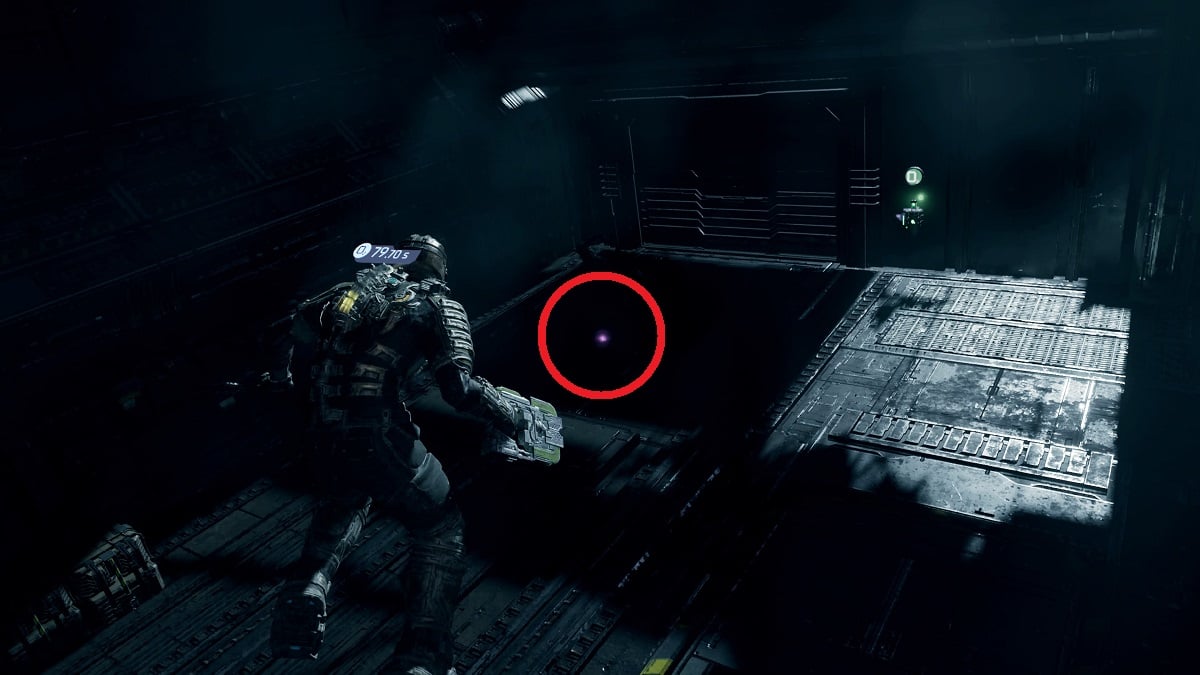
Continue forward, and you’ll eventually enter the vacuum. Stay on the left side, and you’ll see an oxygen recharge station and a bright purple light underneath a floating body. Interact with the purple light for the Rig.
Text Log (Growth)
 Screenshot by GameSkinny
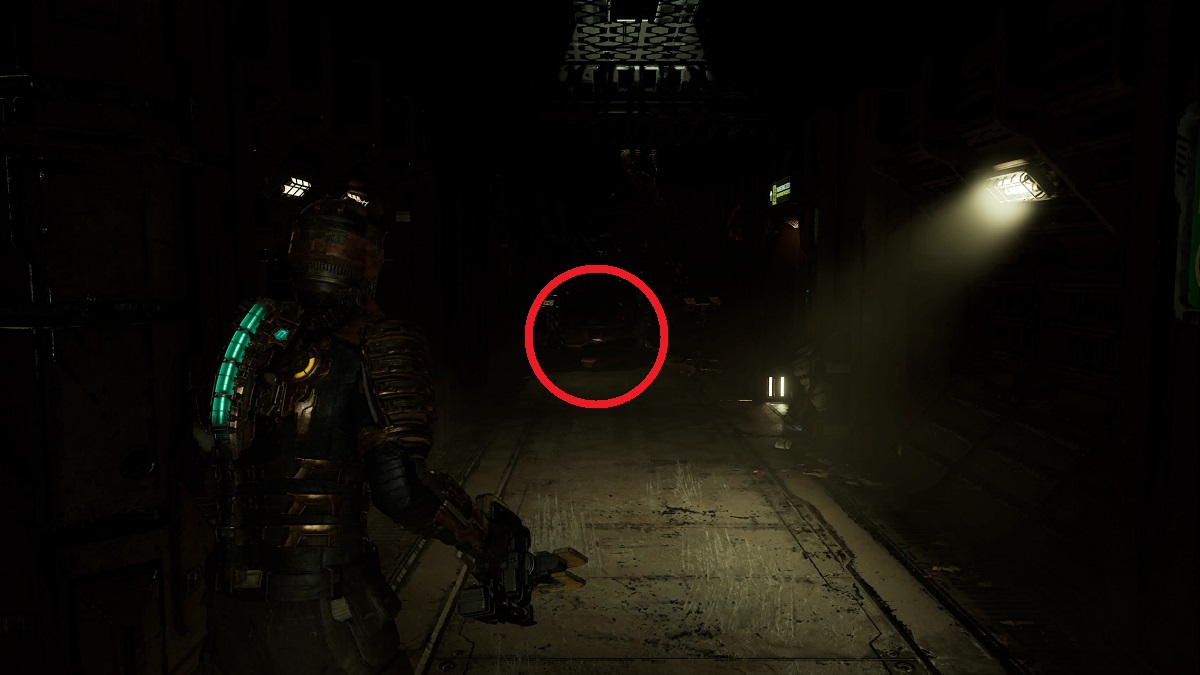
Follow the object, and you’ll eventually exit zero gravity through an airlock. Follow the hallway past a room labeled Cargo Hall Storage, and to the left. There is a growth at the end of the hall, with this audio collectible underneath it on a cart.
Audio Log (Temple’s Log 1)
 Screenshot by GameSkinny
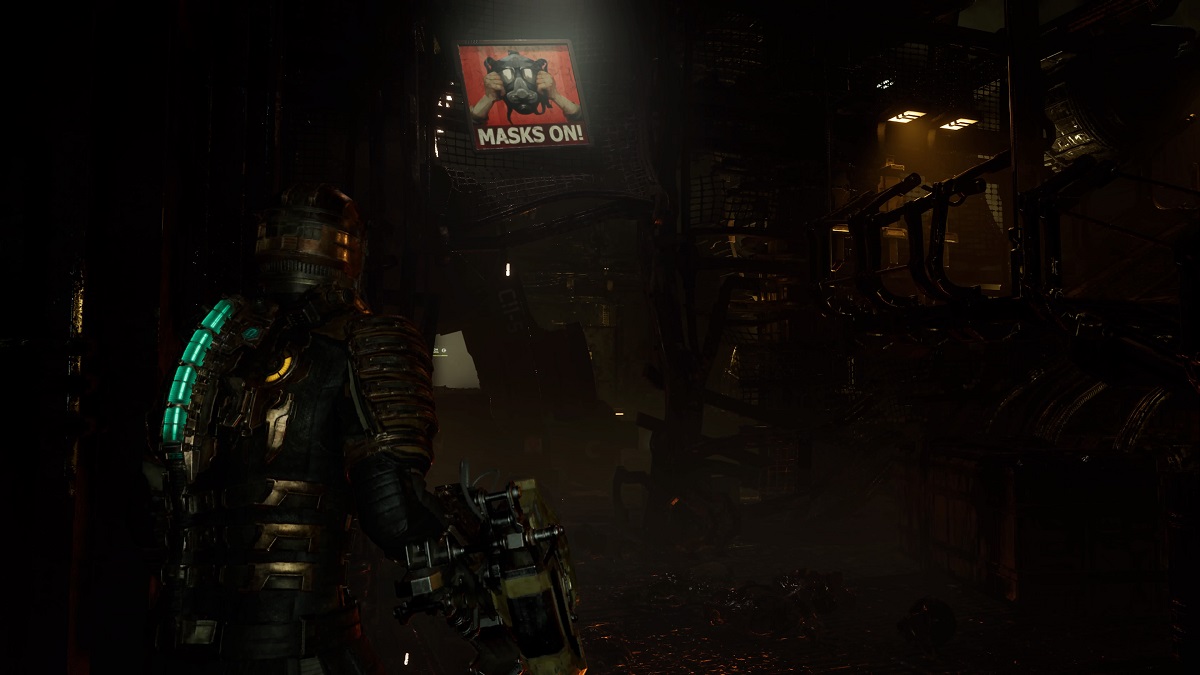
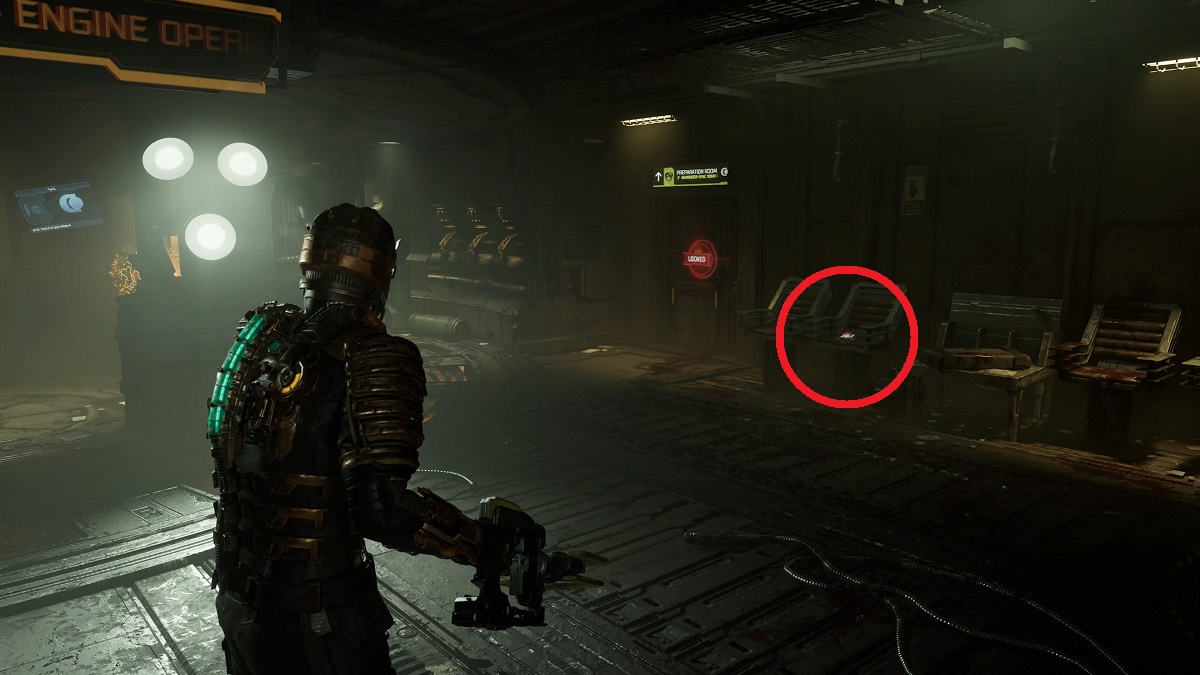
Take the elevator up near the Growth. At the top, go toward the 6 bright lights and the rolling digital sign that says Engine Operations at Risk: Caution. Turn right, and you’ll see a Store kiosk on the right. Nearby, you’ll see a locked door to the Preparation Room. This log collectible is on a chair to the right of the door.
Weapon: Ripper
 Screenshot by GameSkinny
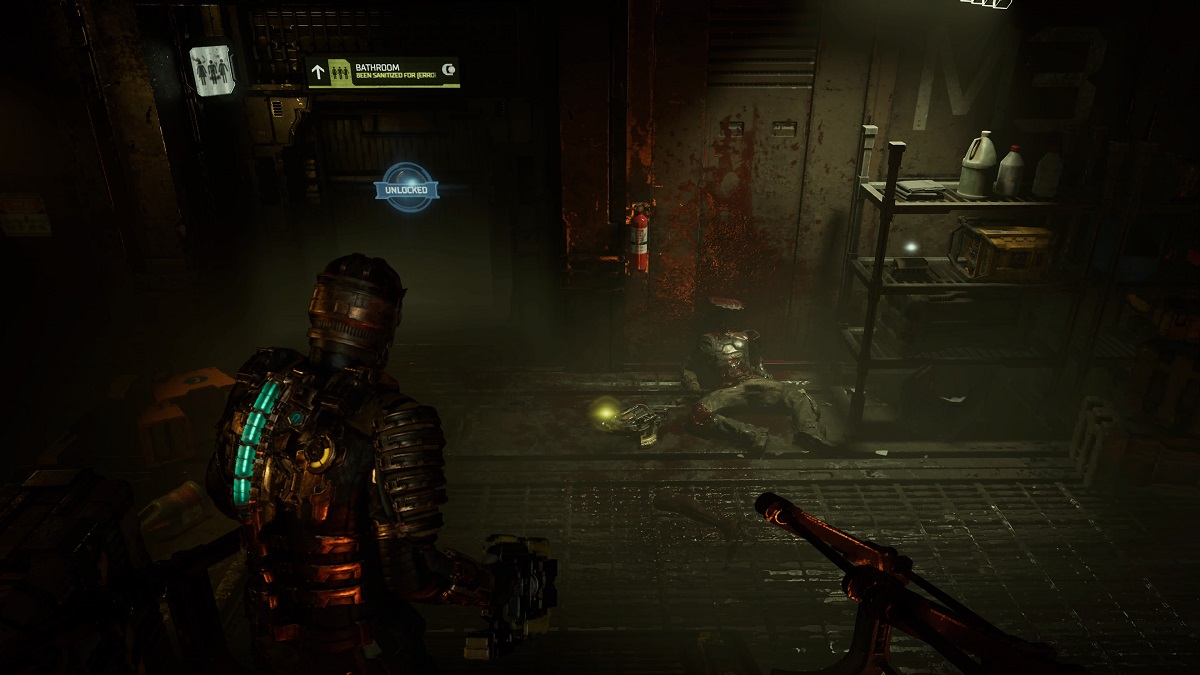
From Temple’s Log location, interact with the Diagnostic Report that’s part of the critical path, then go through the Preparation Room nearby, then down into the Machine Shop. At the bottom of the stairs, you’ll see a dead body crumpled against the wall in front of you, next to the bathroom, with the Ripper beside it.
Audio Log (His Own Teeth)
 Screenshot by GameSkinny
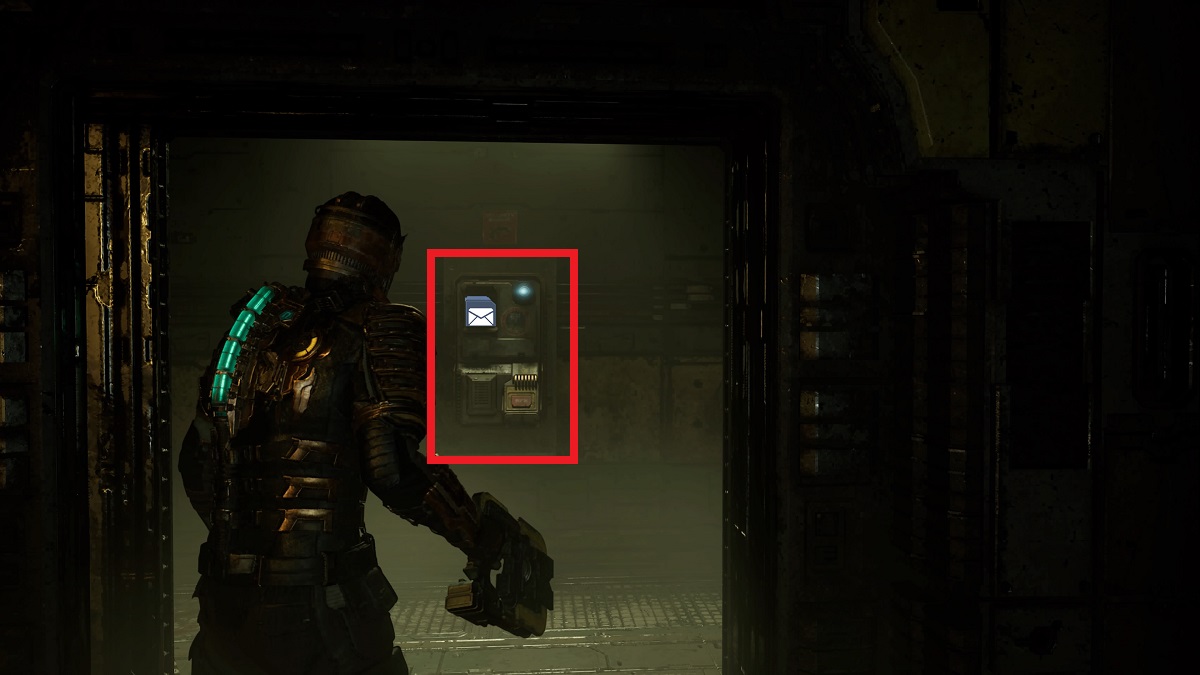
After picking up the Ripper weapon in the Machine Shop following Temple’s Log 1, enter the bathroom near the body that had the Ripper, and interact with the console with the envelope symbol inside the bathroom.
Audio Log (Temple’s Log 2)
 Screenshot by GameSkinny
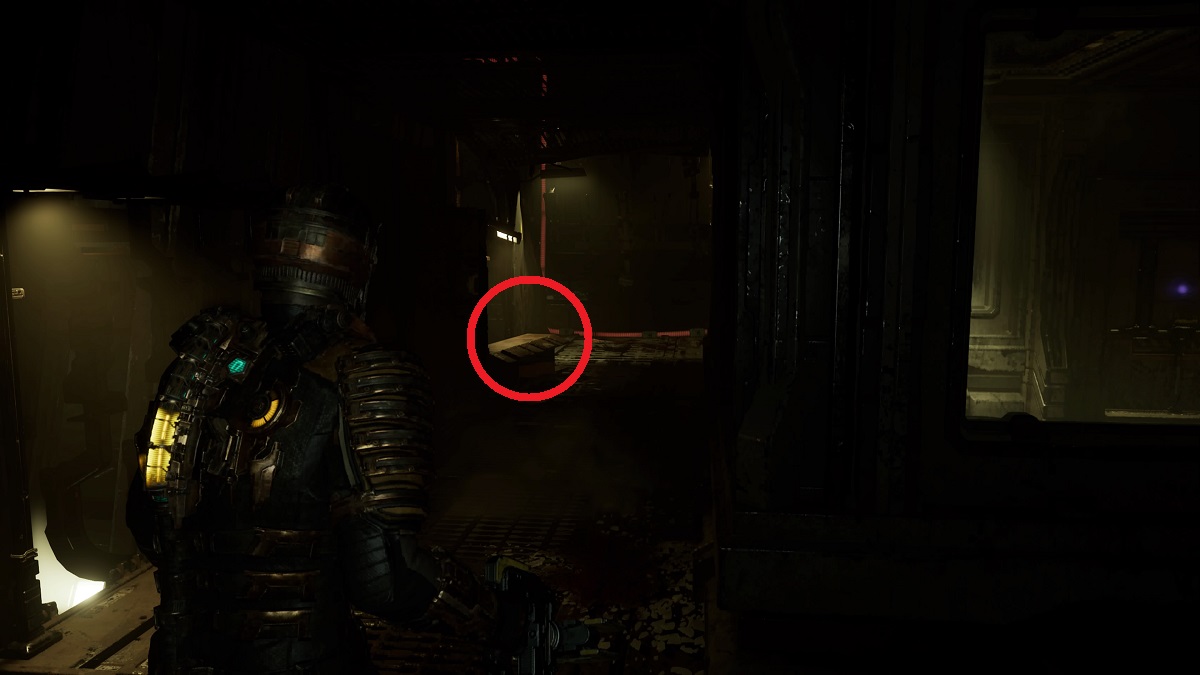
From the bathroom, follow the objective path from the Machine Shop to the Refueling Control Station. Eventually, you’ll reach a lift that you’ll need to use Kinesis on. Take it across. Exit, kill the Necromorphs, and take the left path. Follow it as it goes up and turns right. The audio log is on a box on the left side after turning right.
Node 1
 Screenshot by GameSkinny
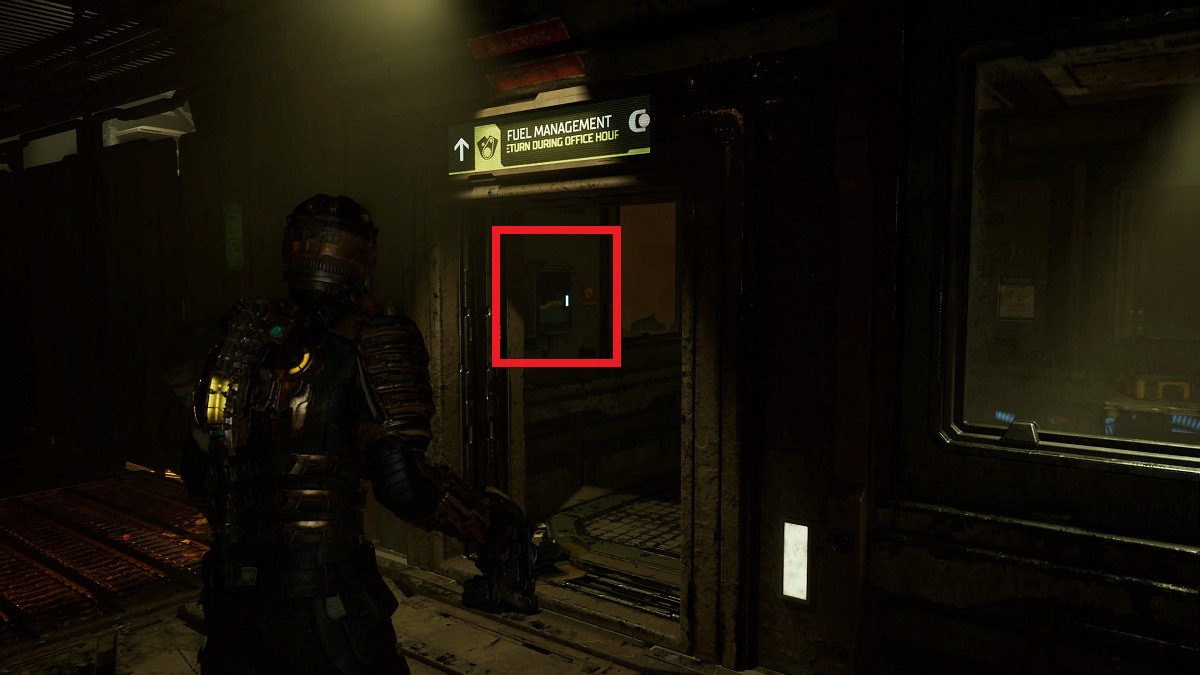
From there, take the nearby ramp up (it’s across from the locked Fuel Management room next to Temple’s Log). At the top, you’ll find a save point near the objective. To the right of the save point is a table with a keycard on it. Pick it up and return to the locked Fuel Management room to find the Node box on the left side.
Text Log (Chaos)
 Screenshot by GameSkinny
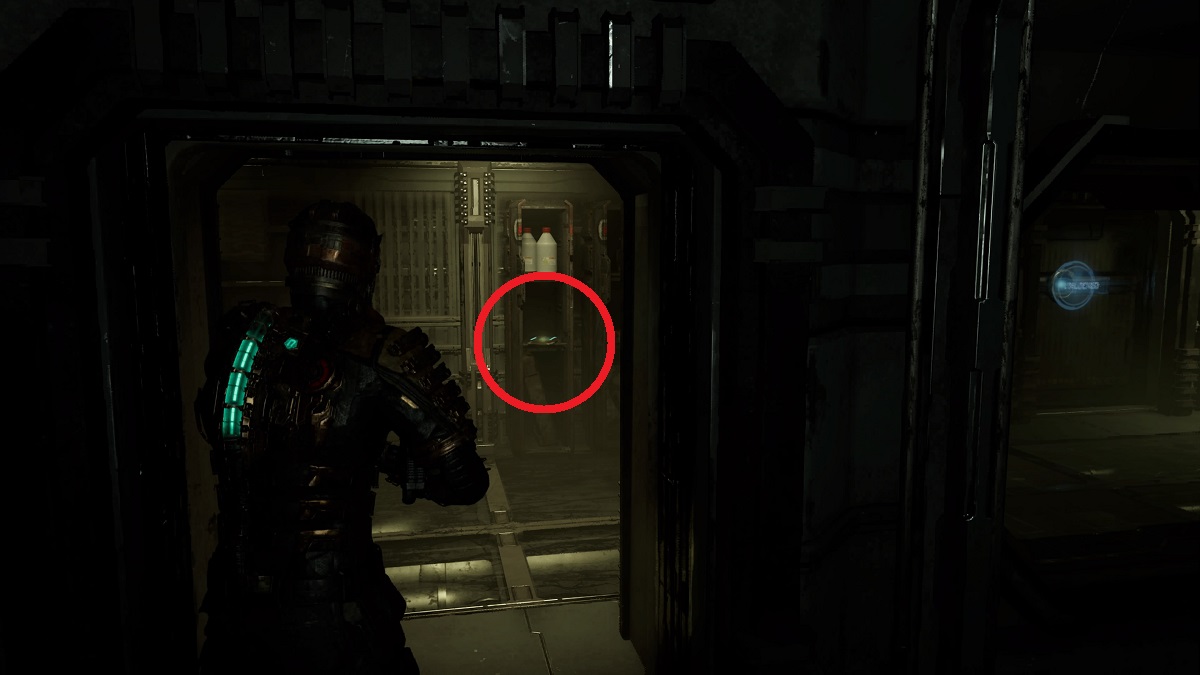
After refueling, take the elevator down to the Centrifuge by following the critical path. At the bottom, follow the path left, down a hallway, then right again through a doorway. Follow that curving path all the way around to the right (past a set of Assurance and Dragonfly signs and a Bench), ending in a set of lockers. The log is in the left locker.
Medium Med Pack Schematics
 Screenshot by GameSkinny
From the locker, go through the Decontamination Room nearby (and defeat the enemies that appear), then go through the door on the opposite side. You’ll see three lockers in front of you, with the Schematic in the left-most locker.
Node 2
 Screenshot by GameSkinny
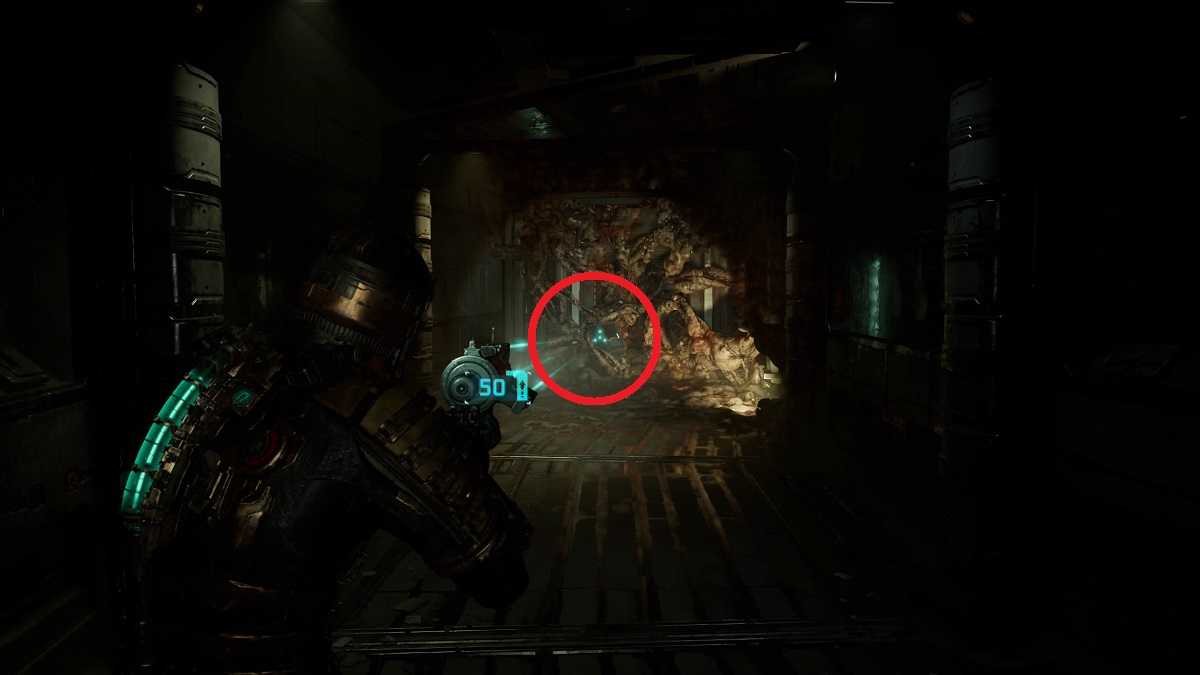
From there, go through the nearby door. Instead of following the critical path right, go left (toward Centrifuge Control North). You’ll find the Node box inside the Growth at the end.
Text Log (Rig Transcript)
![]() Screenshot by GameSkinny
Screenshot by GameSkinny
Now turn around, and go back to follow the objective marker. Pass the door you previously entered, and you’ll quickly arrive at an area with a hole in the wall and wires sparking. The log is on the ground in front of the hole. There is a Bronze Semiconductor in the hole, so be sure to retrieve that. If you enter the Centrifuge itself, you’ve gone too far.
Weapon: Flamethrower
 Screenshot by GameSkinny
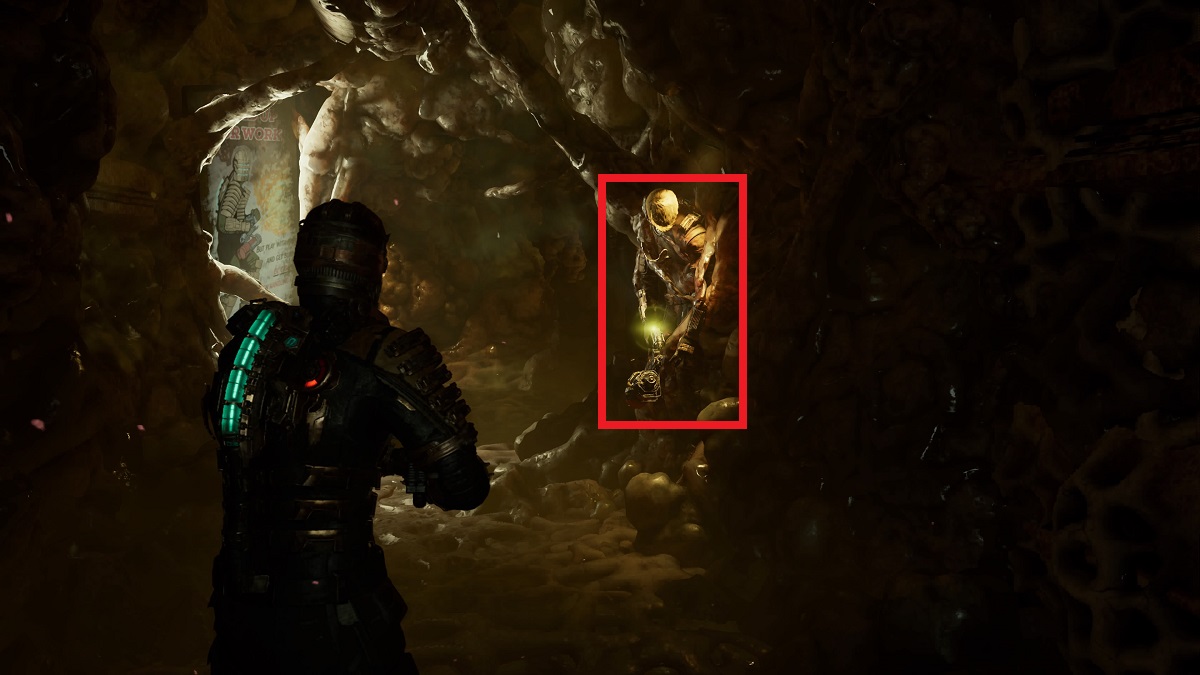
After activating the Centrifuge and diverting the power in the zero-G area with the fans, you’ll need to destroy a node on a growth to gain entry to the Engine Room. Go inside the Engine Room, and grab the Flamethrower off of a body stuck to the wall on the right side.
Audio Log (Temple’s Log 3)
 Screenshot by GameSkinny
After picking up the Flamethrower in the Engine Room, continue through the slimy corridor. After squeezing through to the other side, stay left and go into the door you find on that side. The audio log collectible is on a chair just inside the door.
Node 3
 Screenshot by GameSkinny
This is in the same room as Temple’s Log 3, on the opposite side of the room.
Ripper Blades Schematics
 Screenshot by GameSkinny
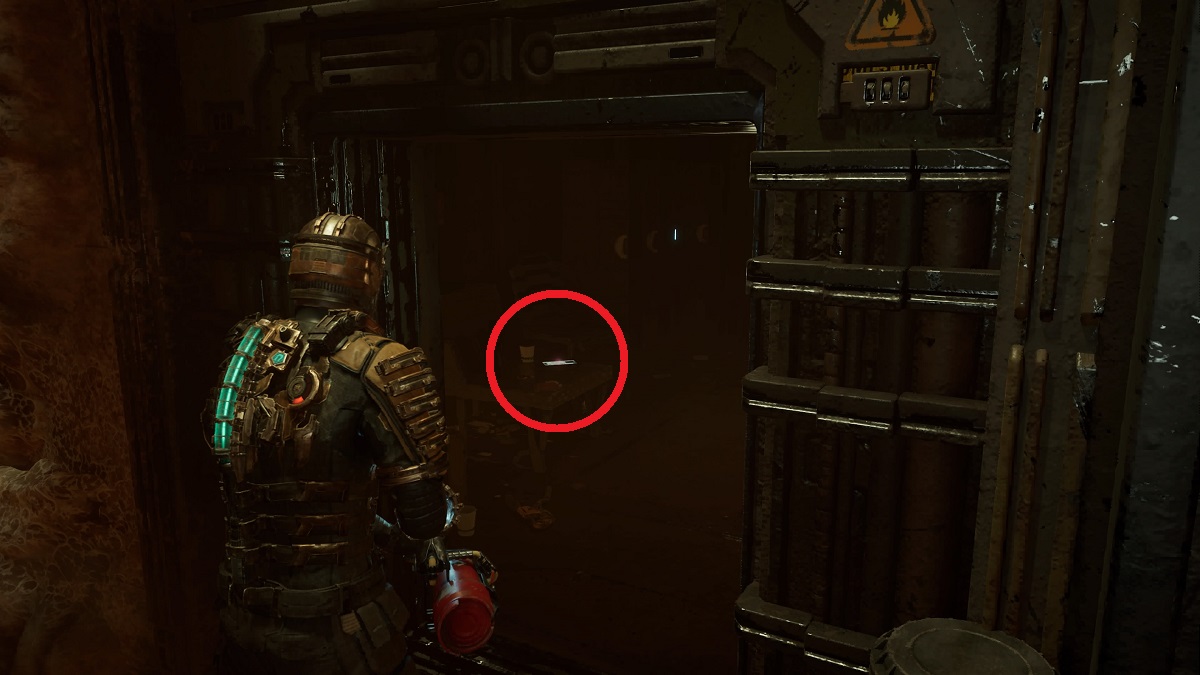
Leave the room with the audio log and the Node. Take the lift down, then go right to shoot the explosive node to clear the way. Go into the room beyond to find the schematics on a crate on the left side.
Node 4
 Screenshot by GameSkinny
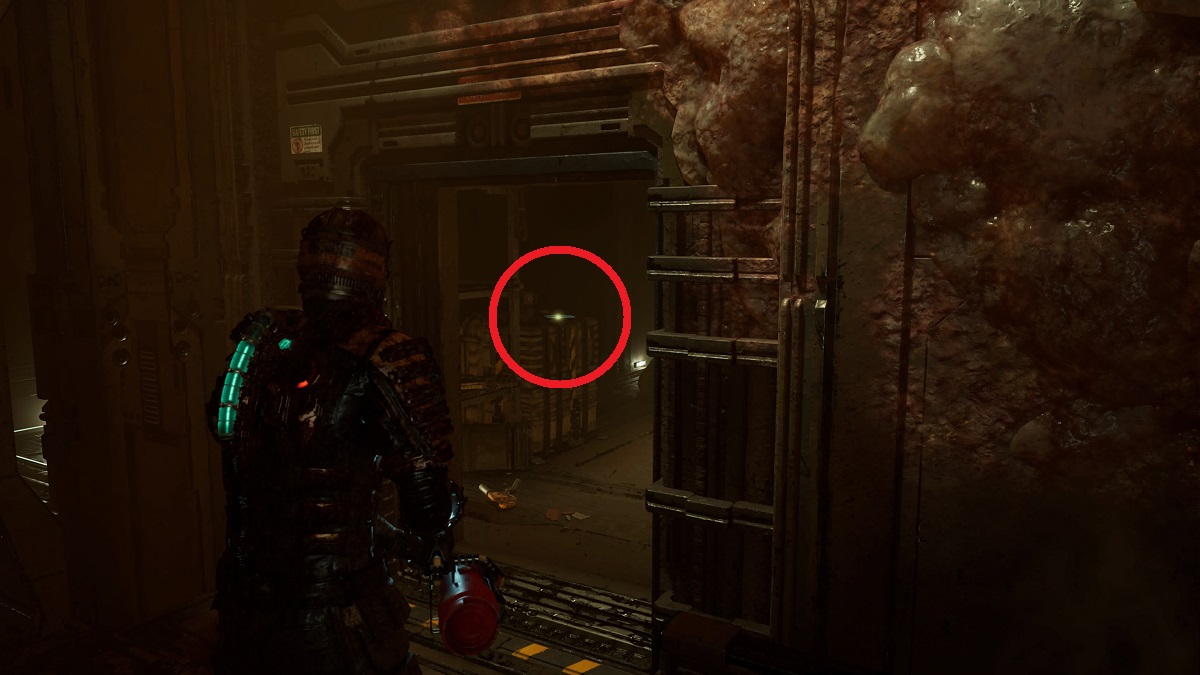
Take the lift all the way down, and defeat the Pregnant near the rapidly opening and closing doors. With that Necromorph down, use Stasis on the doors to proceed through. Follow the path down the narrow corridor, then up, eventually reaching a save point at the top.
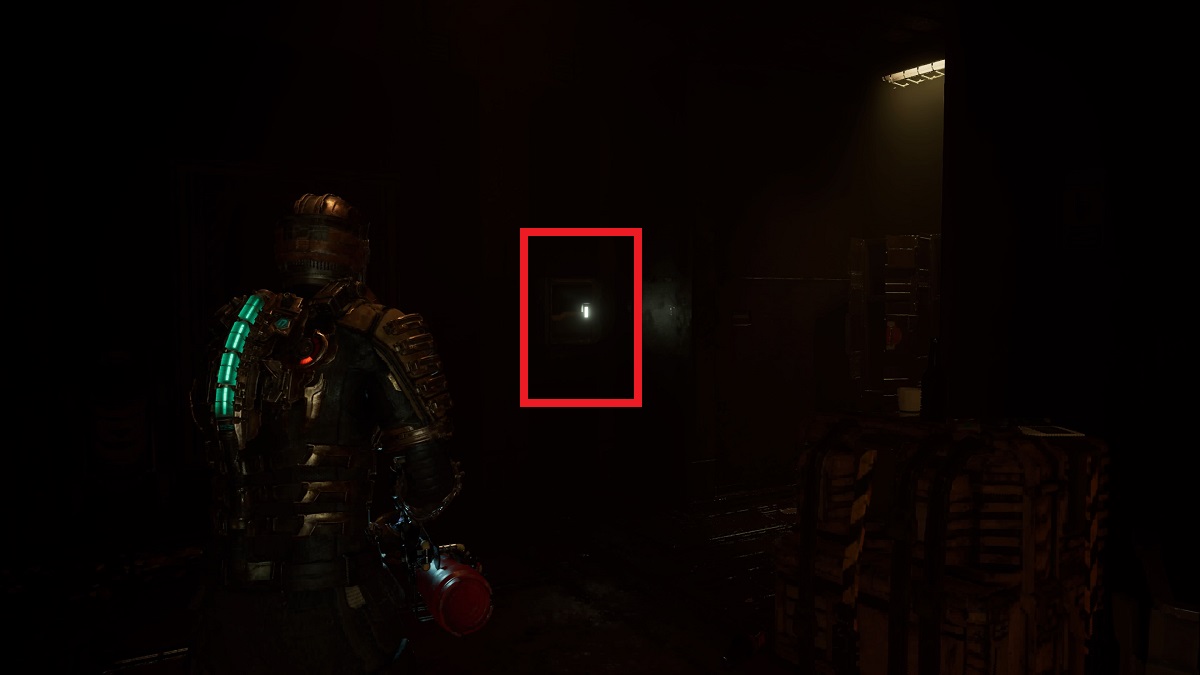
Go through the doors on the left. On the other side, take the first right you can, going by the ramp leading up and the platform above. Once underneath, turn left, then left again into a small area with some lockers and a desk – and the Node box on the right.
Flamethrower Fuel Schematics
 Screenshot by GameSkinny
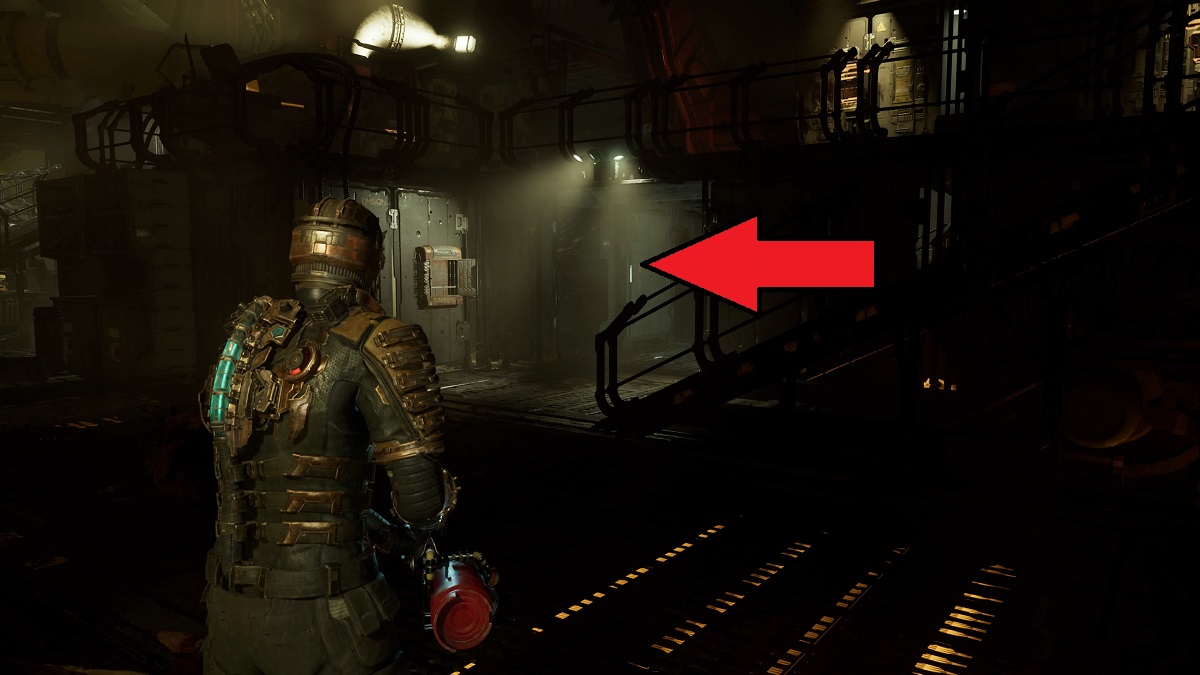
Now take the ramps up to the control desk above the room you were just in. The schematics are in a chair near the control desk.
Those are all of the logs, nodes, schematics, and weapon upgrades to be found in Chapter 2 of the Dead Space Remake, Intensive Care. Now it’s on to Chapter 3. Now, it’s on to Chapter 4: Obliteration Imminent. For more, head over to our guides hub for EA’s survival horror remake.


Published: Jan 30, 2023 07:55 pm