Genshin Impact has a hidden side quest called Time and the Wind. It tasks you with finding a number of Wind Orbs on an island off the coast of Starsnatch Cliff. It all culminates in a boss battle against the Eye of the Storm. It can be tough if you’re under-leveled and unprepared.
There’s quite a lot to do in this quest and a lot to prepare for. Below we’ve outlined:
- The recommended party composition for this quest
- How to get to the island
- How to find the Ragged Notebook
- How to find every Wind Orb
- How to beat the Eye of the Storm
- Including a way to cheese the first encounter
Recommended party composition for this quest
Before we get started, I recommend bringing Traveler (with Anemo powers) and Kayae, along with Lisa and Amber. There are some tough battles in the Time and the Wind quest. The bosses in this quest range from Level 35 to Level 40, so make sure you are prepared.
How to Get to the Island
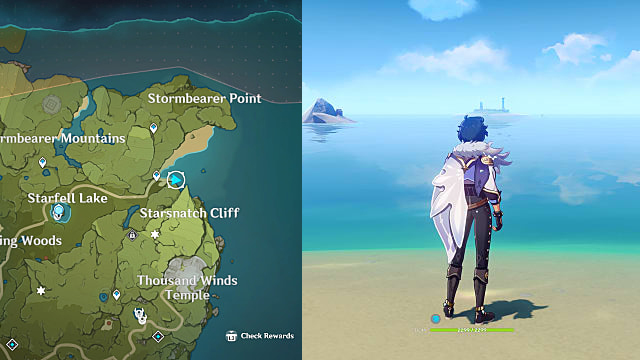
To get to the island and start the Time and the Wind quest, travel to the beach north of Starsnatch Cliff. The road heading east from Starfell Lake ends on the beach, so you can take that if you’re coming from the west.
The island itself is in the middle of the sea, between Starsnatch Cliff and Stormbearer Point. Swimming there takes a lot of stamina, and you’ll likely run out of stamina before you reach the island.
This is where Kayae comes in.
Use Kayae’s freeze attack to reach the island
Instead of swimming to the island, use Kayae’s special freeze attack to build an ice bridge to the island. It’ll take a few minutes for you to get there using this method, but at least you’ll get to the island safely.
How to find the Ragged Notebook
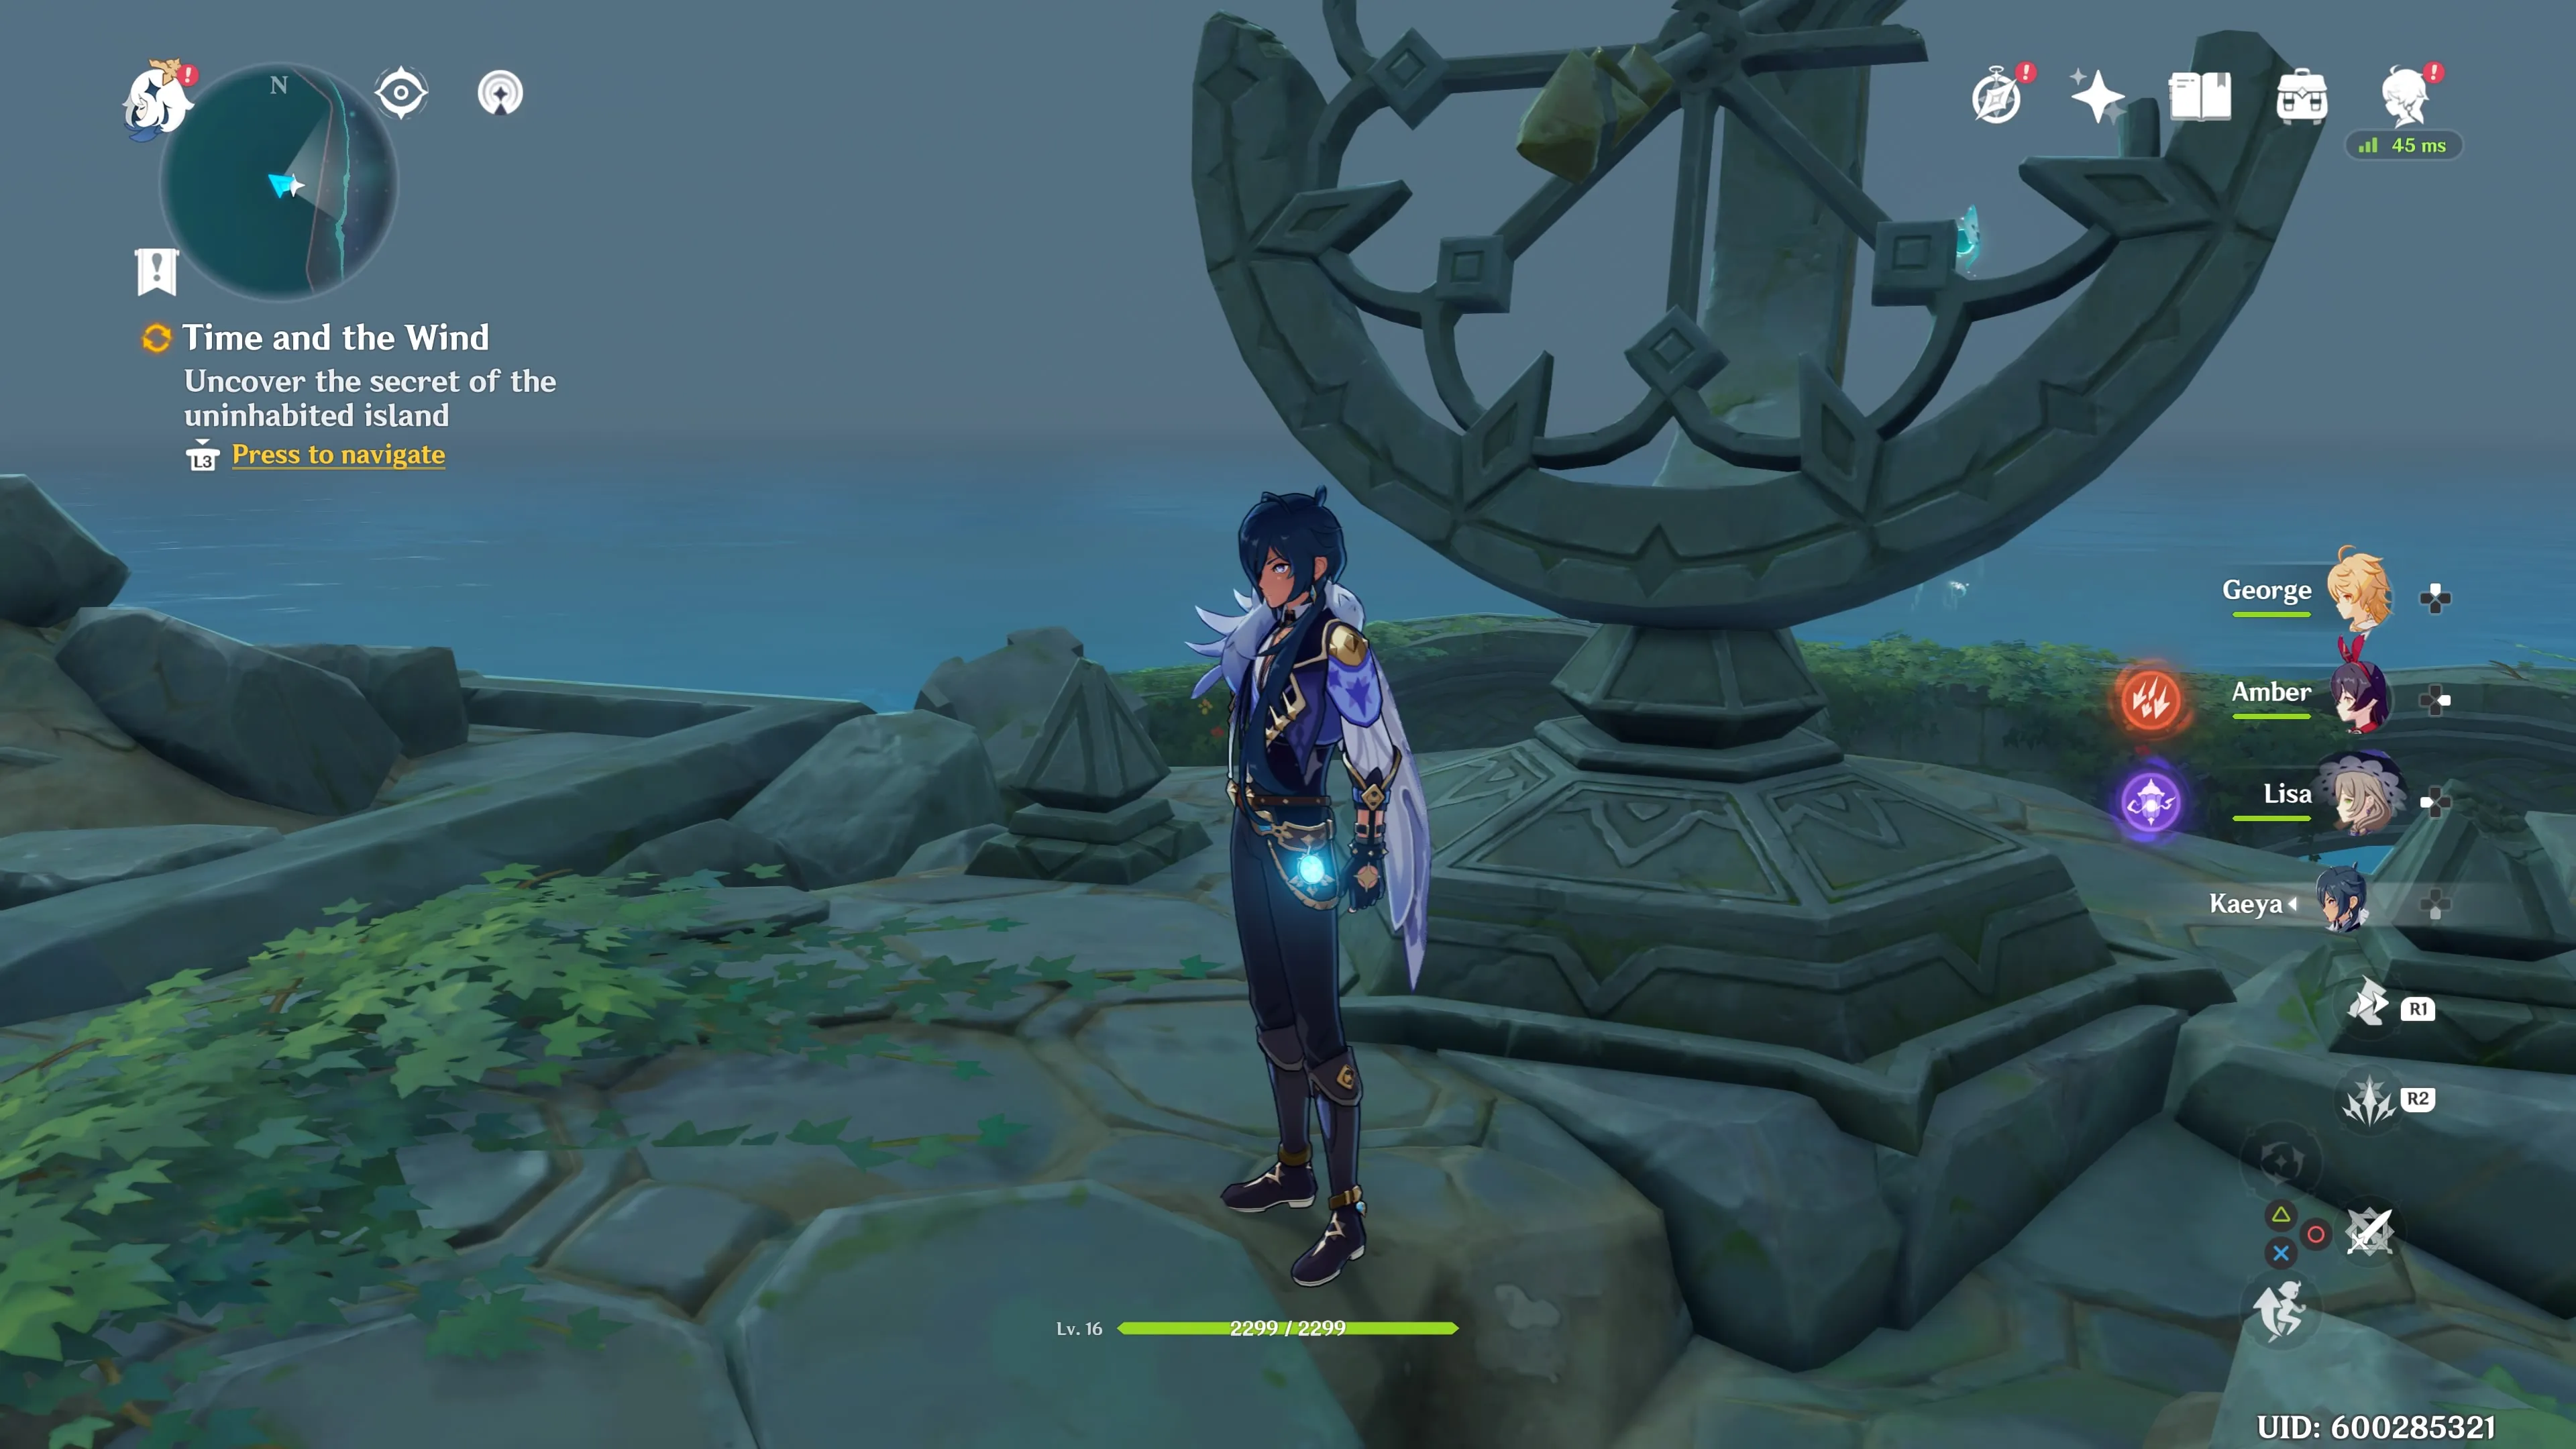
When you reach the island, you’ll see a broken sundial with a large stone arrow sticking out of it called the Ravaged Carving. Interact with it, and Paimon will say you need to look for clues.
We’ll be using the Ravaged Carving as our reference point for directions.
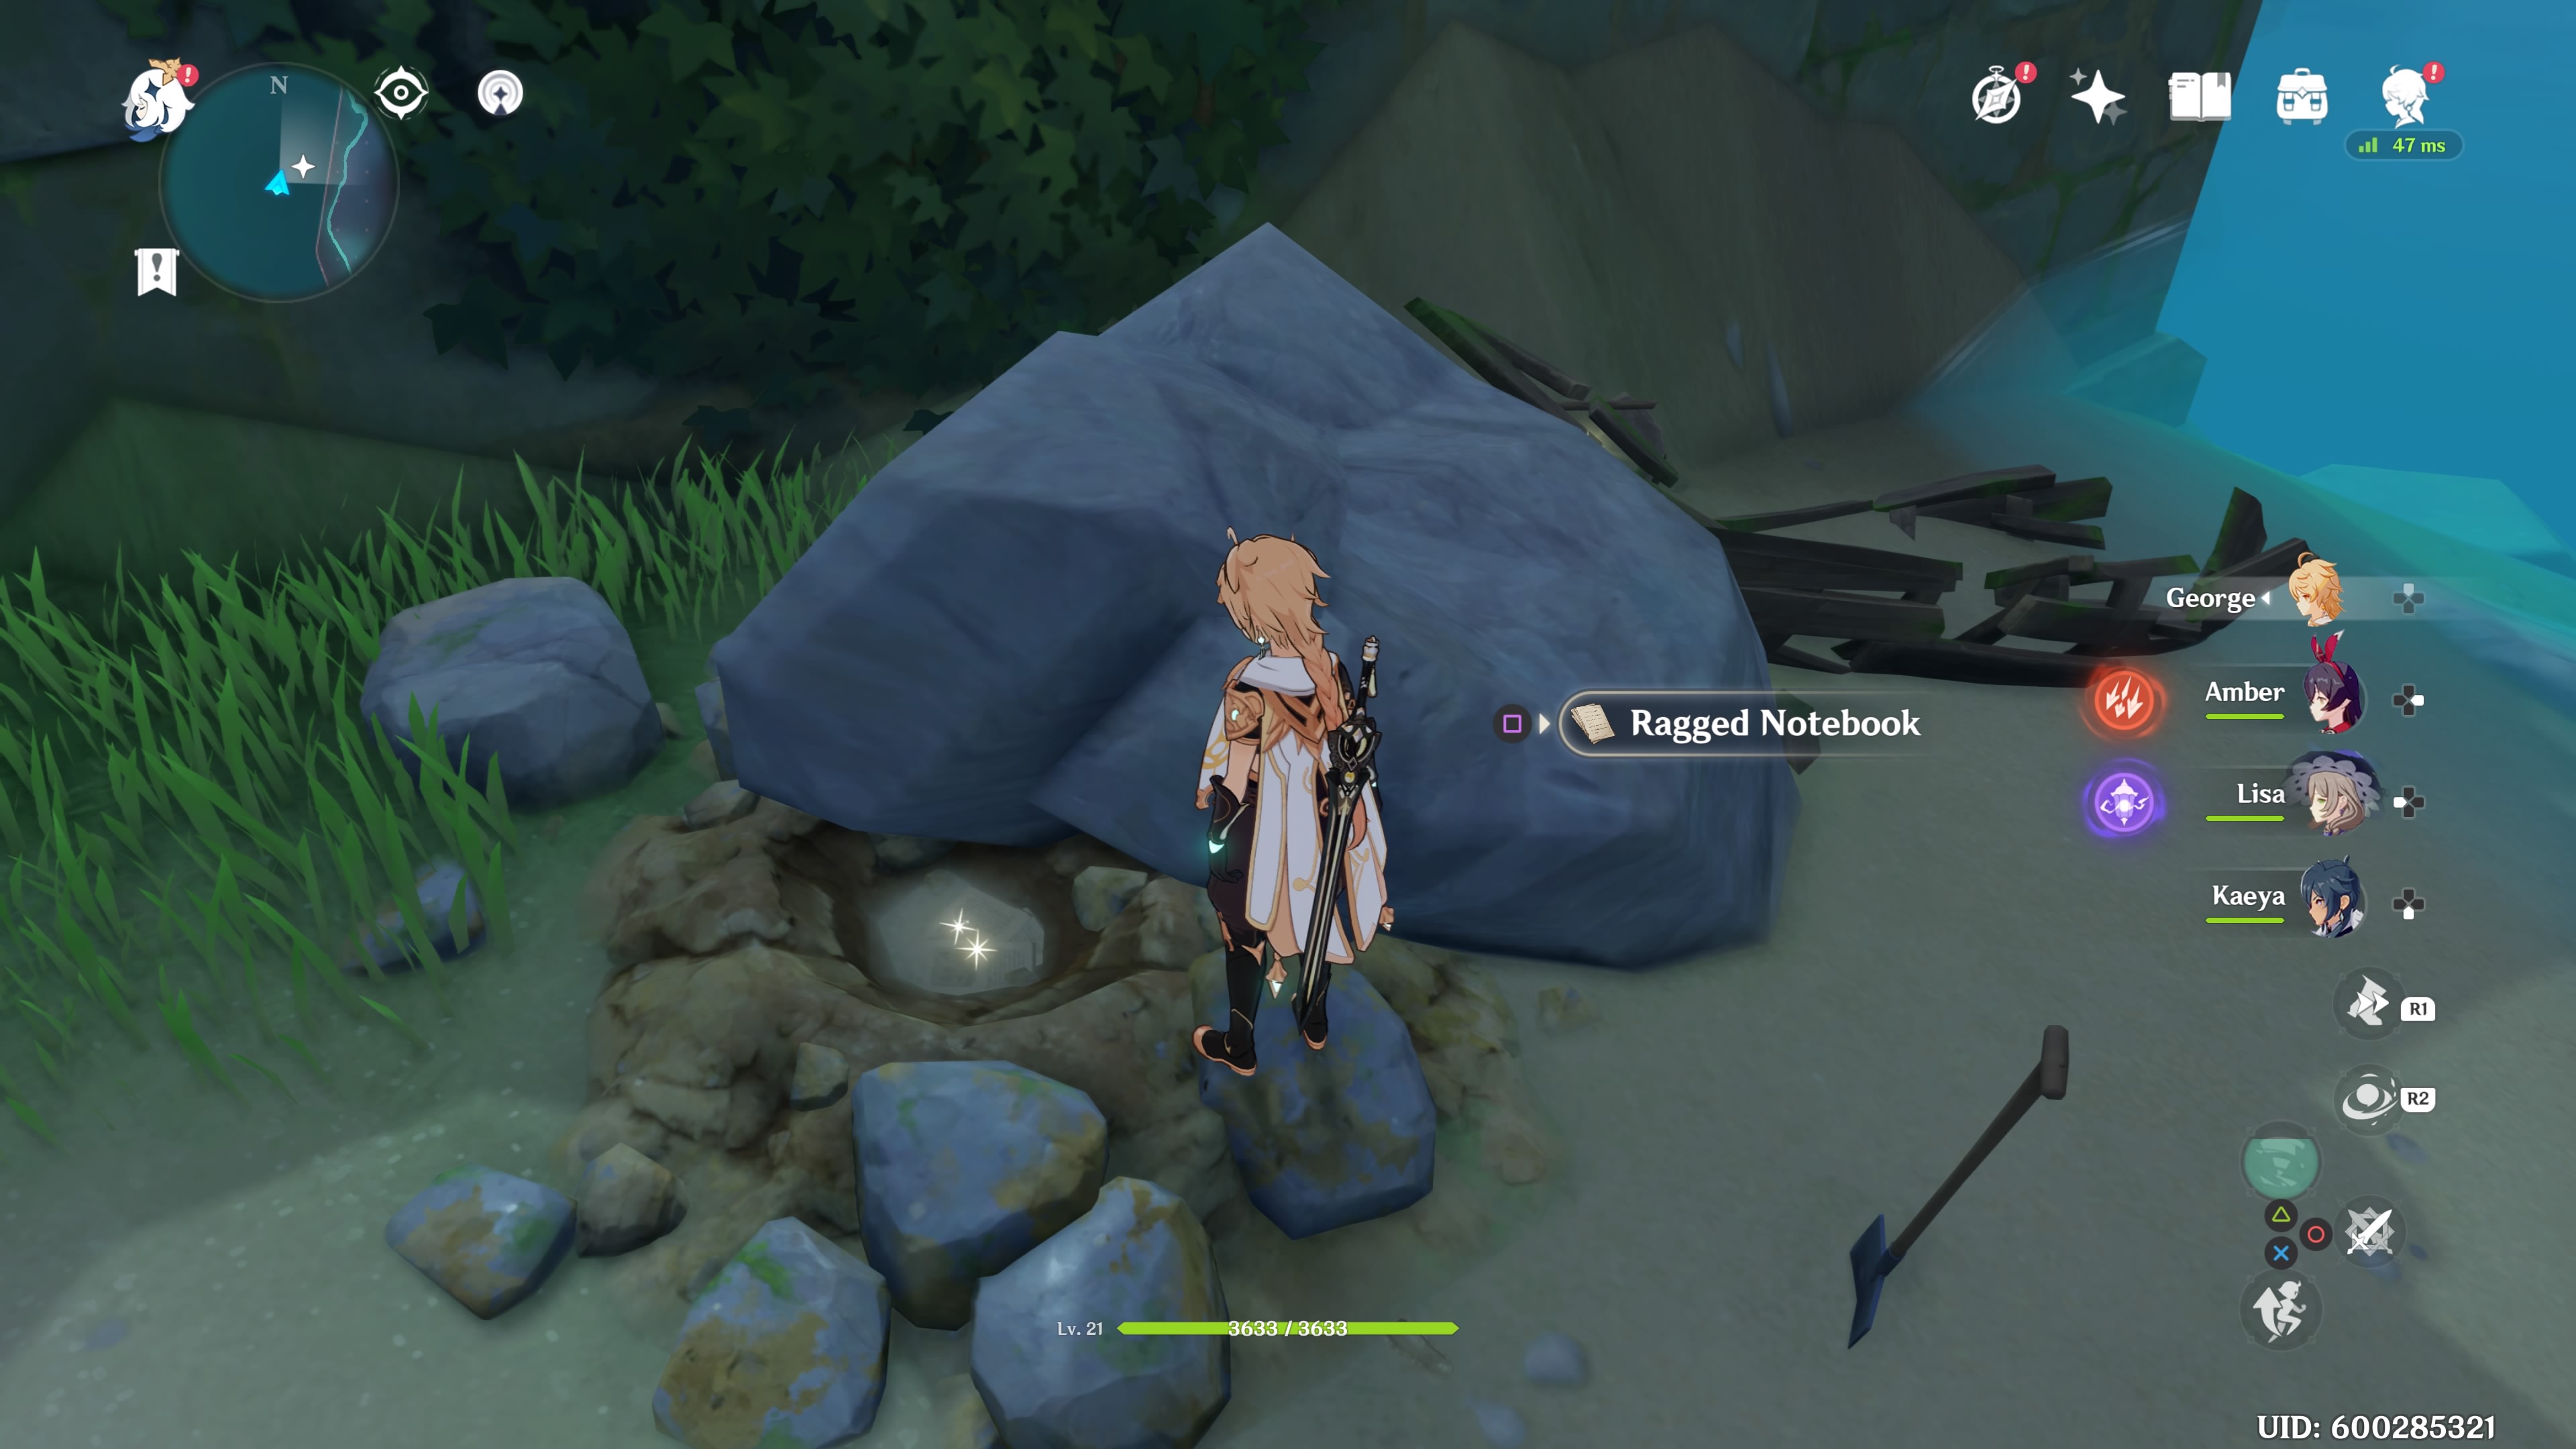
Facing the Ravaged Carving, go to your right and drop down the ledge. You’ll see a pile of rocks on the beach that can be broken. Break them and pick up the journal under the rubble.
How to Find Each Wind Orb
Now, go back to the Ravaged Carving. To proceed with the Time and the Wind quest, you need to find four Wind Orbs and activate them.
To find the Wind Orbs, the in-game clock must be between 2 a.m. and 5 a.m. Pull up the in-game menu, go to the clock, and fast forward to 2 a.m. The Wind Orbs will appear in their respective locations (which we cover below). If the Wind Orbs disappear, it means it’s past 5 a.m. Paimon will comment on this if so. Just fast forward to 2 a.m. again to make them reappear.
You’ll also need to use Elemental Sight to find the trails leading to the Wind Orbs.
First Wind Orb
Technically, there are four Wind Orbs in the Time and the Wind quest, but the first Wind Orb doesn’t exactly count as it seems to be part of a tutorial task. Regardless, we’re including it here to avoid confusion for the subsequent Orbs.
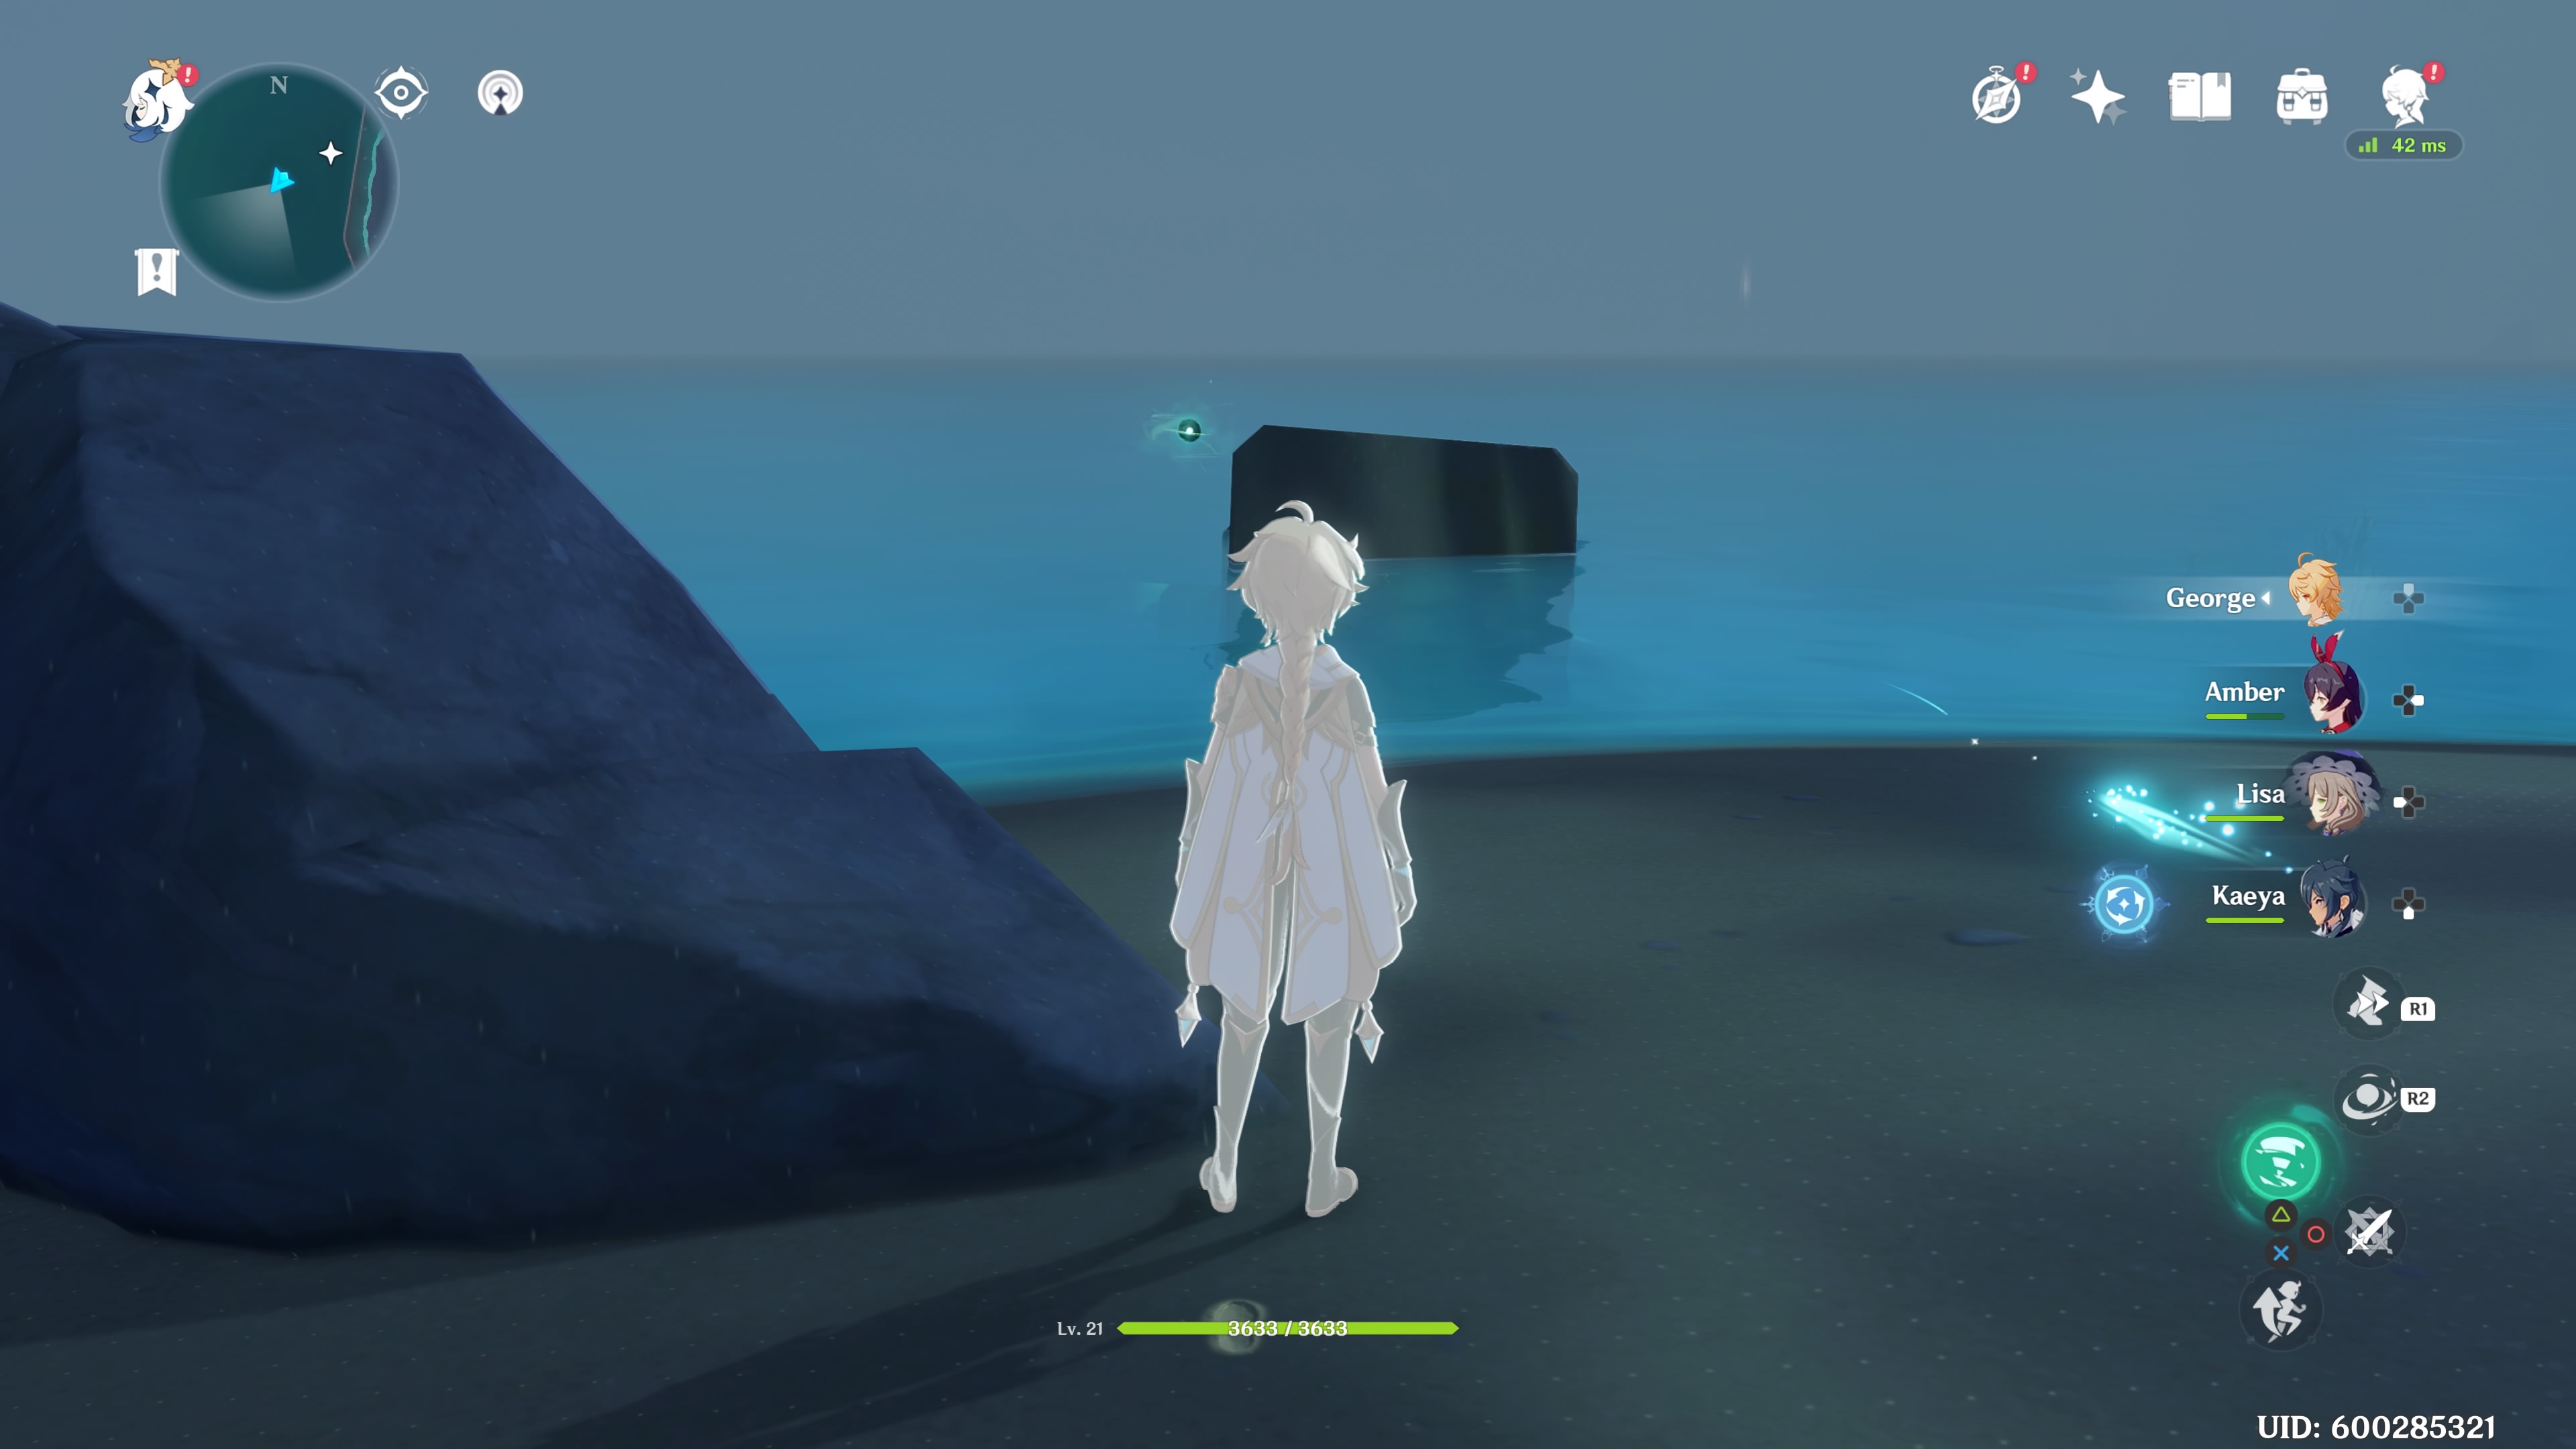
To get the “first” Wind Orb, follow the first elemental trail, and it will lead you to a half-submerged rock that has an inactive Ruin Guard in front of it. With your Elemental Sight, you can see a green orb on the rock.
The Ruin Guard will come to life and attack you. This one is Level 35, so keep your distance and use Amber to aim for its eye, and you should be able to take it down without too much trouble.
After defeating the Ruin Guard, go to the Wind Orb. Use Traveler’s Anemo power special attack on the Orb, and it will activate.
Second Wind Orb
Face the Ravaged Carving, and look behind it. The second WInd Orb is right behind the Ravaged Carving on a thin structure. Glide over to it.
Third Wind Orb
Facing the Ravaged Carving, go to the right, and you should see the third Wind Orb in the water, slightly ahead of some debris.
Reach this Wind Orb the same way you reached the island initially. Use Kayae’s special freezing attack to make an ice bridge to the Wind Orb. Then switch to Traveler and activate it.
Fourth Wind Orb
Facing the Ravaged Carving (with the point of the arrow coming toward you), the fourth Wind Orb will be on your right, atop the tall pillar. Climb the pillar to find it.
Fight the Eye of the Storm
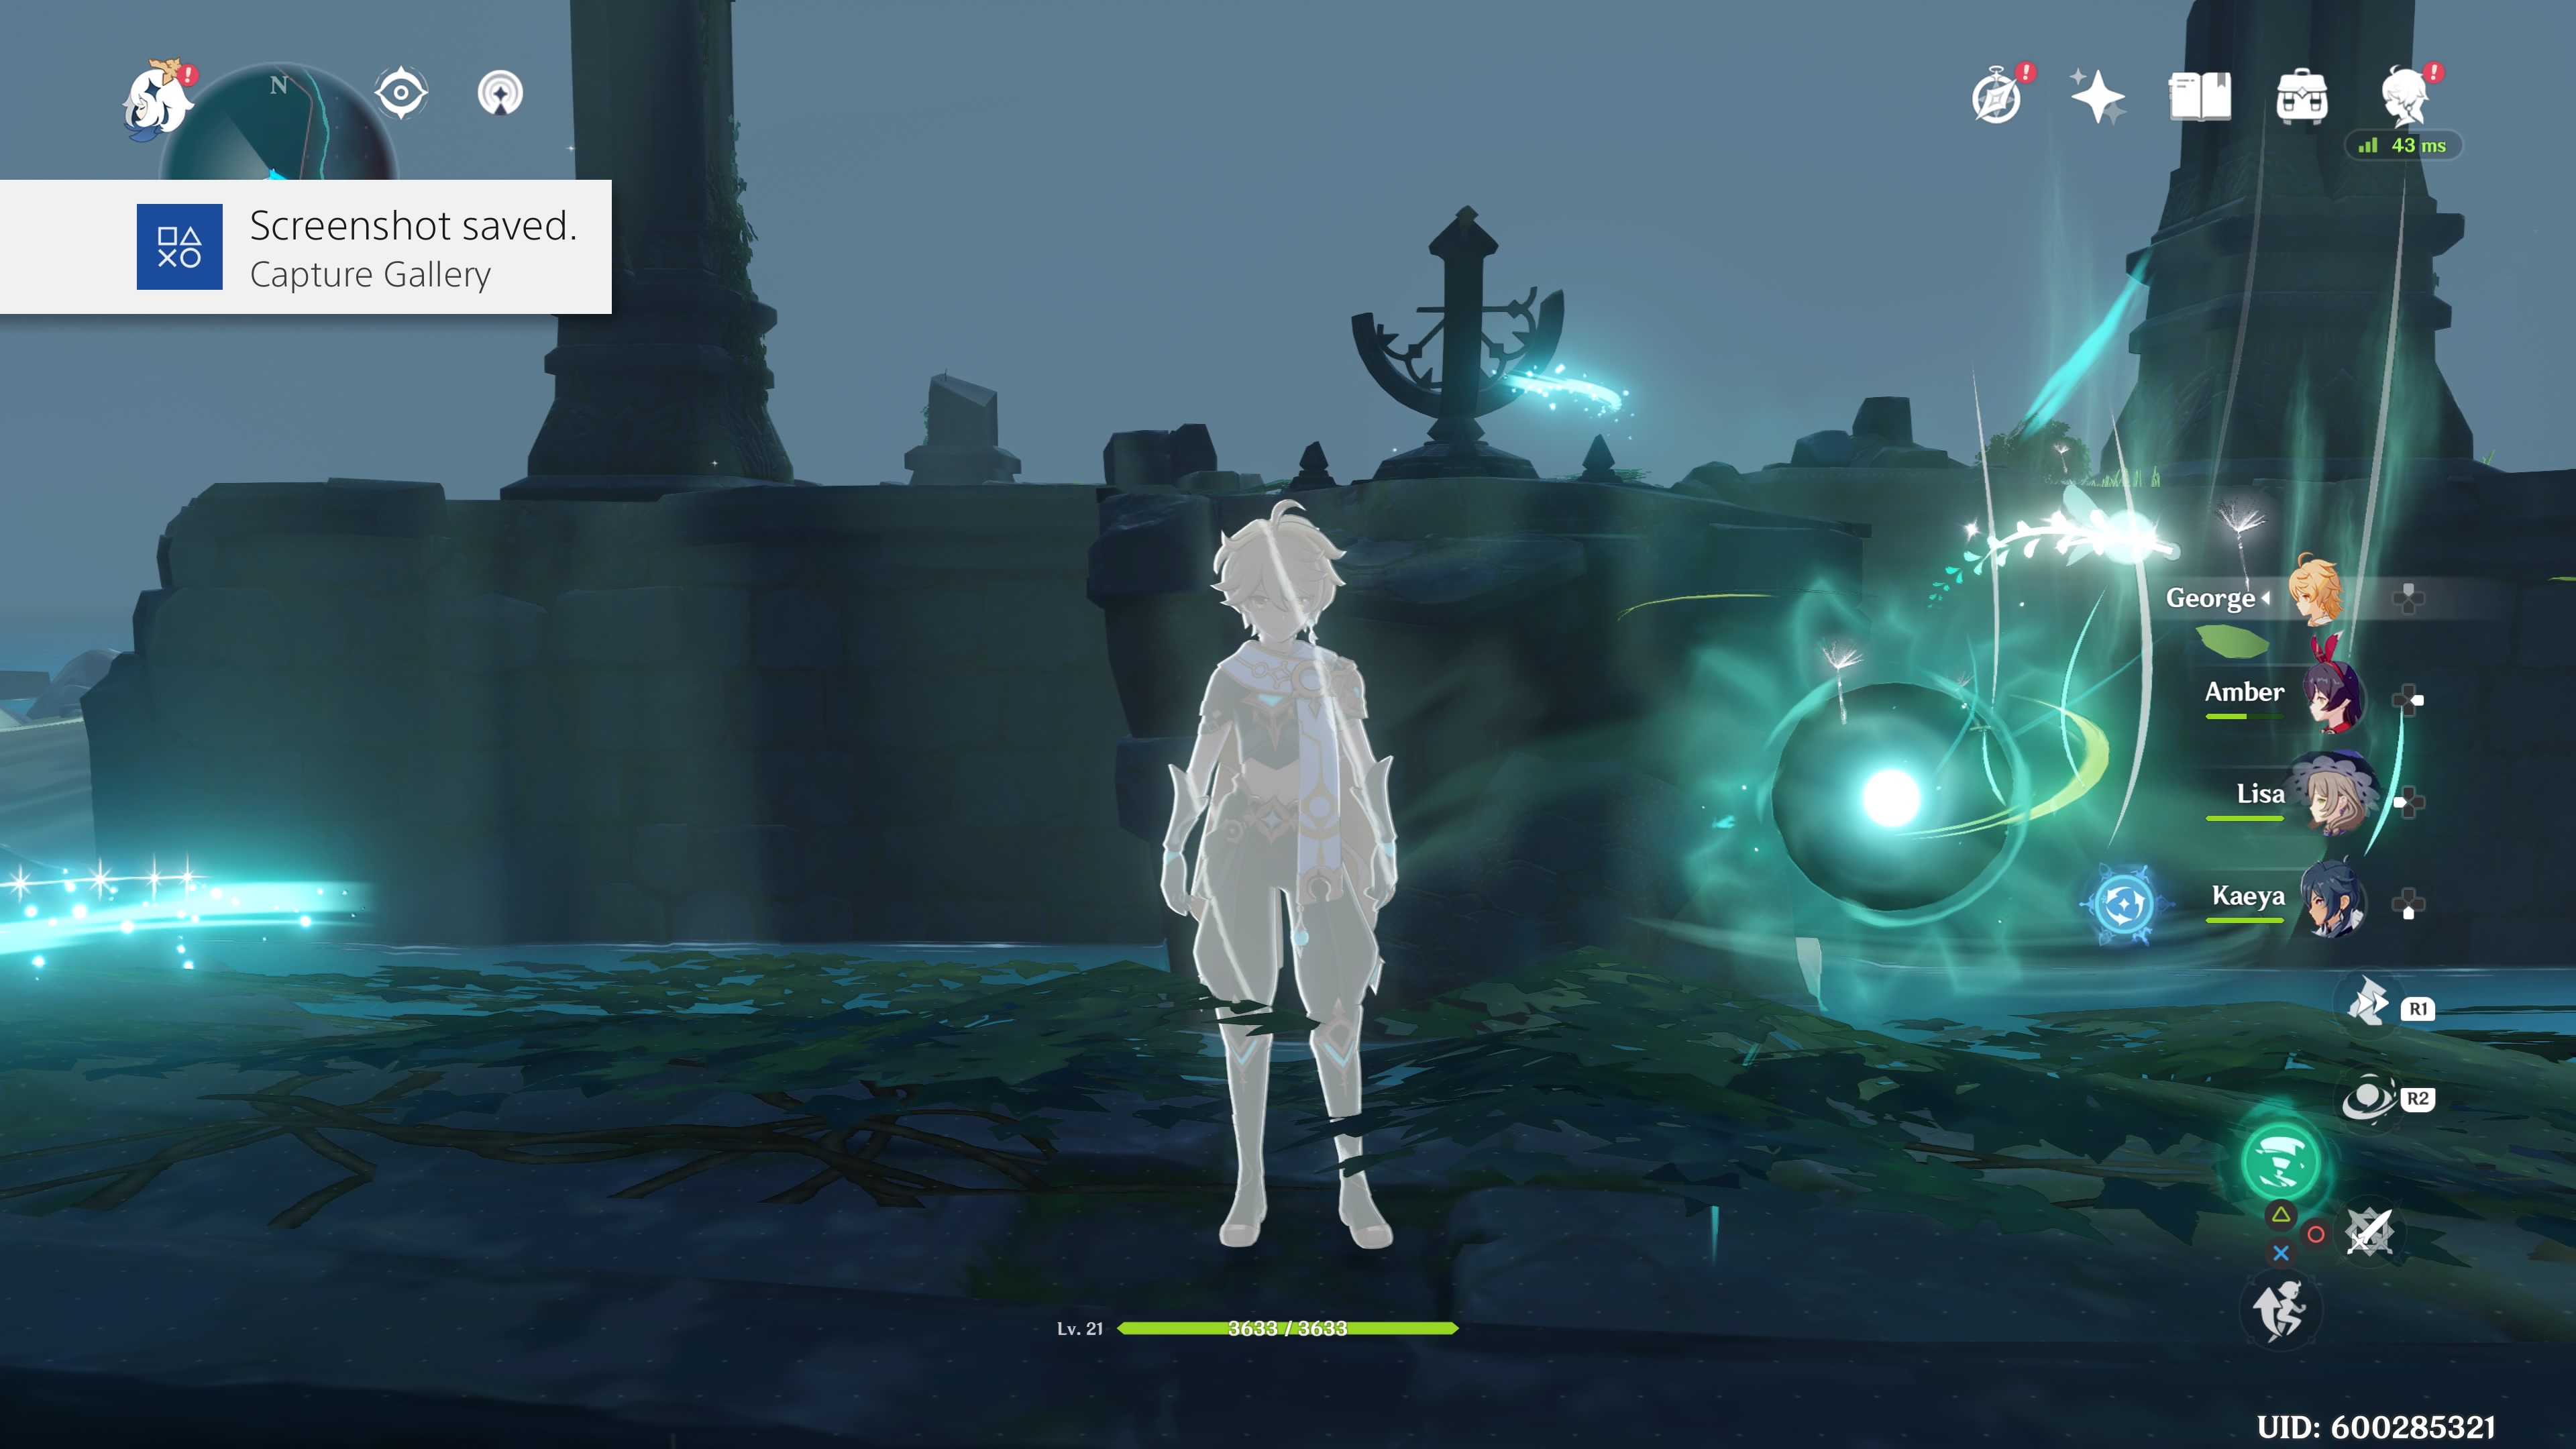
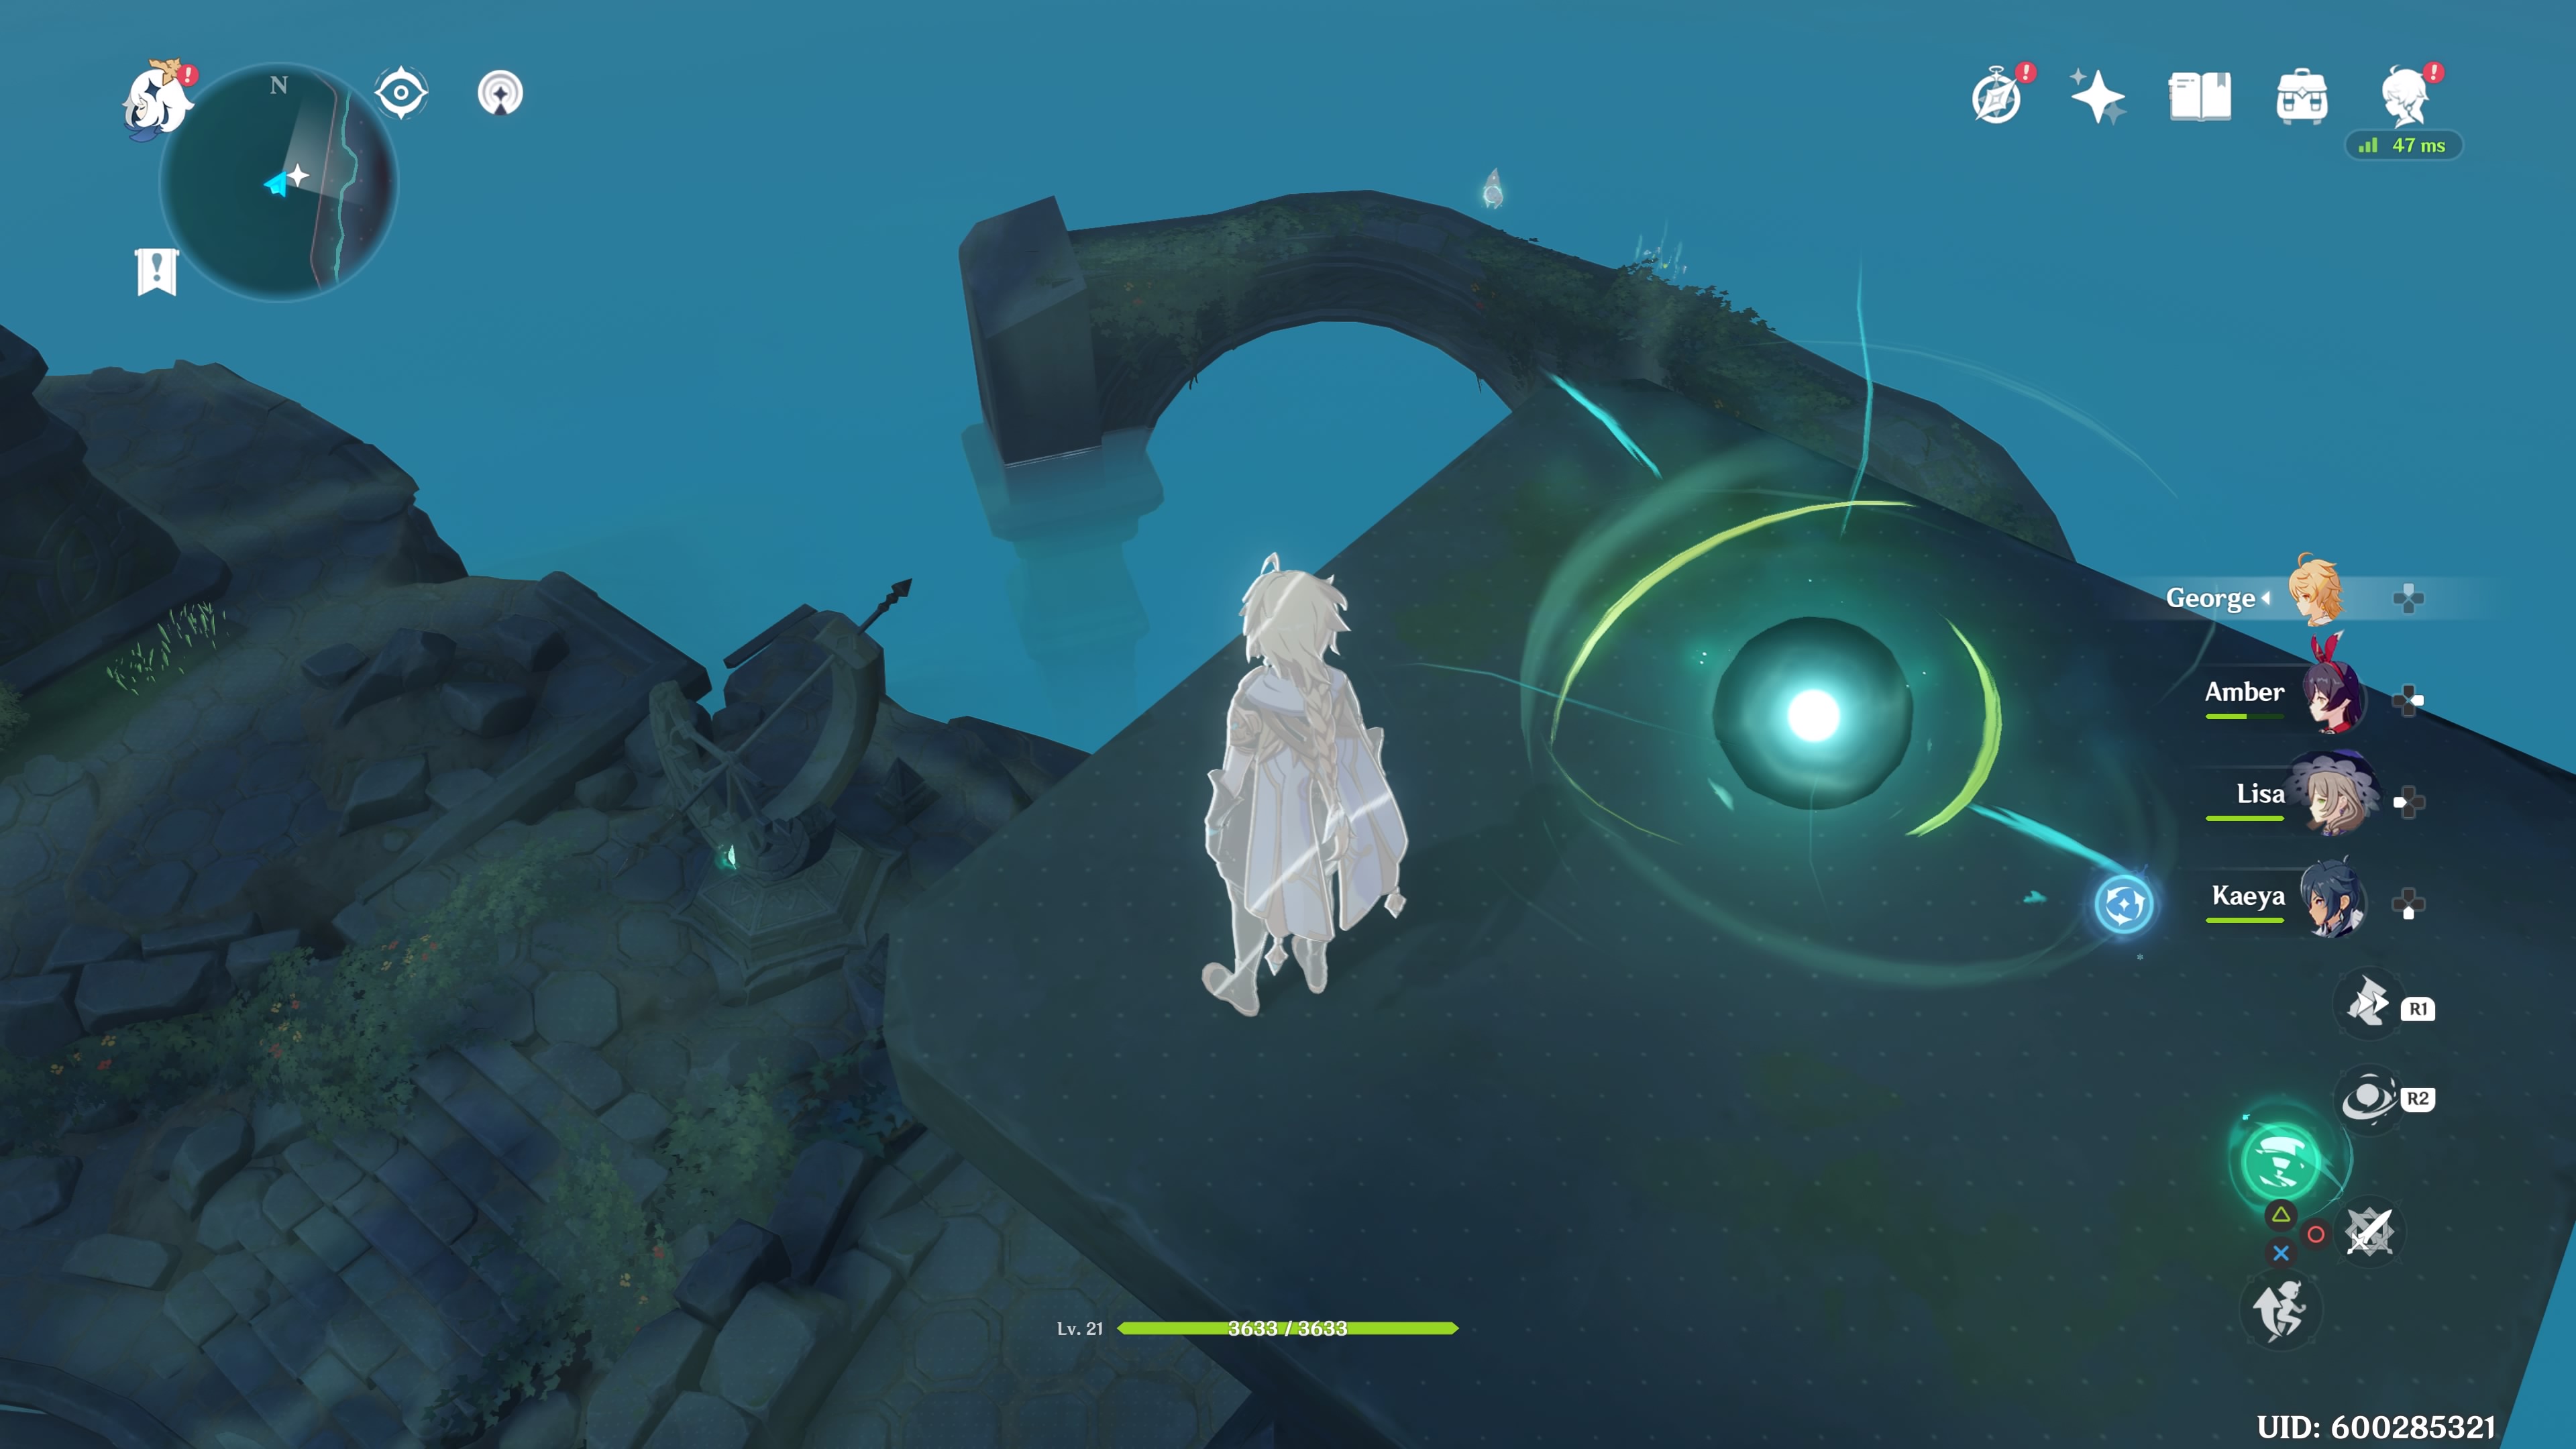
After picking up the fourth Wind Orb, the middle of the area will glow. Use Elemental Sight to find the Eye of the Storm, and use Traveler’s special attack to start the boss fight.
At Level 35, the encounter can be pretty tough, though I was able to complete it as a Level 20 character. So don’t worry if you’re under-leveled.
Eye of the Storm attacks
This boss’ most common attacks are a spin/charge combo and a ground crash. Both attacks are easy to avoid if you dodge them at the right moment.
The Eye of the Storm will also block off a circular section of the area with a wind wall, trapping you inside. The wall’s powerful wind gusts will do a lot of damage if they hit you, and they’re hard to avoid. You can cut this attack short by using Amber to shoot at the Eye of the Storm, immobilizing it for a few moments.
The wind wall attack doesn’t seem hit you at higher ground, relative to the Eye of the Storm. So if it is near the ground, you can climb the pillar to avoid getting hit by the gusts on the ground.
Eye of the Storm cheesing strategy
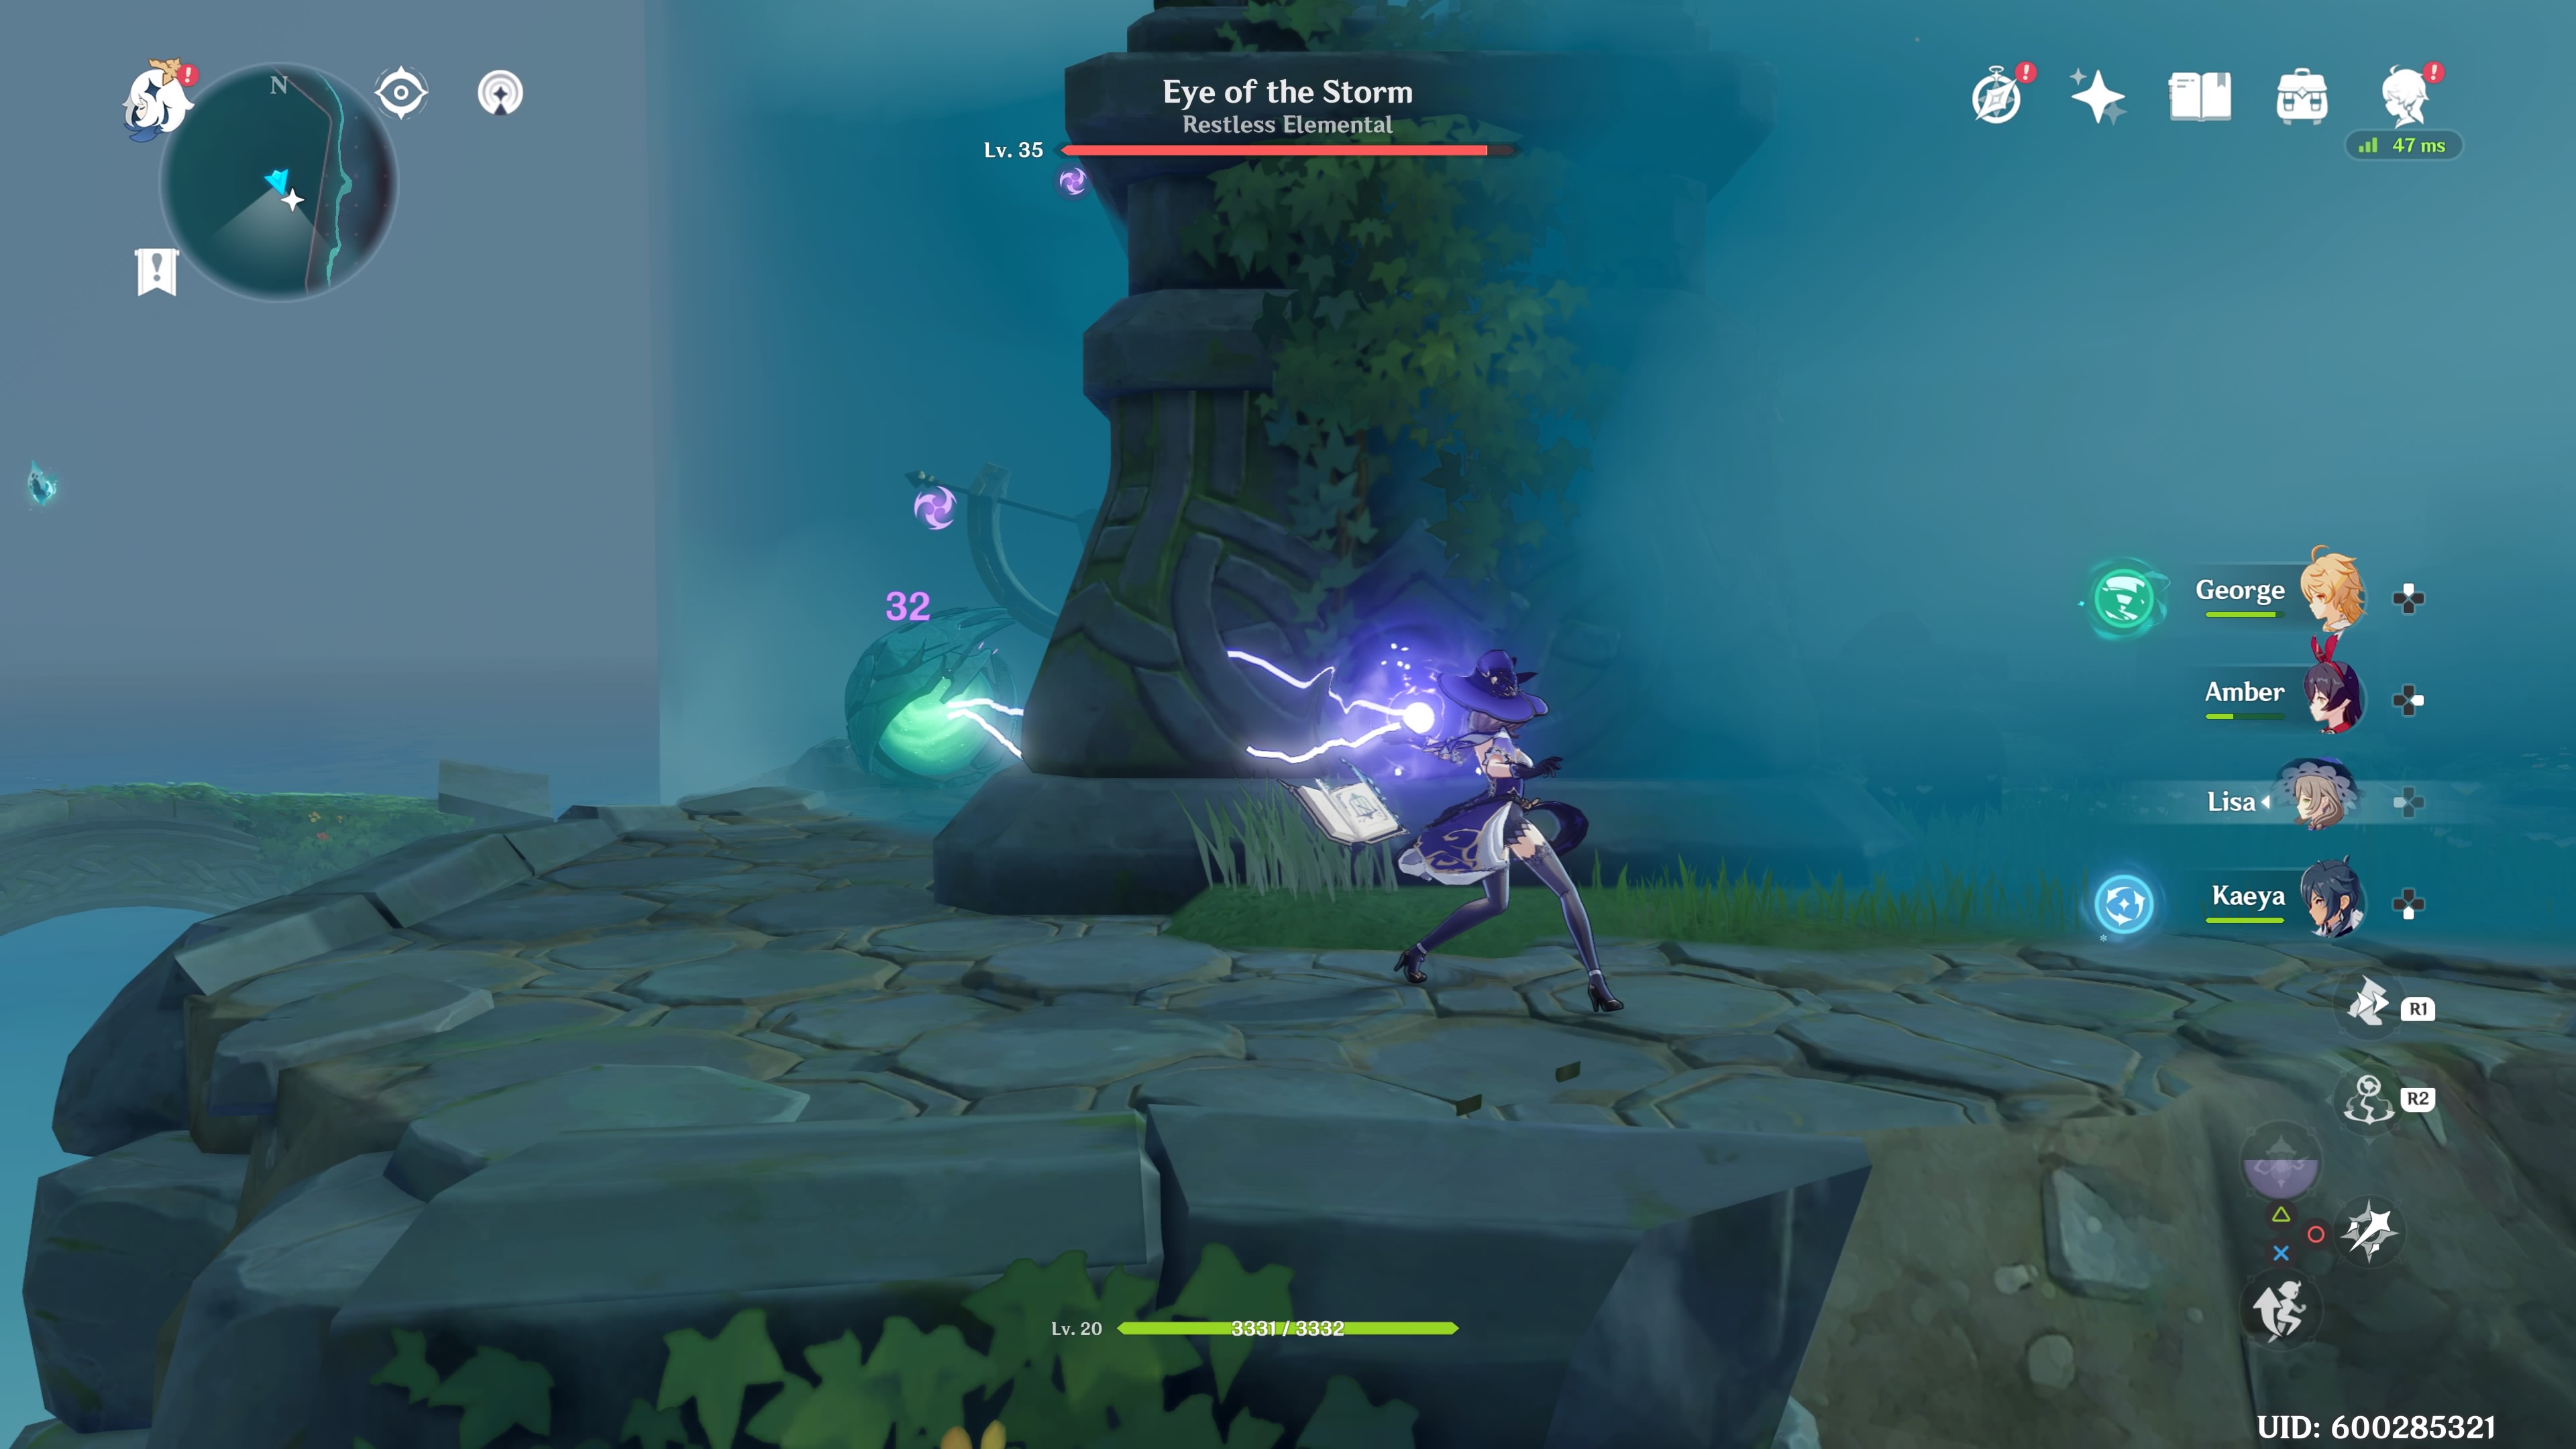
If you’re really having trouble with the Eye of the Storm, you can cheese the boss by strafing back and forth behind a pillar. I used the pillar opposite the one we climbed to get the Wind Orb (if you’re facing the Ravaged Carving, it’s the one on the left).
Use Lisa, and stand behind the pillar. Lisa’s lightning attacks go through the pillar and can hit the Eye of the Storm, as seen in the picture above.
Additionally, the pillar completely stops the Eye of the Storm’s spin charging attack from reaching you. If the Eye of the Storm comes around the corner, just run around to the other side of the pillar.
Thousand Winds Temple
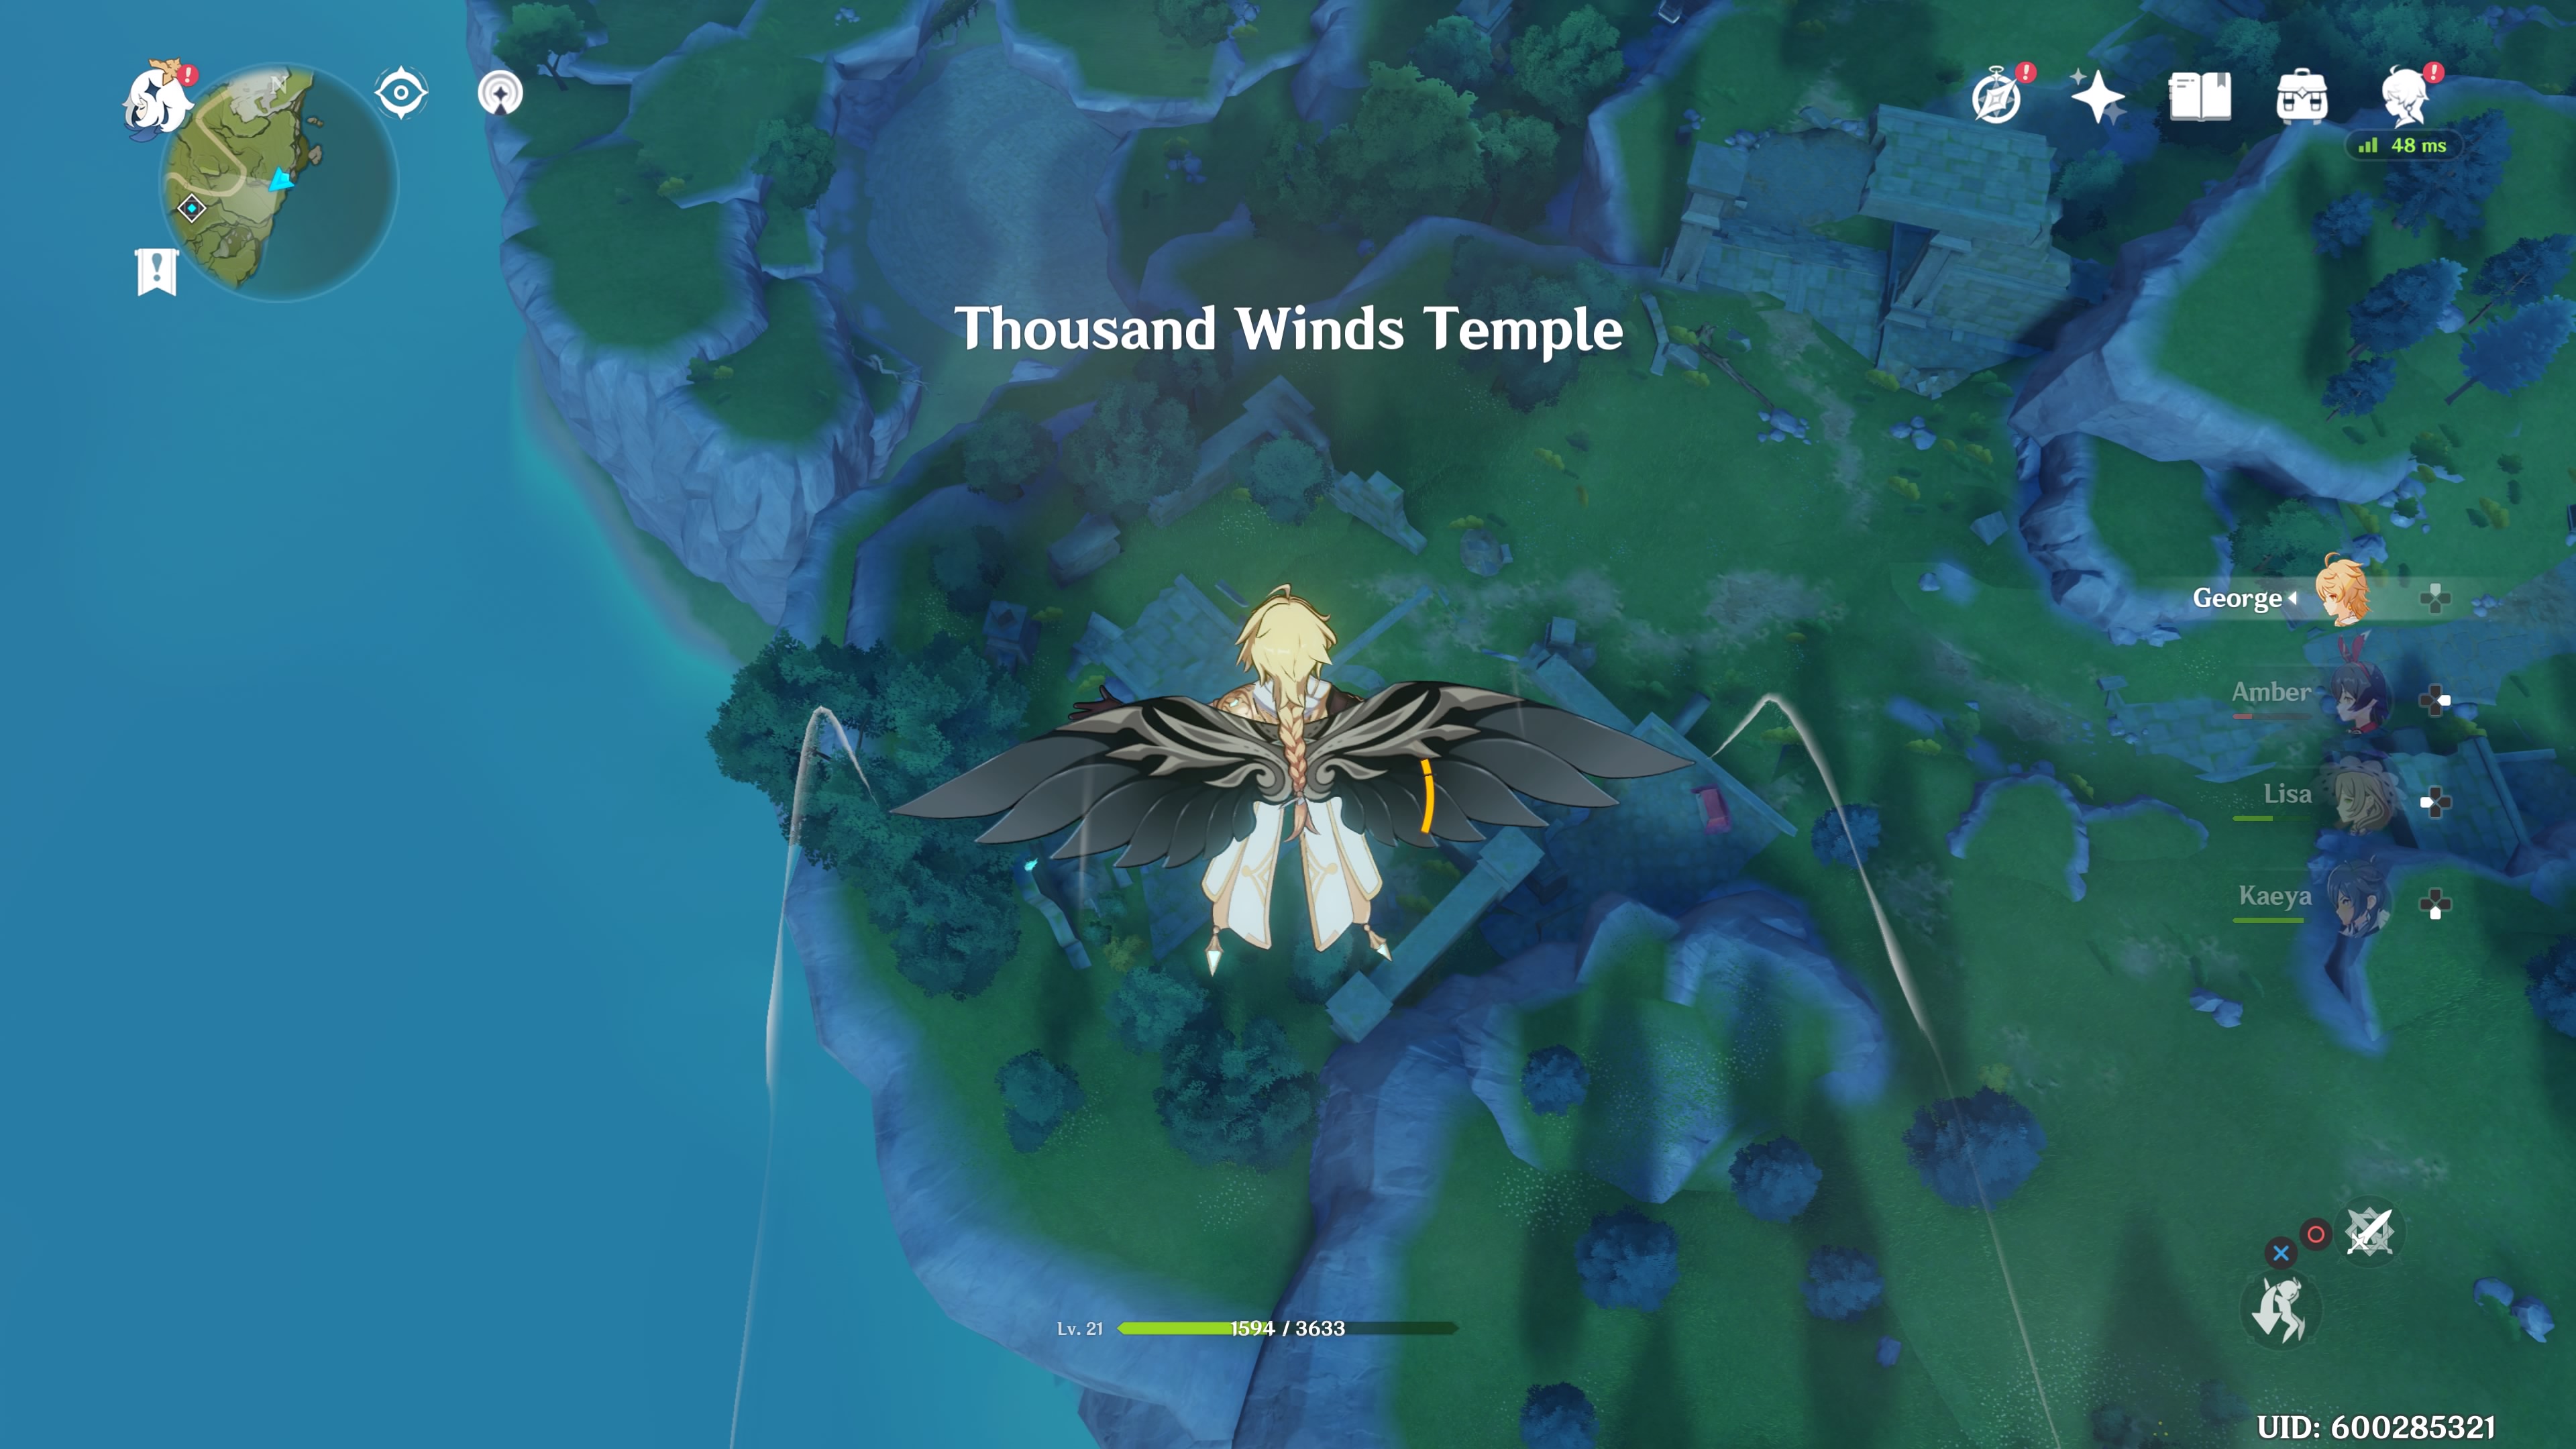
After defeating the Eye of the Storm, the middle will open. You need to glide up and through the rings. Eventually, you will reach Thousand Winds Temple, where you must activate four more Wind Orbs to progress.
Unlike the first four, though, these Wind Orbs are near each other and easy to find.
Beat the Eye of the Storm Again
After activating the four Wind Orbs at Thousand Winds Temple, the Eye of the Storm will appear again. This time, it is Level 40 and much tougher as there are also Ameno Slimes and Ameno Hillichurls to contend with.
Pick off the Ameno Slimes and Ameno Hilichurls
If you’re under-leveled here, I suggest running off and leaving the area so that the enemies’ aggro reset. Come back and pick off the Slimes and Hilichurls one by one. The Eye of the Storm should not notice you unless you get very close to it.
After taking care of the smaller enemies, it’s time to take on the Eye of the Storm again. Solo.
Fight the Eye of the Storm solo
Unfortunately, there is no pillar to utilize the cheese strategy again, so you’ll need to the Eye of the Storm fairly. The good thing is that the area is bigger than the island, so you have much more room to dodge.
The Eye of the Storm’s wind wall attack makes a return, but you can climb the corners of the ruins to get to higher ground and avoid the gust flares. Like before, you can switch to Amber and fire at the Eye of the Storm and cut its attack short.
After defeating the Eye of the Storm, talk to the man nearby named Henry Morton to complete the Time and the Wind quest. For more Genshin Impact tips, consider taking a look at our growing list of guides here, which includes Valberry locations, how to find Noctilucous Jade, and all of Genshin Impact‘s elemental combos.


Published: Sep 30, 2020 09:59 pm