Banshee can be one of the first serious gear checks in Tiny Tina’s Wonderlands. She’s got a considerable amount of health for her position in the boss order, some simple but deadly mechanics built to punish the unaware, and fewer mobs to revive with at first. So how do you beat Banshee?
In this guide to Tiny Tina’s Wonderlands, we’ll go over all of Banshee’s attacks and how to deal with them. However, because of the wild RNG and build variety in Wonderlands, we can’t give many suggestions on loadout. Your best bet at this point in the game is pumping as much damage as you can into one gun or ability and letting that carry you. Unless you’re farming her late game, in which case melt her by your favorite means.
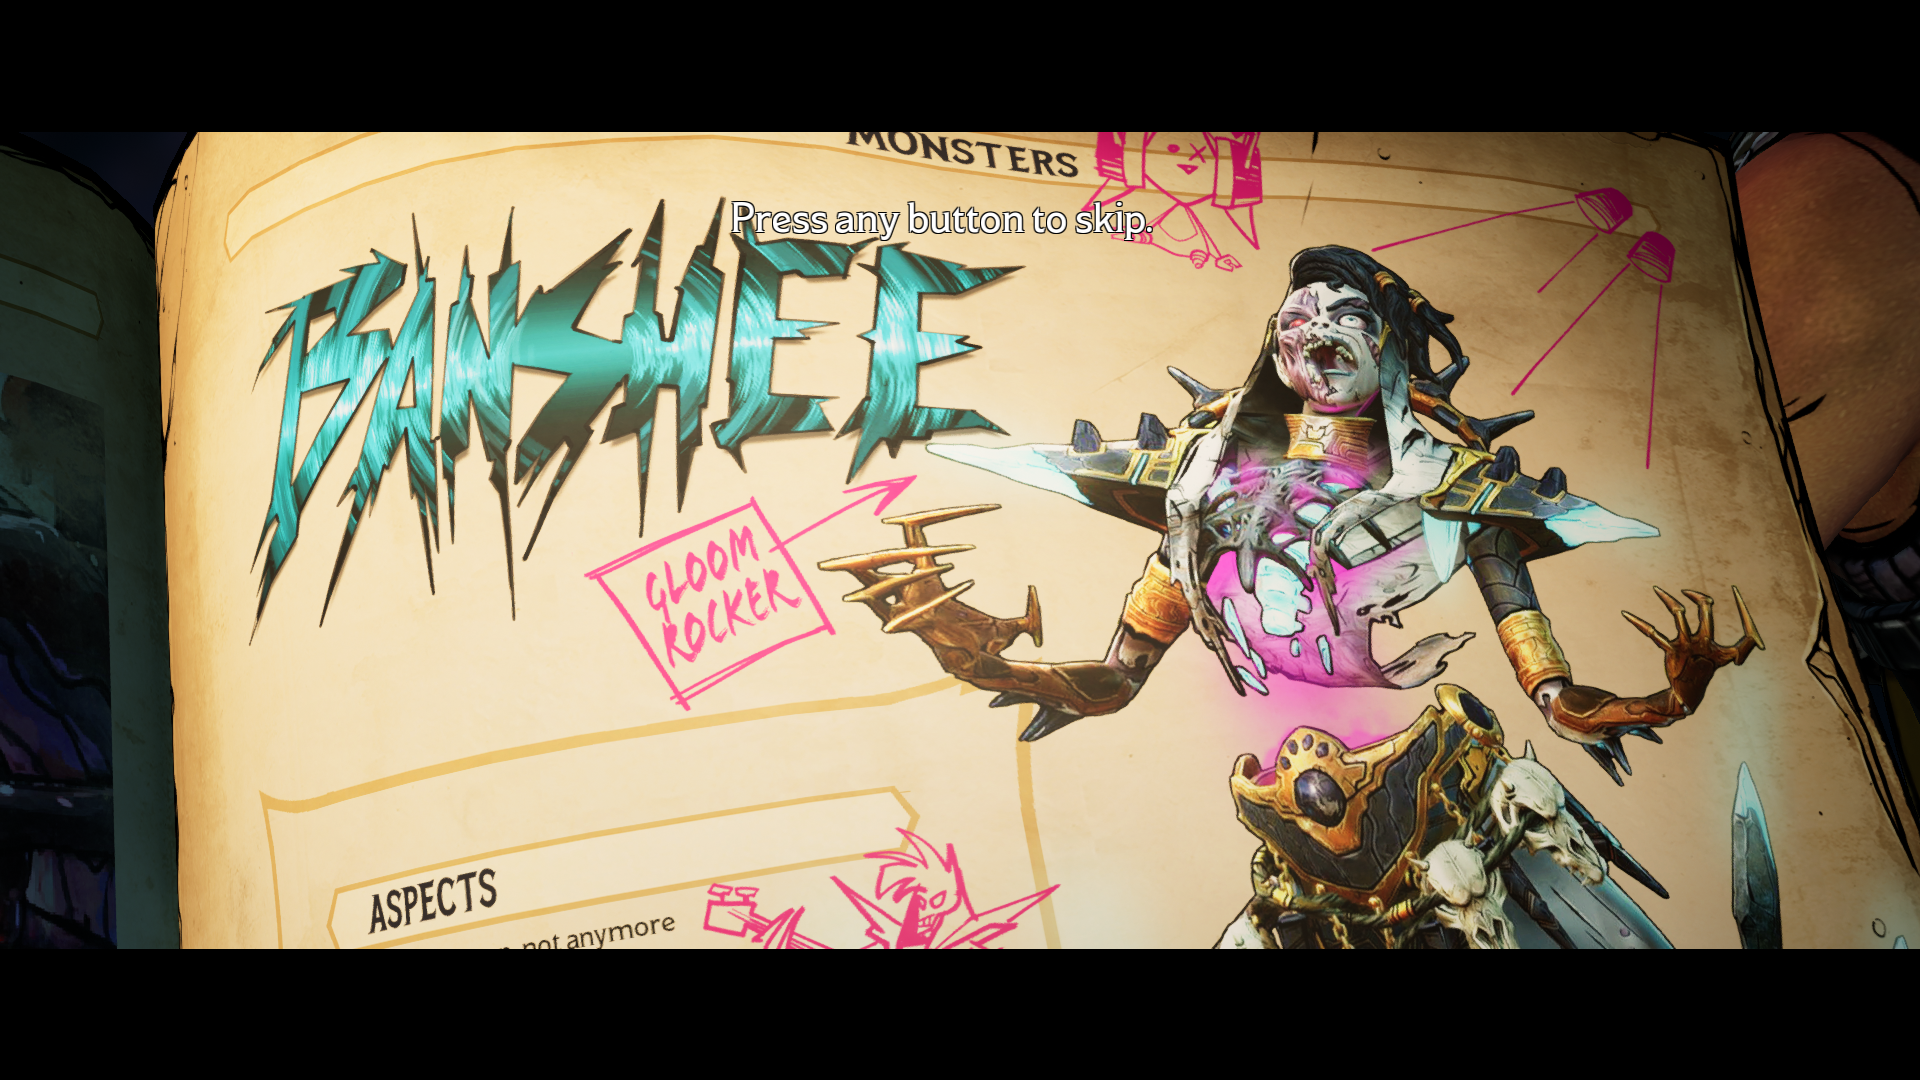
How to Beat Banshee in Tiny Tina’s Wonderlands
Found deep in the Weepwild Dankness near the Corrupted Heart fast travel point, Banshee’s arena consists of a smaller pit within a larger rectangular space. You’ll use both during the fight, provided she doesn’t die during the first DPS phase.
Banshee Attack Sequence 1: Move to Center, Dodge Lasers

Shortly after the fight begins, and after you’ve removed about 5% of Banshee’s health, she’ll transform into a pink wisp and move to the far end of the arena. She’ll then materialize and begin screaming. At this point, two things occur.
First, the outer ring of the arena fills with pink smoke that deals significant damage over time, enough to kill any build in about five seconds. You’re therefore forced to go to the smaller, lower area.
In the lower area, you’ll be facing Banshee, and with each scream, she’ll release one of two energy beams, one light blue, one bright pink. You need to jump over the blue one and crouch beneath the pink one.
You can’t just stand to avoid the pink one, as the beam will clip your face and tick about 90% of your HP and all of your Ward.
This sequence lasts about 30-40 seconds or between six and eight beams. Banshee floats almost completely still the whole time, so deal as much damage as you can while avoiding taking damage yourself.
Banshee Attack Sequence 2: Magic Missiles and Poison Pools
Once Banshee ends Sequence 1, she begins floating around the arena. Once again, two things will happen.
First, deep purple pools of poison will appear throughout the arena. If you start taking DOT damage, look to your feet. It’s probably poison. The pools dissipate after a few seconds, but they cover a wide area.
The second part of this sequence is Banshee throwing blue energy lances at you, either one or three at a time. The lances don’t move quickly, so strafing to either side should suffice to avoid them. You can spend any downtime dealing damage to Banshee, keeping your surroundings in mind, and dodging her lances. They hurt.
Banshee Trash Mob Threat
The mobs that spawn throughout the fight are floating skulls that don’t go out of their way to attack you but can deal damage if you come in contact with them. You’ll lose about half your Ward if it’s full or the same from your health bar if your Ward is down.
Thankfully, the skulls are very easy to kill, and if your build relies on Kill Skills, there will be plenty of mobs to wreck. Be careful not to clear the arena entirely if you go down to one of Banshee’s attacks.
As an early-game boss, Banshee isn’t particularly complex. The challenge to her fight is dealing enough damage that what mistakes you make don’t cost you too much. Look to our best classes guide to determine which you should pick so you’re better situated for the campaign. Increase your Loot Luck as much as you can, as having to backtrack to find Lucky Dice is a chore.


Published: Apr 8, 2022 03:44 pm