
Achieving the highest possible mission ratings in the Hitman series has always been challenging, but flexible. In Hitman 2, 5-star ratings have several strict but general requirements:
- No kills other than the main target(s)
- Don’t trigger any alarms
- Never be detected by enemies
- No bodies discovered
- Never be detected by cameras
- If you are spotted by cameras, you can still get a perfect rating if you manage to find and destroy the security hub somewhere in the mission
Beyond that, you’re free to complete the missions however you choose—and there are a ton of ways to creatively dispatch each target. This guide will show you just one relatively easy way to guarantee a Silent Assassin rating in Nightcall, Hitman 2‘s prologue/tutorial mission.
Infiltration
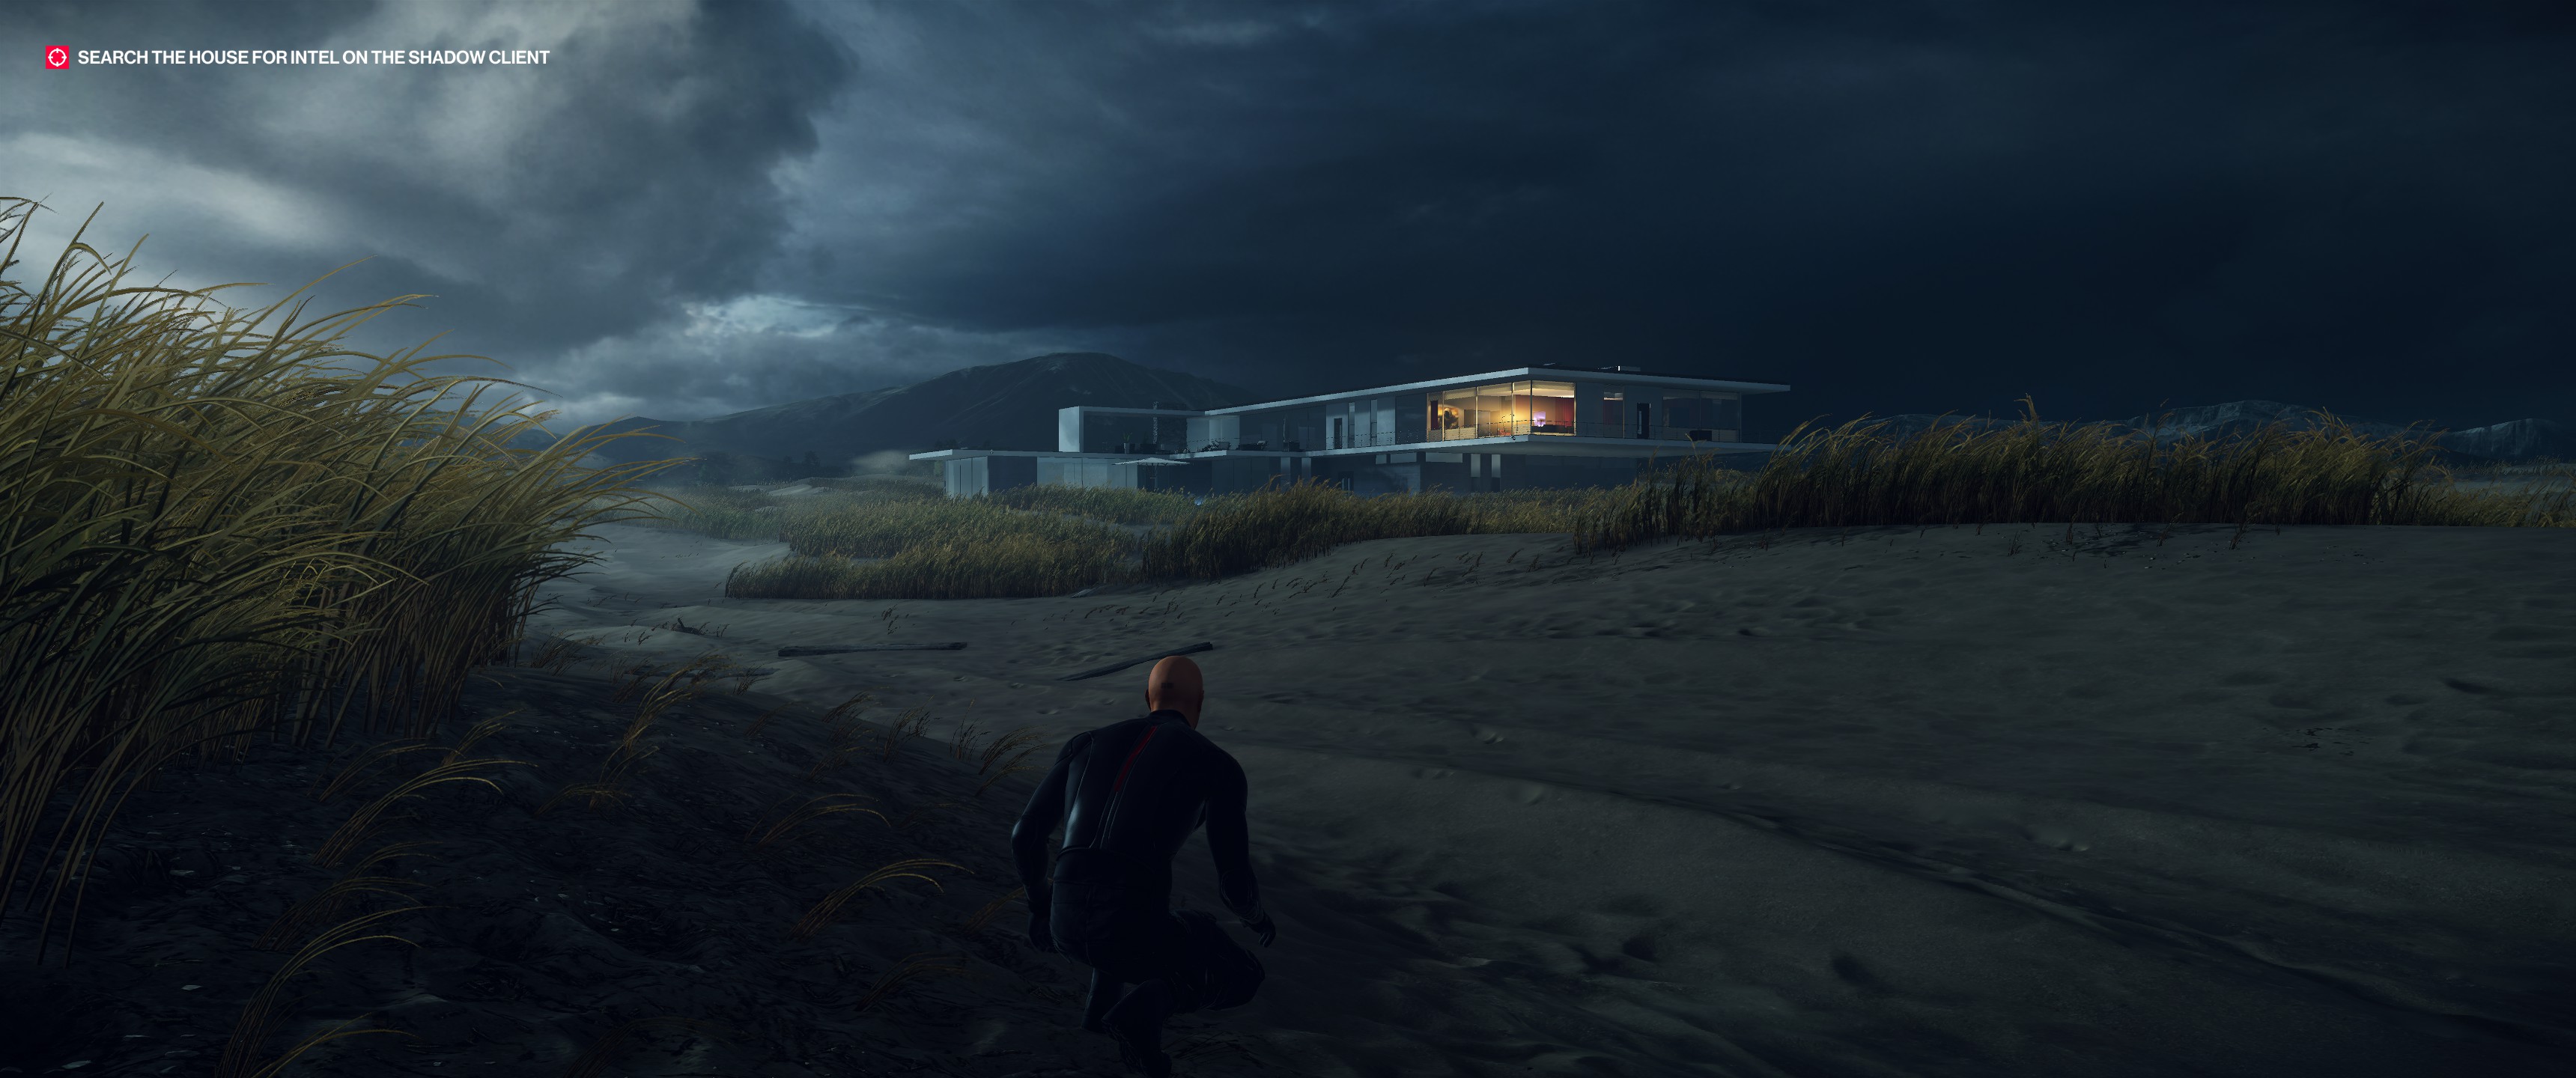
You begin the mission on a windy beach with a ritzy house nearby. There’s no need to sneak around just yet; there won’t be any enemies around until a bit later on.
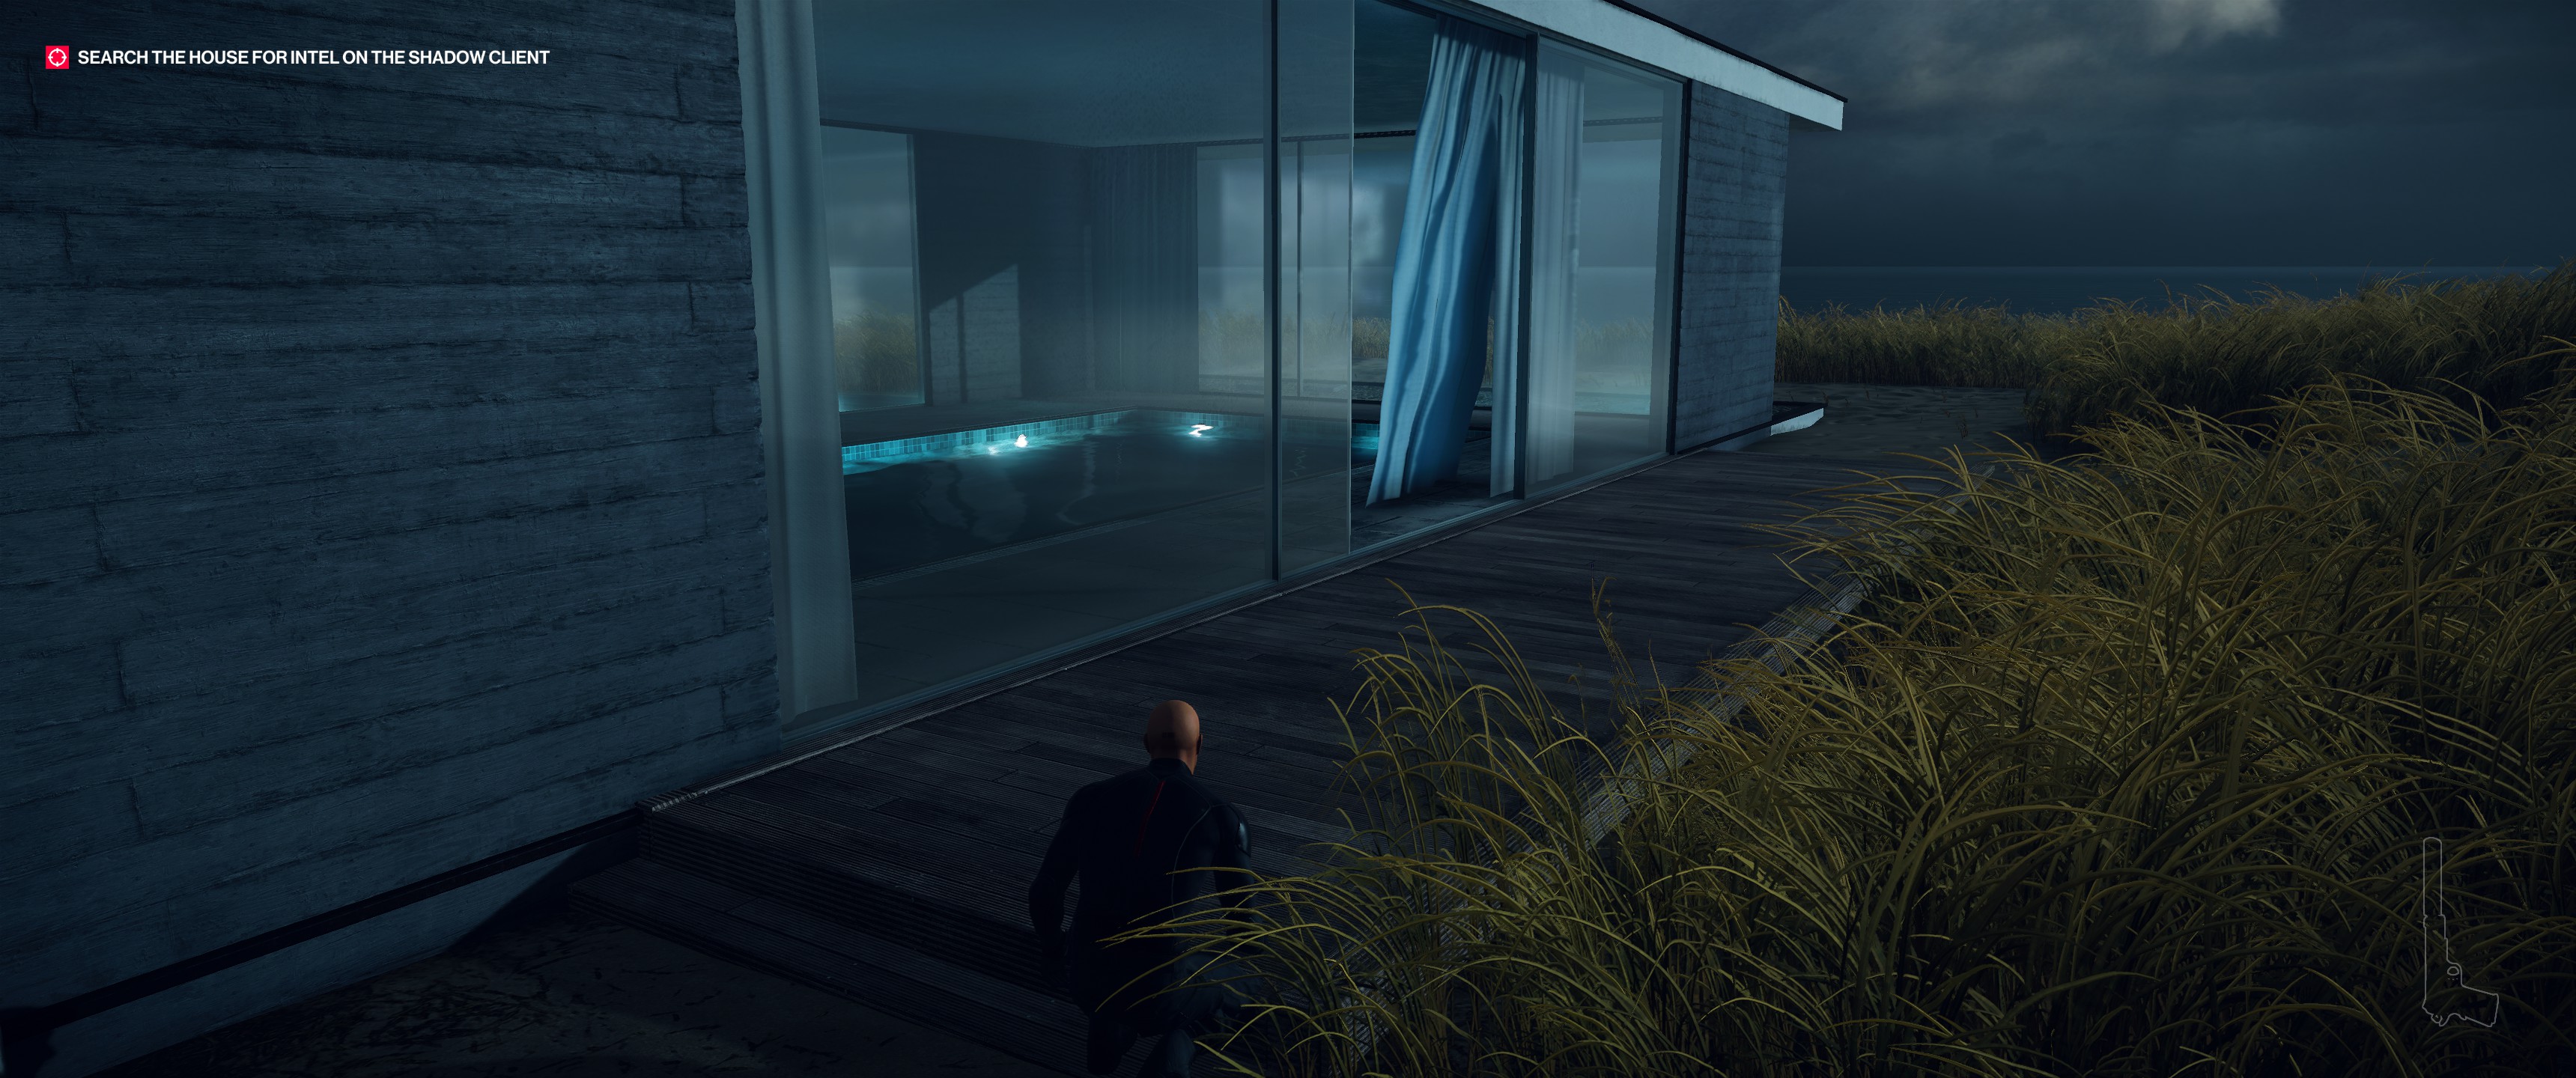
Make your way around the back of the house, taking care to avoid or shoot the cameras on the outside walls. You’re looking for an open back door to the pool area.
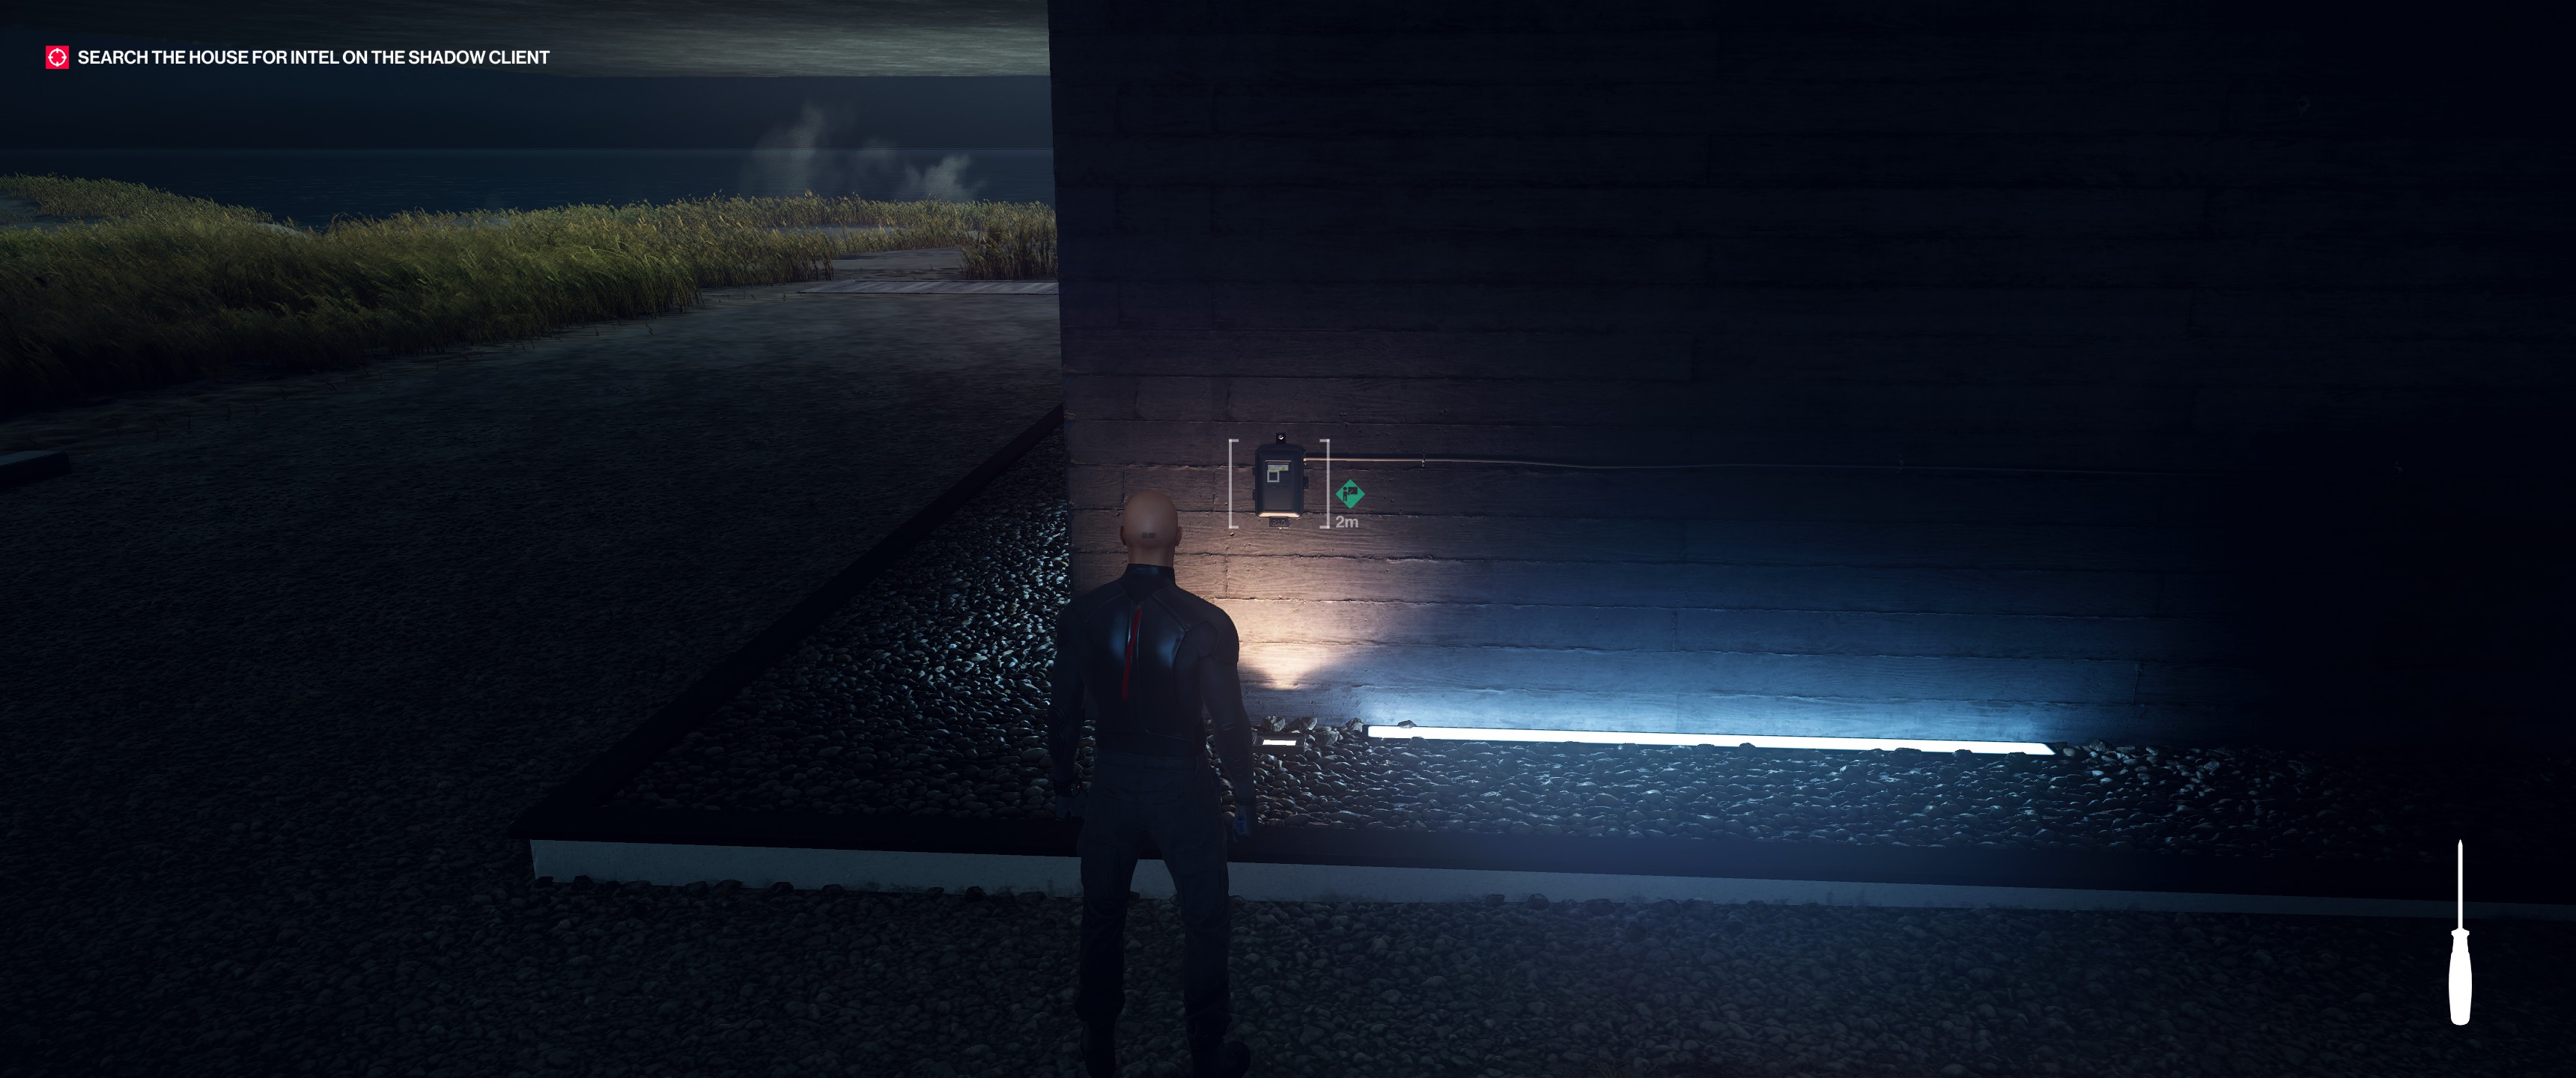
Pick up the screwdriver near the diving board, then head around to the garage and use it on the breaker box nearby to open the garage door.
Gathering Intel
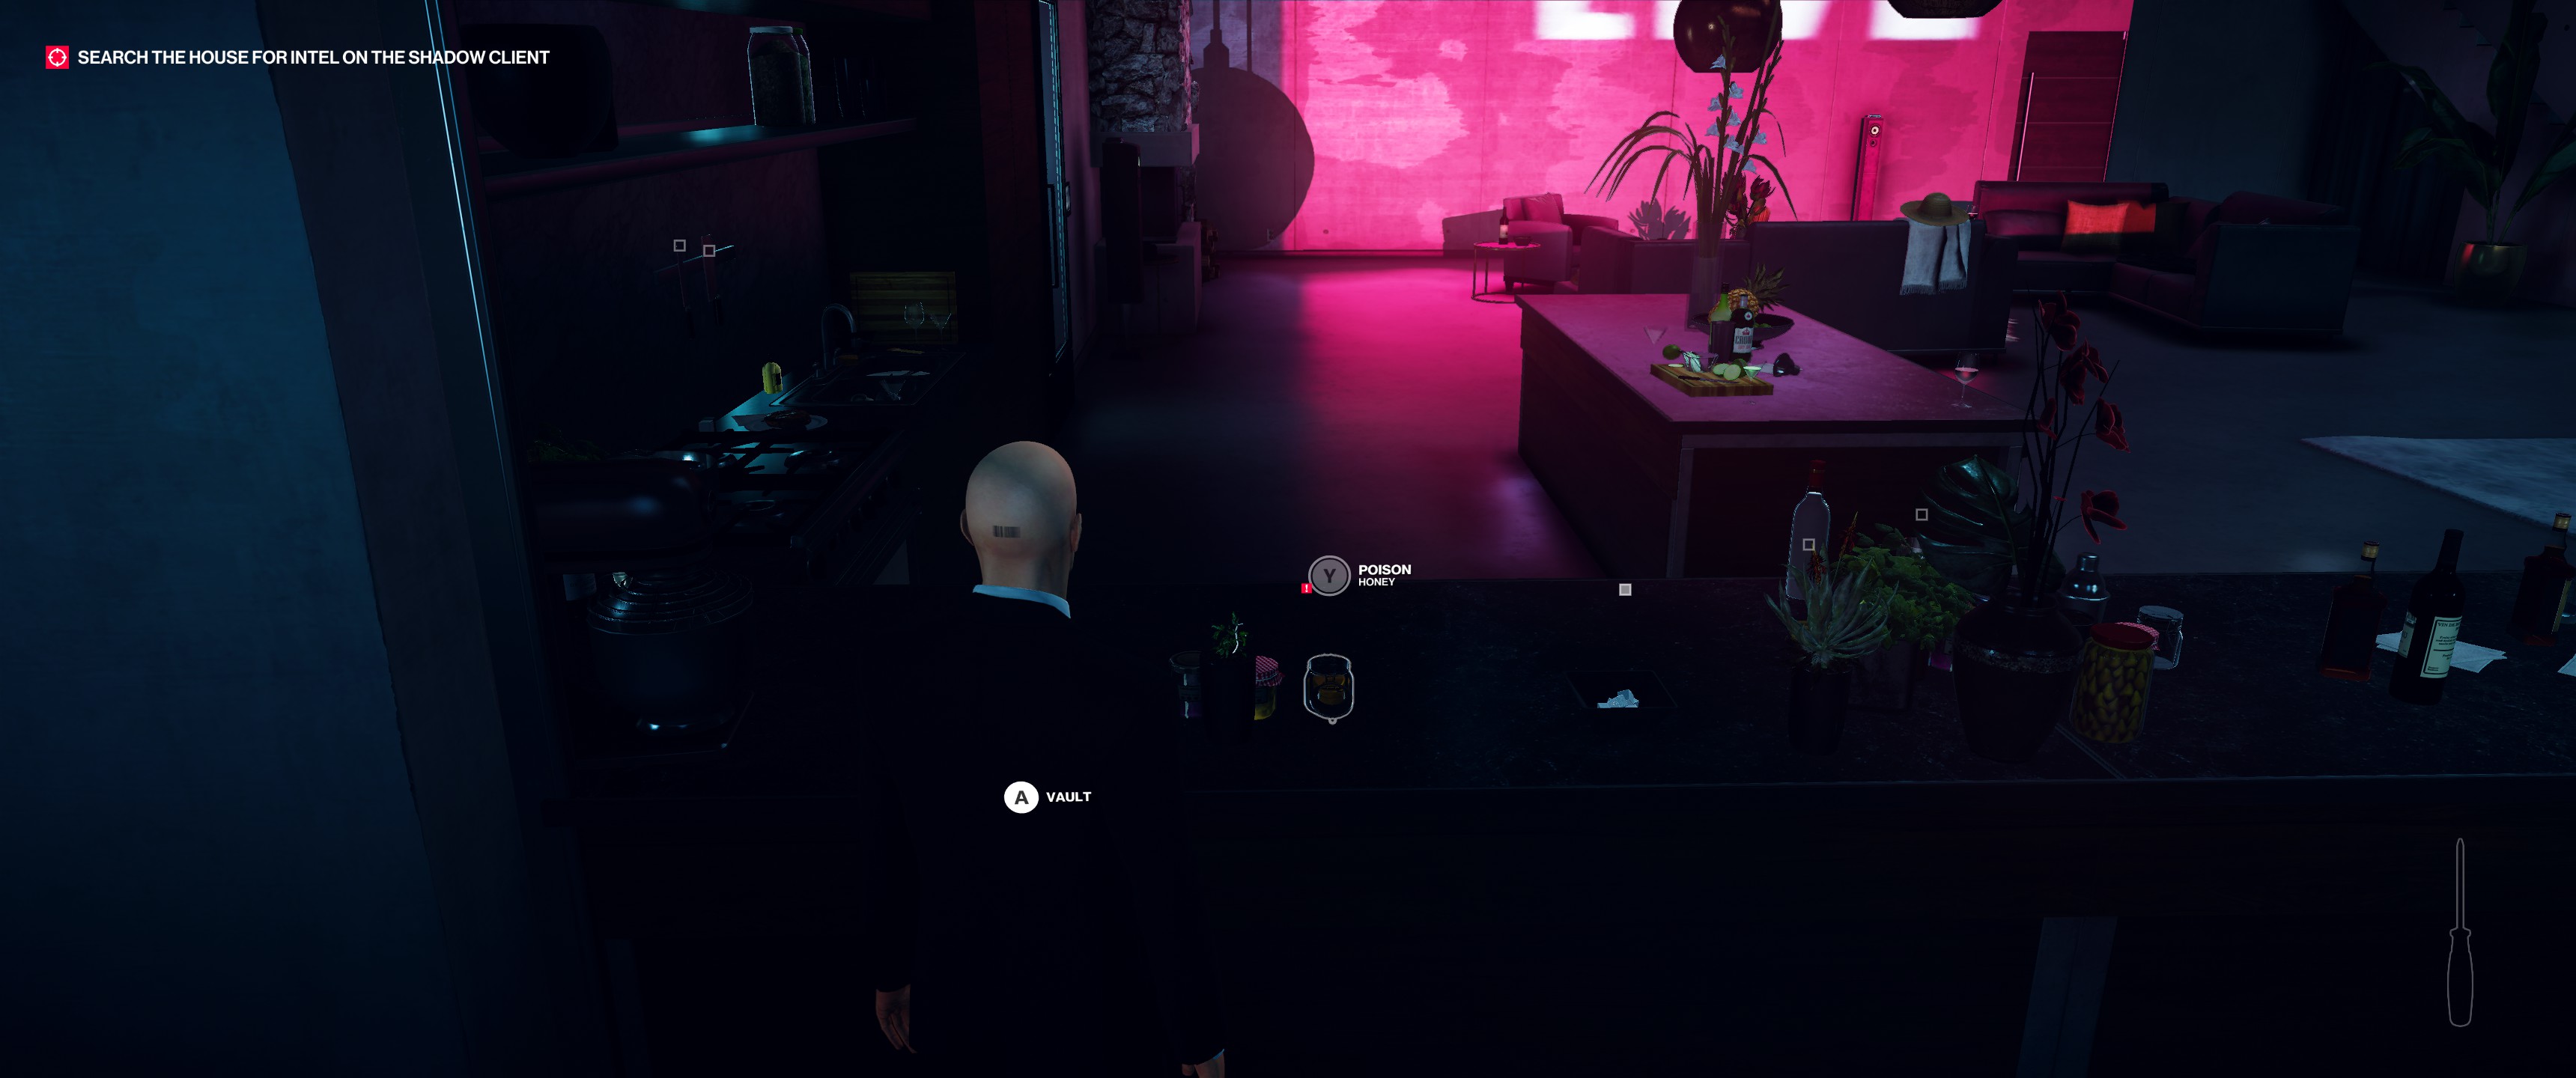
Once inside, you’ll need to find four pieces of intel. Before you get too far into the house, though, be sure to snag the emetic rat poison from one of the shelves in the garage storage area. The kitchen is the next room you’ll come to; use the rat poison on the jar of honey on the counter (you’ll thank me later).
The first intel folder can be found on the coffee table in the living room.

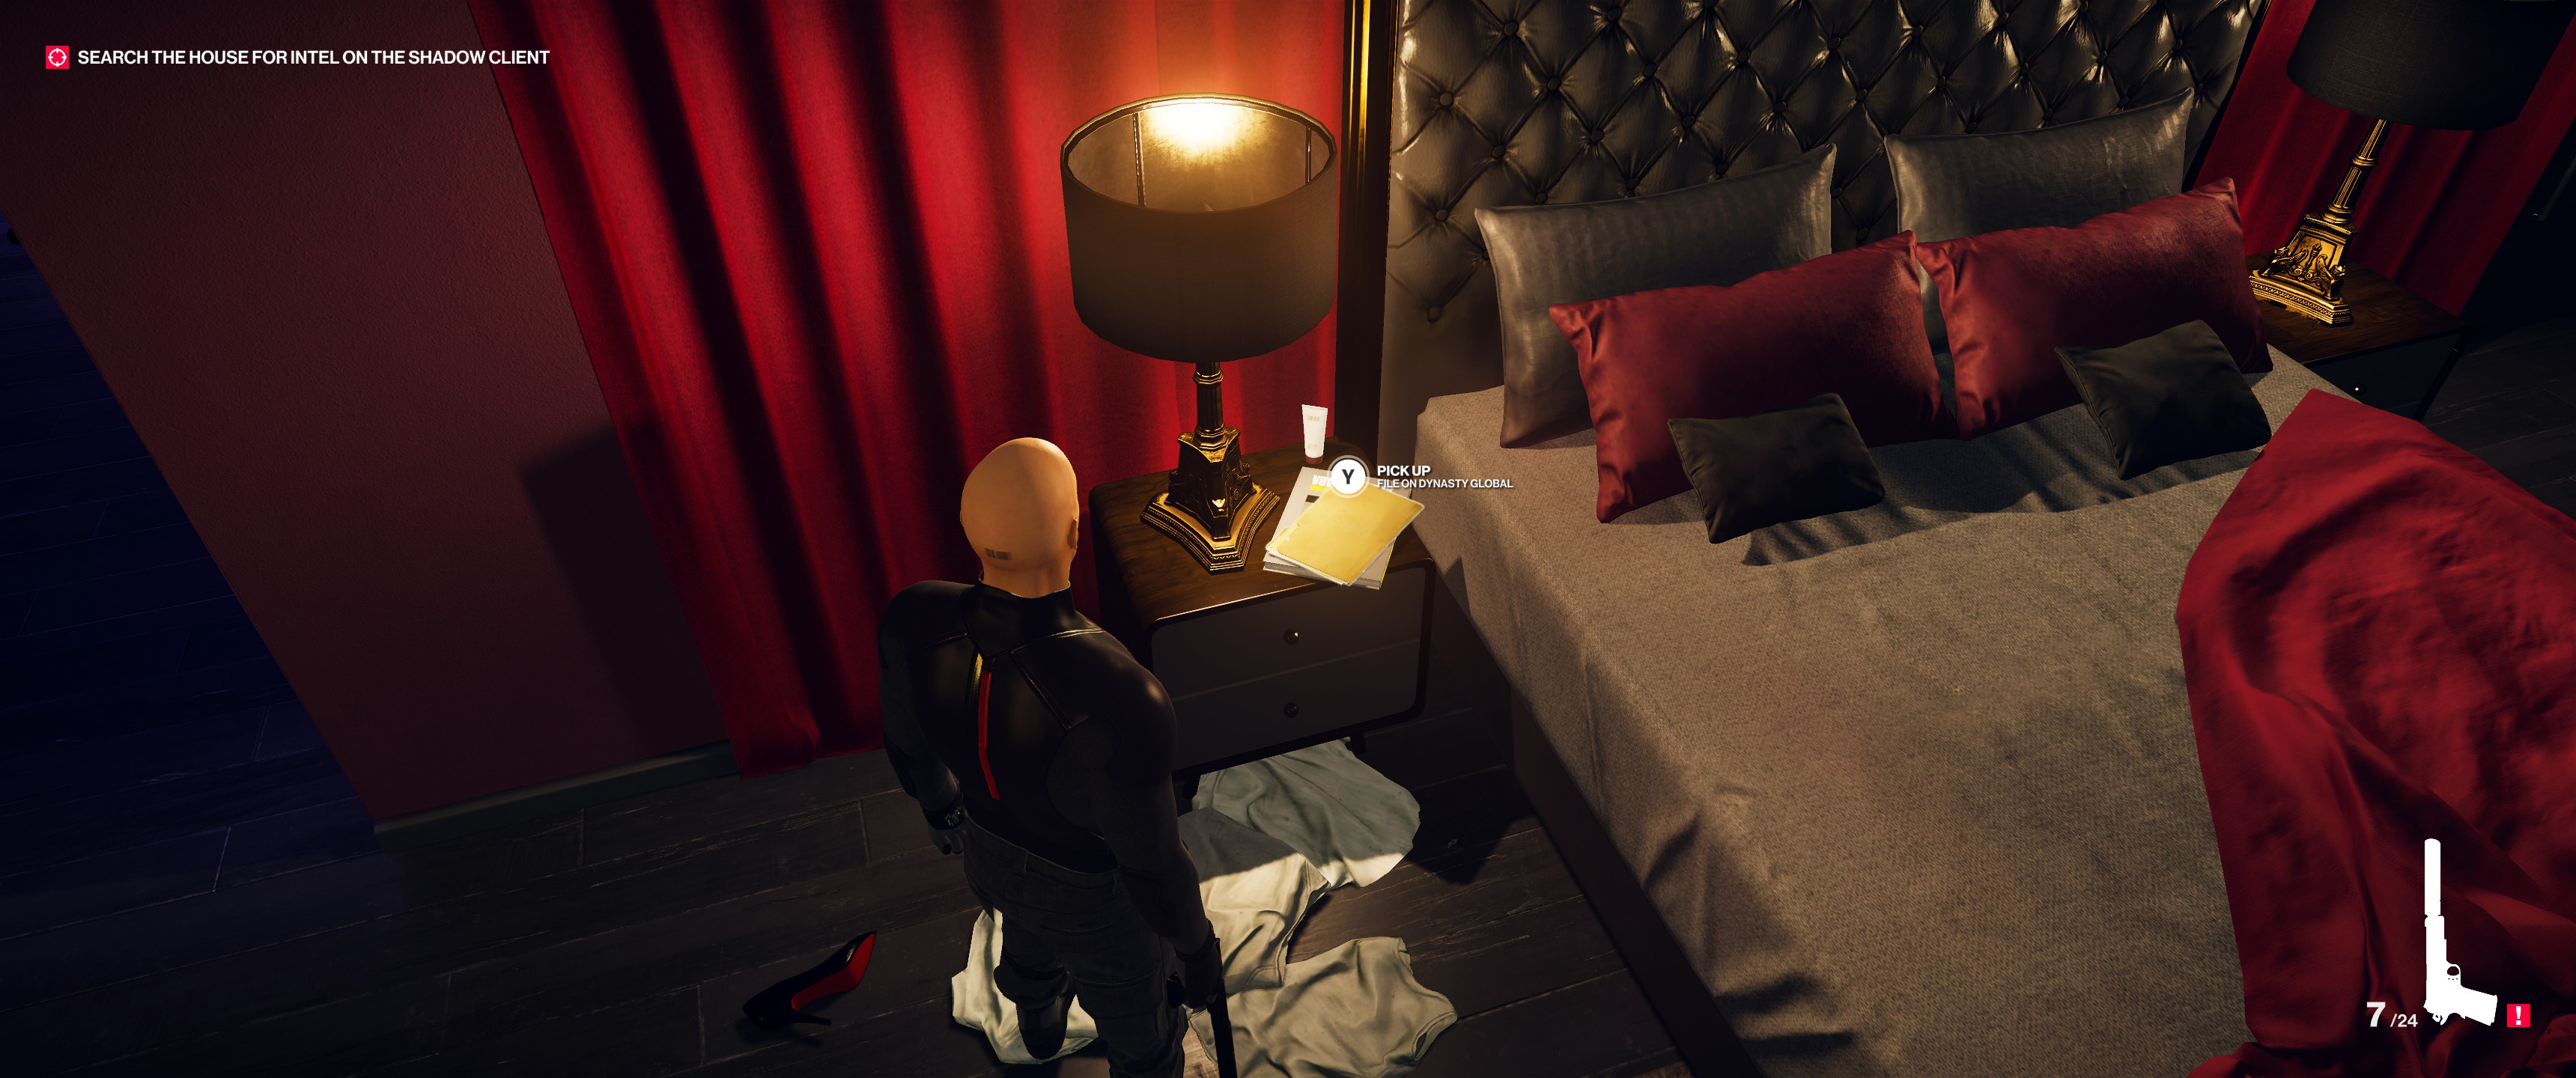
From here, head up the stairs and grab intel folder #2 from the bedside table in the master bedroom.
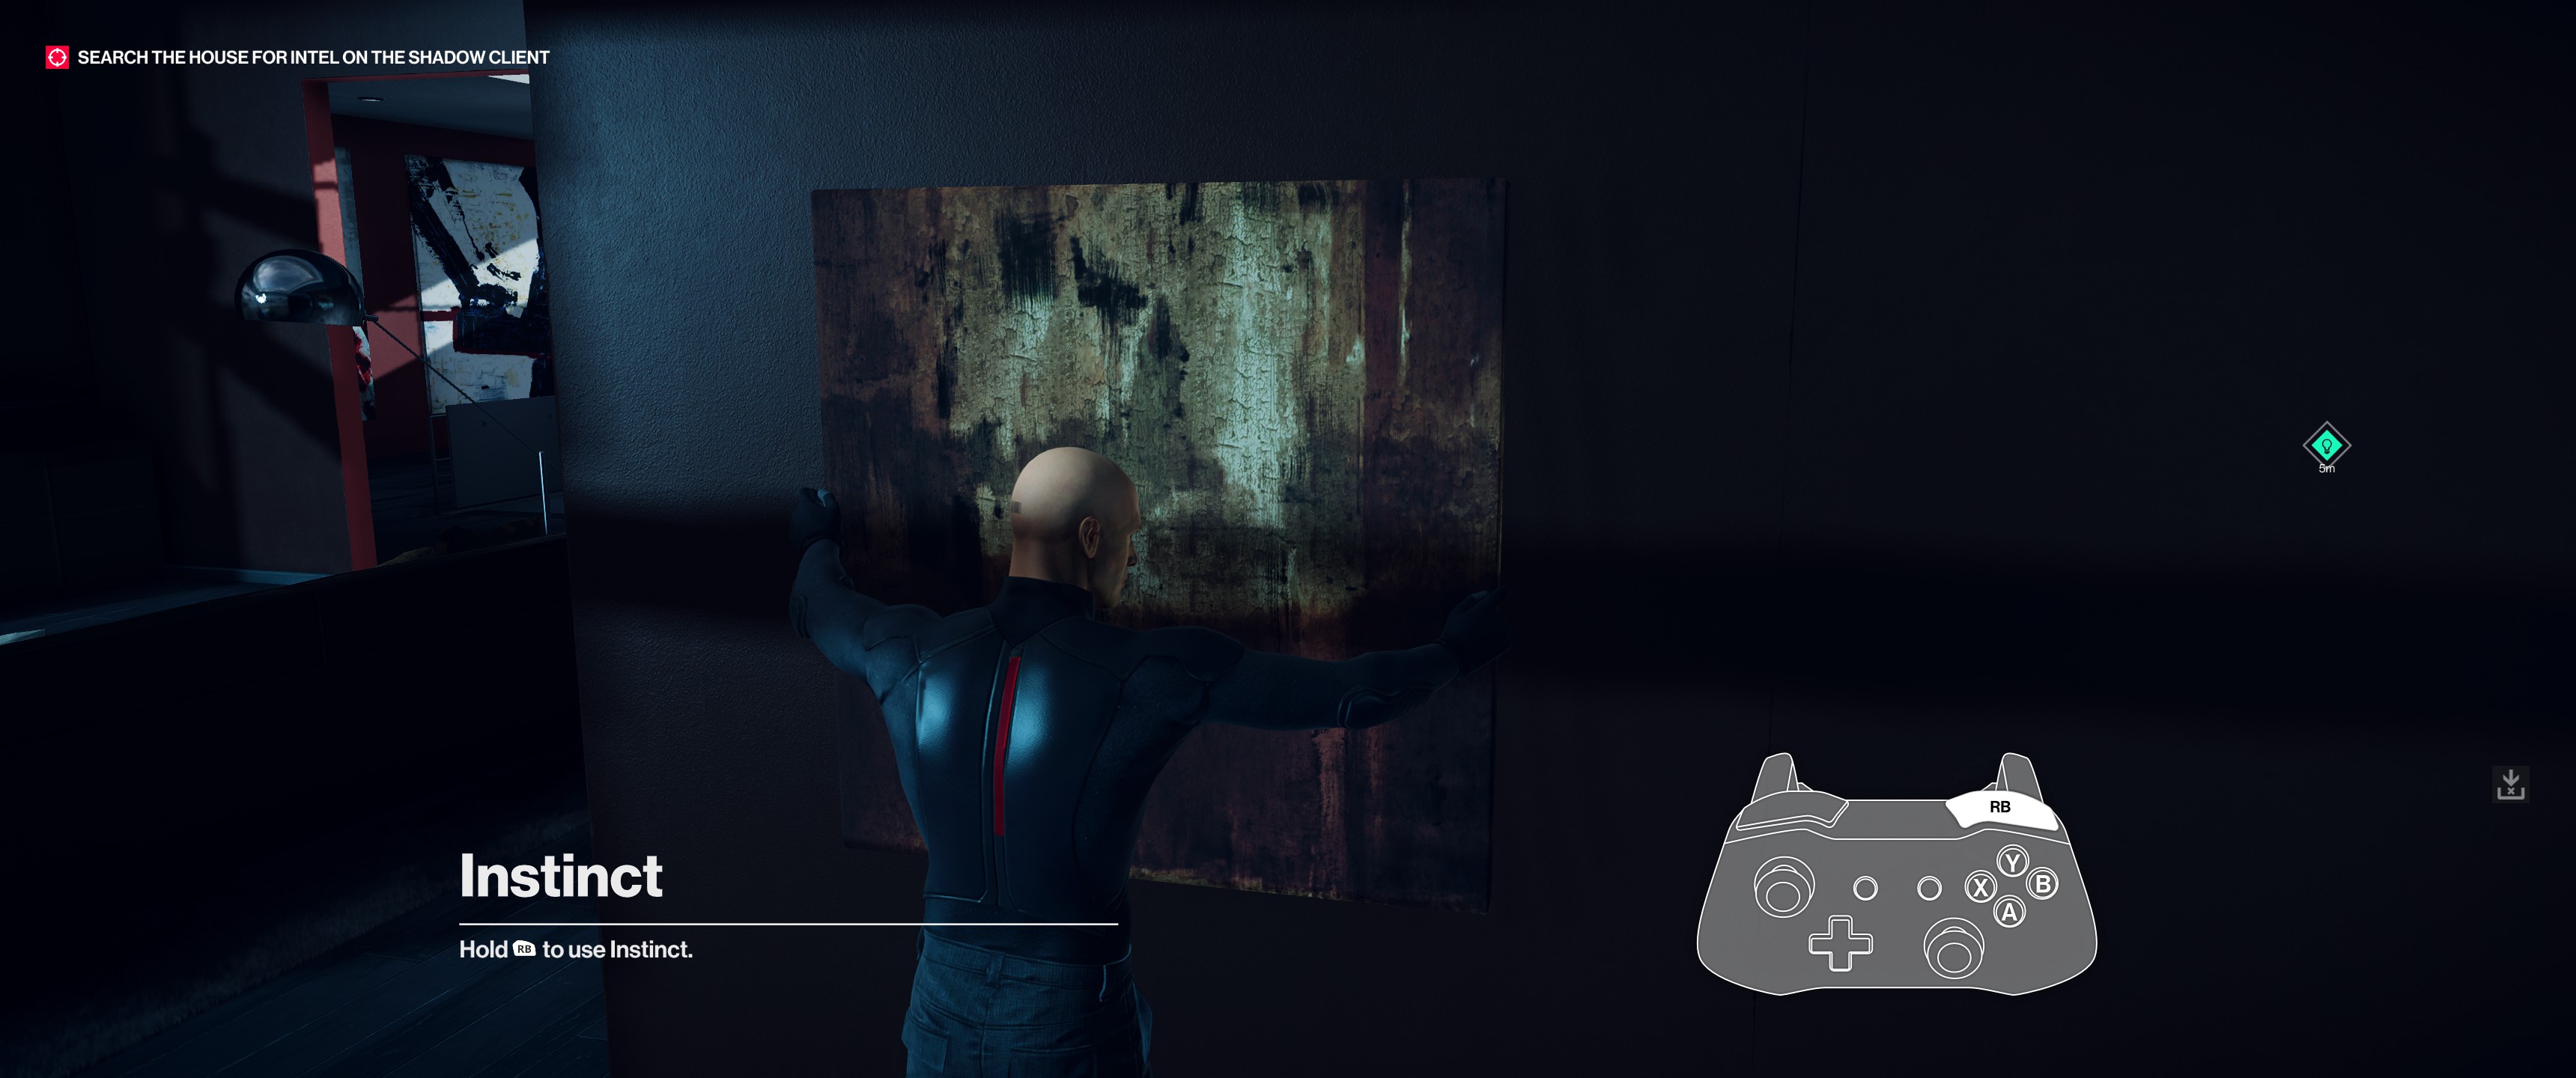
Now head over to the office on the second floor and try to access the computer. You’ll be told you need a password, and that there’s a secret room somewhere nearby. Activate Instinct and look around to spot a suspicious-looking painting—go mess with it.
You’ll find a room full of guns and goodies, as well as intel item #3: a whiteboard with some nefarious plans scribbled on it.
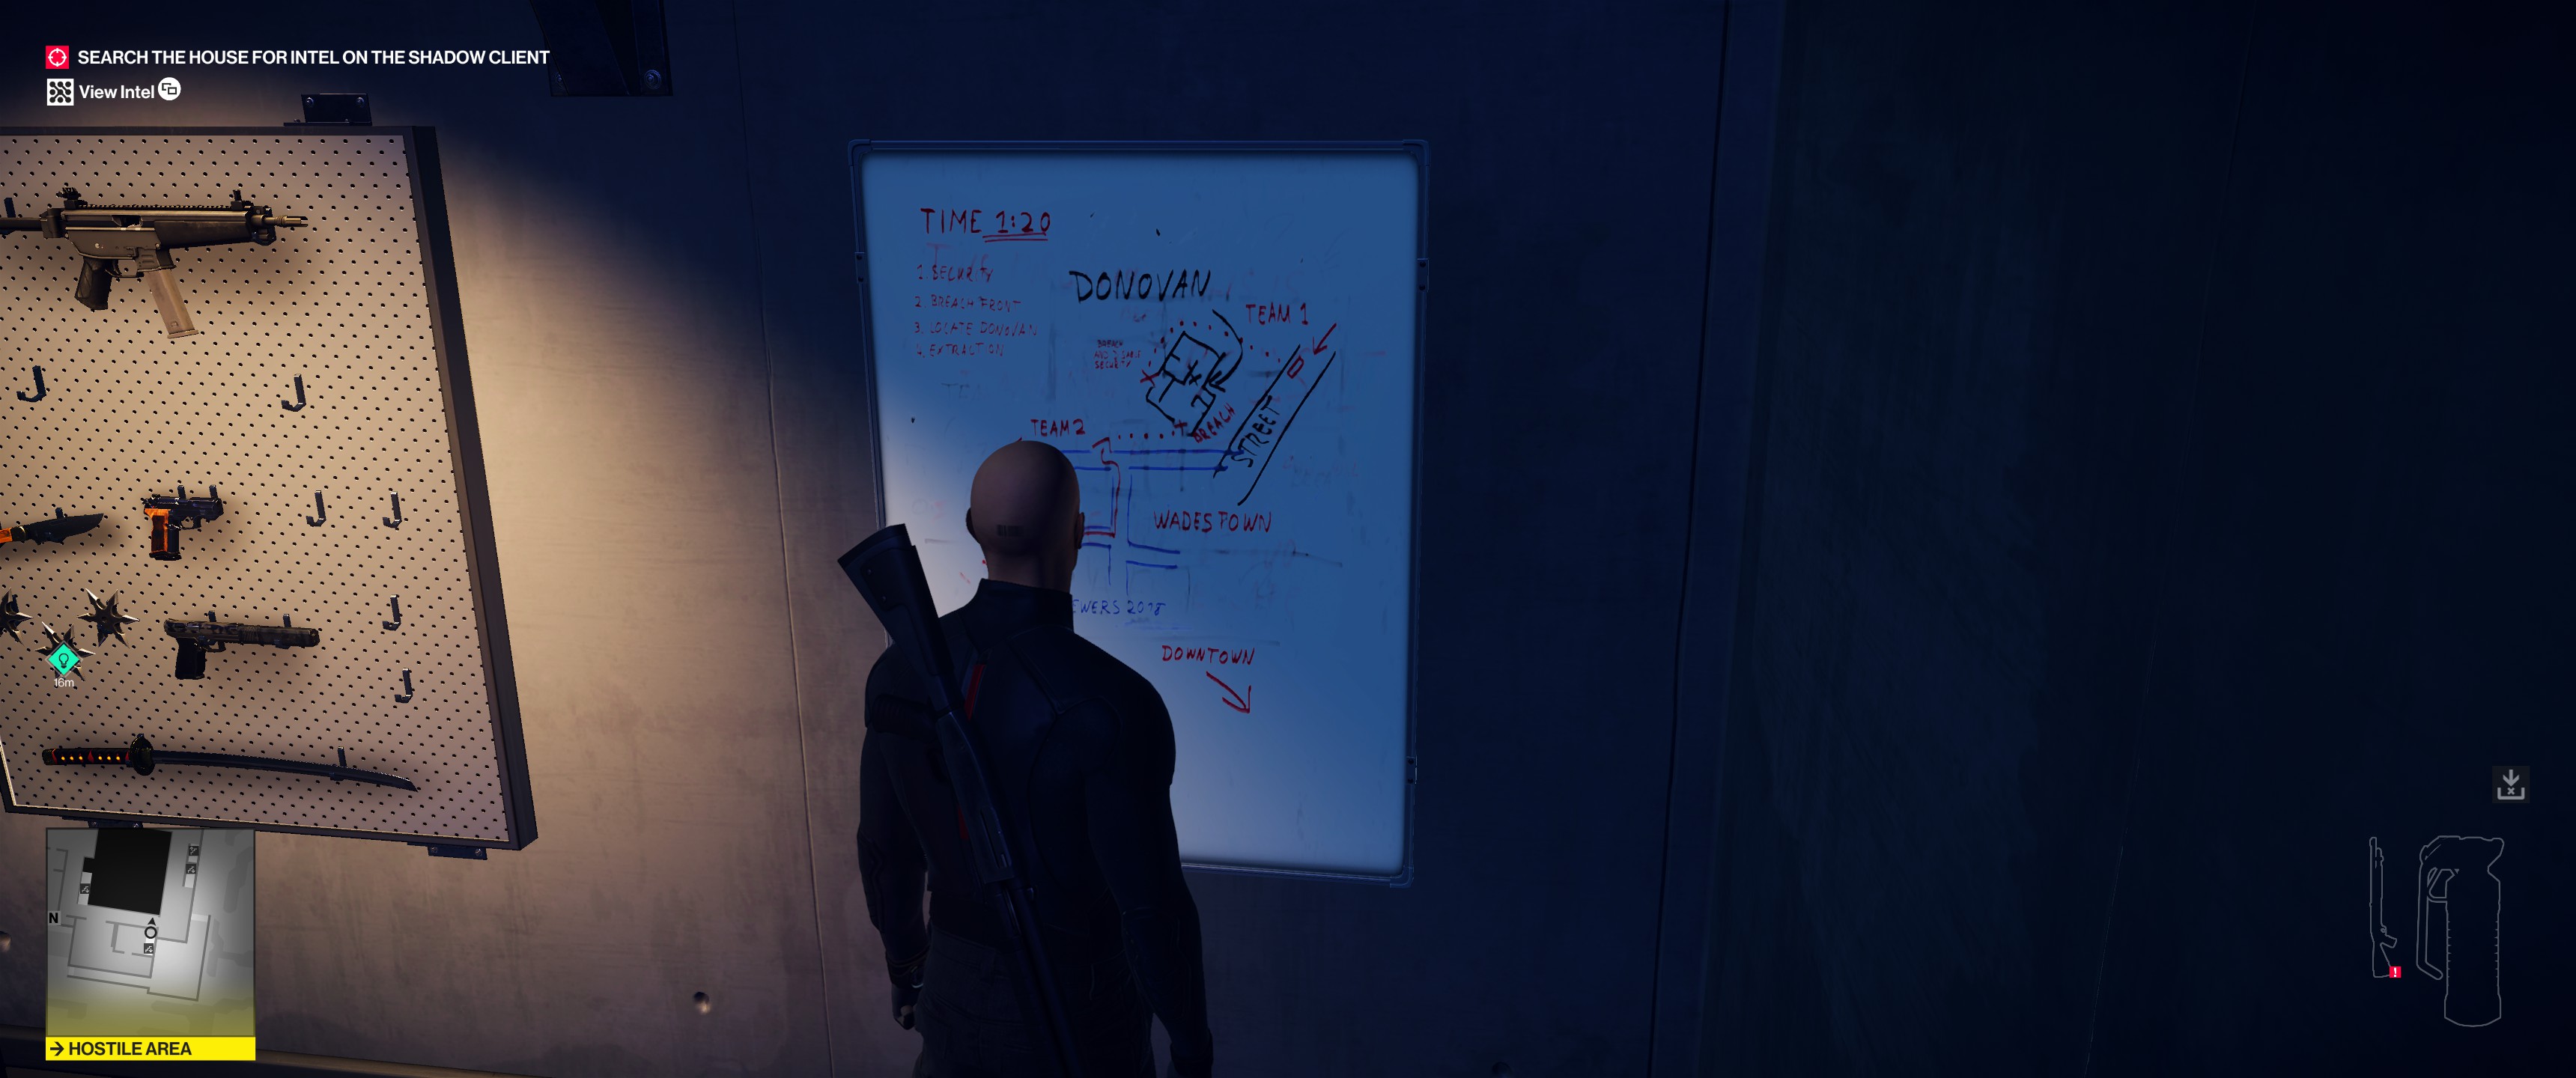
Grab some weapons if you’d like, but you won’t be using them—we’re after a perfect rating, remember? That means no non-target kills! Do grab a few frag grenades, though; they’ll come in handy later. Be sure to snag the lockpick and the password dongle from the workbench in this room, then head back to the computer and try logging in again. (The security hub is also in this room, if you need to do any video editing.)
Dropping the Target
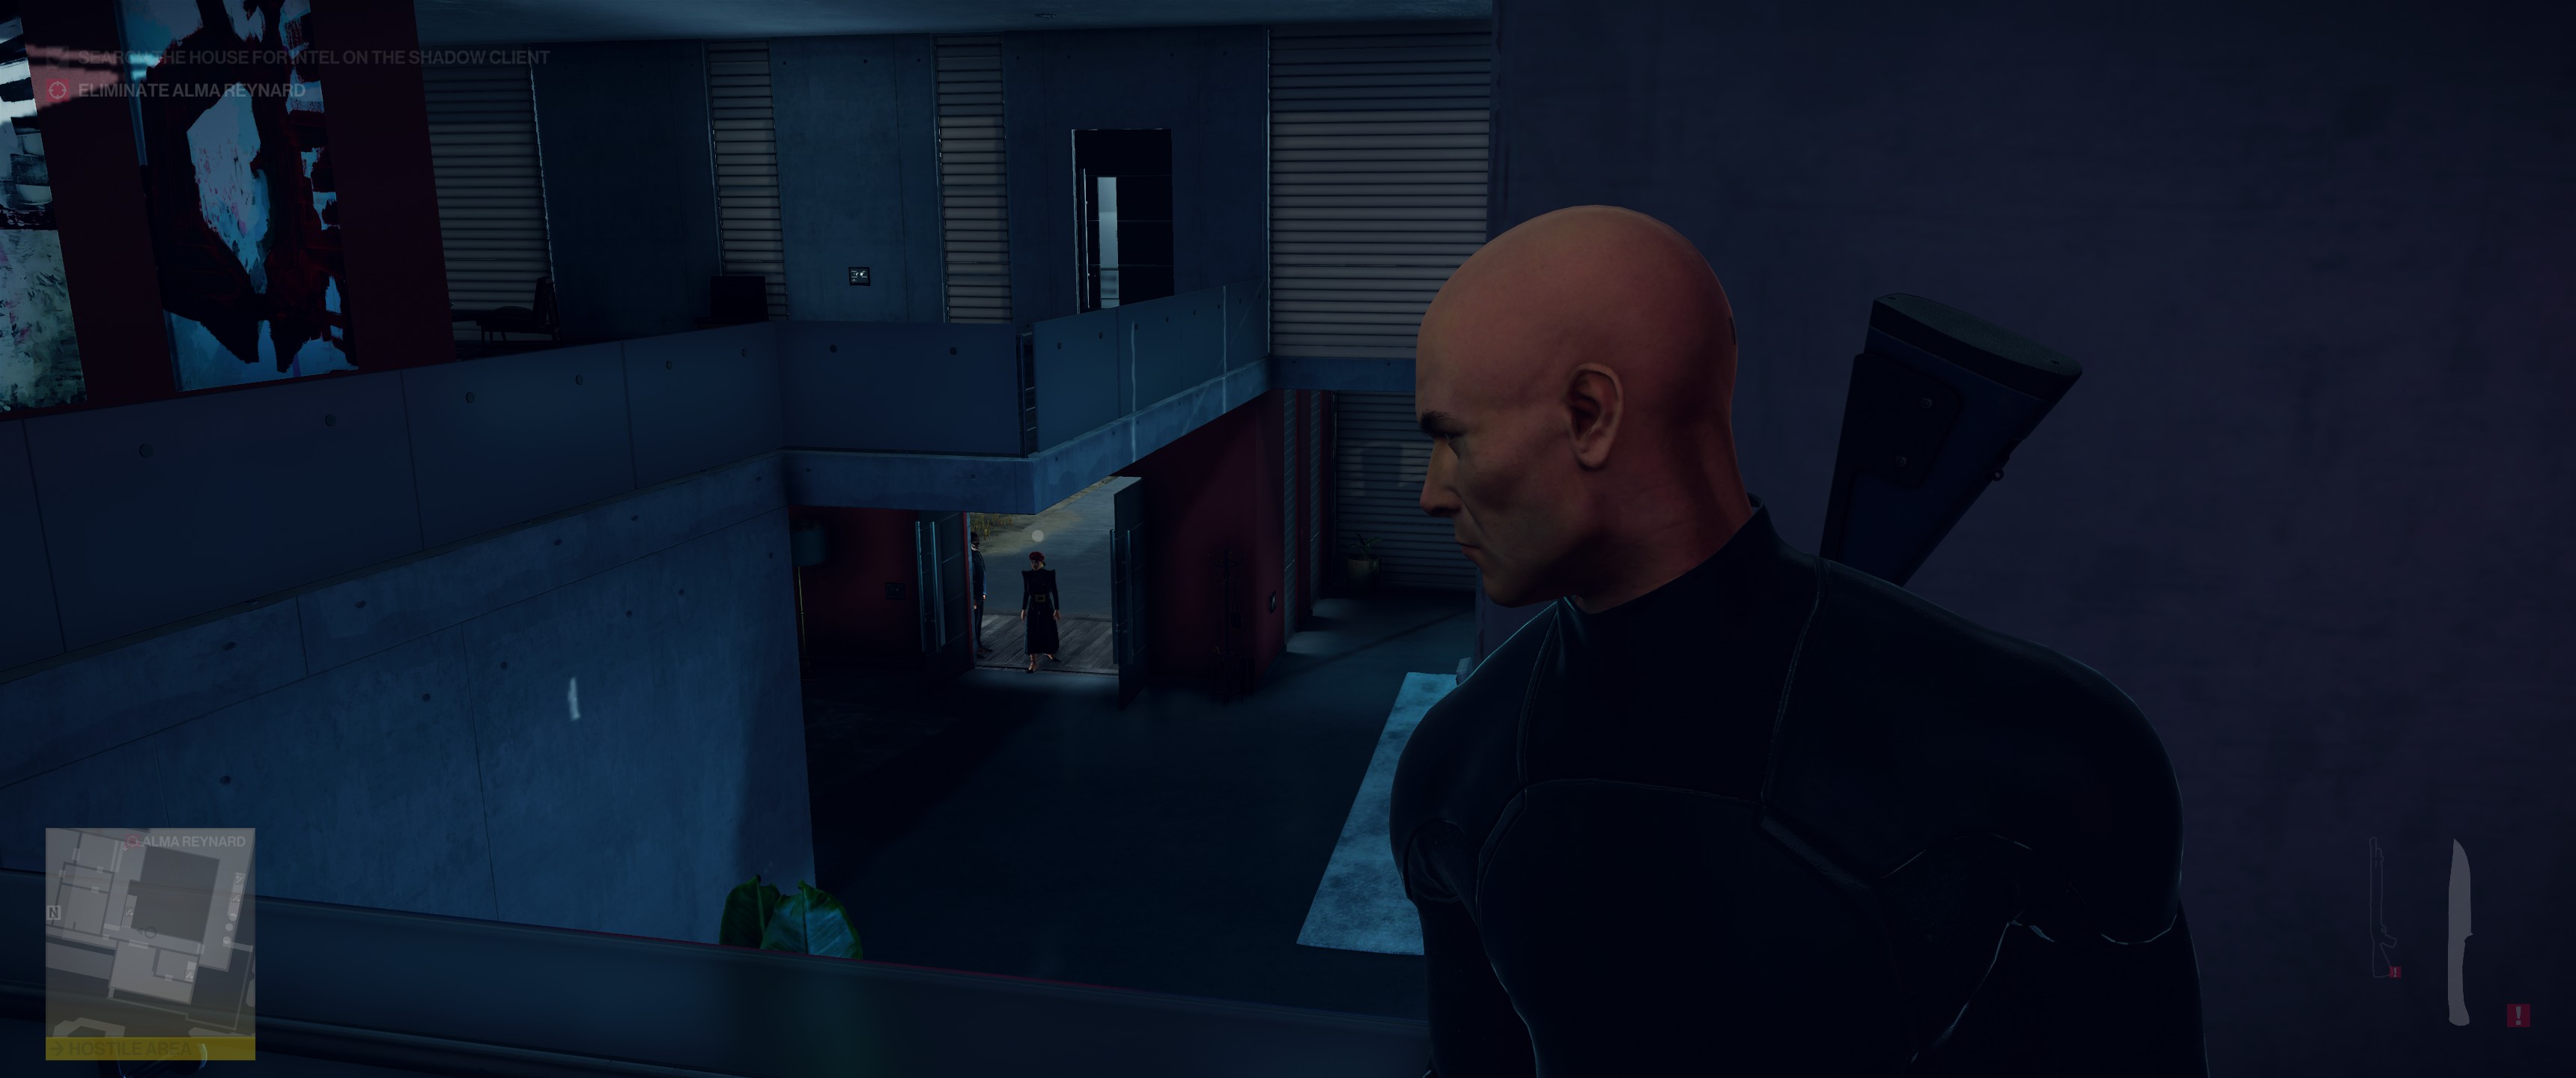
After a cutscene, you’ll have the final intel item, but the homeowner (Alma) and her goons arrive to crash the party. She looks like a tea drinker, doesn’t she? I think so too. Stay low behind the upstairs railing until everyone on the ground floor is facing away from you, then sneak down the stairs and hang a left into the first floor bathroom.
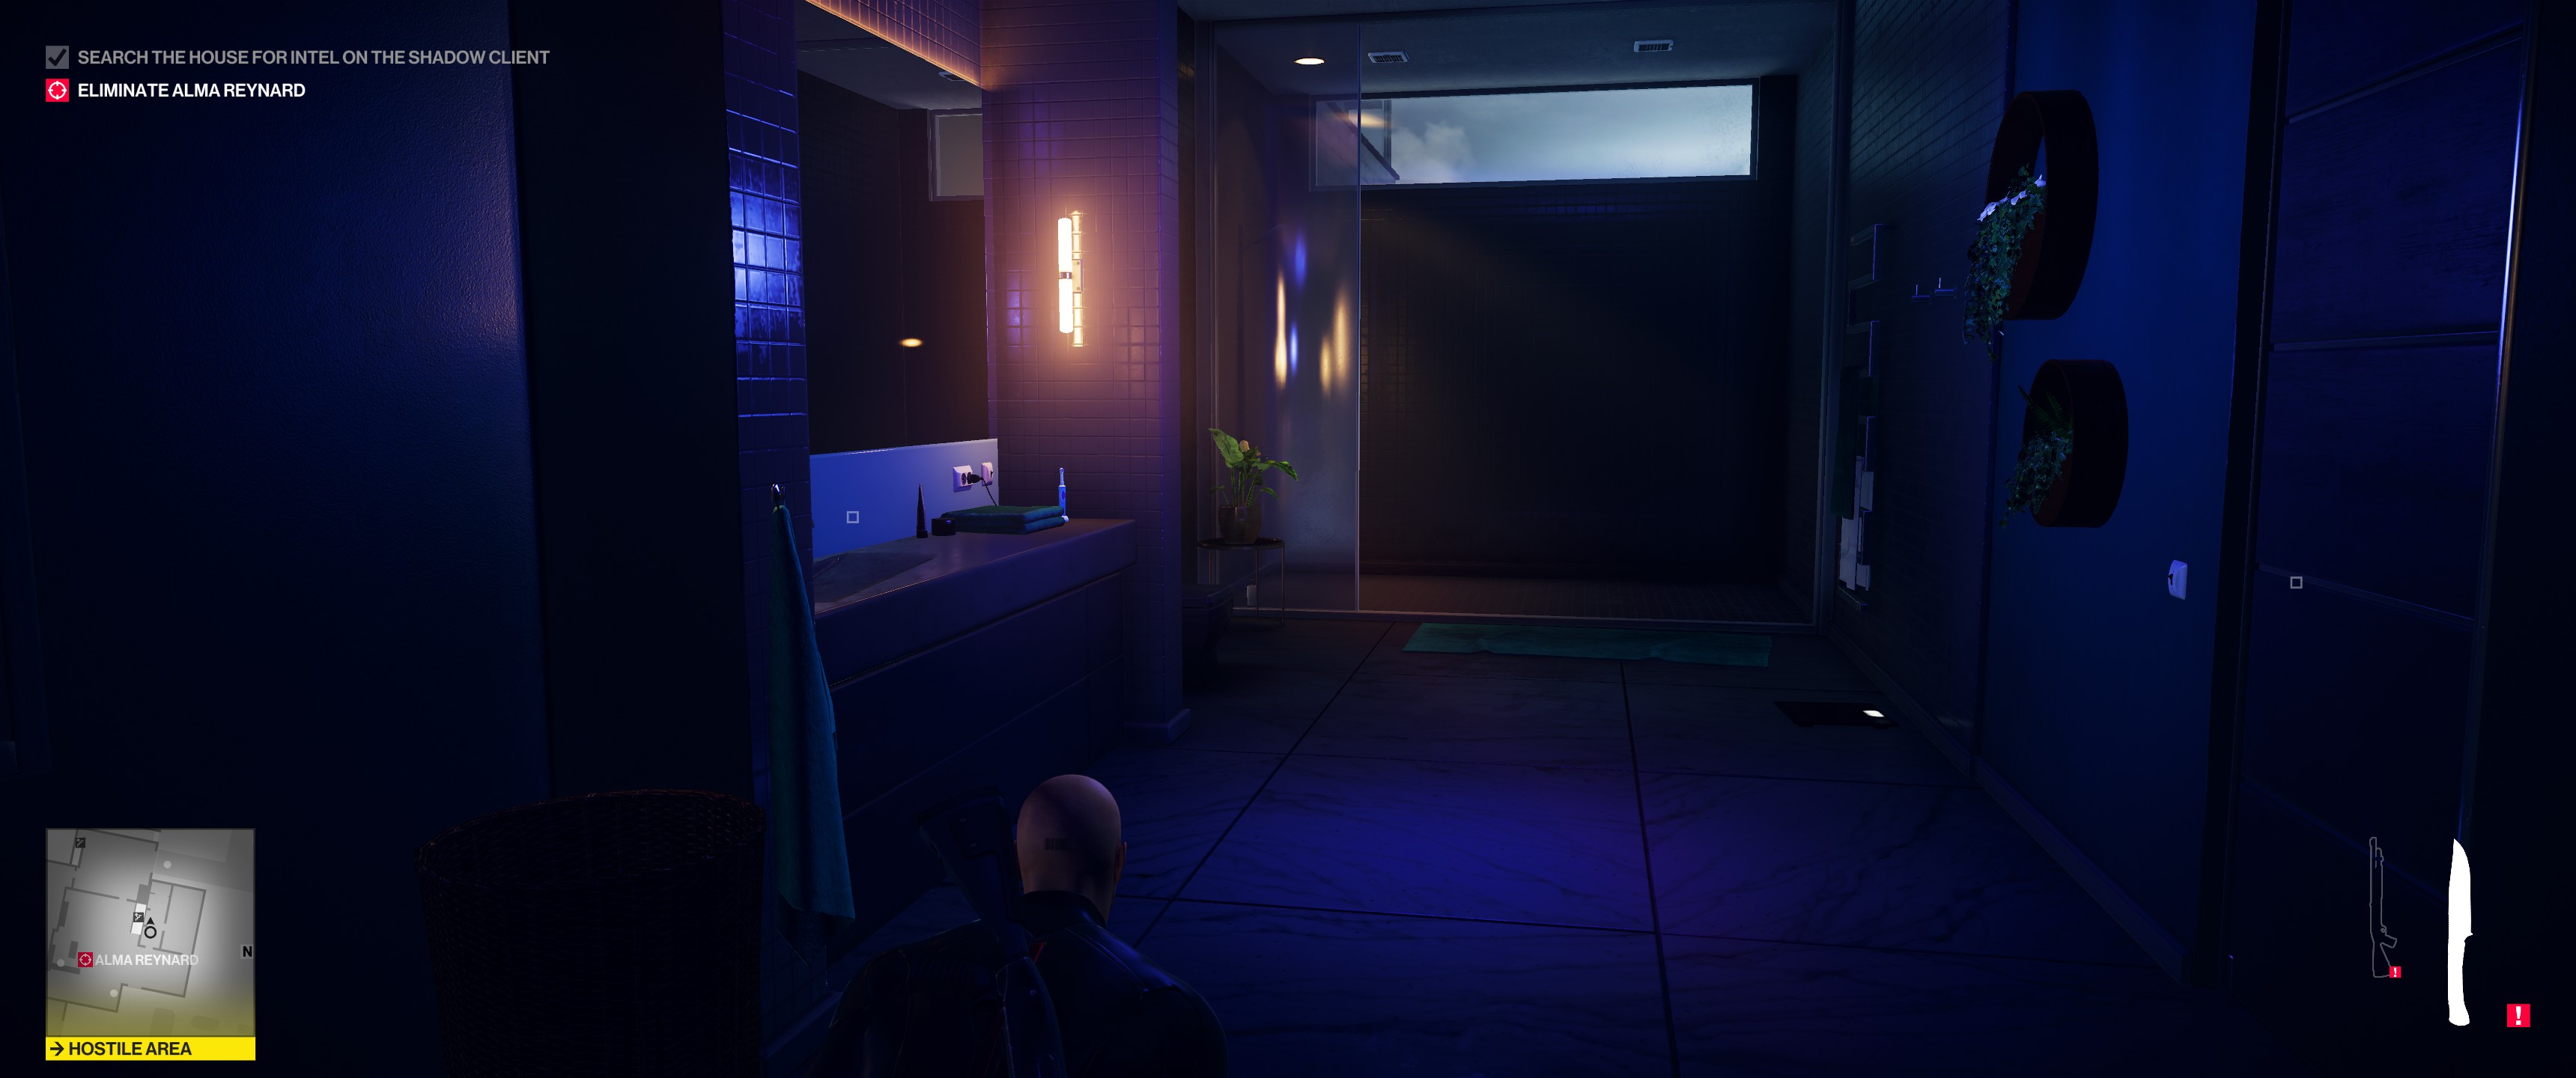
Pass through it into the den/storeroom beyond, and hide in the closet. Get comfy and wait just a few minutes.

Soon enough, Alma will ask one of her thugs to make her some tea—with honey. Stay patient and quiet; she’ll make a phone call, then meander over to her tea, which you showed remarkable foresight in “modifying” earlier. Once she does, you’ll hear her complain that she needs to find a bathroom. Wait until she enters the bathroom you just passed through, then sneak up behind her. You can either drown her in the toilet, or use the fiber wire to garrote her. Don’t shoot her or use a bladed weapon—her guards might notice blood on the floor and raise an alarm. Be sure to hide her body in the closet you were just hiding in.
Clean Getaway
Now it’s time to get out. The first floor has two or three dudes wandering around, but they’re not very perceptive. Wait for an opening, then sneak past them to the garage hallway. Use the lockpick to open the back door, then quickly find some cover in the tall grass outside.
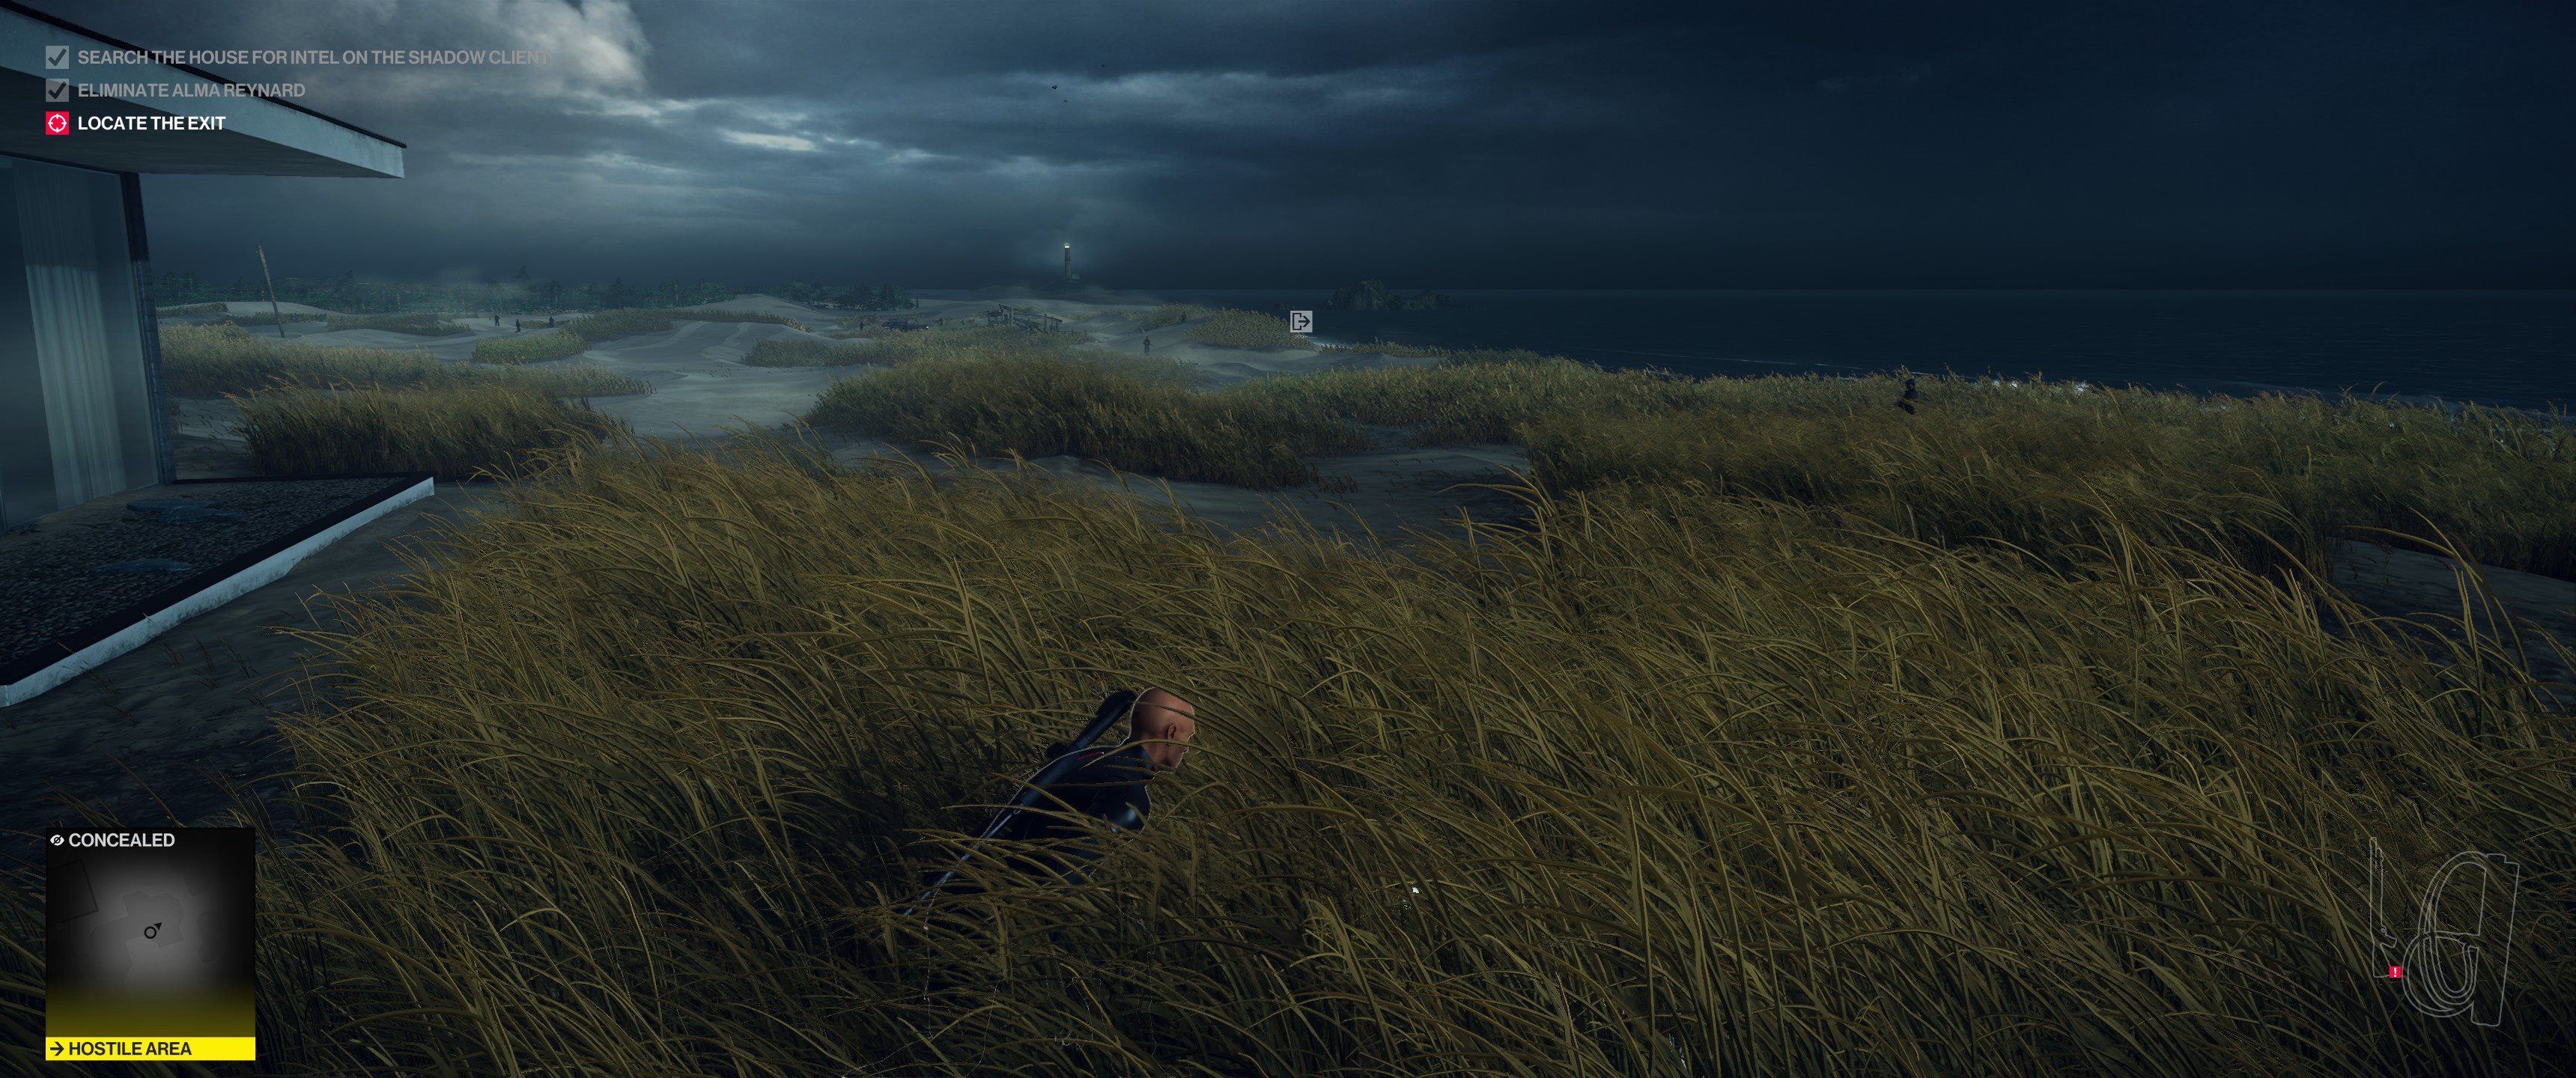
From here, it’s a relatively simple matter of staying low and patiently making your way back to the boat. One or two guards may wander into your path; equip a coin and toss it away to distract them, then sneak past.
When you get to the boat, you’ll find it guarded by three guys that never move. So close, and yet so far!
You could simply blast them, but then you’d lose your perfect rating that you’ve worked so hard for. Instead, equip a frag grenade. (You grabbed some from the safe room when I told you to, right?)
Toss one well away from your boat, then sneak over to it when the goons leave to investigate. If they start to move back toward the boat, be ready to quickly toss a second grenade to distract them again. Quickly approach the front of the boat and activate it to end the mission.

Congratulations! By the time the guards figure out their boss is toast, you’ll be long gone.
Look for other Hitman 2 guides as we write them up here on GameSkinny.


Published: Nov 9, 2018 01:13 am