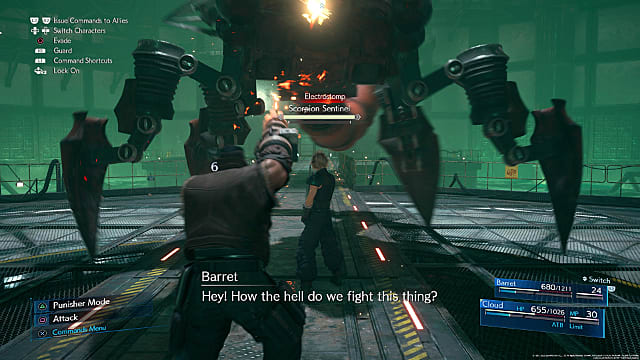
Boss battles work a bit differently in Final Fantasy 7 Remake than they did in the original. Like with the Sweeper fight, the Scorpion boss can be a pain to bring down, even in the demo. That’s because there are some serious changes to how everything works here.
The big first boss that all fans remember from the original, the Scorpion, is back, but it’s bigger and tougher than before. In Remake‘s real-time battles, that means you’ll have to change up your tactics.
Here’s what you need to know.
Final Fantasy 7 Remake Guide: How to Beat the Scorpion Boss
The Scorpion Sentinel boss in Final Fantasy 7 Remake is quite the tank. It takes damage very slowly from regular attacks and has multiple phases that you’ll need to push through before finally cornering and finishing it off. It also deals a ton of damage to you, making it tough to recover from each of its blows.
You’ll need magic and other abilities to take the Scorpion down. Such abilities require full ATB bars before you’re able to activate them. Spells also cost MP.
At this point in Final Fantasy 7 Remake, you can store no more than two full ATB bars at a time, meaning that you should be constantly using spells, abilities, and items in this boss battle. Otherwise, you’re missing opportunities to beat the boss quicker.
Fighting with Cloud and Barret
It’s important to note that Cloud and Barret, the two playable characters at this point in Final Fantasy 7 Remake, have very different weapons and abilities. Cloud uses the Buster Sword, an oversized sword that can do tons of damage at close range. Barret uses his Gatling Gun arm, which works wonders when hitting distant targets.
You can swap between Cloud and Barret at any time by hitting “up” and “down” or “left” and “right” on the D-Pad. Holding the “L2” and “R2“ will allow you to issue commands to the character you aren’t currently controlling.
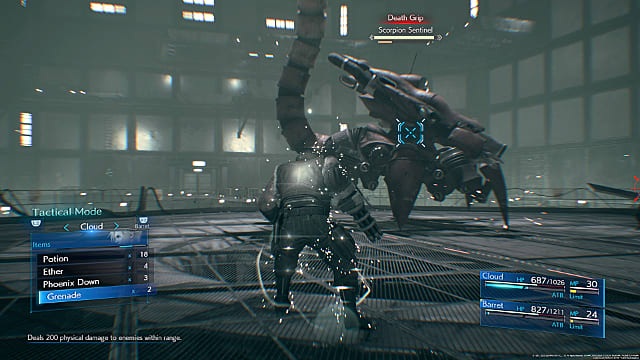
Both characters can use items by hitting “X” and navigating to the Items menu. It’s almost entirely necessary to do this multiple times during the Scorpion battle, because this is how you’ll need to activate Potions to keep Cloud and Barret healed.
You can also use Grenades, which deal 200 damage to the Scorpion boss, and are definitely worth using here if you’ve saved them up during your time rushing the Sector 1 Reactor.
If either Cloud or Barret die, you can use a Phoenix Down to revive them from this menu as well.
Meanwhile, Ether will restore 20 MP, which makes it invaluable to use after casting a bunch of spells against the Scorpion.
Cloud
As Cloud, you have a few options during this fight.
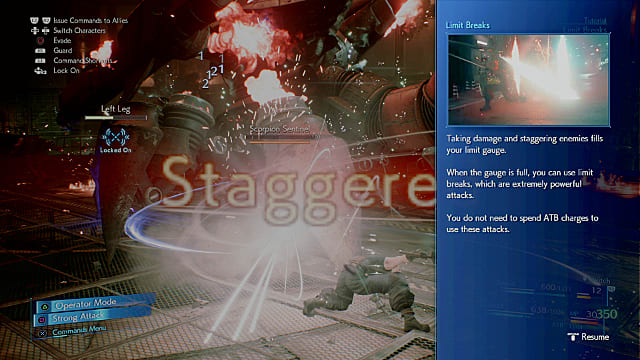
You can hit “Triangle” to enter Punisher mode, which makes every strike a heavy attack that can gradually push the Scorpion into a Pressured state until you fully Stagger it. Once there, you can continually pummel the giant six-legged monstrosity for a ton of damage.
Note that you’ll need to do this several times before you have any hope of beating the Scorpion boss.
Once at least one ATB bar fills up, you can hit “X” to command Cloud to use a variety of different abilities and spells. Your main spell at this point is Fire, which shoots a fireball that explodes.
You can also spend your ATB bars on abilities like Braver and Focused Thrust. Braver sends you into the air for a leaping strike, whereas Focused Thrust makes you forcefully thrust your sword forward.
By this point, you may have accumulated enough Limit points to unleash your Limit Break ability. Cloud’s Limit Break in this section of Final Fantasy 7 Remake is Cross-Slash.
Fans of both the original game and even derivative works that feature Cloud, like Super Smash Bros Ultimate and Kingdom Hearts, may recognize this signature move. Cloud slashes up twice, and then once more from the right side to the left, drawing an insignia in the air.
Barret
As Barret, you can use your gun-arm to shred up the Scorpion in a variety of different ways.
“Triangle” activates your Overcharge, which is essentially the same thing as a focused shotgun blast from your gun-arm. It does a decent amount of damage and inflicts Pressured on foes. You can continuously hit Triangle to Charge up your gun-arm until Overcharge is ready.
You can cast Lightning to do tons of damage to the Scorpion (and all other robots), significantly increasing their Pressured state. In fact, Lightning is the most powerful ability you can use against the Scorpion that isn’t a Limit attack.
Focused Shot is one of Barret’s most powerful early abilities, and it almost immediately causes a Stagger. It only costs one ATB, so it’s worth using.
By now, Barret should be able to use his version of the Limit Break move, called Fire in the Hole. This ability is like Big Shot from Final Fantasy 7, in that Barret will power up an orb of energy and shoot it at an enemy, resulting in an explosion.
Scorpion Phases
The Scorpion Sentinel boss has a variety of different attacks and phases to watch out for.
Phase 1:
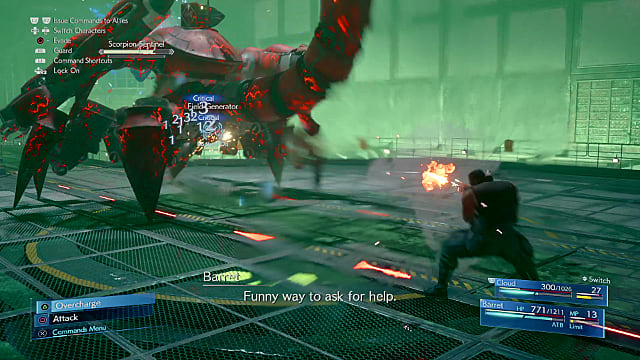
Early on, the Scorpion will sit in place and use EM Fields to do melee damage, making it easy to pick apart from a distance as Barret.
Watch out for the Scorpion’s Death Grip ability, which makes characters Bounded. If the Scorpions Bounds you, just switch to the character you’re not playing as by tapping on the D-Pad.
Phase 2:
At around 75% health, the Scorpion will leap up onto the wall and then back down across the walkway. At this point, it will have a forcefield around it that you can’t break through without first destroying its Field Generator. Run behind it and take out the Field Generator, and you can resume damaging the Scorpion like normal.
You may need to take out multiple Field Generators before the Scorpion moves to its next phase.
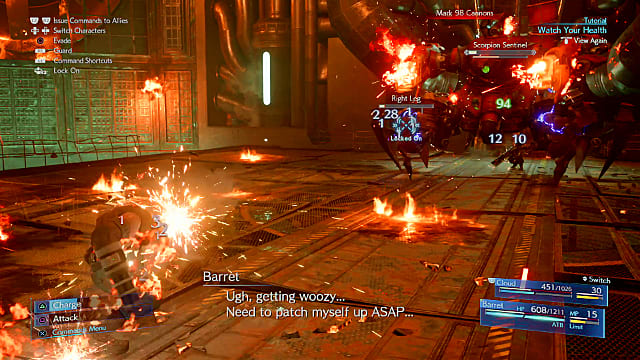
Watch out for the Mark 99 missiles that shoot off its back and knock you backward. You only have a split second to dodge out of the way (by pressing “Circle”) before it fires.
The Scorpion Sentinel will intermittently jump onto the wall and begin firing missiles at you. Use Barret to continue raining fire down on the Scorpion, and have Cloud use Potions to heal both characters during this time.
Phase 3:
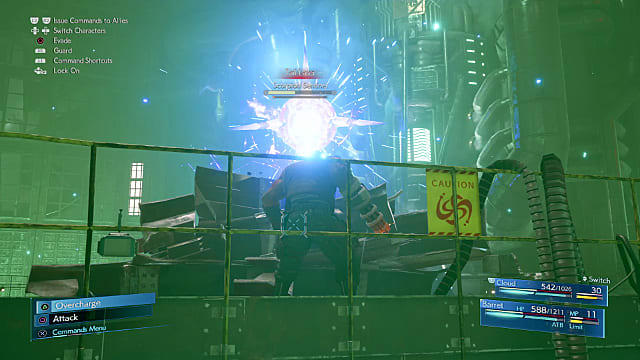
At 50% health, the Scorpion boss will jump onto the wall and begin tearing the Sector 1 Reactor down around you with missile fire. Once it lands, it will begin powering up its Tail Laser.
Its Tail Laser ability can be devastating if you don’t evade it, but luckily, there is a perfectly good pile of ceiling to take cover behind. Get behind these steel beams and let the laser hit them until it stops firing, then continue striking the Scorpion.
You may need to evade multiple Tail Laser attacks, but there’s no shortage of cover to get behind. Whenever the Scorpion begins firing up the laser, just hide behind another pile of steel beams.
Phase 4:
At 25% health, the Scorpion will begin to Auto-Repair itself. At this point, give it everything you’ve got.
You can also now individually target each of the Scorpion’s limbs, which is incredibly useful for dealing massive damage quickly, and possibly even Staggering the Scorpion, allowing you to deal 160% damage to it for a limited amount of time.
If you have any unused Limit Breaks available, this is the perfect time to let those fly, sit back, and enjoy the fireworks.
—
That’s our guide on how to take down the Scorpion Sentinel boss in Final Fantasy 7 Remake! Follow these simple tips and you’ll get through the Sector 1 Reactor in no time. Stay tuned for more Final Fantasy 7 Remake guides once the game launches next month.


Published: Mar 10, 2020 12:04 am