Adding a virtual reality component to the 3D Second Life chat room style, VRChat is essentially dozens of games rolled into one. Want to build a treehouse with your friends? Cool, no problem. Prefer to serve drinks at a digital lounge while someone blasts music through their mic? Totally doable.
But to do all of that, you’re going to need a face. And a body. And that comes in the form of an avatar. While there are some basic starting avatars to pick to represent yourself — ranging from chibi anime girls to skeleton warriors to hulking robots — the real draw to VRChat is the ability to create your own custom avatar.
Although the process is complex and requires a little 3D modeling skill, just about anyone can get their own custom avatars built and uploaded to the game in an afternoon following the guide below.
Getting Started Creating Custom VRChat Avatars
We’re about to go through a crash course in model creation, and before you can get started building your virtual self, you need to download Unity (yep, that big game development tool everybody uses). Just choose the download assistant link at the top of the list for your specific OS, as that will guide you through downloading the right files you need for Unity.
Besides Unity, you also have to download the SDK from the VRChat website. Note that this requires creating a new VRChat account (instead of using your linked Steam account) if you’ve been logging into the game through Steam.
Don’t do anything with the SDK file yet. Instead, open up Unity and start a new project. Choose 3D from the radio buttons, name the project whatever you want (probably something like “VRChat custom avatar” …), and then click Create Project.
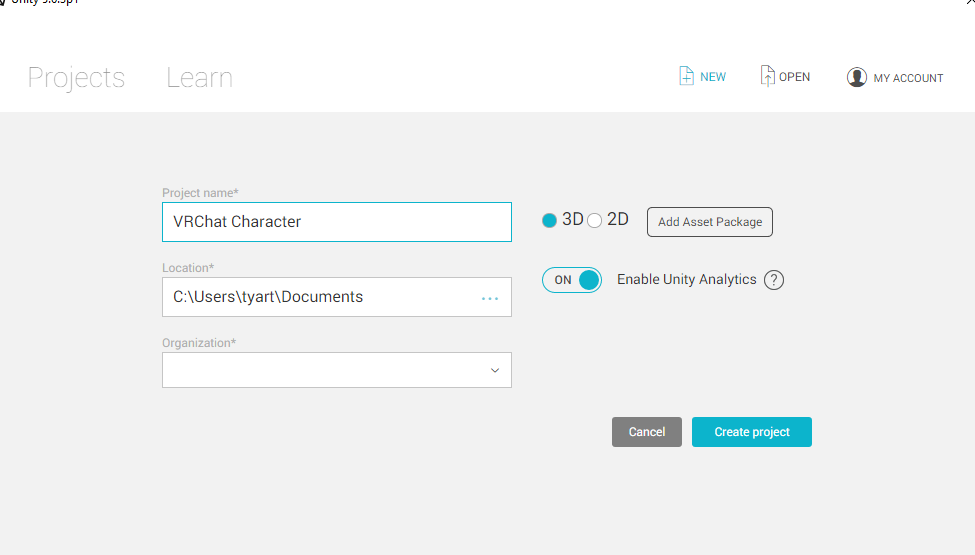 Starting a new Unity project
Immediately close the project after creating it, then head to the location where you downloaded the SDK file and double-click it (after installing Unity, the SDK should now show a Unity icon).
Now click the name of your project in the menu. In the pop-up window that appears, click Import. All the SDK data will be imported to your blank, custom avatar project automatically. Unless you have a spectacularly beefy computer, expect this process to take several minutes.
Now you have to log into the SDK with your VRChat account info (not your Unity account). Open the VRChat SDK drop-down menu at the top of the screen and choose Settings, then enter your account name and password for VRChat.
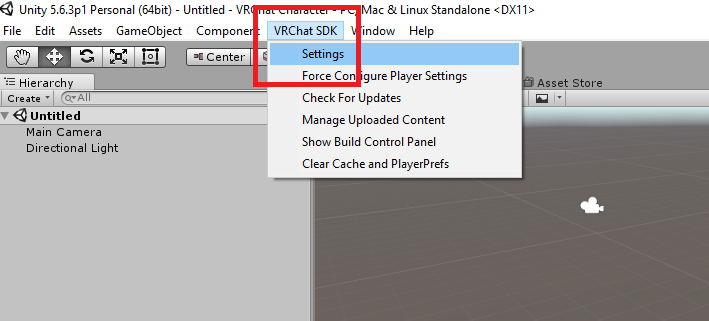 Signing into VRChat through Unity
Begin Building A Custom Avatar With A Character Model
Beginners will want to start with a specific character model that’s already been created rather than building their own — and there are plenty of model resources across the web you can import to get started on your VRChat model. Here are a few places to get started:
The Unity Asset Store might be your best bet to get started, as the models there are pre-rigged, meaning they will be the format you need to use right off the bat and you don’t need to do anything extra to get their limbs moving properly. There are plenty of free models to browse through there as well, from armored knights to brave shirtless commandos (and yeah, plenty of potential waifus).
If you are using the Asset Store, find a model you want and choose Download, and then click Open In Unity to automatically add it to your project. The same download screen on your browser will appear in the center Game window in Unity. From there, click Download again, and then choose Import in the pop-up menu to put all the model’s data in your project.
If you are using a model from some other source besides the Unity Store, instead open the Assets menu at the top and then choose Import New Asset. From there, select the location of the model data on your hard drive.
The name of the custom model will appear in the Assets window at the bottom of the screen next to the VRCSDK folder. Double-click the model folder, then double-click the Testscene button that has the Unity icon to open up the model in a scene (if there’s no Testscene button, just select the name of the model instead to pull it up).
Underneath the Testscene heading in the Hierarchy window on the left side of the screen, click the name of your model. Next, on the far right side of the screen, switch from the Services tab to the Inspector tab.
A whole bunch of info will appear here that won’t make sense at first, but don’t worry, we’re not using most of that. Now click the Add Component button at the bottom of the options and type “VR” into the search box to bring up a list of components. Click the check box labeled VRC_Avatar Descriptor, which gives you all the info you need to ensure the model fits VRChat’s specifications.
![]() Adding the VRC_Avatar Descriptor component
Adding the VRC_Avatar Descriptor component
Make Sure Your Custom Avatar Works Before Publishing
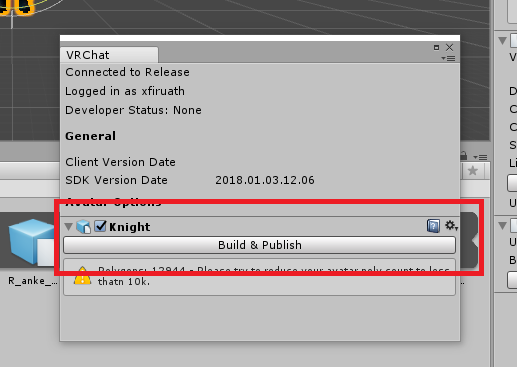
From here, you can technically publish your avatar to VRChat immediately, but you will probably need to make changes. Open the VRChatSDK drop-down menu again and select Show Build Control Panel to get some info to help guide your model. For instance, the yellow triangle prompts may tell you the model has too many polygons, or that the angles between certain bones aren’t optimized for the VRChat experience.
This is where you can run into a lot of unexpcted problems, and a full Unity modeling tutorial is simply beyond the scope of this article. For the most part, you can find the options easily for changes, but in some cases you may need to dive into Unity’s documentation.
If your model is too big, for instance, head over to the Inspector tab again, and change the numbers in the Scale settings to modify the figure (such as putting 0.5 on the X or Y axis to reduce the height or girth of the model by half).
After making any necessary changes, click the Auto Detect button halfway down the Inspector tab to make sure everything is set up how VRChat needs it, then click Build & Publish in the Build Control Panel window. Again, this process is going to take a long time on lower-end machines.
Complete and Upload Your Custom VRChat Avatar
Once the build process is done, the center Game panel of Unity will bring up the New Avatar screen, where you can name your avatar, write a description, and mark any check boxes for violent content.
Note that you have to check a box indicating you own the rights to any character you upload. While that won’t be a problem if you are using the Unity store, licensing rights can be an issue if you are downloading famous characters like Sonic from another source. Obviously people are ignoring this rule, since you’ll see tons of licensed characters in the game, but be aware it may lead to legal problems for VRChat in the future and a potential crackdown on what gets uploaded.
Click Upload to send your snazzy new Avatar to the VRChat world! Now close Unity and open up VRChat. Log in with the same credentials you used to create the avatar, and it will be ready and waiting to use in the game!
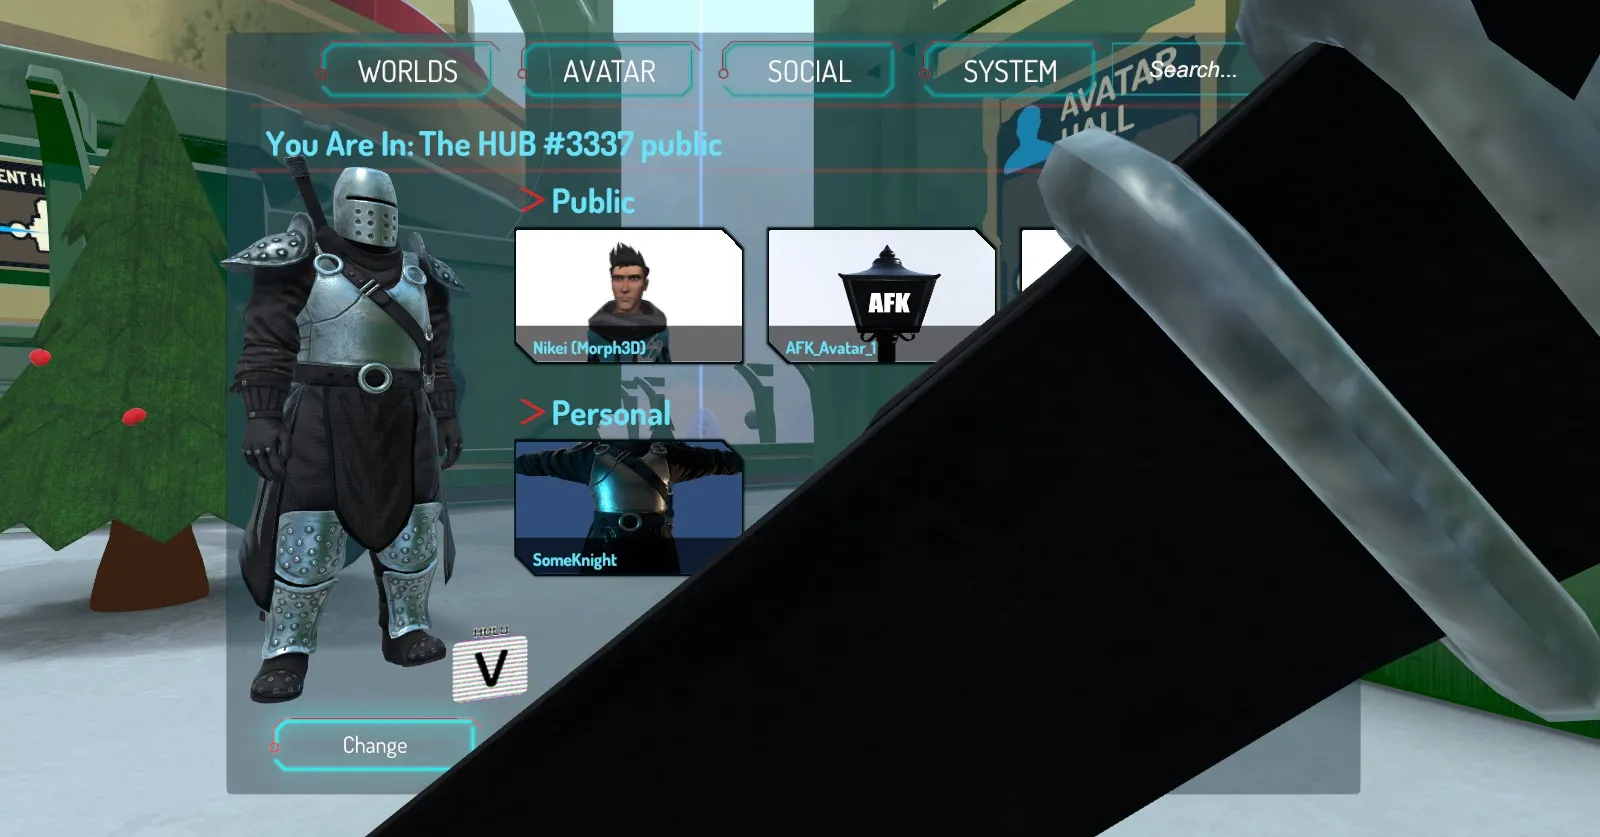 Using a custom 3D knight model from the Unity Store
Obviously, 3D model creation is a complex process where you can hit plenty of snags, especially when trying to get a pre-made character to work with VRChat’s specifications. For advanced techniques and a list of useful third-party tools to make this process smoother, check out the VRChat Wikia here.
Let us know when you manage to get your custom VRChat avatar built and uploaded so we can check it out in the game!
If you’re looking for more content on this game, make sure to check out our other VRChat guides! Here are a few to get you started:
- How to Fix VRChat‘s Infinite Loading Loop
- VRChat Beginner’s Guide
- Can I Play VRChat Without a Headset?


Published: Jan 12, 2018 07:09 pm