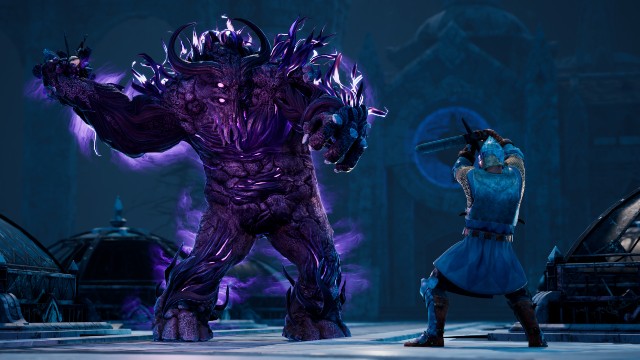
One of the longest questlines in King’s Bounty 2 is The Scryer’s Trial, which requires you to take on a series of pre-determined battles, one of which being against the Tyrant.
The Tyrant is by far the hardest as you only have two units in your army, a Bone Dragon and a squad of Gargoyles. While it will undoubtedly take you a few tries, here’s an explanation of the best way to beat the Tyrant.
King’s Bounty 2: How to Beat The Tyrant Trial
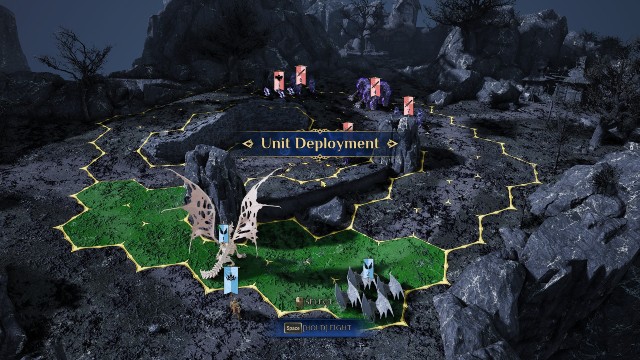
As with every battle in King’s Bounty 2, your first choice is to pick where to place your units. With this trial, your best bet is to place both the Bone Dragon and Gargoyles on the right side.
You want the enemy units to group up, and placing your units on the very right should encourage them to all move that way. If there aren’t at least three units grouped together, use your first turn to move out of the enemy’s range to try and get them to group again. Make sure the Gargoyles can’t be hit by any enemies as you’ll need them in a second.
Once three enemies are grouped, one of which should be the Soul Eaters, hit them with the Plague spell at the start of your turn to weaken them.
After that move your Bone Dragon so that it’s sitting in a tile between all three enemies you hit with Plague, and use the dragon’s Putrid Breath attack. This will cause massive damage to the three enemies, cause poison, and can’t be countered. Now grab your Gargoyles and bring them in to attack the Soul Eaters, using their first ability.
It’s important to point out here that no matter what you want to get the Soul Eaters out of the way, as they can bring your entire strategy crashing down with their brutal Scream attack that causes damage and stuns any unit around them. After taking down the Soul Eaters you’ll want to focus on the trolls, as they also have a stunning attack.
Another important point here is that the three Hollow Blades units are immune to counterattacks, so keep that in mind. Try and preserve your Gargoyles as long as you can, and make sure to use their second special attack on at least one enemy, causing Bleeding and Weakness.
As the enemies group up around your Bone Dragon use your second Plague spell to hit the ones that have the highest hit points, then just keep chipping away with your Bone Dragon and Gargoyles.
Eventually, you’re going to need to use the Bone Dragon’s healing ability, which will restore it to full health. If possible make the dragon fly out of all the enemy unit’s range and then heal, then keep the dragon away until its Putrid Breath recharges.
As the battle winds down this is a great strategy for finishing things off; hitting remaining enemies with Putrid Breath then flying away until it recharges and doing it again. As stated earlier the Putrid Breath attack can’t be countered, so you won’t take any extra damage from that.
The Tyrant Trial honestly requires a bit of luck, so don’t get discouraged if you don’t beat it the first few times. In order to make things easier, however, here’s a summary of the key points.
- Group enemy units together to the right side
- Hit the group with the Plague spell
- Fly the Bone Dragon in and use its Putrid Breath to hit at least three enemies
- Use the Gargoyles to take out the Soul Eaters ASAP
- Continue attacking enemies with the dragon and Gargoyles, taking out the trolls next
- Make sure to hit at least one enemy with the Gargoyle’s Bleeding attack
- Make sure to heal the Bone Dragon with its ability when its health is low, and if needed fly out of danger
- Charge up Putrid Breathe and rinse and repeat until enemies are defeated
That’s it for how to defeat the Tyrant in King’s Bounty 2. Check out our other King’s Bounty 2 guides here on GameSkinny.


Published: Aug 31, 2021 02:44 am