
In typical survival horror fashion, The Evil Within 2 has dozens of letters, photos, diaries, unsecured emails, and other assorted documents lying around for discovery. The files contain useful hints, valuable information, and background on the STEM project, including how and why it’s gone so spectacularly wrong.
Spoiler Warning! You’re probably better off not reading this guide yet if you haven’t beaten the game. There are no deliberate spoilers in this list, but in order to discuss where to find certain items, it’s still going to require discussion of the game’s events. You may want to come back to this article after you’ve beaten the game, just to be sure.
Otherwise, let’s dive in.
All the Files in The Evil Within 2
Collecting 20 files in The Evil Within 2 unlocks the Doing Some Detecting trophy/achievement. If you get all 40, that unlocks the Diligent Reader trophy/achievement.
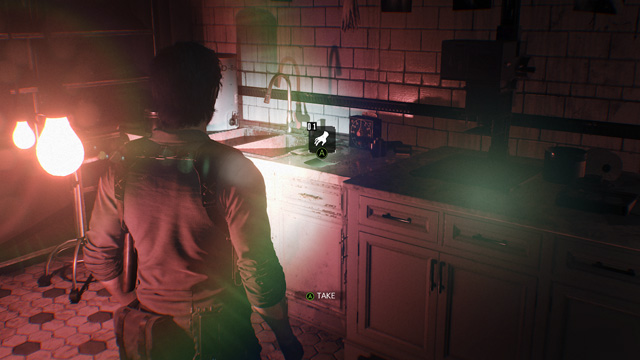
As a consequence, this requires you to accomplish all three major side missions; you must ensure that Julian Sykes lives when you encounter him in Chapter 6; and you must make sure to watch the Residual Memory in the kitchen of the Juke Diner in the Business District, which can first be found in Chapter 6.
Here’s a list of all the files in The Evil Within 2 and where you can find them.
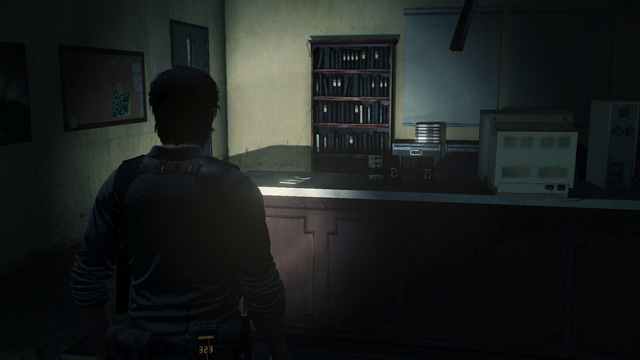
#1: Photo of William Baker
You can find this first file in the darkroom around the corner from where you find Baker’s “exhibit,” early in Chapter 2.
#2: Extravagant Letter
As you explore the hotel in Chapter 2, keep your eyes open for a partially-lowered portcullis on the second floor. This file is on a table just past it.
#3: Photo of Another Victim
In Chapter 2, when you reach the staircase with the giant swinging pendulum, check Manuela Roberto’s room on the first floor. (Yes, the one that has a body dragged into it as you approach. Welcome to survival horror, lunch meat.) Hop over the overturned table to find this photo on a table.
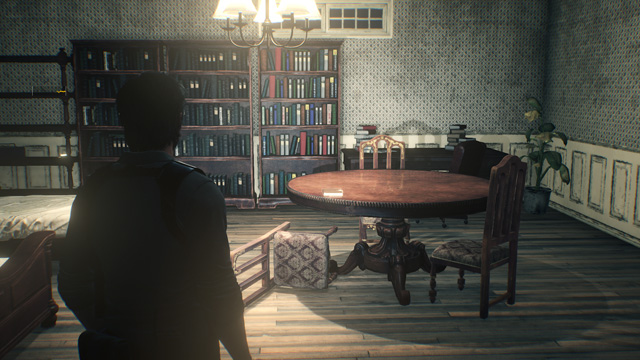
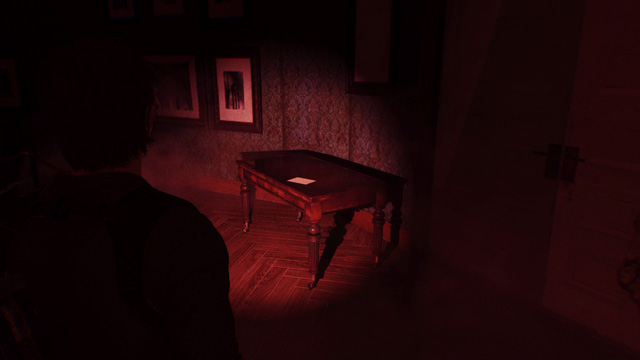
#4: Journal in Abandoned House
At the end of Chapter 2, turn left before you leave the house and open the door to the study. The journal is on the bookcase opposite the door.
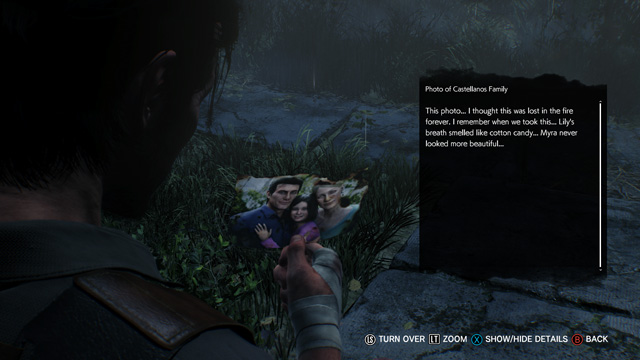
#5: Photo of Castellanos Family
Technically, you always have this, but it only turns into a file once you reach Union proper at the end of Chapter 2.
#6: Welcome to Union Pamphlet
You can find this file on the desk inside the Visitor Center, across the street from the exit of O’Neal’s safe house in Chapter 3.
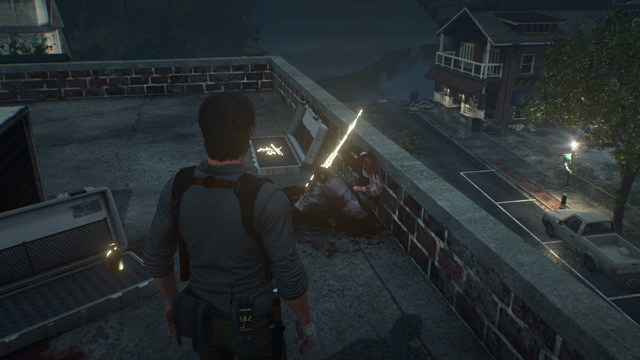
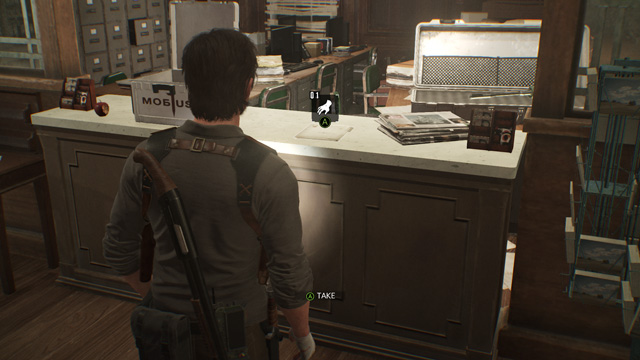
#7: Mobius Communication Log: Replacement Parts
Check the body of one of the dead Mobius security guards on the roof of the building east of the Visitor Center in Chapter 3.
#8: Woman’s Journal
You’ll find this file inside the bedroom of the white house at 336 Cedar Ave. during Chapter 3. The house is easy to spot as it’s directly across from the Szilard House Inn, and is one of the only houses in the area with its porch light on. There’s also an eviscerated Mobius security guard lying in front of it.
Picking up this journal begins a short sequence of events, completion of which is required to trigger some similar events later on.
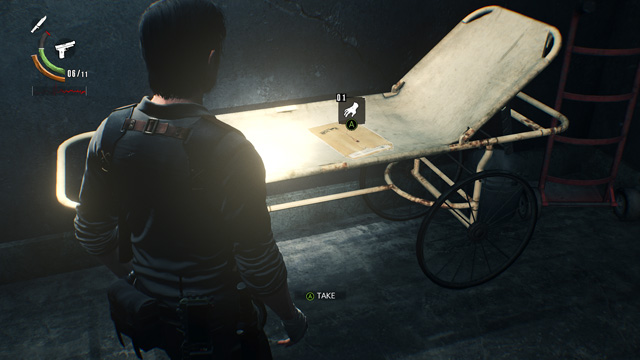
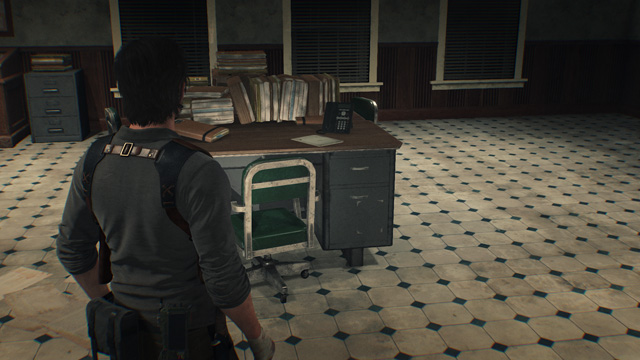
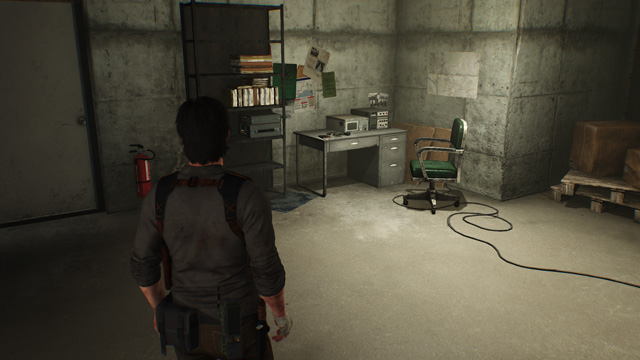
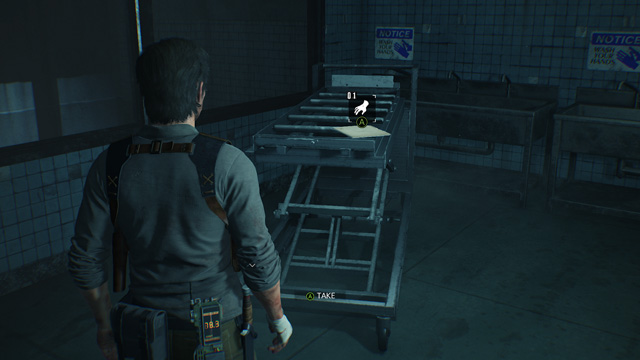
#9: KCPD Request for Psychological Evaluation
This file is on the gurney in the garage at 345 Cedar Ave. in Union during Chapter 3.
#10: Torn Psychological Evaluation Report (Top)
When you pick up the previous file, you’ll trigger an event that allows you to interact with the TV in the living room at 345 Cedar Ave. Doing so starts a brief cutscene, and afterward, you can find this file in the house’s bedroom.
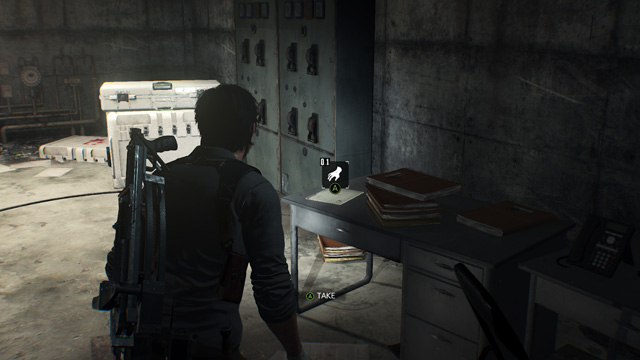
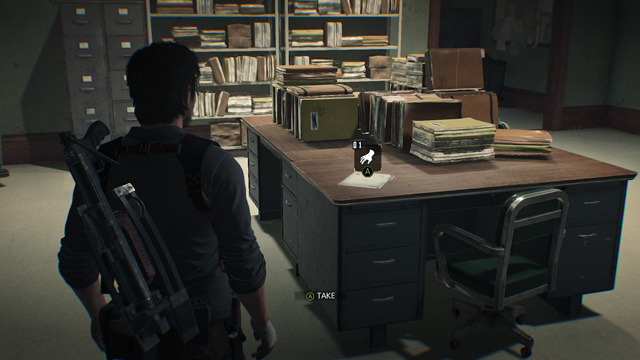
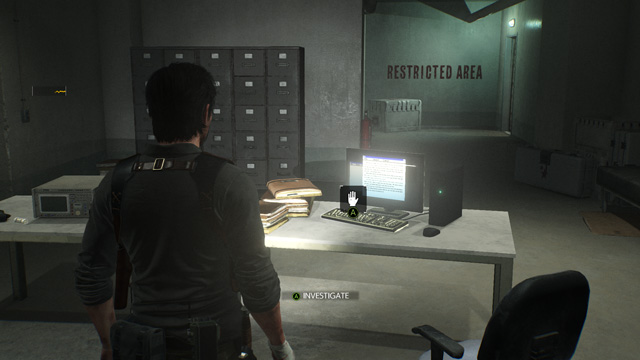
#11: Report #00592: Disposal Request
This file is on the desk in the office near the supply cache in the secret room underneath the Union Body Shop in Chapter 3.
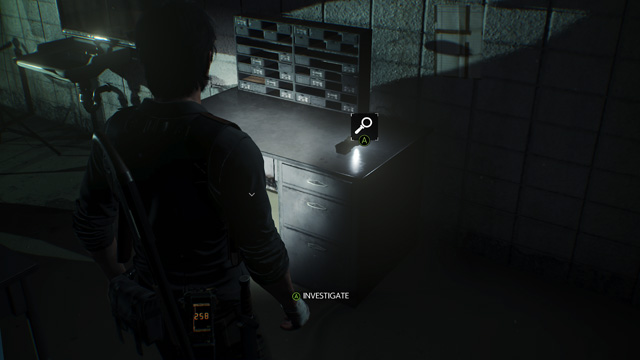
#12: Turner’s Communicator Log
After you complete “Rogue Signal,” you can find this “file” on a desk in the basement of the Union Visitor Center. If you try to come down here before then, the door’s locked.
#13: Report #00122: Recruits
This file is on the counter by the mirror in the Union Power and Gas safe house. You can get there during Chapter 3, but don’t have to go there until Chapter 4.
#14: Report #00654: Core Displacement
This file is on the second floor of Tredwell Trucking’s warehouse, next to the workbench. You can unlock the door to the warehouse’s shipping dock at any point in Chapter 3 as long as you can get past or through the enemies outside, but you can’t access its second floor until you’re sent into the building as part of a story objective.
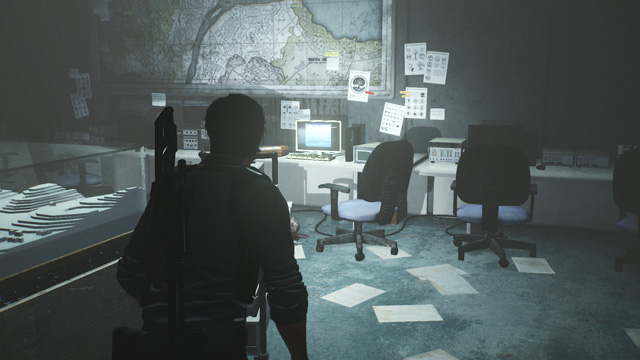
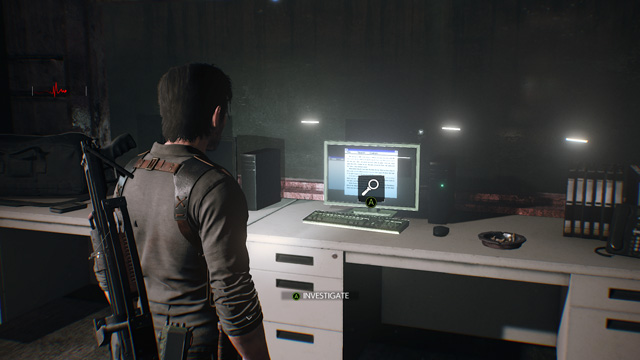
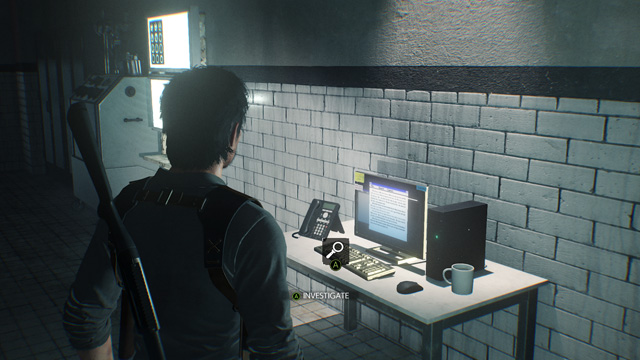
#15: Email: Union Growth
This file is on a computer in the Union control room in the Marrow in Chapter 4.
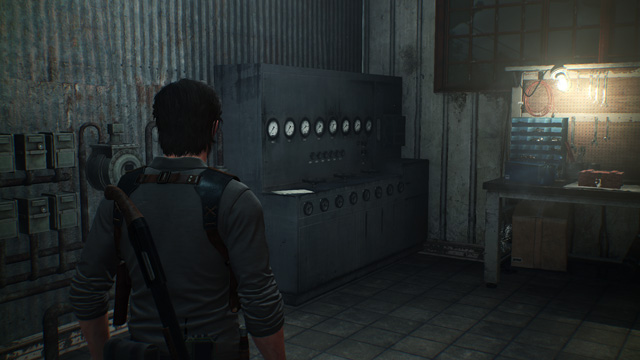
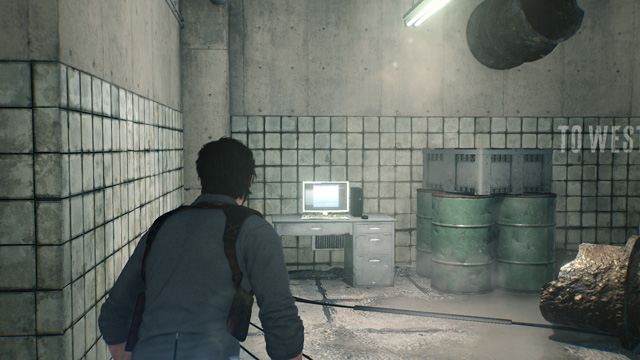
#16: Expansion and Data Goals
After you emerge from the tunnels with the gas leak in Chapter 4, check the computer in the corner of the room.
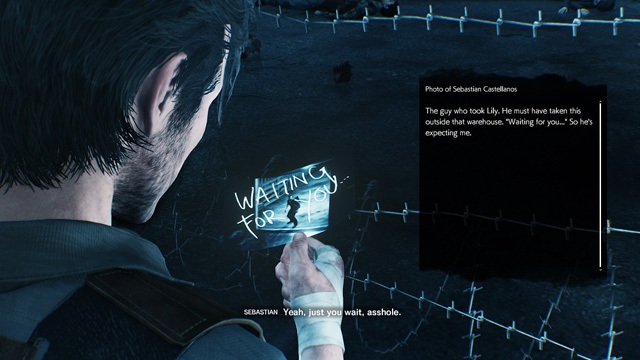
#17: Photo of Sebastian Castellanos
You have to pick this file up to progress into City Hall in Chapter 5.
#18: Report #00977: Urgent Structural Issues
Once you get inside the Union City Hall in Chapter 5, explore the first floor to find this file on a desk in the mail room.
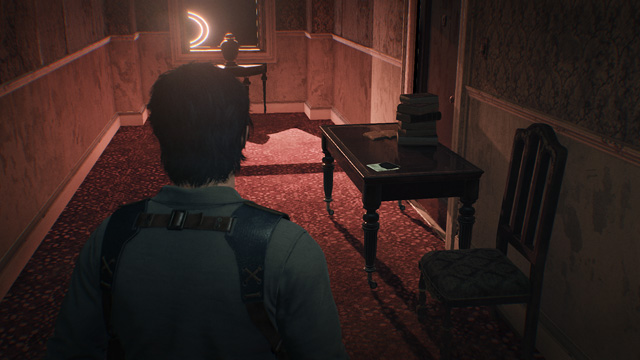
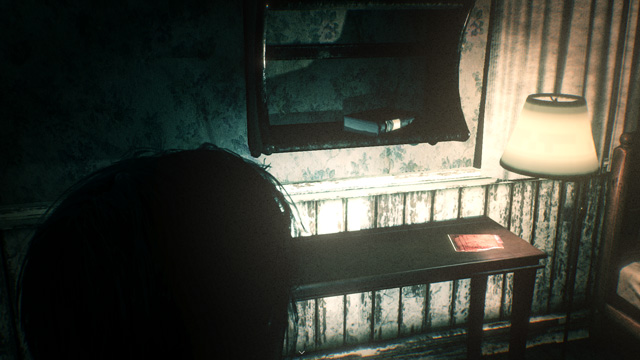
#19: Krimson Post Article
After you solve the portrait puzzle in the Union City Hall in Chapter 5, keep an eye on the left side of the hallway as you move down it. This file is sort of hidden behind a lamp, where it’s easy to overlook on your first trip down the hall.

#20: Photo of Murdered Mobius Operative
You have to pick this file up to progress through Chapter 5.

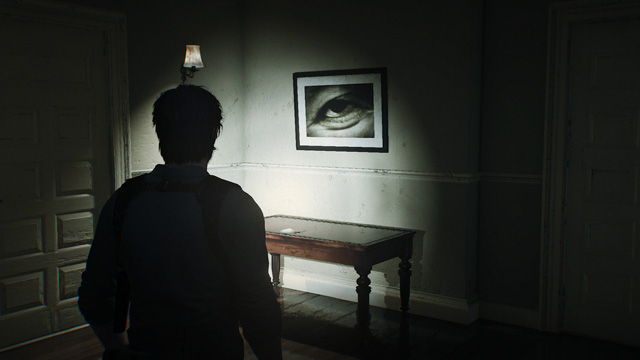
#21: Handwritten Note
In Chapter 5, after you get hit with a particularly evocative jump scare, you can find this file on a table by the only exit door.
#22: Report #00213: Union Social Maintenance
After successfully reactivating the emitter in Union City Hall, before you go outside, explore a bit. You can find this file on the desk in a file room on the second floor, just off the balcony that overlooks the front hall.
#23: Report #00532: Displacement Protocols
Once you escape from the slime beast in Chapter 6, take a left into the Facilities and open the frequency-locked door. This file’s on a desk directly opposite the entrance.
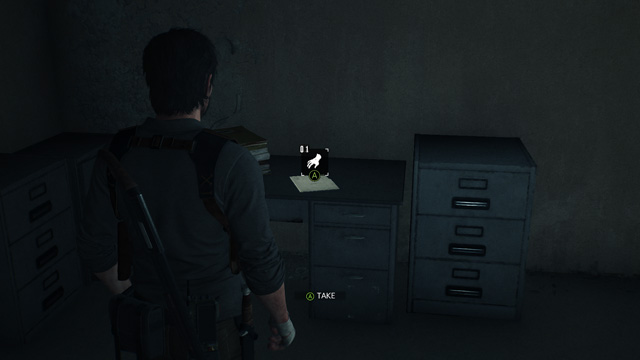
#24: Core Candidates
After you speak with Hoffman in the safe room in the Marrow in Chapter 6, check the computer that was showing security feeds when you walked in.
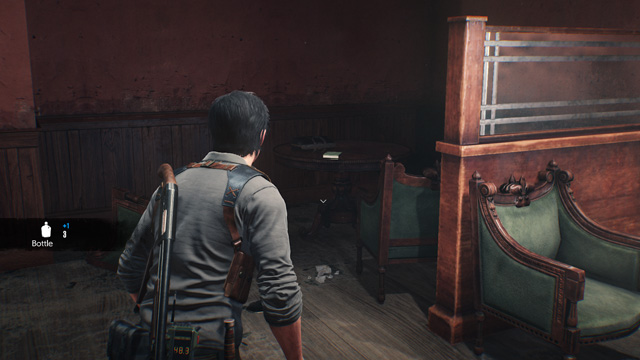
#25: Barkeep’s Journal
This file is in the Devil’s Own Taproom on the south end of the Business District, on the furthest table from the door.
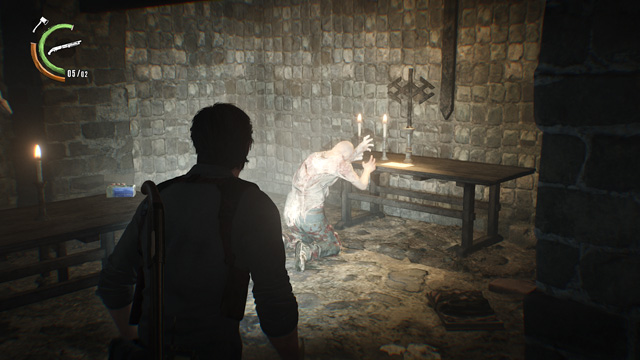
#26: Burnt Page from ‘Submit to Freedom’ 1
In Chapter 9, when you find the crank that needs a handle, look to your right to spot a closed door. When you return with the handle and use it, that door unlocks. Go through it and you can find a monster in a back room that looks like it’s praying. This file is on its ‘altar.’
#27: Torres’ Journal
At the start of Chapter 11, while you’re ransacking Torres’s safehouse for supplies, stop to grab this file off the desk in the corner.
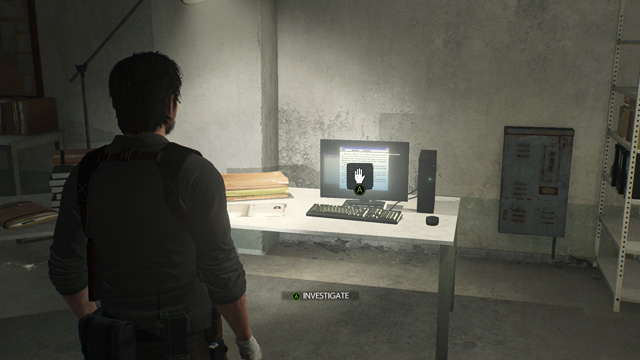
#28: Computer File: Hoffman’s Notes
When you return to Hoffman’s safe room in the Marrow in Chapter 11, she’s set up a new computer on the table where she was sitting before. Check it for this file.
#29: Computer File: Security Protocols
This file is on the computer in the laboratory’s security station in Chapter 11.
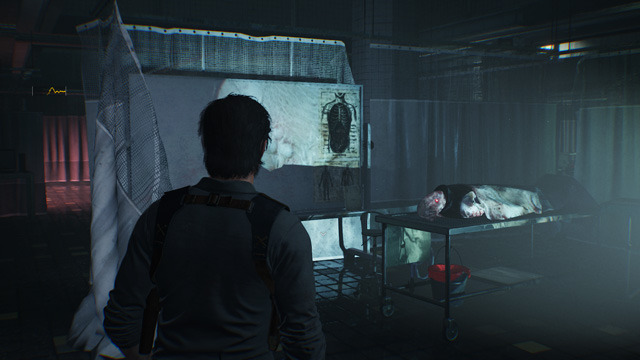
#30: Report: STEM Integration Irregularities
In Chapter 11, when you reach the door in the lab that won’t open without a cerebral chip, turn left and follow the wall. There’s an operation theater back here with a running slide projector. It’s easy to miss because of the lighting, but there’s a file attached to the bottom right corner of the projector’s screen.
#31: Report: Irregularity Studies
In Chapter 11, when you reach the laboratory, be sure to visit Lab 1 on the first floor. It’s tucked underneath the staircase. Inside, you can find the facility’s morgue, where a jar of Red Gel and this file have been left out for you.
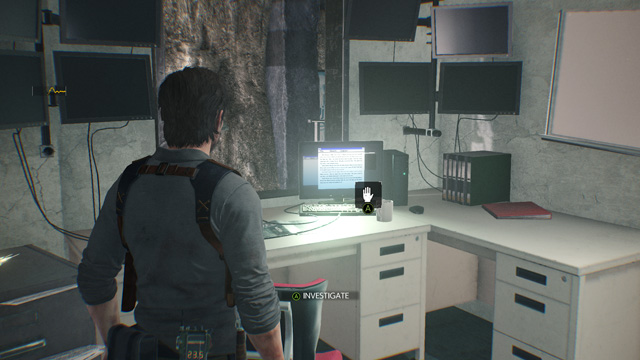
#32: Computer File: Pit Observatory
Use a shock bolt on the fuse box on the first floor of the laboratory in Chapter 11 to open its shutter. This leads you to the Pit, where you can find this file on a computer in its observation post.
This is the trigger for the third of three optional stealth challenges in the game, none of which are labeled or announced. (This is also why there’s such a big spoiler warning in this article’s introduction.) The first is triggered by picking up the Woman’s Journal, as noted above; the second happens after you watch the Residual Memory in the kitchen of the Juke Diner in the Business District. Completing all three allows you to collect the next two files, as well as unlock a couple of additional secrets.
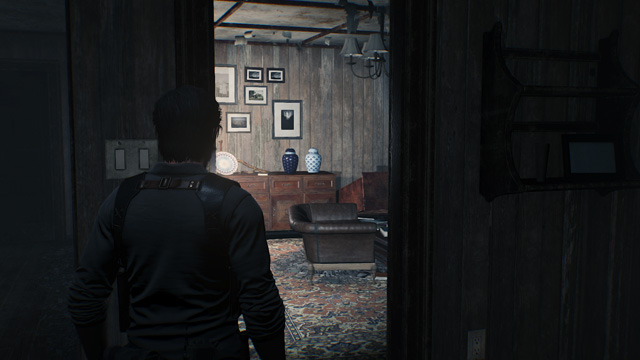
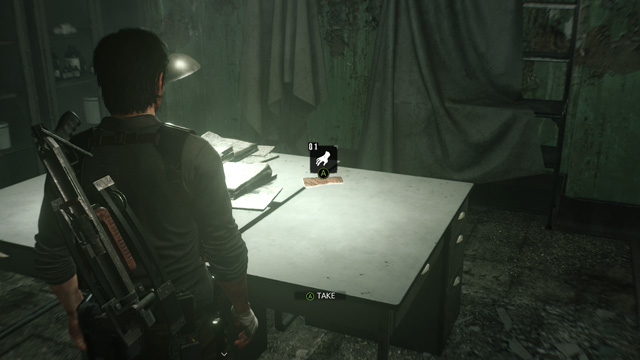
#33: Torn Psychological Evaluation Report (Bottom)
As noted above, you must have completed all three stealth challenges to find this file. If you have, the stealth segment that started when you picked up the previous file doesn’t end immediately when you escape your pursuer. Instead, you end up in an isolated wing of a hospital. Check the room on the right to find this file next to a stack of burned books.
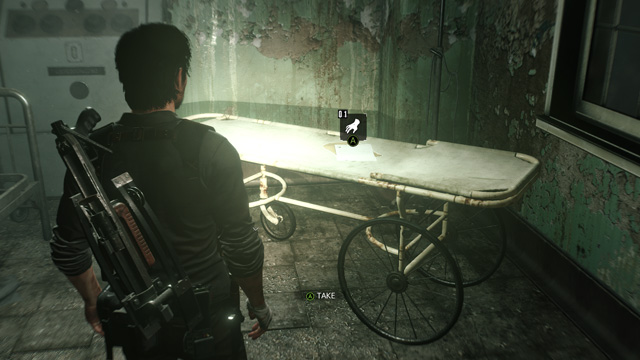
#34: Letter From Police Chief
See the previous file, but this time, check the room on the left side of the hallway. This file’s waiting for you on a gurney. You have to pick up both of them before you can escape the area.
#35: Computer File: Operative Case
You’ll need to grab this file during Chapter 11 from a computer in Lab 3 on the second floor of the laboratory.
#36: Burnt Page from ‘Surrender to Freedom’ 2
In the second area of Chapter 12, this can be found on the altar in front of the burning wireframe statue.

#37: Message From Sykes
Complete Sykes’s side mission “The Last Step” in Chapter 11 or 13, then return to his safe house in the Business District to find this on his desk. Naturally, if Sykes has died before this point (i.e. you didn’t save him in Chapter 6), this file never appears.

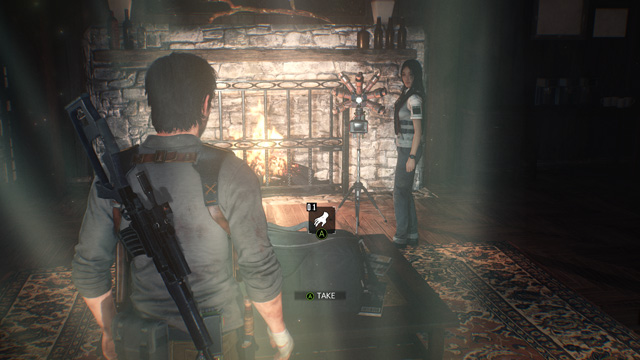
#38: Hoffman’s Journal
Once you scope out the hotel for Hoffman in Chapter 13, you can find this file in the duffel bag on the coffee table in the hotel’s lobby, underneath a lot of ammo and crafting materials.
#39: Theodore’s Scripture 1
On top of the altar in the church at the beginning of Chapter 14.
#40: Theodore’s Scripture 2
After you clear the first arena in Chapter 14, you have to use a valve to turn off a series of gas jets. Past the valve, there’s an easy-to-miss side room that contains this final file, along with some supplies.
—
That’s it for all the files in The Evil Within 2. Be sure to check out our other The Evil Within 2 guides for more tips, tricks, and strategies.


Published: Oct 13, 2017 10:49 am