Baldur’s Gate 3, currently in Early Access on PC and Stadia, isn’t the easiest RPG to learn. There aren’t any detailed tutorials to get you up to speed with its systems or combat mechanics.
Since Baldur’s Gate 3 is modeled after Dungeons & Dragons 5th Edition, a familiarity with the ruleset from tabletop D&D is extremely helpful here, though not necessary. Regardless of your prior knowledge, Baldur’s Gate 3 combat can feel overwhelming.
In this guide, I’m going over more advanced combat tips and tactics, including planning, surprise attacks, and focus fire, among many other things that I know work in D&D. If you missed our guide covering the basics of combat and the core mechanics of Dungeons & Dragons 5E, you can check that out through the link above. This advanced combat guide assumes you have read that tips article and are already familiar with the basics of combat in Baldur’s Gate 3.
Baldur’s Gate 3 Combat Guide: Advanced Combat Tips and Tactics
Use All of Your Actions
Remember how I mentioned in my guide on combat basics that Actions, Movement, and Bonus Actions are all separate things for any given turn? Don’t leave any actions on the table if you can help it.
Maybe there is a torch close by, and you can dip your sword into the flame before attacking for extra flame damage. Maybe you can take a bite of an apple for a tiny heal after your attack instead of just ending the turn. This is made more important by the BG3‘s environments.
Use the Environment
In a lot of turn-based tactical games, the environment is more decorative than functional. That’s not the case in Baldur’s Gate 3. I like to light surfaces on fire, turn a surface into ice, put out fires, collapse structures, and more by thinking outside the box. Chances are that if you approach combat head-on without surveying your surroundings, you’re going to run into a lot of trouble.
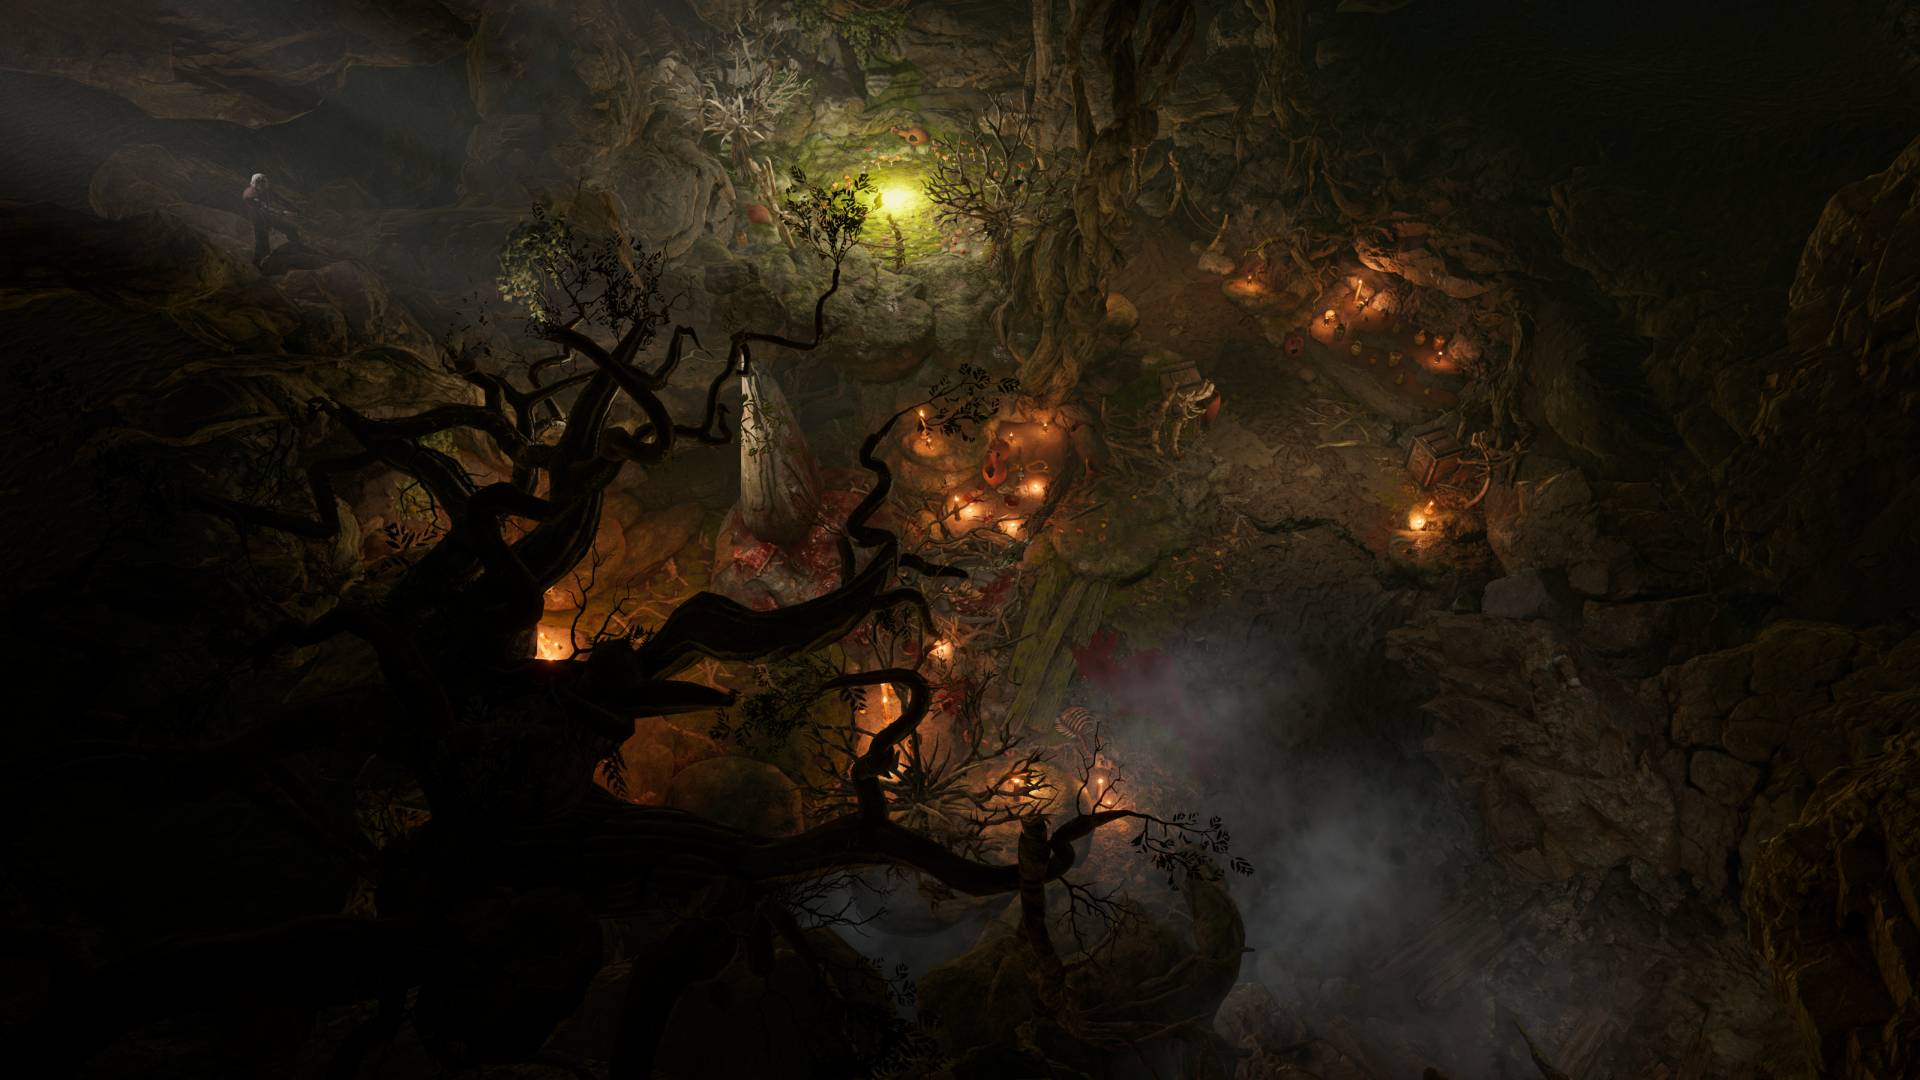
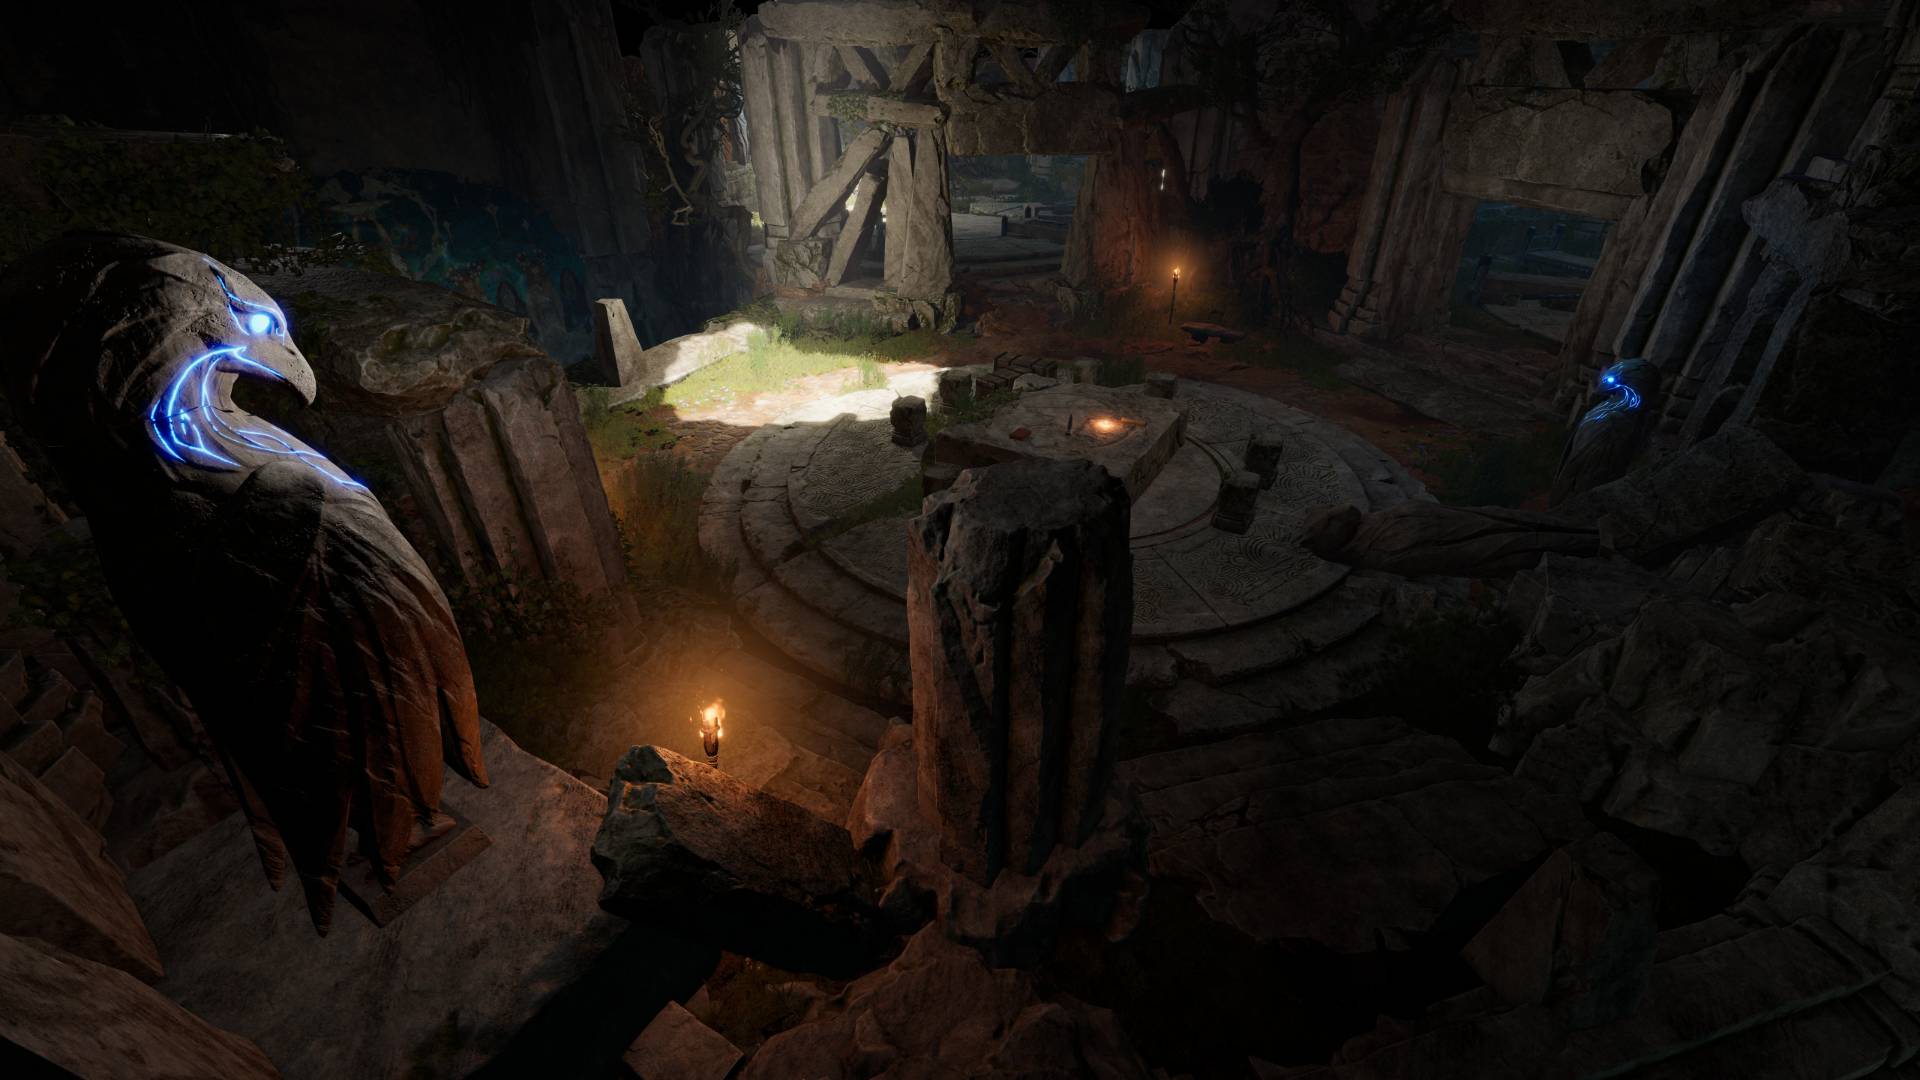
A great example of using the environment to your advantage is a fight in a dark cave against a swarm of poisonous teleporting spiders. It’s one of the hardest fights in the Early Access build right now if you’re not prepared, and it’s primarily due to the environment.
Spiders can teleport above you onto web bridges (hint: burn these web bridges down) and easily cover the ground in poison. It can be a tough fight… unless it isn’t. Did you know you can light poison puddles on fire? Now you do.
Use the Shove Action Liberally
Did you know the Shove action is a Bonus Action? That means you can walk up to an enemy, attack them, and then Shove them away, potentially sending them flying off a cliff or falling prone. Like lighting poison puddles on fire, you should Shove more often.
Positioning
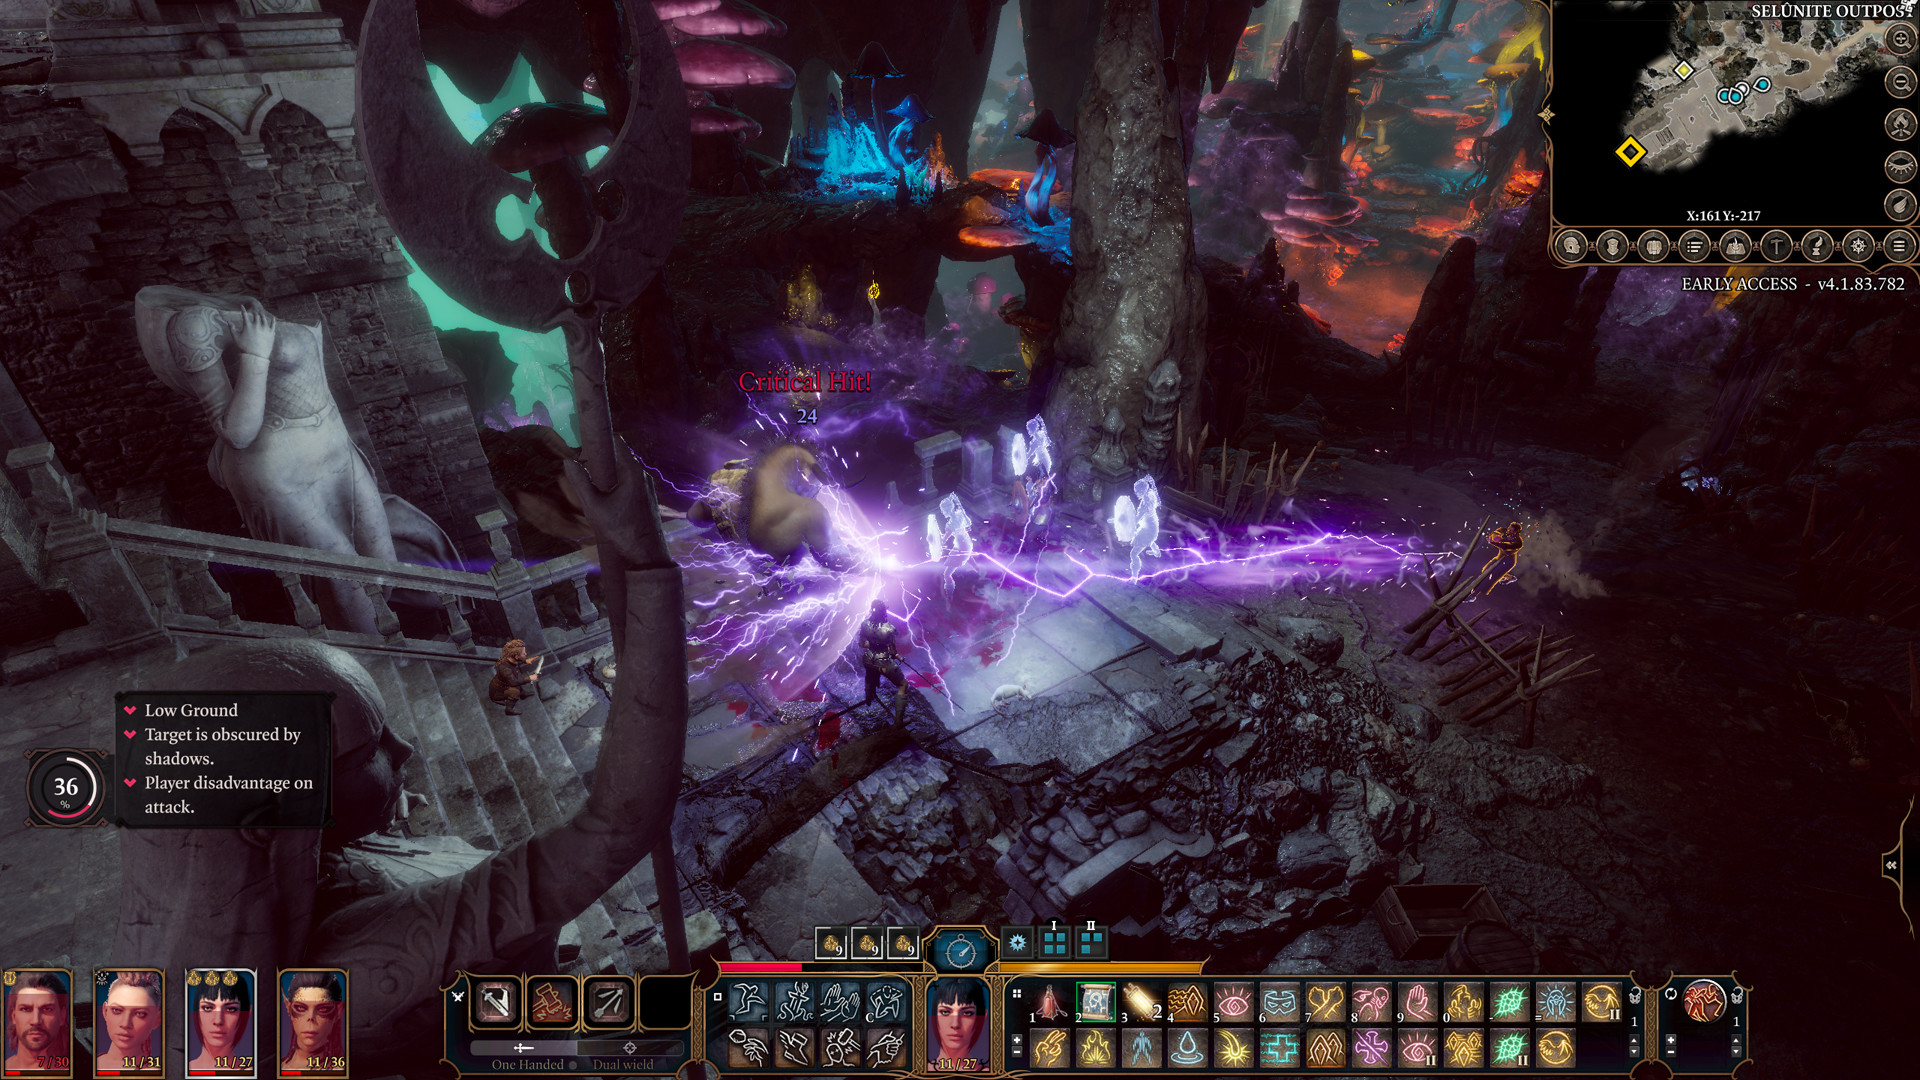
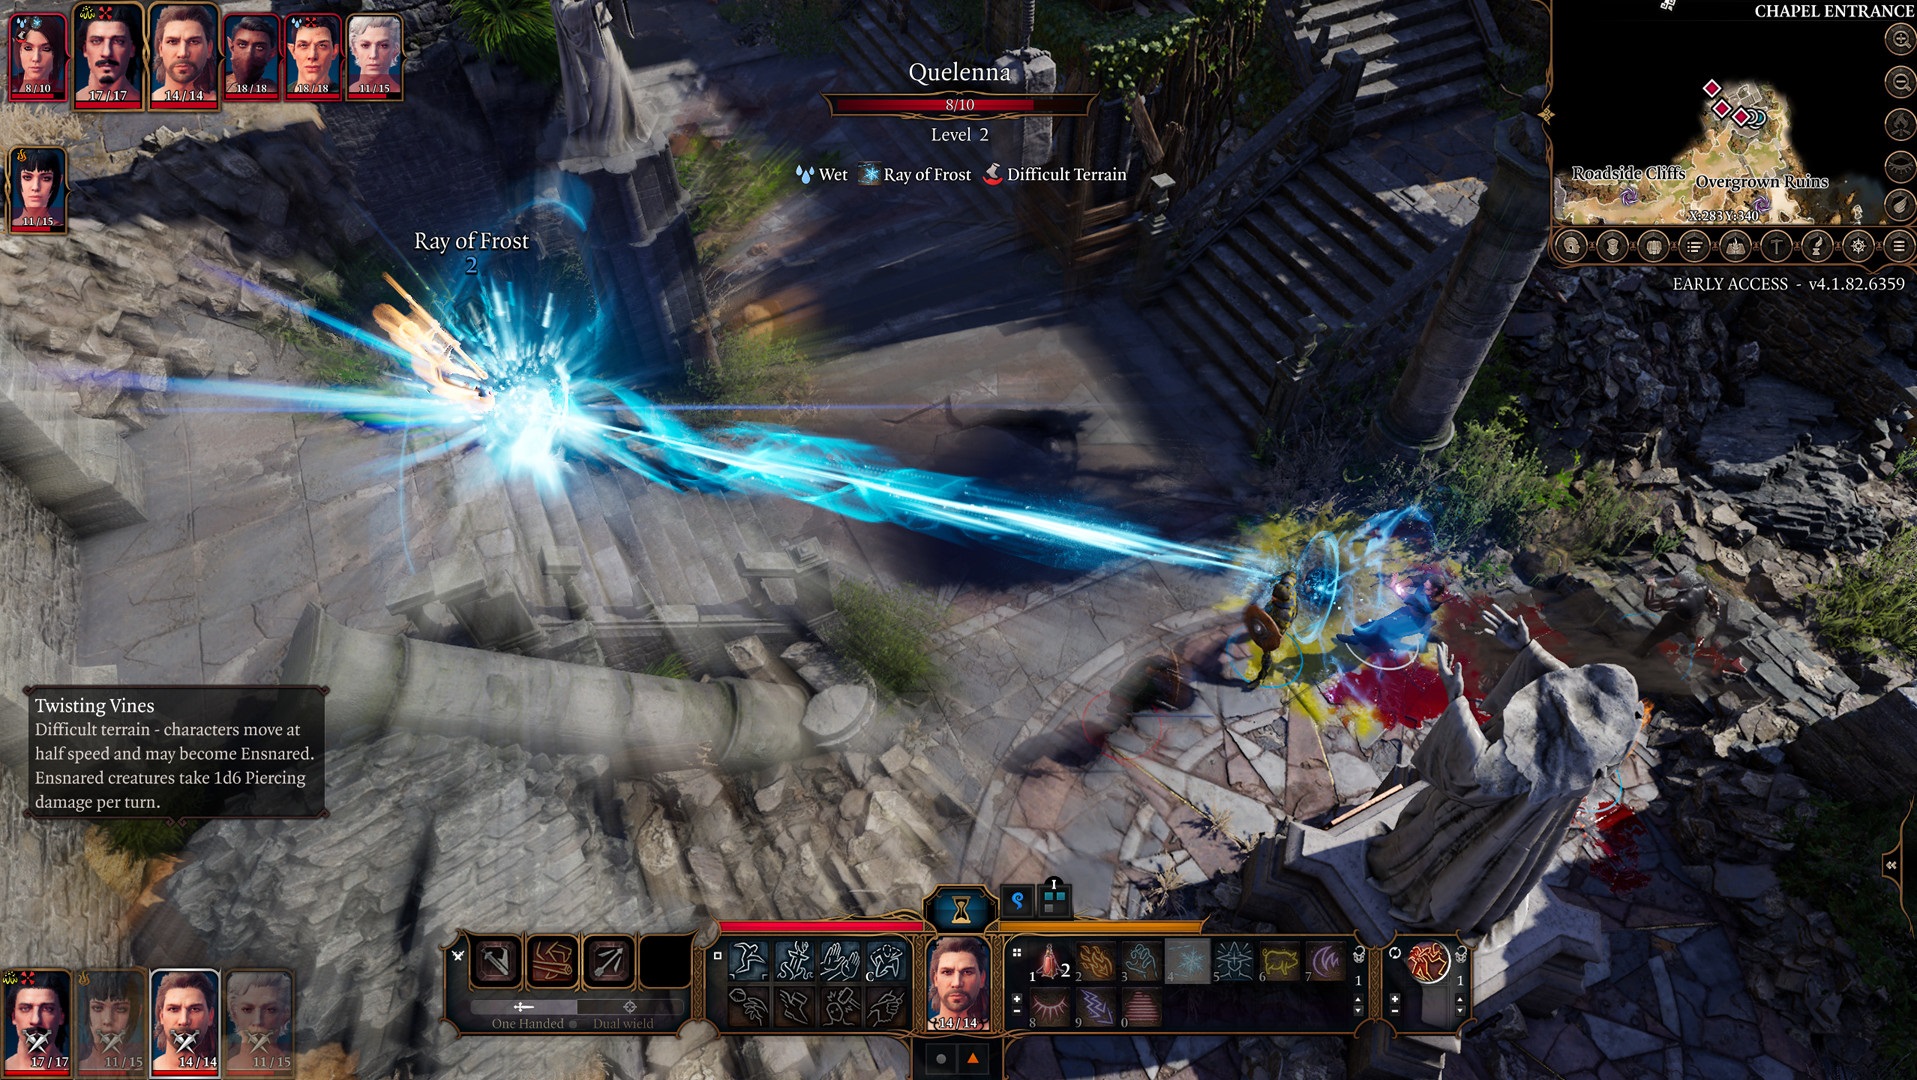
The layout of the battlefield is the most important thing to consider in Baldur’s Gate 3 combat. Very few battles happen on a flat or even playing field. There are usually height variations in each and every area, whether those be rooftops, stairs, ledges, cliffs, or anything in between.
Height matters significantly in Baldur’s Gate 3. If you’re planning on ranged combat, then you should always win the high ground. Doing so will give you advantage on all attacks. You also need to consider cover, objects in the environment, where enemies and allies are located, and so on.
Move Things Around
Furthermore, using the environment isn’t just a general figurative piece of advice. In some cases, you can literally use the environment by picking up objects like boxes and barrels and dragging them around. Remembering this small but important mechanic is game-changing; you could give yourself impromptu cover or climb on top of something for a better angle.
Spread Out
Bunching your party together is almost always a terrible idea in actual D&D and definitely here in Baldur’s Gate 3. Not only do spellcasters have lots of AoE spells (Area of Effect) that can hit large areas all at once, but Fighters get sweeping Cleave attacks, and surfaces can catch on fire, turn to ice, become webbed, get coated in poison, and so much more.
The closer your party members are to each other, the more likely they are to share damage unnecessarily. The exception to this is if you need to heal or (maybe) attempting to surround an enemy to get backstab damage as a Rogue. In which case, you should stab, then use a bonus action to Disengage and put some distance between you and your enemy once again.
Focus Fire
Using focus fire whenever possible is a well-known strategy in D&D and one I use liberally. That means focusing on neutralizing one enemy at a time rather than spreading out all of our damage to multiple enemies.
If you spend three characters’ attacks on a single enemy one round, maybe you can kill that enemy, which eliminates one source of damage each future round. But if you spread out your damage and slowly chip away at everyone over time, the amount of potential damage you could receive each round stays the same.
A dead enemy can’t hurt you, but an enemy at even just 1 HP can still do full damage. That’s why you focus fire. The exception here might be if you have a sturdy fighter that can occupy a group or block a passageway to prevent more enemies from arriving while your other party members focus fire on someone else. That’s a strategic exception.
Plan Ahead of Time
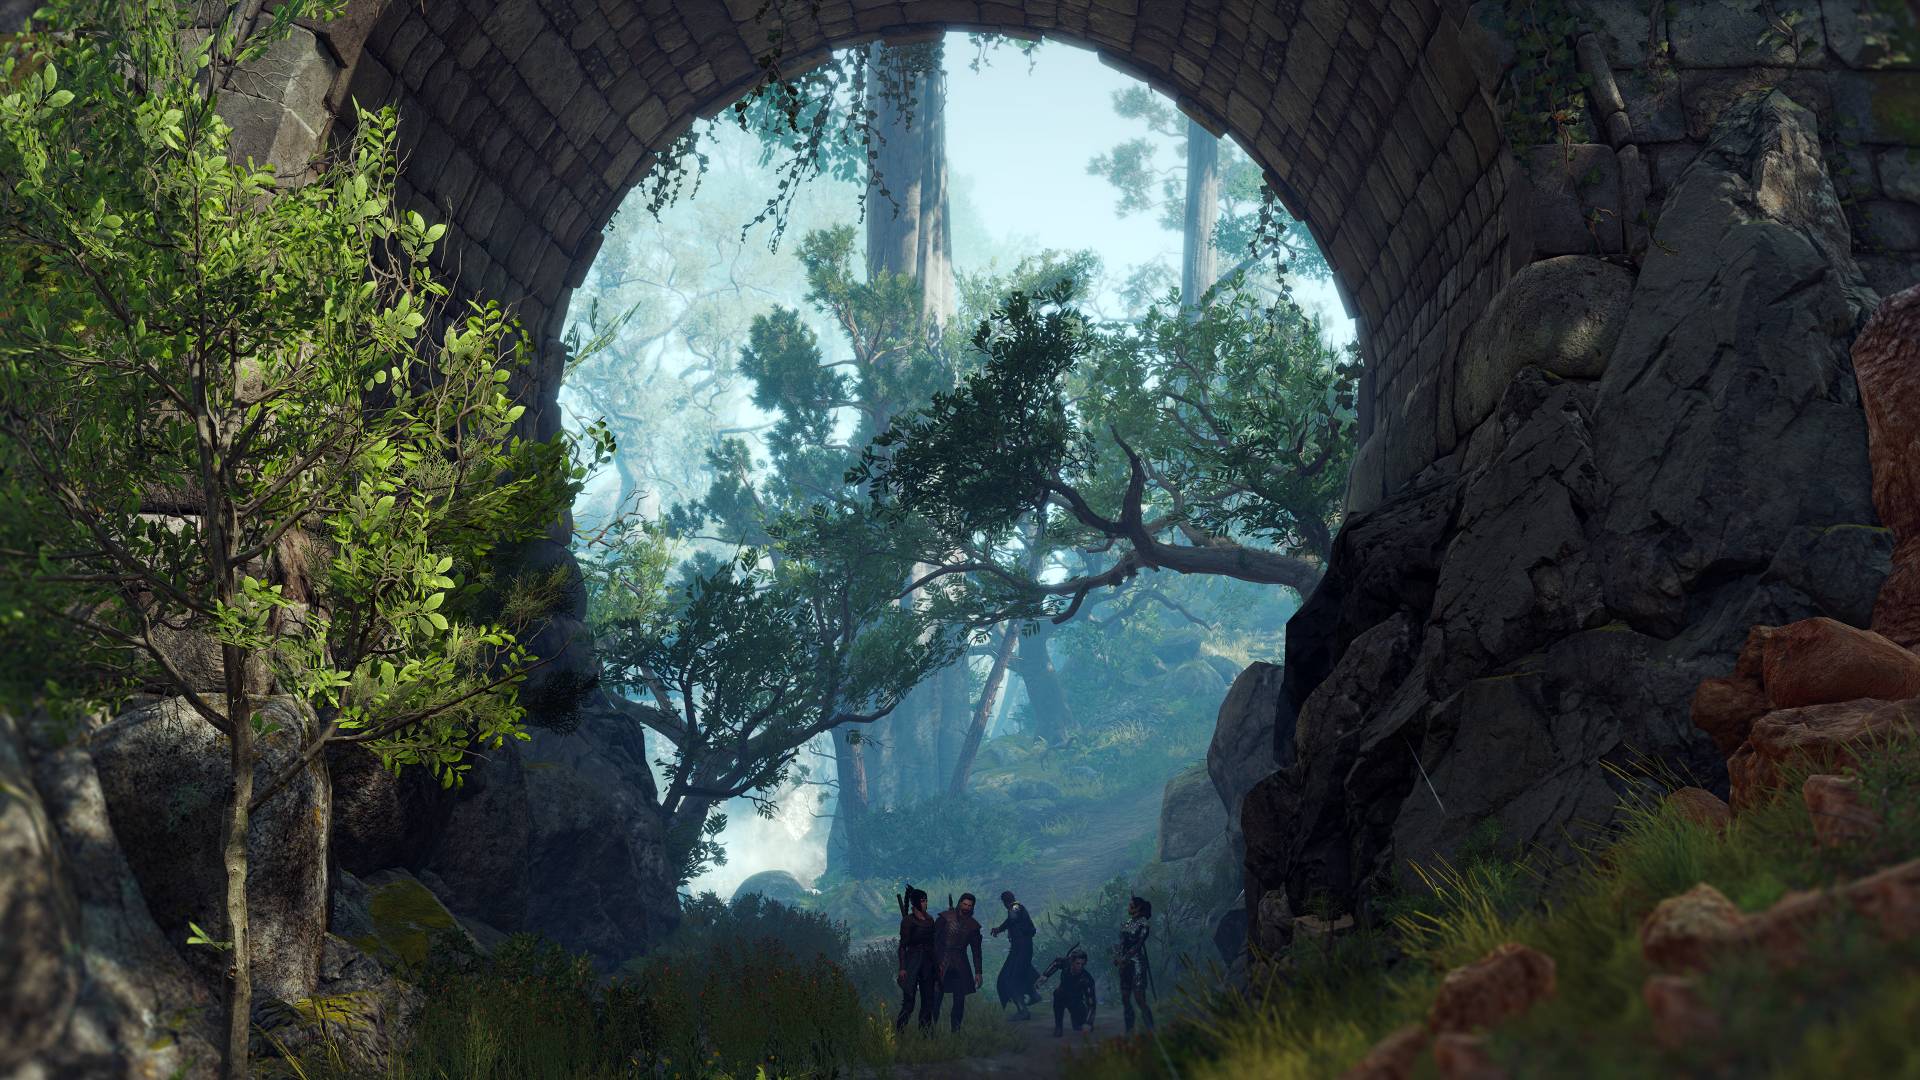
In many Baldur’s Gate 3 encounters, you’ll be able to tell ahead of time that you’re going to enter combat. Whether it be the layout of the area, the positioning of menacing-looking NPCs, or what have you. But sometimes, you just know or have a bad feeling.
In those cases, don’t just run in blind. Use the time before combat starts to prepare and approach the encounter like Batman would. For example, perch your ranged party members up high, preferably near some shadows, for a surprise attack that can deal sneak attack damage.
Surprise Attacks
When combat starts, it only starts for the characters in your party that the enemy is aware of. This means that if you have a character hidden outside of an encounter room, hiding up high on a cliff, or lurking behind cover, and they haven’t been spotted, then they’re not beholden to the initiative and turn order. Use this to your advantage.
If you decide to open fire and attack an enemy that’s engaged in combat with the rest of your party, it’s considered a Surprise Attack. You have an advantage with a surprise attack because the enemy doesn’t know you’re there. I like it because it’s basically a free attack. After that, the character is slotted into the Initiative order with everyone else.
Sneak Attacks
I find that sneak attacks are a bit different, but they’re very useful in combat. They are a special kind of attack that only certain characters, like Rogues, or sometimes Rangers and Fighters, can do based on their Class Features. You need to be hidden or in stealth to do a Sneak Attack.
If you’re not in combat yet, that’s as simple as hiding in the shadows before attacking. But make sure you click Sneak Attack on the right skill bar, not the main Attack action. If you are in combat, then you need to get out of the enemy’s line of sight, use the Hide bonus action, then try and launch a Sneak Attack at the enemy.
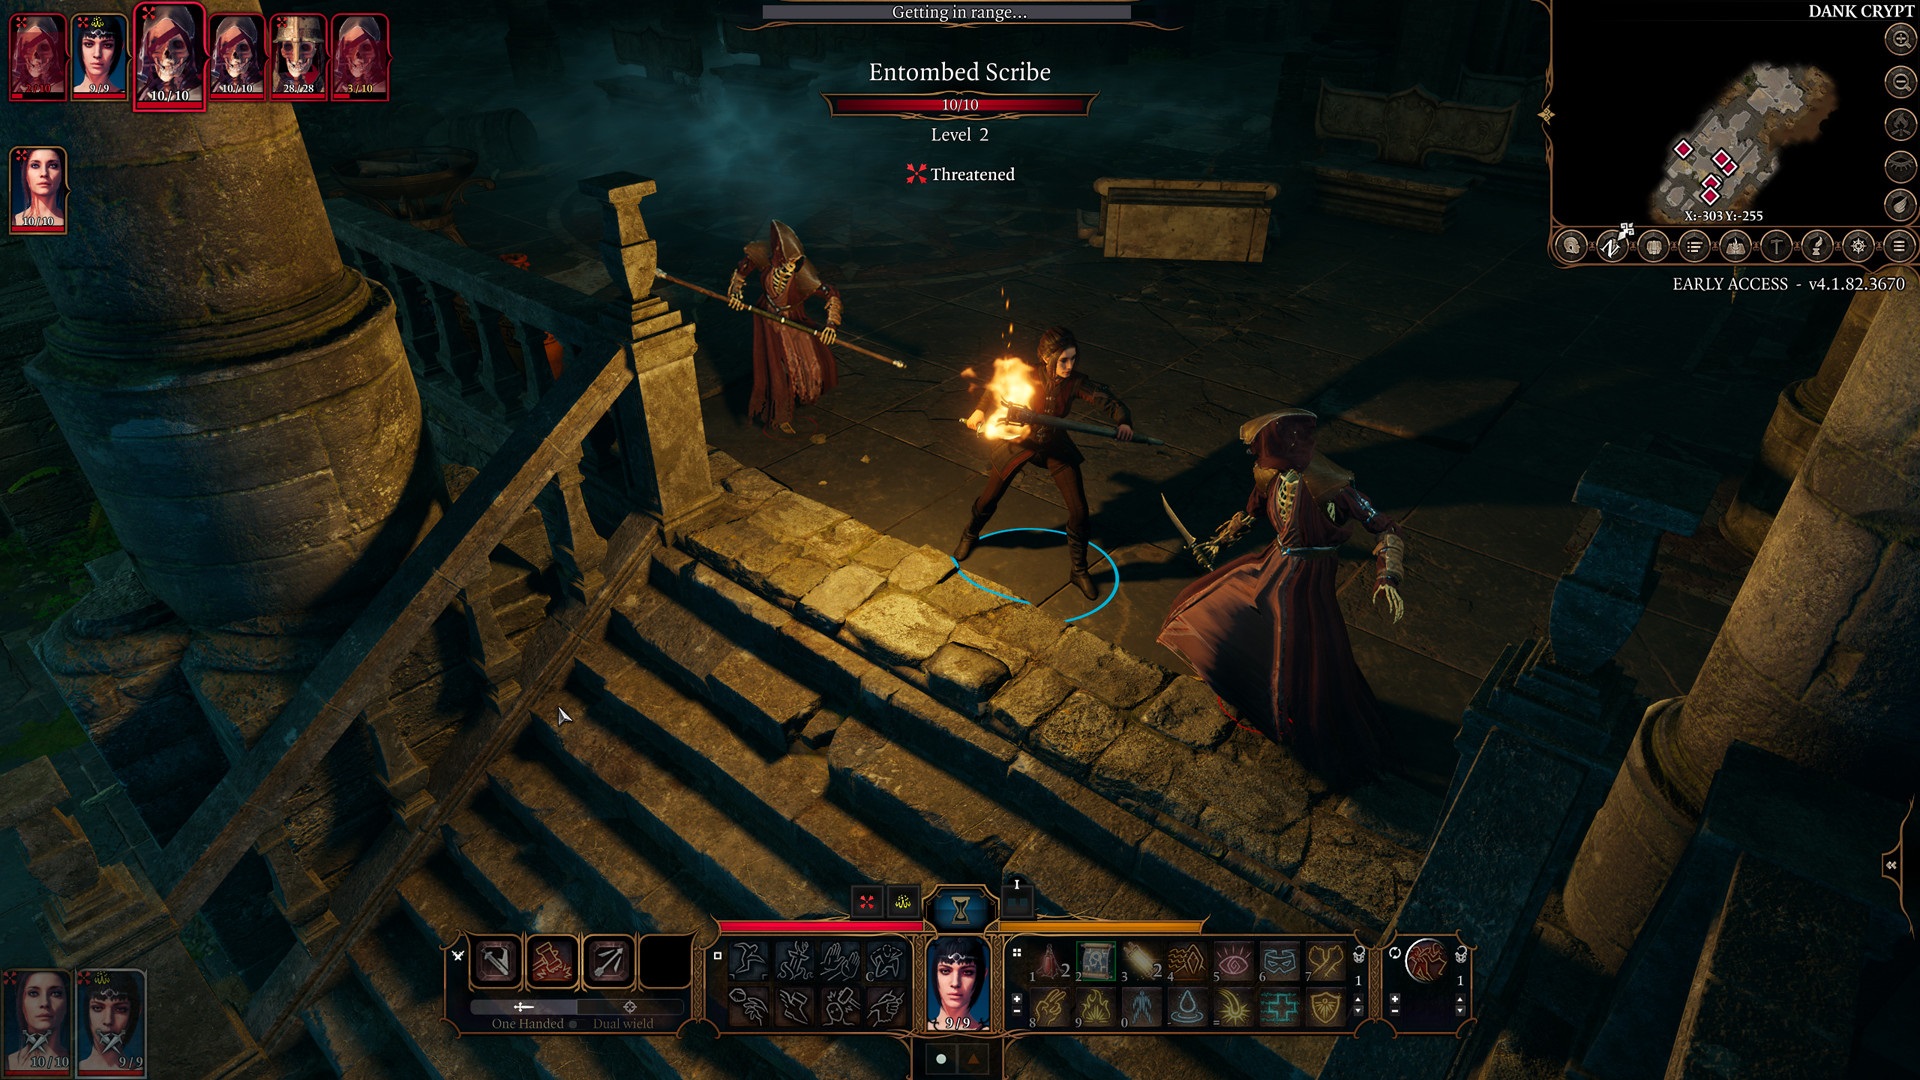
Attack of Opportunity and Disengage
If you’re within melee attack range, typically about 5 ft., then you’re engaged in combat with an enemy if they’ve noticed you. If you try to move away from them, they get an Attack of Opportunity against you. The same goes for if they leave you.
Using an Opportunity Attack uses up your Reaction, which is a special type of Action that must be triggered, meaning you only get one Attack of Opportunity until your next turn.
You can avoid an Attack of Opportunity if you use the Disengage action. This will allow you to get out of combat without triggering an Attack of Opportunity. For Rogues, this is usually a Bonus Action; since they eventually get two Bonus Actions per turn, they are extremely versatile in combat.
Unlike in actual D&D, Disengage is mapped to the jump action in Baldur’s Gate 3. If it’s more comfortable, you can Shove an enemy away from you after attacking. If it succeeds (based on a Strength check), then you will disengage.
Helping Up Down Party Members and Throwing Healing Potions
When a party member is down, you don’t have to wait for them to pass their saving throws. You can have another character use the Help action to put them back at 1 HP (they won’t be down anymore). Alternatively, you can even throw a healing potion on the ground near them to heal them back into a conscious state. This is also useful for ranged healing in the middle of a fight, although throwing something does use a full Action for that turn.
This covers some of the more advanced combat tactics in Baldur’s Gate 3. Be sure to check out my guide on combat basics linked near the top of this article. If you found this guide helpful, please consider sharing it with other players. For more on BG3, including builds, head over to our tips page for the RPG.


Published: Aug 4, 2023 02:01 pm