Finally out of beta and now on to the full release, asymmetrical horror title Dead By Daylight lets you choose whether to be a terrified survivor fleeing for his life (why would you want that?) or an unstoppable killing machine hunting human prey (that’s the one you want).
Early adopters got the most experience with the Trapper during beta, so there are some very solid strategies already worked out if you choose this killer from the list of available horror slashers.
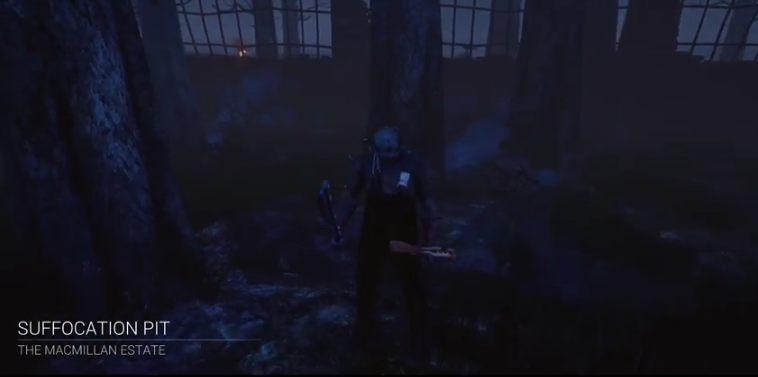
The Trapper hunts down poor survivors across the MacMillian Estate ironworks, which is filled with empty buildings, rock outcroppings, and wood pallets that can all get in your way.
Below we cover how to be a more efficient killing machine, if you are looking for survivor strategies instead, check our Dead By Daylight beginner’s guide here.
 Get ready to get slashy!
Deady By Daylight Killer Basics
As the Trapper, you are locked in first person mode while the survivors are not, which means your field of view is limited and they can frequently see you when you can’t see them. Pay attention to all the audio and video clues if you want to catch the four other players in any given match.
First thing to pay attention to is the loud noise and a graphical representation when a survivor messes up a skill check at a generator – run towards that location! You will also see red scratch marks on the ground and walls when survivors are foolishly sprinting, and a blood trail when an injured survivor is moving. These lead you straight to your quarry.
Other than sounds, blood, and scratches, watch for ravens in the air: they fly away when survivors run past or flock together when a survivor hangs out too long in a closet.
 Look for scratches that indicate a survivor is running
While the survivors can’t really harm you, they can hinder you in many ways. One of the most frustrating to look out for is a survivor equipped with a flashlight, which will make you drop your prey if it gets shined in your face.
To counteract this, turn away from other survivors when you are carrying someone towards a hook and don’t look directly at the other players until you’ve hooked your prey.
If you are having trouble capturing and sacrificing survivors in your first few rounds, keep in mind there’s no actual benefit to rage quitting and starting over a new match. You raise your rank and earn experience just for chasing after the survivors and setting traps, whether or not you actually kill them all.
Finding And Taking Down Survivors
Traps are (obviously) the most important feature of the Trapper, but before getting into laying those, you need to know how to chase the survivors effectively.
Be sure you are always patrolling rather than staying in one spot. Move around between the generators, chests, and buildings to spook survivors and make them reveal themselves. When you spot a survivor all by themselves, consider whether its the right situation to give chase or stay put and not be lured away.
There’s no point in chasing a survivor through the infinite window loop of the cabin for instance, and in some cases survivors may specifically be trying to get you away from a hook or generator to help someone else. Don’t give in! You have the upper hand in nearly every way, so don’t get distracted by the thought of an easy kill.
While chasing down a survivor, don’t go in a straight line unless you are in a wide open area. Instead, scan ahead on the map rather than directly chasing. You can frequently get at a survivor better by going around obstacles rather than coming up directly behind your prey, especially if they have objects to throw in your path. Don’t forget – you run faster than they do, so detours aren’t a bad thing at all.
 Come at them from the side to avoid obstacles
Be careful of canny survivors here though, as some of them have figured out an ingenious strategy of throwing down a barricade, then immediately turning around and jumping back over it when you reverse direction. You aren’t likely to catch a survivor employing this strategy unless you learn their fakeout cues.
Pay attention to the layout of your immediate surroundings, especially if there are windows or second floor areas. Yes, you move faster than than the opposition, but you can also move smarter.
If they run into a building, its frequently a better bet to go around the side and wait outside the window or secondary exit than to chase after them, as the survivor will frequently throw themselves at you.
 Hi there! I noticed you were trying to escape!
When you finally get close enough to swing that wicked meat cleaver, don’t forget there’s brief cool down period where the weapon is wiped free of blood against your arm. Timing here is key if you want to get in a second attack and knock the survivor down.
Trapping
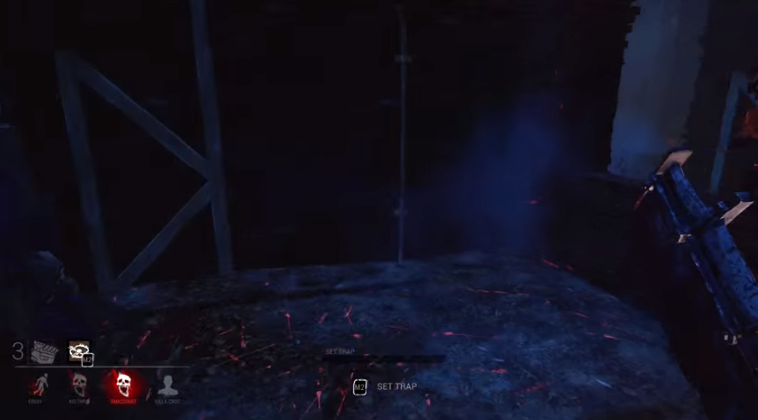
You start out with one trap straight away, so its a good strategy to set it someplace close by your spawn point immediately. There are plenty more traps laying around the map you can pick up as you look for survivors.
A great spot to use at first is in the tall grass right next to a generator. Survivors won’t usually see it, and since you will hear when the generators are getting turned on anyway, its easy to have someone trapped there very early in the match.
As the Trapper, your bear trap placement is probably the most important strategy to learn. Here’s where they should typically go:
- On the other side of window escape routes
- Near important objects like switches and generators
- Directly underneath hooks you plan to utilize
- Close to doors and hallways that can be used to avoid your speed
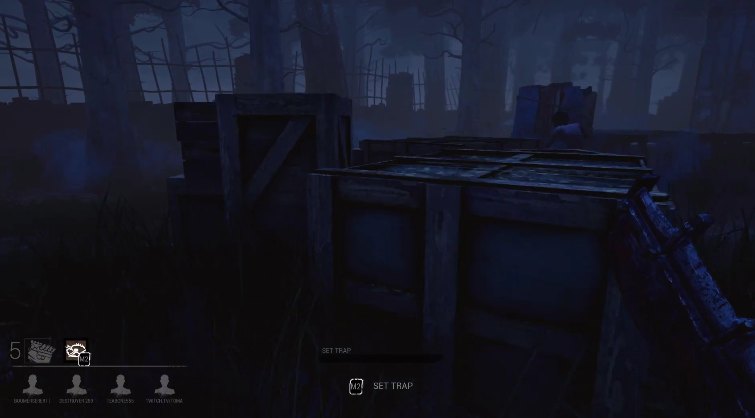
You may want to keep a trap on hand at all times specifically to lay it down in front of a hooked survivor. If your opponents are working as a team, they will end up getting caught while trying to free a hooked teammate.
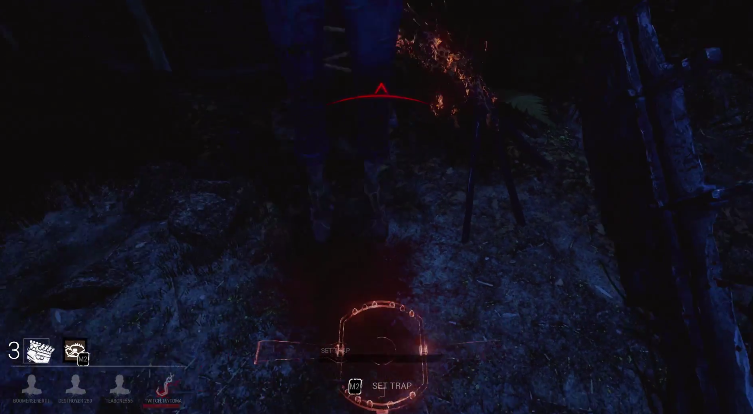 Setting a trap right beneath a hooked survivor is an excellent strategy
While patrolling the map, be sure to return to old traps if they haven’t been sprung – a survivor with a toolbox or certain perks can disarm them. A disarmed trap is a good indicator there’s a survivor hiding nearby ready to be beat down.
Pros/Cons Of Camping The Hook
One of the biggest controversies of the game (for survivors anyway) is when a killer hangs out next to a hook while waiting for a survivor to be sacrificed, and there are both pros and cons to this “camping” approach.
On one hand, standing there in case the survivor wiggles off the hook is perfectly valid, since it pretty well ensures a kill. Even if they get off, you can just hit them again.
On the other hand, while you are standing there waiting for the sacrifice to finish, the other survivors are making use of your lazy strategy and turning on generators! There’s not much point to getting one kill while actively losing three others.
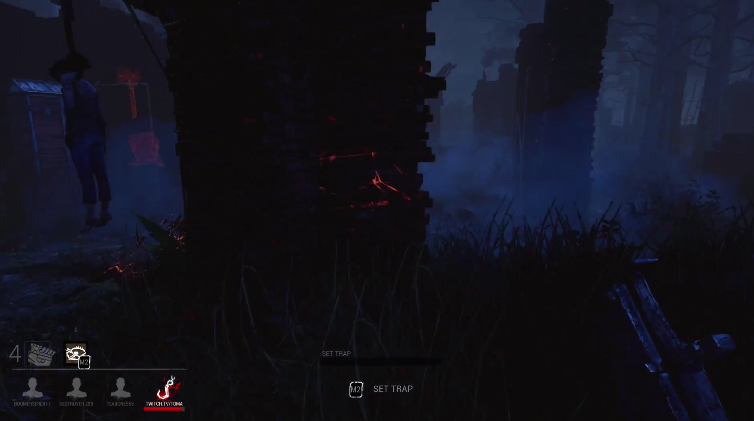 Staying nearby will let you catch altruistic survivors
Sometimes its smarter to lie in wait nearby a hooked victim and wait for some other survivor to come along and try to help their buddy. Why only get one kill when you can get two?
All of this is moot if there’s only one survivor left however. In this case, immediately make a beeline for the escape hatch! When only one survivor is still around, the hatch can be accessed and the survivor can bypass the generators completely to freely escape.
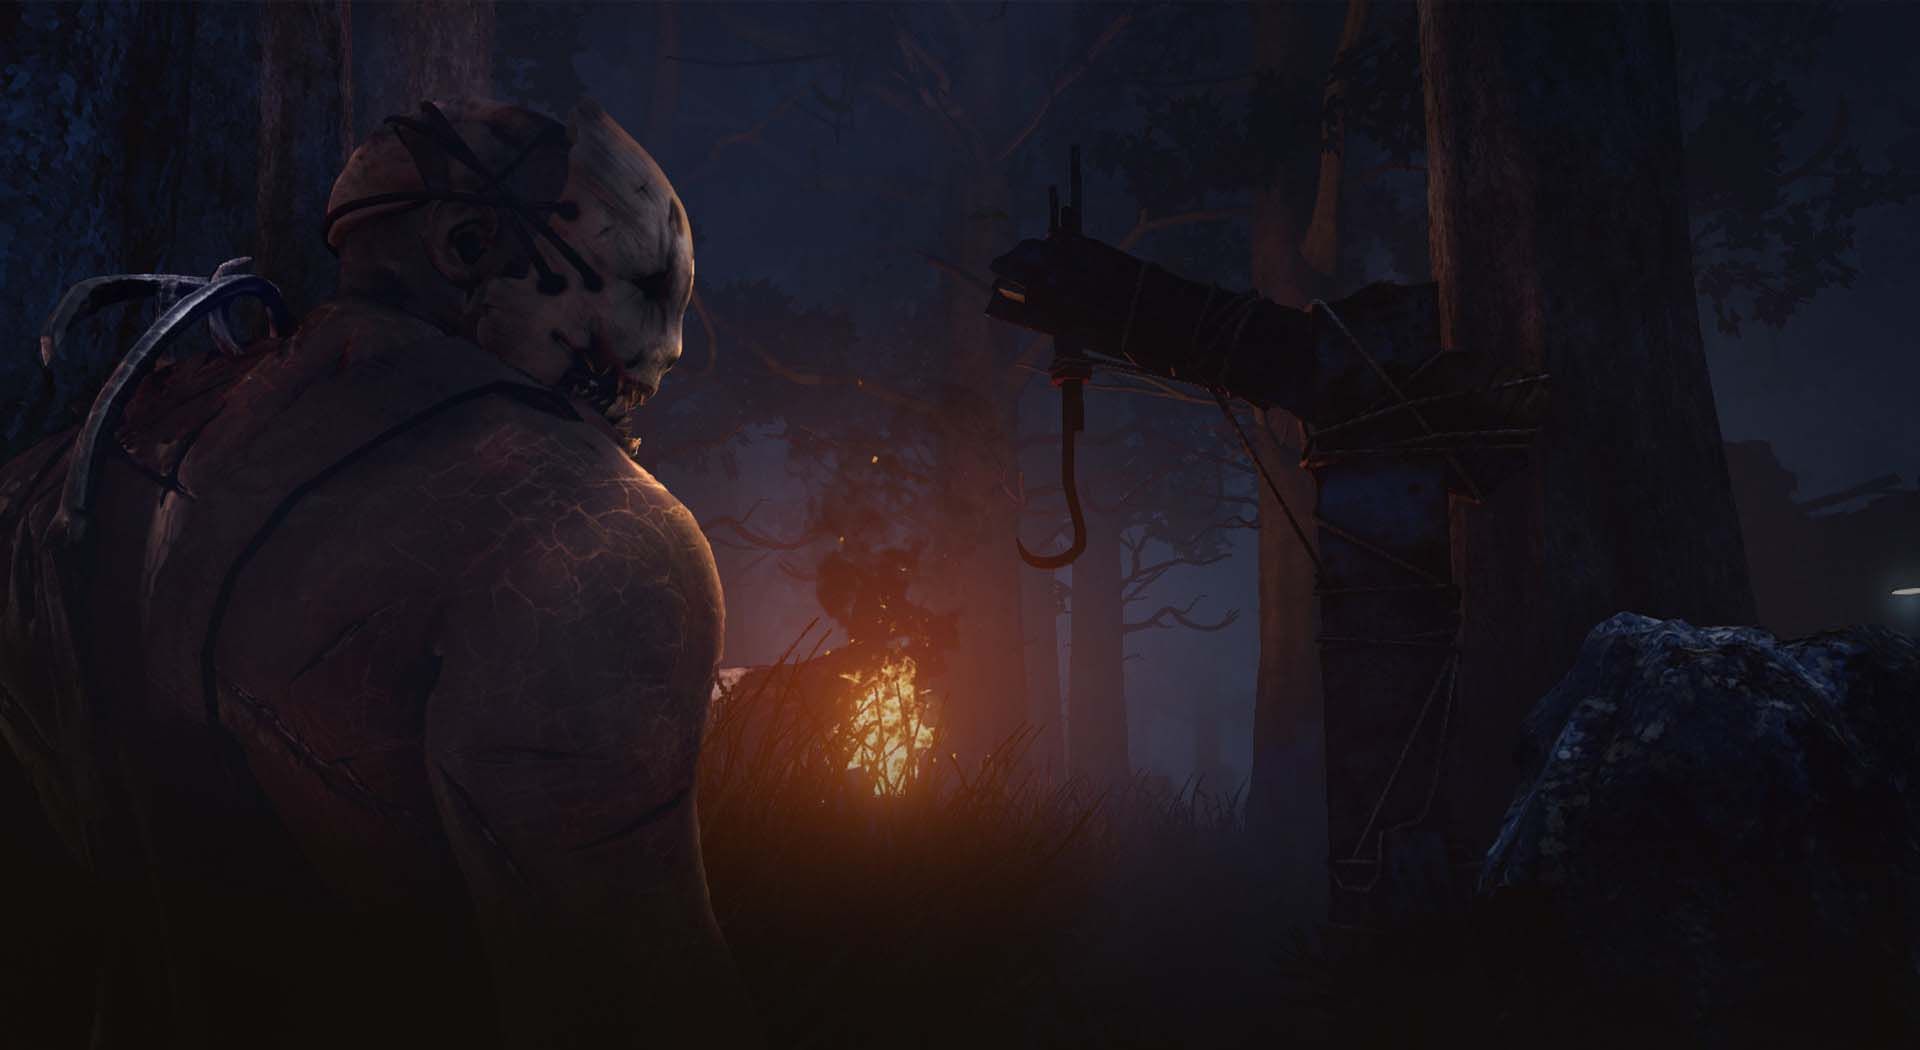 Have fun trapping and hooking survivors!
That’s all you need to know to take down all those puny humans while playing as the Trapper. Be sure to let us known if you’ve figured out any other Trapper strategies for Dead By Daylight in the comments below!


Published: Jun 15, 2016 01:37 pm