Arguably, Ys IX: Monstrum Nox‘s most missable trophy or achievement is Debonair Socialite. This one requires you to fill out every journal entry in the game in a single playthrough. You receive most journal entries and character notes by playing through the main story, as well as completing quests. However, what makes this trophy or achievement particularly elusive is that you need to speak to your allies at the Dandelion HQ at certain points of the story.
A few journal entries and character notes have some strict timing requirements, and if you pass them, then you’re out of luck. You’ll have to do an entirely new playthrough to get them. This is very important because progress on this trophy or achievement does not transfer to New Game+.
Here are some notes about how this guide is structured before we begin:
- The Journal entries and character notes below are in chronological order. If you follow this guide very strictly, you should have no problem finding all of the entries and getting the Debonair Socialite trophy.
- There are also Max Affinity events that add journal entries to characters. You will need to give them a corresponding present that can be purchased at certain points in the game. Using our Max Affinity and Presents guide in tandem with this one means you won’t miss any.
- If you’ve beaten the final boss, and you still don’t have all entries, don’t worry! There are still plenty of journal entries to get in the epilogue. You should get the final journal entry right before the very end of the game.
- Any entries in this guide with the word “Automatic” pinned to them means those entries are part of the main story and are unmissable.
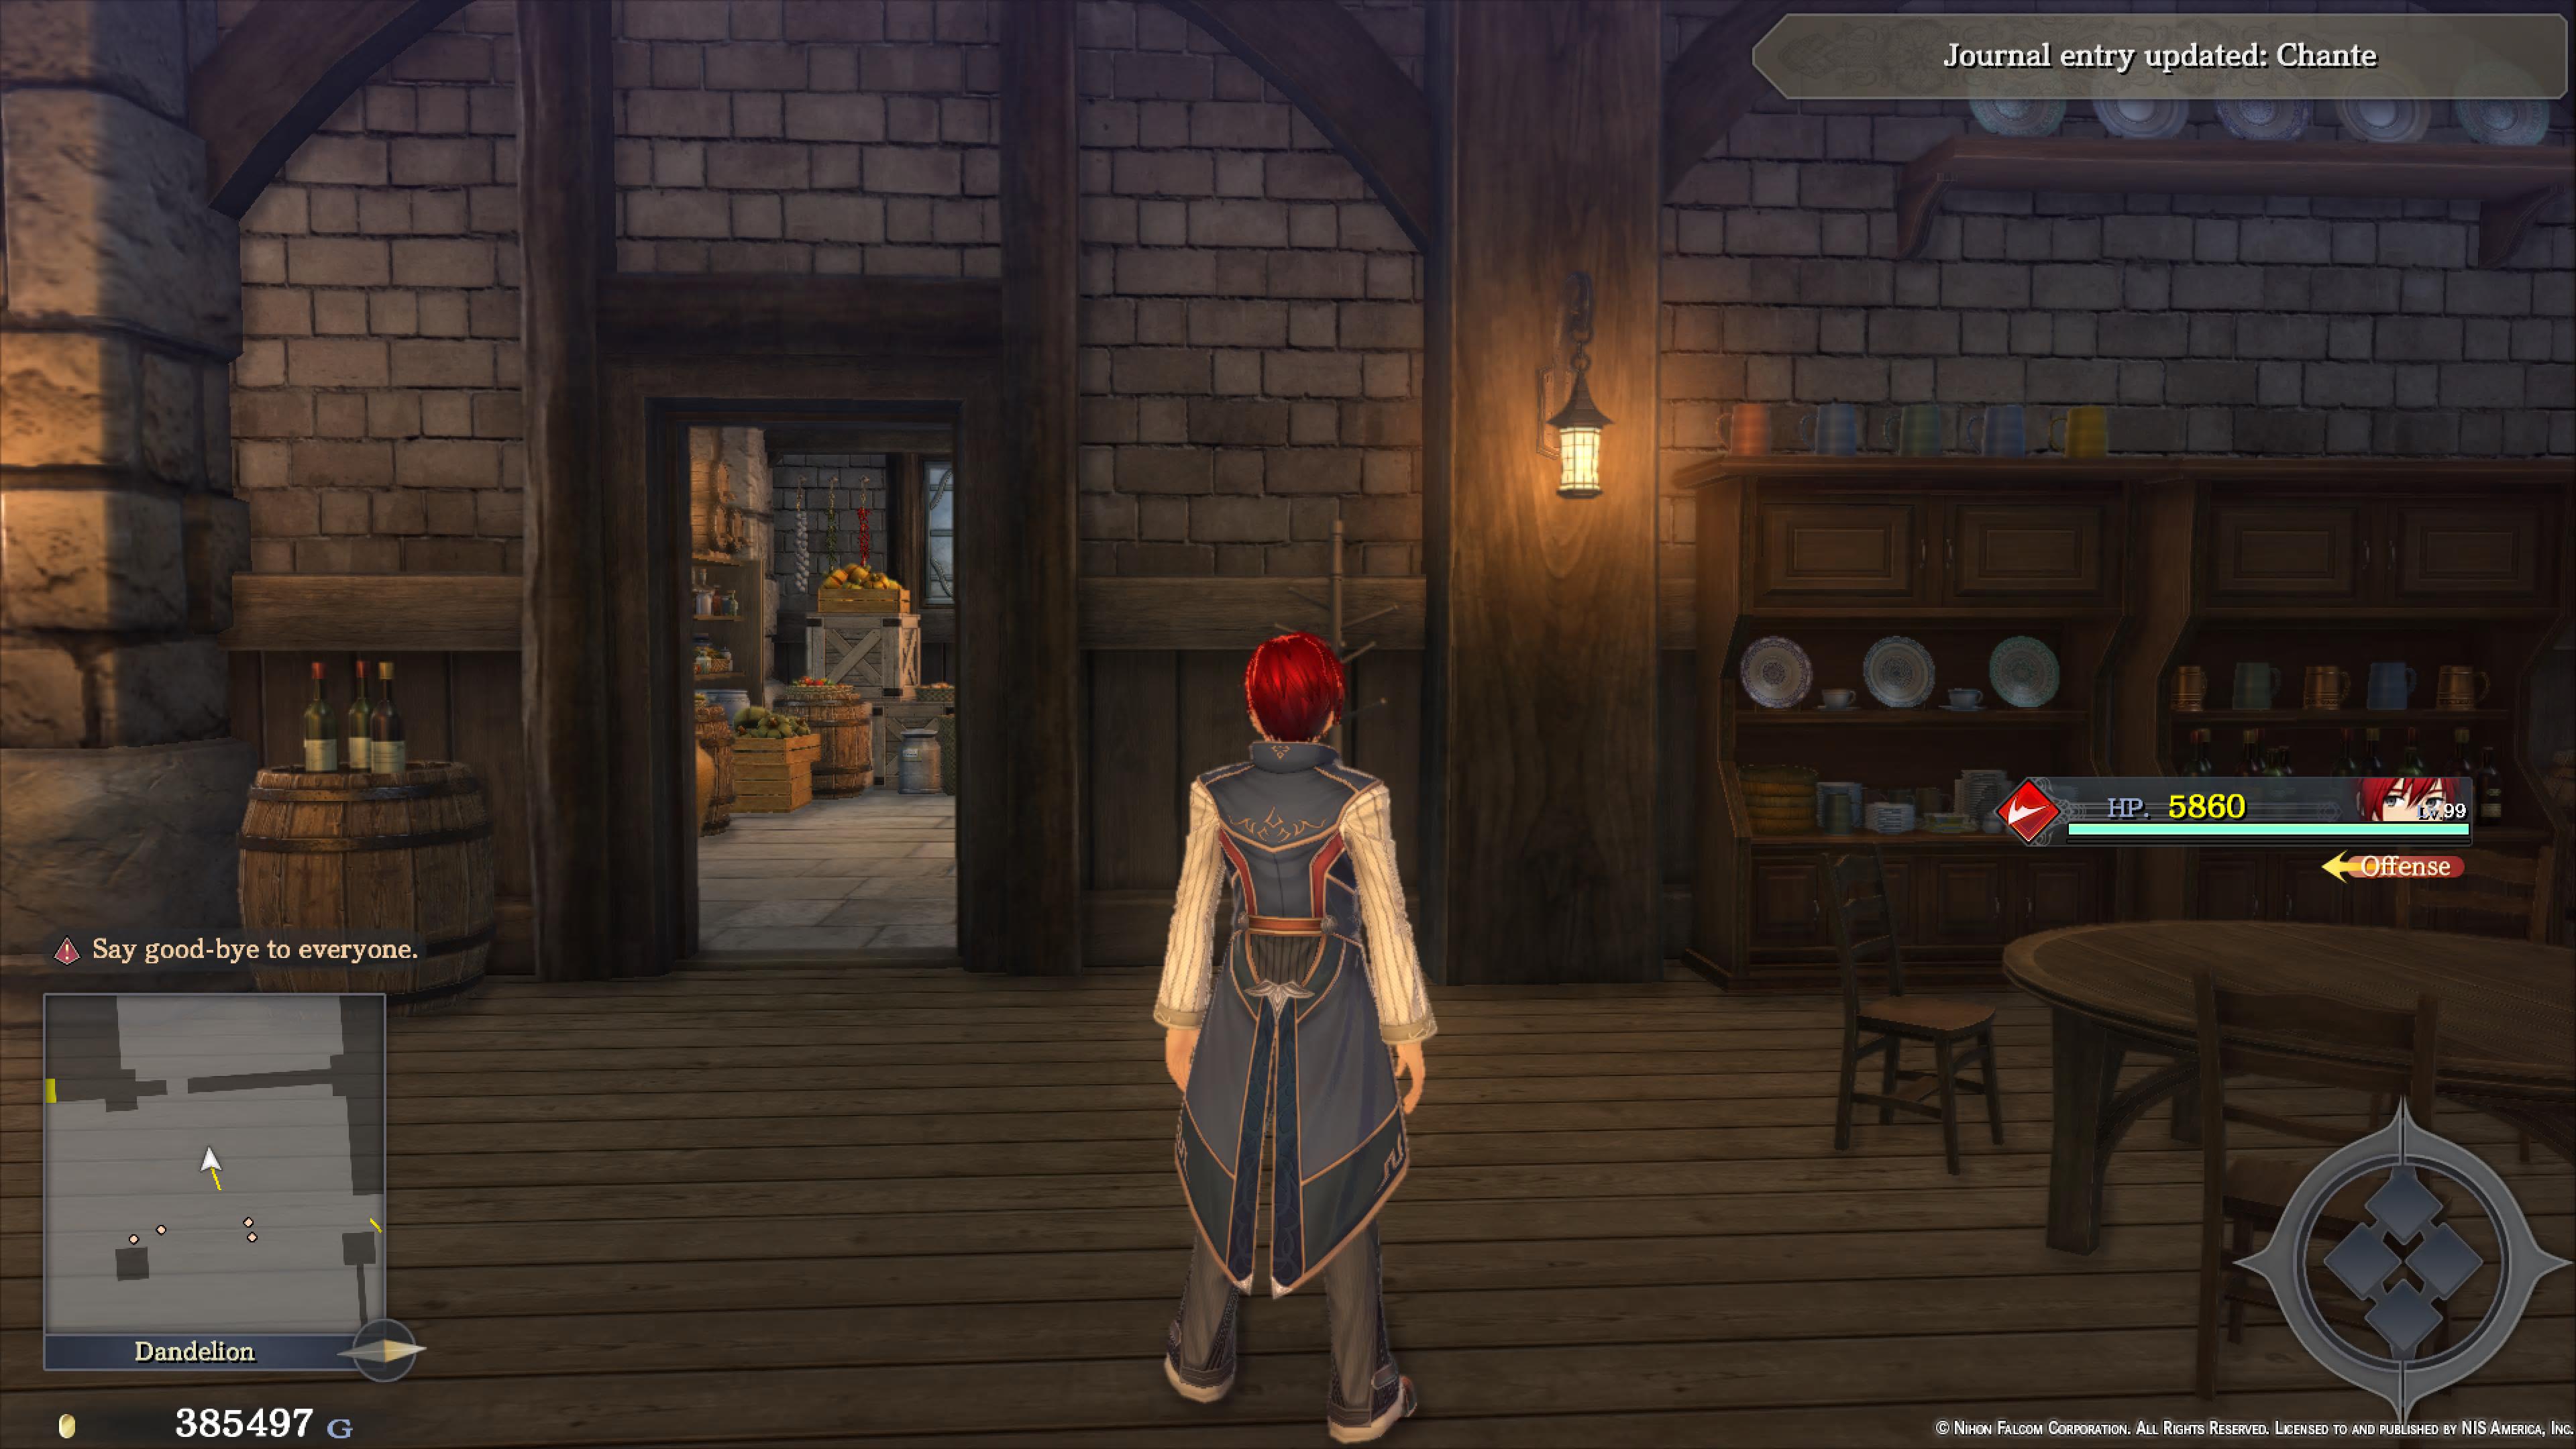
Whenever you receive a new journal entry, the top right corner of your screen will say “Journal entry updated: [Character Name]” as seen in the screenshot below.
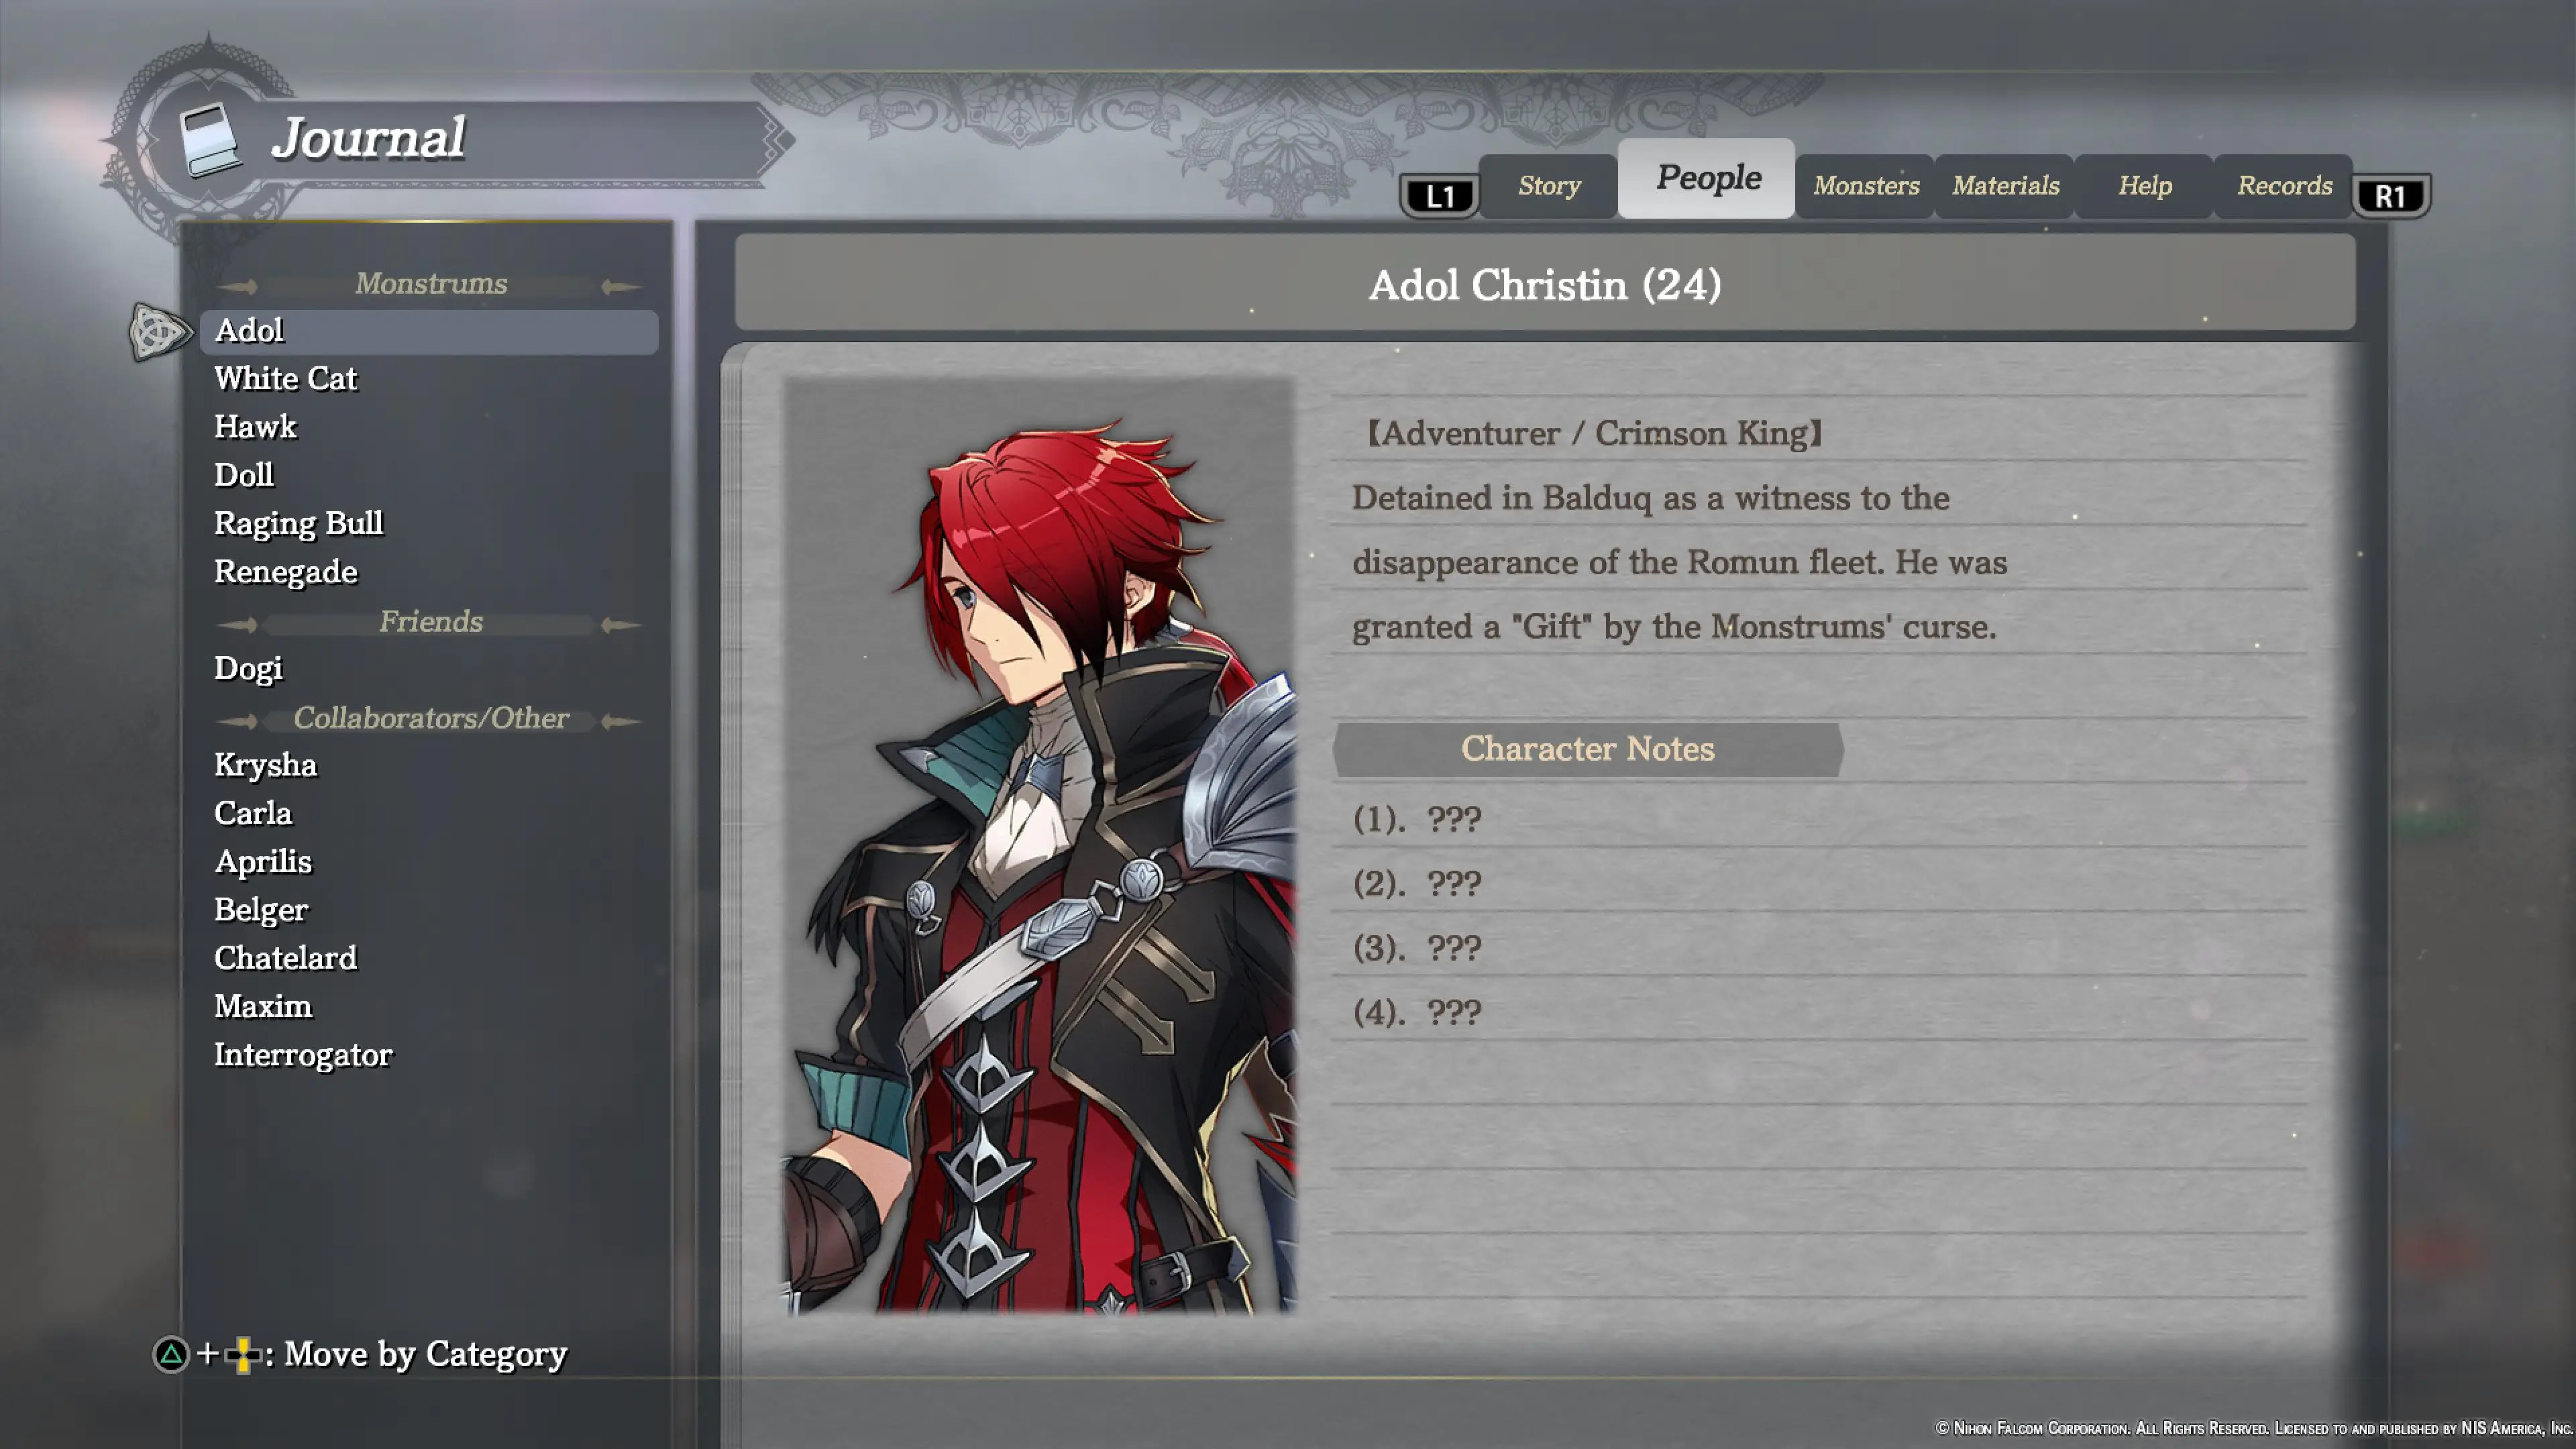
Additionally, when we say “[Character Name] (0)” in the guide below, that means you received that character’s journal page, not the first entry.
The first entry will be listed as (1). The image below is from the very beginning of Ys IX: Monstrum Nox in Chapter 1 after the prologue. Note how we have Adol’s journal page, but his Character Notes are “???”. This is Adol (0).
Lastly, spaces between bulleted lists below mean that some time/progress has passed in the game between each set of entries. These entries and notes appear within relatively close time periods of each other.
All Journal Entries and Character Notes List
Chapter 1: The Monstrums of Balduq
- Adol (0): Automatic after leaving the warehouse
- Dogi (0): Automatic after leaving the warehouse
- Aprilis (0): Automatic after leaving the warehouse
- Belger (0): Automatic after leaving the warehouse
- Chatelard (0): Automatic after leaving the warehouse
- Interrogator (0): Automatic after leaving warehouse
Chapter 2: The White Cat’s Melancholy
- White Cat (0): Automatic after completing first Grimwald Nox
- Hawk (0): Automatic after completing first Grimwald Nox
- Doll (0): Automatic after completing first Grimwald Nox
- Raging Bull (0): Automatic after completing first Grimwald Nox
- Renegade (0): Automatic after completing first Grimwald Nox
- Maxim (0): Talk to him in Central District
- Krysha (0): Automatic story event in Pendleton
- Carla (0): Automatic story event in Pendleton
- Adol (Grimwald Support Skill): Automatic after completing Grimwald Nox before Tranquil Underpass
- Aprilis (Grimwald Support Skill): Automatic after completing Grimwald Nox before Tranquil Underpass
- Krysha (0): Automatic story event; Krysha and White Cat’s journal entries should merge, causing White Cat (0) to turn into Krysha (0)
Chapter 3: The Feral Hawk’s Fury
- Krysha (1): Automatic at the start of the chapter
- Carla (1): Automatic at the start of the chapter
- Parks (0): Automatic at the start of the chapter
- Chante (0): Automatic at the start of the chapter
- Yufa (0): Automatic at the start of the chapter
- Saradhi (0): Complete the “Illness Inquiry” quest
- Tito (0): Complete the “Missing Family Report” quest
- Chatelard (1): Automatic story event in Trading Bureau
- Belger (1): Automatic story event after meeting Hawk and arriving at Hieroglyph Commandery
- Hawk (Grimwald Support Skill): After he joins your party in Dry Moat Ruins
- Silhouette (0): Complete the “Maid in Amiss” quest
- Credo (0): Automatic story event; Hawk (0) becomes Credo (0)
Chapter 4: The Doll’s Search
- Credo (1): Automatic at the start of the chapter
- Silhouette (1): Talk to her in the bar area (required)
- Yufa (1): Automatic story event after lifting the barrier to the Artisan Lane District
- Ingrid (0): Automatic story event after talking to the Interrogator in the Artisan Lane District. Interrogator (0) becomes Ingrid (0)
- Tito (1): Give him the Razor Sharp Knife present from Rijndael Antiques Store
- Maxim (1): During the “Prison Rescue” quest, after completing Adol’s prison breakout section
- Iris (0): Complete the “Prison Rescue” quest
- Adol (1): Automatic story event after beating the first Full Moon Grimwald Nox at the West Gate
- Anemona (0): Automatic story event after Doll joins your party. Doll (0) turns into Anemona (0)
Chapter 5: The Raging Bull’s Treasure
- Yufa (2): Automatic at the start of the chapter
- Krysha (2): Speak to her and Arche at the Dandelion
- Make sure to do this one now. Later, during this chapter, Krysha and Arche will move to separate rooms, potentially making this entry even more missable.
- Parks (1): Give him the Trick Deck present from Maxim’s Black Market
- Silhouette (2): Give her the Coffee Beans present from Jessica’s Brewery
- Yufa (2): Automatic story event after Raging Bull joins your party, Raging Bull (2) turns into Yufa (2)
- Saradhi (Grimwald Support Skill): Complete the “All that Glitters” quest
- Lucian (0): Complete the “Prison Liberation” quest
Chapter 6: The Renegade’s Secret
- Anemona (1): Talk to her and Arche in the Dandelion
- Tito (2): Talk to him and Mr. Berling in the Dandelion
- Credo (2): Give him the Stylish Glasses present
- Dogi (1): Complete the “Calling All Strongmen!” quest
- Margot (0): Complete the “Tobacco to Go” quest
- Ingrid (1): Automatic story event in the Cultural Heritage site after lifting the barrier to Noble District
- Jules (0): Automatic story event after lifting the barrier to Milianne Plains; Renegade joins your party and Renegade (0) turns into Jules (0)
Chapter 7: Capriccio of the Prison
- Jules (1): Automatic at the start of the chapter
- Carla (2): Talk to her in the Dandelion (next to Krysha, at the table)
- Dogi (2): Give him the Esterian Apple present
- Margot (1): Give her the Vintage Wine present
- Lucien (1): Give him the Potent Ointment present
- Anemona (2): Give her the Miniature Teacup present
- Jules (2): Give him “The Five Dragons” present
- Chante (1): Give him the Rainbow Earrings present
- Iris (1): Complete the “Iris of the Storm” quest
- Silhouette (3): Complete the “Tree Stumped” quest, and then go back to Dandelion and talk to Silhouette to view her Max Affinity event
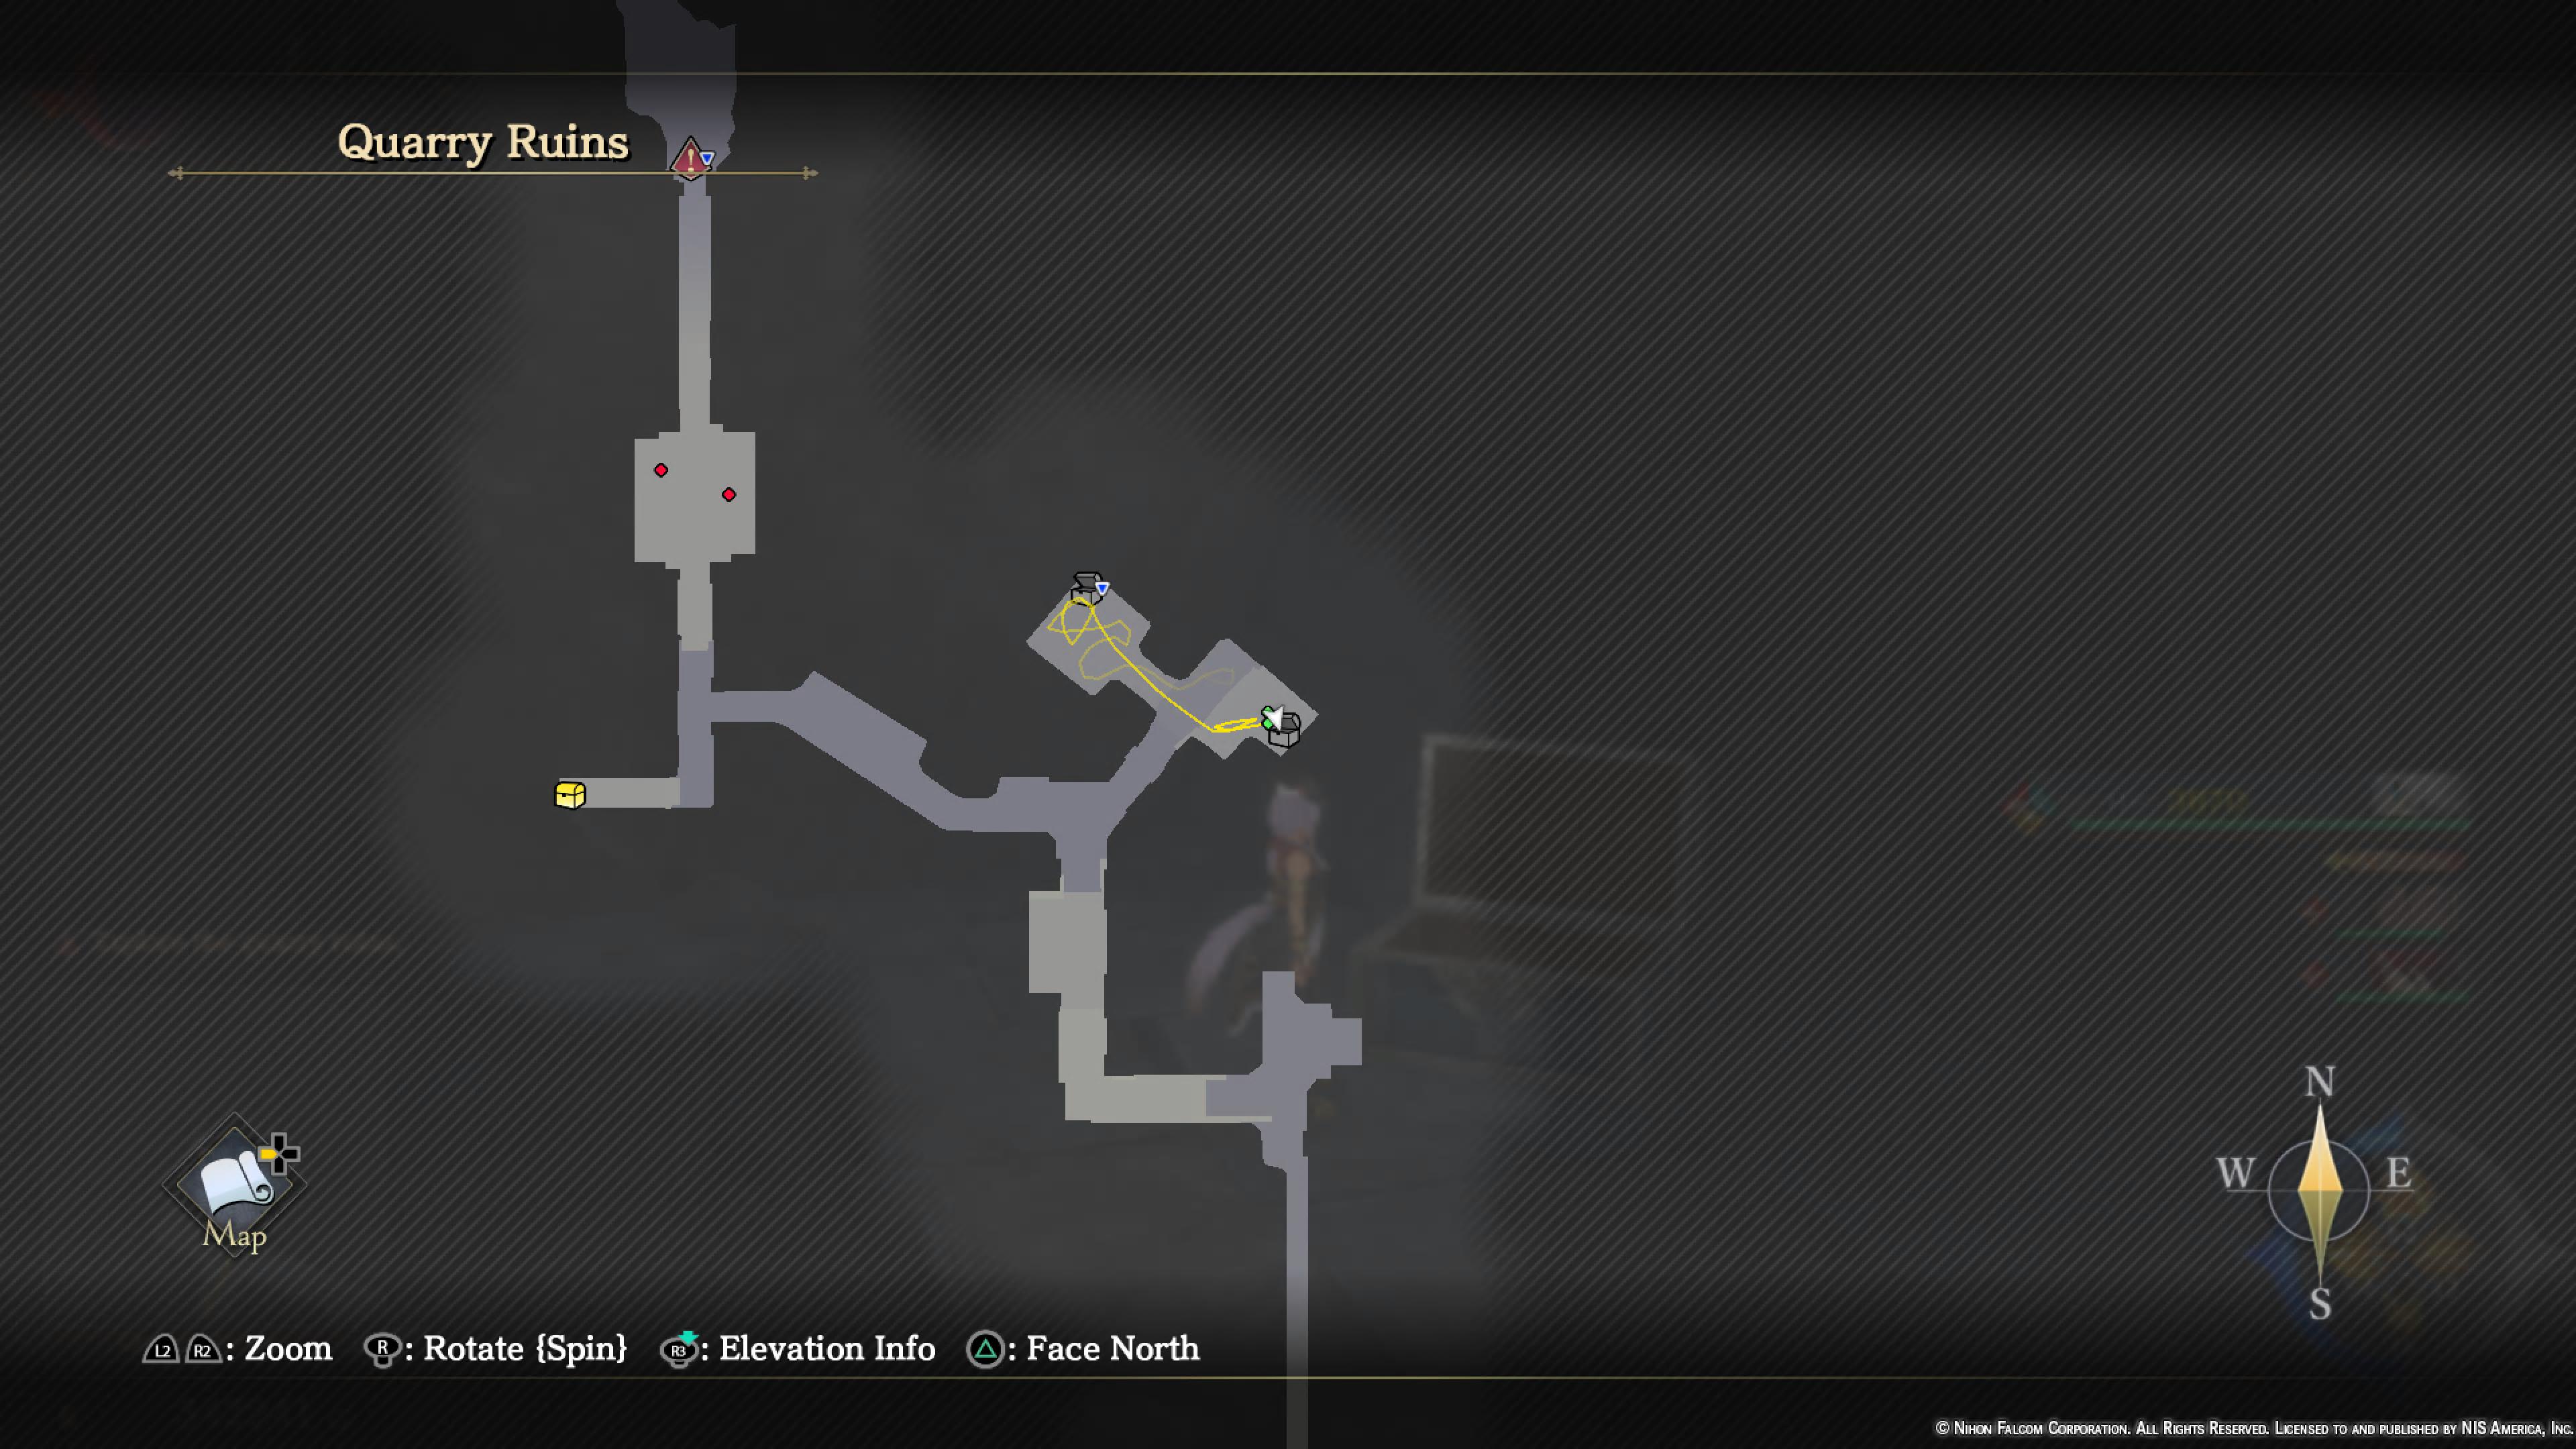
- Saradhi (1): Give her the Mandragora Root present (found in a Quarry Ruins treasure chest, see image below for location)
Chapter 8: Thus Spoke the Alchemist
- Adol (2): Automatic at the start of the chapter
- Aprilis (1): Automatic at the start of the chapter
- Chatelard (2): Automatic at the start of the chapter
- Chante (2): Talk to him behind the bar and view his Max Affinity event
- Anemona (3): Automatic story event; speak to her at the Cemetery
- Krysha (3): Automatic story event in Pendleton
- Ingrid (2): Automatic story event; head to Entertainment District and run into her
- Chatelard (3): Automatic story event after going back to Dandelion following the previous three story events
- Dogi (3): After going back to Dandelion following the previous three story events, talk to Dogi to view his Max Affinity event
- Iris (2): Give her the “Portrait of a Girl” present, and then view her Max Affinity event right after
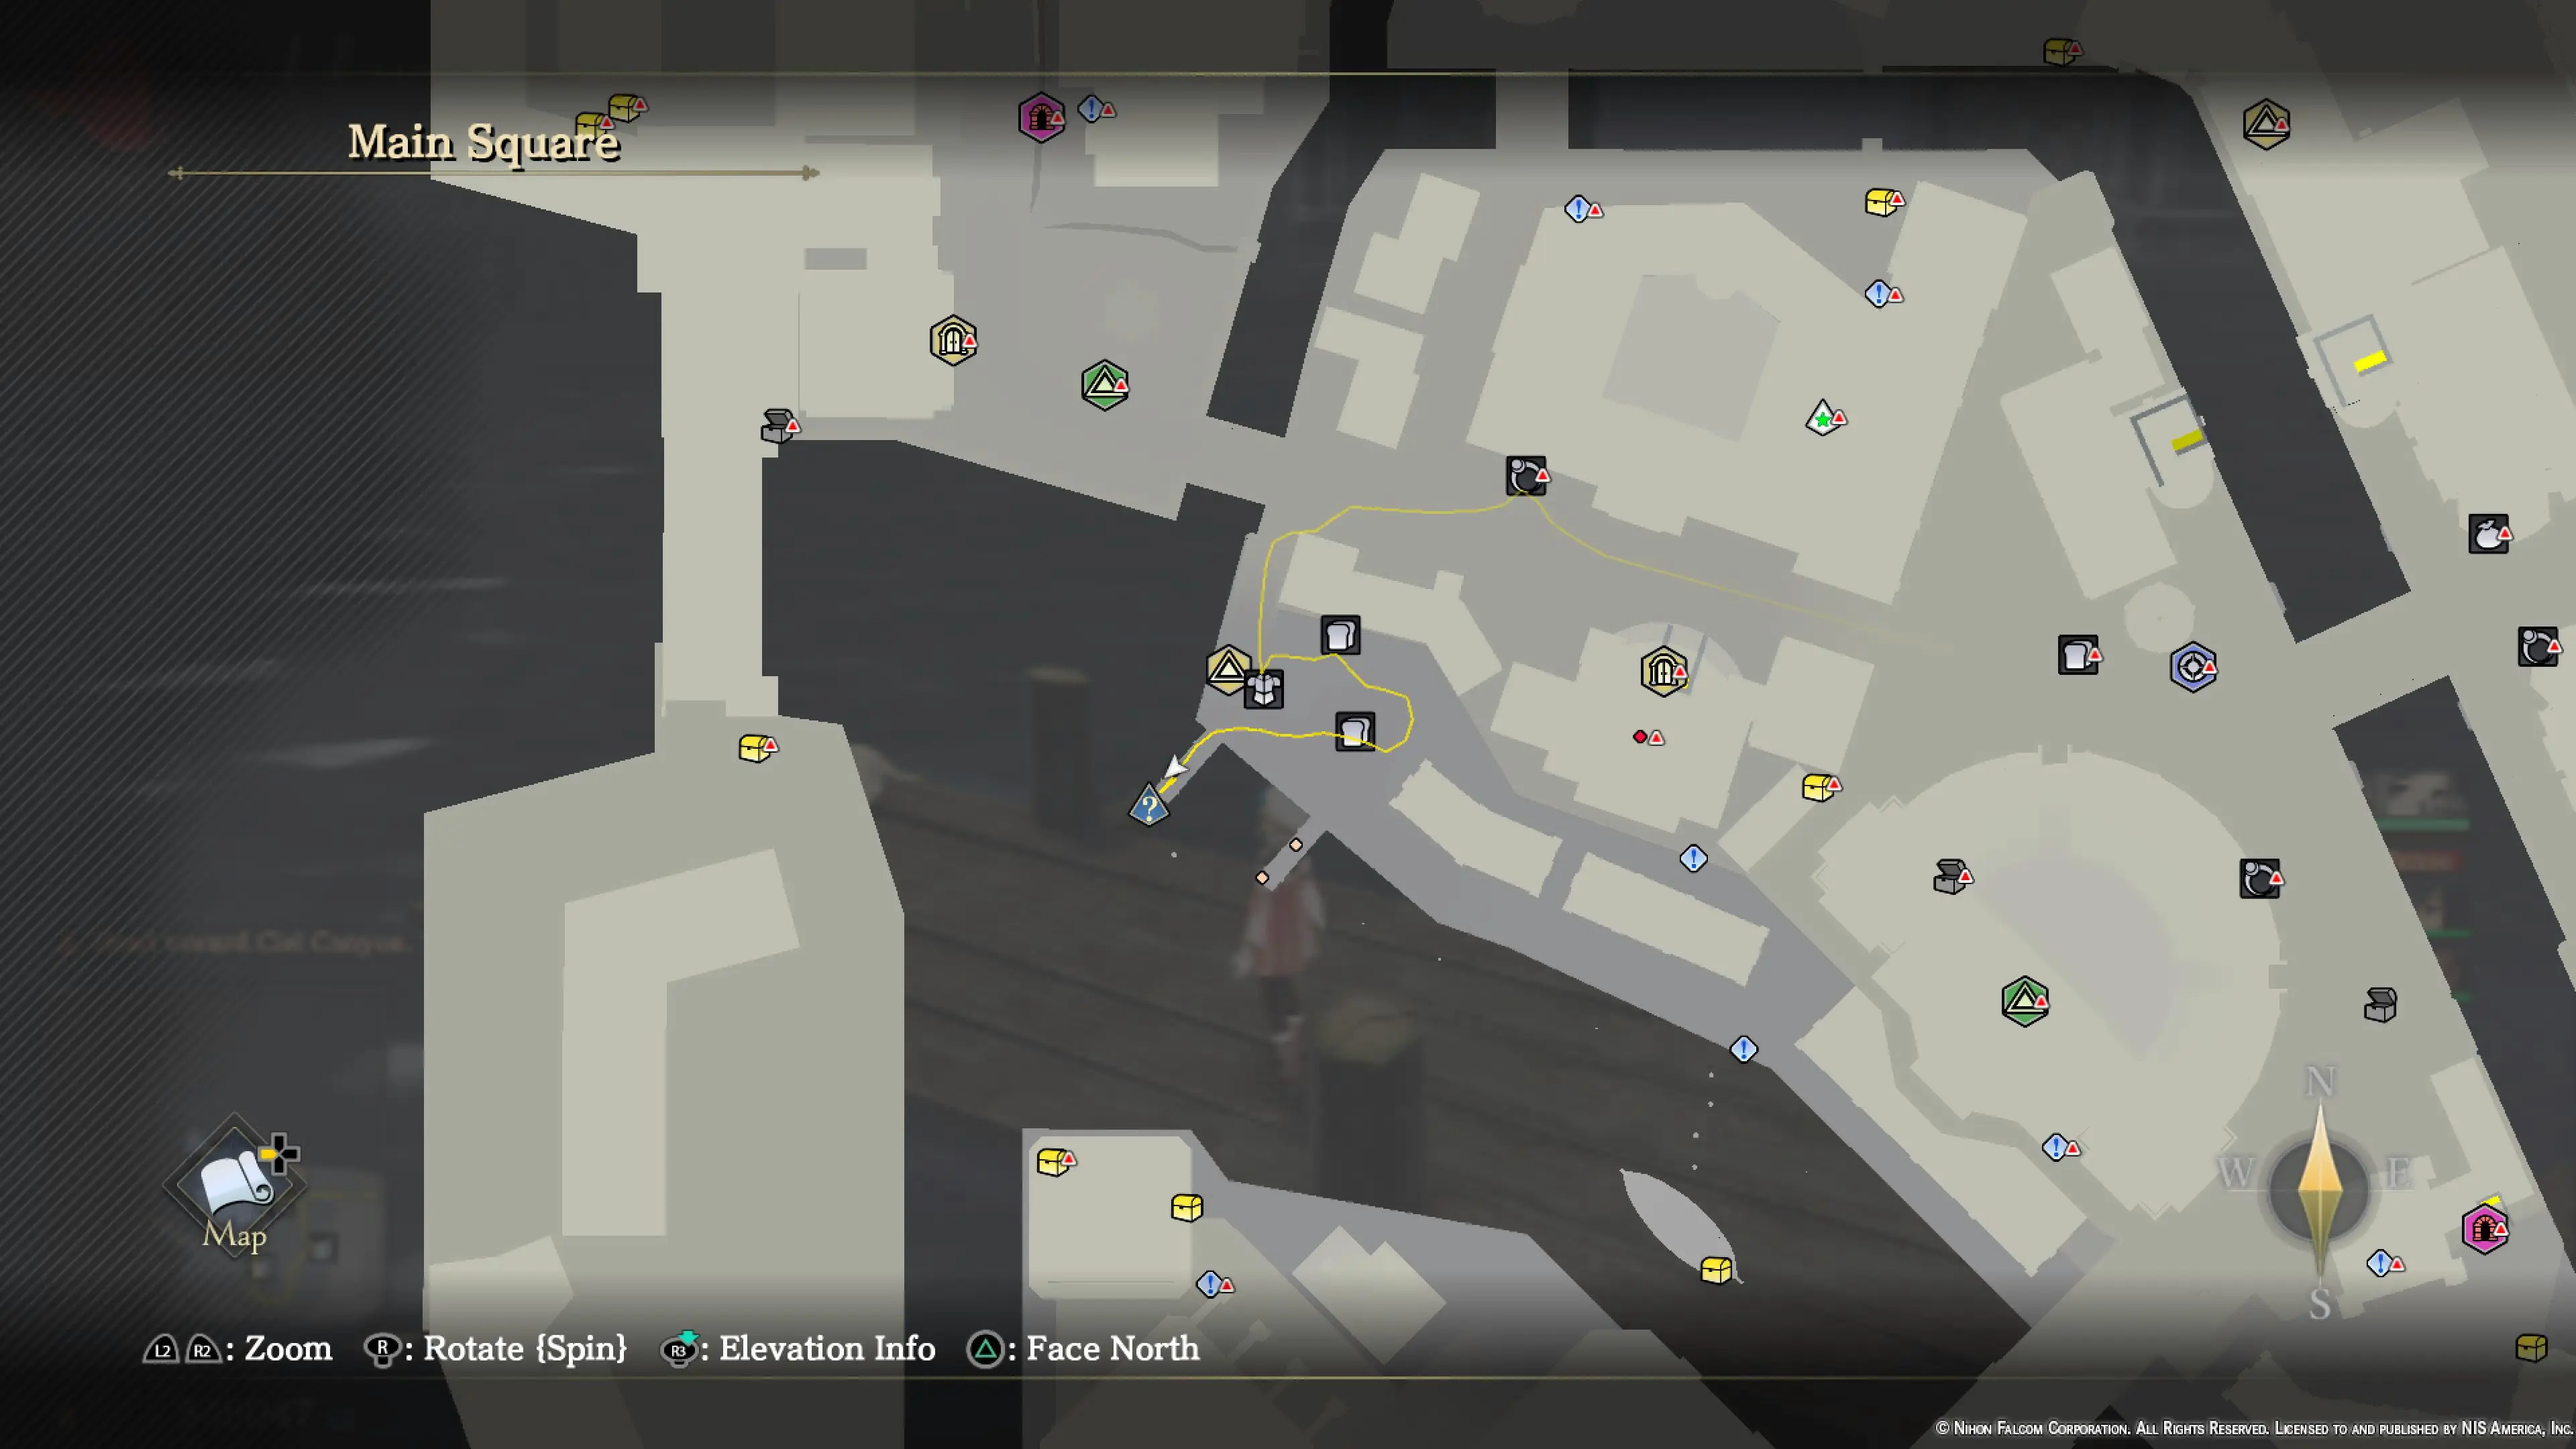
- Morbihan (0): At the Main Square Marketplace, go to the dock nearby (as seen below), and use Third Eye to see Morbihan in the water to talk to him. See screenshot below for location reference (blue question mark)
- Make sure to feed Morbihan the eight unique preserved foods in order to guarantee that his Max Affinity event pops up in the final chapter. I have not tested what happens if you don’t, but do this just to be safe
- Saradhi (2): Complete the “A Fool and her Treasure…” quest
- Margot (2): Complete the “Peril of the Bells” quest
- Maxim (2): Complete the “Prison Infiltration” quest
- Belger (2): Automatic story event inside Hidden Research Wing
- Carla (3): Automatic story event inside Hidden Research Wing
- Xavier (0): Automatic story event inside Hidden Research Wing
- Aprilis (2): Automatic story event inside Hidden Research Wing after the Boss
- Chatelard (4): Automatic story event inside Hidden Research Wing after the Boss
- Zola (0): Automatic story event inside Hidden Research Wing after the Boss
Final Chapter: Monstrum Nox
- Marius (0): Automatic at the start of the chapter
- Adol (3): Automatic at the start of the chapter
- Xavier (Grimwald Support Skill): Automatic; talk to him (required)
- Saradhi (3): View her Max Affinity event at the Dandelion
- Krysha (4): View her Max Affinity event at the Dandelion
- Morbihan (1): View Max Affinity event at the Dandelion (he does not have a present to give, though you must feed him preserved foods)
- Maxim (3): Give him the Prime Smoked Meat present, and then view his Max Affinity Event at the Dandelion
- Jules (3): Complete the “His Father’s Son” quest, and then view his Max Affinity Event at the Dandelion
- Marius (1): Complete the “Final Dispossession” quest
- Parks (2): Complete the “Final Dispossession” quest (be sure to view his Max Affinity event back at the Dandelion after this)
- Credo (3): Complete the “Belger’s Request” quest
- Credo (4): After completing the “Belger’s Request,” view his Max Affinity event at the Dandelion
- Anemona (4): View her Max Affinity event at the Dandelion
- Margot (3): View her Max Affinity event at the Dandelion
- Yufa (3): View her Max Affinity event at the Dandelion
- Aprilis (3): Complete the “Wanted: Bualadh-Orgh” quest and view her Max Affinity event in the Dandelion
- When you defeat the monster in the aforementioned quest and return to the Dandelion to report to her, her Max Affinity event will be viewed before you get a chance to speak to her again to report in the quest
- Xavier (1): Complete the “Life by the Sword” quest (must dispel Grimwald Eos to lift the barrier to Ancient Battlefield)
- Lucien (2): Complete the “The Errant Knights” quest
- Lucien (3): View his Max Affinity event at Hieroglyph Commandery (you will spawn right in front of this location after you finish “The Errant Knights”)
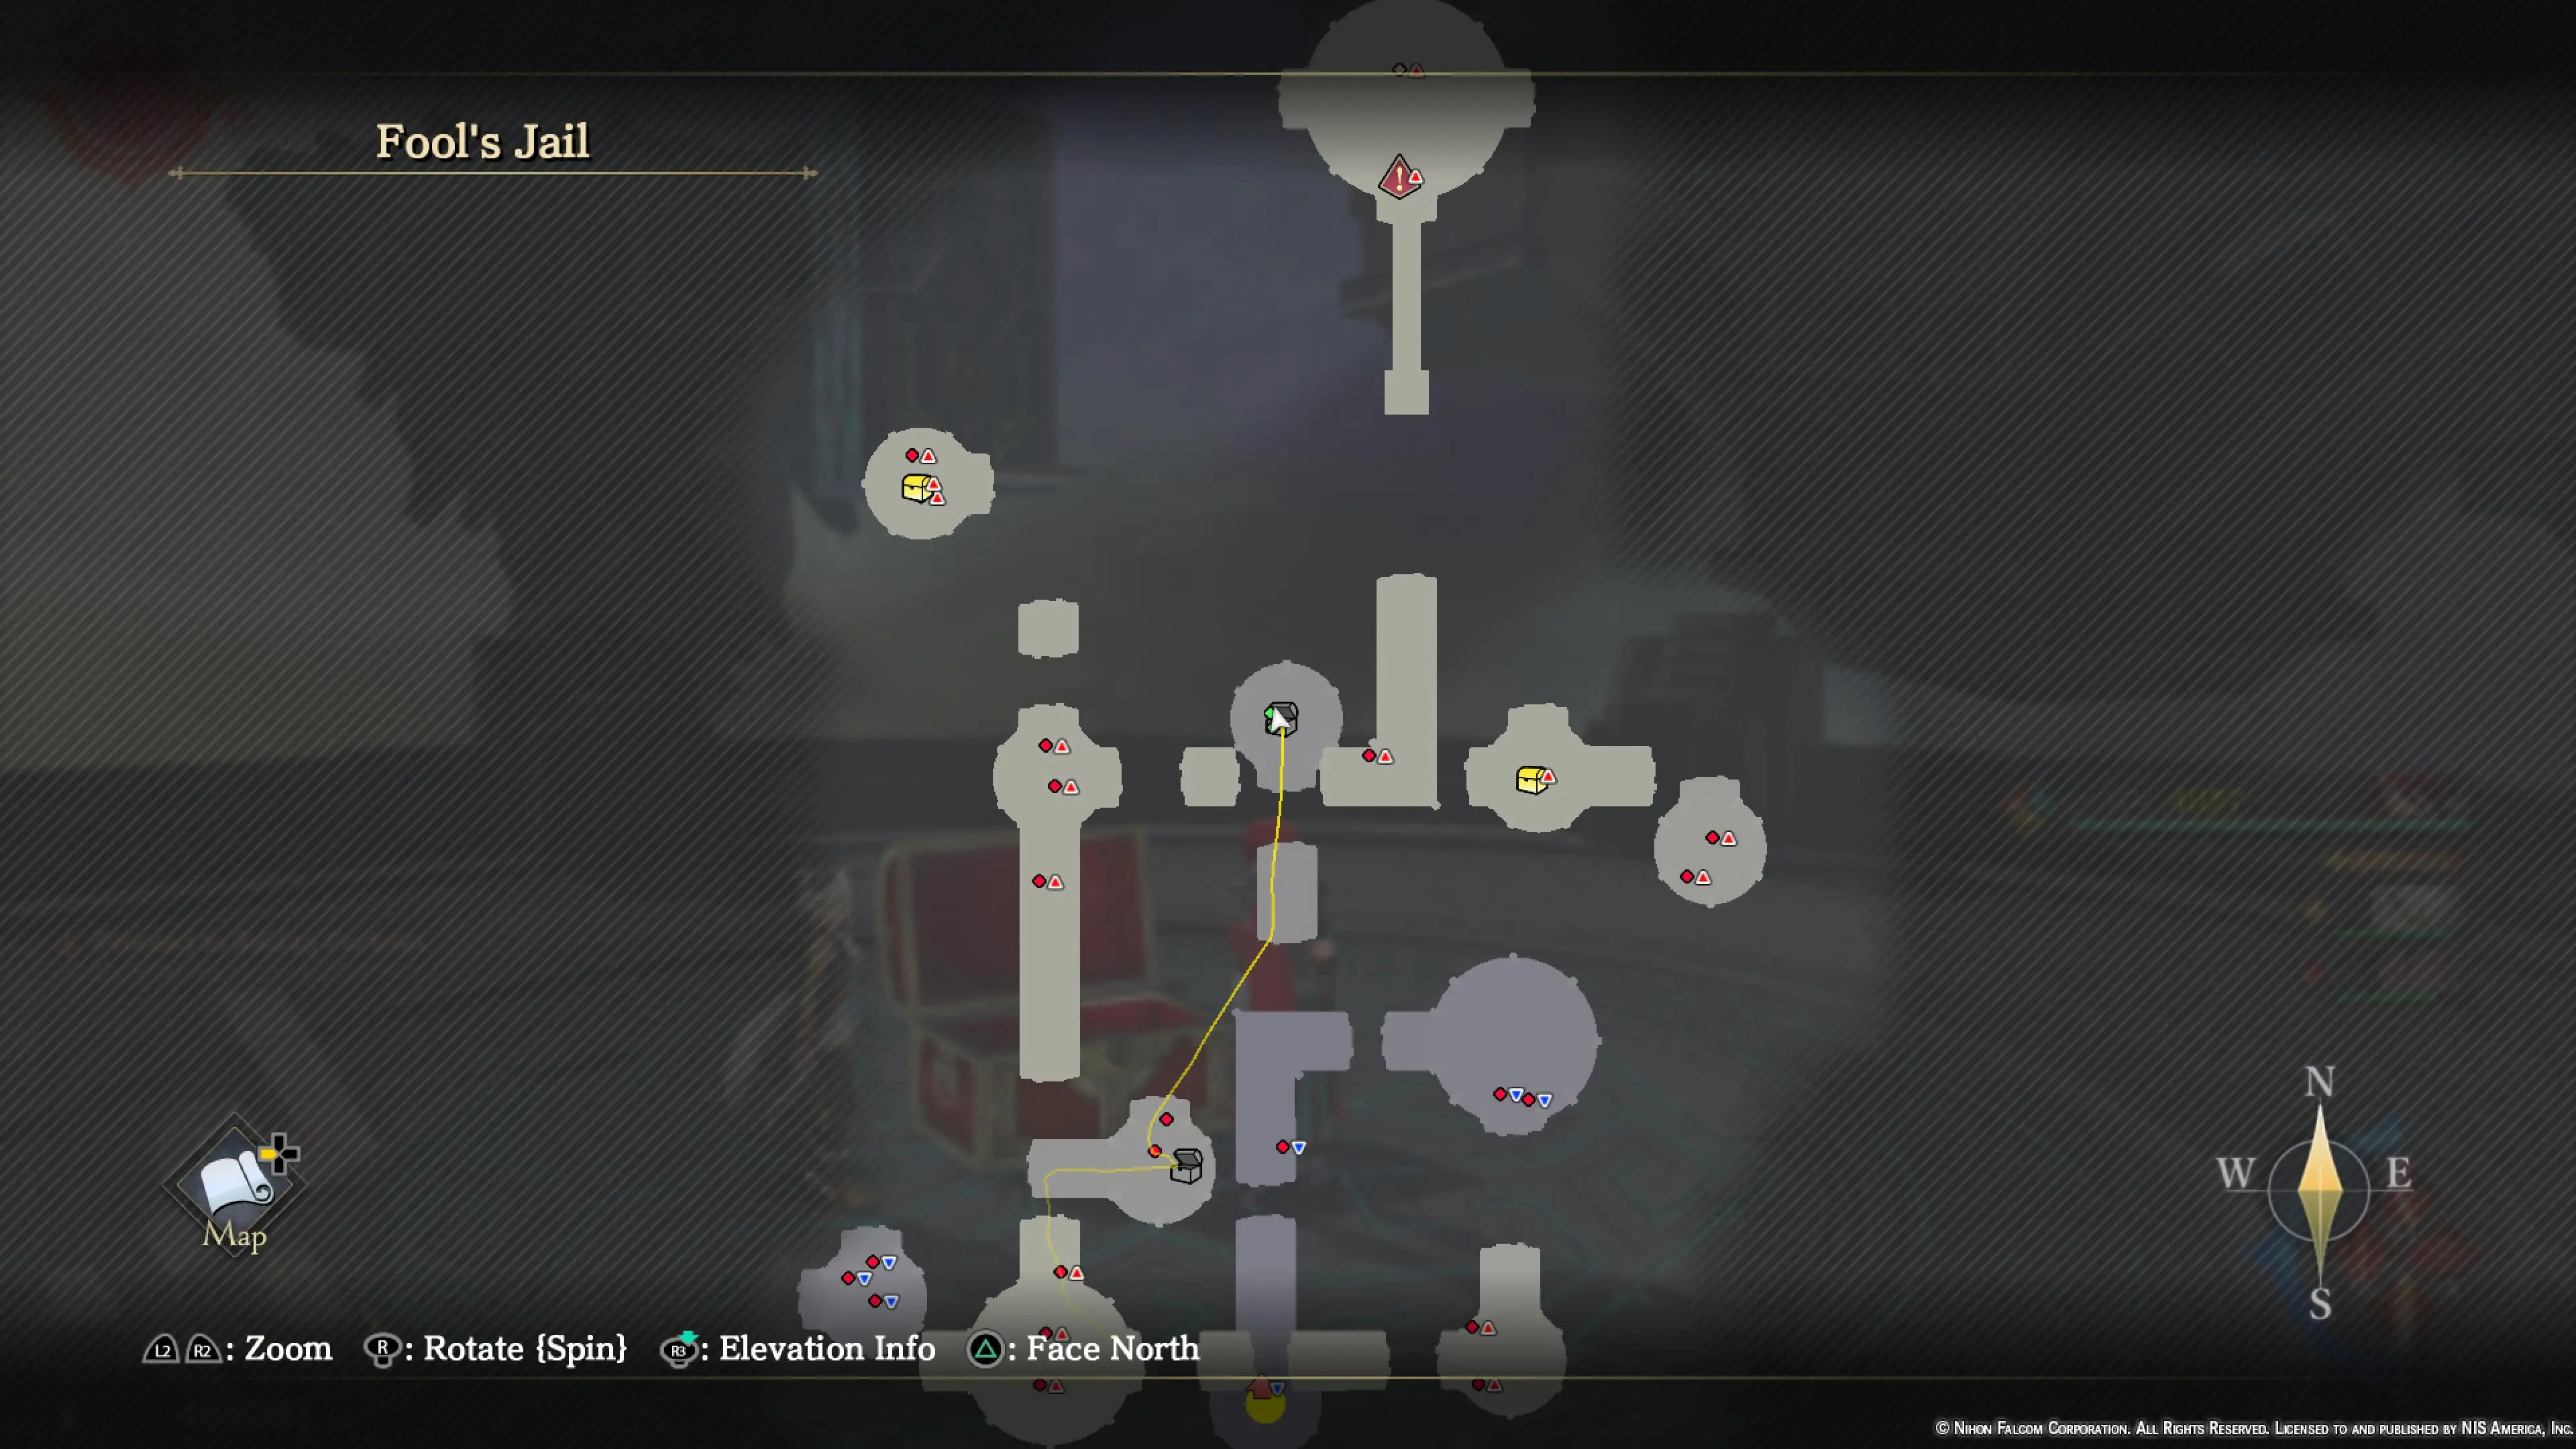
- Tito (3): You must get Mythical Blueprints from the final dungeon, Balduq of Yore, in a treasure chest, located in the Fool’s Jail area. Bring them to Tito and then have him craft an ultimate weapon for one of your party members. Doing so unlocks his Max Affinity event, so view it and get this journal entry. See the image below for location reference.
Epilogue
- Adol (4): Automatic at the start of the chapter
- Aprilis (4): Automatic at the start of the chapter
- Zola (2): Automatic at the start of the chapter
- Chante (3): Automatic story event
- Morbihan (2): Speak to him at the Dandelion
- Iris (3): Speak to her at the Dandelion
- Xavier (2): Speak to him outside of Pendleton
- Parks (3): Automatic story event after leaving Pendleton
- Ingrid (3): Automatic story event after leaving Pendleton
- Jules (4): Automatic story event
- Yufa (4): Automatic story event
- Belger (3): Automatic story event
And there you have it: every Ys IX: Monstrum Nox journal entry and character note. Now that you have all of the journal entries and character notes, the Debonair Socialite trophy or achievement is yours! For more tips and guides, consider heading over to our Ys IX hub.


Published: Jan 31, 2021 10:56 pm