
The time has finally come: no more running sad, run-down settlements that are just going to get destroyed by raiders!
In a long overdue move, the Sole Survivor now gets to build up his own shiny vault in Fallout 4 (complete with horrifyingly unethical experiments) thanks to the Vault-Tec Workshop DLC. Ready to get started putting your test subjects through a variety of humiliating and dangerous tests for the good of science?
After finding Vault 88 through the radio frequency and completing the initial Vault-Tec Calling and Better Living Underground quests, the training wheels are pulled off and its time to get started experimenting on those pliable wastelanders.
A Model Citizen Quest
Before you can build any crazy contraptions to start torturing Clem and the rest of the poor fools who enter your vault seeking salvation, you’ve first got to build the Overseer Desk.
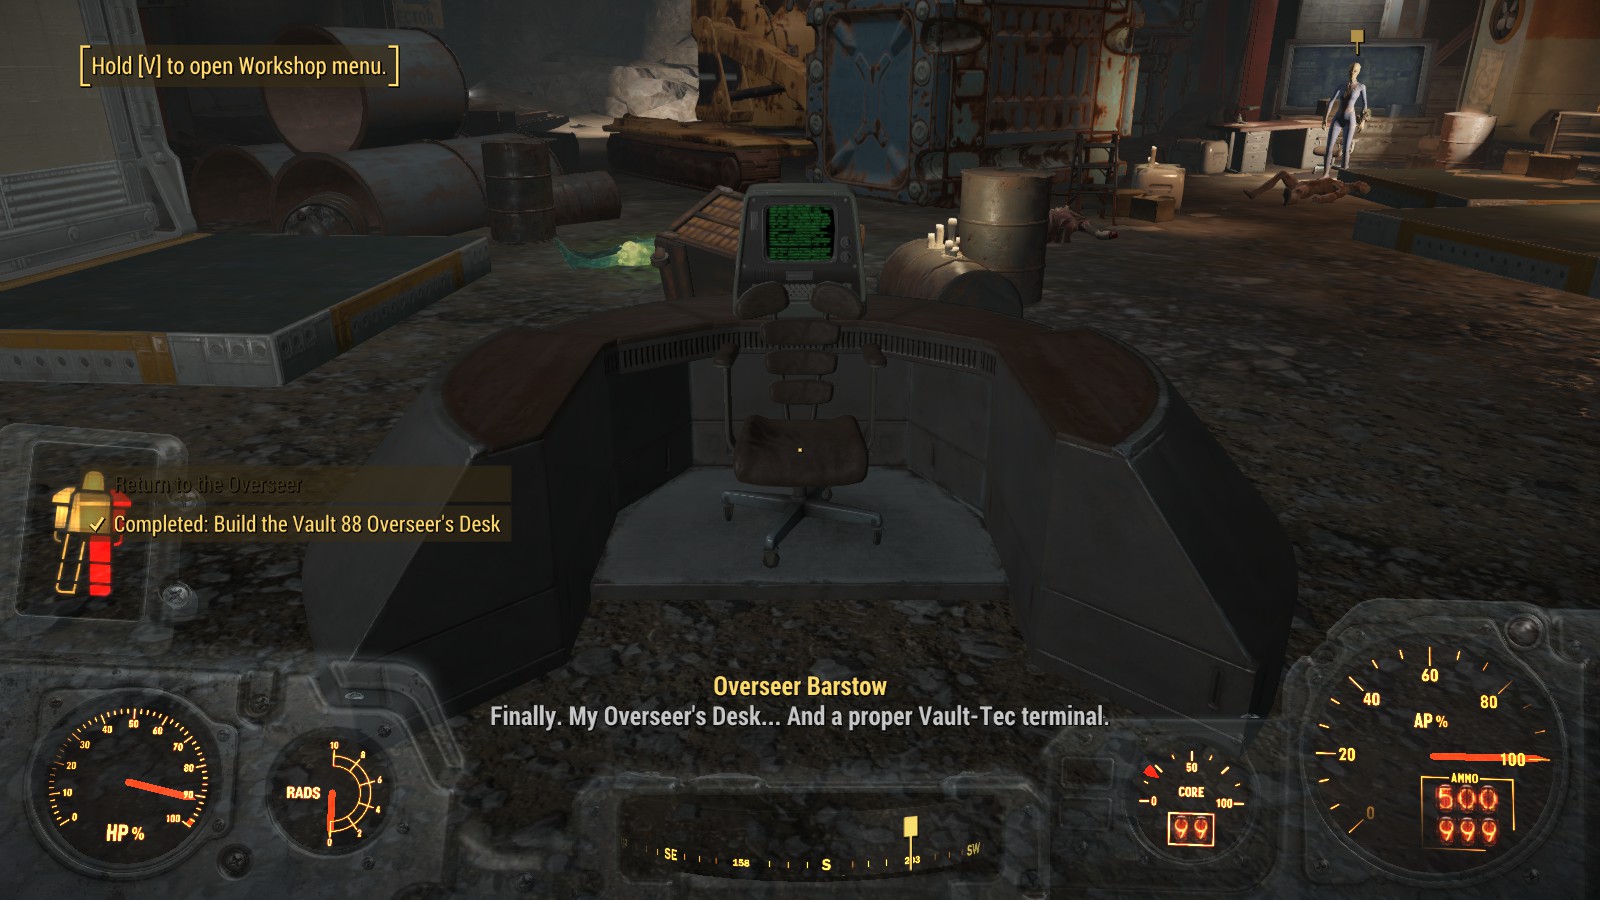 The Overseer Desk
Pull up the Workshop and go to the “Special” section (the same area where the Robot Workbench from the Automatron DLC is located) to find the Overseer Desk. To build this set piece, you’ll need:
- 5 Wood
- 3 Steel
- 2 Rubber
- 2 Copper
- 2 Circuitry
- 4 Aluminum
You can put the Overseer Desk anywhere you want, but placing it in the central trainyard area makes sense, as you don’t have to go off searching for it while completing the later quests.
Now you’re all set to start bringing in the expendable guinea pigs for your nefarious experimentation. Head back out to the front of the vault and flip on the radio beacon (although Overseer Bartsow says the beacon is outside, its actually in the opening area before you exit the vault to go out through the cave).
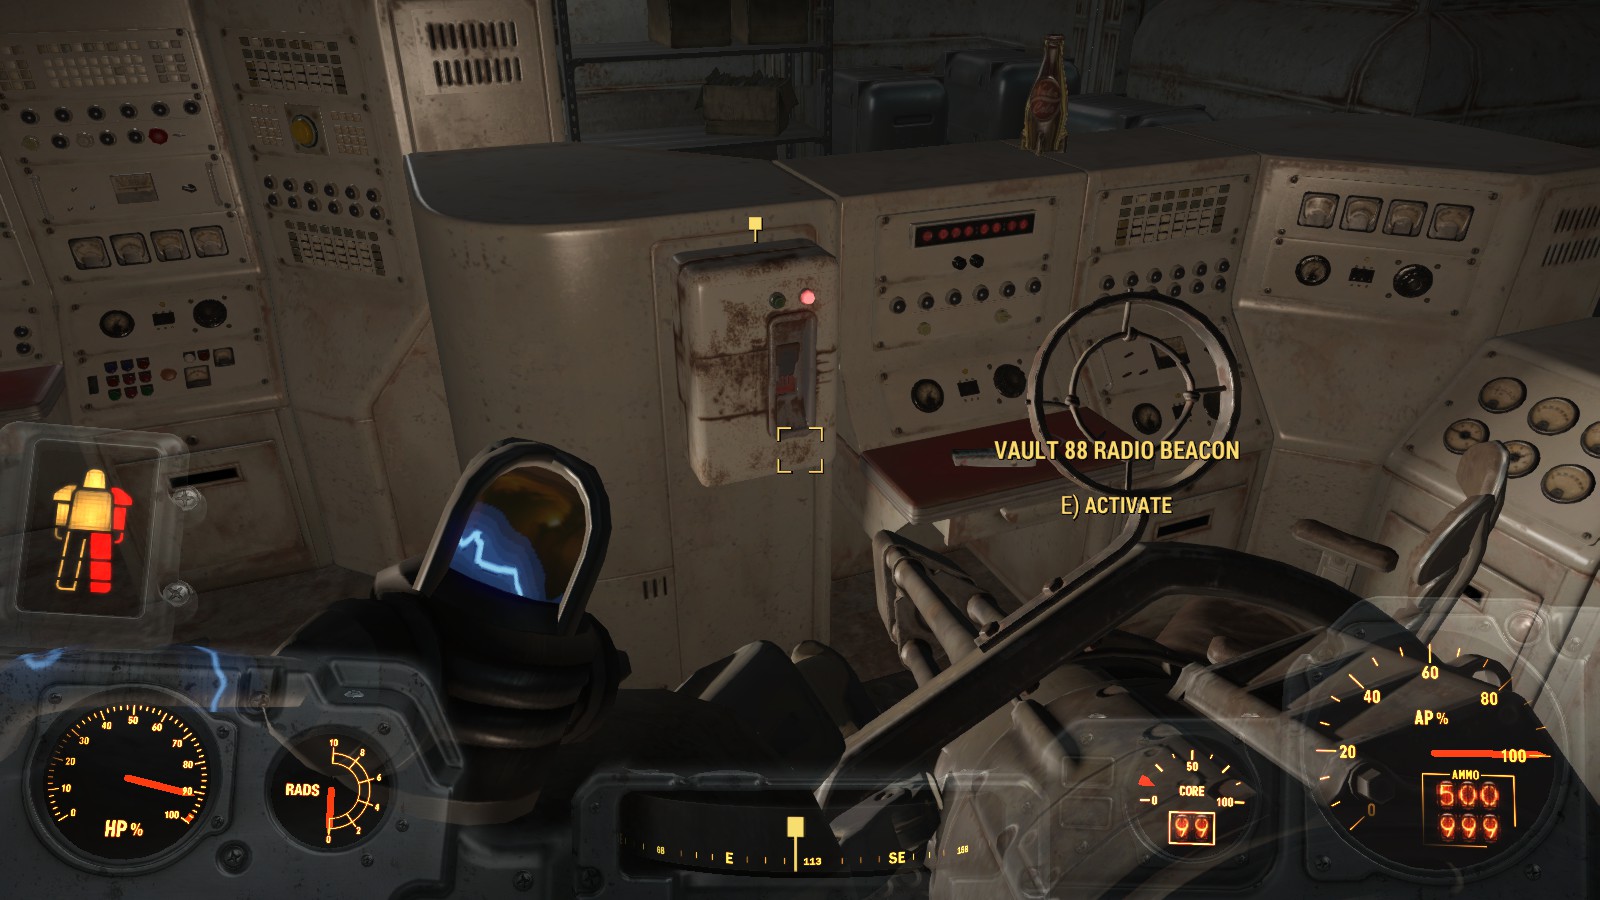 The Radio Beacon
Soon enough three volunteers will arrive thinking they are signing on for a cushy underground life, having no idea the hell you are about to put them through.
Before they actually show up, you do have to activate another Workshop bench first. Pull up the Workshop menu and scrap the debris blocking off the North Sector, then follow the blip on your map to plug a control board into the Workshop bench.
Once that’s out of the way, head back to the welcome area to meet the new recruits. You can essentially choose any dialog options here and the result will be the same, but to get the interviews over the fastest, just invite them all and agree with Barstow’s assessments.
Power To The People Quest
After the interviews, head to the blue chest marked “88” off to the left and grab an outfit and a pip-boy.
Talk to Clem, which will automatically bring up his inventory. Transfer over the Vault 88 suit (located in the “Apparel” section) and the pip-boy (located in the “Miscellaneous” section).
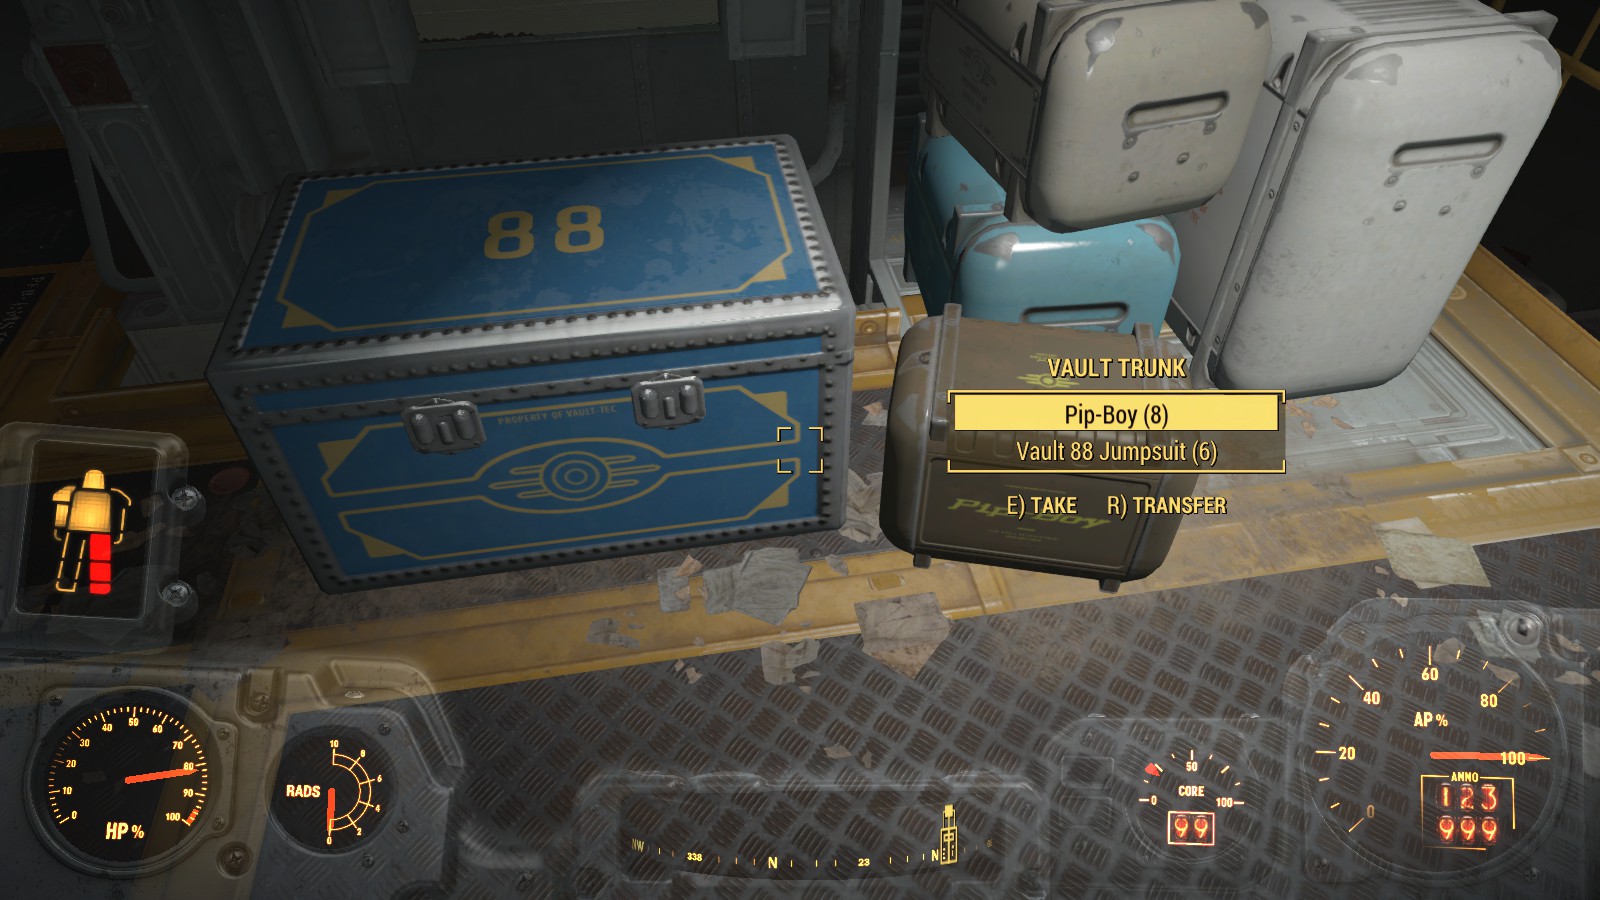 Vault 88 Chest
For some reason the pip-boy is automatically equipped, but you have to actually manually choose to equip the suit on Clem, which the menu screen doesn’t explain. Once the suit is in Clem’s inventory, highlight it and select “Equip” (the “T” key on PC).
Getting Clem in his new duds unlocks the Vault Dweller achievement as your first test subject is officially ready to be abused. But how to test his physical limits first? How about an arduous bicycle test that also creates some excess power to use for your snazzy marquees?
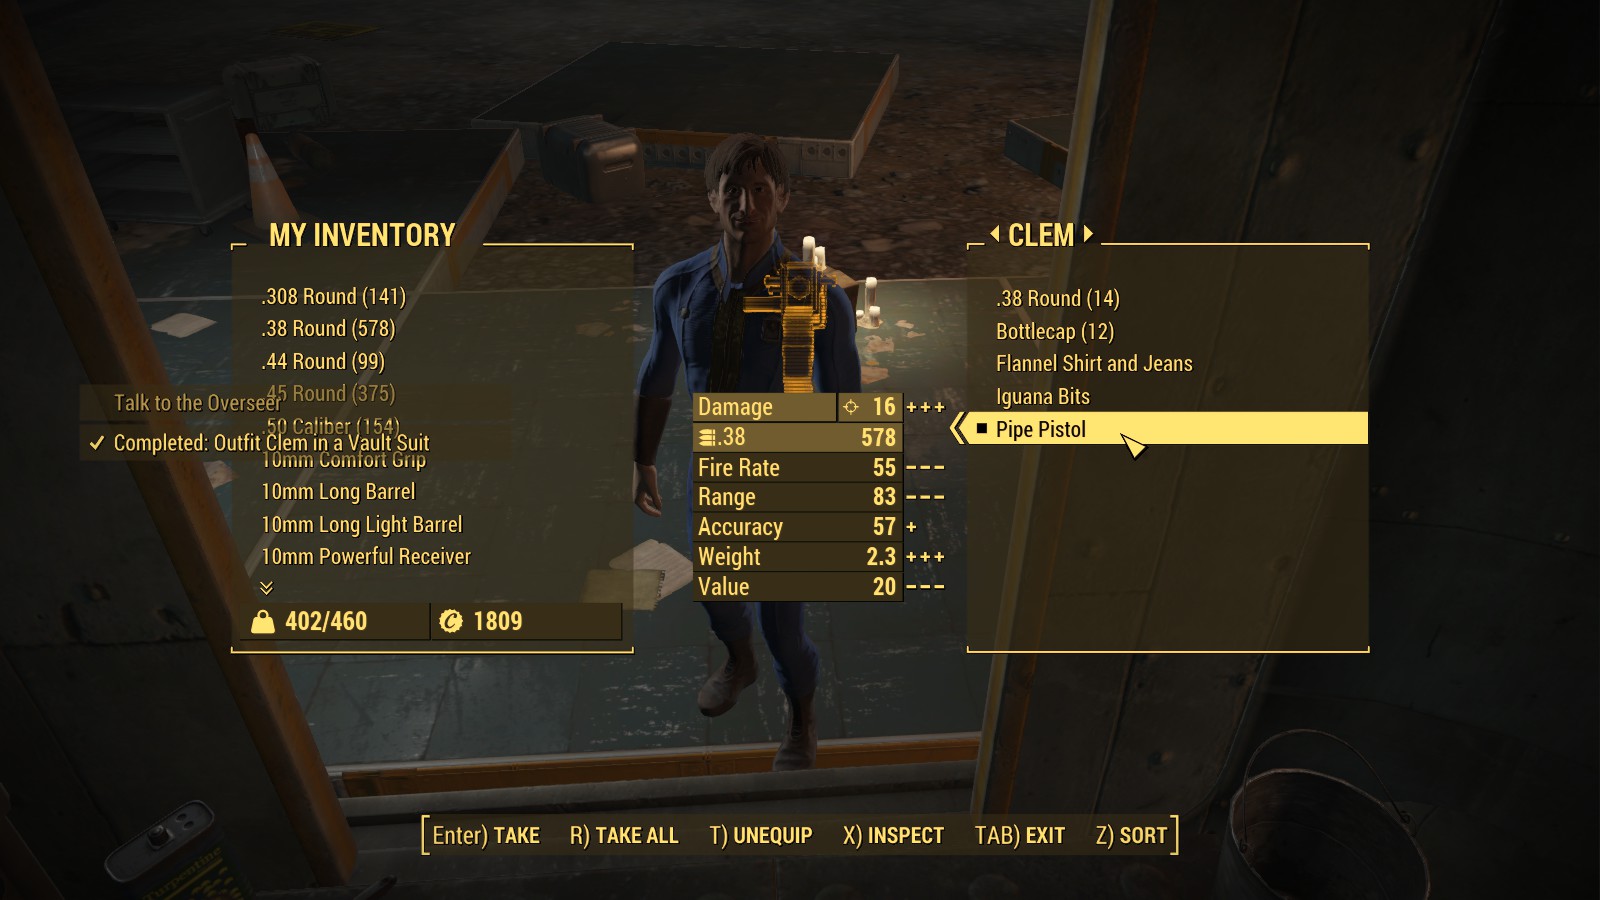 Equipping Clem
Pull up the Workshop menu and first build a power supply that produces at least 3 electricity, then head to the “Special” section again and create a Power Cycle 1000 Prototype, which requires these materials:
- 4 Steel
- 3 Screw
- 2 Rubber
- 2 Copper
Before assigning Clem to the bike, you also have to create a terminal near the Power Cycle and also attach a wire from your power supply. Terminals are located in the “Power” and then “Miscellaneous” section of the Workshop menu.
 The Power Cycle Prototype
Exit the Workshop menu and pull up the terminal to choose the experiment paramters:
- Additional Power Production (shock Clem mercilessly when he slows down!)
- Sustained Usage Incentives (inject him with Buffout periodically to keep speed up!)
- Environmental Enhancer (rub Clem with essential oils and play soothing music… don’t do this one)
Now go back into the Workshop menu and assign Clem to the Power Cycle. Stand around for awhile watching the experiment until eventually Clem pedals too quickly and burns out the Power Cycle (and any attached equipment).
Pull up the Workshop menu again and highlight each broken object, then select “Repair” to finish this quest.
The Watering Hole Quest
Talk to Overseer Barstow to kick off the next quest. Leave the vault and head over to the HalluciGen building, where you get to kill a bunch of gunners who have all gone crazy from the leaking chemical gas.
The Chemical Research document is sitting on a white chest on the the third floor, past a large table covered in beakers.
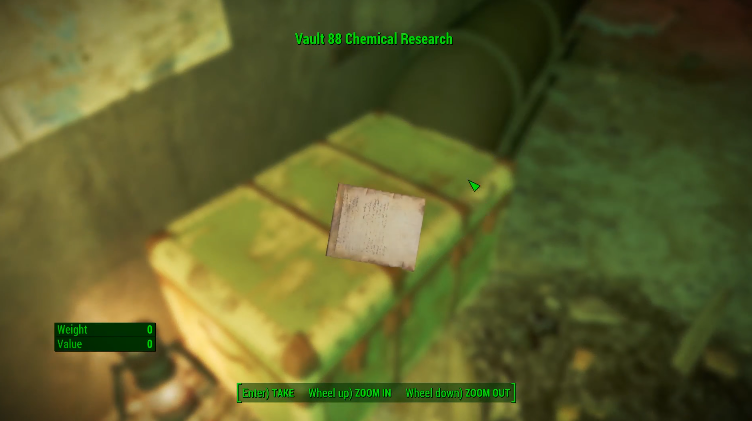 Chemical Research
With the Research in hand, return to your vault and report to Barstow, who will place experimental chemicals in drinks to test their effects on those vault dwellers who waste time socializing around the water cooler.
Clem has some objections, but as normal, Barstow can talk him into doing anything. Pull up the Workshop menu and construct the Soda Fountain using these materials:
- Steel 6
- Glass 3
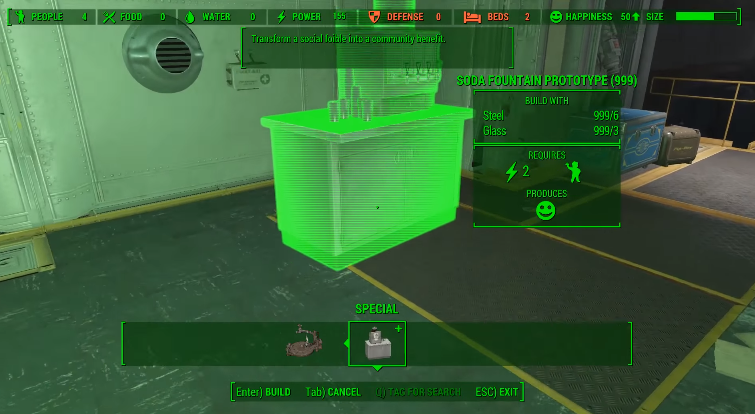 The Soda Fountain
Of course you also have to build another terminal and attach a power supply to both devices. At the terminal, select which type of experimental chemical you want to use:
- Appetite Suppressant (use less resources on test subjects who are just going to die anyway!)
- Mood Enhancer (get everybody all kinds of high.. with possible side effects!)
- Generic Caffeination (so boring!)
Assign Clem to the fountain so he hands all the drinks out, then wait until he finishes his task and talk to Barstow to complete the quest.
Vision Of The Future Quest
Now we’re going to experiment on the eyes of our test subjects using the Vault-Tec Phoropter.
You’ll need lots of nuclear material to build this, so if you don’t already have 25 sitting in your reserves, head into the nearby caves and search the radioactive section of the walls. Build the Phoropter with these materials:
- 25 Nuclear Material
- 4 Steel
- 3 Glass
- 2 Aluminum
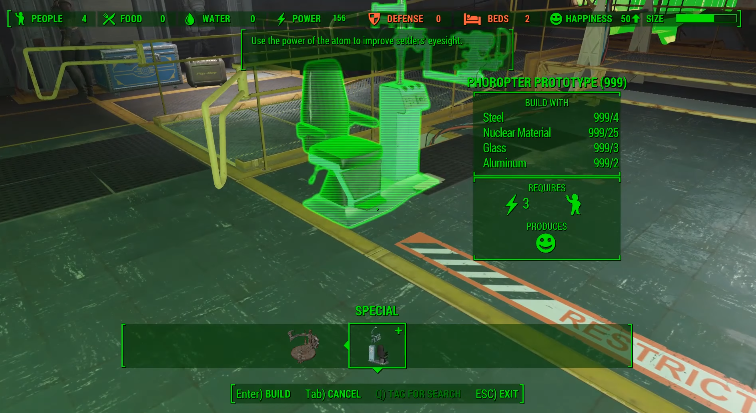 Oh I can’t wait to use this diabolical machine…
You know the drill by know – build a terminal and hook both devices to a power supply, then select which of the experiments you want to run:
- Subliminal Messages (Ensure your populace is compliant!)
- Vault Monitoring (Always know who is doing what!)
- Improved Eye Care (Seriously? Why would you pick this one?)
Now go head back to Barstow to start the experiments, and watch the fun begin. Be sure to soothe the concerns of the test subjects by telling them there’s nothing sinister at all going on. When it’s all over, talk to the Overseer again to wrap up the quest and start the final experiment.
Lady Luck Quest
For this quest, you don’t have to head anywhere else or pick up anything special, just build the Slot Machine with these materials:
- 4 Steel
- 3 Plastic
- 2 Circuitry
- 2 Gear
- 2 Screw
As before, build another terminal and connect both to a nearby power supply with excess electricity to spare. Now select the parameters:
- Indentured Servitude (Uh-oh, we might be crossing a line. Nah, go for it.)
- Customer Profiling (Always keep tabs on your subordinates!)
- Lost Revenue (Um… no. Don’t you know the adage “The house always wins?”)
After the gambling runs its course, talk to Barstow again, and she will reveal she has completed her life’s work with your help running the experiments. Don’t take the dialog option asking her to stay. Instead, let her leave so you can take over as Overseer and unlock the Oversight achievement.
 Let the gambling begin!
With the last experiment done, you’ve now wrapped up all the Vault-Tec Workshop quests and can have fun running your underground settlement!


Published: Jul 27, 2016 01:59 pm