Little Nightmares is the new indie horror game. If you liked Inside, then you will definitely enjoy Little Nightmares. By the way, if you never played Inside, but would still like to play it, then you can get it for free at GOG.com, if you purchase Little Nightmares before May 12.
There are some creepy little moments in Little Nightmares, and some puzzles to solve as well. This guide will help you go through the first chapter of the game in a leisurely manner.
Chapter 1: The Prison Walkthrough

As you begin your journey, you must first turn on your lighter by pressing the “F” button (Circle, B). Then, follow the hallway to the right. You will notice a lamp at the end of the hallway — use your own lighter to light up the lamp.
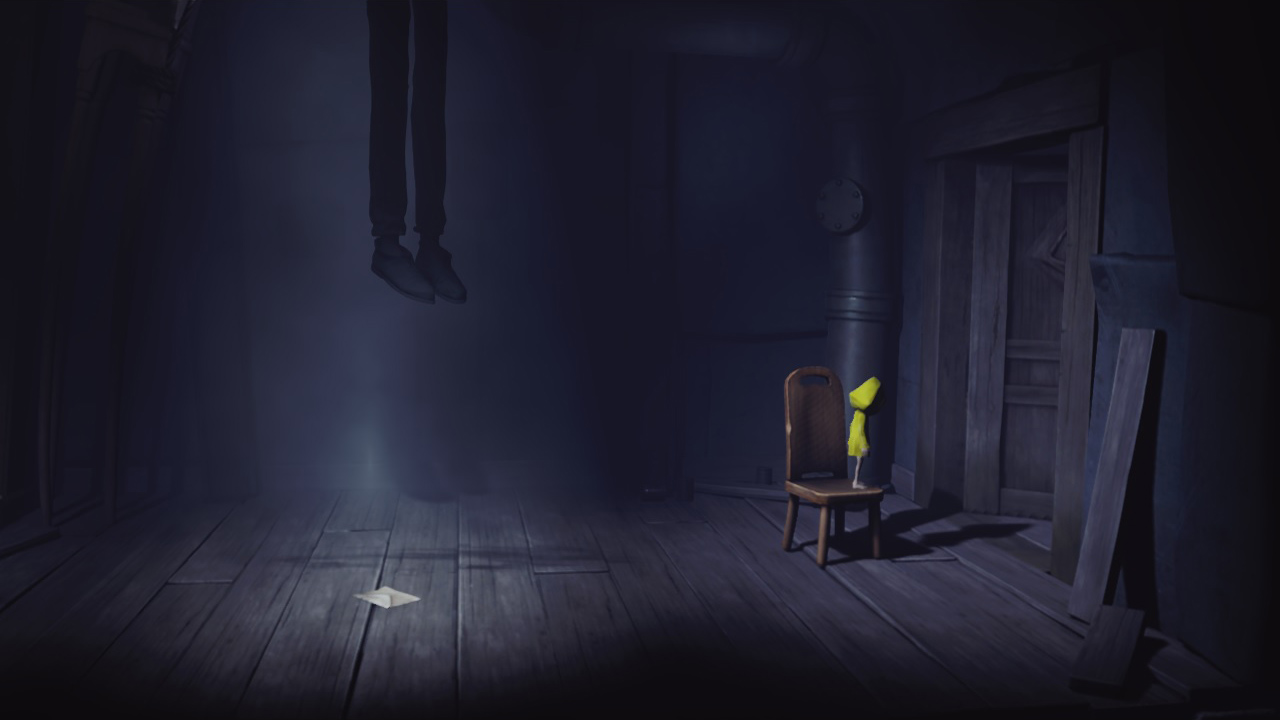
Approach the trapdoor at the wall and use the left-mouse button (R2, RT) to grab onto it and pull. Use the same trick on all upcoming doors that will lead your further through the tunnels of the prison until you reach the first door in the room with a hanging guy.
You need to grab the chair that stands in the room and pull it towards the door. Jump on the stool and grab the door handle. This will open the door for you.
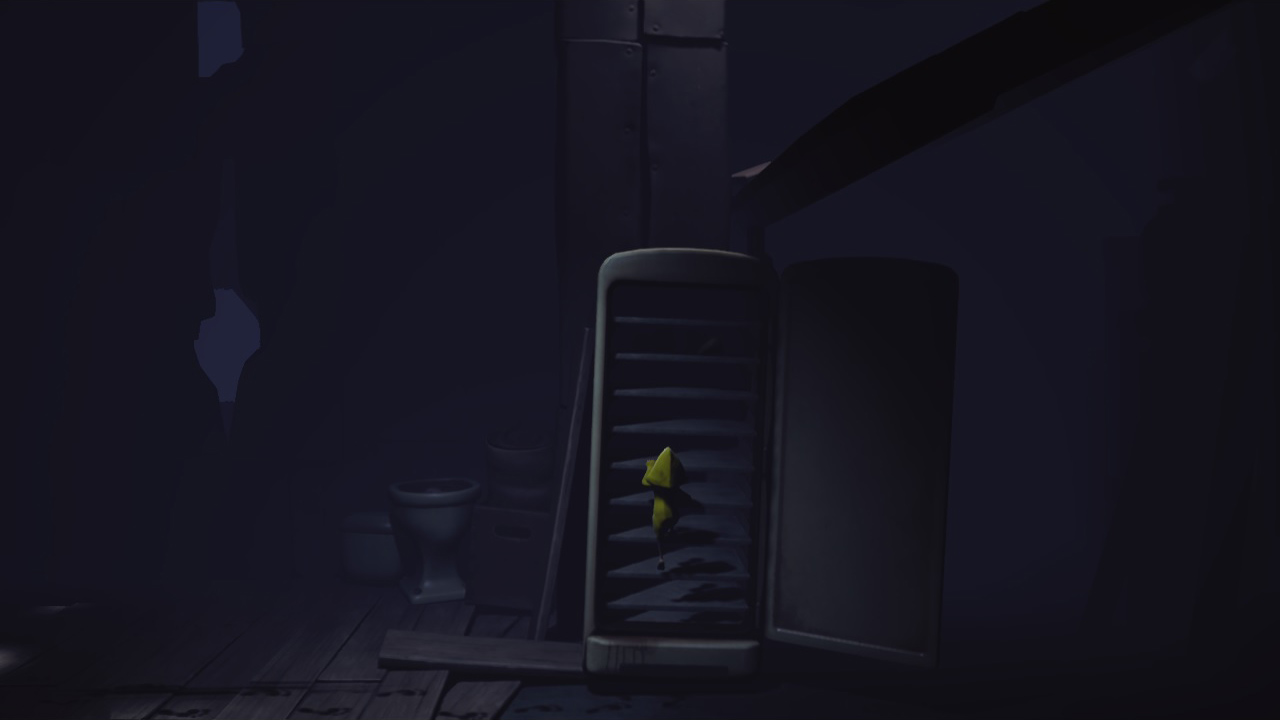
When you come to the part with the fridge, first, you need to go through the crack in the wall. You will find a little Nome sitting next to a lamp — go ahead and light it up for him. Then, go back to the fridge, open the door, and use the shelves to climb up.
Now, be very careful in the next part and avoid the falling black goo from the ceiling. After the split bridge, grab onto the lowest wooden plank on the wall and pull. If you fall into the gooey trap in the next section, run to the right and push the wooden door.
After you sprint through the large mechanical door on the upper bridge, you will enter the restroom. The switch is behind the door, and you need to use the box with toilet paper in order to reach it.
When you pass through the kids’ room, you will enter the area with the giant mechanical eye. You must avoid the light of the eye and climb up onto the upper section. You need to go right and hide under the bed, before the giant figure enters the room.
After the kid throws you some food, you will enter the area with small cells. Use them to go up the chain and then reach several levers on the upper platform that will help you get on the other side of the area.
In the next section push the box into the pit and use another chain to go down. After you manage to skip one more area with the mechanical eye, you will face a splitting bridge. Move fast by pressing the Shift button (Square, X), and get to the other side. This will end the first chapter — The Prison.
Come back soon for more Little Nightmare guides at GameSkinny!


Published: May 2, 2017 06:39 am