Monster Hunter Rise Sunbreak introduced several new Skills that are redefining the endgame for specific builds, forcing maximum aggression in exchange for massive damage. Dereliction is one such Skill, and certain monster speedruns and optimal hunting strategies rely on it to maximize their damage.
Discover where you can get the Dereliction skill and find out how it works in this guide.
How to Get the Dereliction Skill in Monster Hunter Rise Sunbreak
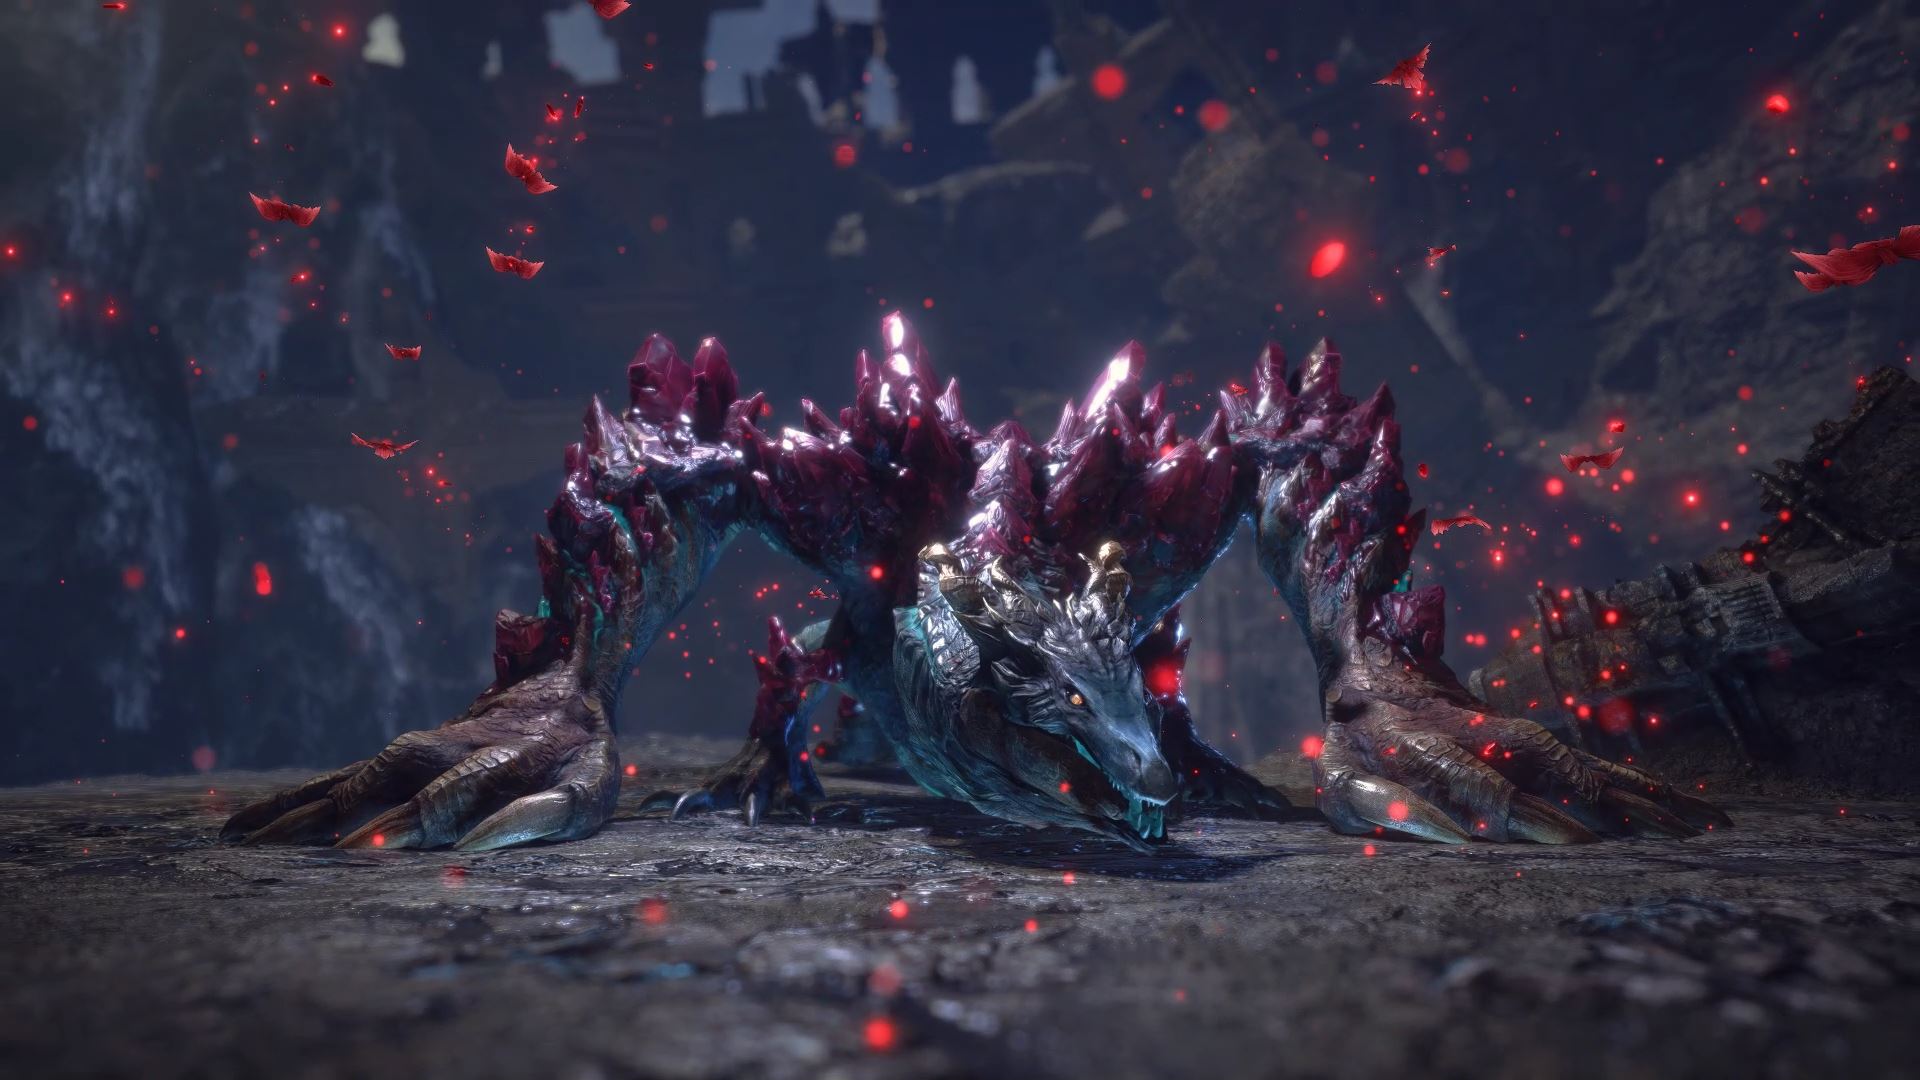
Here is only one source of Dereliction in all of Sunbreak, the Archfiend armor set you can create from the final boss Gaismagorm’s materials.
It comes specifically from the Archfiend Armor Epine gauntlets and Archfiend Armor Sceros greaves. The Epine comes with Dereliction level two, and the Sceros provide one level in Dereliction. Wearing both takes the Skill to its maximum potency, as it only reaches level three.
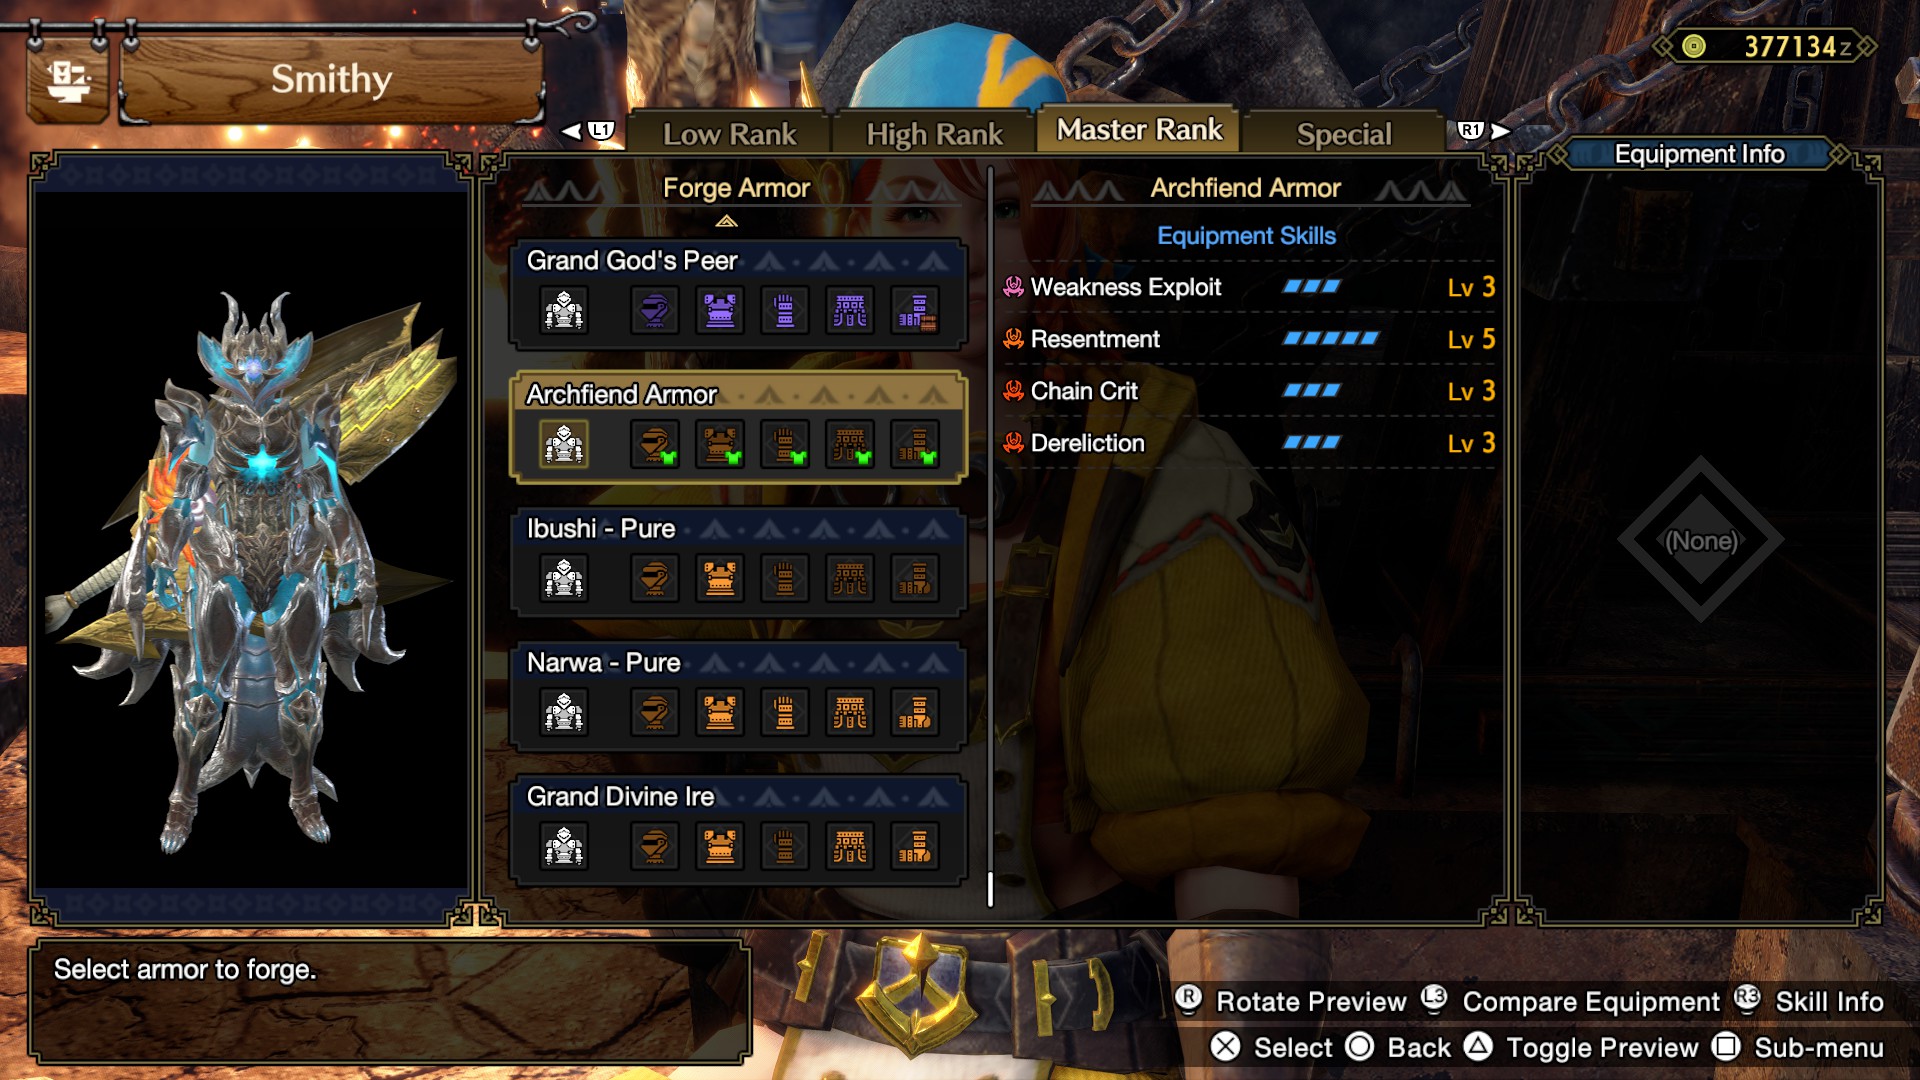
Maximum Dereliction is a risky prospect, but the rewards you get for combining even a few levels of it with Skills like Resentment create opportunities for some impressive damage numbers.
You’ll need to know your weapon and the monster you’re fighting well, though, because getting hit even once with Dereliction active can send you carting back to camp.
How the Dereliction Skill Works in Monster Hunter Rise Sunbreak
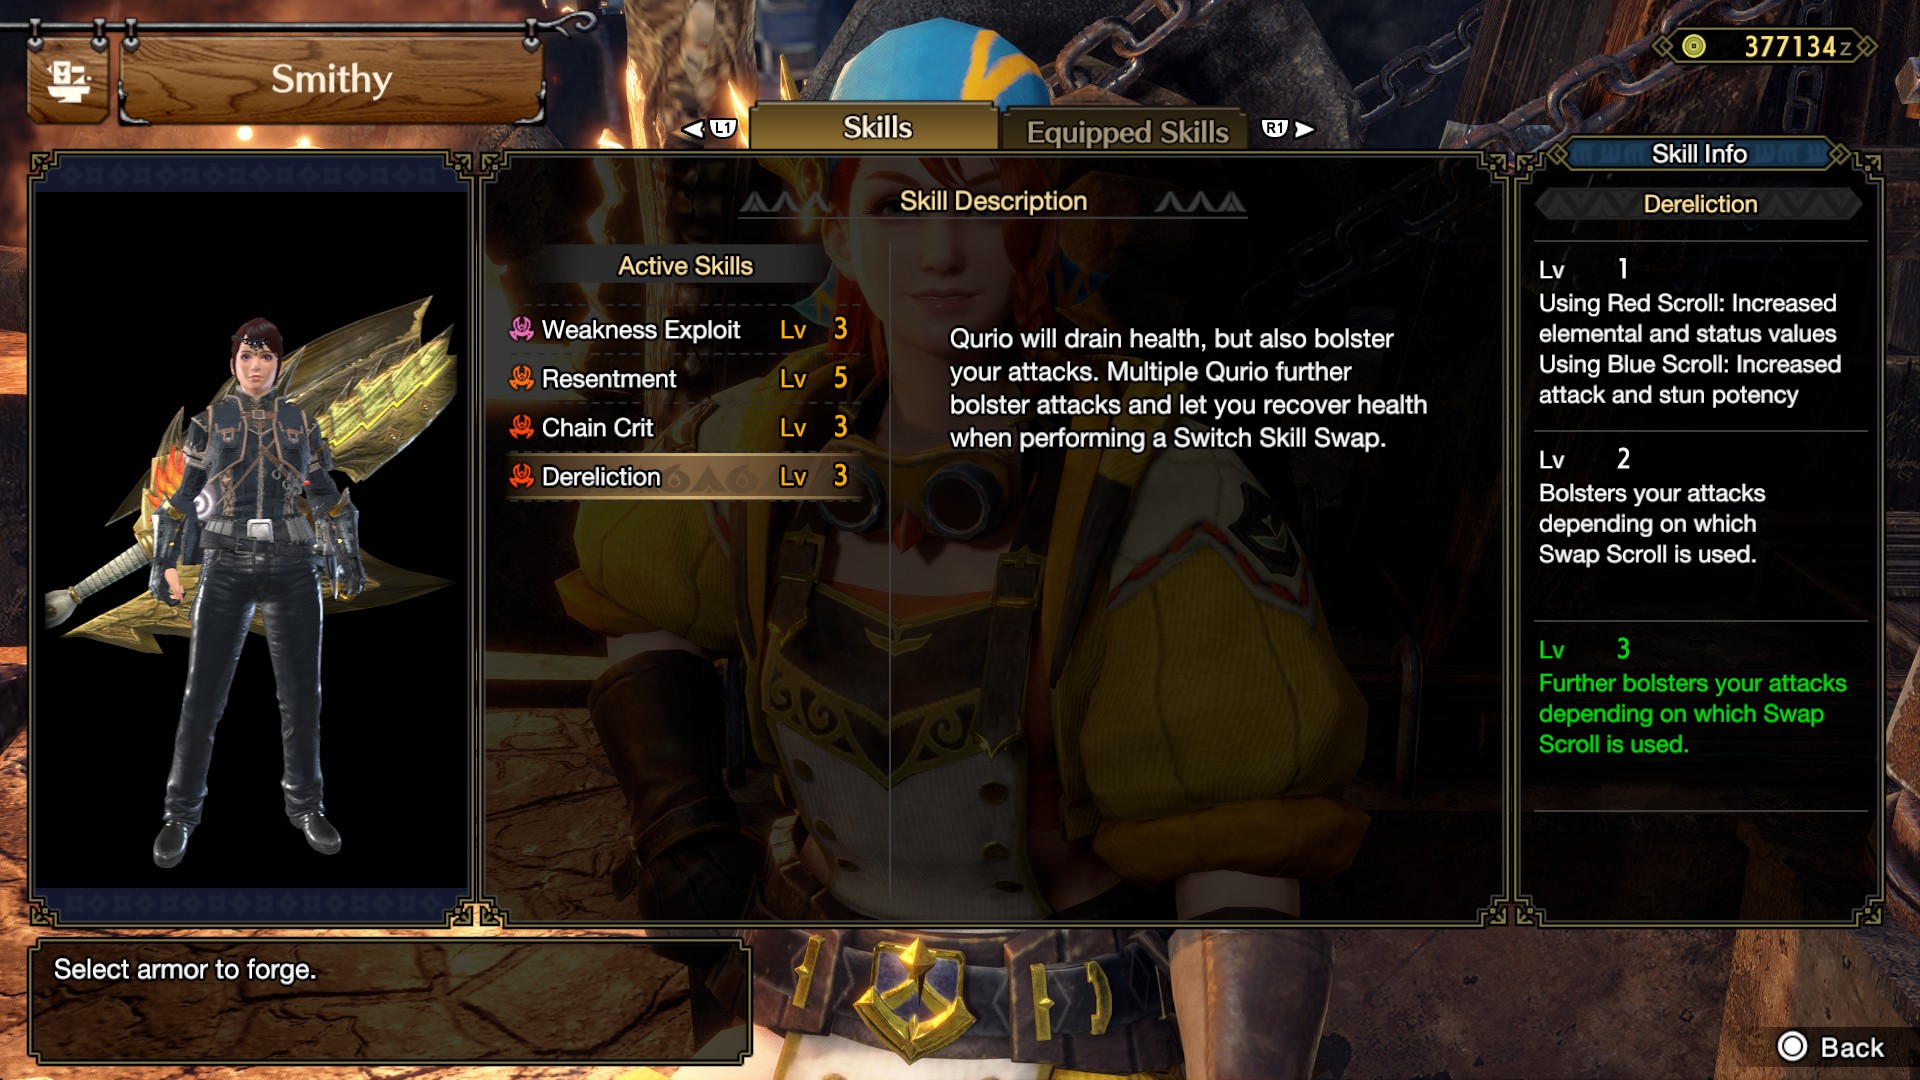
Dereliction’s most noticeable effect is applying Qurio to you, constantly draining your health until you have one remaining. Healing items still work, as do any healing effects like Blood Rite, attacking during the Bloodblight status, or other means.
Effects that require red-bar health like Resentment also activate in tandem with Dereliction. Using both leads to a considerable increase to your damage, to a maximum of +25 Attack with Resentment 5.
Dereliction’s effects depend on two factors: what level of the Skill you have equipped and which Switch Skill Swap Scroll is currently active. Red Scroll increases your Element damage and Status boost, and Blue Scroll increases Raw Attack and stun effectiveness. Here’s how the buffs break down.
Red Scroll
- Dereliction level 1 with one Qurio active: +15 Attack and stun potency.
- Dereliction level 1 with two Qurio active (takes 45 seconds): +20 Attack and stun potency.
- Dereliction level 1 with three Qurio active (takes 90 seconds): +25 Attack and stun potency.
Increase the bonuses above by +5 with two levels of Dereliction, and by +10 with three levels.
Blue Scroll
- Dereliction level 1 with one Qurio active: +5 Element damage and status boost.
- Dereliction level 1 with two Qurio active (takes 45 seconds): +8 Element damage and status boost.
- Dereliction level 1 with three Qurio active (takes 90 seconds): +12 Element damage and status boost.
Increase the bonuses above by +2/+4/+3 with two levels of Dereliction, and by +5/+7/+8 with three levels.
If you choose to Switch Skill Swap while you have three active Qurio, you’ll receive a powerful burst of healing but immediately drop to one active Qurio. You’ll then have to wait another 90 seconds to be fully buffed again.
Like most endgame-centric Skills, Dereliction is complicated and requires excellent execution. You can spend tons of time in Monster Hunter Rise Sunbreak theory crafting new builds based around Skills like Dereliction, but there are plenty of cozier pursuits.
Farming for Twisted Stiffbone, Awegite, Overgrown Stiffbone, and other gathering point materials is a great way to destress after a difficult hunt. Check out our Rise guides hub for plenty more on topics like those.


Published: Jul 16, 2022 05:58 pm