World at War: WW2 is a mobile MMORTS currently available for Android and iOS devices. It puts you in the boots of a commander stemming back the tide of the enemy, and like other online RTS games, there’s a lot to take when you first get to the war table.
When you begin, you’ll see that the game has recommended “missions” that will instruct you to build, and then upgrade, buildings and units. However, it does not give you much insight on how to customize your base or develop a strategy.
That’s where the social interaction kicks in. Ask a question in the community and an experienced player in the game will give you an answer. The problem is finding someone that can explain the reasons why instead of directing you on how to do things.
That’s why we’ve put together this list of 10 essential tips for World at War: WW2.
1. Figure Out Your Play Style
The best advice I can give you is this: figure out your playstyle before you do anything else. Why? Because doing so will inform future strategies and set realistic expectations for your goals.
For example, if your goal is to take over the atomic facility and become supreme commander, expect to spend a lot of time and money to build a strong enough base to fight the entire front.
If you just want to play in your spare time and join the occasional rally on the weekend, you will need a different build.
The longer you play, the stronger you become. It takes time to build your base, and every building serves a purpose. You must figure out which buildings give you the most advantages for your play style. If you upgrade your buildings and then find you don’t need them, you will be wasting time and money to destroy and replace them.
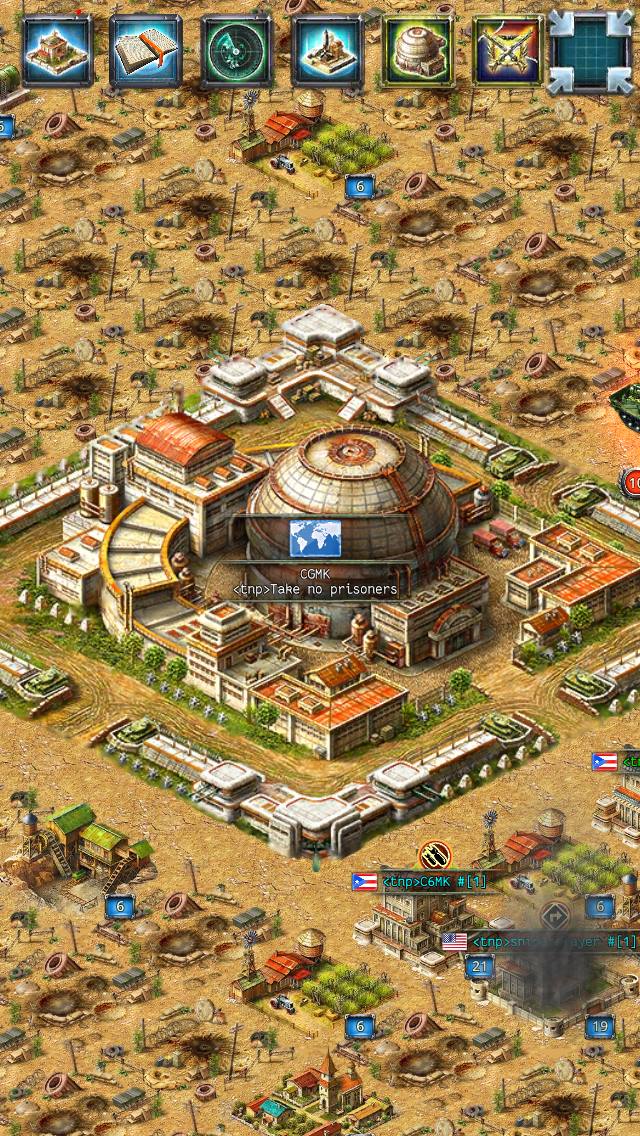
2. Location, Location, Location
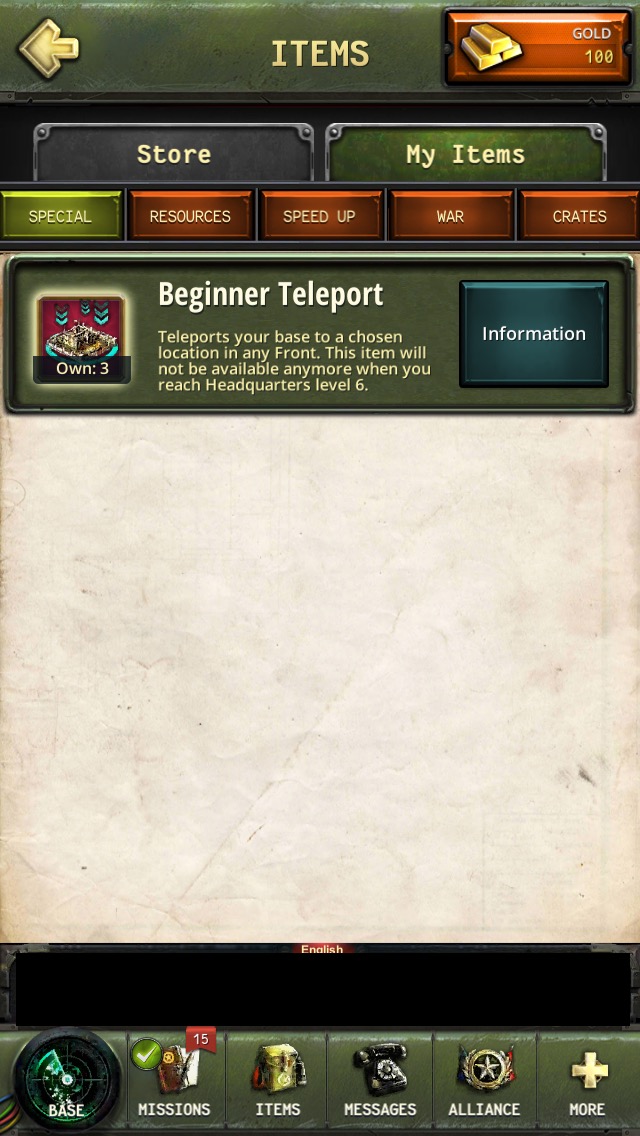
When you start out, you are placed on a random front. You are given three beginner teleports that allow you to change fronts, but after you use them, or if you upgrade to Level 6, you will not be able to leave that front.
So take some time and make sure you like the front before joining a good alliance. A good rule of thumb is to find the newest front; this will give you better chances since you won’t have to rush to catch up with other players that have been playing for longer.
3. Ten Building Rewards
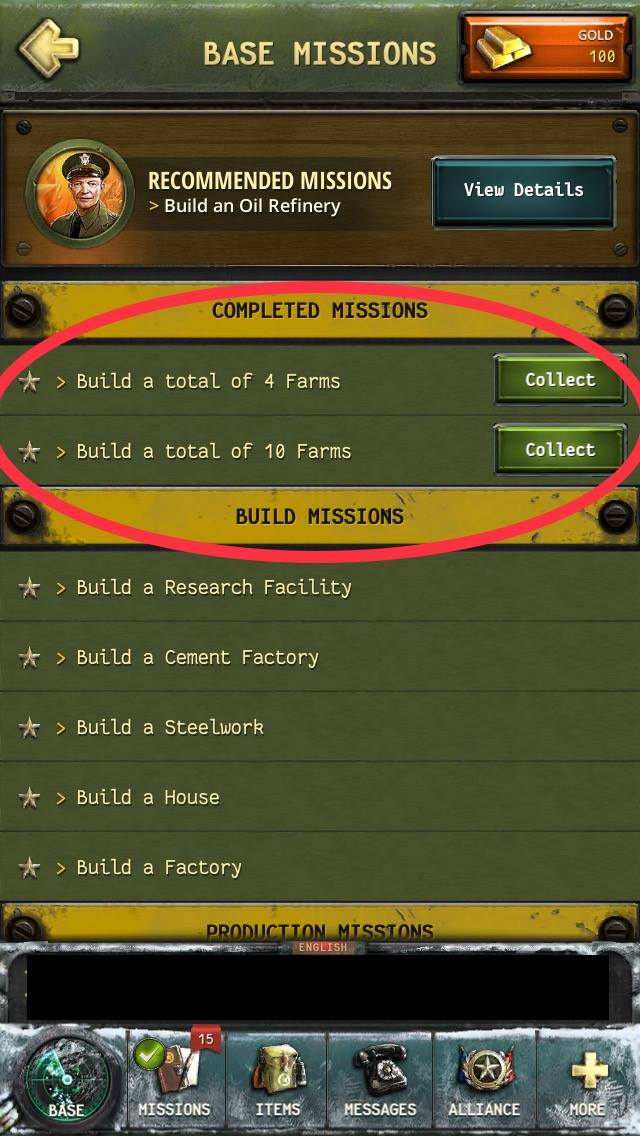
You will get rewards for completing missions.
There are missions to build four and 10 buildings of each type. This is easy to do at the beginning because Level 1 buildings are cheap to make and there are no wait times.
Once you have completed building 10 of a certain type, destroy them and do the same with the other types until you complete them all. After completing all of them, you can claim the rewards on the mission screen. These rewards will give you about 50,000 power total and a good amount of resources to get you started.
4. Friend Referral
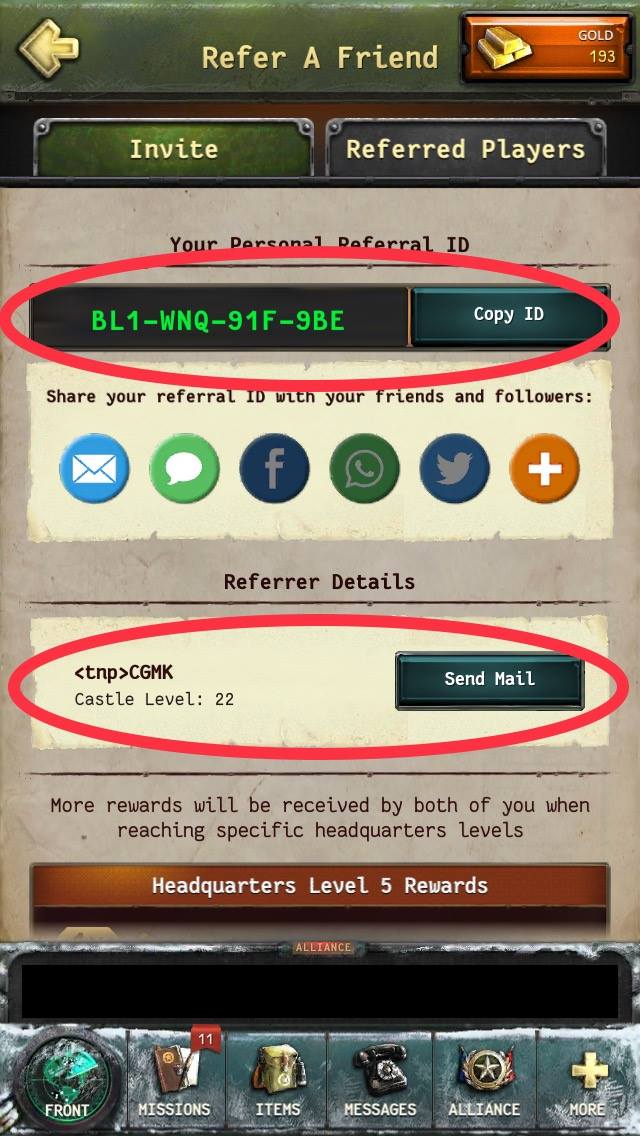
If you go to more/refer a friend, you will find your referral code. You can give this code out to 10 friends before it becomes invalid. When you input someone’s referral code, or someone uses yours, you will be linked to that player for the rest of the game and will not be able to change it.
You will have a button where you can message them directly. You will also both receive gold and rewards for reaching certain headquarter levels as you upgrade. If you plan on making multiple accounts exchange the codes between your accounts before giving them out or using anyone else’s code.
5. One of Every Building Type
There is no perfect base build. What works for the spender that logs in multiple times a day will not work for the free-to-play player that logs in on the weekends.
The one commonality to all base builds, though, is that you will need to build one of each type of building. You will not be able to progress through all the levels unless you do.
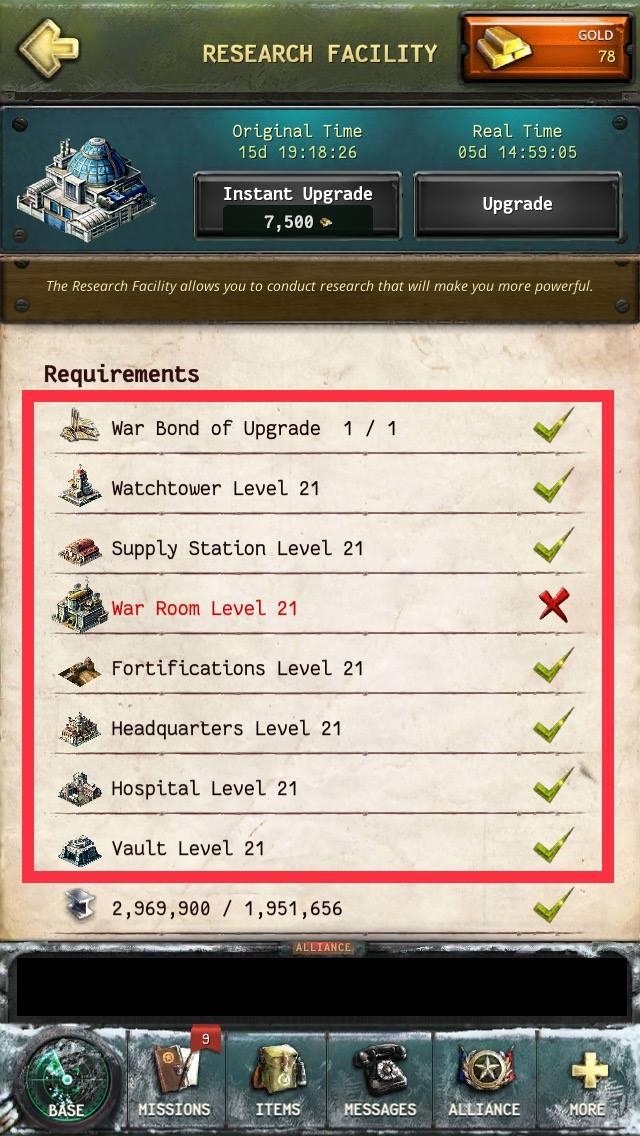
The best example to show this is the research building. If you want to unlock those Tier 4 troops, you need to upgrade your research building to Level 21, but as you can see in the screenshot, you are required to upgrade other buildings before you can start this upgrade.
In the same way, the game will not let you upgrade your headquarters until you upgrade other buildings so even if you aren’t planning to build up to 21 you will still need to build one of each type of building and upgrade them until you get to your desired level.
6. Save Your Gold
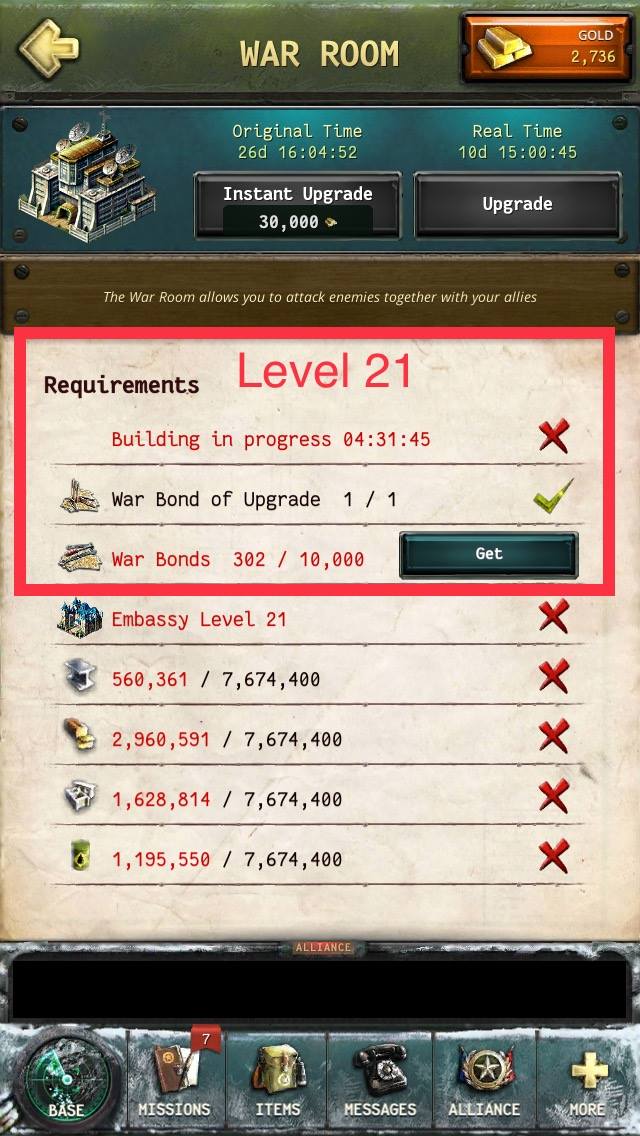
If you won’t be spending and are planning to one day unlock Tier 4 troops, you must save your gold for building upgrades. To upgrade one of each building to 21, you will need 15 war bonds(15,000 gold); war room level 21 will also require 10,000 war bonds (15,000 gold), so a total of 30,000 gold to get everything needed to level 21 to unlock T4 troops.
This is assuming you already upgraded your war room to Level 20 since every war room level requires war bonds to upgrade. To get the remaining buildings to 21, you will need another 37,000 gold. In total, upgrading all buildings to level 21 is 67,000 gold.
7. Gold Mine

The gold mine is an optional building, and its only function is to earn you gold.
The gold you collect is limited by the building level and the number of friends you have. At Level 22, you can collect gold from 33 friends for a total of 330 gold per day.
You are not giving your gold away, however. Just like with the help button, all you do is click on the send gold button and your friends receive 10 gold each. The catch is that you must link the game to a Facebook account, then you have to add people that play the game as friends in Facebook, and they must be active for you to receive gold from them.
8. Multiple Accounts
Creating a second account can help you collect the resources you need for upgrades with little effort. You can build a second account and set it up as a farm to produce resources, then simply log in to transfer the resources to your primary base.
This eliminates the need to send troops to gather resources. It can also be used to scout other players without putting your primary account at risk of being attacked.
The accounts are very easy to set up, just make sure you like each account to a separate email address so you won’t lose them when you switch between accounts.
9. Commander Skills and Equipment
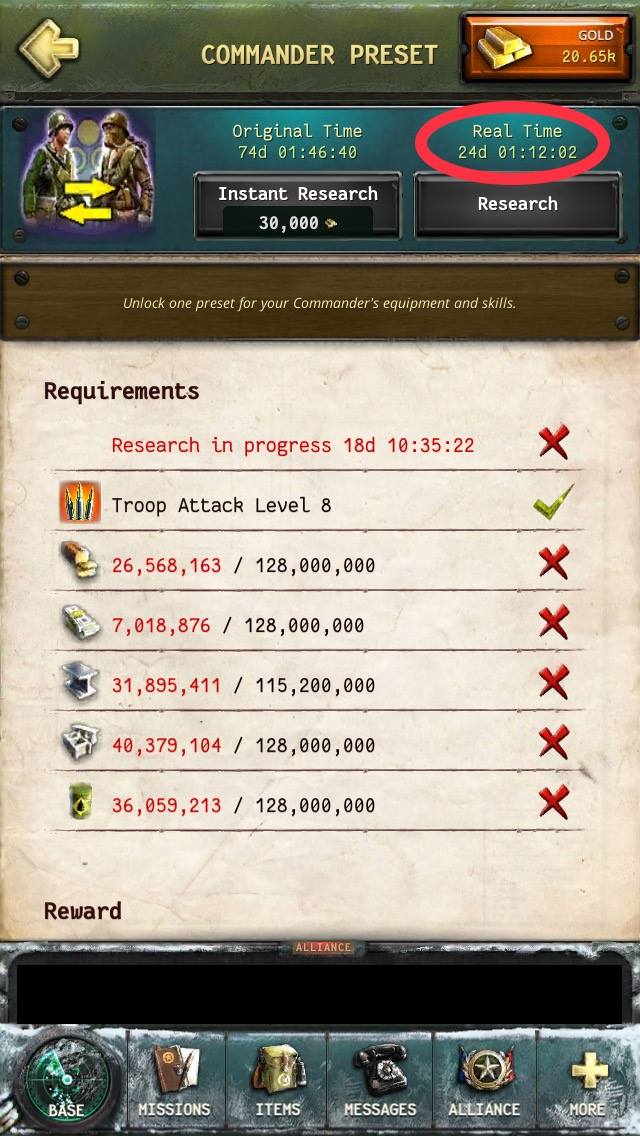
Commander skills and equipment will reduce the time required for building upgrades and performing research. This must be set before you start any upgrades for their bonuses to apply. It might not look like much difference at first, but it adds up.
Doing this will get you to a fighting level faster. The research in the picture is commander preset 7. By setting skills and gear to research the timer is reduced by 50 days. The skills can be changed at any time by using a skill reset item or a commander preset.
10. Shields
The best way to protect your resources is using shields. You can buy shields using gold or from the alliance store using loyalty points. When buying with gold, the best value is the three-day shield.
Once the shield expires, your base will be vulnerable to attacks until you use another one. If you aren’t shielded, expect to burn.
Depending on your goals it might not be necessary to maintain a shield. If you keep your vault leveled up, it will protect the resources you need to upgrade any building up to Level 19. The vault doesn’t protect cash until Level 21, but building upgrades do not require cash. So even if you get attacked constantly, you can still progress in the game; a good reason this game is good for new players.
—
These World at War tips should give you a good foundation on which to build a good base. The game is fairly balanced and it should be simple to progress through the levels.
If you are having a hard time then you are probably doing something wrong. Don’t forget that there are plenty of experienced players in the game to help you out.


Published: Dec 13, 2018 11:27 pm