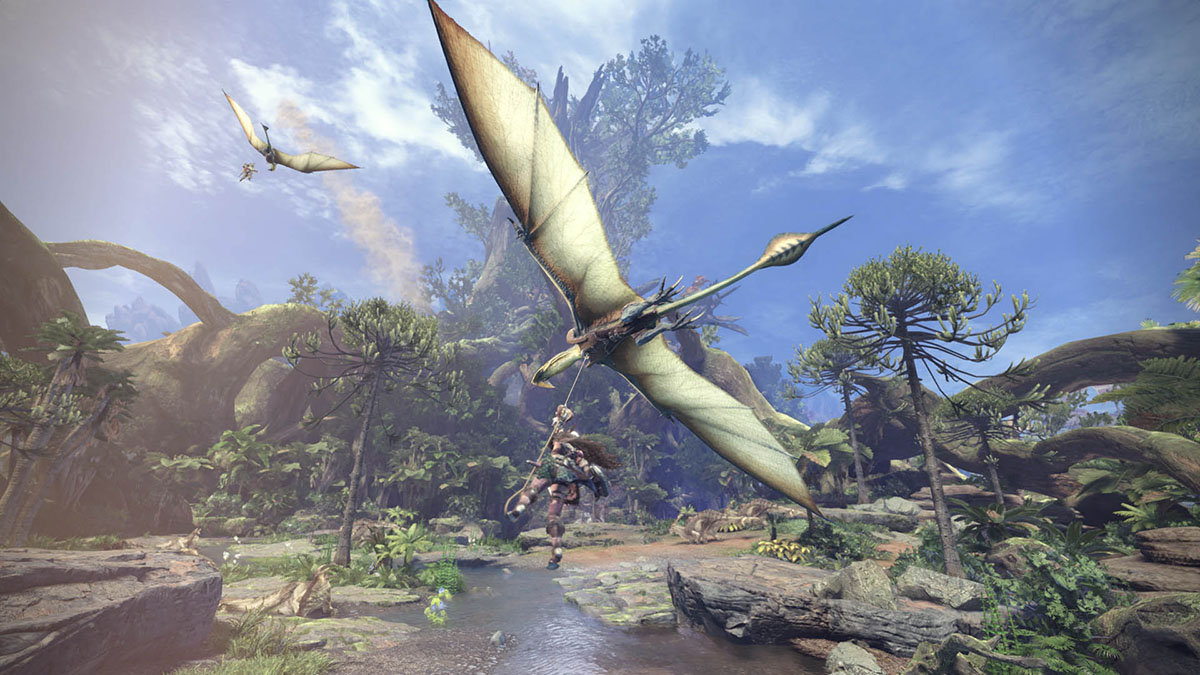
Category: Culture Top 10 Best Games to Play Like Monster Hunter World John Schutt John Schutt Jan 12, 2024
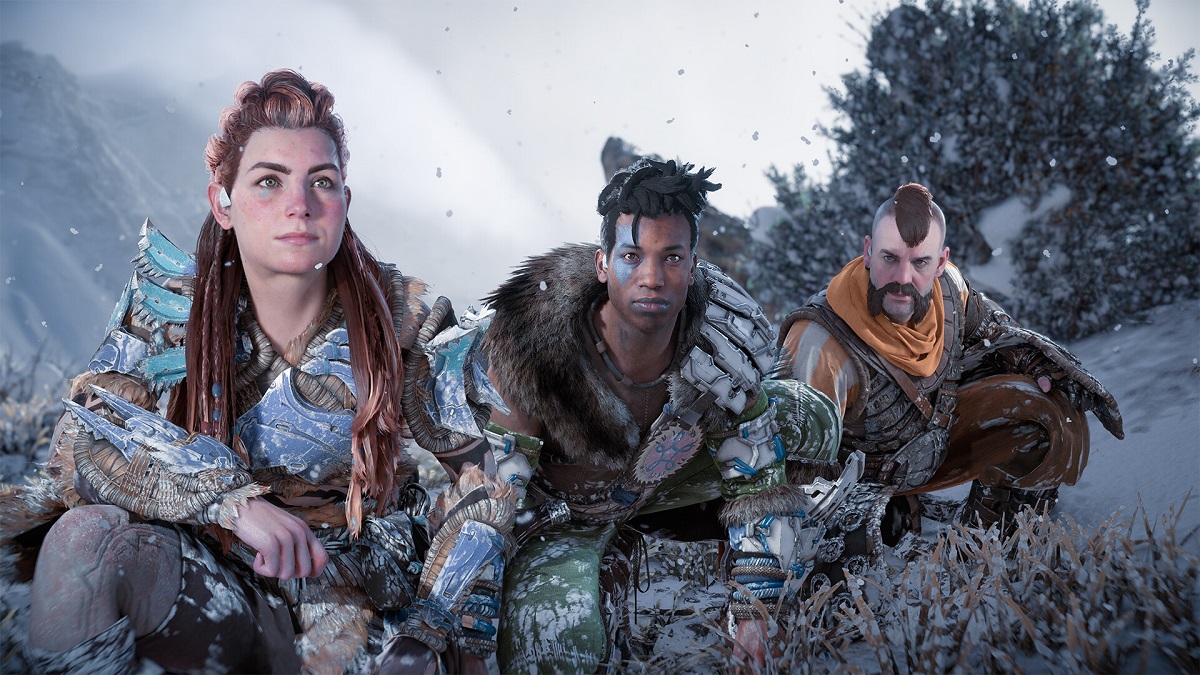
Category: News Horizon Forbidden West Complete Edition Gets PC Release Window Jonathan Moore Jonathan Moore Sep 27, 2023
Category: News Guerrilla Games Teases Horizon Forbidden West Sequel Ashley Erickson Ashley Erickson Apr 24, 2023
Category: Culture Top 10 Best Games to Play Like Monster Hunter World John Schutt John Schutt Jan 12, 2024
Category: News Horizon Forbidden West Complete Edition Gets PC Release Window Jonathan Moore Jonathan Moore Sep 27, 2023
Category: News Guerrilla Games Teases Horizon Forbidden West Sequel Ashley Erickson Ashley Erickson Apr 24, 2023
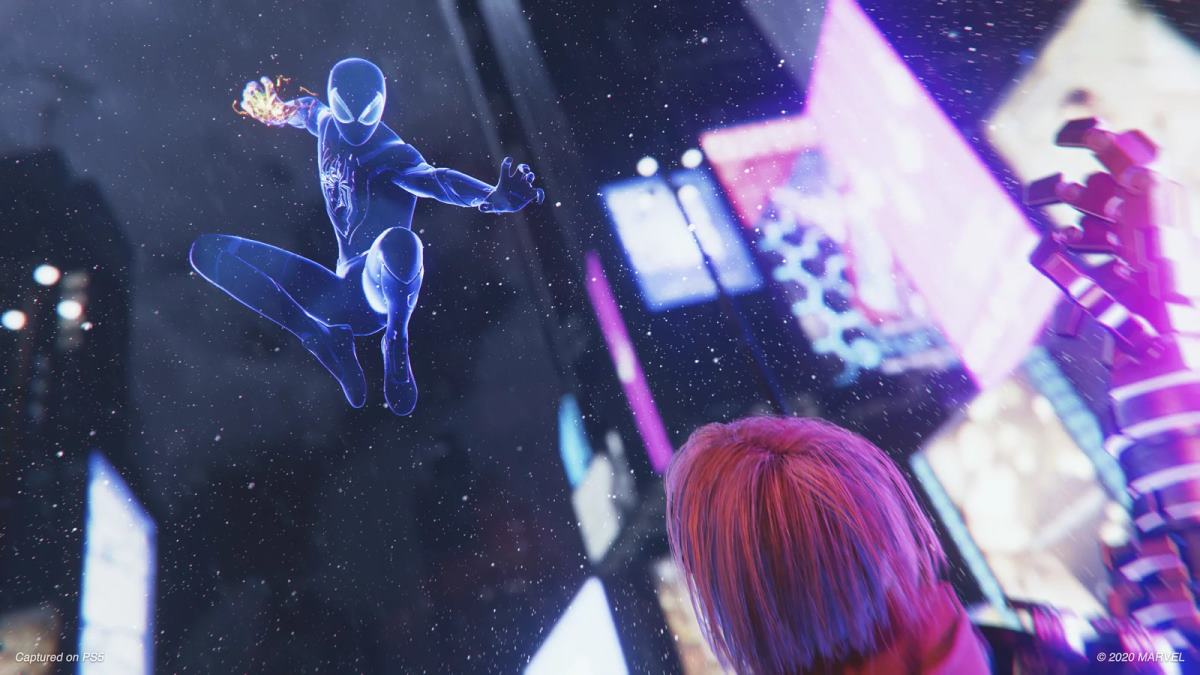
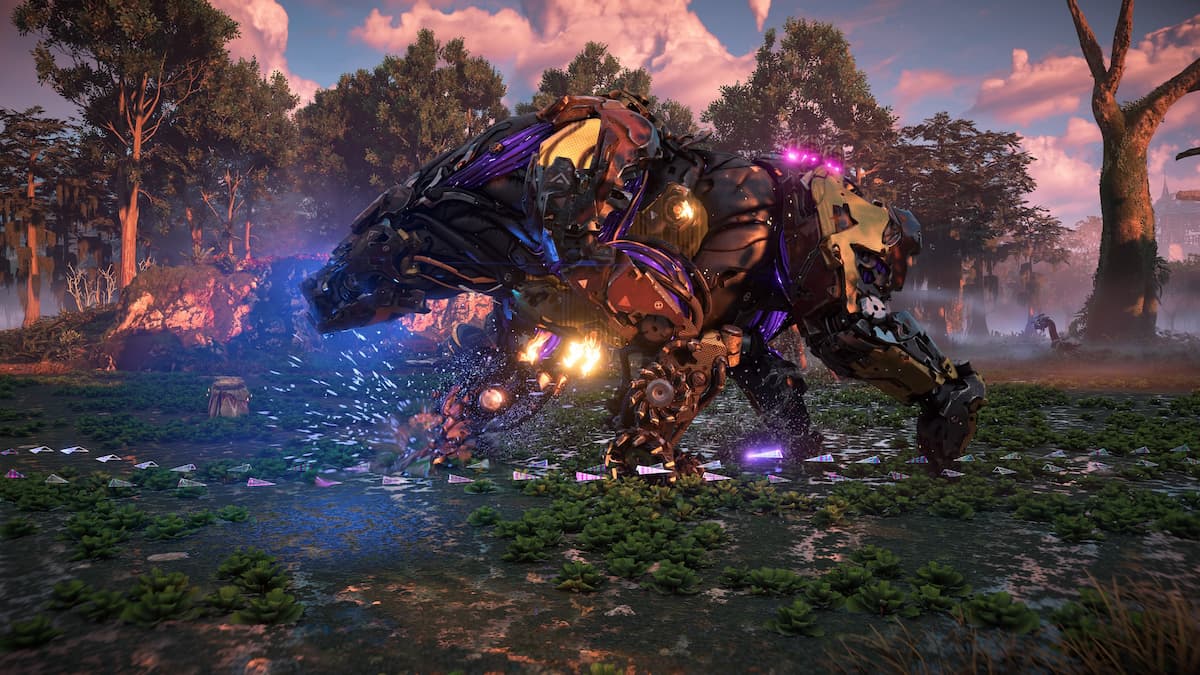
Rating: 8 Rating: 8 Rating: 8 Category: Reviews Horizon Forbidden West Burning Shores DLC Review: Zeniths, Quen and Dinos, Oh my! Ashley Erickson Ashley Erickson Apr 24, 2023
Category: Tips Horizon Forbidden West: How to Get Fireclaw Sac Webbing Ashley Erickson Ashley Erickson Apr 21, 2023
Category: Tips Horizon Forbidden West: Burning Shores Heaven and Earth Door Code Ashley Erickson Ashley Erickson Apr 20, 2023
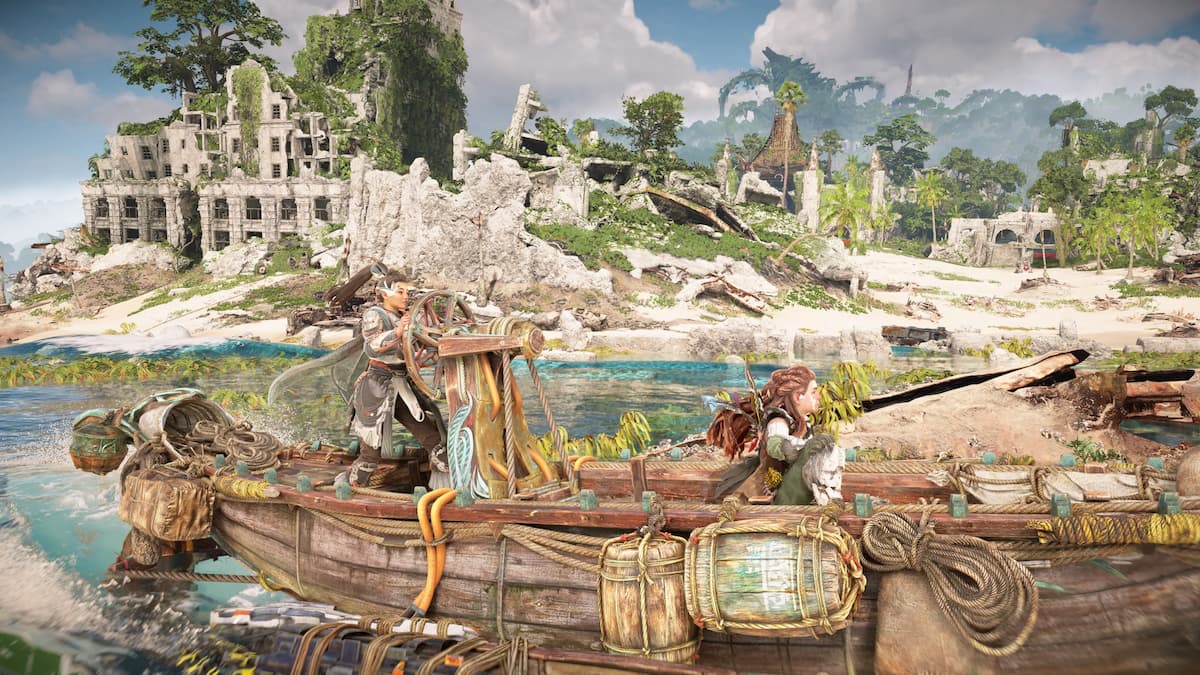
Category: Tips How to Start the Horizon Forbidden West DLC: The Burning Shores Jonathan Moore Jonathan Moore Apr 18, 2023
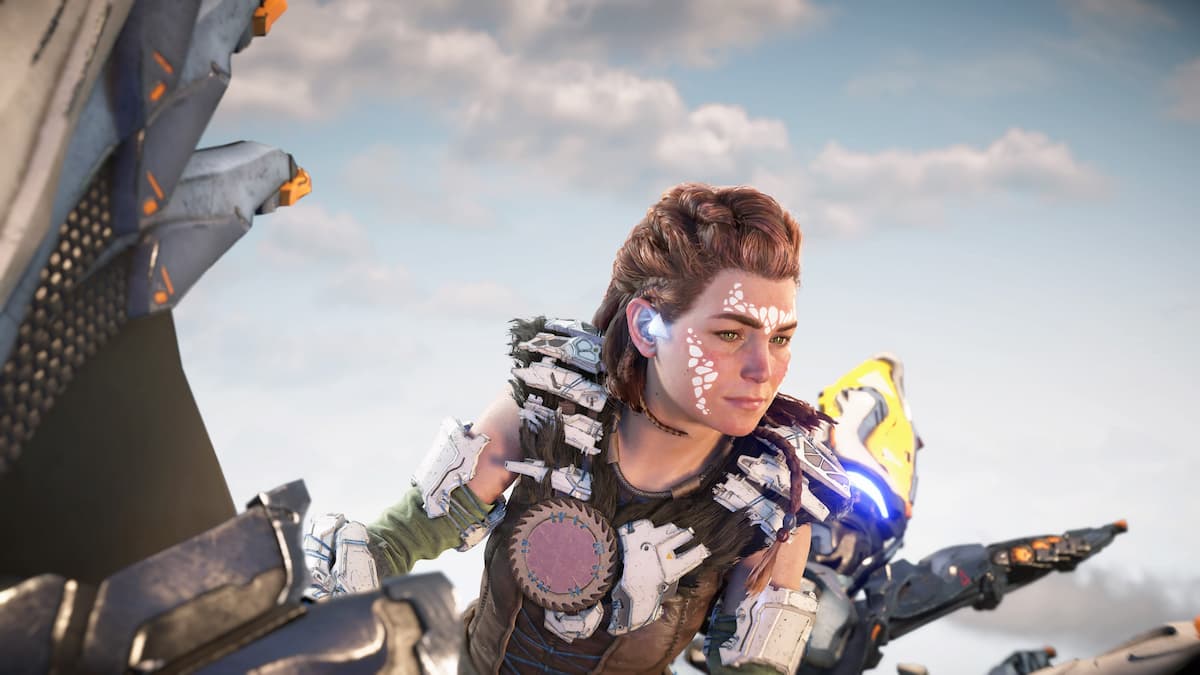
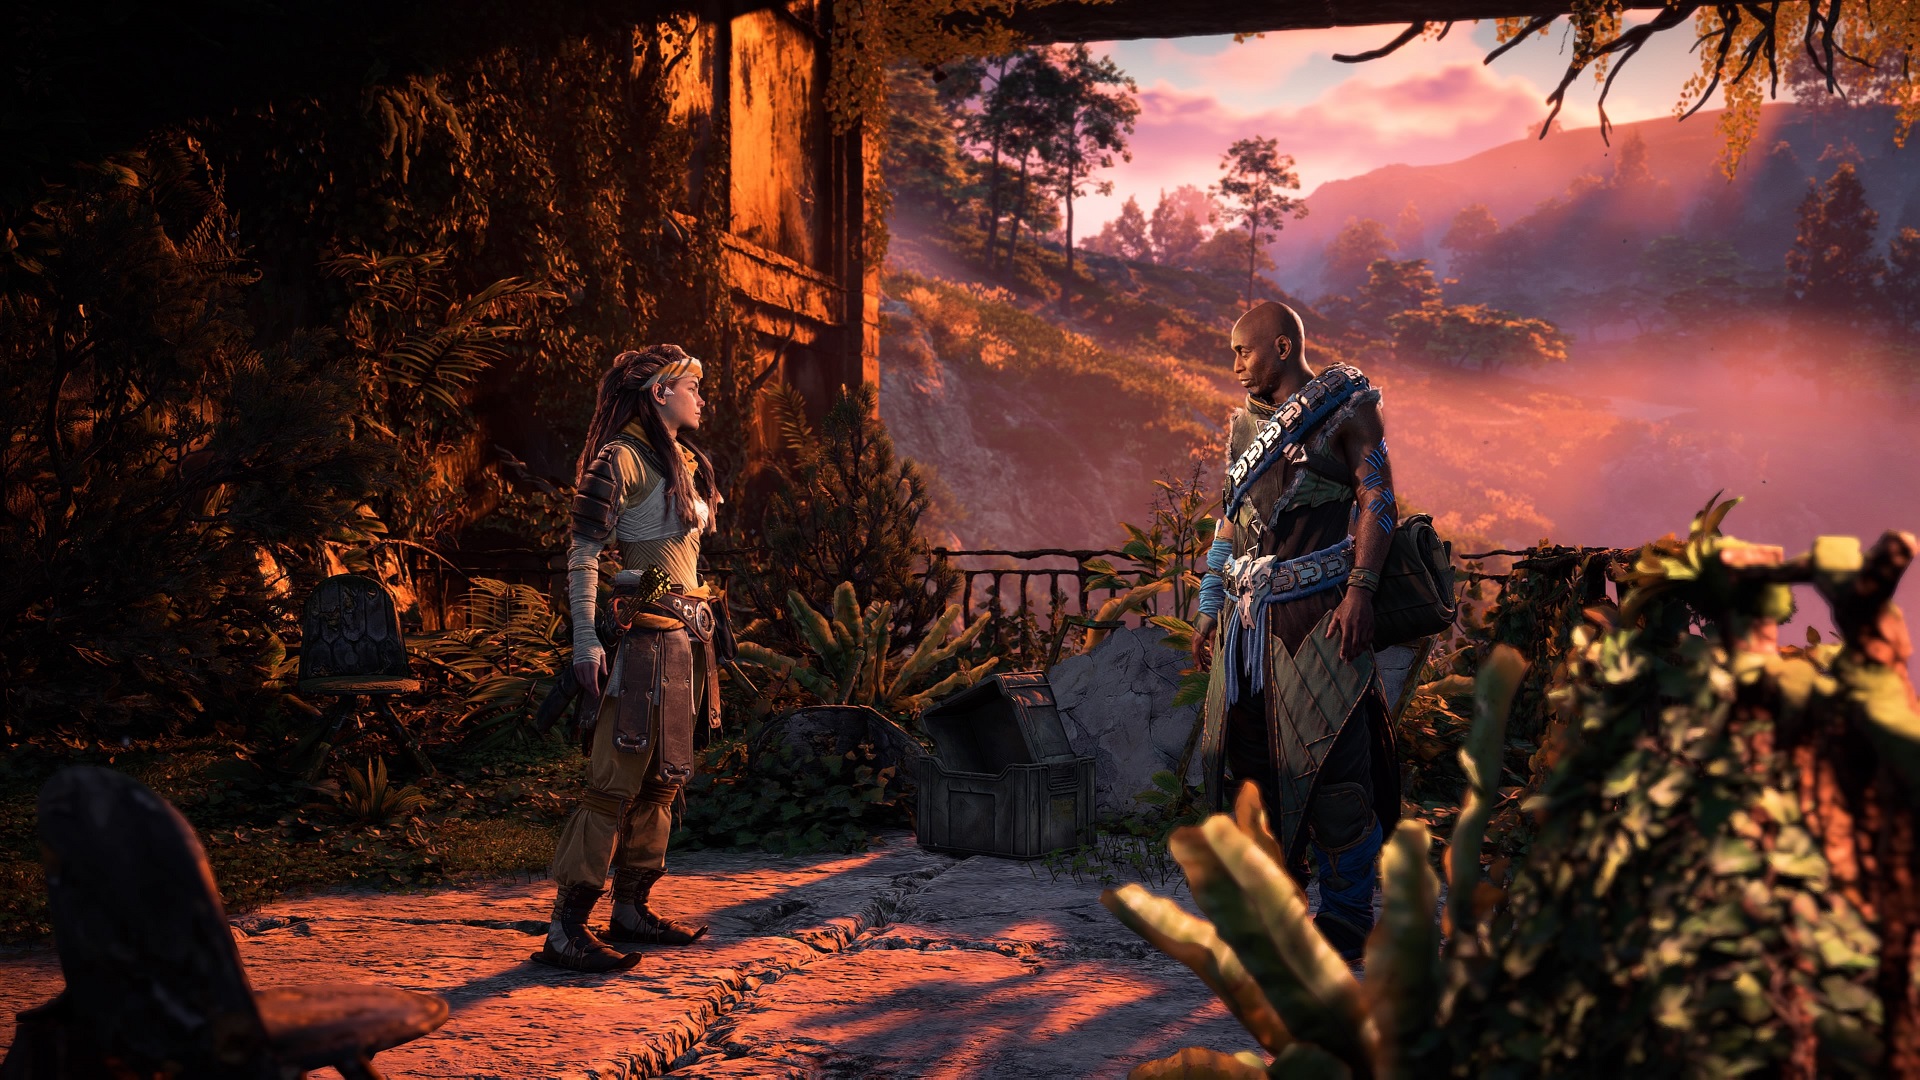
Rating: 8 Rating: 8 Rating: 8 Category: Reviews Horizon Forbidden West Review: Staying Safe in the Wilds Josh Broadwell Josh Broadwell Feb 28, 2022
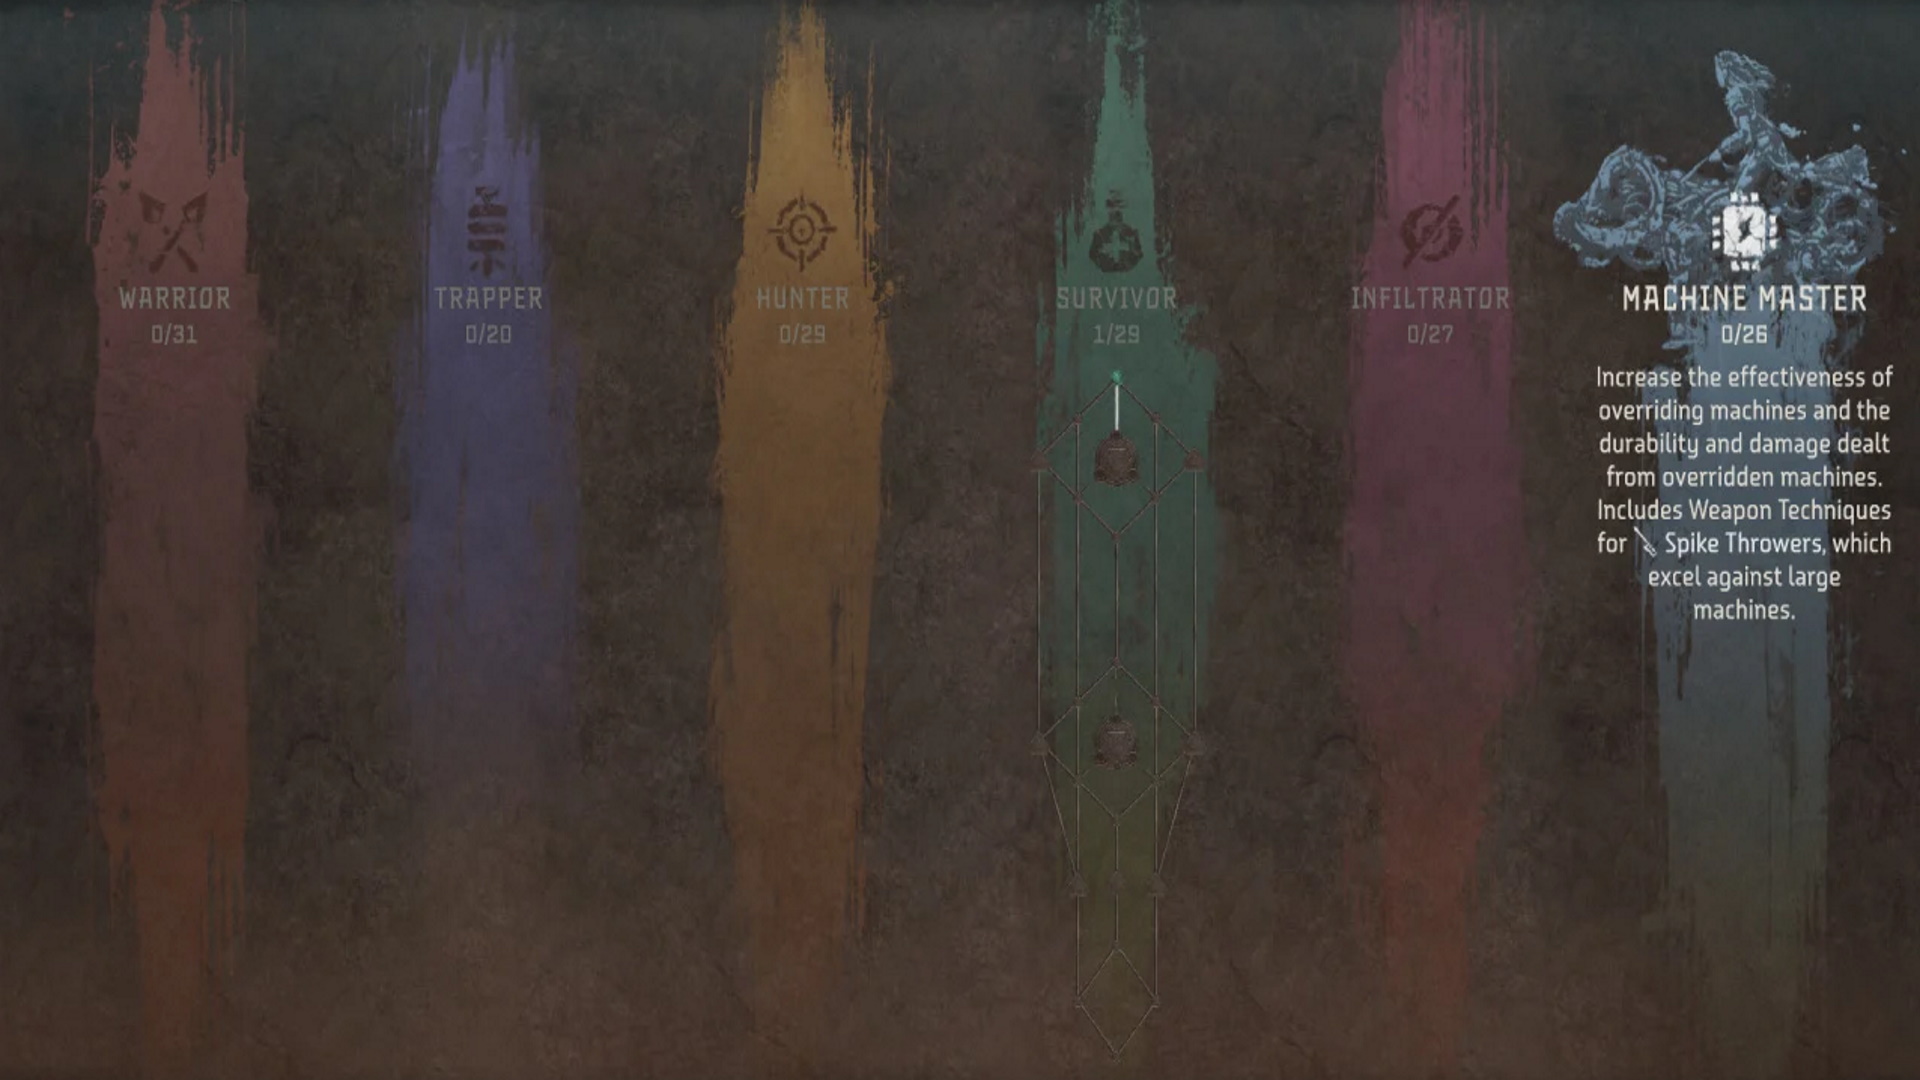
Category: Tips Horizon Forbidden West: Best Skills for Each Skill Tree You Should Choose First Josh Broadwell Josh Broadwell Feb 25, 2022
Category: Tips Horizon Forbidden West: Where to Find All Survey Drones & Locations Jonathan Moore Jonathan Moore Feb 23, 2022
Category: Tips Horizon Forbidden West: Best Weapons That Aren’t Legendaries Josh Broadwell Josh Broadwell Feb 23, 2022
Horizon Forbidden West Burning Shores DLC Review: Zeniths, Quen and Dinos, Oh my! Ashley Erickson Ashley Erickson Apr 24, 2023
Horizon Forbidden West: How to Destroy Metal Flowers with the Vine Cutter Jonathan Moore Jonathan Moore Feb 22, 2022
Horizon Forbidden West Firegleam: How to Destroy Red Crystals Jonathan Moore Jonathan Moore Feb 22, 2022
Video Game Release Calendar 2022: PC, PlayStation, Xbox, & Switch Jonathan Moore Jonathan Moore Dec 27, 2021