With Fallout 4 looming on the horizon, Bethesda has released Fallout Shelter in an effort to somewhat tie fans over until release. The game is essentially a base management game similar to the XCOM series set in the Fallout world. You have dwellers to keep happy, resources to produce, and Raiders to defend against. This guide should help get you on your feet quickly and growing your Vault in no time!
The Triforce of Resources
The happiness of your dwellers and the survival of your Vault depends upon the three resources: food, water, and power. Each resource is made by a specific room.
- Power: Power Generator
- Water: Water Treatment Station
- Food: Diner
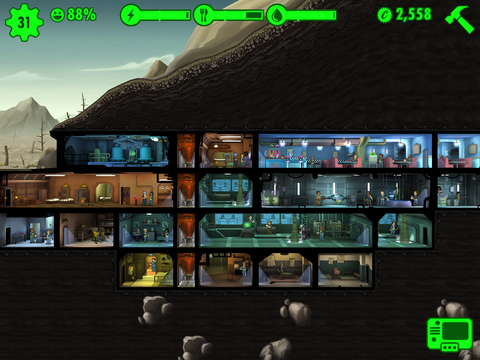
While the other rooms are important, these three rooms should always be your main focus and priority when it comes to building, assigning dwellers with higher stats, and upgrading rooms. Power is especially important to manage since every additional room you build will drain more power from your resources. If you’ll look at the top of the screenshot below, you will notice icons corresponding to each resource.

On each bar you will also notice a line. When a resource drops below this line, the satisfaction of your Vault will decrease. The farther the line is to the right of the bar, the more of that resource you have to produce in order to maintain your Vault. You can cause the line to shift more to the left by building more rooms which produce that particular resource. So long as you stay on top of these three resources, your dwellers should stay happy!

Happy dwellers makes for money!
Finding the Place for Your Dwellers
Each of your Vault dwellers, like your characters in the Fallout series, has stats aligning with the S.P.E.C.I.A.L. system. Each trait determines which rooms a dweller will excel in, reducing time to produce resources, stimpacks, radaways, etc. The rooms for each letter are as follows:
- Strength– Power Generator and Nuclear Generator
- Perception- Water Treatment and Water Purification
- Endurance- Storage Room and Nuka-Cola Bottler
- Charisma- Living Quarters and Radio Studio
- Intelligence- Medbay and Science Lab
- Agility- Diner and Garden
- Luck- Higher success rate when rushing a room and a potential for a cap bonus when gathering resources.
In order to maximize the effectiveness of your dwellers and resource production, you want to assign dwellers to a room that have a high value with the corresponding stat. For instance, a dweller with high strength and low perception is better off working in the power generator rather than water treatment.

Your list of dwellers complete with their location and stats.
There are two ways to determine the stats of your dweller. You can pull up the list of all of your dwellers, or you can simply drag a dweller over each room. When a dweller is held over a room, their stats corresponding to the room will be displayed, as well as whether or not they will add anything to the room’s production. This method allows easy assigning of tasks, especially when your Vault begins to expand. Speaking of expansion…
Room Placement is Key
While you could build rooms with complete disregard for the layout of your Vault, you would be doing yourself a disservice and miss out on some ways to increase your Vault’s efficiency.

Some planning required.
By building rooms of the same type next to each other, you will gain the ability to merge the rooms, increasing efficiency and output. In order to merge rooms, both rooms must be of the same level.

An example of merged rooms.
If you have a level 1 Water Treatment next to a level 2 Water Treatment, the level 1 room must be upgraded in order to merge with the level 2 room. Not only do the upgraded rooms produce and store more resources, merging rooms also allows you to fit more dwellers into a room – further increasing production! You can’t run a Vault without dwellers, so we have to talk about…
The Birds and the Bees: Obtaining More Dwellers
There are three ways to obtain more dwellers for your Vault: receiving special rare dwellers in lunchboxes, attracting wasteland wanderers via the radio station, or the old-fashioned way. The old-fashioned way is the most dependable way to obtain more dwellers.

Ladies love the wrestling outfits.
Dwellers can only get together in the Living Quarters. When trying to get the magic going, it helps to have at least one dweller with a Charisma level of four or higher. For my play sessions, I had two rare dwellers obtained from a lunchbox with a Charisma level of 5 who kept things (ahem) going, if you will.

Lots of smiles is how babies are made.
When a female dweller is pregnant, she will continue to produce resources, but in order to protect the baby, she will flee a room on fire, infested with radroaches, or under attack by raiders. Keep this in mind when growing your population to ensure you have plenty of dwellers able to respond to emergency situations.

Now about those raiders.
Those Darned Raiders
Those raiders just can’t be happy living in the irradiated Wasteland filled with dangerous, mutated creatures. They will occasionally attack your Vault in an attempt to enter your territory and casually slaughter your little settlement. How rude!

Once raiders enter your vault, all production will cease until the threat is eliminated. From my playtime, there seems to be no way to truly prevent raiders from entering your vault, but you can delay their intrusion and give them hell once they enter.
By upgrading your vault door, you can prolong the amount of time it takes for raiders to gain entrance. You can also post guards by the door as a first line of defense once the door has been breached.

If the raiders break through your guard, and they usually do, they will proceed to run haphazardly through your vault, disrupting your progress and attacking your dwellers. Dwellers will automatically attack any raiders in their vicinity, and equipping your residents with a weapon will increase their combat effectiveness. After defeating the intruders, your vault dwellers can take a break and enjoy some Salisbury steak from their lunchboxes!
Hooray for Lunchboxes!
As I mentioned earlier, lunchboxes are the only way to obtain rare dwellers that have high stats. What is a lunchbox you ask? In Fallout Shelter the lunchbox is the premium item you can purchase or gain by completing objectives. Each lunchbox comes with four cards. These cards will reward you either with caps, outfits, weapons, or rare dwellers.
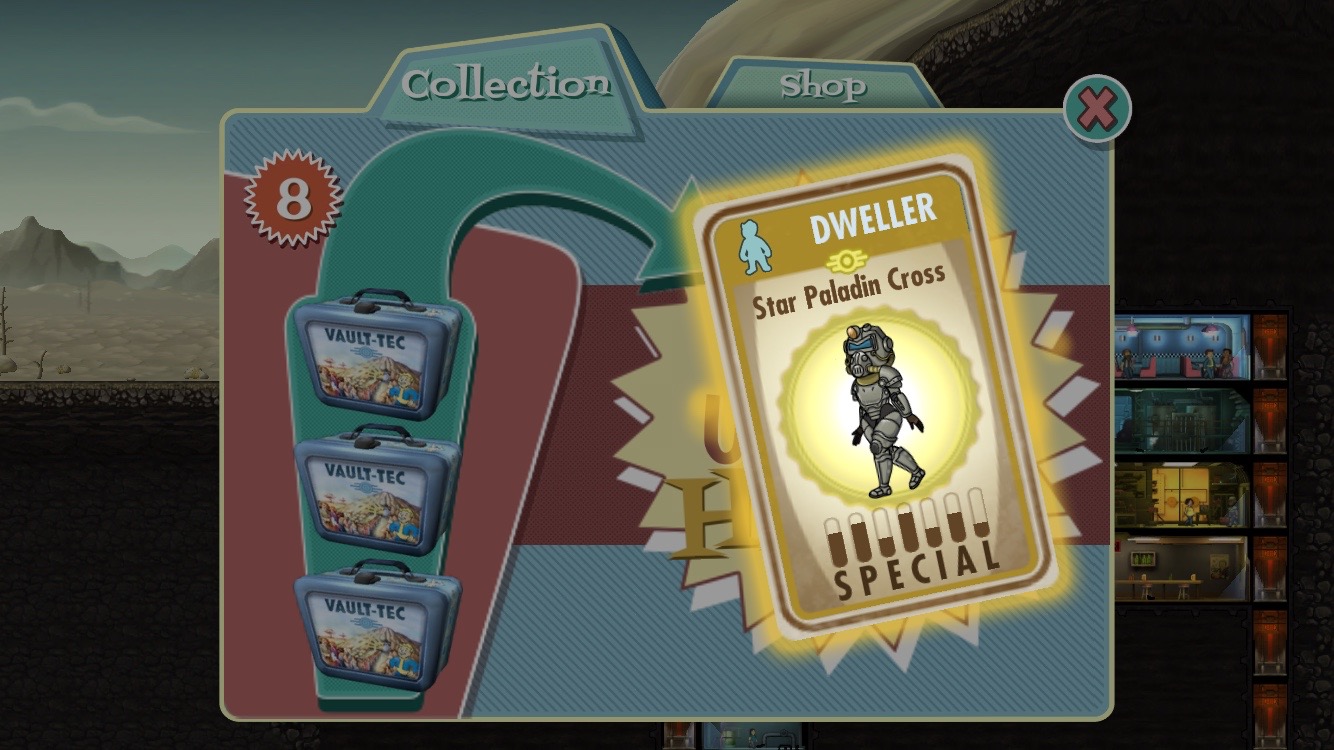
Every box is guaranteed to contain at least one rare dweller, making them well worth your while. However, instead of ponying up cash to Bethesda, you can also complete objectives to be rewarded with lunchboxes!
Free Stuff is the Best
Fallout Shelter uses an objective system similar to the daily quests in Hearthstone and Heroes of the Storm. The game will assign you up to three tasks to be completed for either caps or lunchboxes. However, unlike the Blizzard model, any objective you complete will be instantly replaced with a new one to tackle, ensuring you have a constant flow of rewards to gain.

However, there is a way to try to ensure your objectives will grant you a lunchbox or are easily attainable. Once you begin to grow your vault, once in every 24 hour period you will have the ability to remove one objective from your list. This can be used to remove objectives you have no feasible way of completing.
For instance, upon starting my post-apocalyptic settlement, I was tasked with raising the luck of five dwellers. Since this requires building a game room, which I was nowhere near being able to build, I skipped the objective. It was replaced with “Have three female dwellers pregnant,” which is a much easier task to undertake. Lunchboxes are the only way to obtain rare dwellers, but there is another method to gain outfits and weapons.
Explore Like Magellan
Exploring the Wasteland is a great way to gather caps and discover weapons and outfits. The longer your dweller explores, the better their rewards. When deciding who to send on a mission, it seems dwellers with a high Endurance tend to fare the best. You also want to equip the dweller with a decent weapon they can use to defend themselves, as well as stimpacks and Radaway. I recommend at least two of each.

You never know what you will find out here.
When your dweller is exploring, you can tap the Wasteland to pull up the dweller’s action log and how they are doing. This is also how you will monitor their health and radiation levels. When it looks like things are getting too much for them to handle, simply recall them and they will be on their merry way back to vault sweet vault.
If they do die while adventuring, you will have to pay a fee to resurrect them. The fee is determined based on the dweller’s level, with higher level charcters requiring more caps to ressurrect. Keep an eye on these rascals! Once they return, you will have to collect their items and reassign them back to the room in which you want them to work.
Preparing for the Future
Once you have grown your population to a sufficient amount, you will gain access to the various training rooms. Each room will increase your dweller’s stat for a particular stat. The rooms are as follows:
- Strength training: Weight Room
- Perception training: Armory
- Endurance training: Fitness Room
- Charisma training: Lounge
- Intelligence training: Classroom
- Agility training: Athletics Room
- Luck training: Game Room
By placing a dweller in one of these rooms, they will increase their stats in order to be more efficient and produce more resources. Training more than one dweller at a time will speed up the training process, so hop to it!

School’s never out in the Wasteland.
With these tips, you should be able to get your own little slice of…erm…wasteland booming in no time at all! If I come upon any more useful advice, I will be sure to add it here! If you have any tips, feel free to comment and let us know!
Happy overseeing!


Published: Jun 25, 2015 11:47 am