Each weapon you get in The Callisto Protocol is crucial to navigating Black Iron prison and surviving the game’s monsters. Rooted in survival horror, The Callisto Protocol limits the number of weapons you get, giving each of them a specific purpose and function.
While you only wind up getting five guns in The Callisto Protocol, melee and other weapon types are just as important in combat. All in all, you get to try a number of different tools for disposing of the aliens on Callisto.
Thankfully, the game gives you a majority of the weapons on the critical path. However, there are a handful of guns that you will need to go out of your way to find the schematics for. In order to access these weapons, you will need to find their schematic in the level, return it to a Refroger/shop access point, and then purchase the weapon from the store. For each one of those, we will let you know exactly where the schematics are located and how much the weapons will cost you in Callisto Credits.
All Weapons in Callisto Protocol
How to Get the Shiv
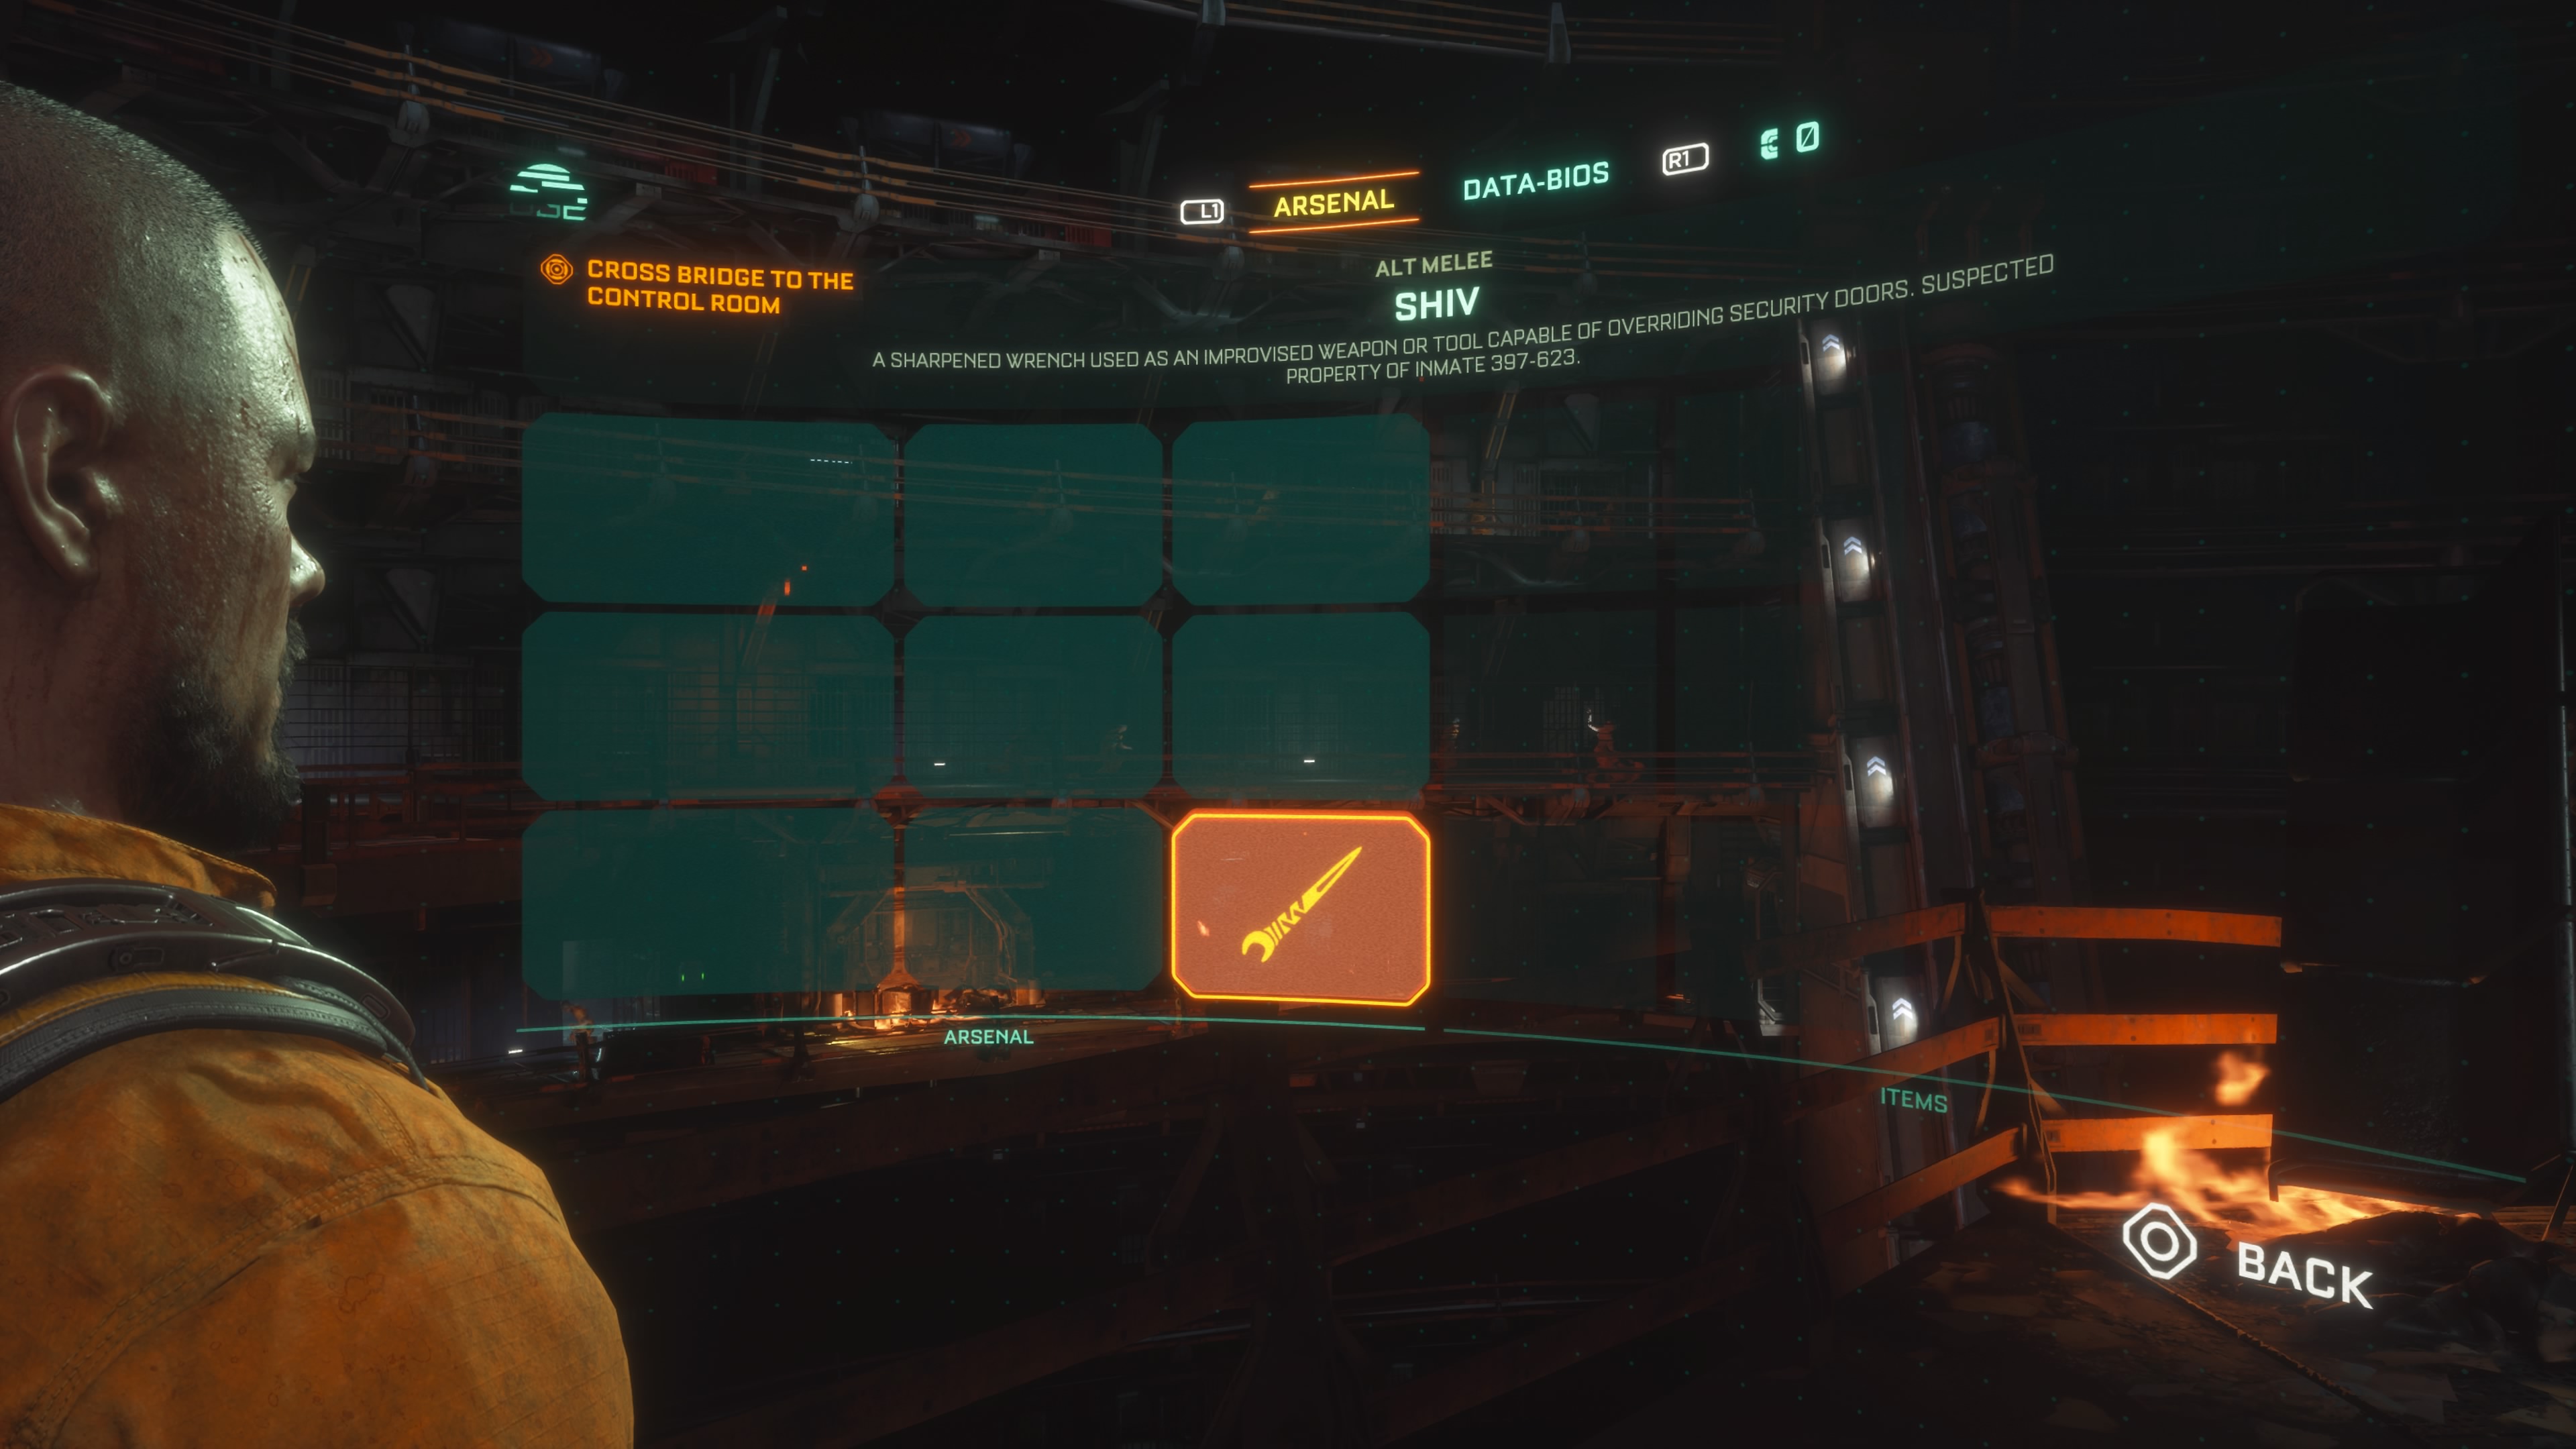
The Shiv is the first weapon you get in The Callisto Protocol. Once you get the Shiv, you will be able to open loot crates, cut into terminals to enter previously inaccessible areas, and — later in the game — use it to stealth kill enemies.
The Shiv unmissable. You get it as part of the story during the very early parts of Chapter 2.
How to Get the Crowbar
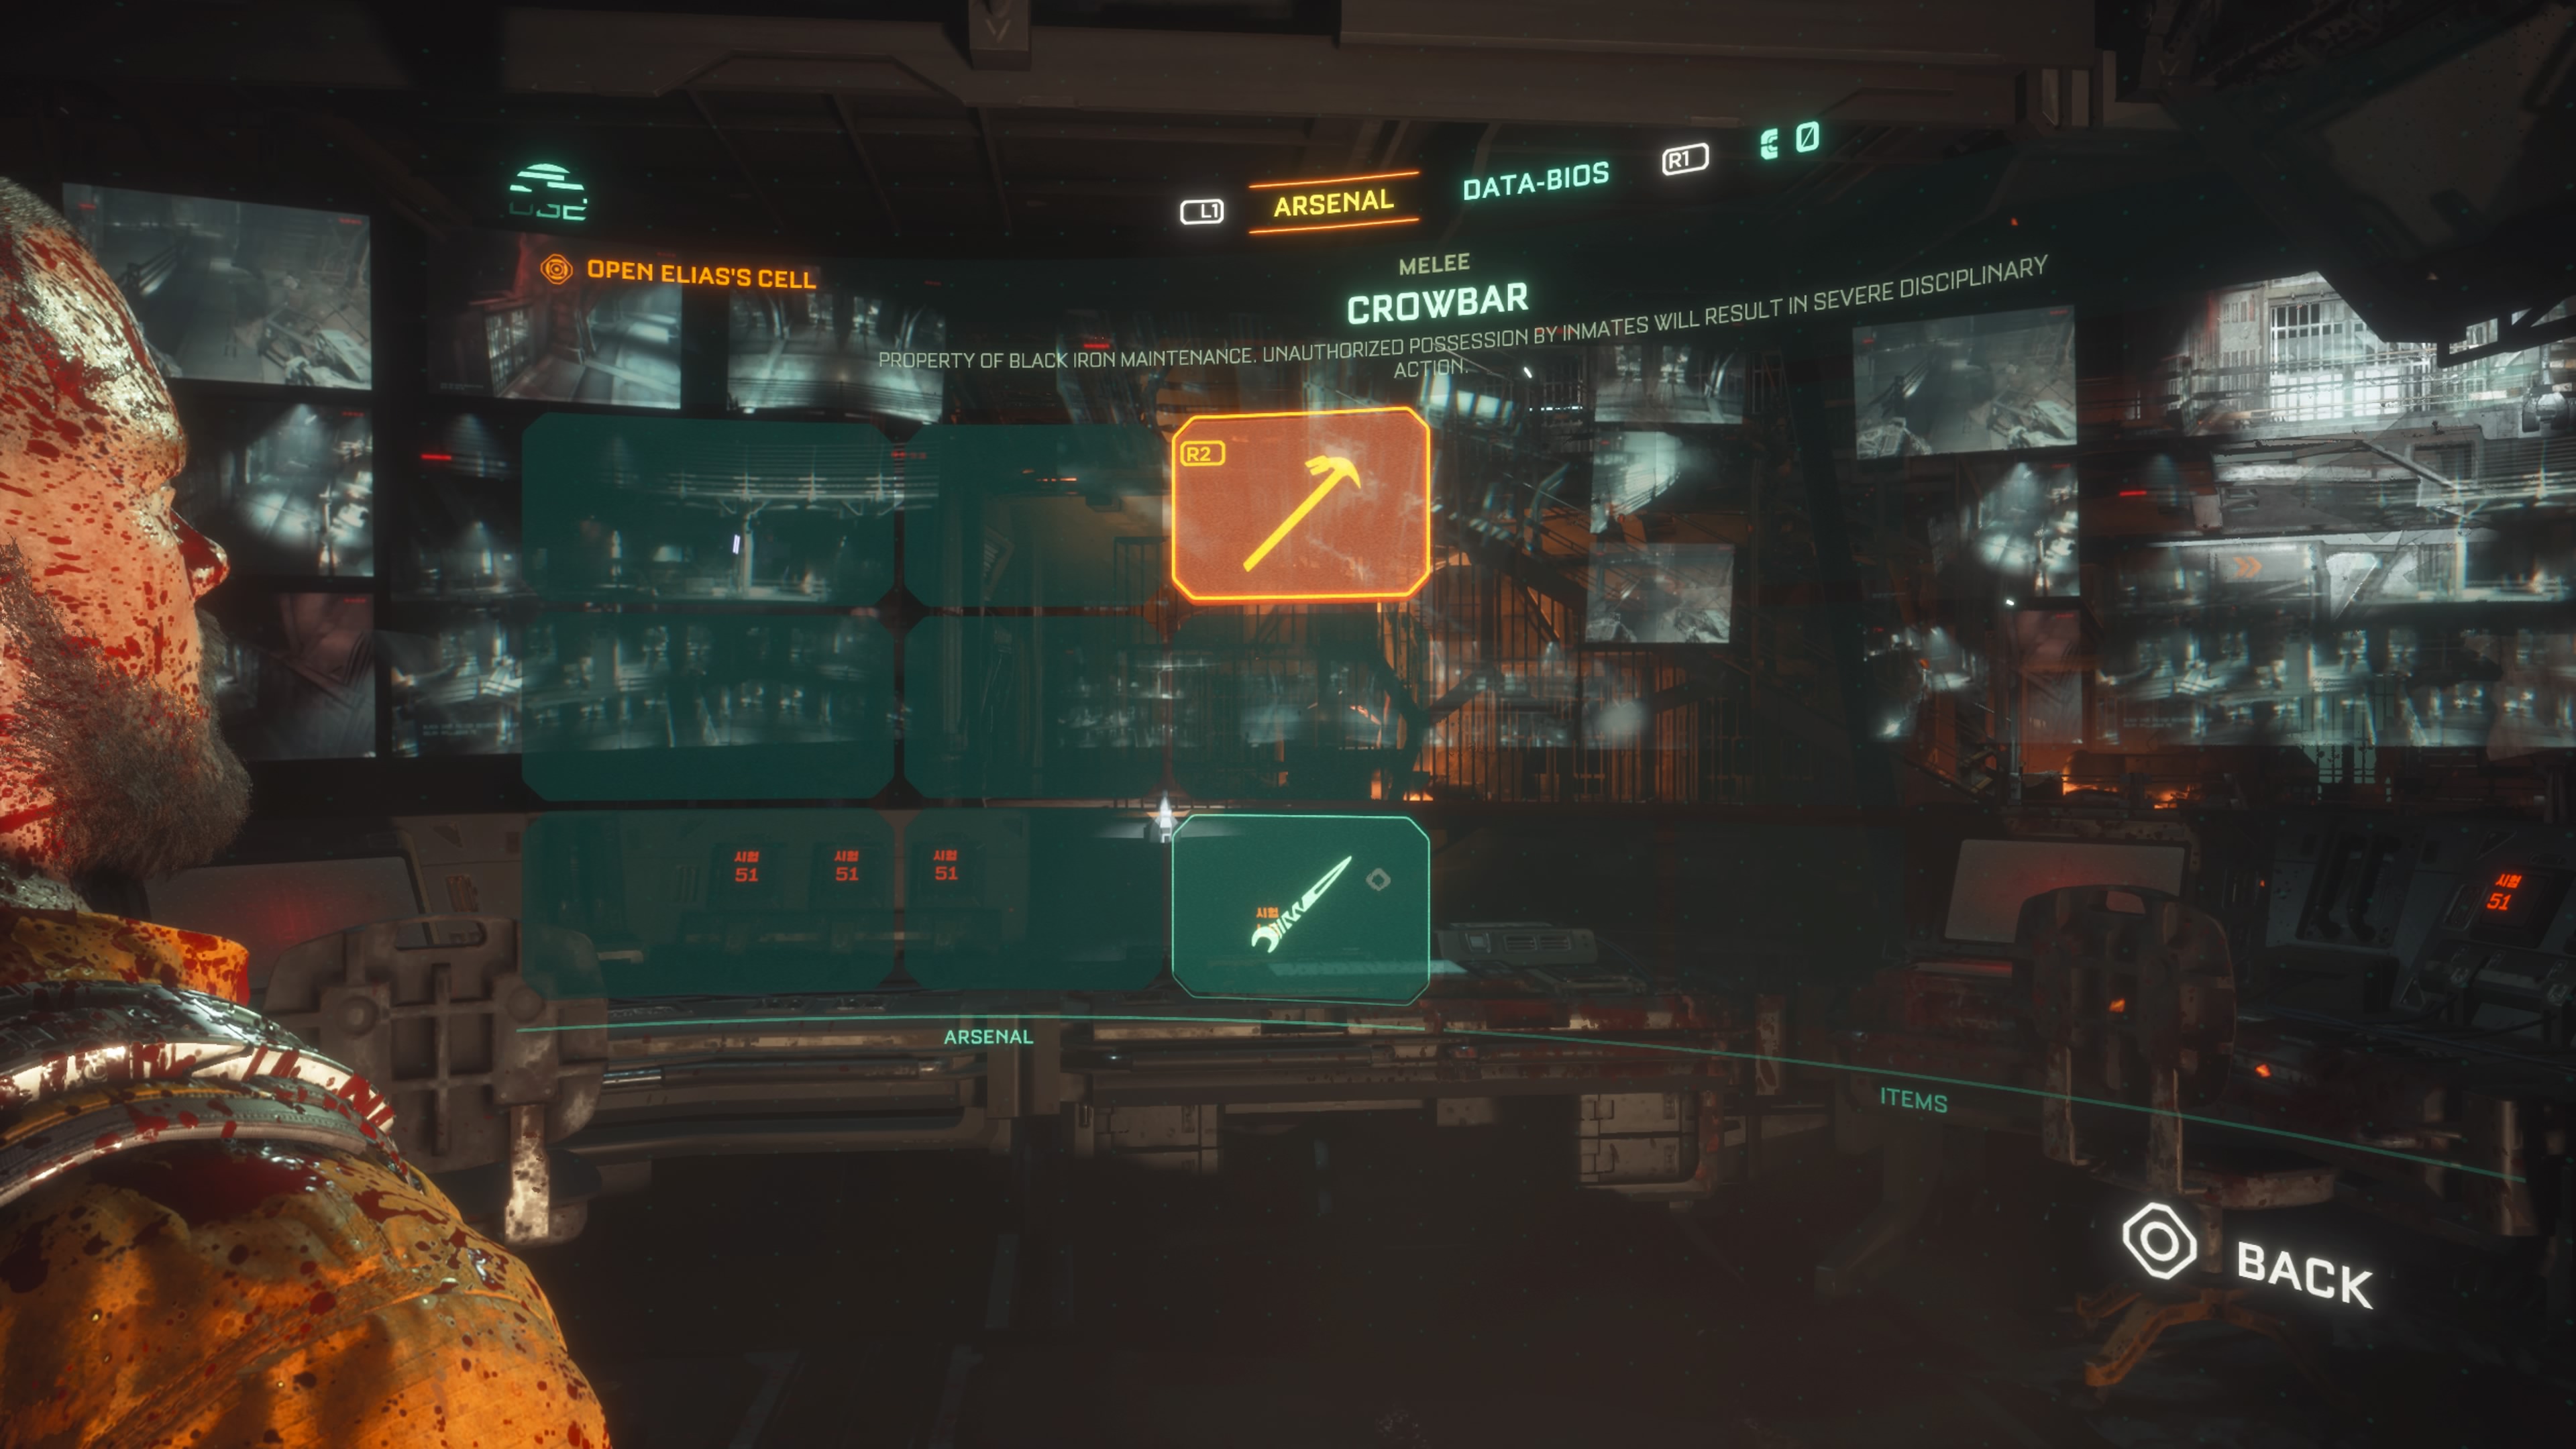
The Crowbar is the second weapon you’ll get in the game. Unlike all the other weapons, you only have access to this one for a temporary period of time period before its replaced by the Stun Baton.
The crowbar is found in Chapter 2, a short time after you pick up the Shiv. After crossing a bridge and opening a locked door, you’ll have your first scripted combat encounter, receiving this weapon in the process.
How to Get the Stun Baton
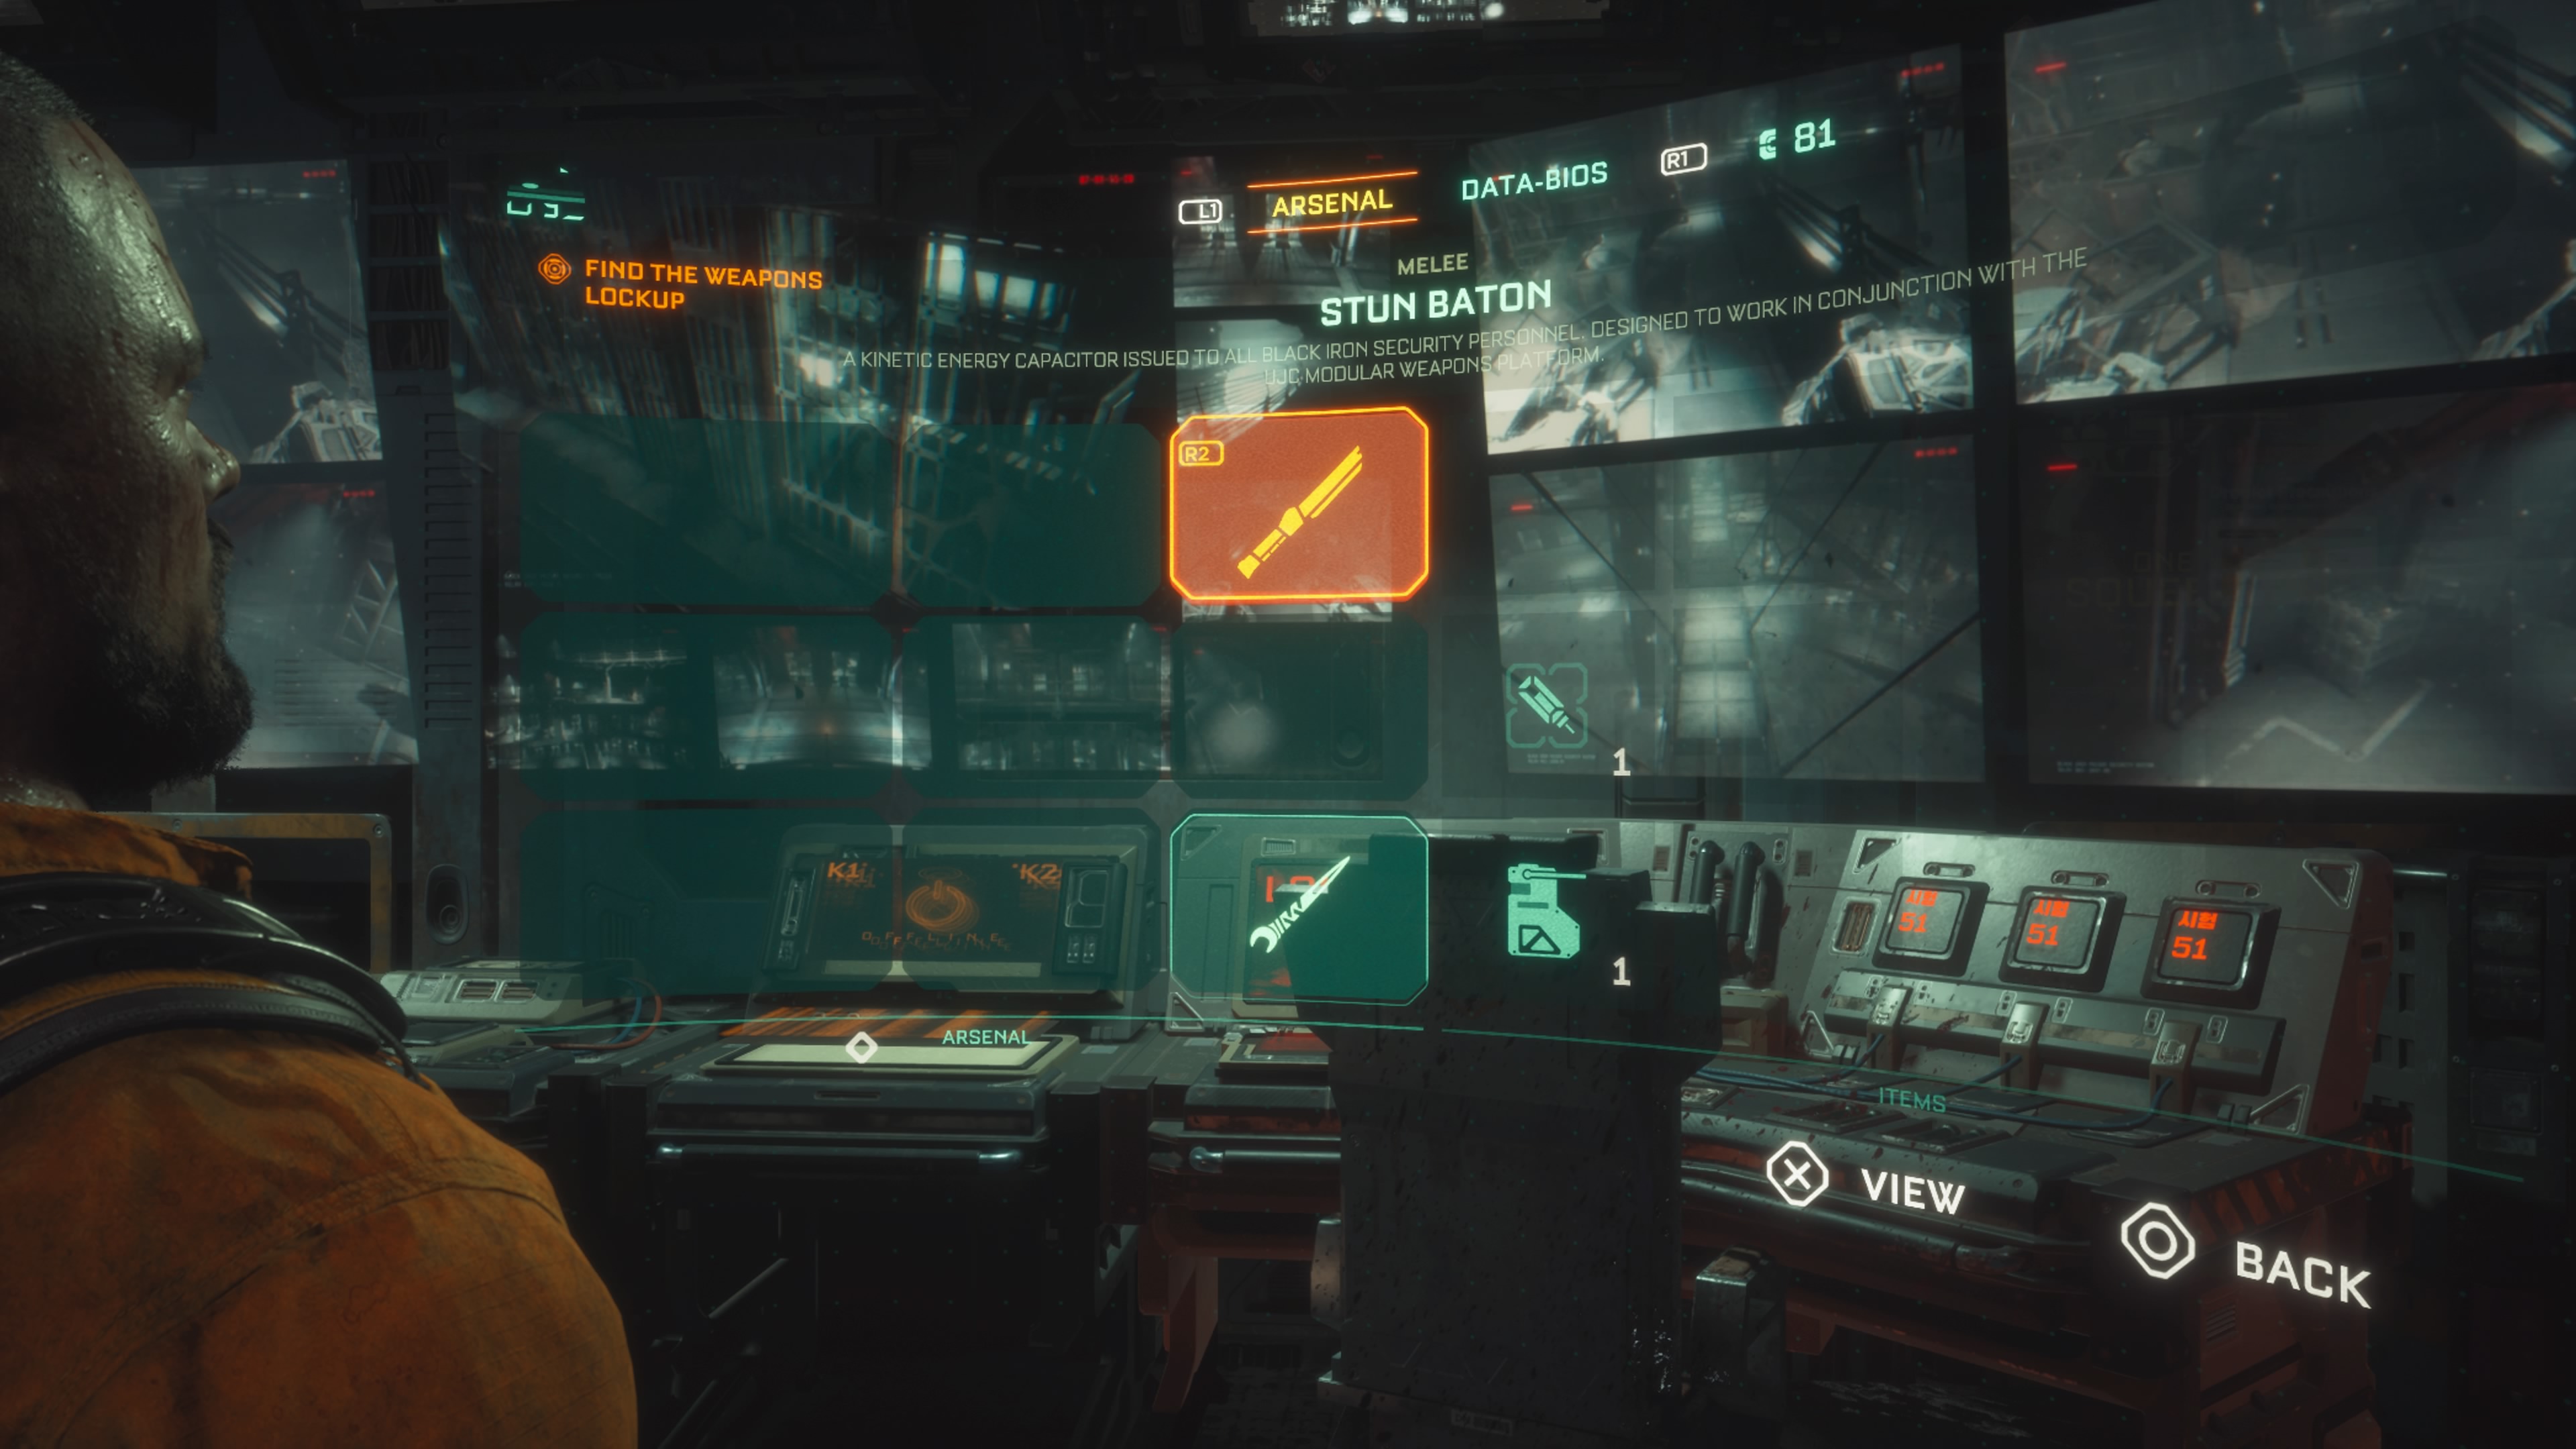
The Stun Baton is a crucial weapon, as it will be your melee companion for the rest of the game. Like all the other weapons so far, you get the Stun Baton by simply moving forward in the critical path.
You’ll pick the Stun Baton up automatically once reaching the Weapons Lockup in Chapter 2. This weapon replaces the Crowbar.
How to Get the BI-55 Pistol Hand Cannon
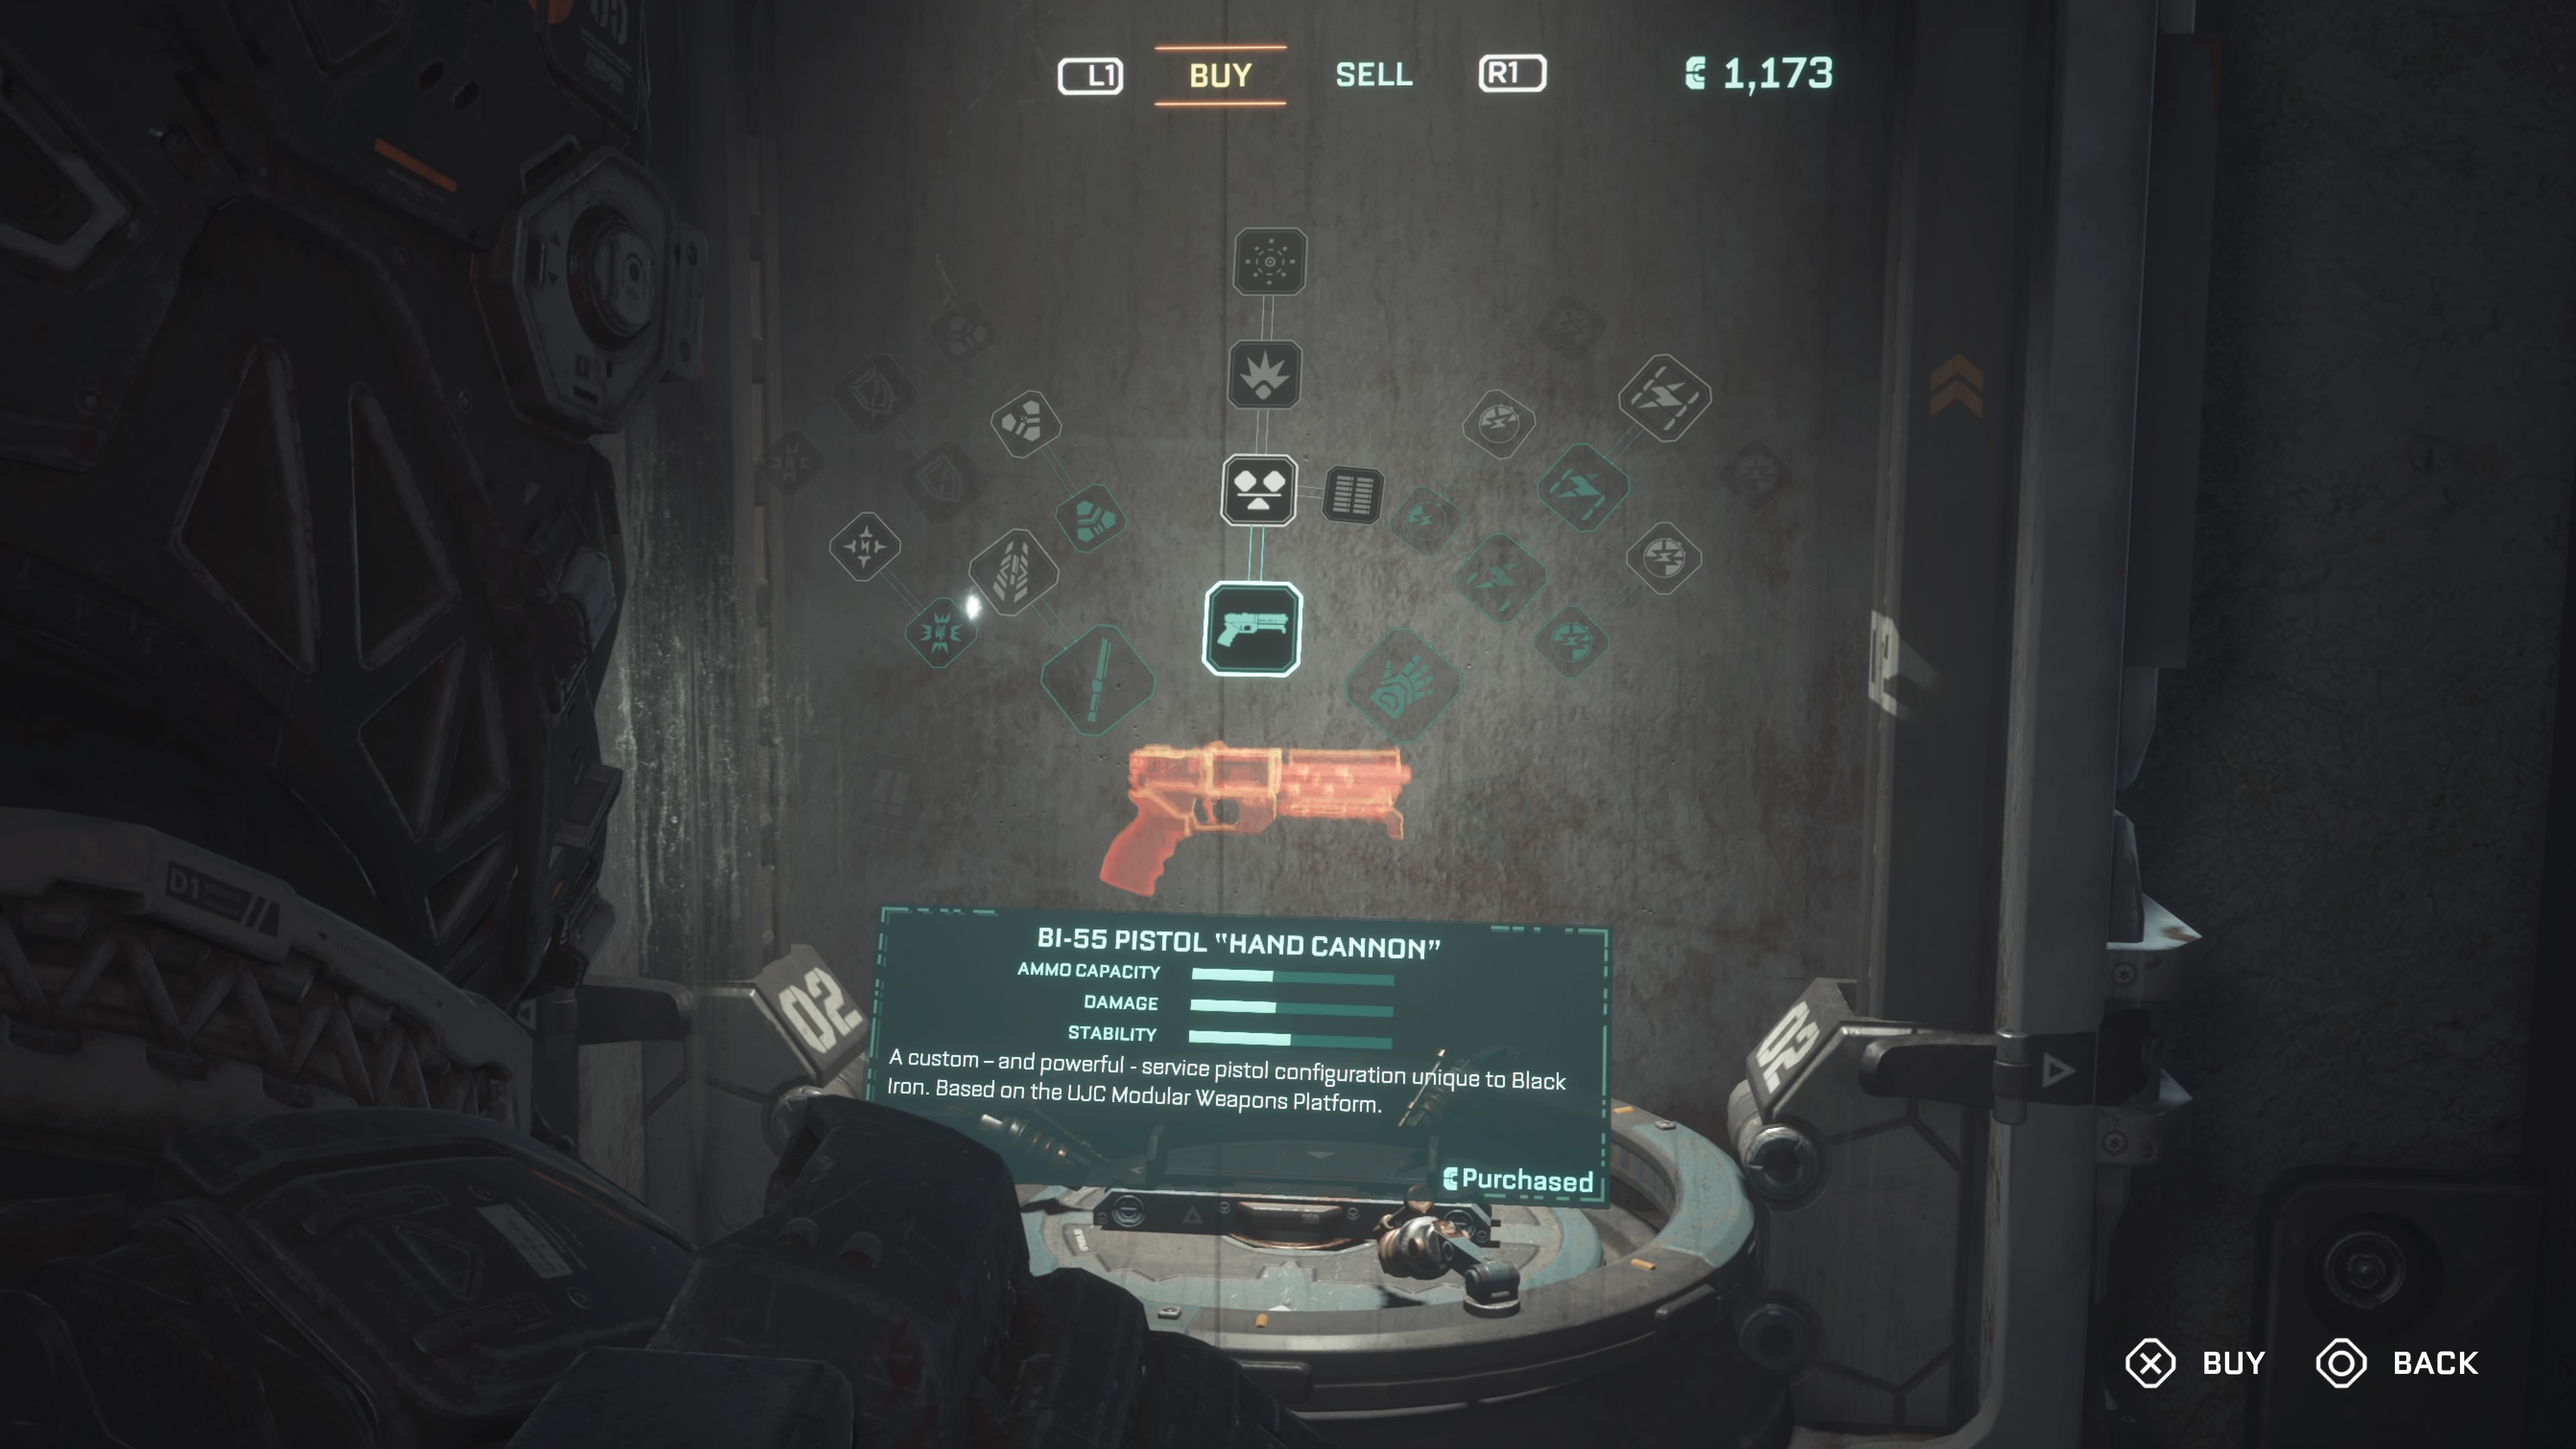
You’ll be able to print the Hand Cannon when you first get access to the Reforge and weapon shop. After a brief cutscene, you will be able to go to the Reforge. First, though, pick up the 800 Callisto Credits to your right that will help you pay for the Hand Cannon.
You then have to create the pistol and purchase it for 800 Callisto Credits — which you will now have at bare minimum. Crafting your first weapon will also earn you the Paper Jams trophy/achievement.
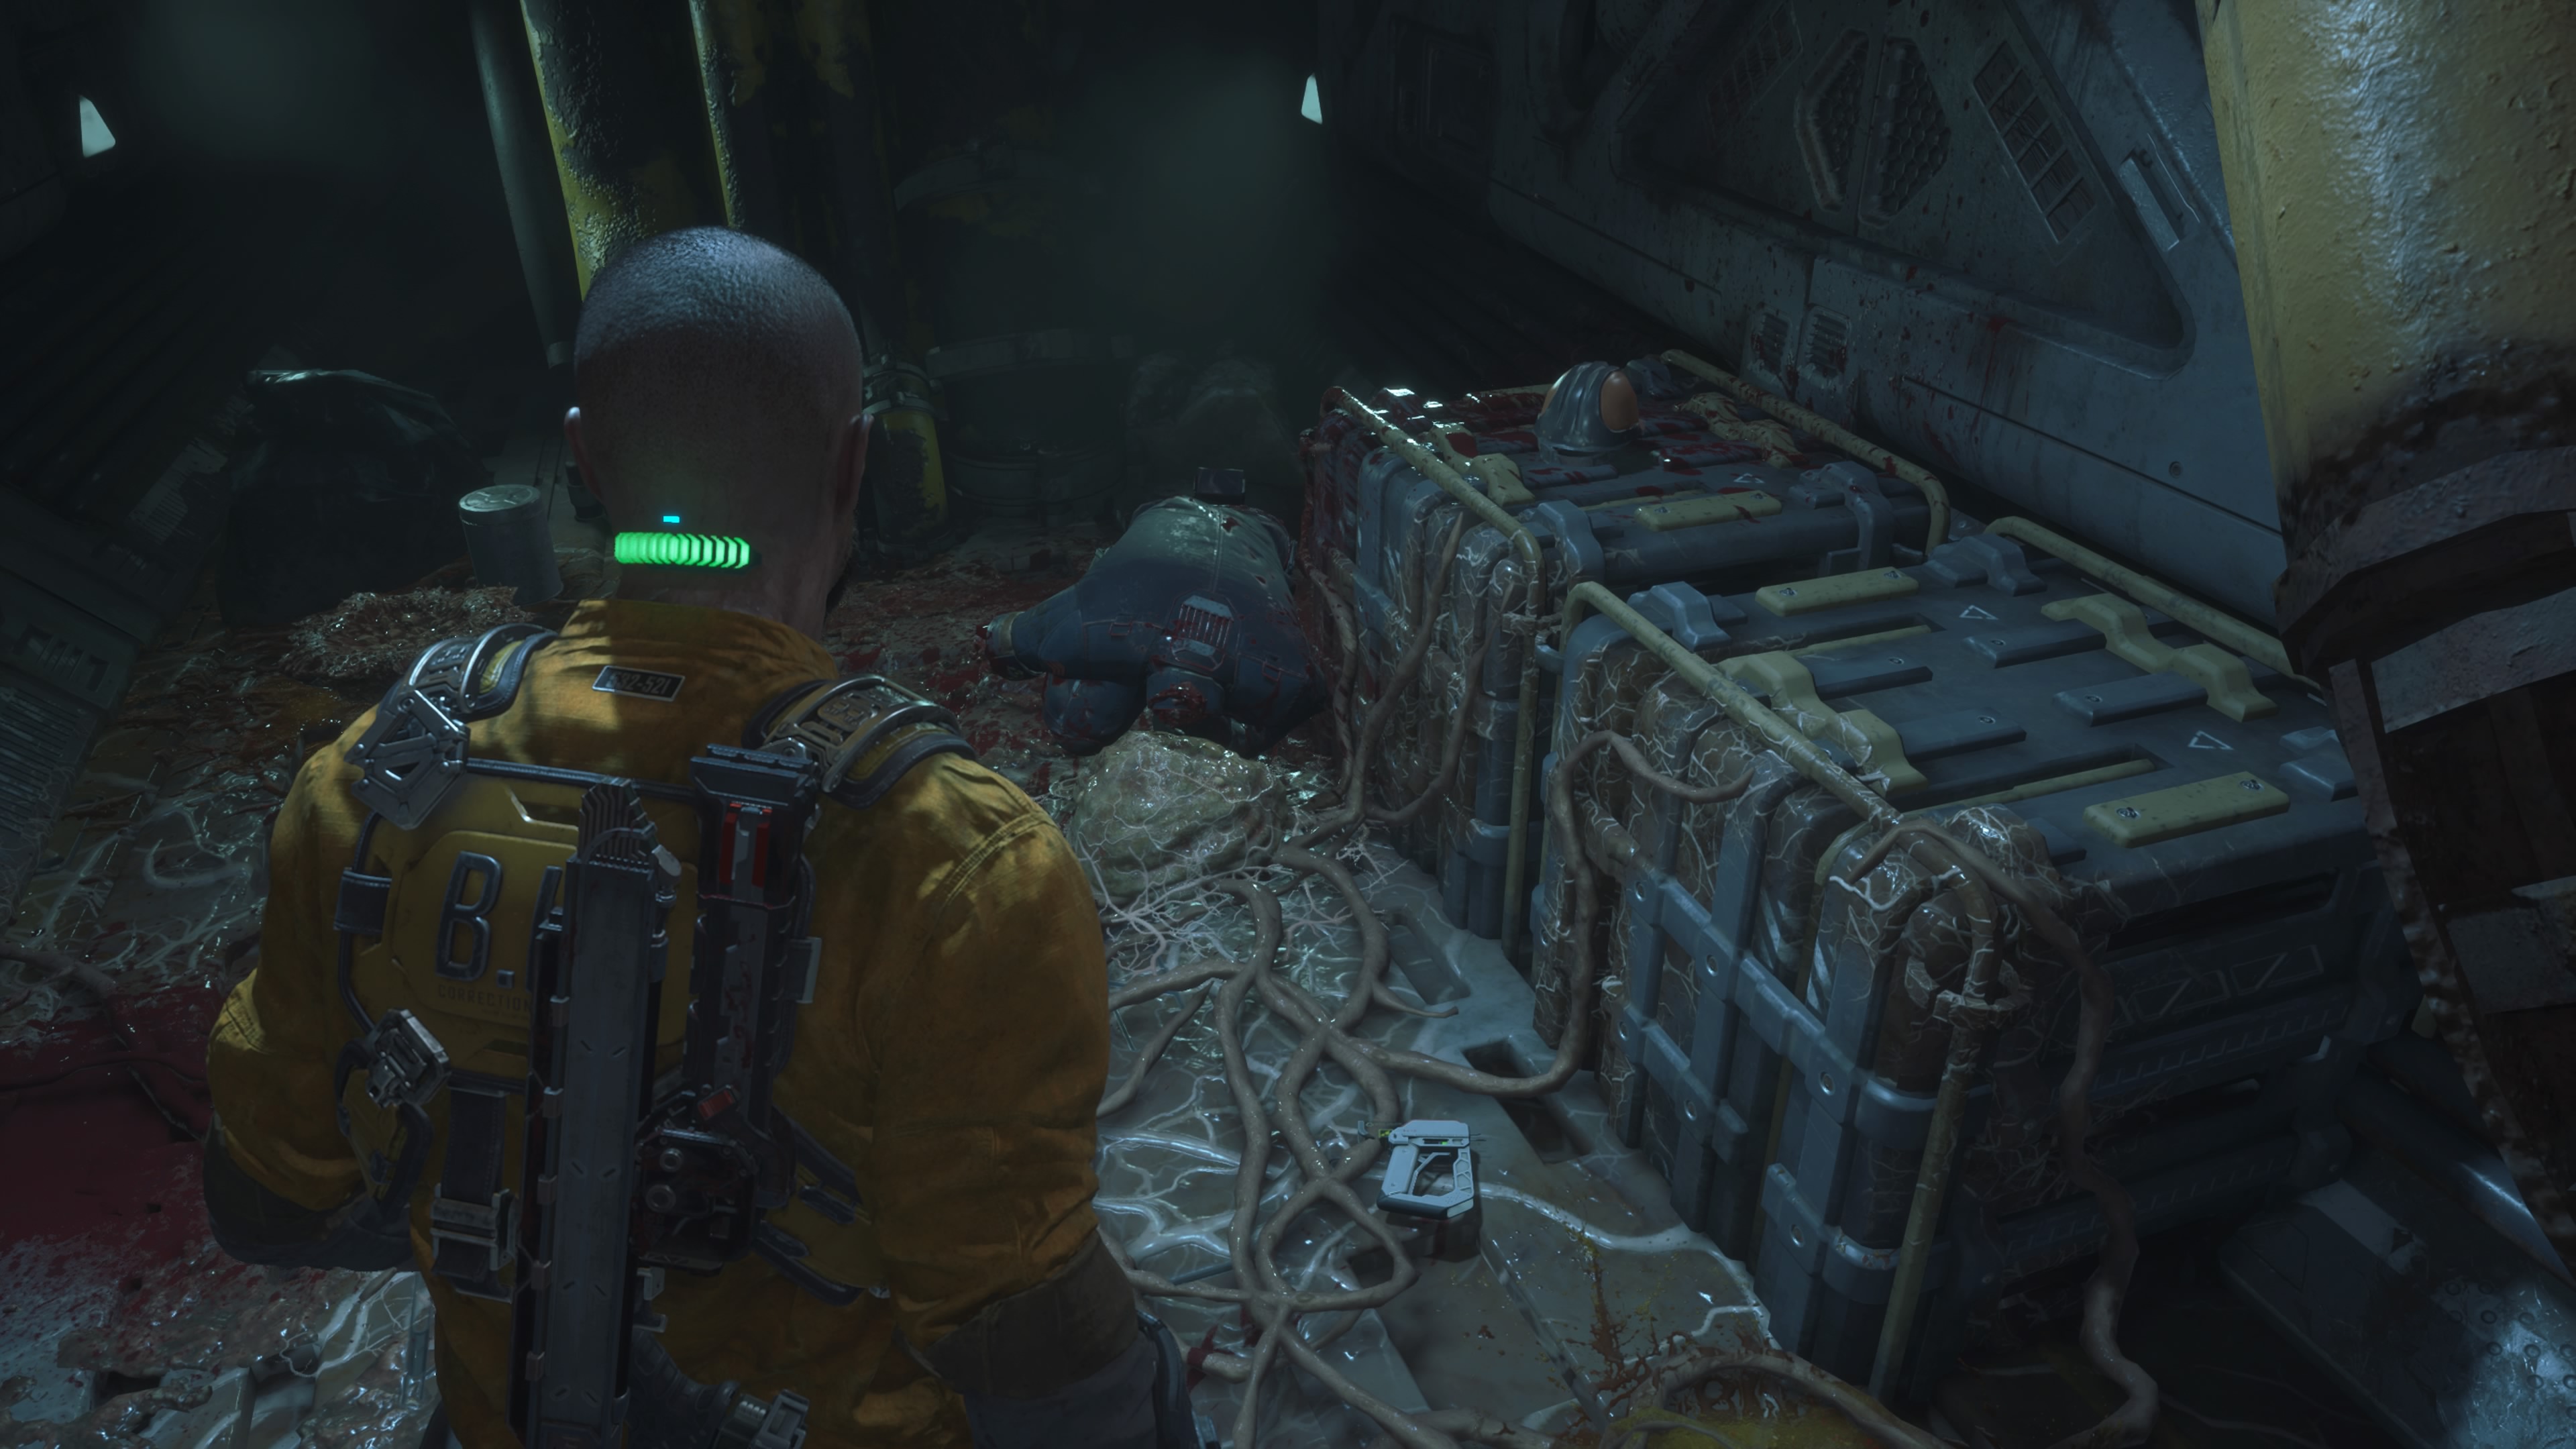
How to Get the GRP (Gravity Restraint Projector)
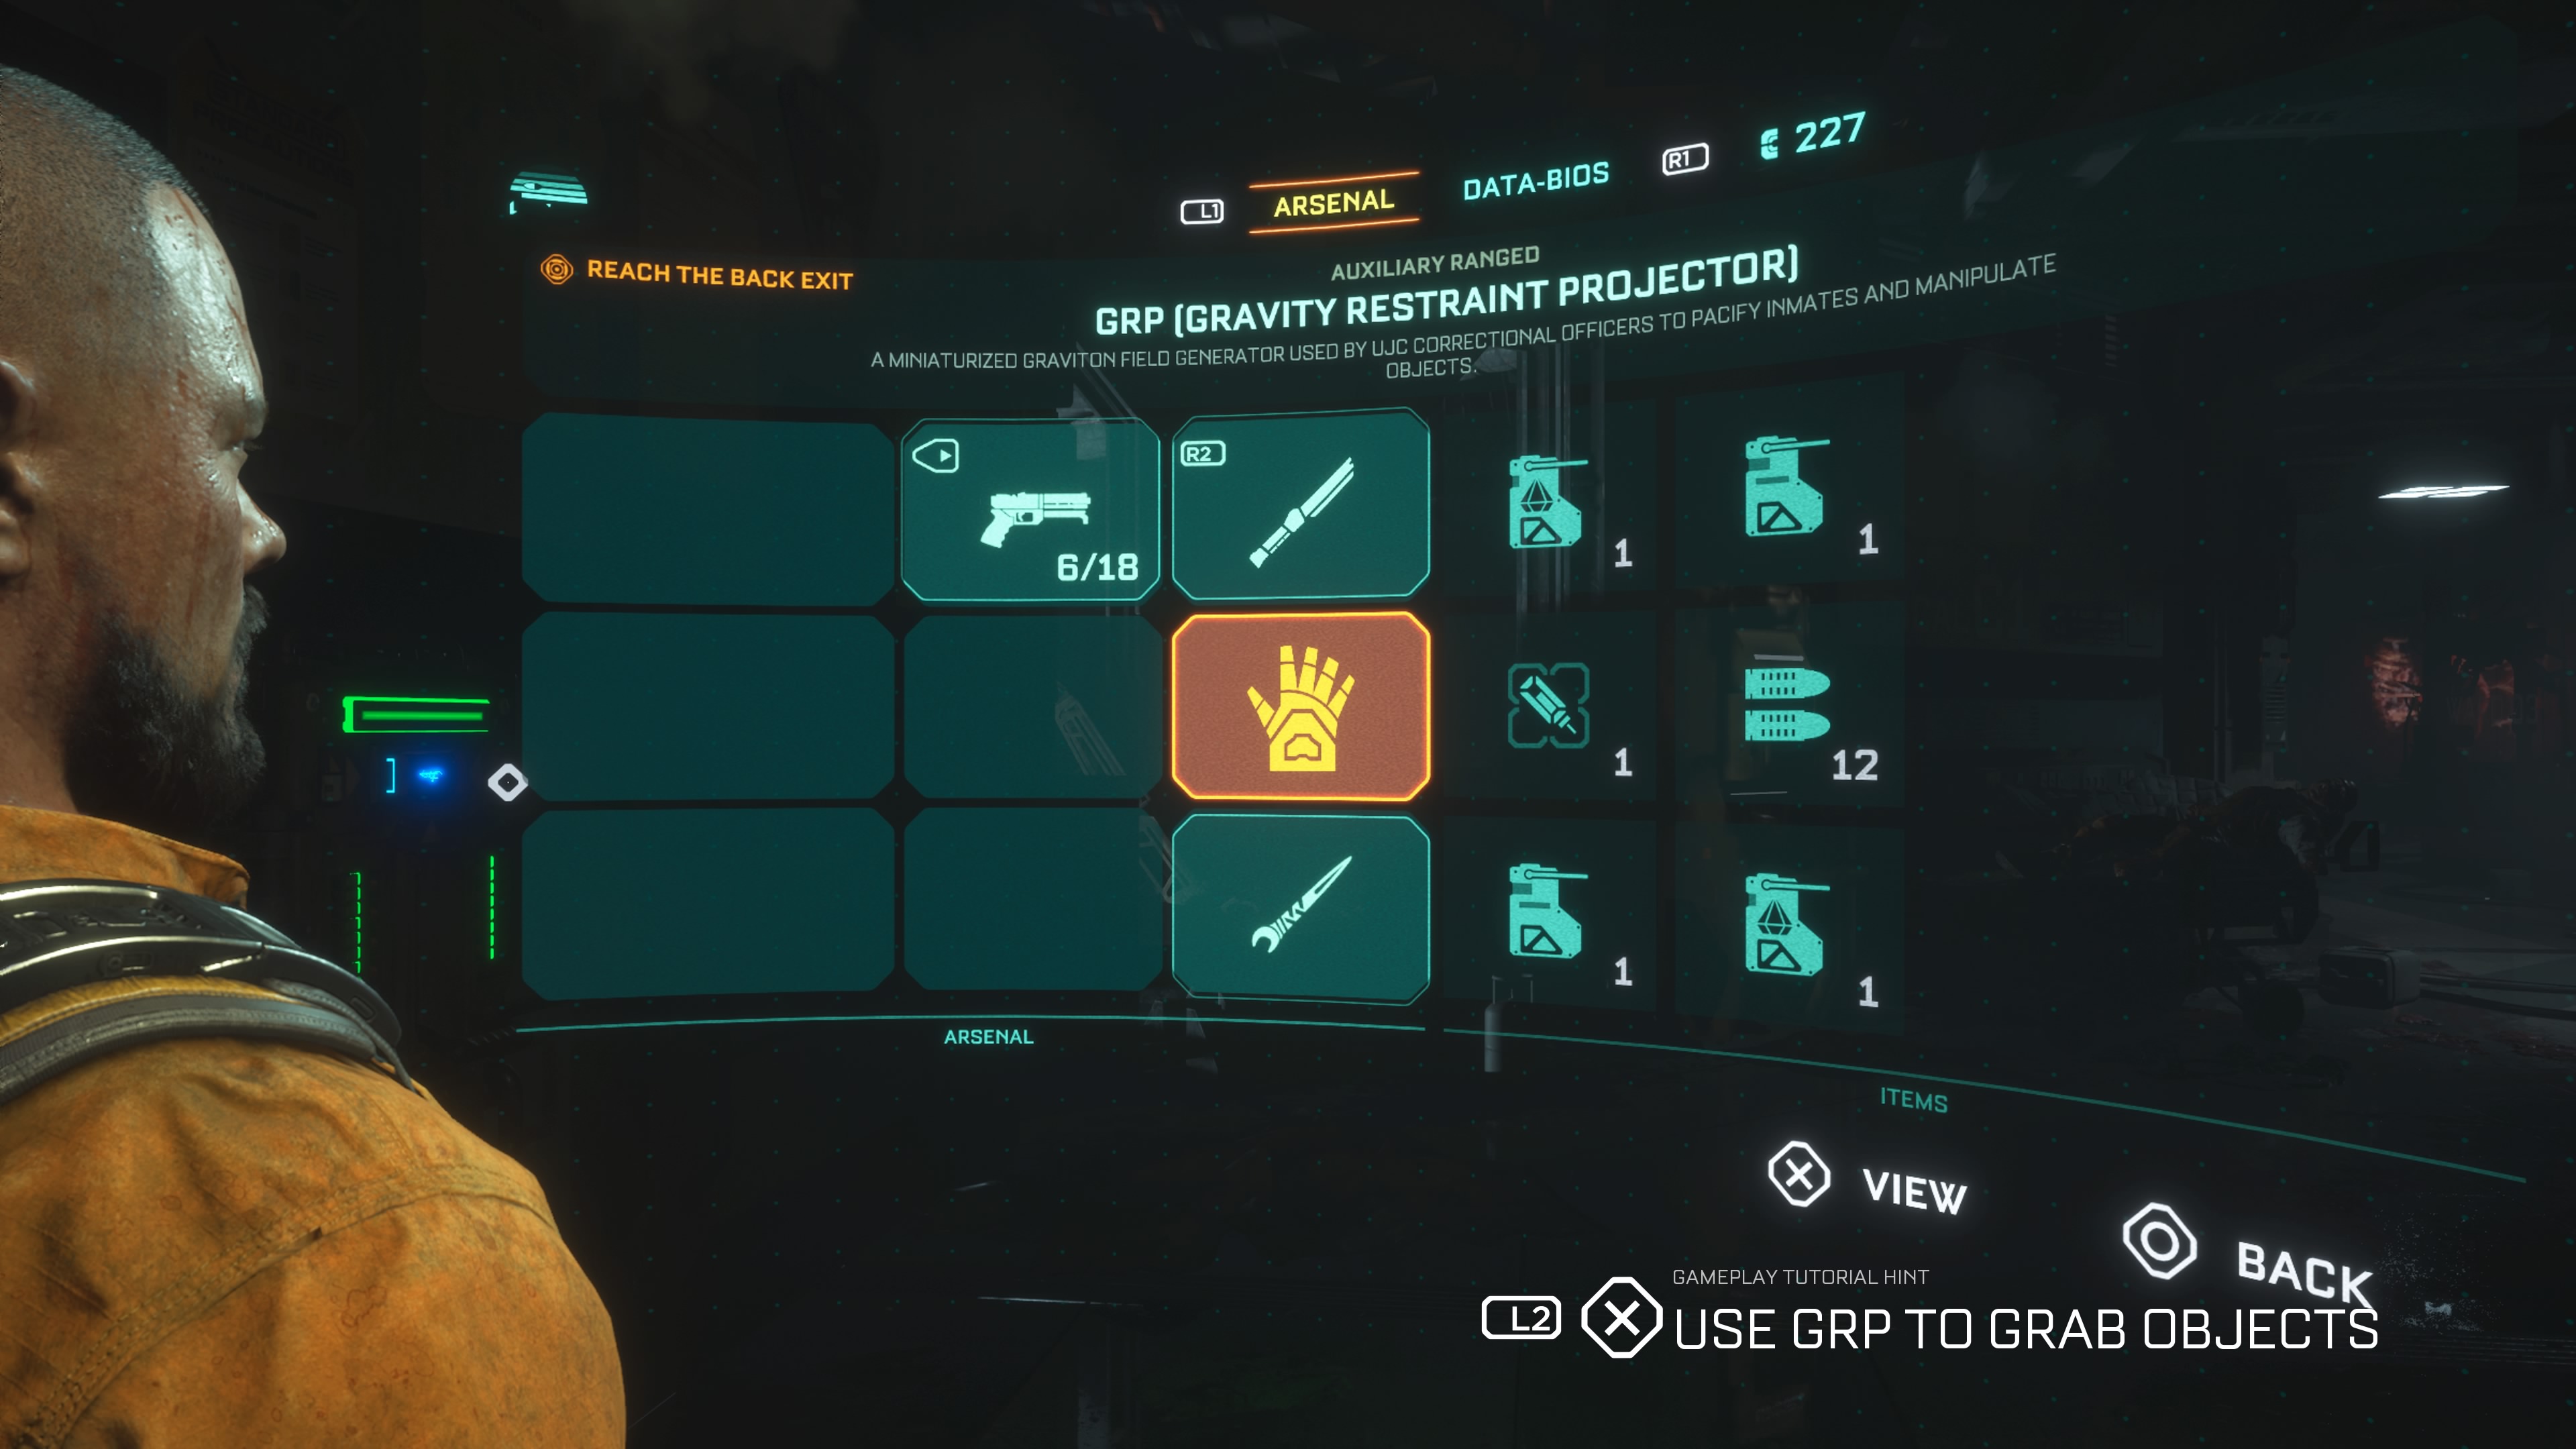
Like its spiritual predecessor Dead Space, The Callisto Protocol gives you a telekinesis-like ability that allows you to grab enemies and objects. You’ll get the GRP (Gravity Restraint Projector) about halfway or so through Chapter 3 on the critical path. You can’t miss it.
After running through the Laundry and the maintenance areas, you’ll go through a QTE door to enter a MedLab area with flickering lights, stretchers, and a path that curves left. Follow the path to the end and squeeze through a door on the left to pick the GRP off the floor near the body of a dead guard on a stretcher.
How to Get the Skunk Gun Shotgun (Schematic)
The first schematic you have to find in The Callisto Protocol is located in Chapter 4: Habitat. This missable blueprint will give you early access to a shotgun, which will be a useful friend in the game’s tough middle hours.
Once you reach The Habitat Dome and Oxygen Processing, specifically, go through the door labeled Botanical H624. Follow the path all the way to the end, and go into the door labeled Utility Hall H626 — this will be marked by the 02 Botanical Recycling sign hanging from the ceiling. Go up the stairs, turn right, and squeeze through the gap in the wall. The schematic is located on a crate on the right side, near a data bios.
Once you return it to the nearest reforger, the Skunk Gun shotgun costs 800 credits to craft.
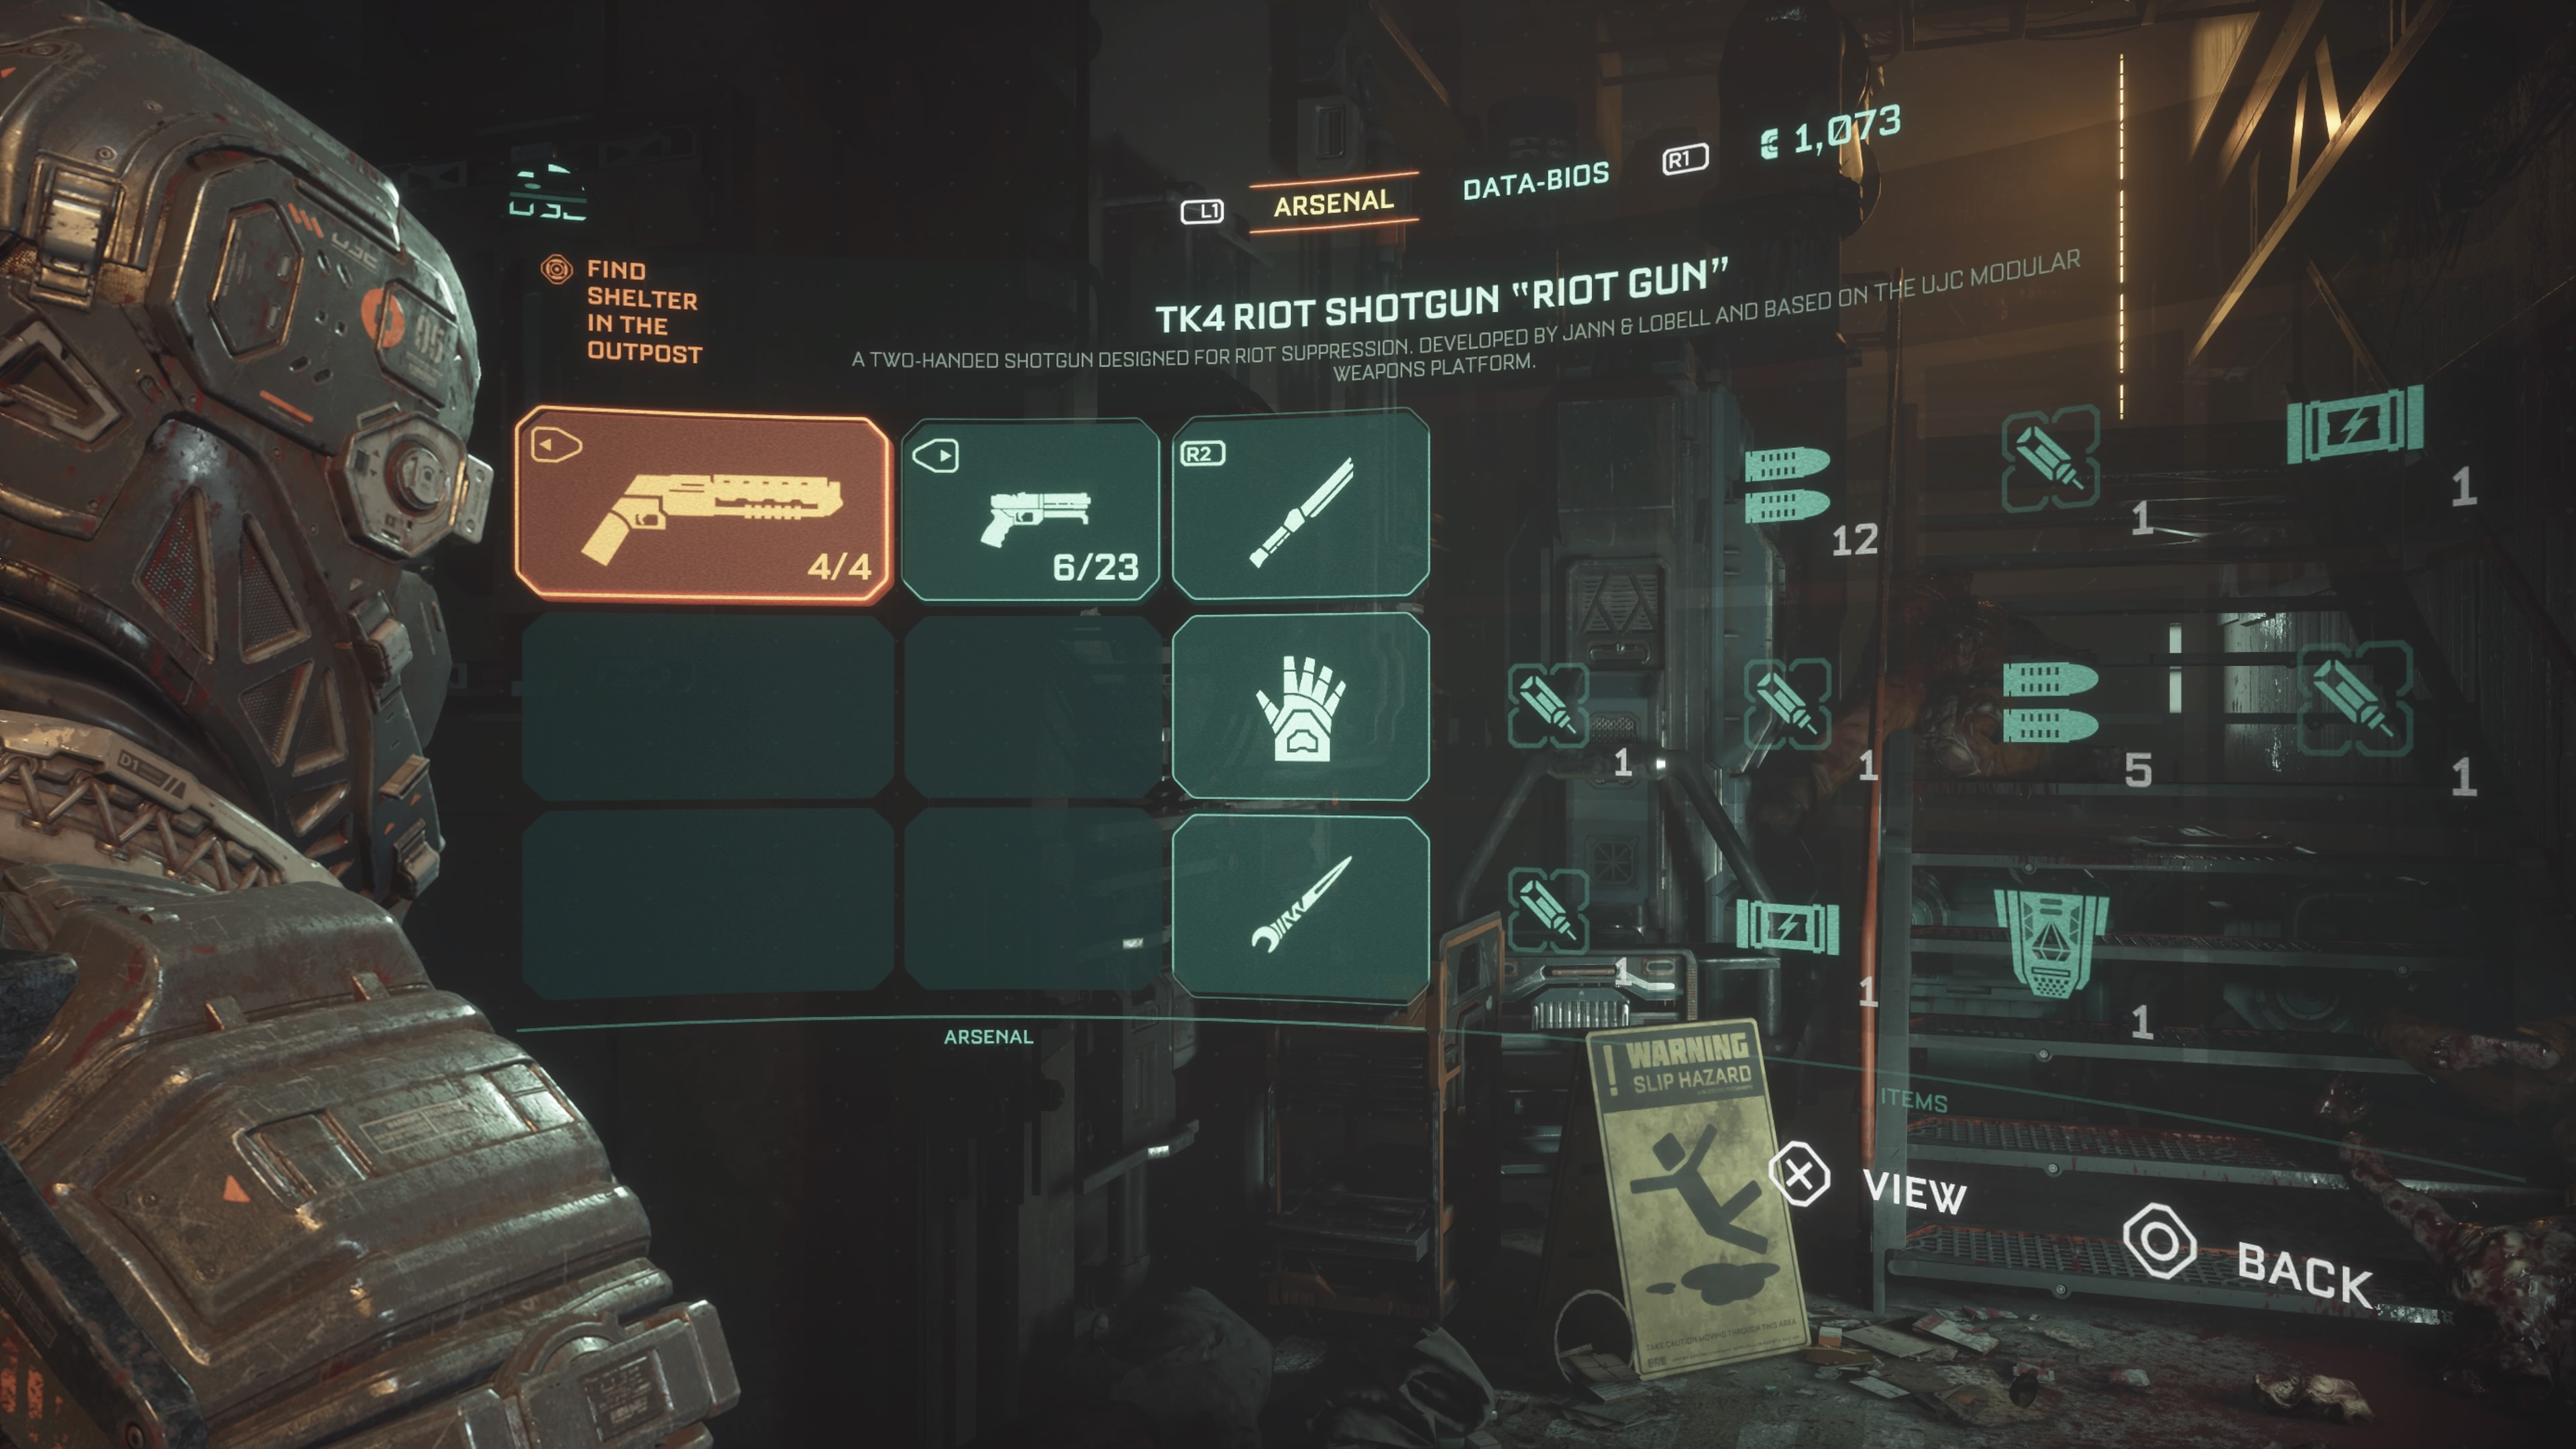
How to Get the TK4 Riot Shotgun (Riot Gun)

The Riot Gun is a shotgun that is a marked improvement over the Skunk Gun. Arguably, it’s the best weapon in the game. Thankfully, The Callisto Protocol is nice for once and just gives it to you in Chapter 5.
About halfway through the chapter, after making it to the garage, you will receive the Riot Gun as part of the main story.
How to Get the UJC Special Ops Tactical Pistol (Schematic)
You’ll find the schematic for the Tactical Pistol in Chapter 6, after you’ve fallen down the elevator shaft. Go forward through the area with the blind zombies roaming about until you have to squeeze through a tight space with two blind zombies on either side. They will awaken and attack you. Defeat them, and then go into the side area to the right. You can pick up the schematic from on top of the table near the lockers.
This weapon costs 600 credits to print. It is more precise than the Hand Cannon but, especially at first, it won’t do nearly as much damage. The Tactical Pistol can be good for taking out limbs, but it isn’t a powerhouse like many of the other options.
How to Get the Assault Rifle (Schematic)
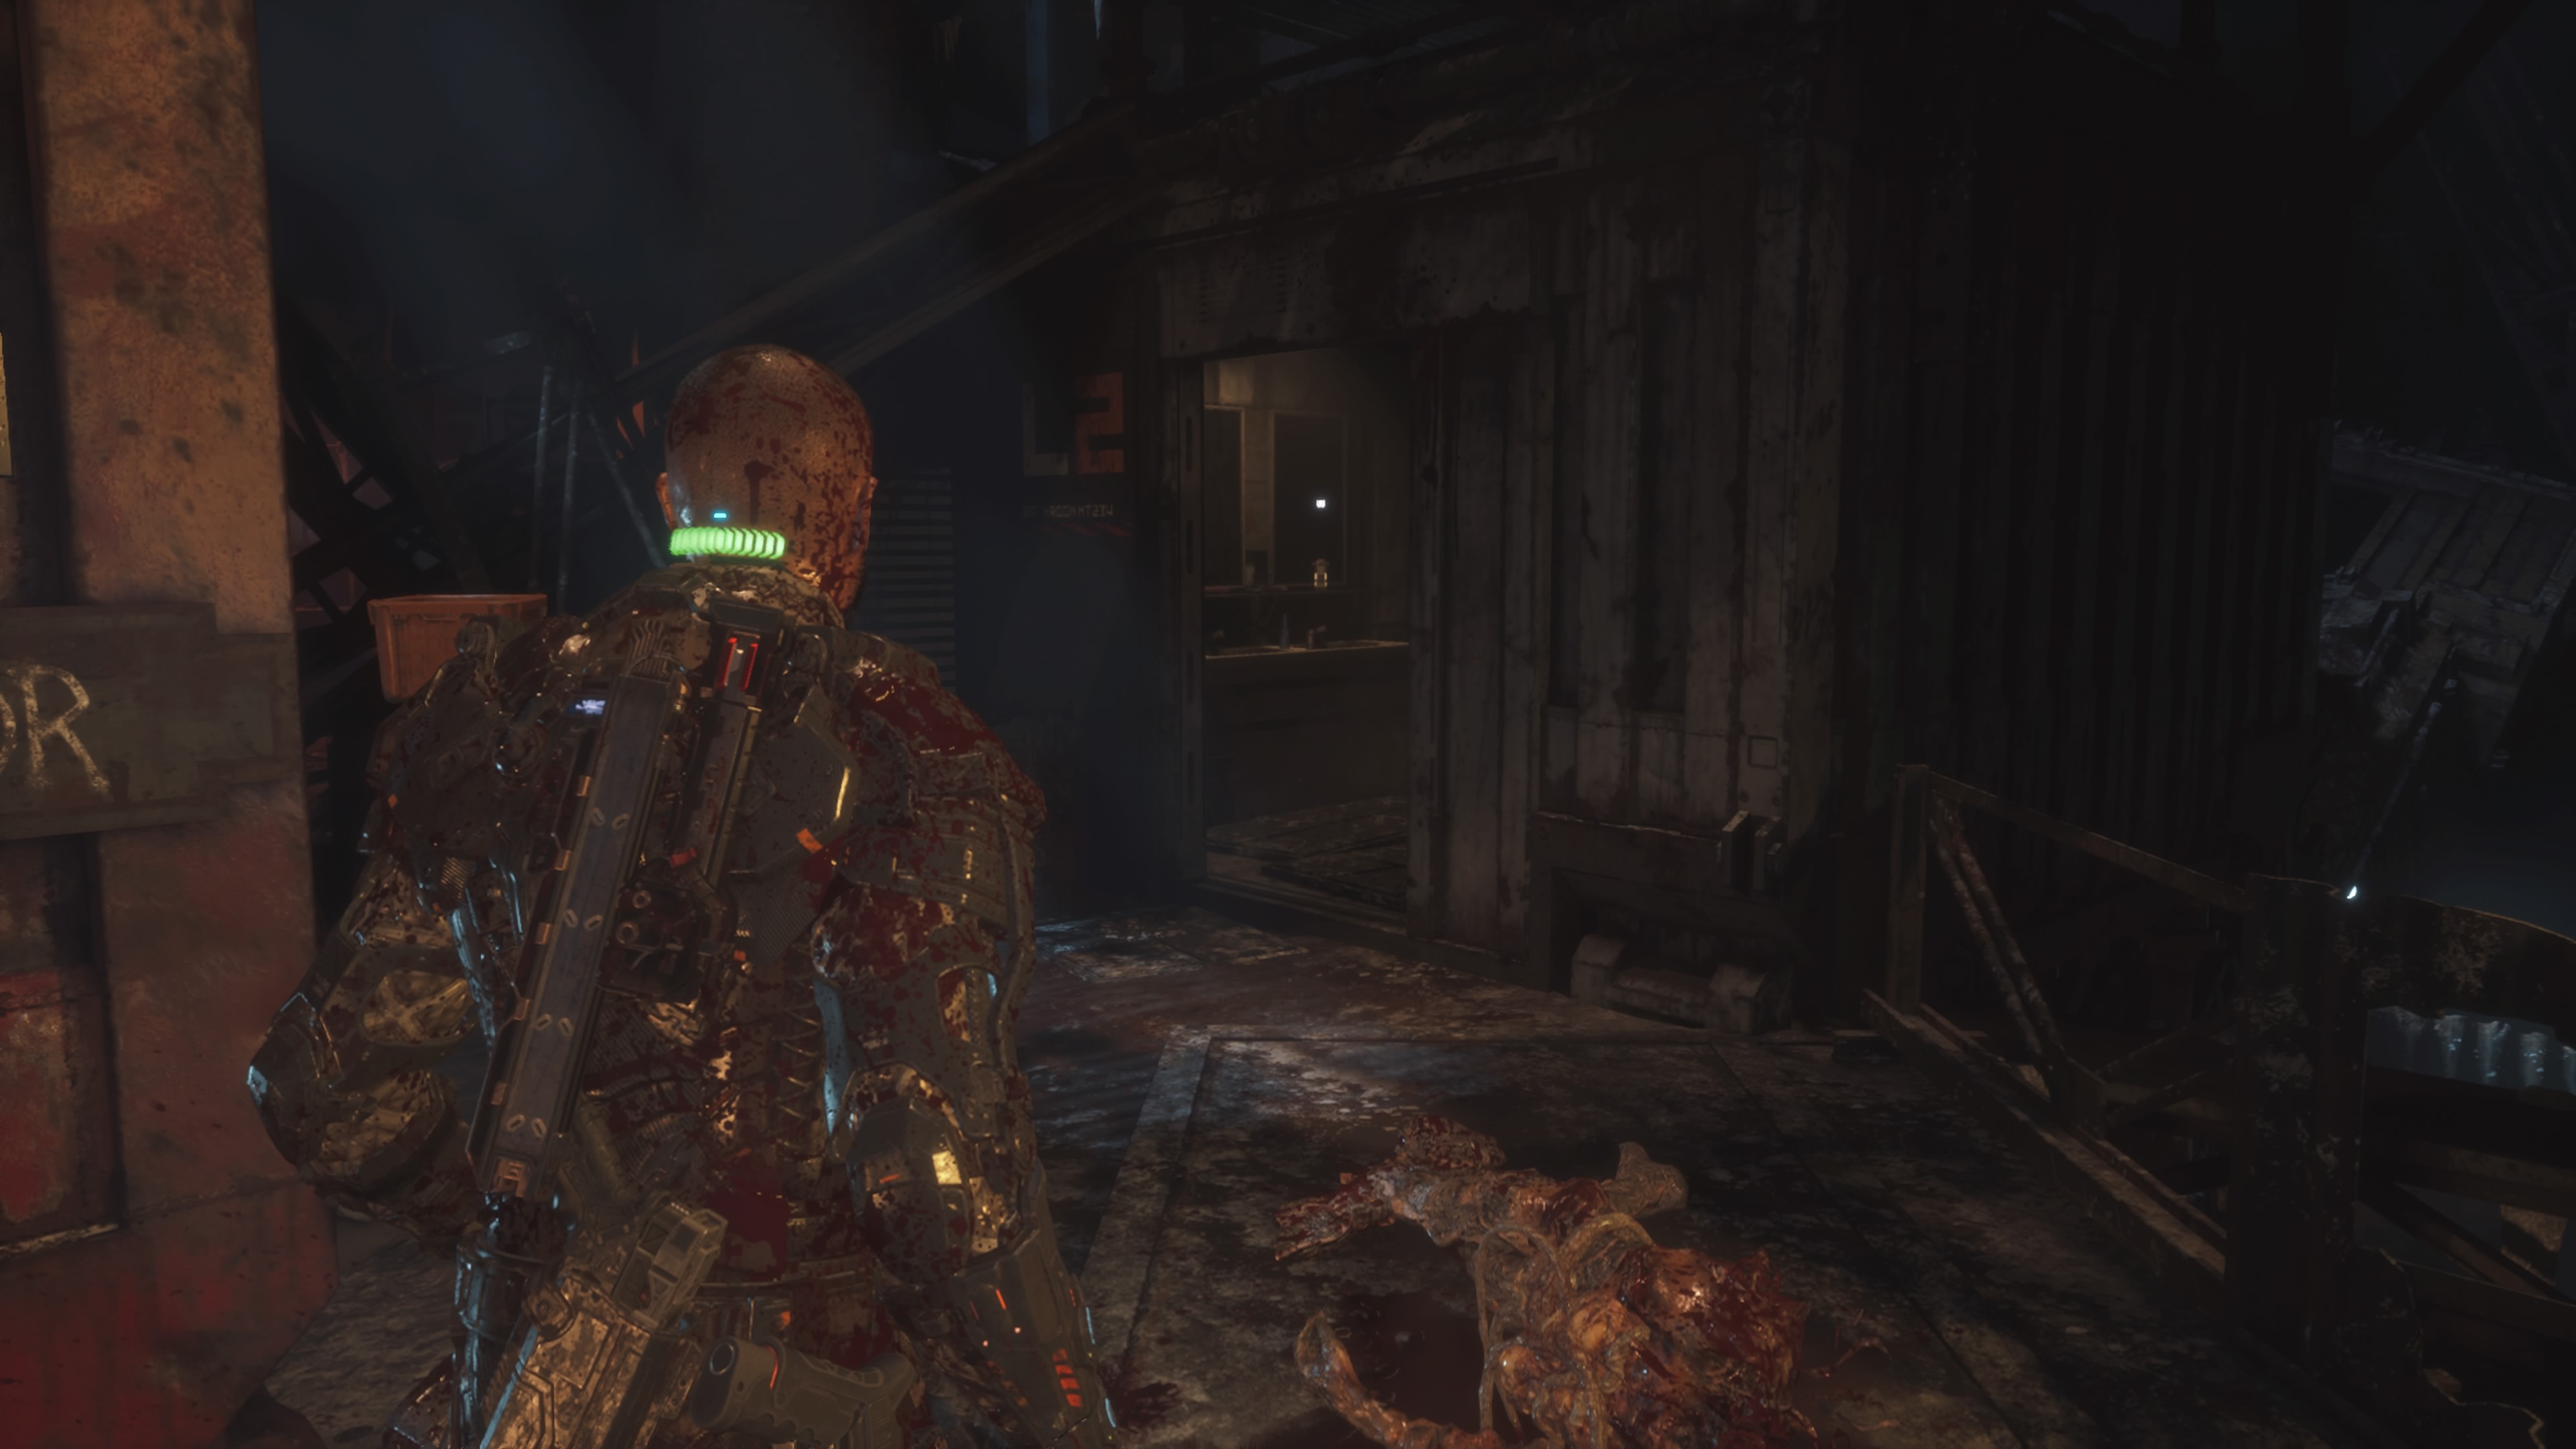
The final weapon you pick up in The Callisto Protocol is the Assault Rifle. You can find this machine gun in the early portion of Chapter 7. This is fairly late in the game, considering there are only 8 chapters that will take you anywhere between 8 and 12 hours.
After entering the colony itself and talking to Dani about the light tower, you’ll take a ladder down into a shanty town area full of blind zombies. At the back of the area is an elevator you can’t use yet. To the right of the elevator is a building with a ladder and a Midtown sign on it. Take the ladder up, then turn around and go behind the ladder. Go through the General Store, and turn left. You’ll see a small bathroom building with L2 written on it. The schematic is on the sink.
When you run this back to a shop, you will be able to print it and acquire the Assault Rifle. This weapon costs 1,000 credits to print. That might seem like a hefty fee, but trust us, it is crucial to have this weapon to make it through the grueling final hours of The Callisto Protocol.
That’s it. Those are the only weapons in The Callisto Protocol. There are no special hidden weapons nor reward weapons for finishing the game, as is tradition for survival horror. For more tips, check out our other Callisto Protocol guides here on GameSkinny.


Published: Dec 4, 2022 04:00 pm