
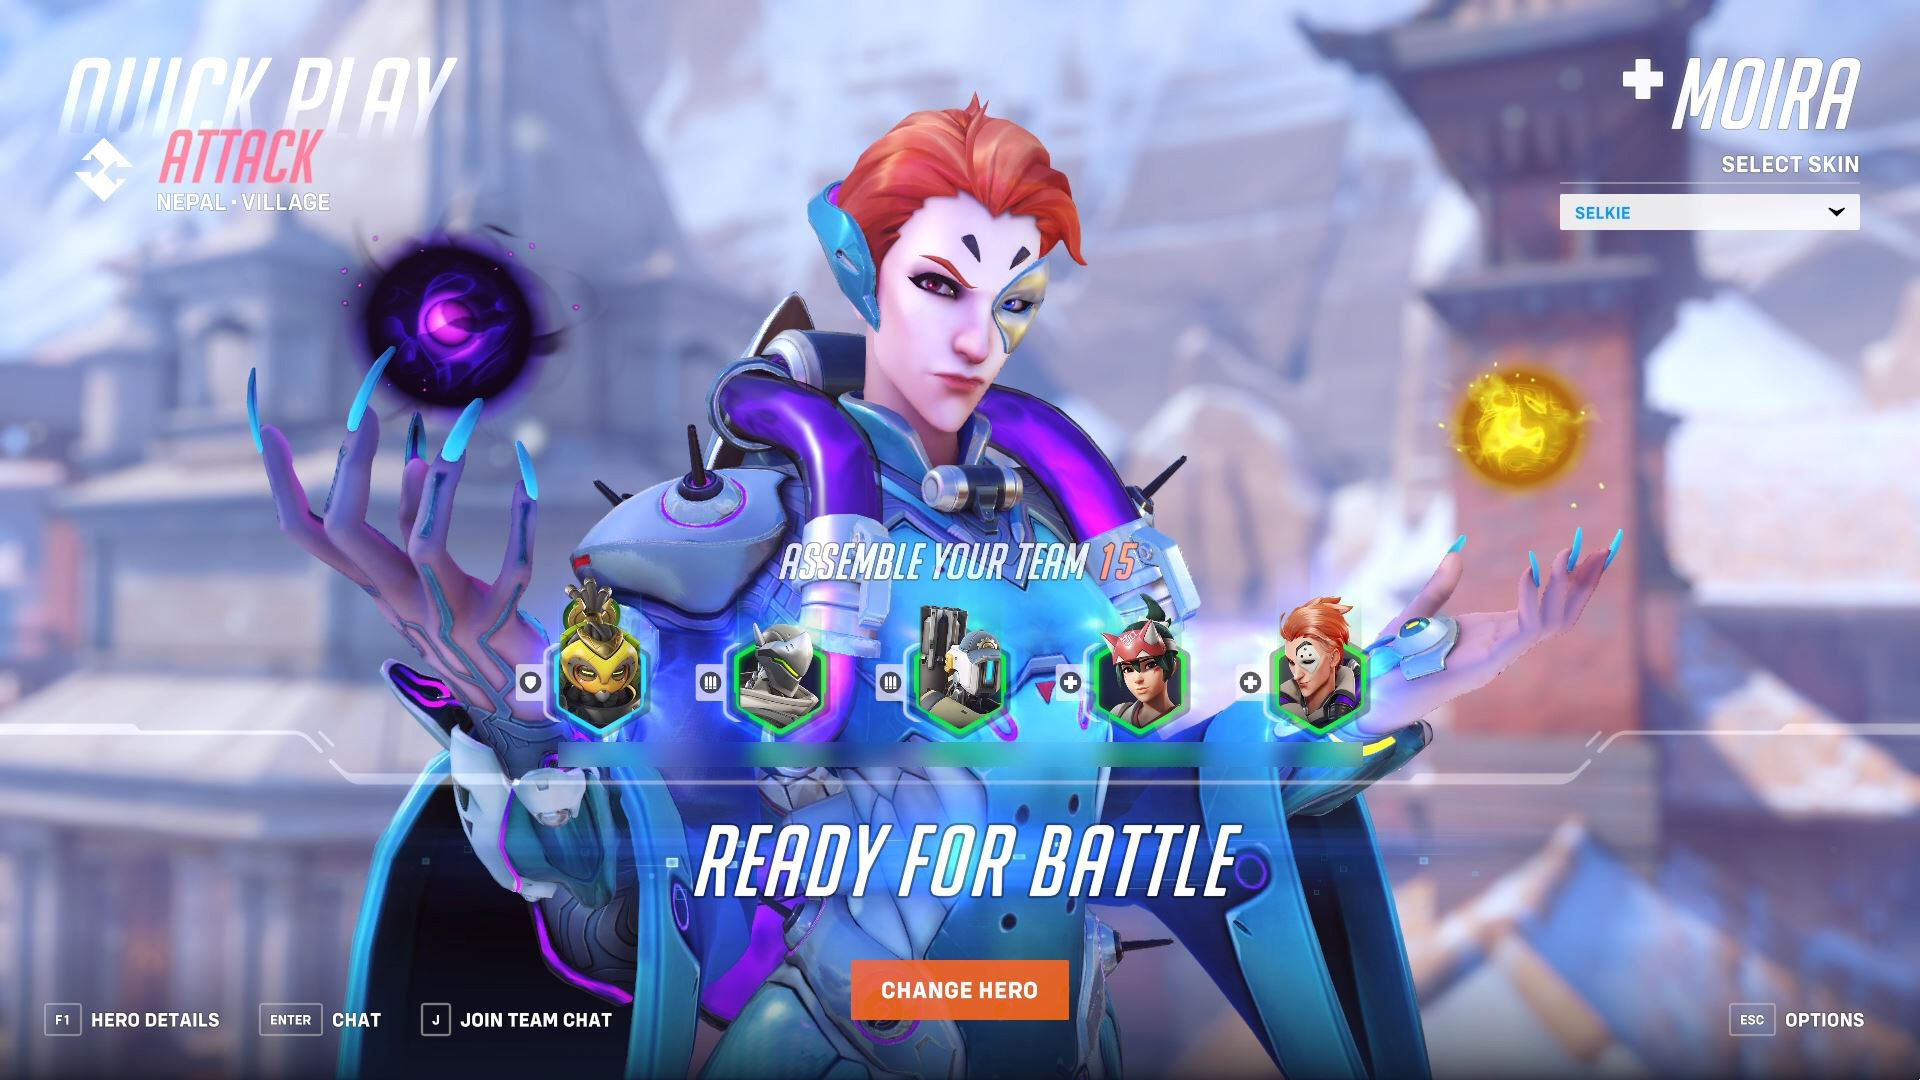
Moira was one of the most versatile Support heroes in the original Overwatch and is even more useful in Overwatch 2, with the likes of Brigitte seeing her overall effectiveness nerfed. Moira isn’t a DPS monster like Zenyatta can be, and she’s not as immediately effective as a hero like Mercy. However, her survivability, maneuverability, and all-around solid kit make her one of the better Support heroes on offer, especially when you play to her strengths.
This Overwatch 2 guide will cover Moira’s abilities and strategies to help you make the most of her skills and abilities on the battlefield. Moira isn’t a frontline fighter, but she should always be a part of the action and, with the right team, can be an incredibly aggressive and hard-to-kill hero who can cause chaos without too much fear of reprisal.
Moira’s Abilities and How to Use Them
Moira’s kit is one of the more complicated Support setups, and using it effectively is about as complex. We’ll go over all of her abilities below, helping you pinpoint where they’re best used.
Moira is most effective when she’s in the heat of battle, swapping between sending out damaging Biotic Orbs, healing with her Biotic Grasp, and vice versa. The best Moira players will also know when to prioritize pure damage and pure healing and have the awareness to escape with Fade at the last possible second.
Basic Attack: Biotic Grasp
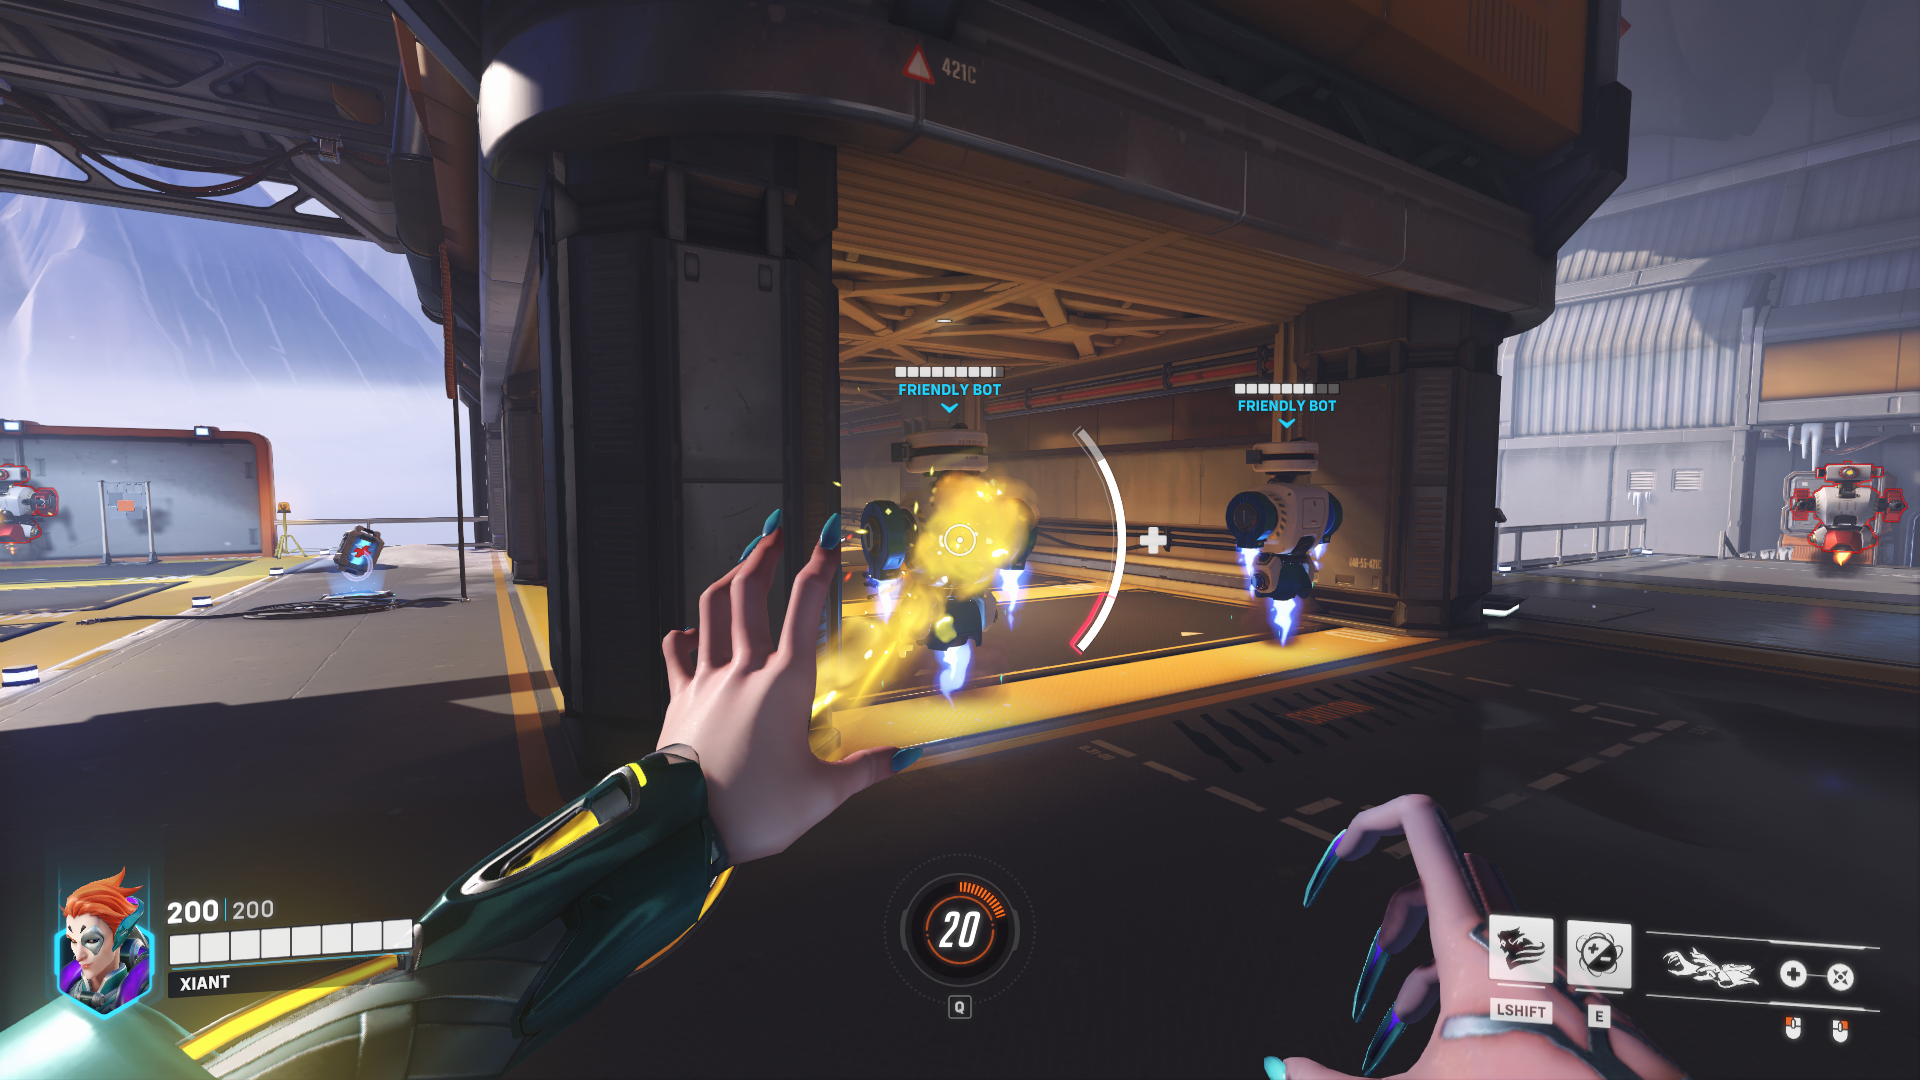
Moira’s Biotic Grasp gives her primary fire a short-range spray of yellow healing mist, restoring 70 HP per second. Her secondary fire drains 50 HP per second from enemies out to a medium distance, healing her and refilling her primary fire bar.
You can use her healing mist for about six or seven seconds before it’s empty, but spacing out its use can extend the duration almost indefinitely. The ability is usable as long as you have the bar to do so, and as long as you don’t completely waste it, it will automatically begin to refill the instant you stop using it.
Biotic Grasp’s secondary fire has no cooldown or bar to manage, but you cannot heal your teammates while it’s active. If you’re confident in your second Support’s ability to keep your team topped off for a little while, use the secondary fire to deal extra damage and refresh your primary fire. The attack tracks the enemy closest to the center of your screen and doesn’t require good aim to use properly, meaning you can dodge, jump, and otherwise avoid taking any damage of your own.
How to Use Biotic Grasp
Thanks to the healing portion of Biotic Grasp having such a limited gauge, you’ll need to use it somewhat sparingly. When a fight begins, use about half of her healing gauge to keep your team topped off for the first few seconds, then swap to the damaging secondary fire.
In most cases, you’ll only have three or four seconds to deal damage before you need to return to healing, so try to stay close to your teammates. The damaging beam goes through friendlies, so you don’t need to see who you’re attacking to affect them. However, you will want as much visibility as possible to focus on the largest threat, usually a DPS character.
Once you’ve spent a few seconds dealing damage, take quick stock of your team’s status. Odds are at least a few of them will need immediate attention, and you should have the gauge to provide the healing they’re probably asking for. Remember that your healing mist won’t affect you, only your teammates, so exercise additional caution while using it. The mist does linger for a short period after it hits a target, so you don’t need to heal a teammate completely with the ability itself.
Main Ability: Biotic Orb

Moira’s most useful pair of abilities are the two Biotic Orbs she can summon: one that heals and one that deals damage. The yellow Orb heals 65 damage per second, to a maximum of 300. The purple Orb deals 50 damage per second, also to a maximum of 300. The Orbs shrink as they use their effects, disappearing entirely once spent.
When an Orb heals or harms an enemy, it will slow down significantly, and a tether will extend from the Orb to the affected target. These tethers can attach to as many targets as are nearby, though doing so drains the Orb much faster. Orbs also ricochet off of walls without losing any size, so if you need to send one halfway across the map, you can certainly do so.
You can only have one Orb active at a time, and once used, they last for seven seconds with an eight-second cooldown. There’s no way to speed up the cooldown, so you need to be sure about which you want to use in a team fight.
How to Use Biotic Orbs
Moira’s Biotic Orbs give her much more dynamic gameplay than her Biotic Grasp. Though they have a hefty cooldown, they allow you and your teammates a lot of freedom to maneuver and give you additional ways to pester your enemies with damage. There are two main uses for your healing Biotic Orb.
General Healing
The healing Orb is incredibly useful in the heat of a fight. If your teammates are separated or otherwise out of reach of your Grasp, sending out a healing Orb can reach them and let you concentrate on closer allies. Quickly sending out a yellow Orb can also supplement your Grasp and be the difference between winning an encounter and setting your team back significantly.
Provided your team is still standing after a fight, don’t hesitate to use your healing Orb to finish topping off your teammates. That gives more time for your Grasp to recharge and is essentially a free group heal.
Escapeability
While the survival of your teammates should usually be your primary concern, you can’t do anything for them while waiting to respawn, so there are times when your life is most important. Situations where you need to use the healing Biotic Orb to get away include:
- Running from an Ultimate.
- When you sense your team is losing an engagement.
- If you overextend.
- Your health drops below 60-75, and things don’t calm down.
- If you need to escape but Fade is on cooldown.
In a situation where you need to escape, do a quick 180, cast the healing Orb and follow alongside it, ducking behind cover when possible. You may not always have an Orb available, so you need to use your damage version smartly.
Using the Damage Biotic Orb
There are also two primary uses for the damage Orb: additional damage and chase. The ability doesn’t do enough damage fast enough for that to be its primary usage but combined with better damage sources in a team fight or as a way to chase down weak opponents, it’s quite effective.
Supplemental Damage and Harassment
If your team is generally out of danger, or you’re preparing for a fight, sending out a damaging Orb can go a good way toward softening up the opposition or at least giving them something to try and avoid. In many cases, players will break formation to get out of the Orb’s way.
Aim the Orb into small, closed-off areas where it can bounce around, but don’t be afraid to send it into open spaces, either. Even tickling your opponents a little bit will signal enemy Support players that something is coming, and you have the opportunity to draw their attention away from the frontline fighters to make sure everyone else is healthy.
Using the damage Orb in the middle of a fight is riskier, as you lose access to supplemental healing, but if your Biotic Grasp is charged and you’re comfortable spending it, a purple Orb can go a long way.
If you catch a low-health player separated from their team and you’re confident you can finish them, don’t be afraid to chase them down with Grasp’s secondary fire and a damage Orb in their direction to help end the fight quicker.
Movement Ability: Fade
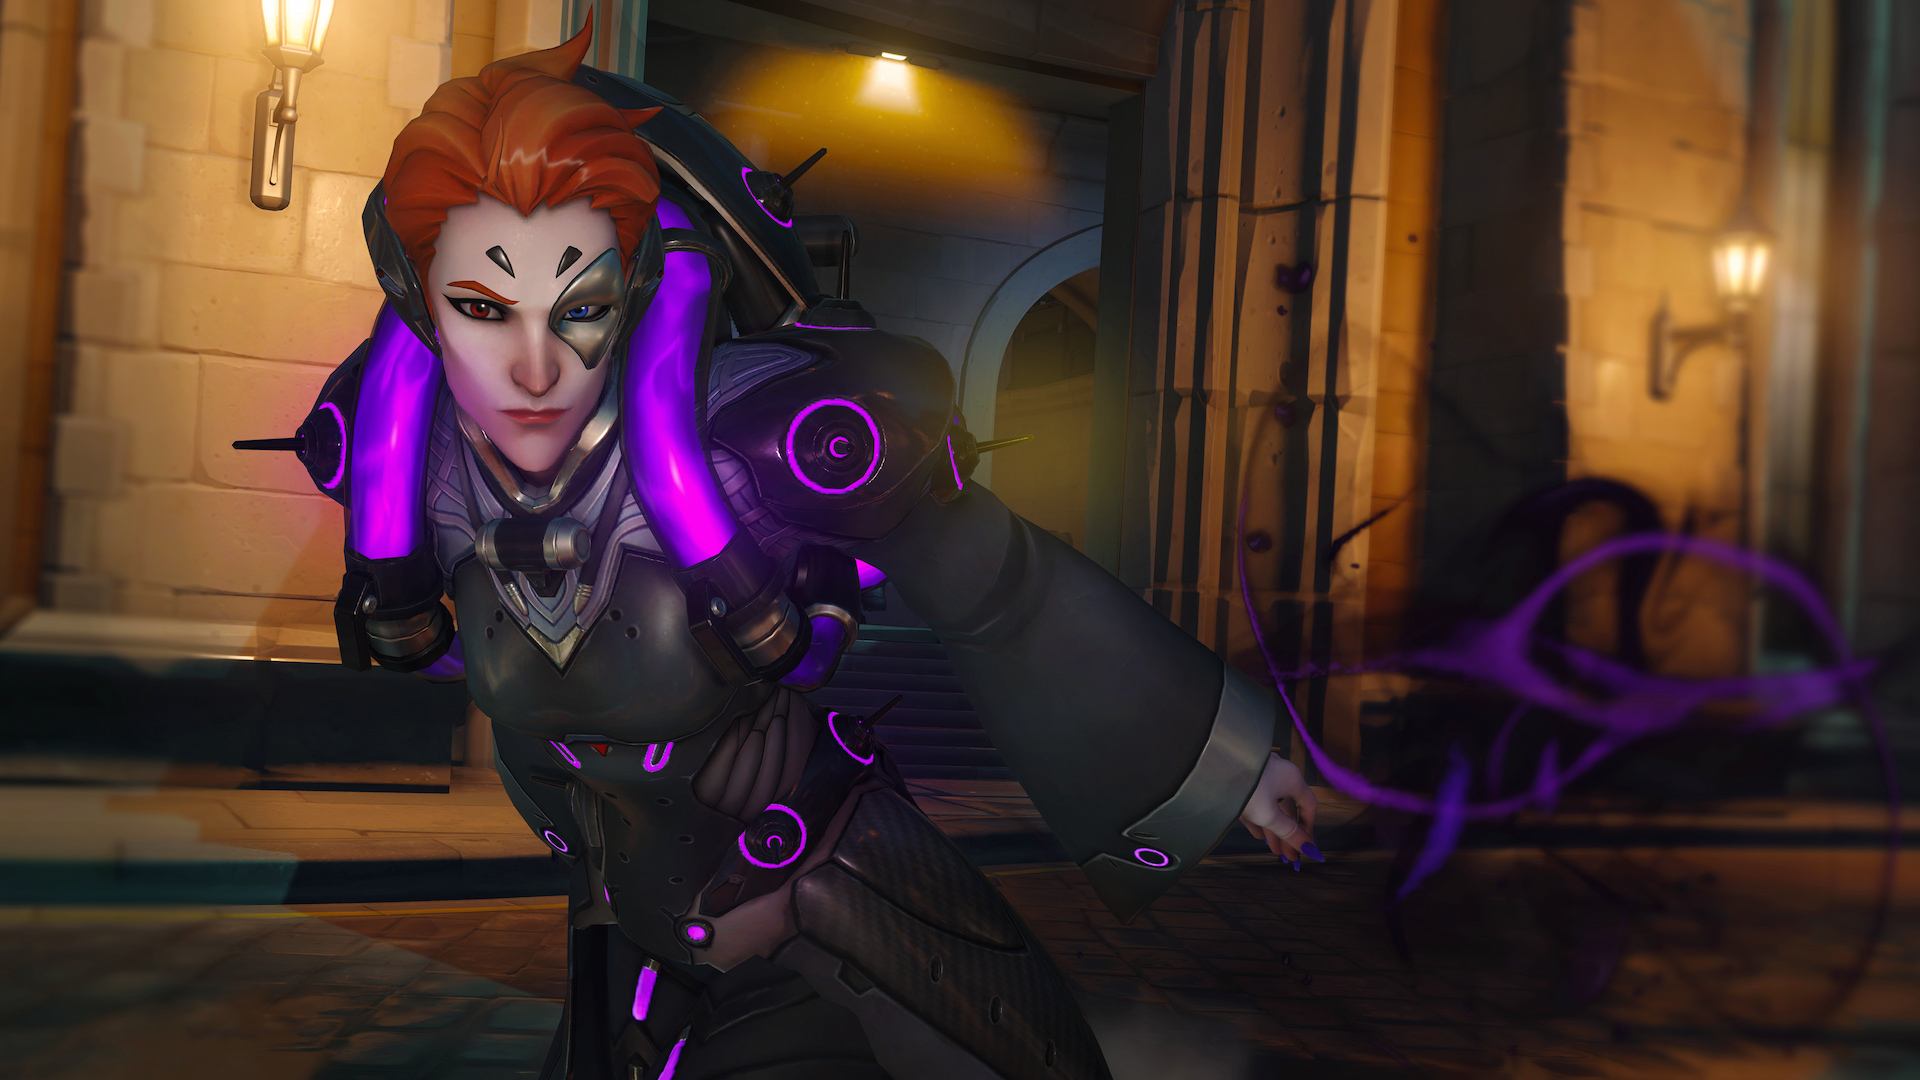
Using Fade turns Moira invisible and invincible for one second and significantly increases her movement speed, giving you the ability to escape from almost any situation and return friendly lines. It’s also an excellent way to catch up to other speedy characters. If they’re weak and you feel confident, you can take them out with Biotic Grasp.
Fade has a six-second cooldown, so using it offensively can put you in a rough spot if you overextend, but it’s almost peerless as a defensive tool. Interestingly, the speed boost also applies to your jumping momentum, so if you need to get back to the front lines fast, use Fade and jump just before the ability ends to launch yourself through the air. Doing so nearly doubles the distance you’ll travel, though any small wall or other obstacles will stop you cold.
Ultimate Ability: Coalescence
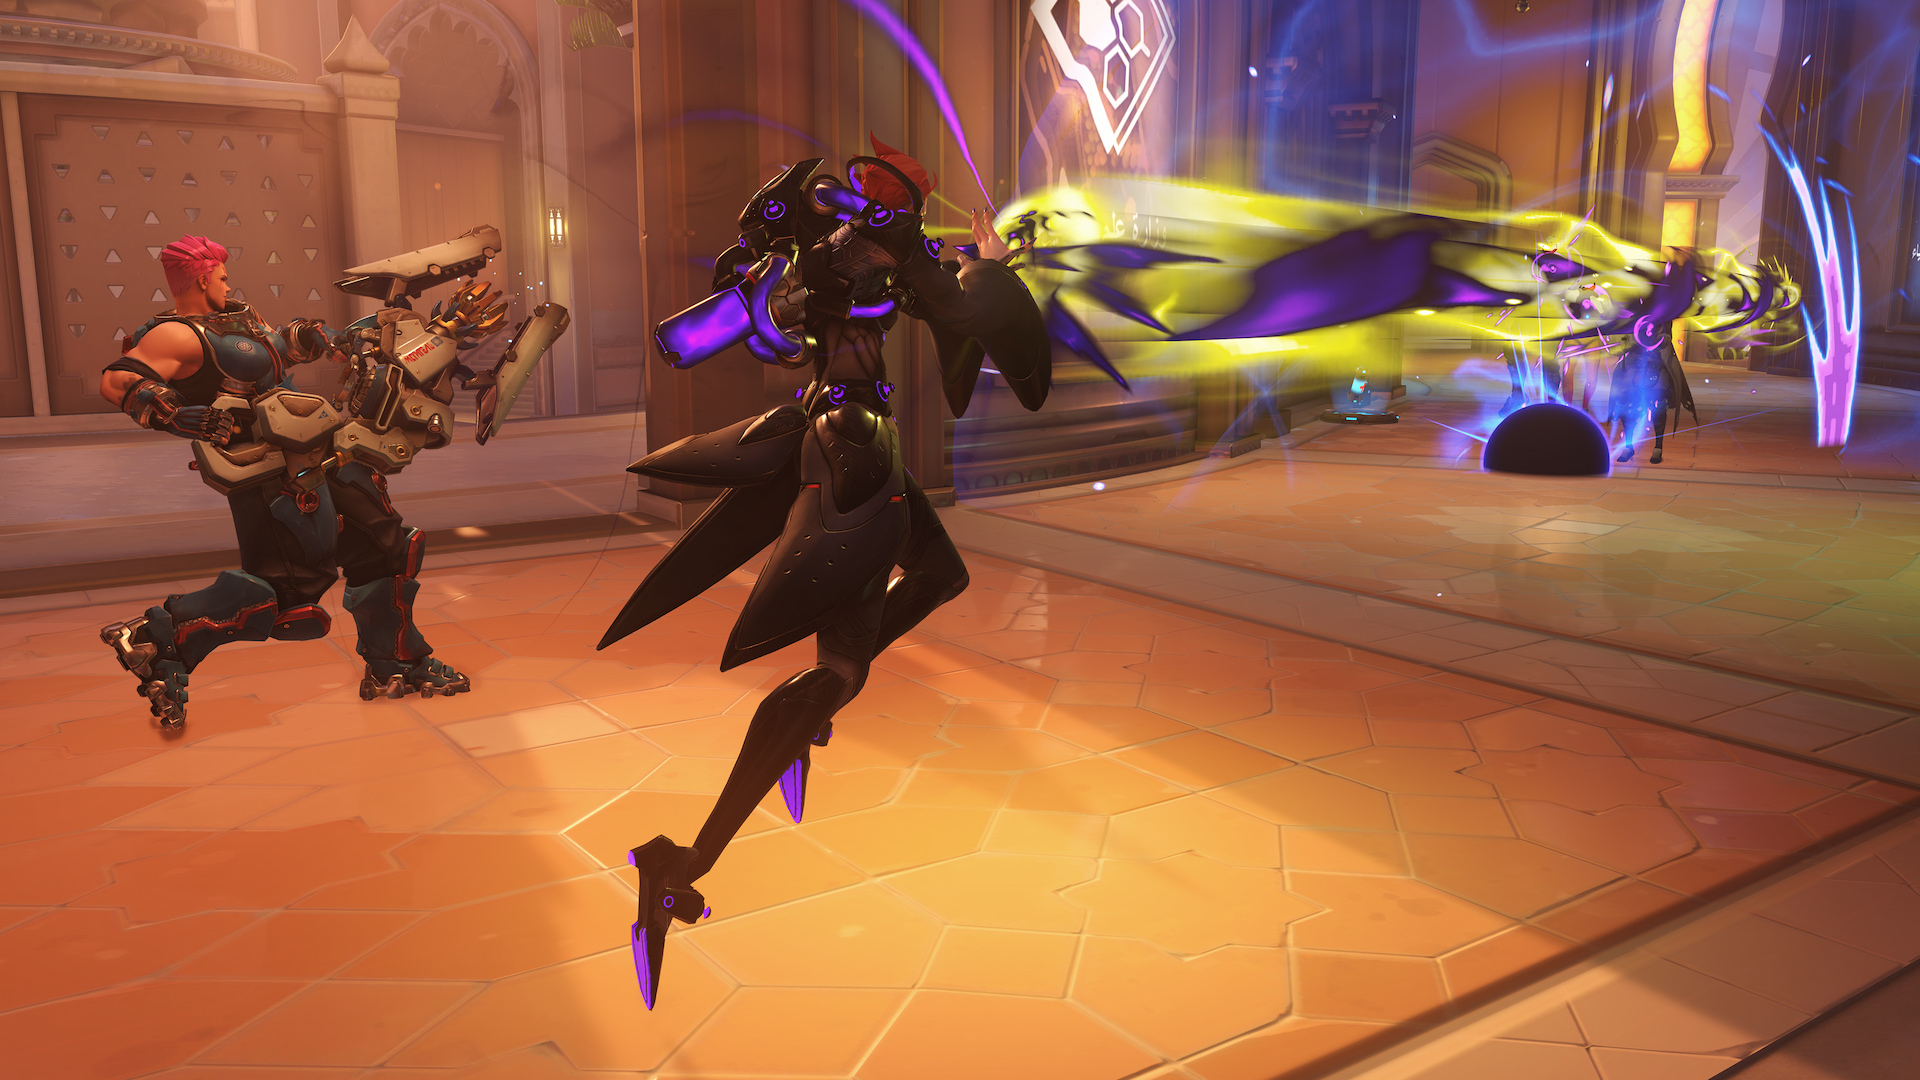
Moira’s Ultimate combines her two Biotic Orbs into a single, long-range beam attack that heals any ally and damages any enemy within its line of effect. Coalescence deals 140 damage per second to enemies and heals 70 health per second to both Moira and her affected allies. The ultimate lasts eight seconds, and you have full movement speed for the duration, making it one of the longer-lasting and more mobile Ultimate abilities in Overwatch 2.
How to Use Coalescence
As with most Support Ultimate abilities, you’ll want to save Coalescence for the inevitable trade of Ultimates a few minutes into a match. You will, however, want to wait a bit before using it to see how the early part of the fight plays out. Moira’s abilities are better suited for mid-fight usages than Lucio’s, Briggite’s, or Ana’s. After the initial exchange, it’s probably time to unleash Coalescence.
Position yourself behind or near your teammates but aim at the enemy to get the most out of the ability. Your job is to keep ailing allies up for the remainder of the fight while helping them deal with any remaining opponents.
You can start a team fight yourself with Coalescence, as most Ultimate trades begin when one team initiates, but remember you only have eight seconds to heal and deal as much damage as possible. If the enemy delays their ability usage, your Ultimate could be wasted.
Moira is a complicated character, and using her effectively can sometimes be difficult. Hopefully, the tips presented in this guide help you take your play to the next level and provide your teammates with a solid Support they can trust. Check out our Overwatch 2 guides hub for more content.


Published: Oct 10, 2022 01:45 pm