Considering Housemarque’s track record, it should be no surprise that their latest title, the third-person shoot-em-up roguelike Returnal, is tough. Its random nature can be frustrating when you’re getting sent back to the Helios crash site after investing hours into a single run. To help you get further and further into each biome, especially the Crimson Wastes onward, you’ll need to know what the best Returnal best starter build is.
There’s little to no room for error, and your need to make quick decisions and constantly maneuver around the hostile fauna of Atropos means you can’t carry everything and the kitchen sink with you.
So which weapons, consumables, artifacts, and parasites should you leave behind, and which ones should you hold onto for dear life? It can be difficult to say. You lose almost everything when you start a new run, save some permanent upgrades and unlocked alt-fire abilities for your weapons.
Everything about your build for Selene could potentially be different each time. So rather than just give you a “concrete” list of which items and weapons to use, this guide will teach you what to look for in your build if you want to make it deep into Returnal.
Since this guide deals with what kinds of builds new Returnal players should focus on, the weapons, parasites, and modifications mentioned here will all be from the first two biomes of the game. As you unlock more biomes, other weapons and abilities become available, giving you even more options based on your playstyle and the specific biome you’re trying to complete.
Best Returnal Starter Build
Weapons
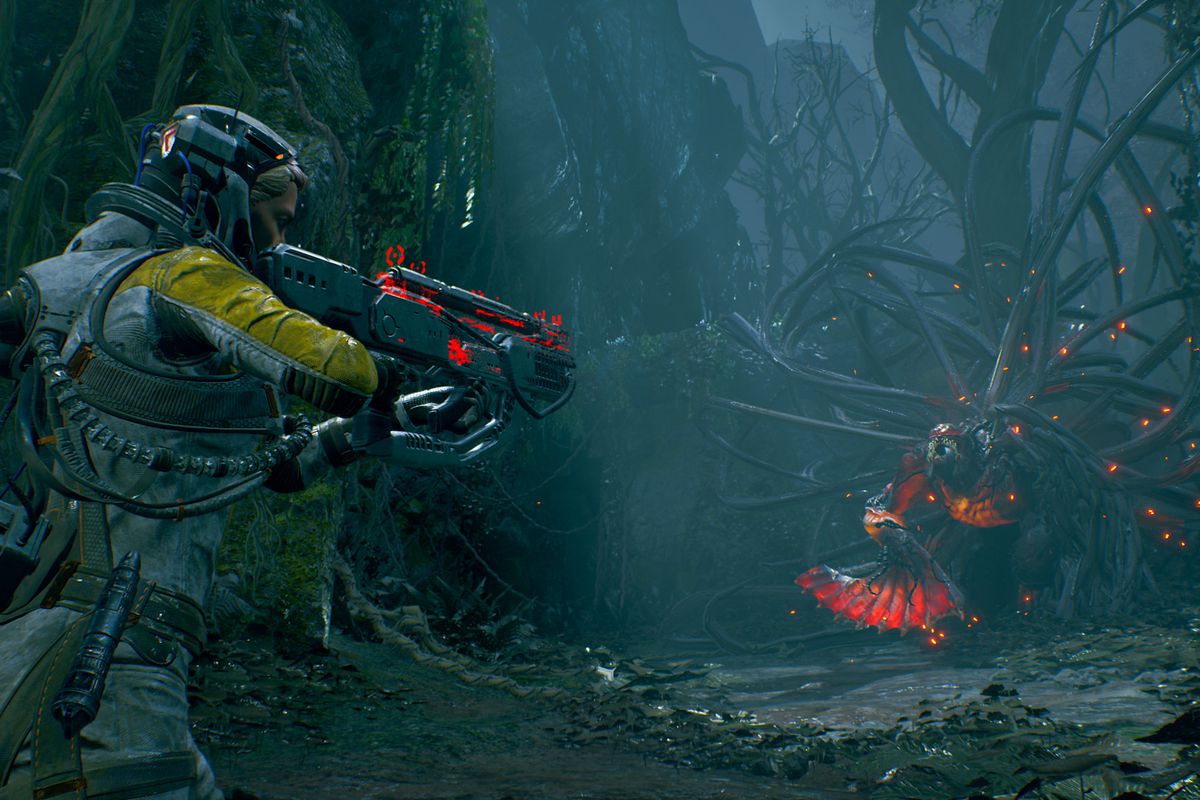
Returnal features a range of alien-inspired weaponry that can be highly effective against your enemies, whether they’re kerberon or severed. Depending on your playstyle, it’s possible that any of these weapons are perfectly suited for you, though there are some definite pros/cons to each.
When creating the best starter build in Returnal, it’s imperative that you pick a weapon that will compliment how you generally play shooters, and also how the game is pushing you to play. Returnal‘s combat is very fast-paced and intense, and standing still is the fastest way to find yourself crashing back down to start the loop again.
You must be able to do a lot of damage in as short of a time frame as possible, and the two weapons to do that with at the beginning of the game are the Spitmaw Blaster and the Hollowseeker.
They are two weapons on either end of the spectrum in terms of rate of fire. The Spitmaw Blaster is a semi-automatic shotgun, and the Hollowseeker is a fully automatic rail gun. However, they both pack a huge punch.
Both of these weapons have powerful alt-fires and proficiency upgrades that will stay with you once you have unlocked them — even after you die — and they both serve beginning players well because either one can get you out of a jam quicker than the PS5’s SSD could reload the game after you die.
You’ll find the Spitmaw Blaster in the first biome, the Overgrown Ruins, and the Hollowseeker in the second, the Crimson Wastes. Though once you’ve found a new weapon once anywhere in the game, you have the potential to pick up that weapon in the first biome on all subsequent runs.
If you want even more information on what weapons to start with in Returnal, you can check out our full breakdown of them here.
Parasites
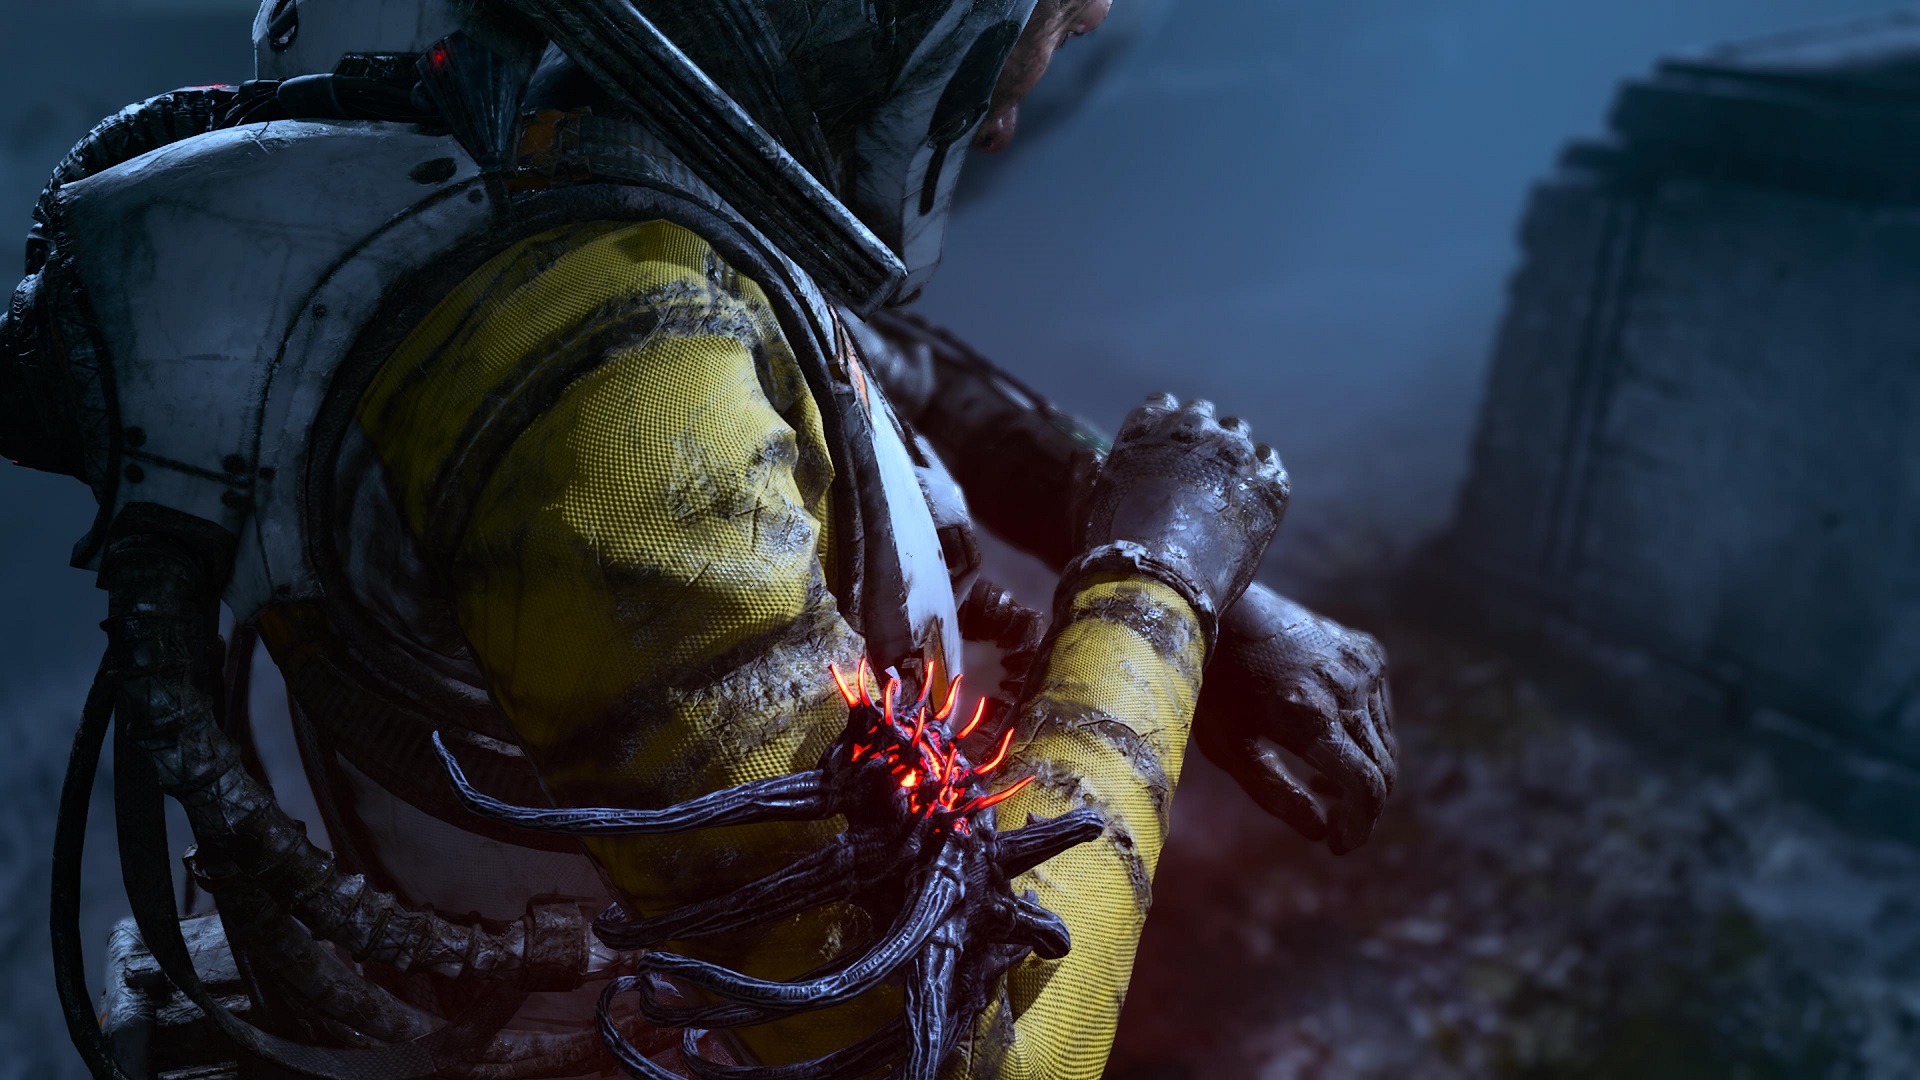
Parasites are an interesting and key mechanic within Returnal. They provide both a buff and a de-buff to Selene at the same time, and you’ll have to weigh the options every time you come across one.
While you’re still figuring out all the different mechanics within Returnal, it can be difficult to know whether a parasite is worth the de-buff or not. Thankfully, there are a few key things to keep in mind when considering whether or not you’d like this small alien to latch onto your arm and not let go until you die or remove it.
Don’t take any integrity or protection de-buffs. When you’re just learning Returnal‘s mechanics, it is difficult enough to focus on not getting hit and losing adrenaline levels, let alone worry about how much worse those hits could affect you.
For example, there are parasites like the Corrosive Wireseeker that fix or prevent one or two future malfunctions when picking up malignant loot or opening a malignant container, but your protection is reduced by 10%. You’re better off just not taking the chance on malignant loot, and if you do pick it up, most malfunctions can be solved quickly, so there’s more risk in reducing your protection level.
Other parasites like the Silphic Goldspinner are great trade-offs — the Obolites you collect will also repair your integrity, but your repair items are less effective. You’re almost definitely bound to find more Obolites than anything else on each run, so while the regular health items might not do as much for you, it balances out.
The Caustic Wiretail reduces malfunction probability, but enemies leave behind a pool of acid when they die. This is another great trade because while you’ll need to be a little more cautious when taking out enemies at close range with your Atropian Blade, the acid left behind disappears after a few seconds.
None of these parasites mentioned are guaranteed to show up in your runs, but the key thing to remember is this: pick up parasites that have an effective buff, and a de-buff that can either be avoided or affects items in the game more than it affects you. They’ll help you make your best starter build.
Items & Artifacts
Returnal items fall under the same category as parasites. They are key elements to each run, but what you’ll like to keep on you at all times depends on your playstyle. When you start the game, you’ll only have one slot for an item, so it’s important to know what will benefit you.
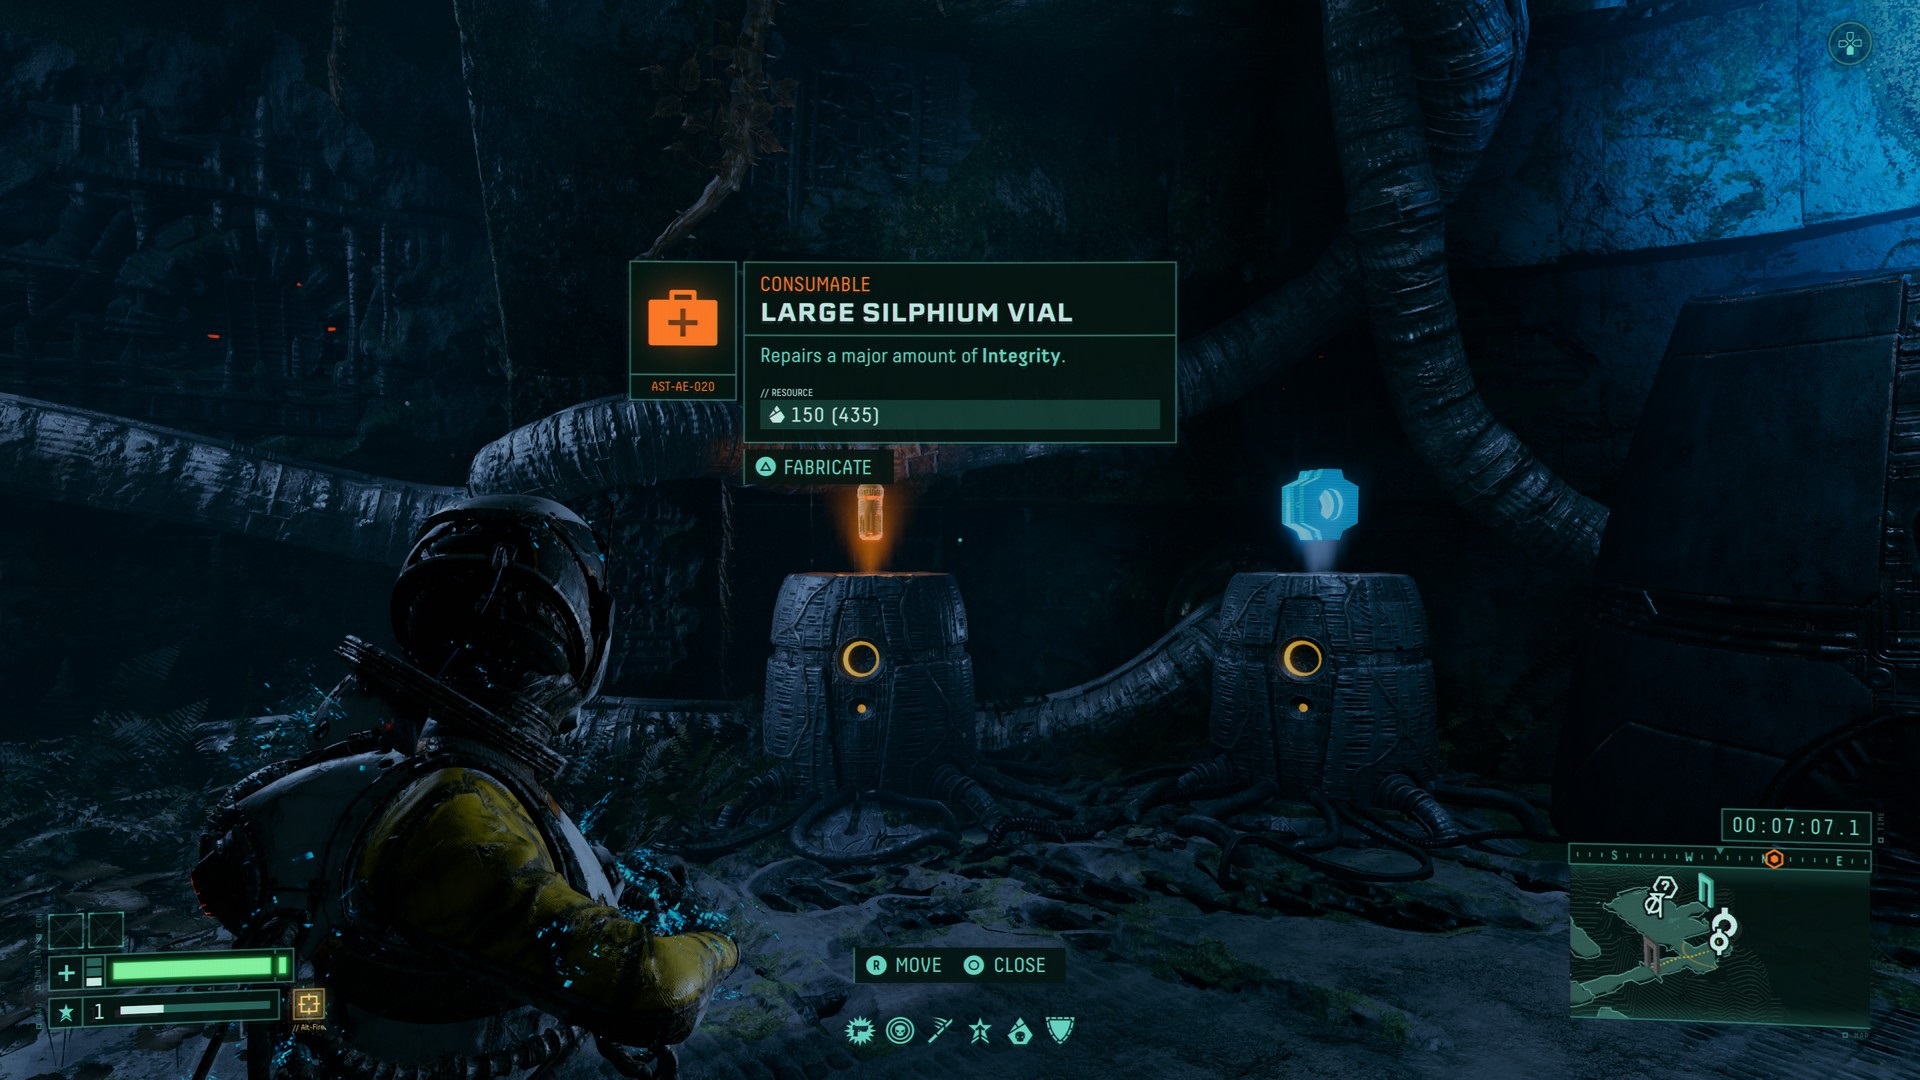
Because items are consumable, however, you’ll most likely find yourself using multiple different items in a single run. When starting out, though they are rare, it is good to try and keep a silphium health vial on hand if you end up taking a surprising amount of damage from a fight.
They can be administered while sprinting, so there’s no need to worry about finding a moment to stop and heal. Due to the mostly-inconsistent nature of health vial pick-ups outside of the start of a new biome, it’s better to focus on just picking up the health all around you.
This is where items like the repair efficiency rate module come in handy — it’s an item that boosts the power of any health item you find, so a piece of resin, which might have only healed you partially, could now potentially heal you almost fully.
You’ll also want to keep an eye out for the ground surge item, which sends a large spike from the ground shooting up directly below your closest enemy. It does an incredible amount of damage and can be your saving grace in a tough fight.
Aside from the consumable items, there are also artifacts that you can either find in the wild or make at fabricators. They all have positive effects, boosting one or more of your stats, lowering alt-fire cooldown time, or even healing you automatically once you reach critical health.
You discover and come across a wide variety of artifacts through side paths and other means even within the first two biomes, and each one you come across is worth picking up. Always pick up artifacts. There is a particular artifact you discover after your first visit to the house in the middle of Overgrown Ruins that you’ll want to have with you each time you can.
—
So there you have it! With the procedurally generated nature of Returnal, there’s no concrete list of items and equipment for a true best build guide. What you should have on you every time you start a run is more about creating a build that works for you. And since everything is left RNG, there’s no telling what you’ll be able to pick up when and where. For more on Returnal, check out what the heck those orange doors are, and how to open them.


Published: May 3, 2021 08:00 pm