Final Fantasy XIV: Stormblood continues to up the ante for players with a new difficulty for the Omega: Deltascape raid. Savage difficulty introduces some truly, well, savage DPS checks, healing power checks, and timed AoE damage phases that will kill careless players.
To help you survive, we’ve compiled a list of changes between the normal raid and Savage difficulty, as well as some guidance on what to do to avoid becoming ash in the raid arena when facing Alte Roite.
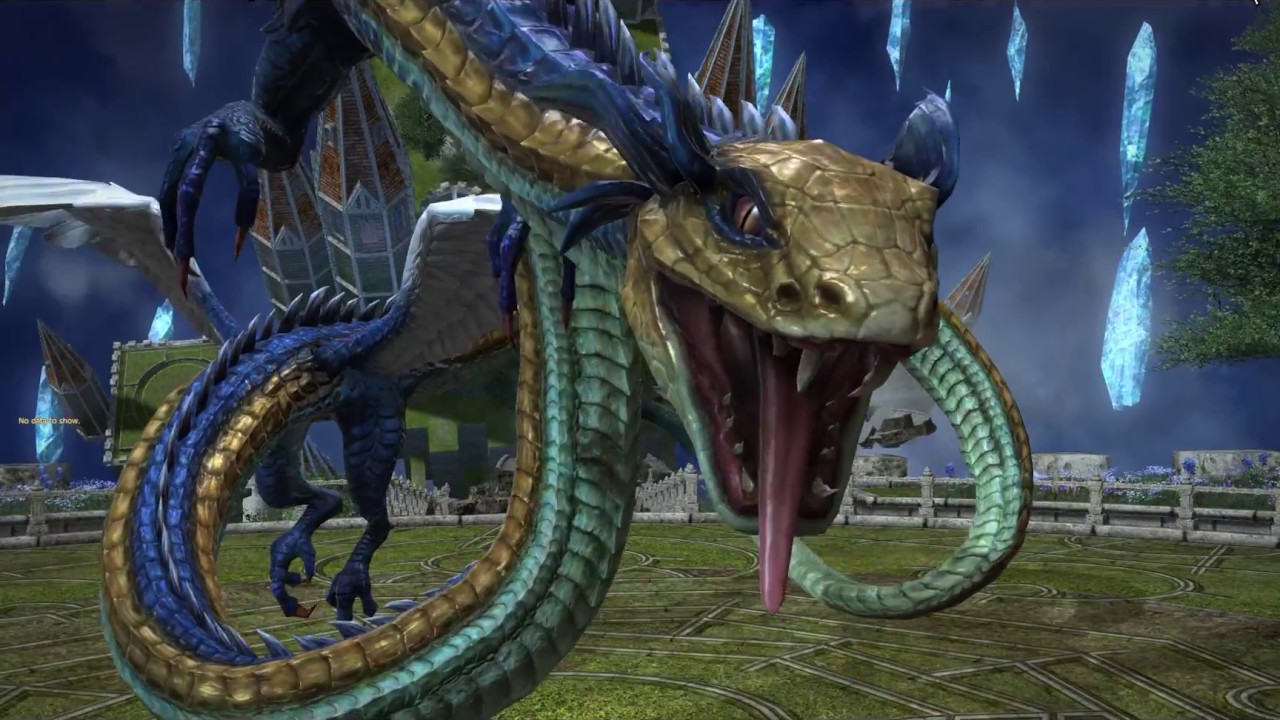
How to Survive the Alte Roite Boss Fight on Savage Difficulty in FFXIV
There are a number of changes in Savage difficulty — specifically to the scope and intensity of Alte Riote’s attacks — that will make this boss fight much more treacherous than it was before.
You’ll need to pay attention to these changes and alter your team’s strategy accordingly if you want to survive. Here are the highlights that you need to be aware of before you engage in this fight:
- The Platform no longer has barrier. So falling off is now a real danger — especially when Alte Roite hits players with a knockback effect. You need to carefully position yourself for knockback attacks and when ice appears.
- Twin Bolt hits like a truck compared to normal mode. Your two tanks need to stand right on top of one another when Alte Roite casts Twin Bolt.
- Clamp is slightly different. It’s no longer telegraphed compared to normal mode, and is now an AoE cone. But thankfully it has a short cast time. Your main tank should move away from the front of Alte Roite when he starts to cast Clamp.
- Roar is more dangerous. Alte Roite, being the jerk it is, intermittently casts Roar, which deals a significant amount of AoE damage. Healers need to be on top of their AoE heals to prevent wipes from Roar.
- You should group up on group arrows. Any time a group member is targeted by the group arrow, group up on them.
- Healers need to stay on their toes with Charibdys. Have I mentioned that Alte Roite is a huge jerk? Because it casts Charibdys, which reduces the health of all raid members to 1%. Then it follows this up with either Clamp, Roar, or Twin Bolt. Healers need to AoE heal quickly if Clamp or Roar is the follow-up ability, or concentrate on the tanks if Twin Bolt is the follow-up.
You should also keep in mind that this boss fires certain attacks based on a timer — and will wipe your whole team if you take longer than 9 minutes and 45 seconds to end the fight. Below we’ll cover these attacks and how to defend yourself.
Be Ready for Timed Attacks
Alte Roite performs a series of attacks based on a timer after you engage it. To help make sure that you survive the fight, we’re going to break down when they happen, what they are, and how you can avoid dying during them.
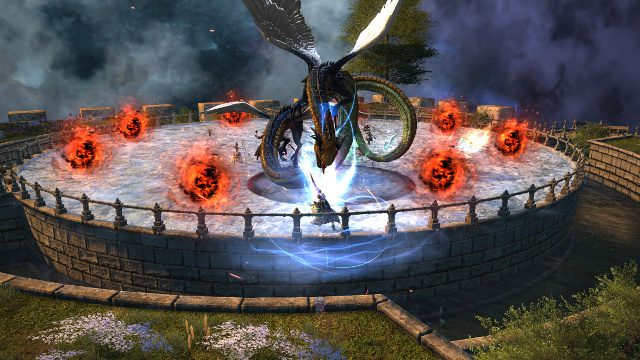
0:30 – Alte Roite spawns a group of fireballs at the center of the platform, followed shortly after by a knockback effect.
- How to Defend: Your team should first gather in the center area to avoid embarrassing deaths, then head to the center of the platform to avoid fireball explosion damage. Then, you’ll need to head to the outer perimeter, in between fireballs, spreading out to avoid further explosions and spreading Levinbolt damage to other players.
1:30 – Alte Roite spawns fireballs on the outer perimeter, followed by fireballs in the center of the platform.
- How to Defend: You’ll need to head to the center until the outer fireballs explode, and then hoof it to the outer perimeter to avoid the second set of fireballs. Again, you need to spread out to avoid spreading Levinbolt damage to other players.
3:10 – Alte Roite spawns fireballs at the outer perimeter, leaving one spot open.
- How to Defend: You’ll need to group up facing the boss with the safe zone behind them, wait for the knockback, and then quickly head back into the center, again spreading out to avoid spreading Levinbolt damage.
3:45 – Alte Roite summons flames and jumps to an edge of the platform.
- How to Defend: Both tanks should rush to one side of the boss, with the edge of the platform to one side of them, while the rest of the raid group should gathers on the side opposite the tanks. All players should avoid standing in front of the boss, as he will cast Clamp to try to knock them off the platform.
5:00 – Alte Roite repeats the 1:30 timer ability, but reversed. Fireballs spawn in the center, explode, and then more fireballs spawn at the outer perimeter and explode.
- How to Defend: You should head to the outer perimeter, wait for the fireballs to explode, and then rush the center, spreading out to avoid Levinbolt spread.
5:40 – Alte Roite spawns a collection of fireballs in the center.
- How to Defend: You will need to stand in between the fireballs there, as the boss hits everyone with a knockback. After the knockback, rush back to the center.
9:45 – Alte Roite enrages and will wipe the raid group.
- How to Defend: There isn’t much you can do about this attack, so you must kill this boss before the timer reaches this point.
—
If you and your group have killed Alte Roite before he enrages, congratulations! You’ve passed the nasty DPS and heal checks and successfully avoided all of the tricky attacks Alte Roite can pull off. Once you kill Alte Roite, you’ll be rewarded with a token you can trade in for item level 340 gear. Now you can move on and enjoy all the other loot drops in Deltascape.
Have some better advice for the Alte Roite fight? Want a guide for the next three bosses? Let us know in the comments! And be sure to check out the rest of our FFXIV: Stormblood guides for more tips to help you survive the dangers of Eorzea:
- FFXIV Stormblood Job Guide: Samurai
- FFXIV Stormblood Job Guide: Red Mage
- What to Do After Hitting Level 70 in FFXIV
- How to Get the Magitek Predator Mount in FFXIV Stormblood
- FFXIV: How to Fix “Unable to Complete Version Check” Error


Published: Jul 26, 2017 11:43 am