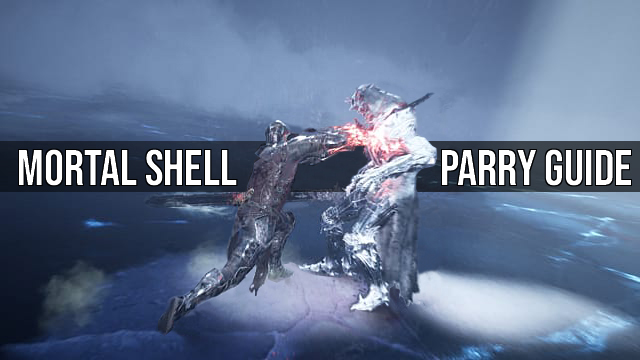
In Mortal Shell, mastering how to parry is integral. And understanding the various powers that come with the ability will all but trivialize almost any enemy or boss encounter. All it takes to parry is timing and Resolve, a meter you build up through hitting enemies and successfully landing unaugmented (unempowered) parries.
Deflecting attacks is both art and science in any game, especially a Souls-like. In Mortal Shell, you’ll need to relearn a lot of what you know about the parry (it’s not like the system found in Sekiro or even Dark Souls), and this guide will give you the tools to crack this game wide open.
But first, we’ll show you how to get the item that actually lets you learn the skill.
How to Find the Tarnished Seal

You won’t be able to parry when you first set foot in Fallgrim, the first area of Mortal Shell. To be able to parry, you need the Tarnished Seal, which you pick up in Fallgrim Tower next to the Dark Father.
Fallgrim Tower is hard to miss. As you exit the starting area where you find your first shell, there will be a short cutscene zooming in on the tower. It’s up and to the left of the exit from the starting area.
Once you regain control of your character, go straight through the pair of trees ahead of you. Follow the path around and to your left. You’ll see an open door emitting glowing orange light. Inside you’ll find Sester Genessa, Mortal Shell’s talking bonfire stand-in and your respawn point.
In the innermost chamber of the Tower is a large creature identified only as the Old Prisoner. Walk up the stairs to your right, and you’ll see a large red token holding a chain in place. This is the Tarnished Seal. Pick it up.
How to Parry in Mortal Shell: The Basics

Now that you have the Tarnished Seal, you have access to the standard parry and the Empowered Healing parry.
All you’ll need for the standard parry is good timing. Press “L1” on PS4 or “LB” on Xbox One/PC. The Empowered Healing Parry works the same way, except you’ll need one bar of Resolve to activate it.
Each of the Shells in the game has a different resolve value:
- Tiel, The Acolyte: 2 bars of Resolve
- Harros, The Vassal and Solomon, The Scholar: 5 bars of Resolve
- Eredrim, The Venerable: 3 bars of Resolve
Parrying without Resolve reduces your active parry frames by what feels like roughly half, so each attempt will carry a much higher risk.
Empowered parries, the ones that consume Resolve, will cause a big red dot to appear on the enemy’s chest.

Precision isn’t necessarily the name of the game here. Your character takes about half a second to pull the Tarnished Seal off their back, so you need to account for that amount of time when making the input.
In practical terms, rather than parrying at the last possible second like in Dark Souls, parry when the enemy is mid-swing or as they’re winding up.
Watch for a red flash and listen for a high pitched sound from your Seal, however. These indicate an unparryable attack, so dodge these.
Attacks you can counter almost always have some longer start-up animation, especially the safe ones. Don’t hesitate to use the Harden ability if you aren’t comfortable with your timing.
Empowered Parry Abilities
As you beat certain bosses throughout the game, you’ll come across Sacred Gland items. Turning these in to the Old Prisoner will unlock additional empowered parry abilities. The symbol next to your health and stamina bars will let you know which of these is currently equipped.
There are three additional types:
- The Knotted Gland: Knotted Empowered Riposte. You obtain the Knotted Gland in the Shifting Archives. This ability, denoted by a golden glowing rune symbol, throws your enemy into the air and slows time for them, allowing you to get more hits in safely.
- Inflamed Gland: Inflamed Empowered Riposte. Denoted by a gland symbol and obtained in the Sanctum of Flame, the Inflamed Parry has the ability to attach a glowing larva to the enemy, which explodes shortly after being attached. The explosion deals impressive damage and if used in a group will spread that damage in a large area of effect.
- The Crystalline Gland: Crystalline Empowered Riposte. Crystalline parries are denoted by a bright white human-looking symbol. Found deep in the icy Martyr’s Altar, Crystalline parries cause your character to cast aside their shell and hit the enemy from all sides for a brief period, dealing large burst damage.
The Best Parry Ability in Mortal Shell

Ultimately which parry ability you use most will come down to personal preference, skill level, and risk aversion.
The safest option will always be the healing parry, as it does exactly what you expect of it: it heals you. If you have enough Resolve and you know the timing, you won’t really have to use a healing item: just parry.
The Inflamed Riposte is good for use in groups, though it’s application in boss fights is a little limited.
Both the Crystalline and Knotted Ripostes are great for damage, but which you use will depend on how you want to deal damage.
If you want what amounts to free damage without having to think too hard, go with Crystalline. One button press leads to massive damage, though it’s static: it will always do a set amount of damage.
If you’d prefer to control your damage yourself, go with the Knotted Parry. Your attack speed and efficiency rule here, and with the right setup, you can potentially deal even greater damage than any of the other abilities.
That’s pretty much it on how to parry in Mortal Shell. Without shields, it comes down to relearning timings, practicing those timings, getting hit and dying, then trying again. There is some awesome empowerment to augment your damage or magnet yourself out of a bad situation, so give them all a try. Check out our Mortal Shell hub for more guides, tips, and tricks.


Published: Aug 17, 2020 09:23 pm