Scorn is perhaps one of 2022’s goriest games, filled to the bloody brim with body horror and unsettling grotesqueries. It’s also one of the year’s more obtuse experiences, with its first puzzle, in particular, being one of the hardest to solve. The prologue act wastes no time throwing you into the thick of things; not finding the answer there will stop you dead in your tracks before you’ve even begun to shamble into the game’s heart.
The twists and turns don’t end there, with the entirety of Scorn coalescing into one giant interconnected puzzle by the time credits roll. This walkthrough guide will lead you through the game from beginning to end, trying to keep spoilers to a minimum wherever possible.
One of the best things about Scorn is experiencing it for yourself, and we wouldn’t want to ruin that. But if you’re wondering what to do or where to go, this walkthrough has you covered from Act 1 through Act 5.
Scorn Act 1-1
Begin the game, and follow the path from the starting point, squeezing through a metal door at the end. In this room, interact with the tube device under the light on the left side of the room by inserting your arm into it. With the tool in hand, turn to your right, and interact with the console in the center of the room by the other light.
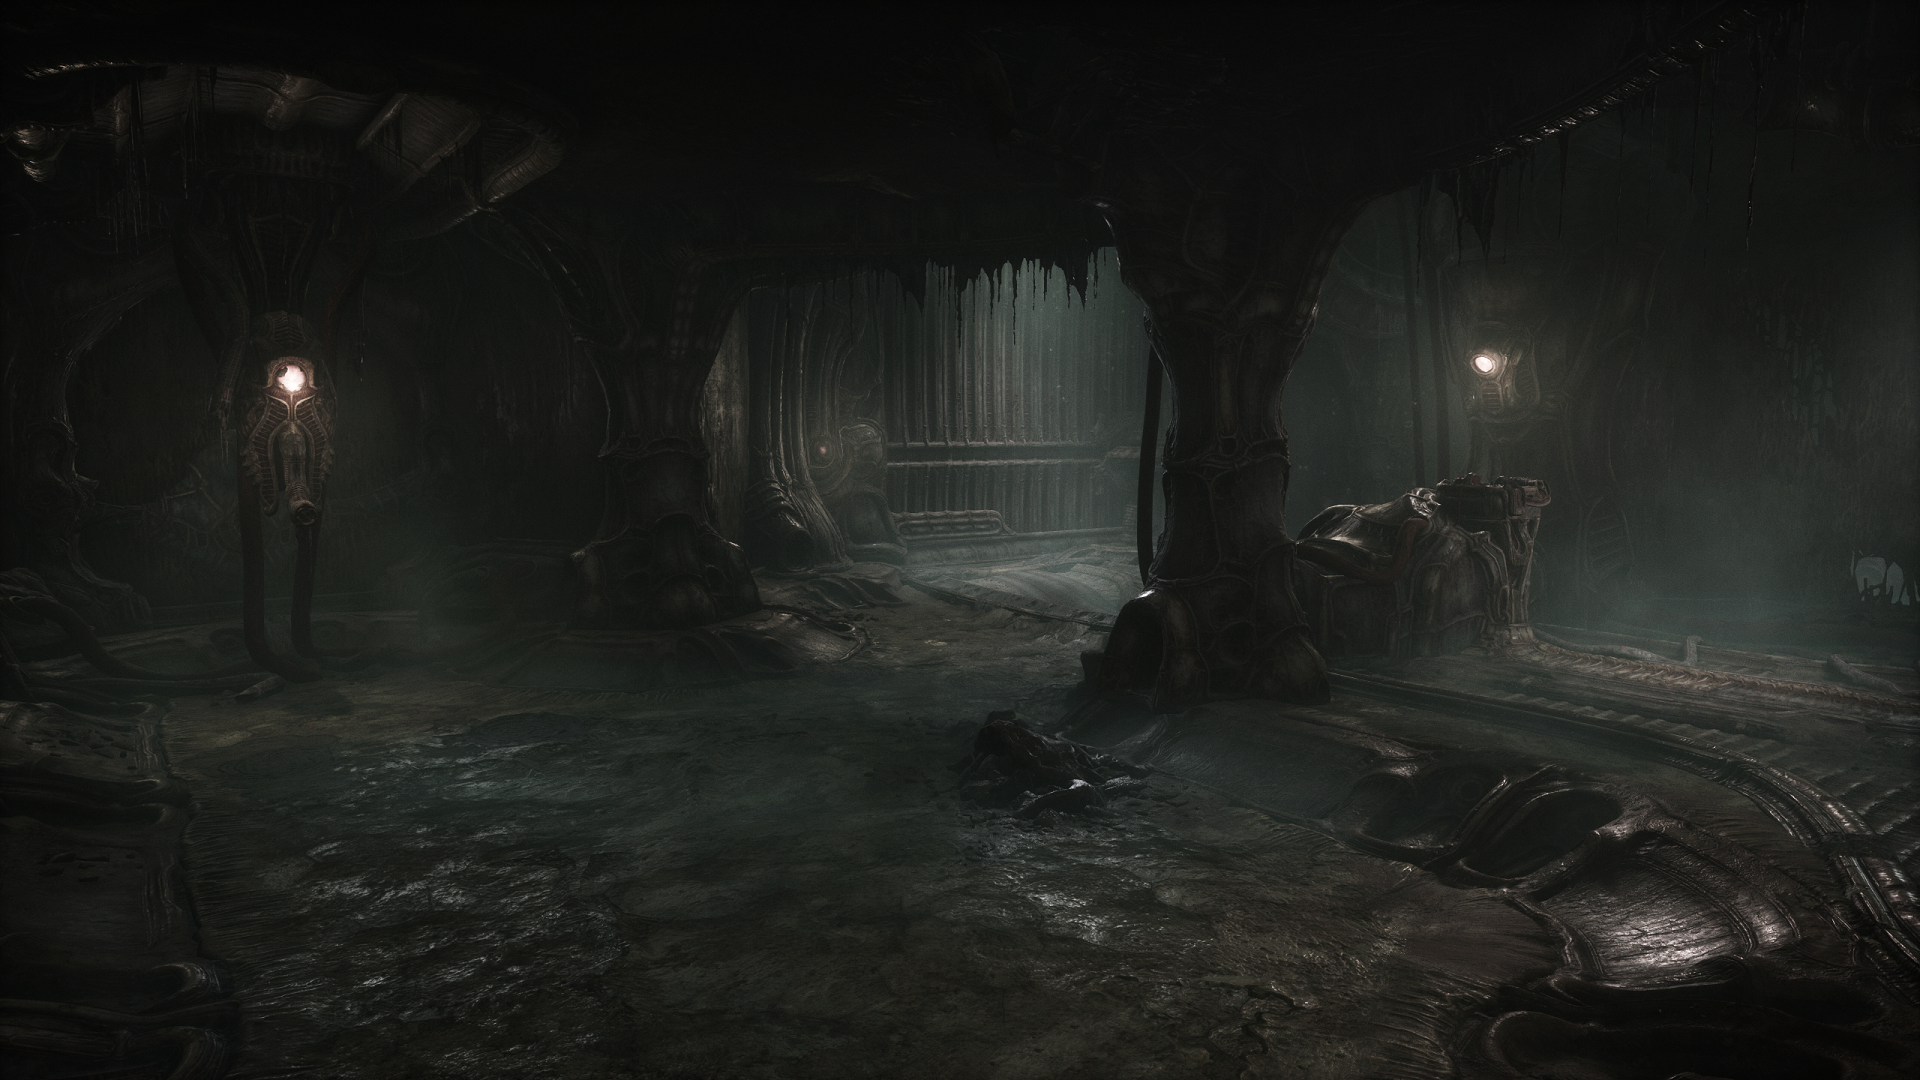
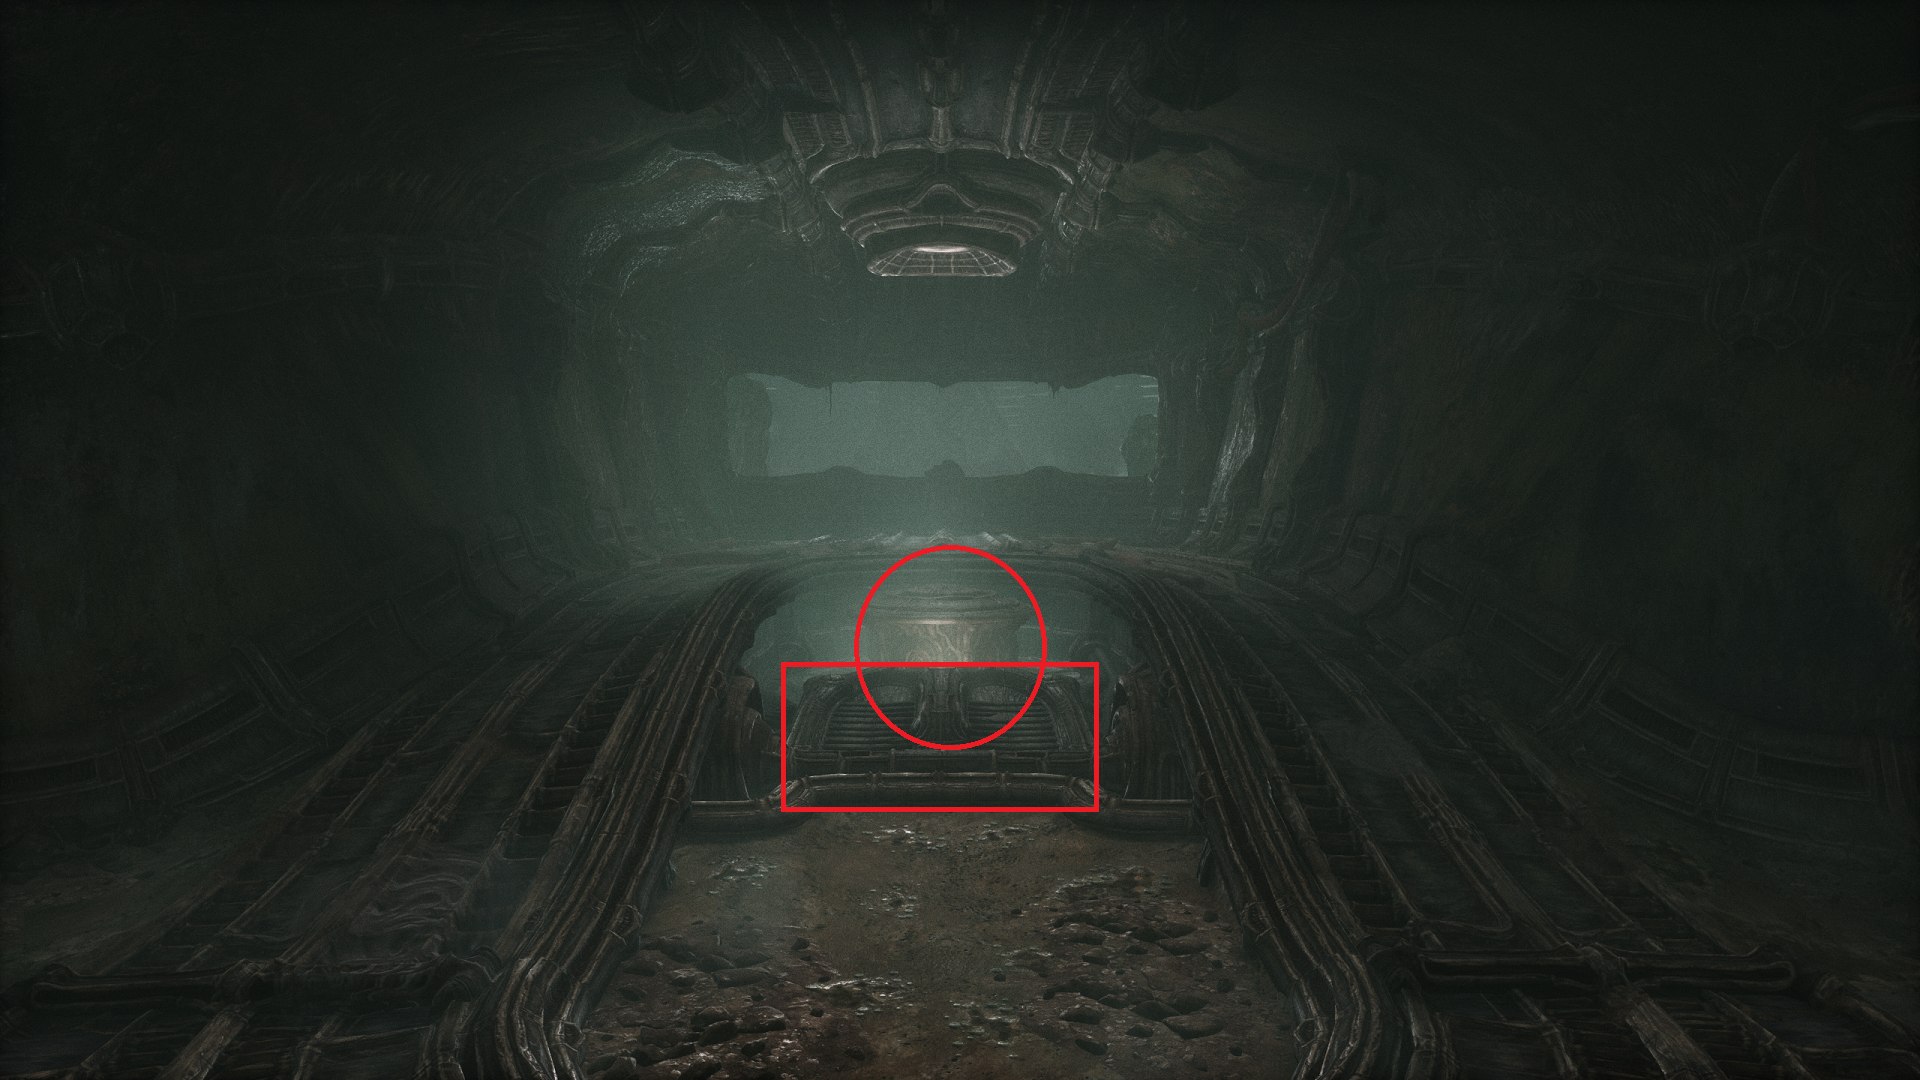
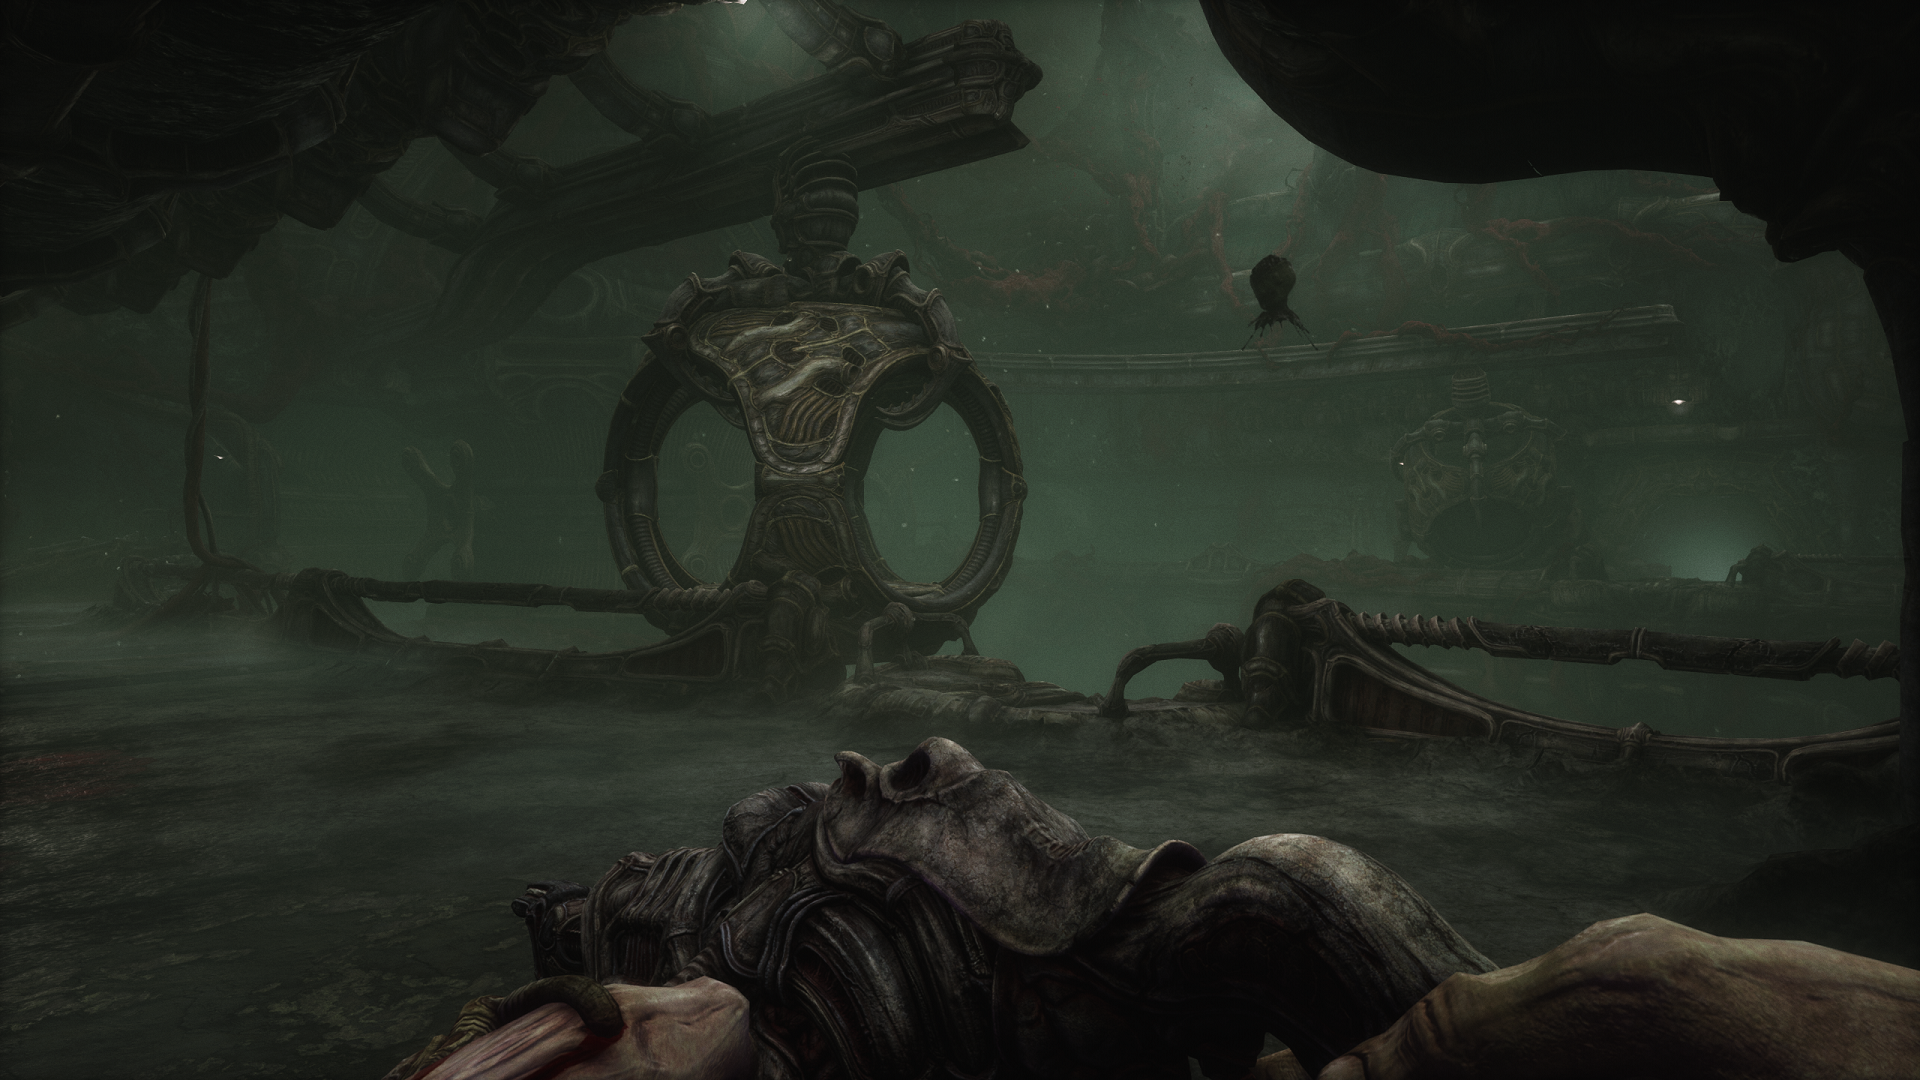
Operate the door’s left mechanism first to unlock it, then the right mechanism to open it. Exit the console and run through the door before it closes. The next room will be a large open area, and there will be a large stone structure in the middle with a spiral ramp leading to its top; there will be tracks on the floor encircling it.
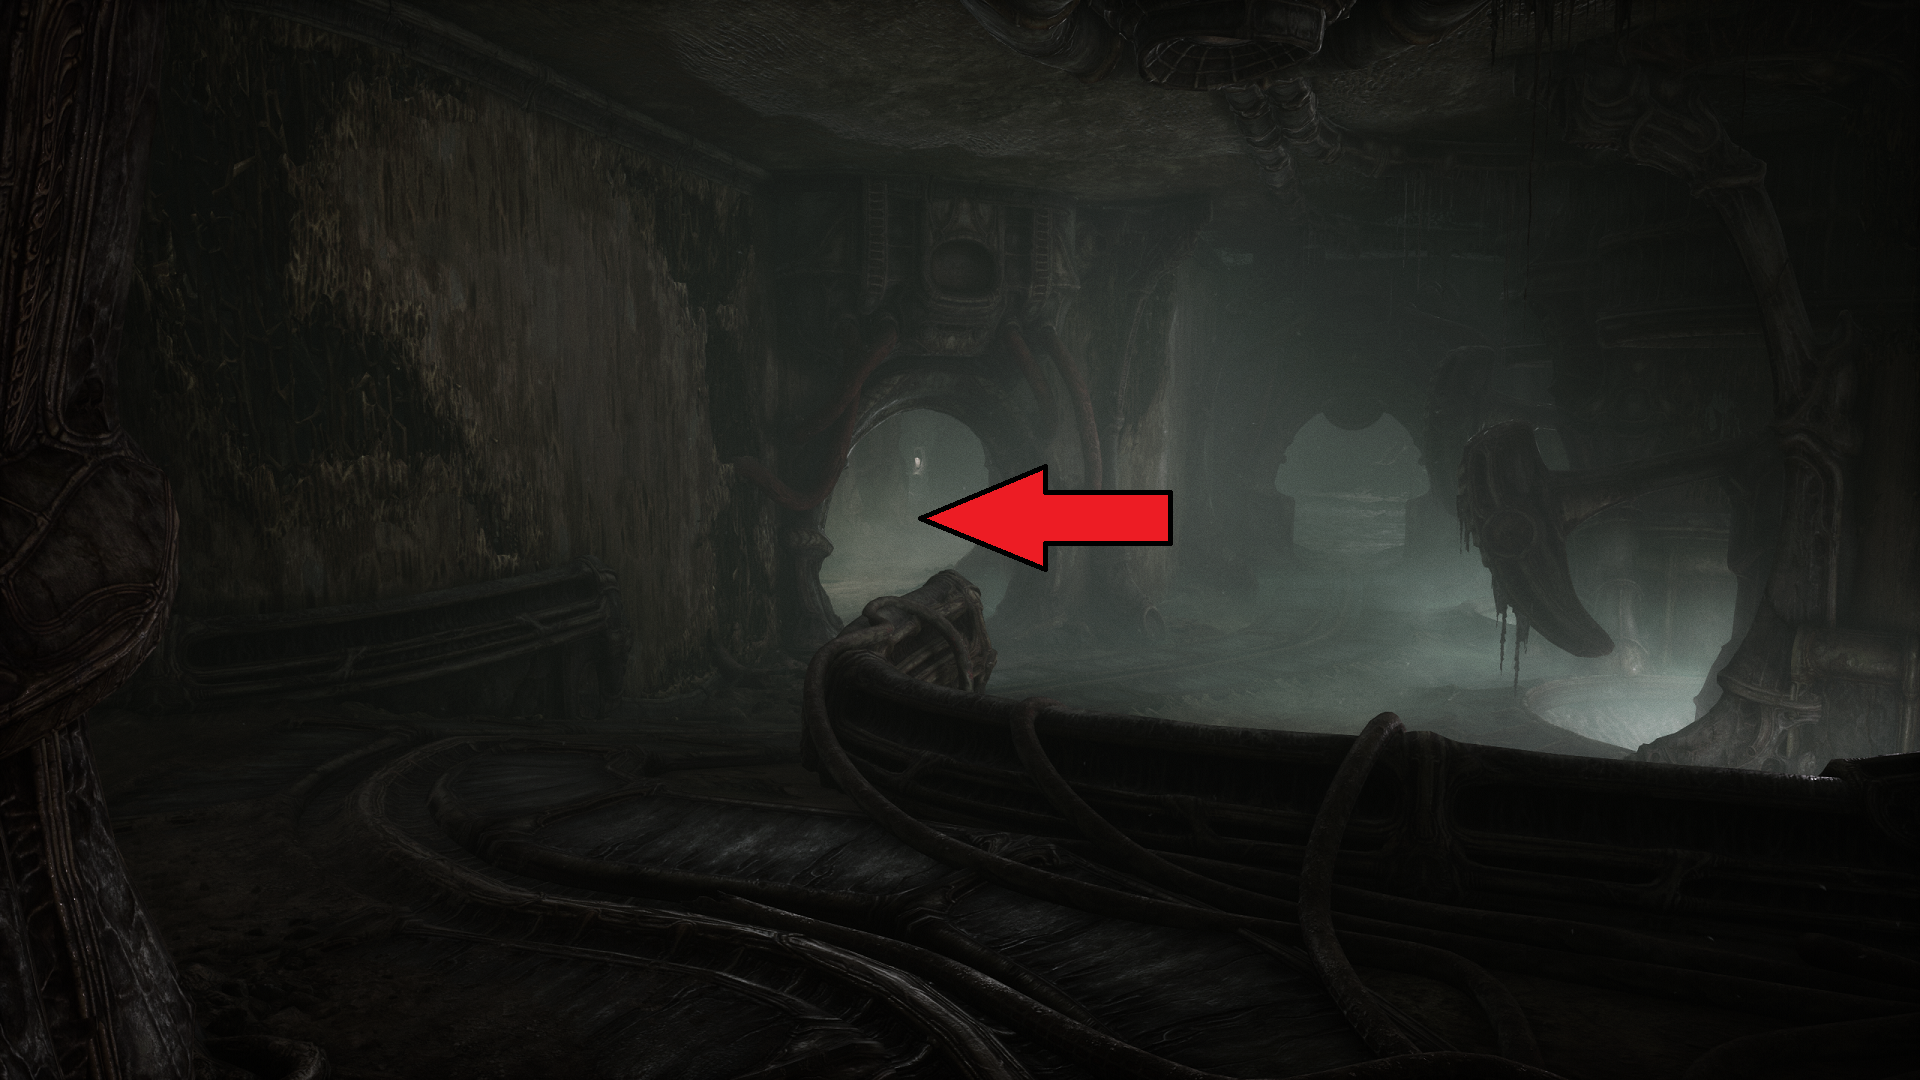
Take an immediate right, and follow the tracks right again; it will feel like you’re doubling back toward where you came from, but you’ll be going into a new side room.
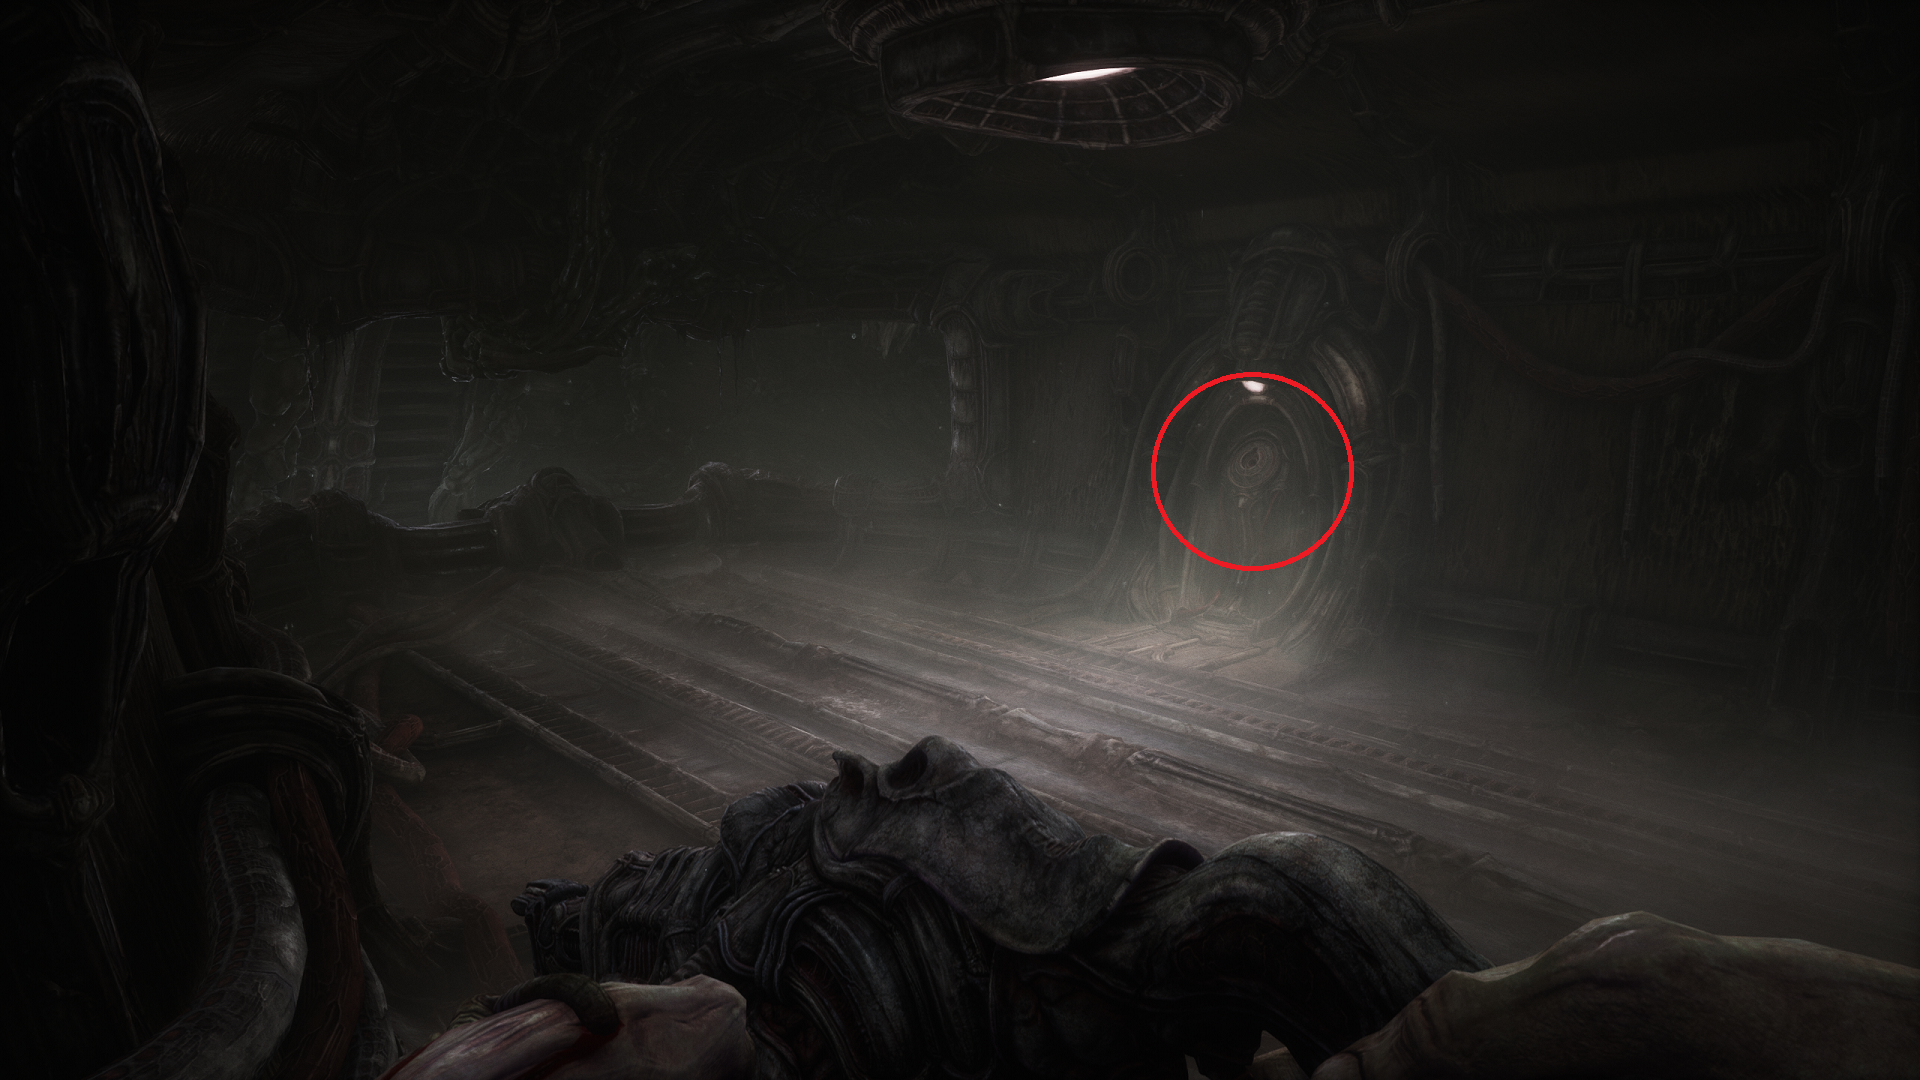
In this room, you’ll see a chair contraption and what looks like a shovel on an arm above it. There will be an elevator on the left side of this room; take it up to a new area.
How to Solve the First Puzzle in Act 1-1
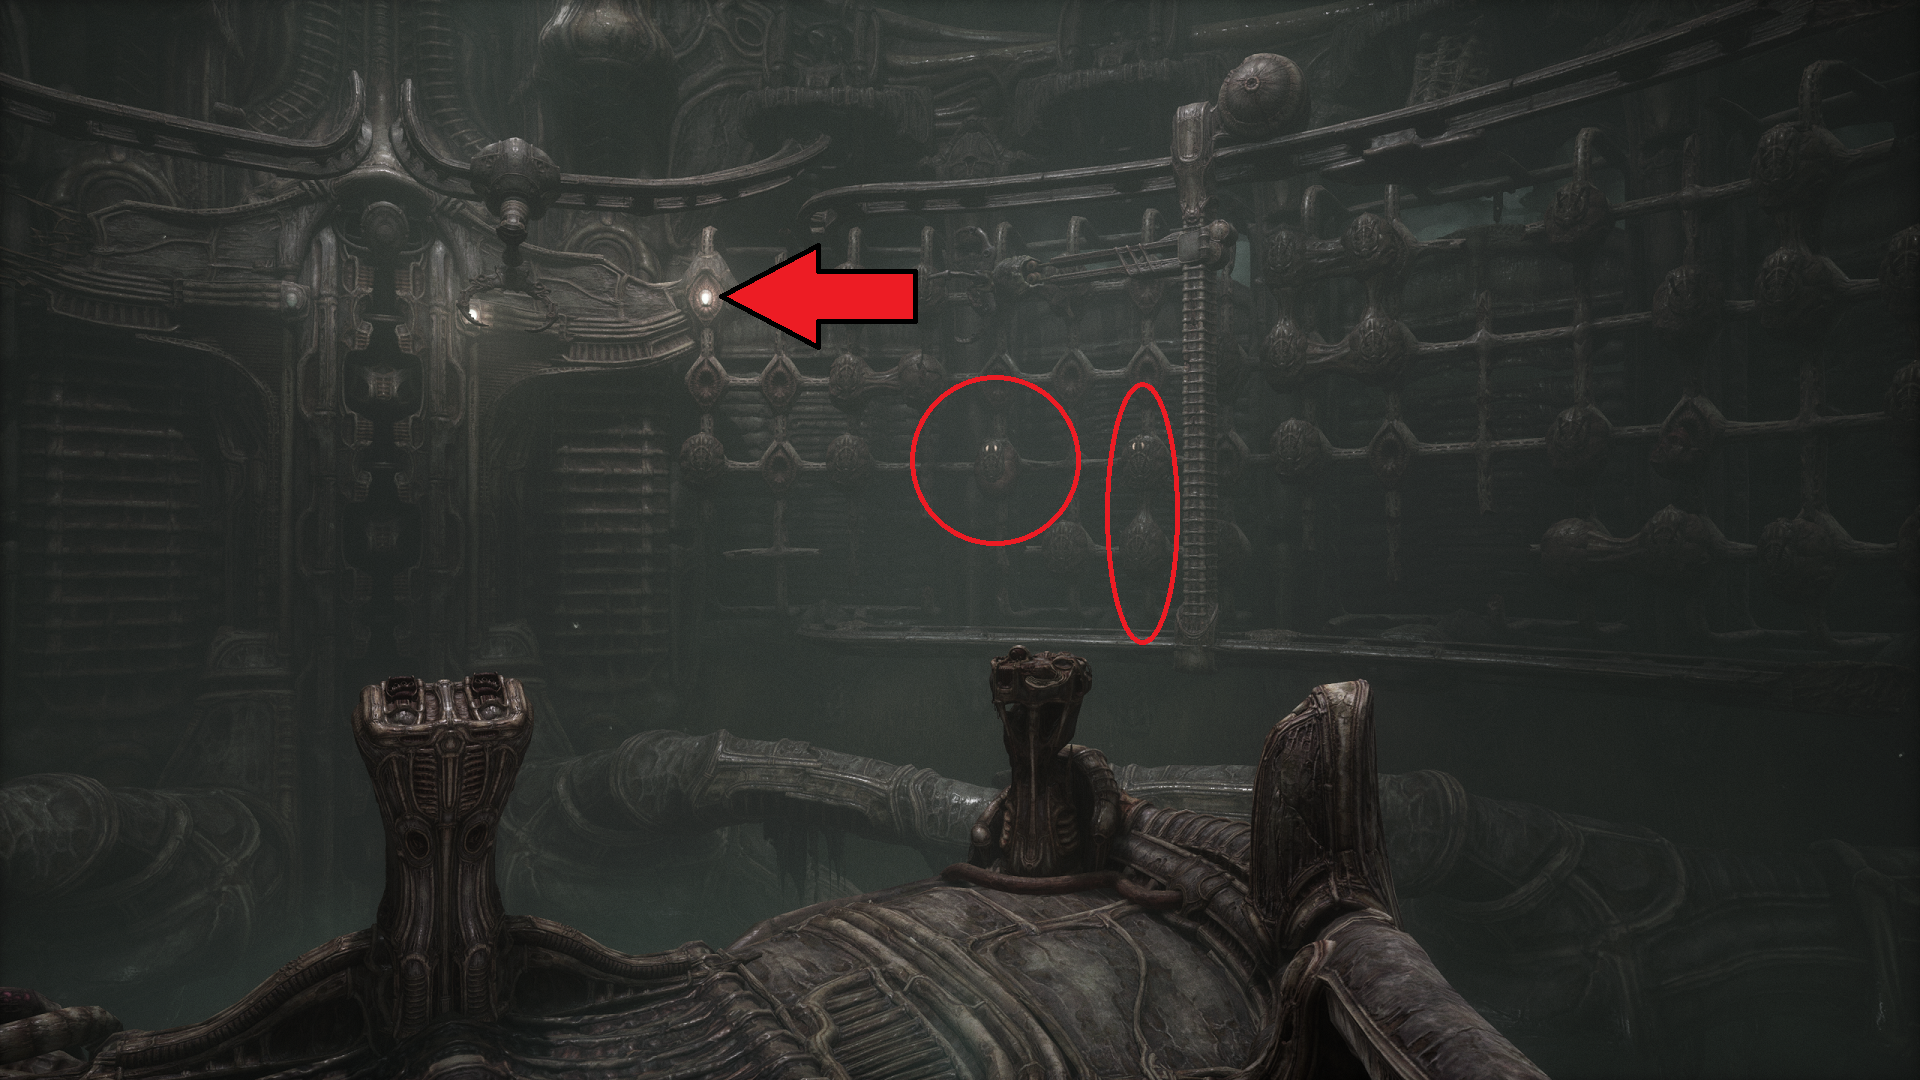
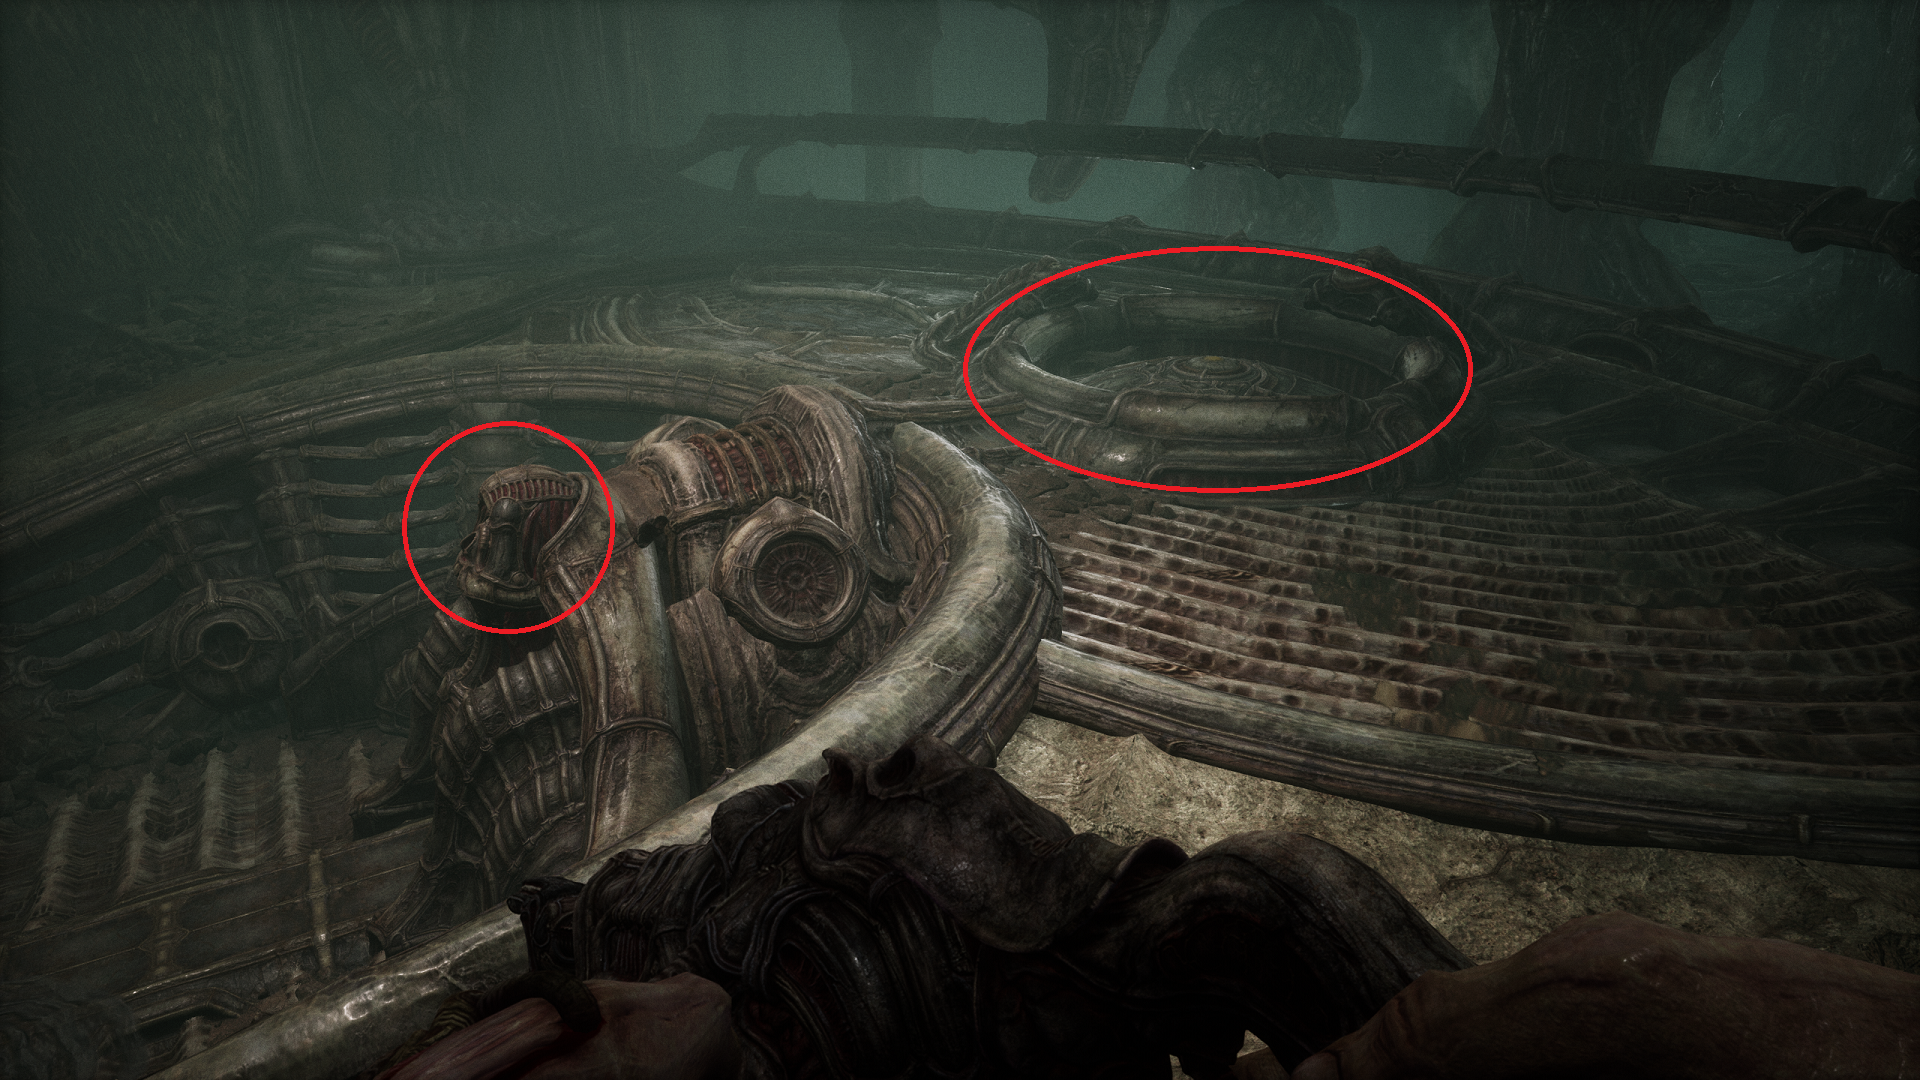
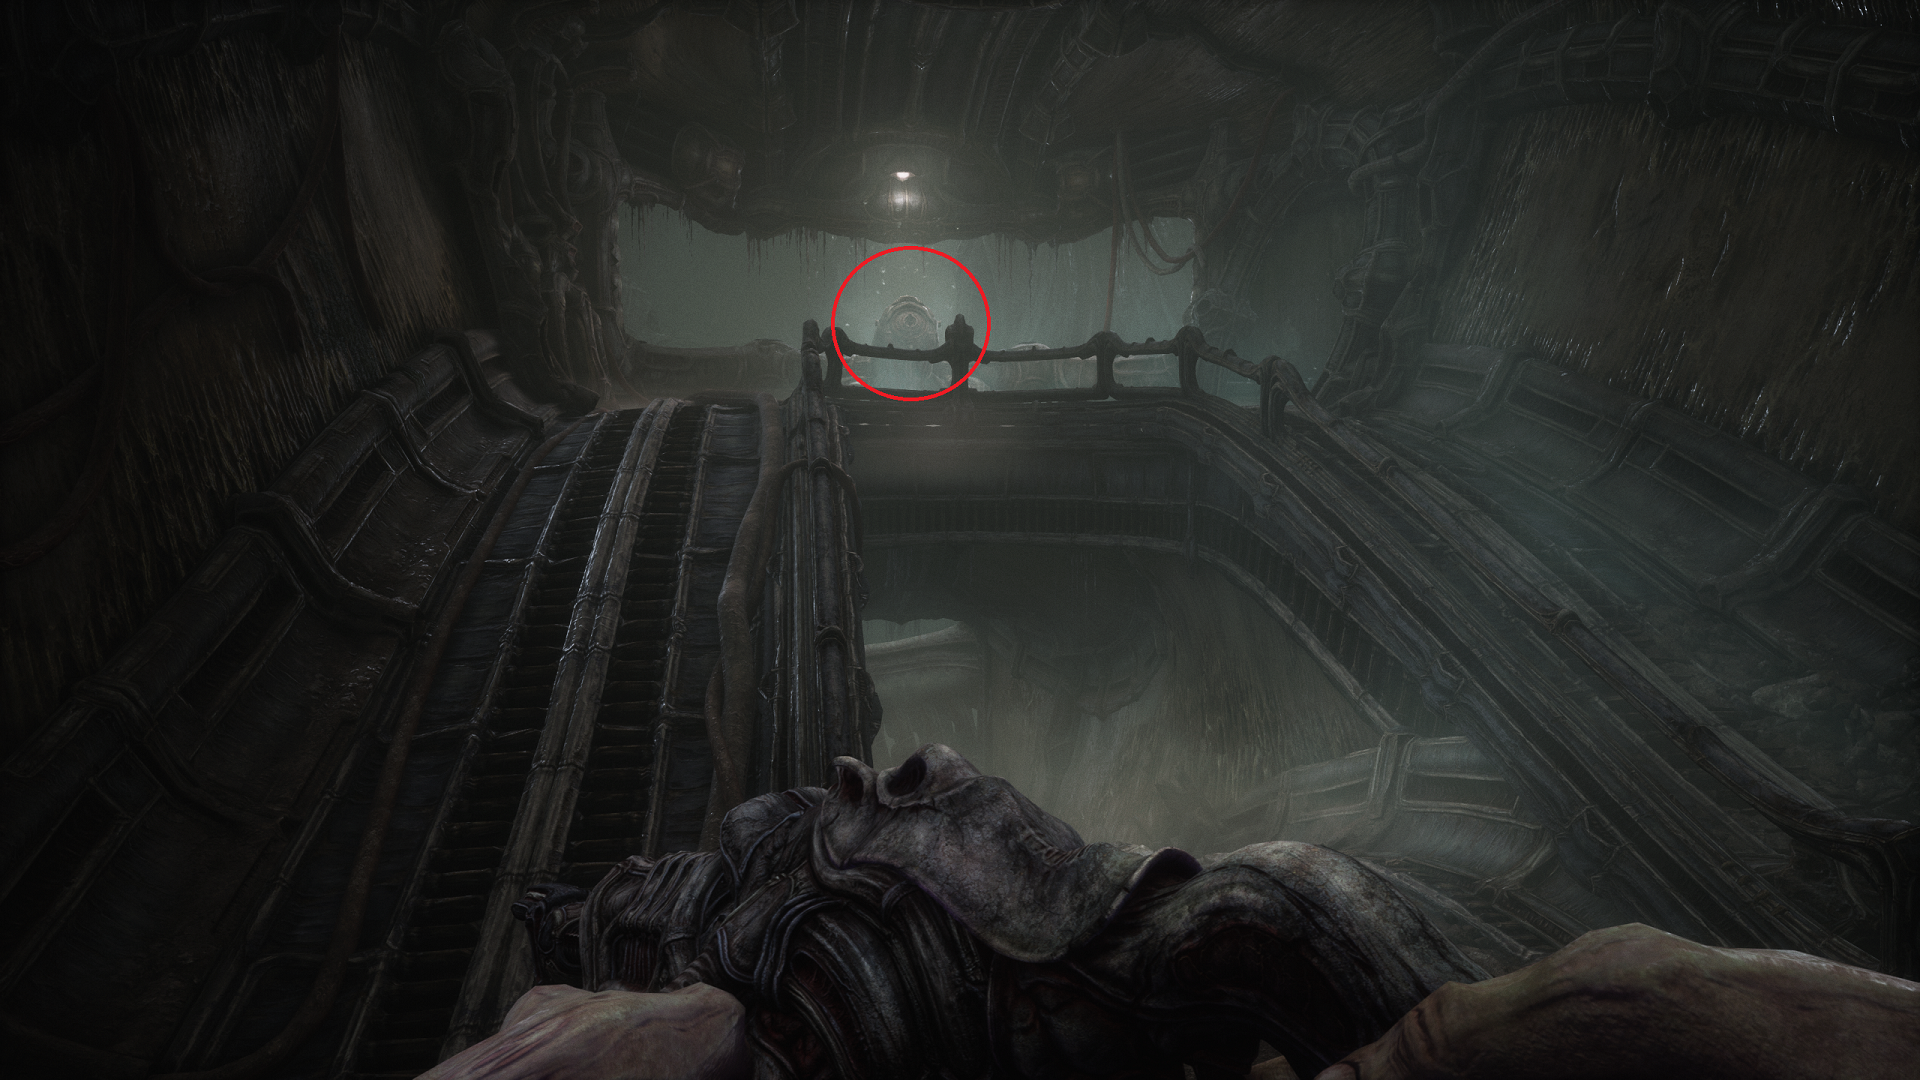
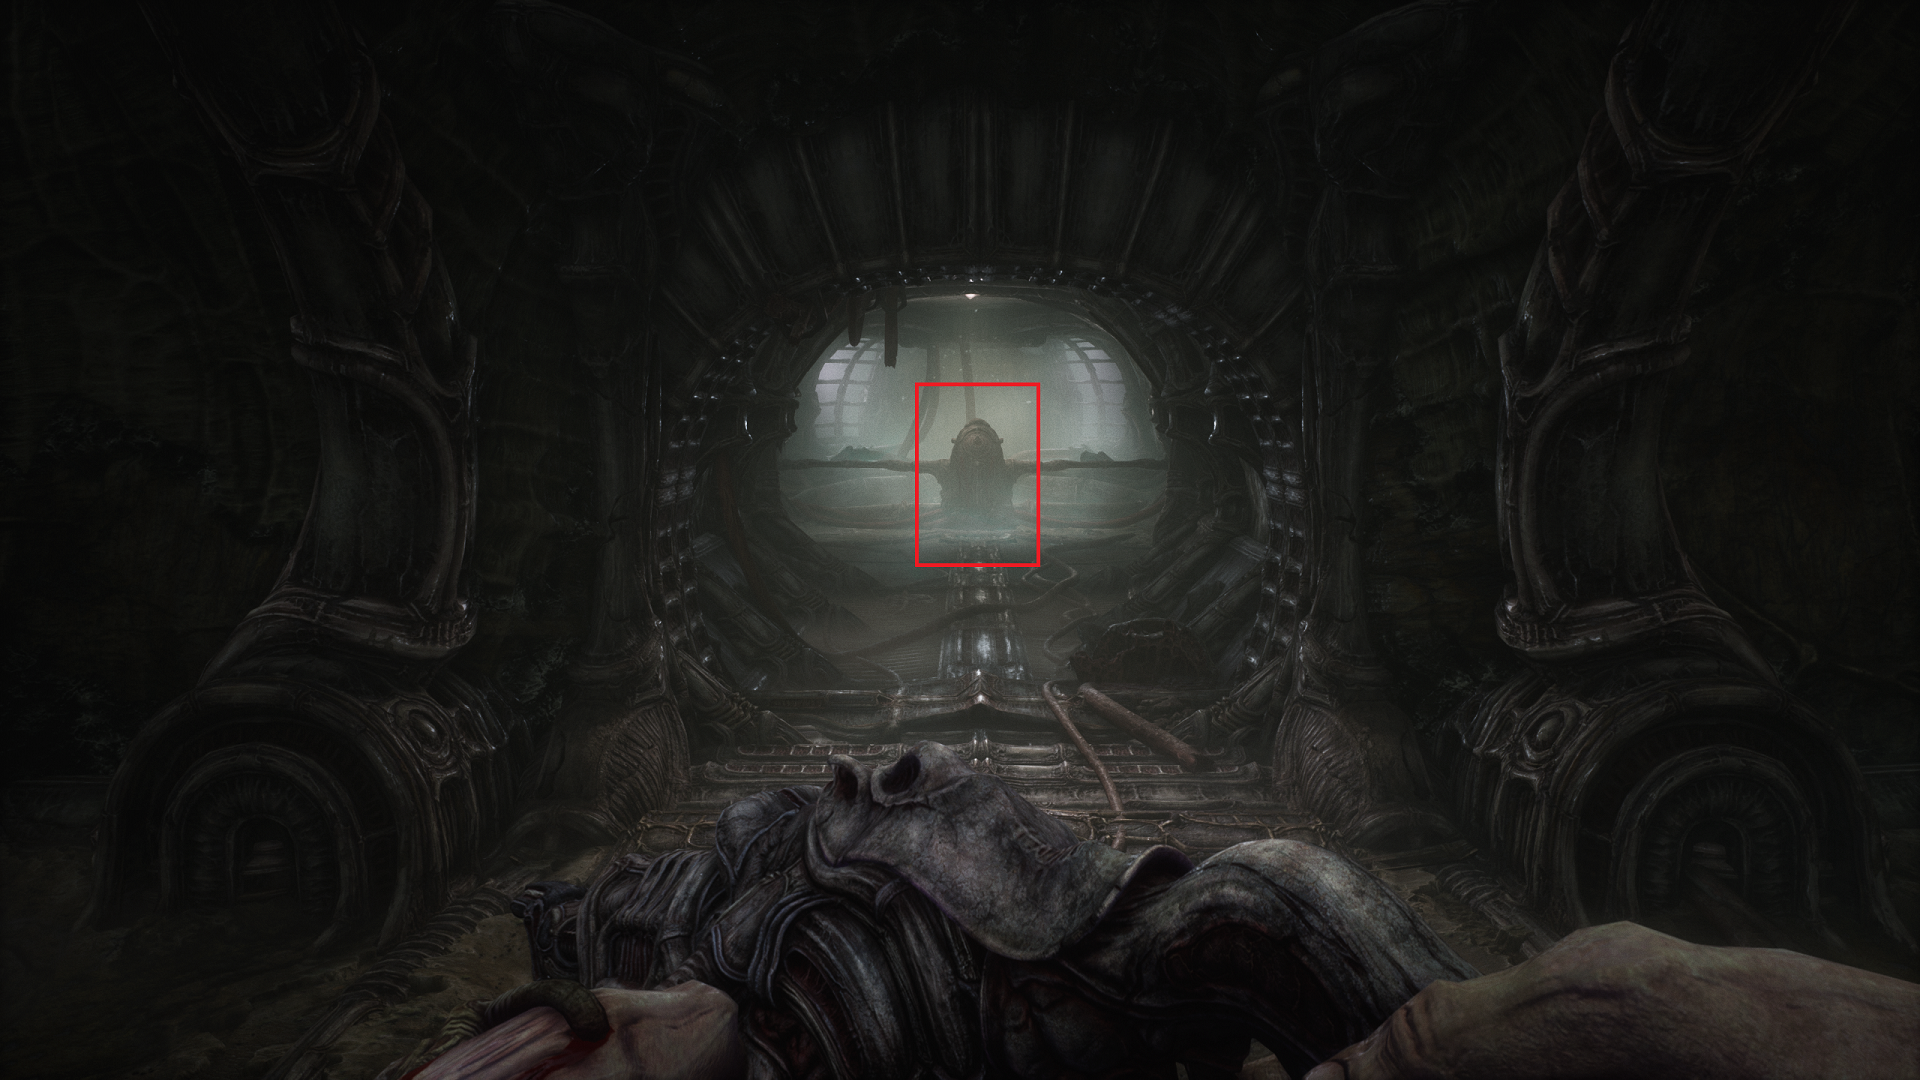
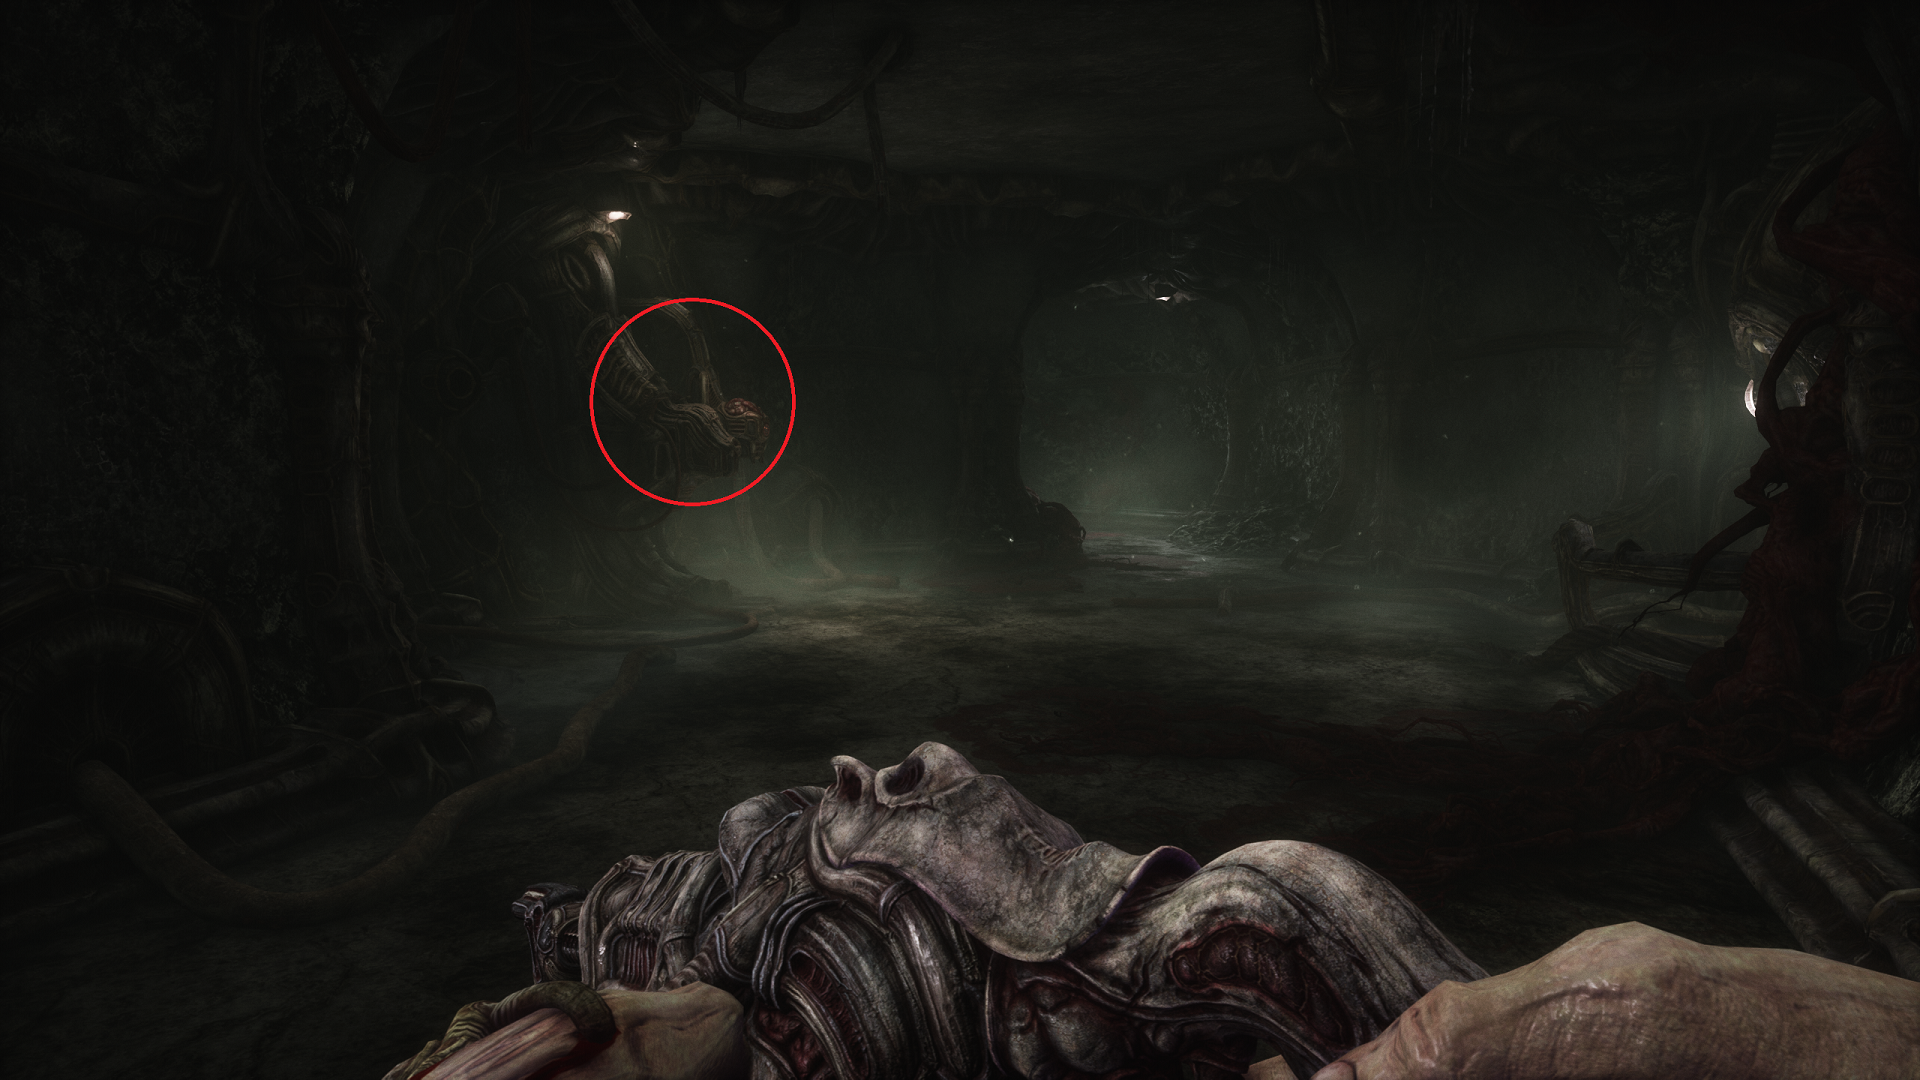
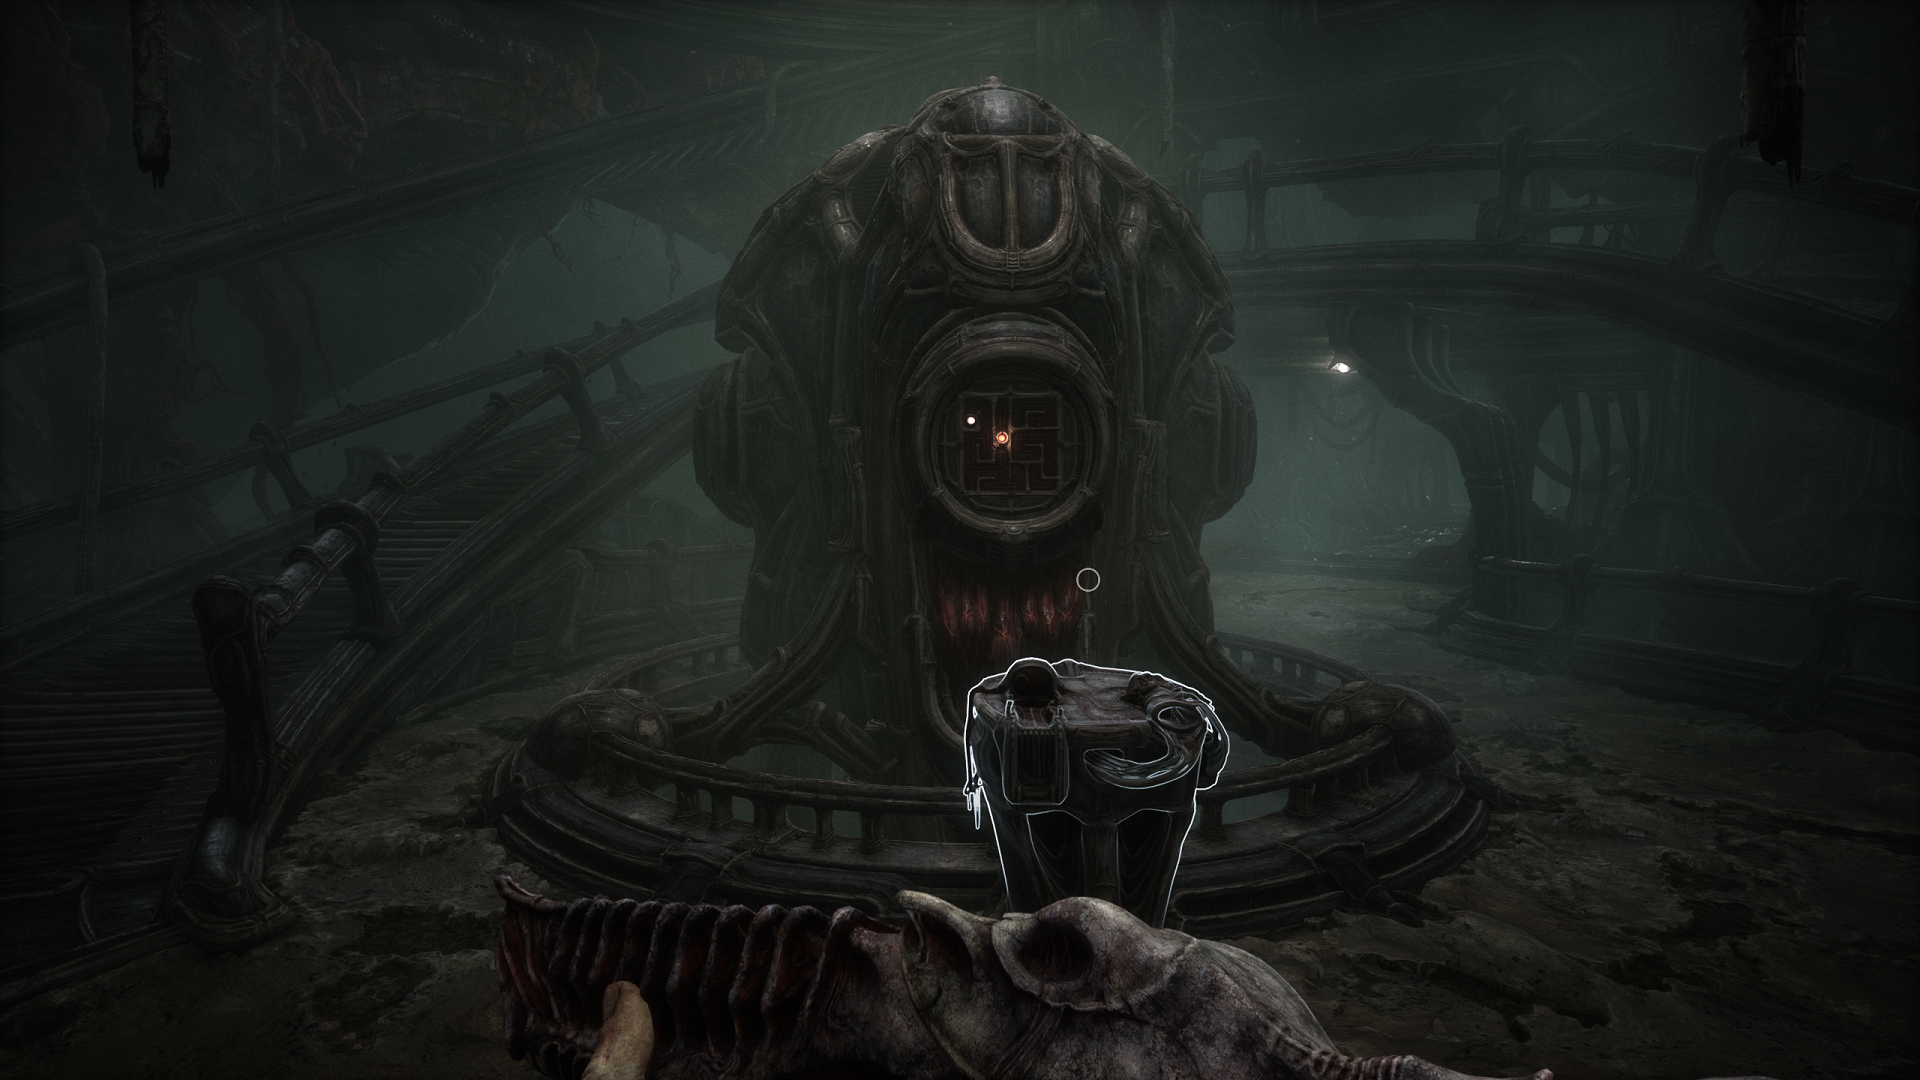
At the top of the elevator, follow the path, and stay right to enter a large open chamber. Go to the end of the path, you’ll see a console in the middle and one to the right of it. Interact with the console on the right side. We’ll get to the middle one soon; don’t worry about it for now.
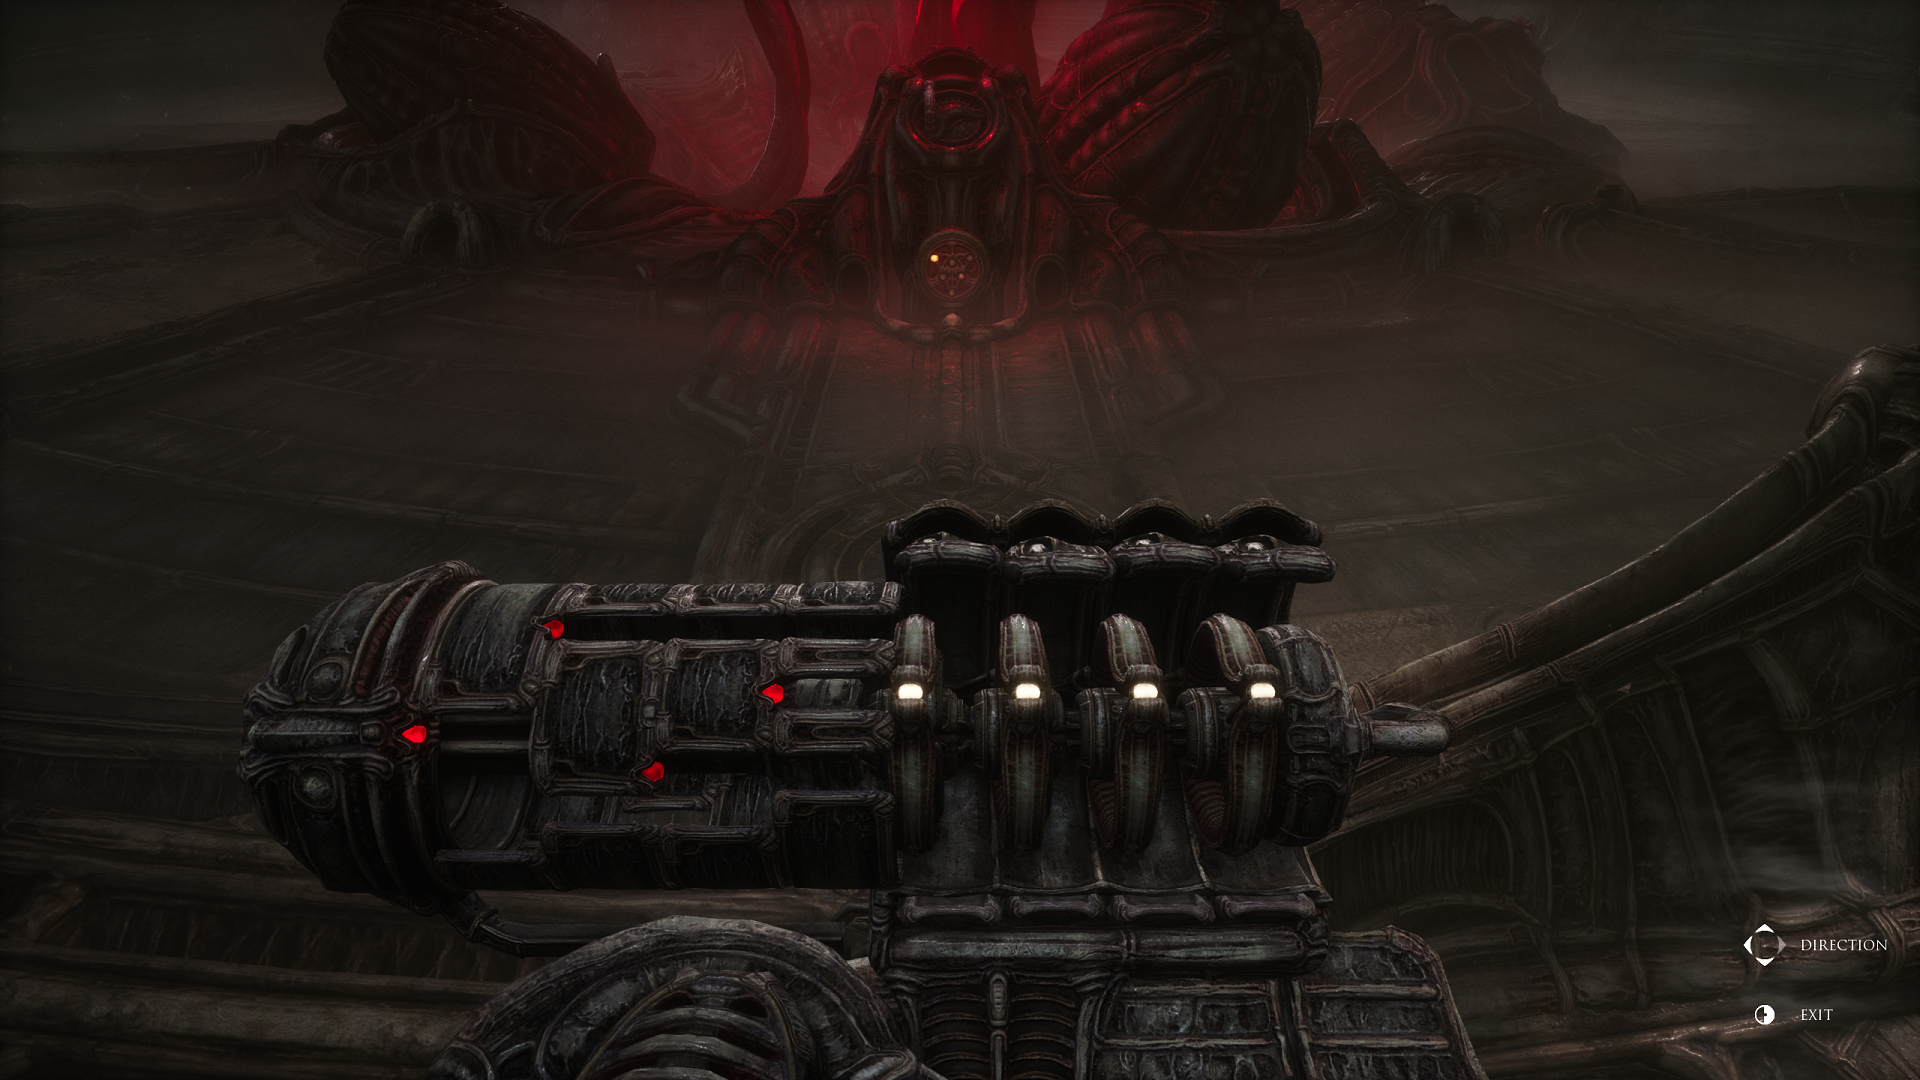
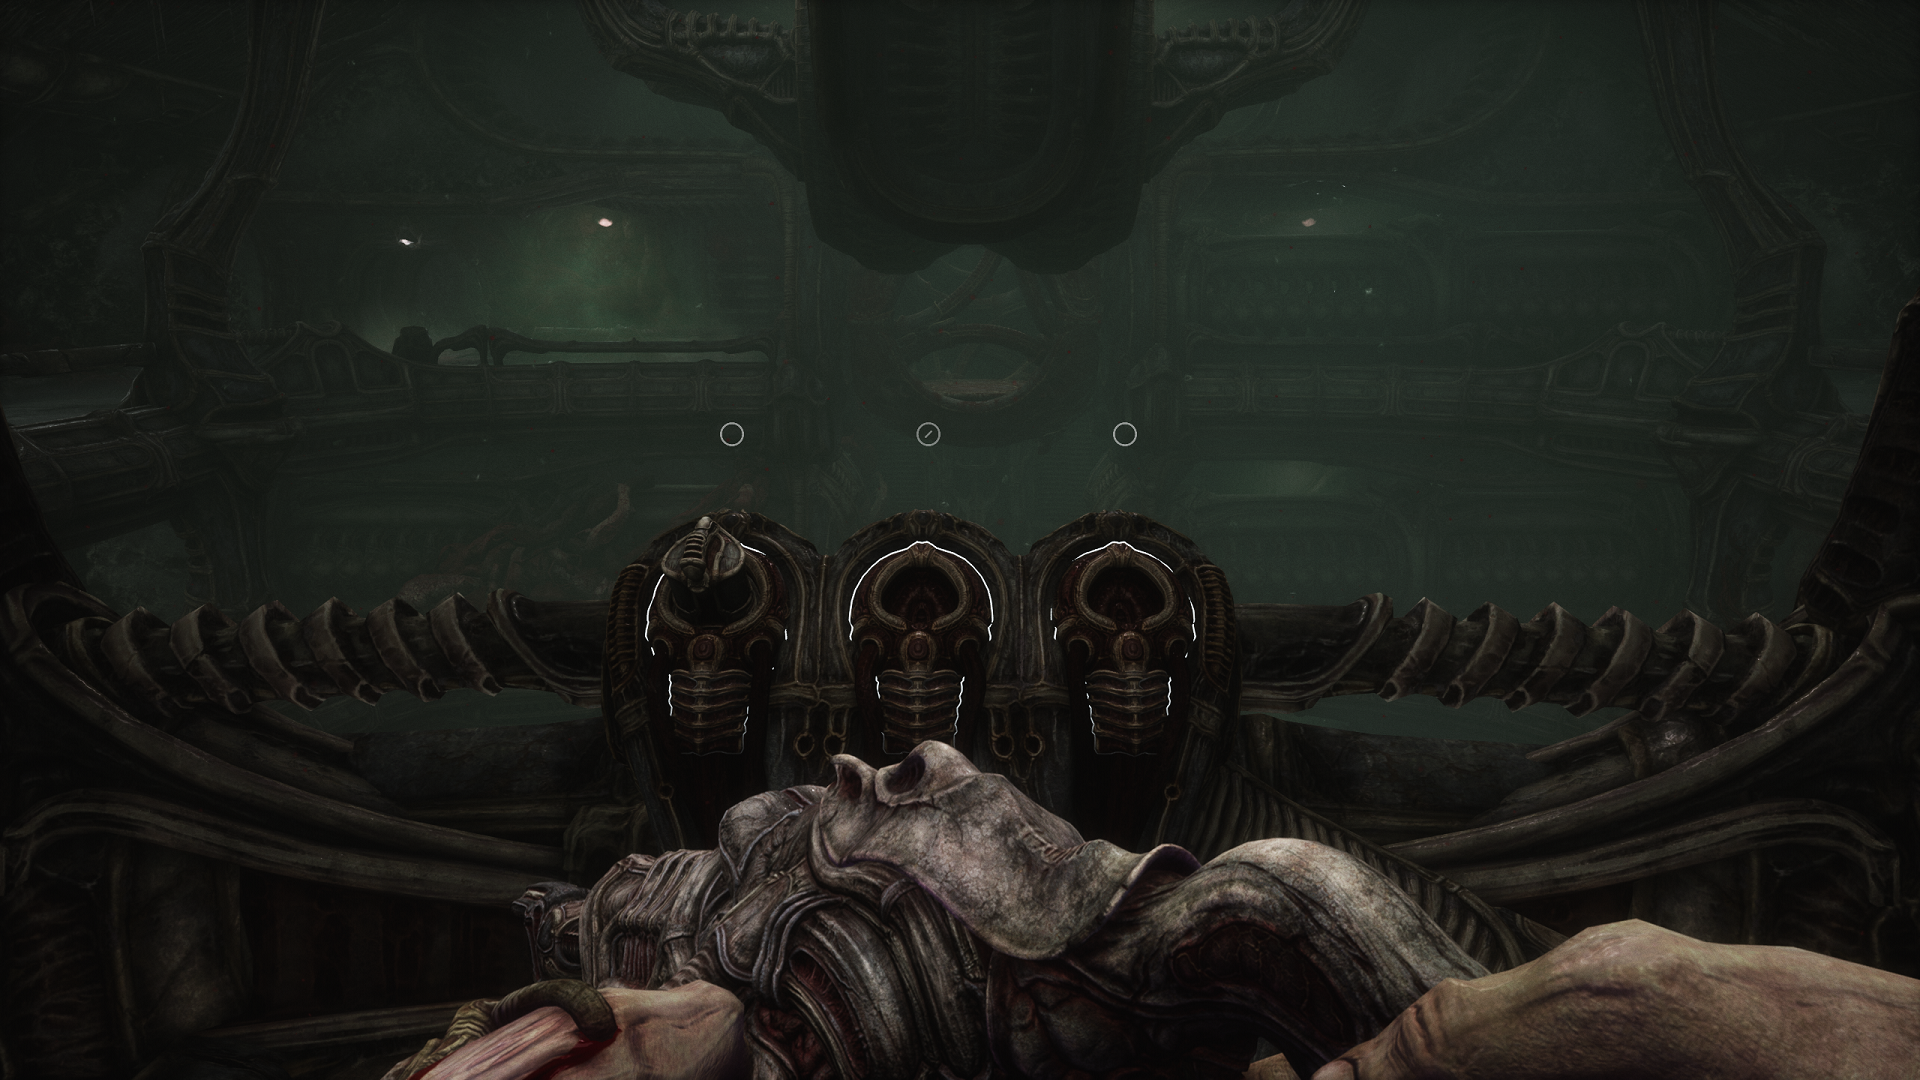
Interacting with the right console starts the first puzzle, and it’s a doozy. The goal here is to use the claw mechanism to grab and move two glowing pods/eggs in the bottom right of the scaffolding to the glowing receptacle in the top left of the scaffolding. The kicker is that you can only grab and move pods/eggs on sections of the scaffolding with nodes.
There are two steps to the first puzzle. Here’s how to solve the first step. We’ve separated these into two movement sets for the solution. Move the claw from the starting position:
Movement Set 1:
- Down
- Left
- Grab
- Right x3
- Release
Movement Set 2:
- Left x2
- Down
- Grab the first lit pod
- Up
- Left x4
- Up
- Release
- Exit the console
Now interact with the middle console center. An animation will play, and when that’s complete, return to the console on the right to operate the claw again, which should be reset to its original position. The second pod you need to move is connected to another pod vertically, so it’s quite a bit more challenging than the first and requires many more movements.
We’ve separated these into 16 movement sets for the solution. Move the claw from the starting position:
Movement Set 1:
- Right x4
- Down x2
- Grab
- Right
- Release
Movement Set 2:
- Left x2
- Up
- Grab
- Down
- Right
- Release
Movement Set 3:
- Left x6
- Up x2
- Grab
- Down
- Left x2
- Release
Movement Set 4:
- Right x4
- Up
- Grab
- Left x2
- Release
Movement Set 5:
- Down x2
- Grab
- Up
- Right x2
- Down
- Release
Movement Set 6:
- Up
- Right
- Grab
- Up
- Left
- Release
Movement Set 7:
- Down x2
- Grab
- Up
- Right x3
- Down
- Release
Movement Set 8:
- Up x2
- Left x2
- Grab
- Down
- Left x2
- Release
Movement Set 9:
- Right x3
- Down
- Grab
- Up x2
- Left x2
- Down
- Release
Movement Set 10:
- Up
- Left
- Grab
- Right x3
- Down
- Right
- Release
Movement Set 11:
- Down
- Grab
- Left
- Down
- Release
Movement Set 12:
- Up x2
- Grab
- Down
- Release
Movement Set 13:
- Up
- Left x3
- Grab
- Up
- Right x3
- Down
- Right
- Release
Movement Set 14:
- Left x7
- Down
- Grab
- Right x2
- Up x2
- Right x3
- Down
- Release
Movement Set 15:
- Left x4
- Right
- Up
- Right x3
- Release
Movement Set 16:
- Left x2
- Down
- Grab
- Up
- Left x2
- Down
- Left x2
- Up
- Release
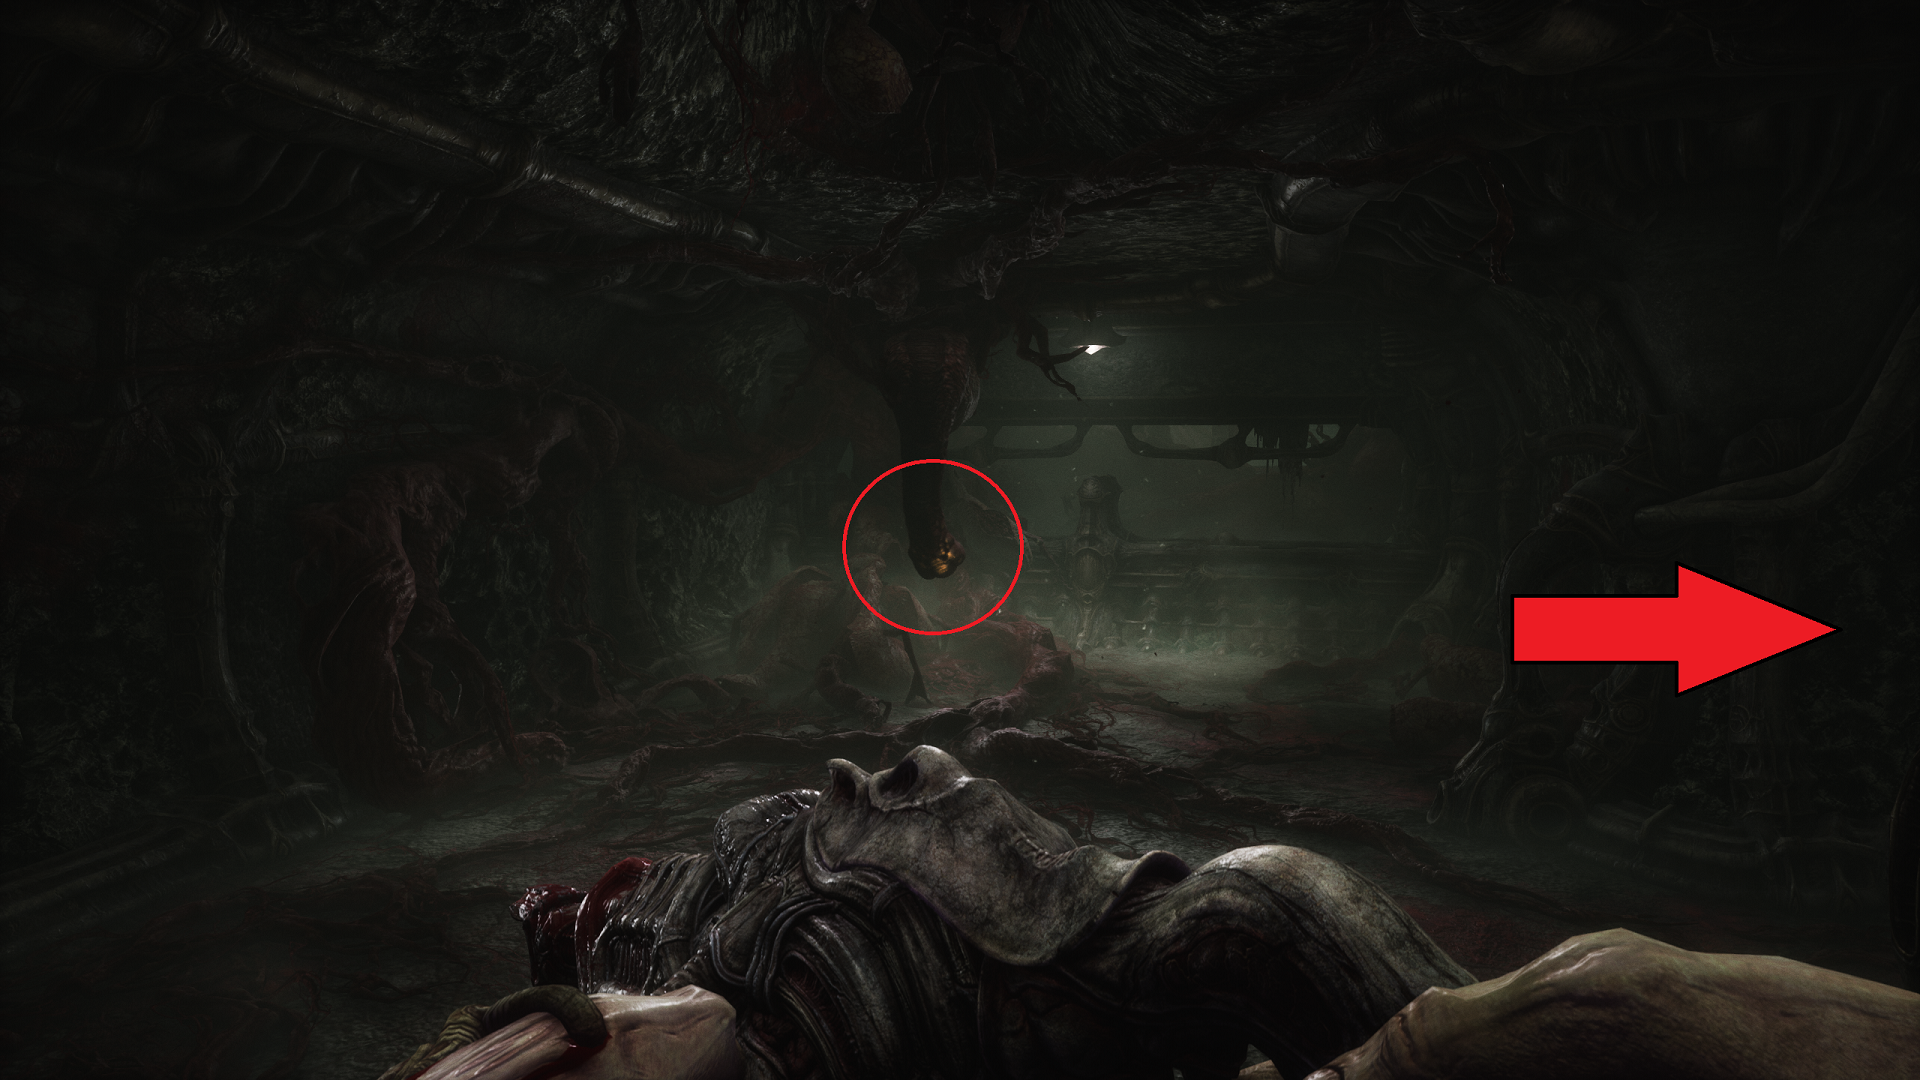
Go back to the middle console, and activate another animation sequence. When that’s over, take the elevator back down, and find the chair on the rails in the center chamber. Look above to see the egg you just moved from the puzzle dangling above. Bring it down to the chair with the nearby crane contraption (operated the console is next to the chair).
Once the egg is on the chair, turn around from the crane console, and climb to the top of the spire. Interact with another console at the top, using it to flip the rail in the bottom left. Now descend the spire, and push the chair (now a cart) with the egg on it to the next contraption on the rails. Interact with the console on the left side of the rail to operate the contraption.

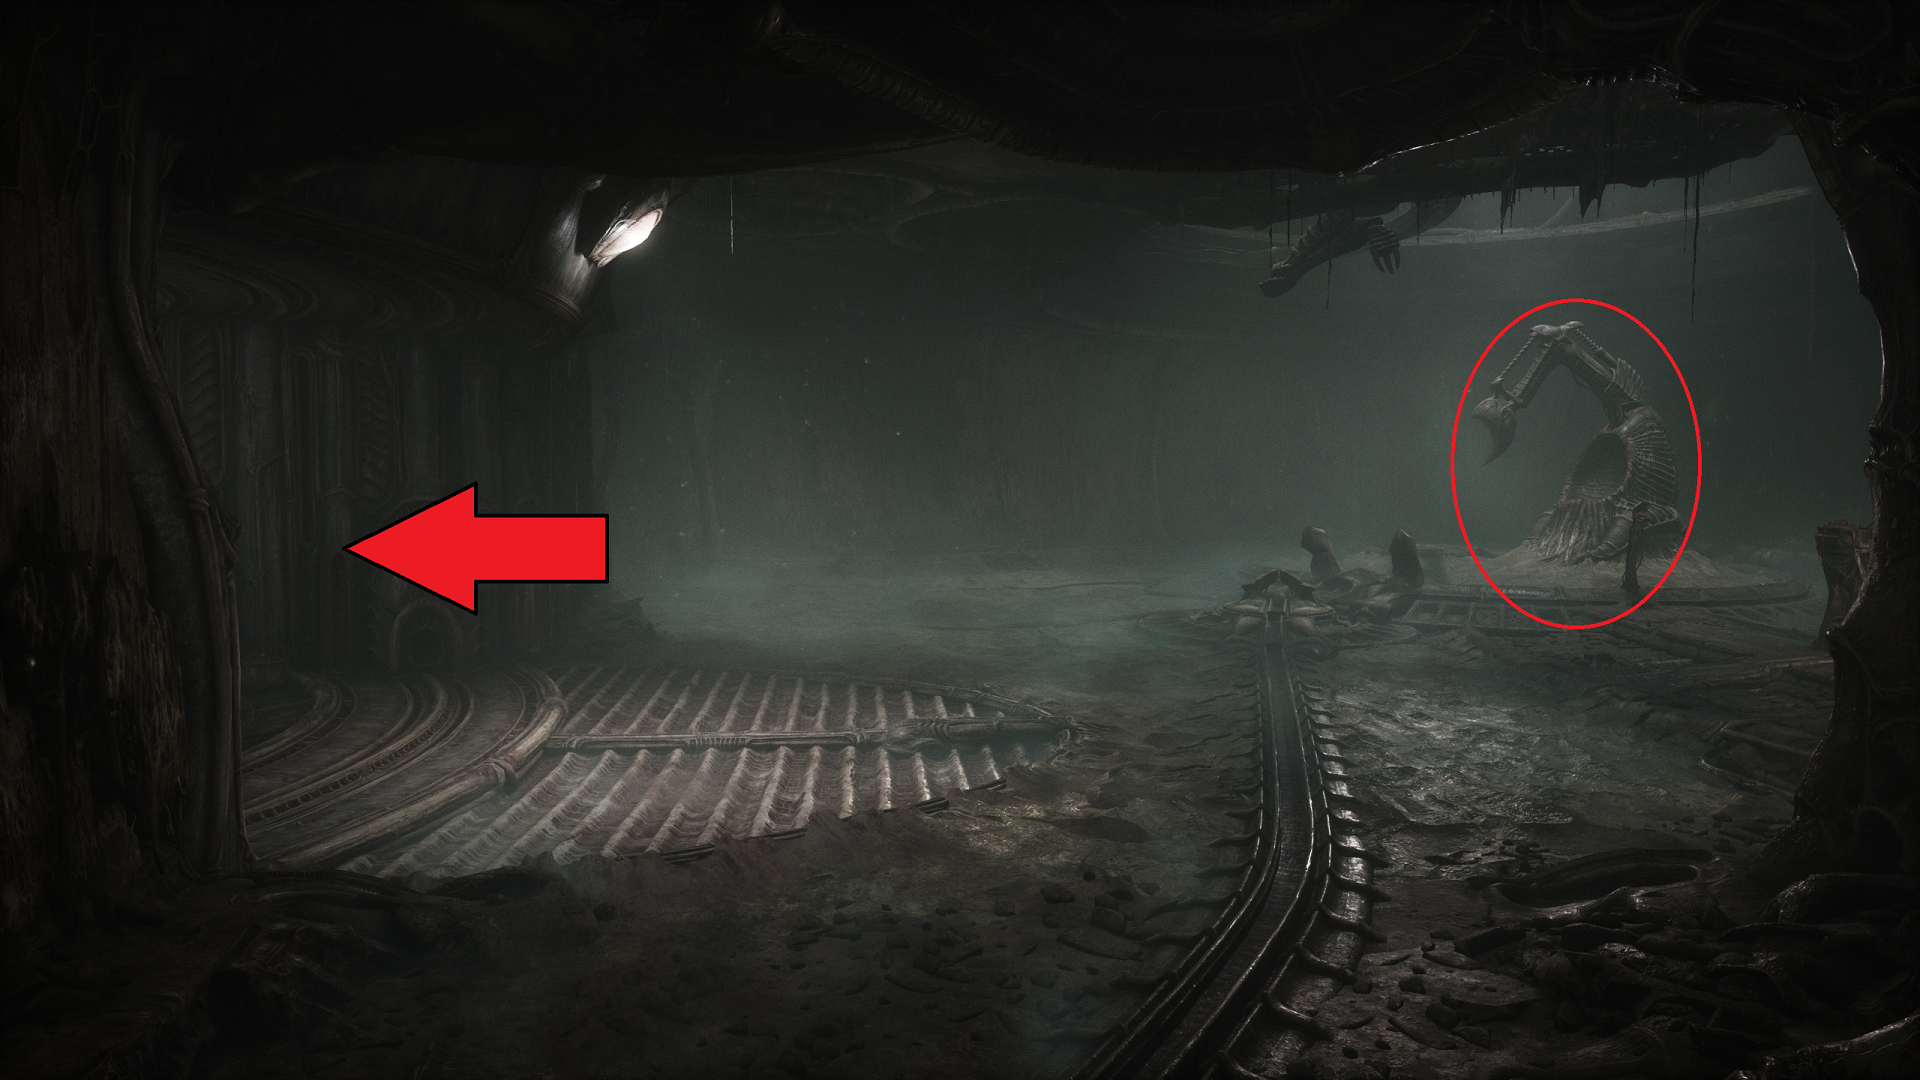
Now push the cart down the tracks to the end, veering right into the room with the shovel contraption and elevator. Interact with the larger console on the right of the room, near the light, and move the egg into the shovel chair contraption. Then pull the smaller switch in front of the console. When the animation is done, go up to the contraption and grab the arm in the chair.
How to Use the Arm
Exit the room on the left side (left of the contraption) with the arm. Go past the big door on the right, and into another room with a ramp leading down. Take the first left. Insert the arm from the chair into the tube on the left side, as you did your arm to get the first hand tool near the beginning. This will attach another hand tool to the disembodied arm.
Go back to the big door, and insert the arm into the first console (on the left if you’re facing the door). Then interact with the console on the right to open the door. Go through the door, and interact with the console at the end to activate an elevator.

Scorn Act 1-2
At the top of the elevator, go straight across to the other side using either the left or right path (both of which create a semi-circle to the other side, so it doesn’t matter which you choose).
There, you’ll see the paths going up on either side to a rectangular “window” in a dead end. A light will be shining down on a depressed contraption in the middle of the pathways. Walk into the middle to activate a pressure plate and get your first weapon.
Now turn around and go right or left, taking one of the side openings; it doesn’t matter which you choose. When you enter either side, you’ll notice the paths go up as they continue on, and a contraption nestled in a depression next to them; there is a circle with a yellow light in the middle of it set in the floor above each contraption. Remember these for later.
Follow either path into a tight, claustrophobic area with fleshy columns. Continue one, and you’ll eventually arrive outside the rectangular window you saw before and see a central, much taller fleshy spire with a console in front of it.
Use the console to control a drone-like machine. Bring it in front of you, and a cylindrical pod will rise out of the ground in front of you. Grab it with the drone, and place it in the glowing opening in the spire (this should be in the lower right side of the spire). Interact with the switch that appears beneath where you just put the pod.
Now, go back to the entrance of either side door that led here, and use your weapon on the contraptions in the depressions beneath the circles in the floor with yellow lights.
Animations will play, and flying pods will release from the ceiling; one cylindrical pod will release above each contraption, with a claw taking each away. Go back to the drone and use it to place the cylindrical pods in the spire, revealing two more switches.
To be clear, you must do this to both contraptions at both doors, for a total of three cylindrical pods in the spire.
Once you’ve placed all three pods in the spire and interacted with all three switches, a longer cutscene will play.
Scorn Act 2-1
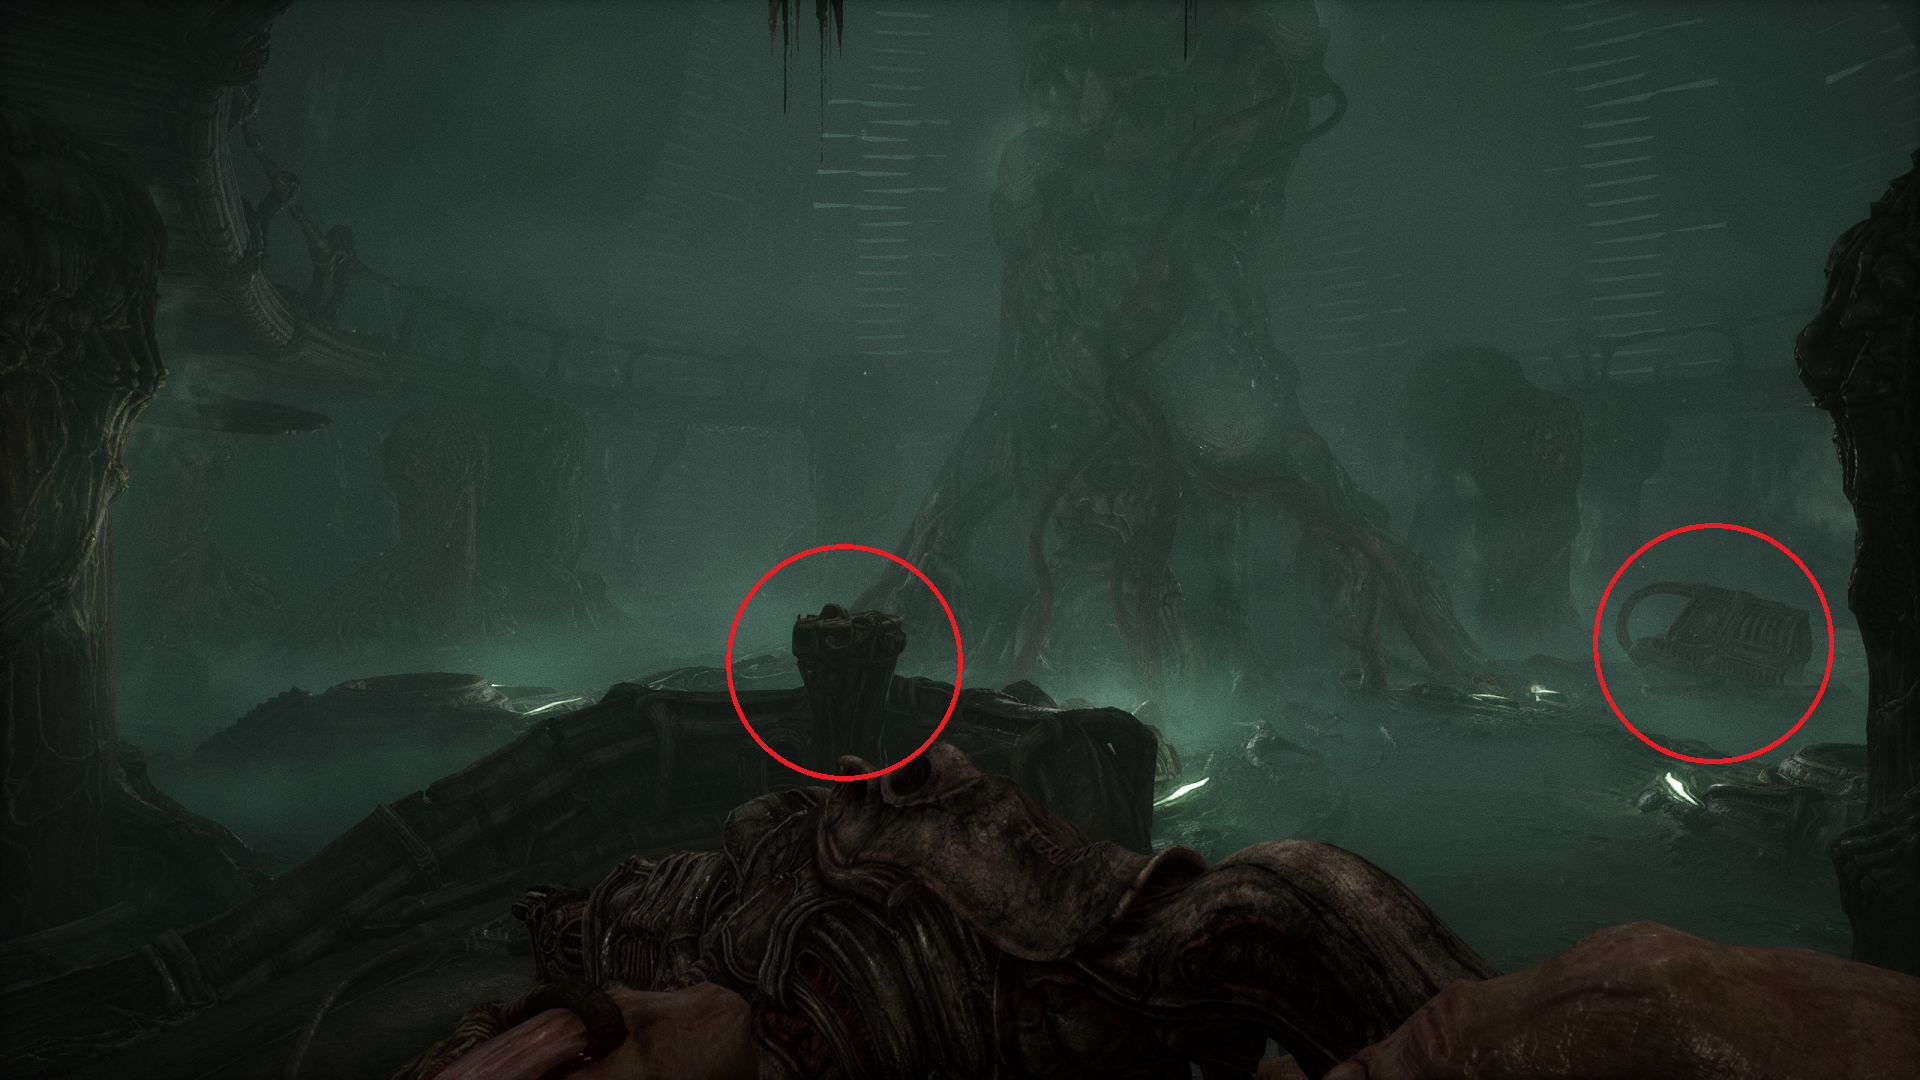
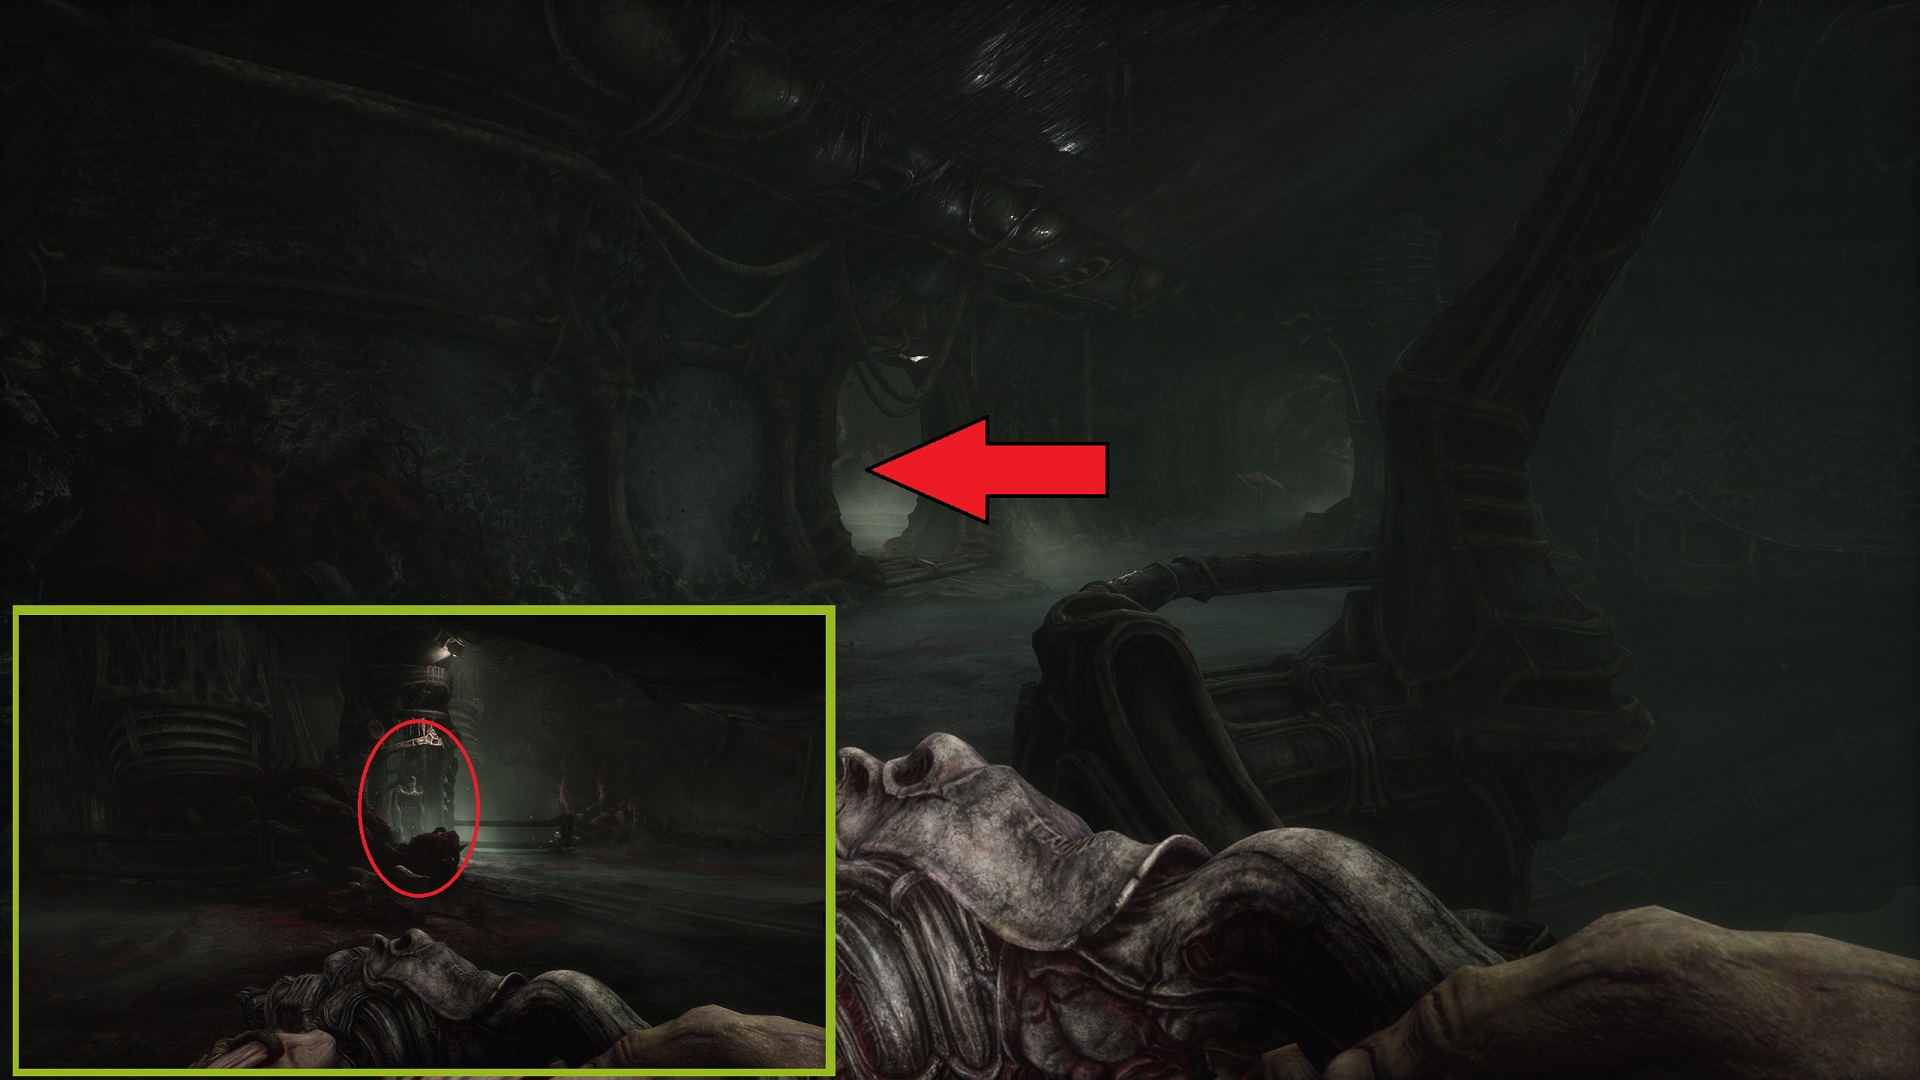
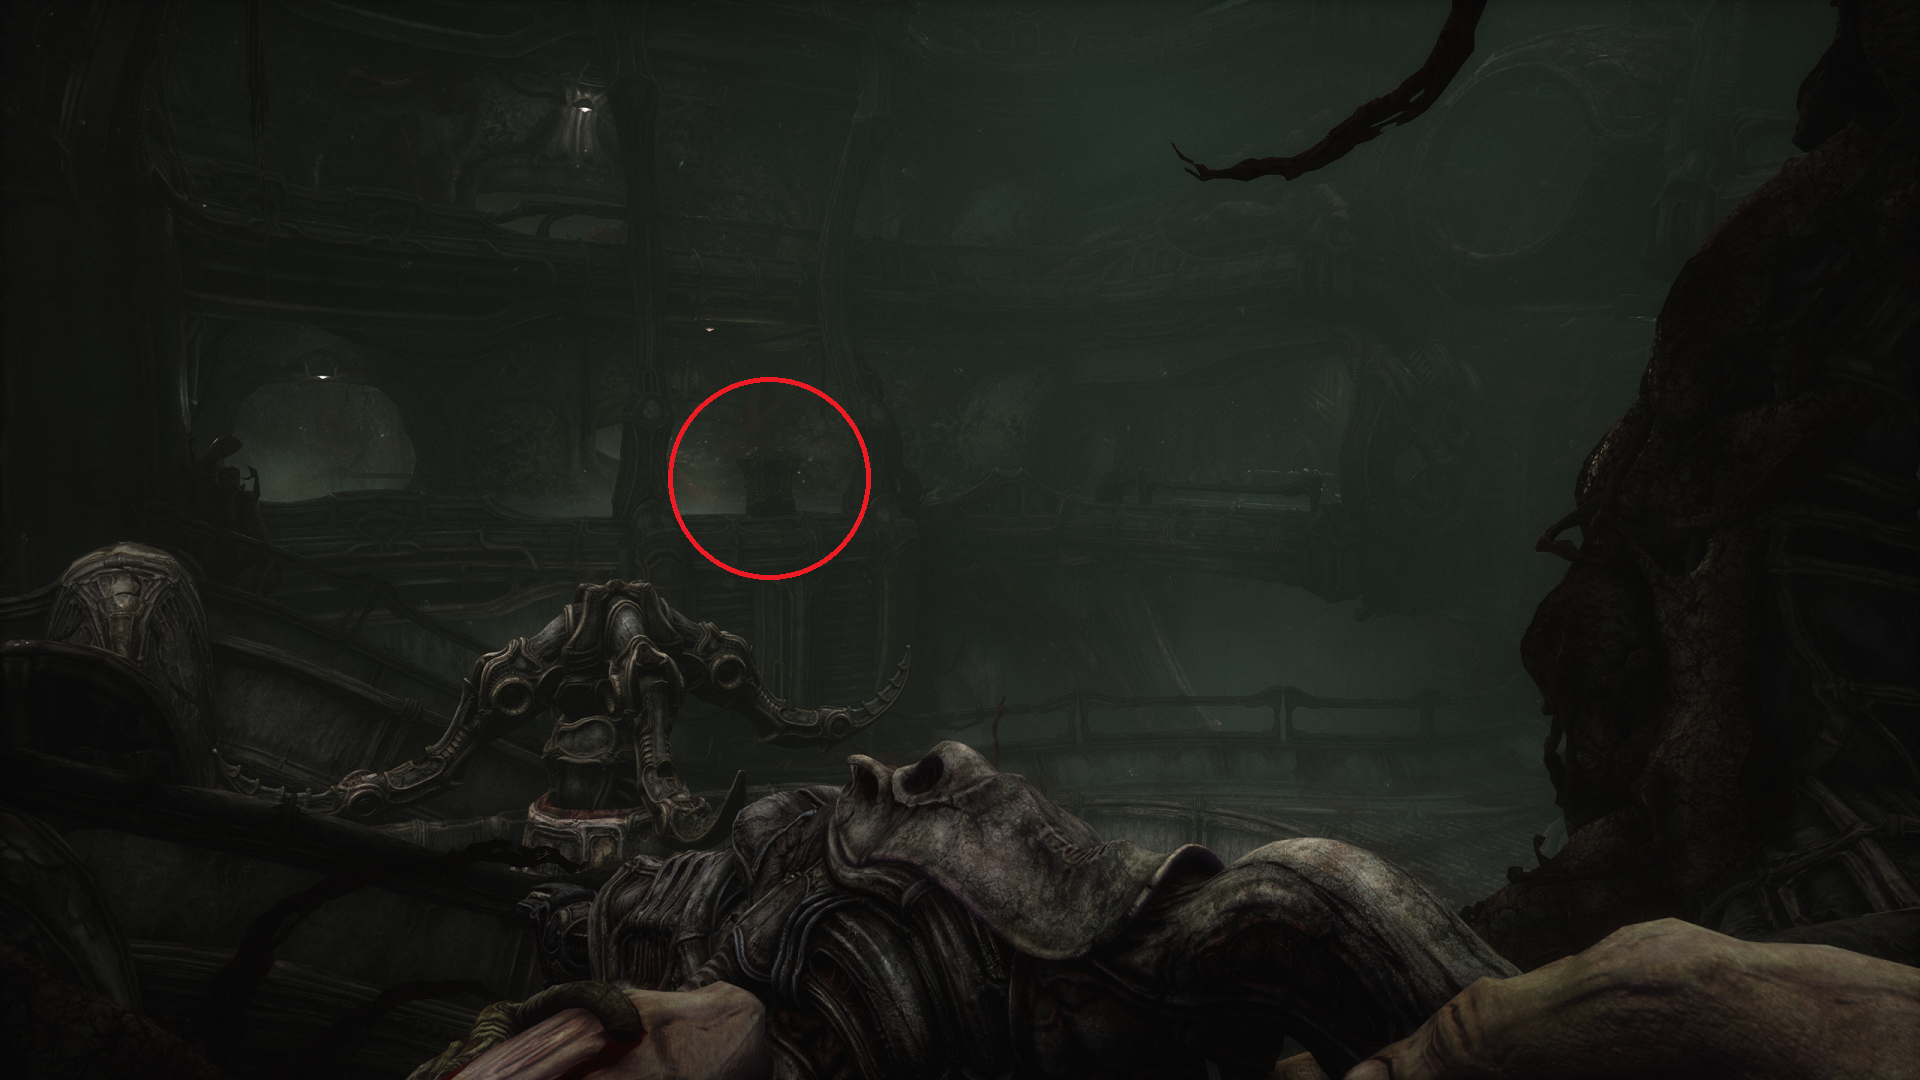
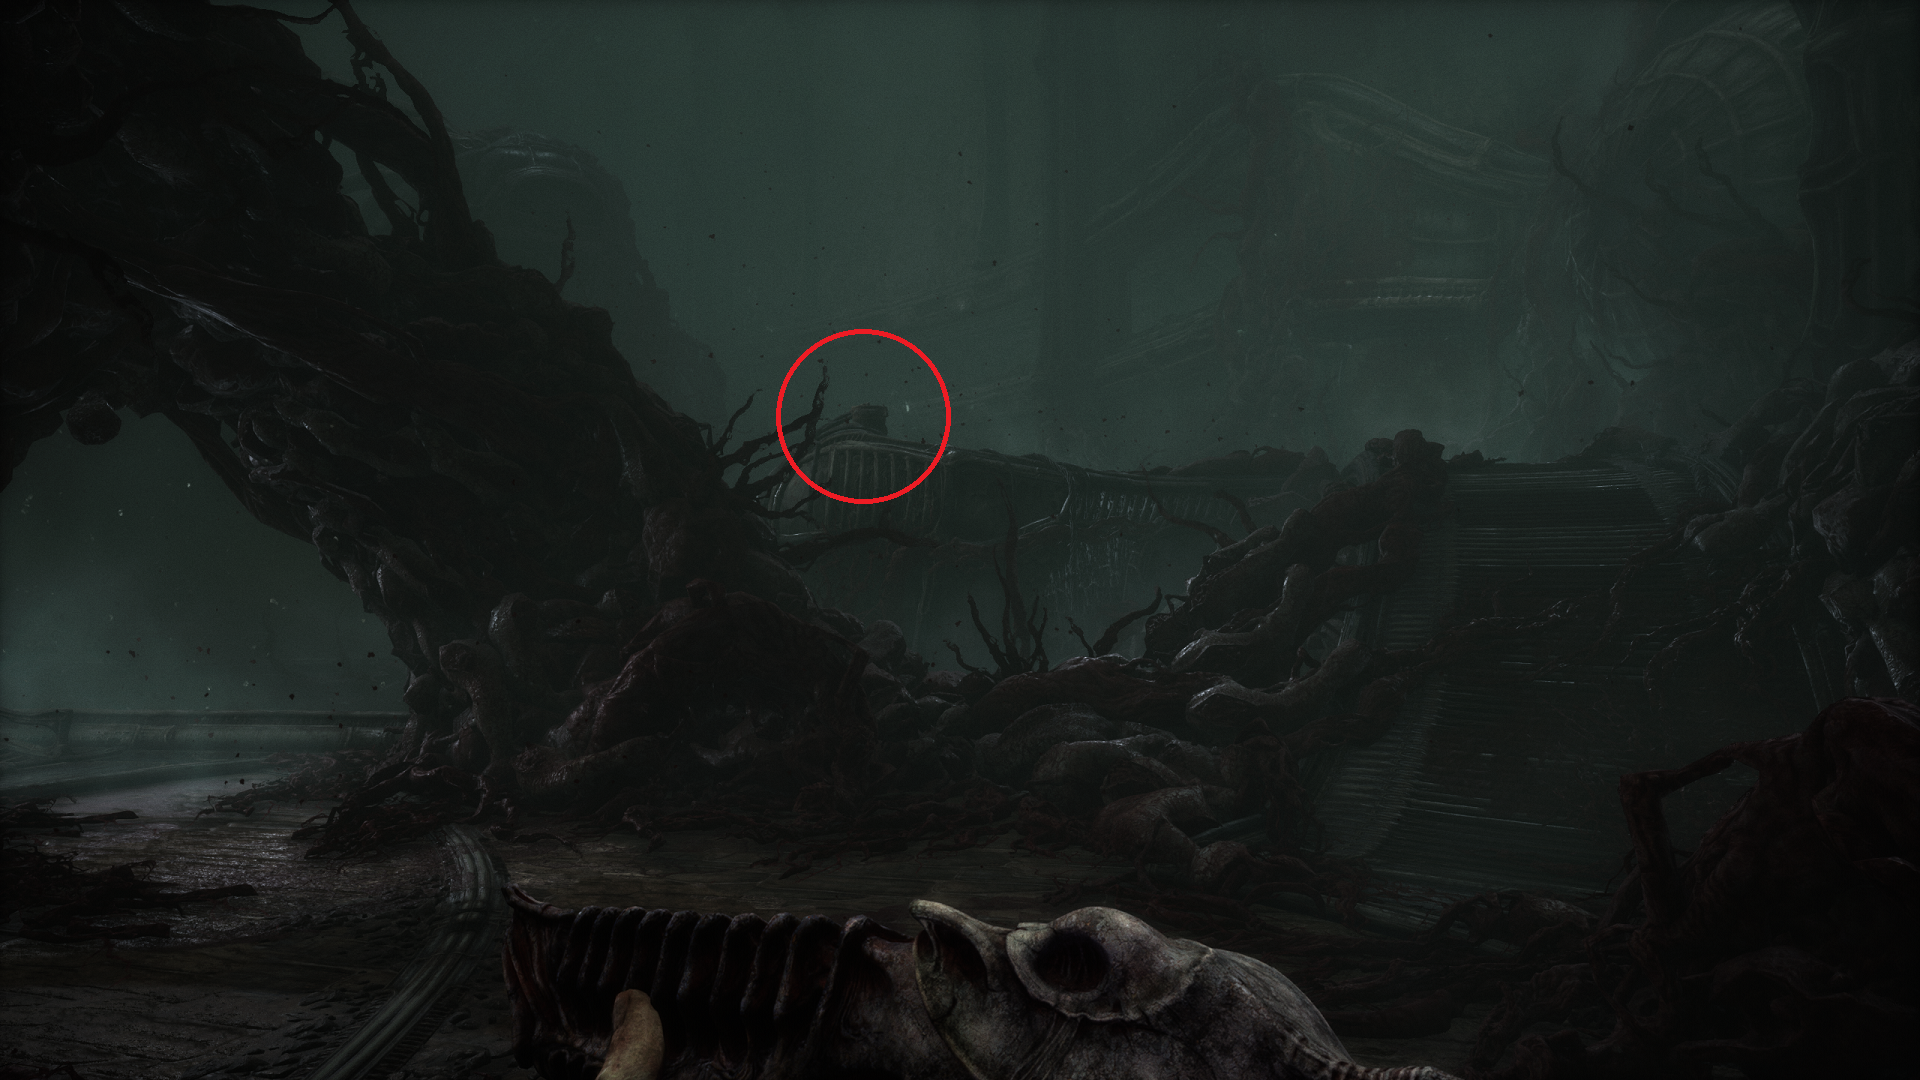
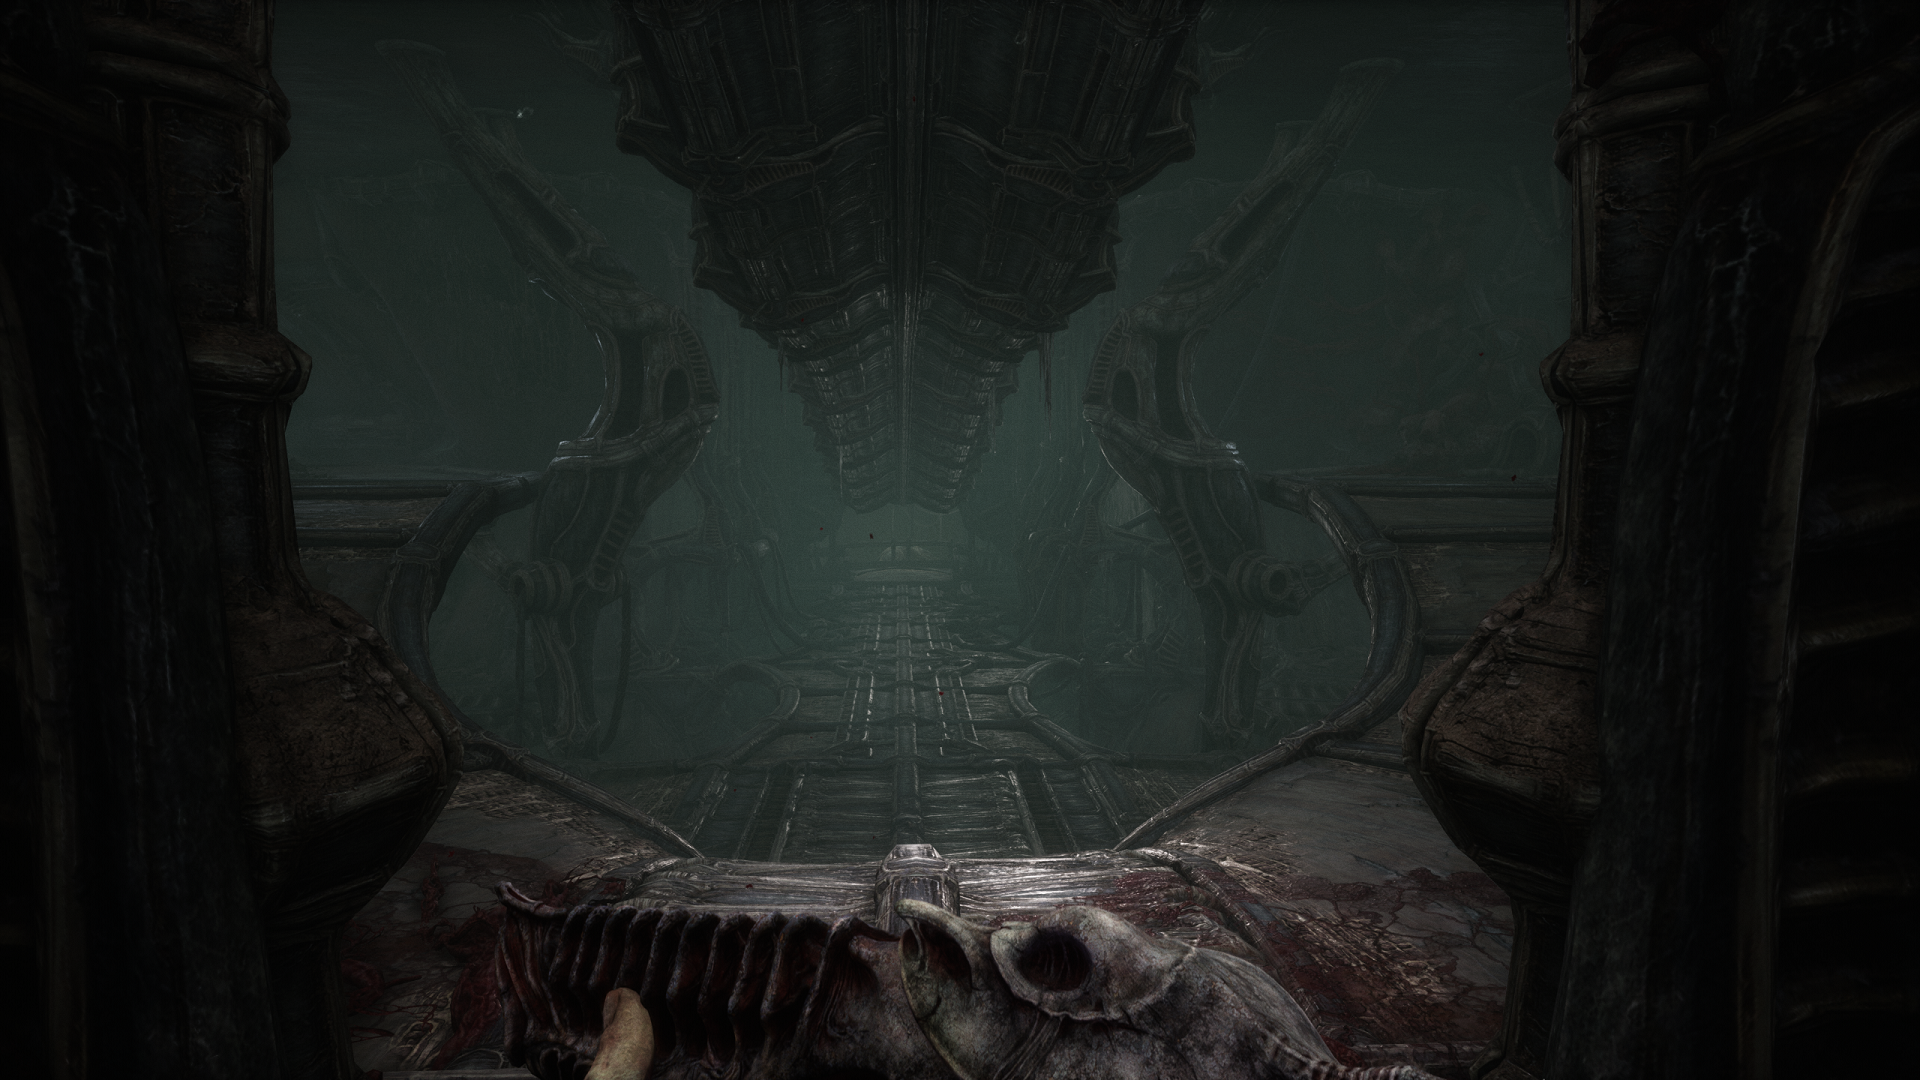
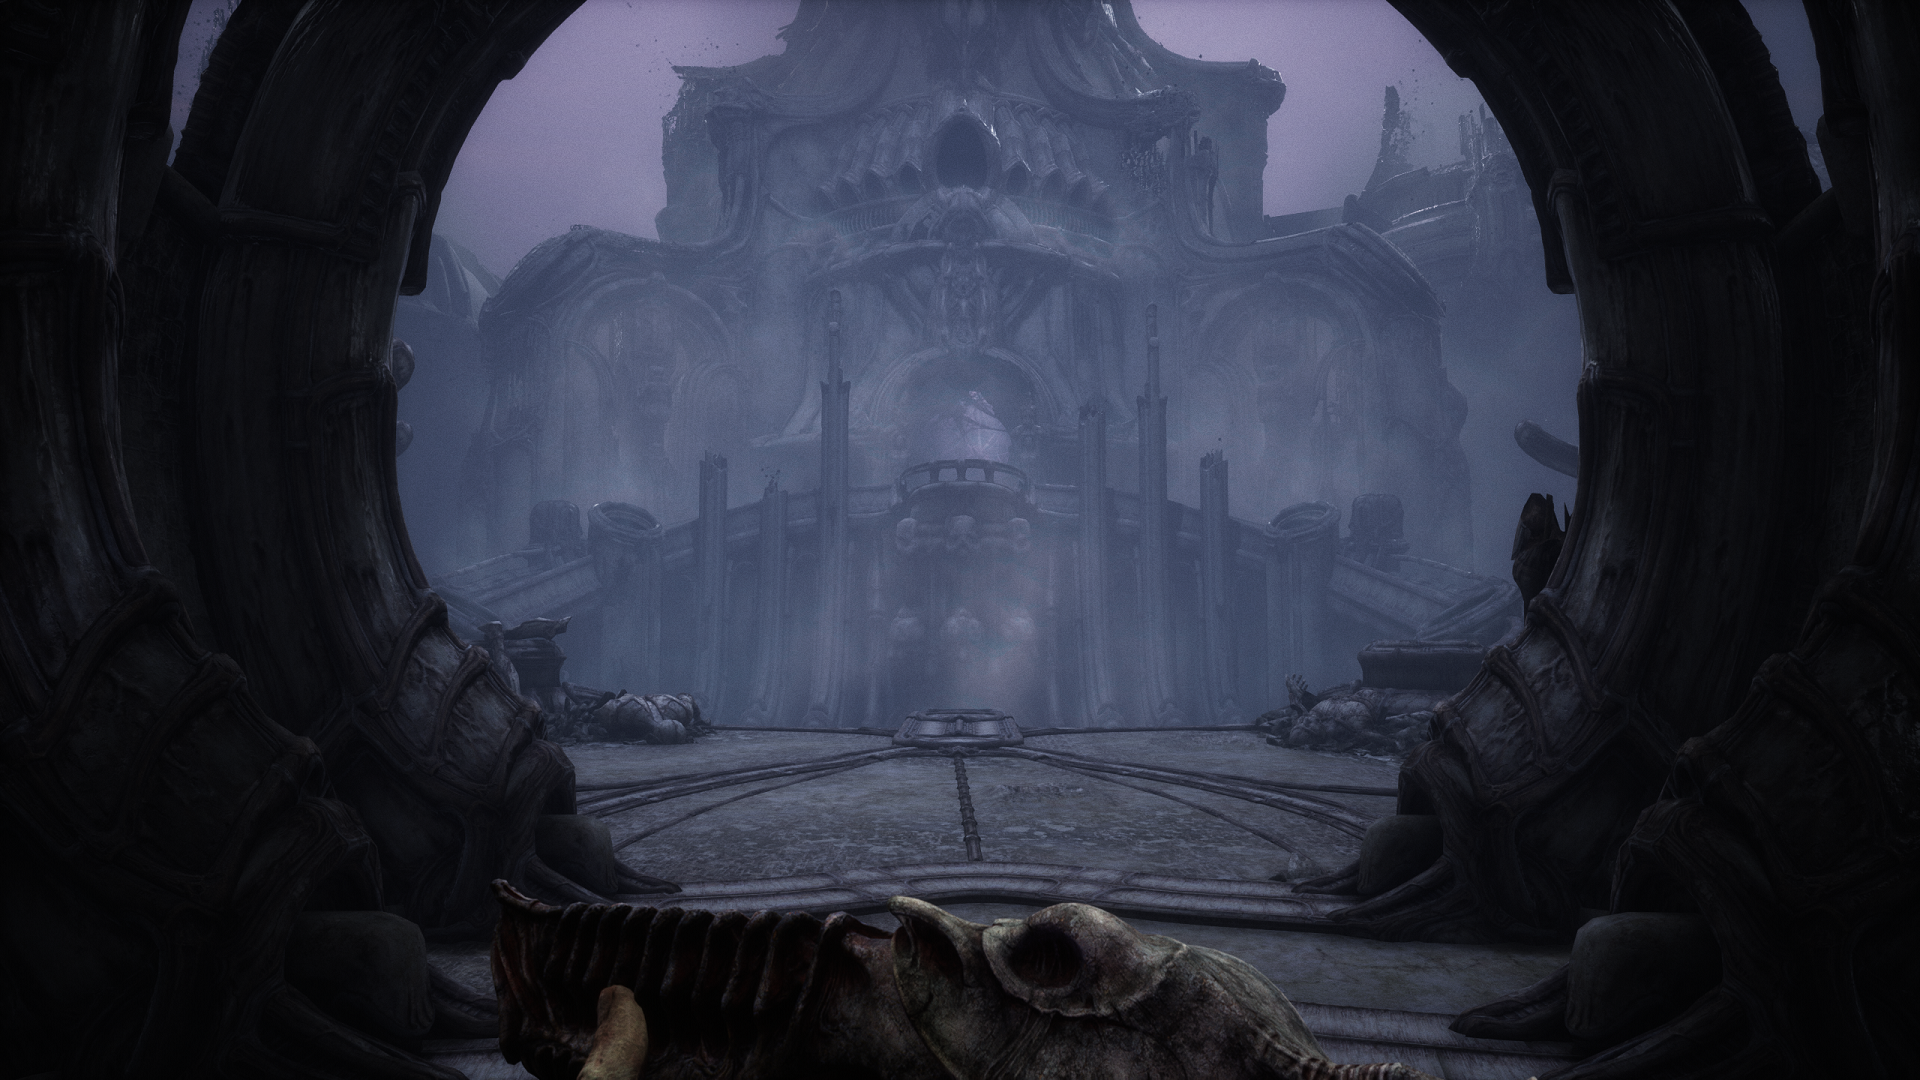
When you regain control, follow the new path through the large outdoor area and beneath two arches to a new, towering building; stay on the right side of the building to find the entrance on the backside. Look for the glowing ground/what looks like water on the ground as a marker.
Scorn Act 2-2
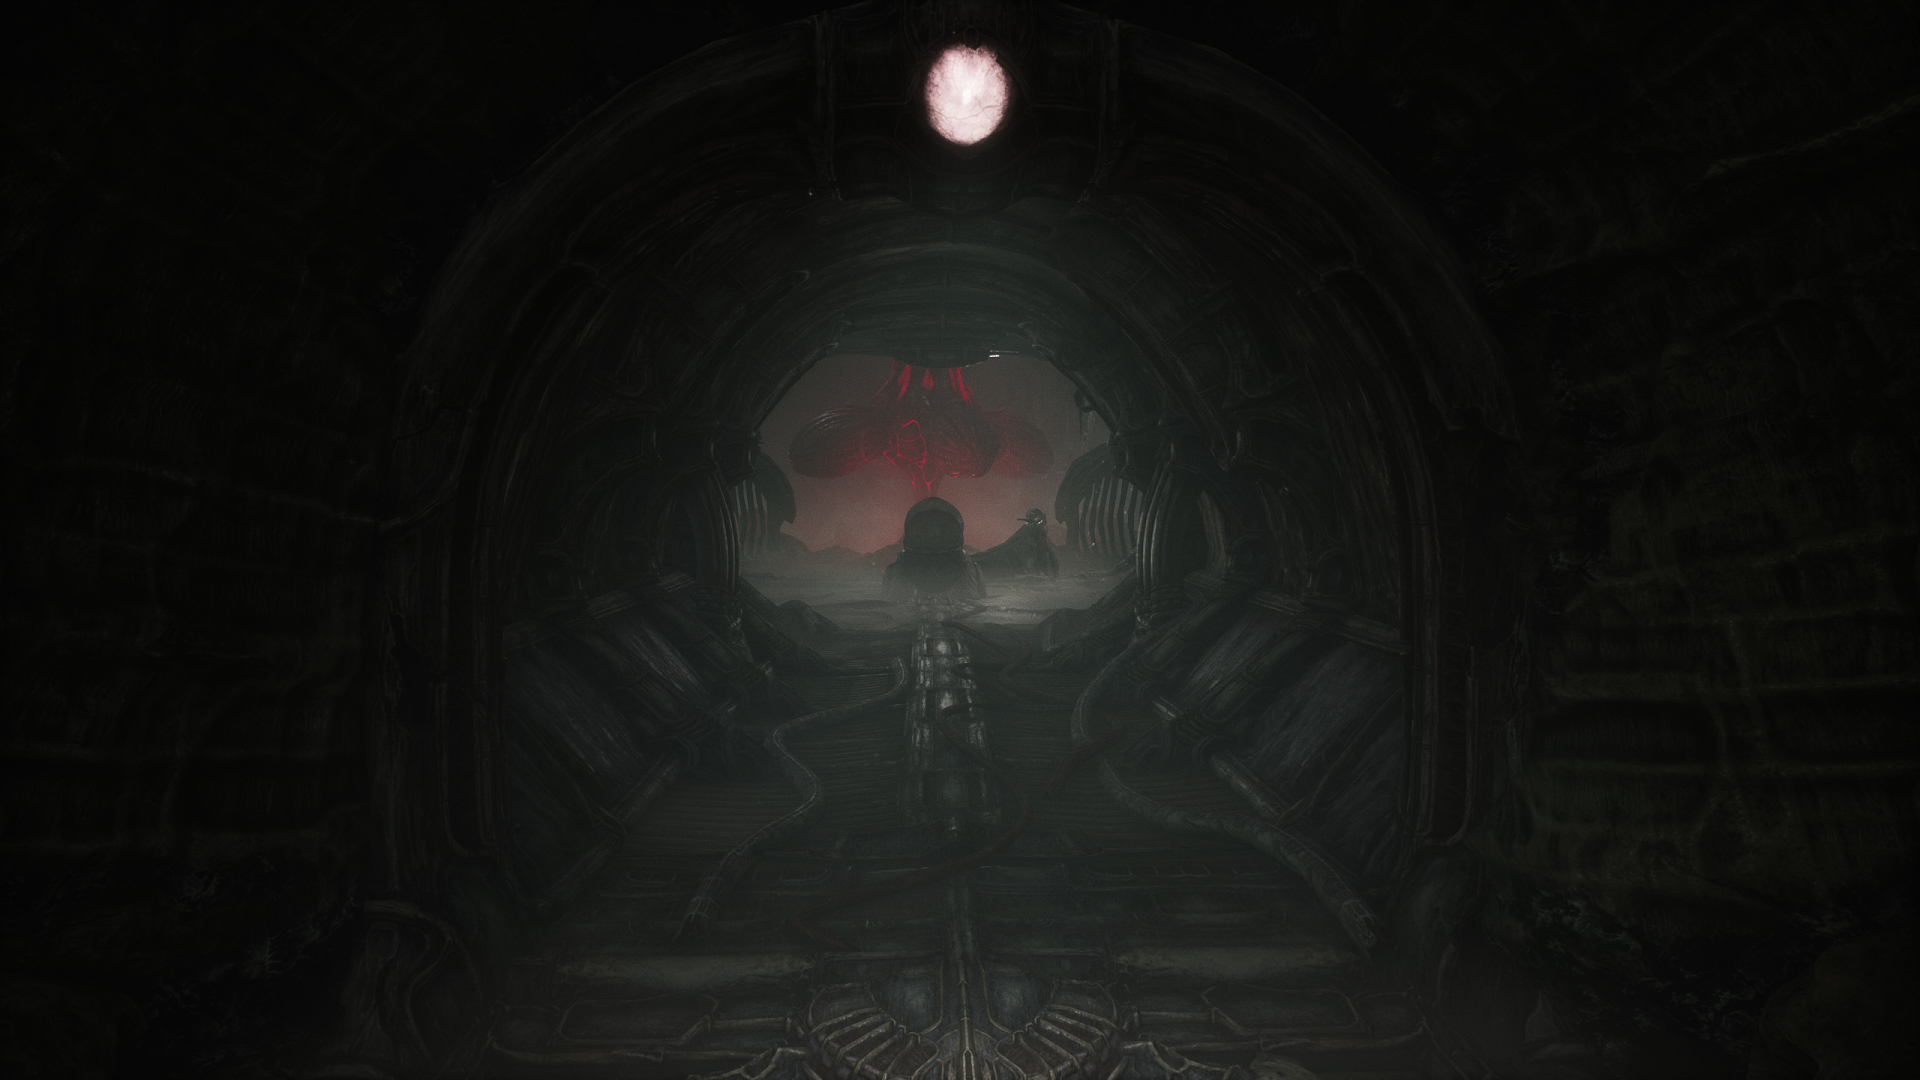
Follow the linear path inside through the narrow tunnels and into the structure proper. Eventually, you’ll see a room on the left with a glowing, red “plant-like” structure in the middle with three pods that look like flower buds.
Go past that room, following the path ahead and right, to a locked door with a small yellow light at the end of the path. Interact with the body across from the door for a new tool. Interact with the console in the wall just to the right of the body for a new puzzle.
Rotating Pin Lock Puzzle #1
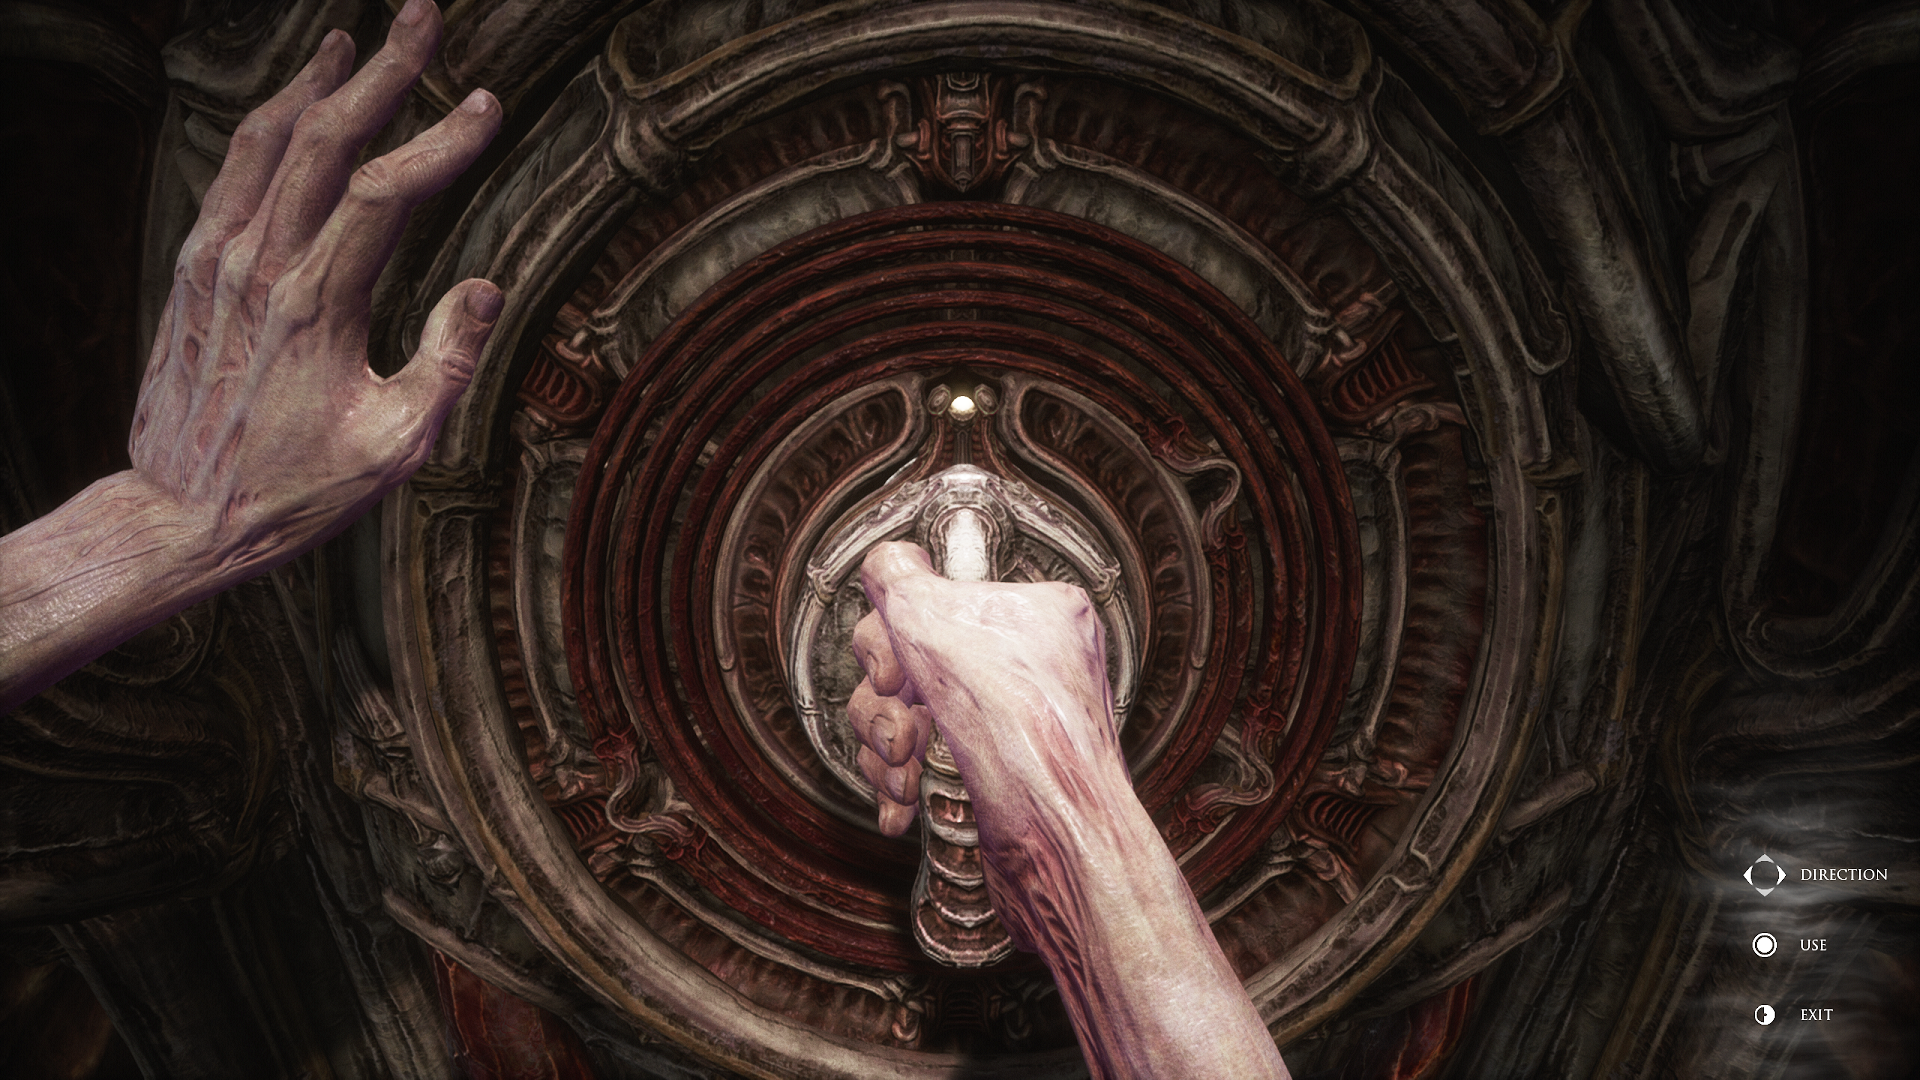
When the shielding on the contraption moves out of the way, you’ll notice grooves around the outside ring and a pin at the top; there will be three concentric rings with this outer ring that rotate within the larger mechanism. The goal is to rotate the outside pin and connect it to the inner rings by way of the grooves until all three rings are connected, and you can return them all to the top center groove. Here’s how to move the mechanisms:
- Left x2
- Use
- Left x2
- Use
- Left
- Use
- Left
- Use
Completing this puzzle adds a ring to the tool when you remove it, which you’ll need for the red room with plant and flower bud pods. Go there now, and insert the tool into the cylindrical console in front of the “plant” to open the gates around the “plant.” Go left, and take the elevator up.

Continue around until you go up a tube and end at another contraption overlooking a room with green lights and a sphere with green lights below you in the middle. Use the mechanism to your right, and select the middle opening first.
Follow the path by the large circular rotating door; you’ll eventually circle around behind the door in a room with a dead “plant,” similar in style to the red plant with the buds.
Go left at the “plant” and down a short corridor to a console with the three tubes connected to it. Remove the tubes in any order. This will stop the spinning door, opening a path, so backtrack and go through the new pathway.
Rotating Pin Lock Puzzle #2
Follow the path to the end and another circular pin and node puzzle. This is similar to the first, but this time the three rings rotate, starting with the outermost and ending with the innermost; each subsequent inner ring begins rotating when you’ve used the pin to attach the last. Here’s where each inner ring stops in the large mechanism:
- The first node will stop in the bottom left groove.
- The second node will stop in the top groove.
- The third node will stop in the bottom groove.
Listen for the loud clicks to know when these rings stop in these grooves. When you’re done and have another ring on your tool, take the nearby elevator down.
Interact with the tube on the right when you exit, and open the door to find yourself back where you found the tool originally. Go back to the red room, and take the elevator up again; return to the room with green lights once more. This time, use the left opening. Continue to find a third pin and node puzzle.
Rotating Pinion Puzzle #3
Again, this is like the two previous puzzles, again with rotating rings. However, the intervals for these rings are longer.
- The first node will stop in the bottom left groove.
- The second node will stop in the top right groove.
- The third node will stop in the top left groove.
When you’re done, turn around from the puzzle. Go straight ahead and down a ramp to a dead body at another console. Move the body, and use the console to spray acid into the right opening with bodies piled in it. Go back to the room with the green lights, and go into the opening you just cleared.
Rotating Pin Lock Puzzle #4
When you emerge, the last pin puzzle will be in the wall across from you, under a light. This one is harder because the full shield plating doesn’t come off, obscuring some of the grooves. The intervals are the longest on this puzzle.
- The first node will stop in the top right groove.
- The second node will stop in the bottom right groove.
- The third node will stop in the bottom left groove.
With the fourth ring attached to your tool, go back to the red room and interact with the cylindrical console you initially used to move the gates.
Red Room Cylinder Puzzle
The next puzzle requires you to align the rings on the tool with the spaces in a metal, cylindrical housing, turning the housing’s red lights white. The rings on the tool move up and down together but can be blocked by the grooves in the housing, letting them move up and down separately. Here’s the order in which you need to move the rings into the housing:
- Down x2
- Left
- Up x4
- Left
- Down x4
- Left
- Up x2
- Left
- Up x2
Interact with the new console that appears at the base of the “plant” and get the hideous crab-like item from it, which allows you to heal and reload future weapons, and your first key. You’ll be able to upgrade the key as you progress, but for now, you’ll notice it has one node illuminated, meaning you can open Level 1 doors. Use it to open the door near where you originally found the ring tool you just used.
Follow the path through that door to another door, and go through it. Take the elevator down. After the short scene, interact with the dispenser on the wall across from the elevator to fill up your healing item, then go into the tunnel to the left of that dispenser and through the door at the end.

Scorn Act 3
You’ll be in a familiar place. Follow the linear path to yet another Level 1 door, and go through that, taking another elevator down. At the bottom, take the central path, and follow it as it goes down and wraps around to the right, taking you along a gangway overlooking an area below.
Stay right, and interact with the console on the left to upgrade your key to a Level 2 key. Go back to the branching paths near the elevator and take the left path, going through the Level 2 door.
You’ll encounter your first enemies here. Defeat them, and use the console to rotate the large circular door to create an opening. Go into the next room to do the same with another large circular door; this will open a path on the gangway you were previously on that led to your key upgrade.
Return to the branching paths near the elevator and take the right path, taking the first left down and around to the gangway.
Go down the newly opened path, and you’ll enter a room with some flying creatures and a claw holding a big metal sphere. Use the nearby console to move the sphere from right to left, then enter the sphere.
Take it around to the other side, and get out quickly when it stops to avoid having to take it twice. On the other side, you’ll see another sphere stuck in some dead bodies. Unstick it by using the nearby console. Use the new path to go down, following it to the very bottom, before going left.

Stay right to go down past the claw in the center of the room. Follow the path into the sphere at the end, then right through the sphere, continuing to follow the path to a console in a small circular room full of bodies and tentacles. Use the console to bring up another sphere through the bodies.
After that, go right past the enemy, and follow the path up to a station at the top of a ramp to refill your healing charges. Go through another small circular room with a sphere in the middle and into the room behind it. Stay on the right to continue past the enemies and into a long corridor.
At the end of the corridor, go past the slug hanging from the ceiling and up a ramp to the right, with the path ending in a medium-sized circular room, another sphere, and another mechanism to move it. Do so, and go right. You’ll enter a large room filled with a greenish haze.
Go to the other side from where you enter, and interact with a mechanism with three ports overlooking another sphere.
The first port already has a control cylinder in it, and using it makes the sphere across from the console start moving. It also moves a horizontal column blocking a path on the top tier. Go over to the moving sphere, and wait for the sphere to stop at the top, then use it to go across to the new area.
On the other side, enter the room on the left, and interact with the module on the left side of the room for a new weapon. Use the module opposite that to get ammo for the weapon. Go ahead and reload; you’ll need it.
Exit that room by way of the opening to the left of the ammo module, and go straight ahead for another puzzle.
Interconnected Spheres Puzzle #1 Solution

This puzzle involves three semi-interconnected spheres in a triangular configuration with a node at the very bottom of the puzzle. You’ll notice each sphere has a bronze-colored pad on it and a light in the middle. Each sphere is also semi-connected to the others by way of a shaft.
For example, the top left and top right spheres initially move together when rotated. The bottom sphere has an arm (different than the shaft) that can connect to those spheres, as well, disconnecting them from each other and connecting them to the third bottom sphere.
- The top left sphere’s shaft is in the bottom right.
- The top right sphere’s shaft is in the bottom left.
- The bottom sphere’s shaft is in the bottom middle.
The goal is to rotate each sphere so that the bronze pad on each connects to an inner groove, illuminating the light in the middle of each sphere, as well as the light at the very bottom of the puzzle. All four lights must be activated to solve this puzzle. The kicker is that the bottom sphere’s arm must also be pointing straight down to illuminate the light at the bottom of the puzzle.
- Bottom sphere x3 (connecting to top left sphere).
- Top left sphere x1.
- Bottom sphere x2 (connecting to top right sphere).
- Top right sphere x1.
- Bottom sphere x4 (connecting to top left sphere).
- Top left sphere x1.
- Bottom sphere x2 (connecting to top right sphere).
- Top right sphere x1.
- Bottom sphere x1.
- Top left sphere x1.
- Bottom sphere x3 (connecting to top left sphere).
- Top right sphere x1.
- Bottom sphere x4 (connecting with the node at the bottom).
Take the control cylinder from the right side of the puzzle, and go back to the port console and insert it into the second slot, moving the horizontal column blocking the path to the second tier pathway at the moving sphere.
Use the sphere elevator to reach the second tier pathway, and follow it through the enemies to the second sphere puzzle on the right. Make sure to use the healing dispenser behind the puzzle.
Interconnected Sphere Puzzle #2 Solution

This one seems harder since there is a bottom and top node, but the idea remains the same, and it’s much easier than the first. The top three spheres are connected this time. The top right sphere should already be lit when you start the puzzle.
- Bottom sphere x3 (connecting with the top left sphere).
- Top left sphere x4.
- Bottom sphere x4 (connecting to the bottom node).
- Top center sphere x5 (connecting with the top node).
Again, grab the control cylinder and head back to the port console, putting the cylinder in the third slot and opening the third-tier pathway at the moving sphere elevator.
Take the elevator down, and exit to the right. Use the console overlooking the claw contraption you passed earlier. Grab the moving sphere elevator, which will then get transported down a track. Follow it.
You’ll see a gripping arm near the sphere; use the console higher on the platform (to the right) to grab the sphere. Then use the console by the arm (lower on the platform) to go up one level.

Go back to the other console, and turn the arm right, putting the sphere in the dangling claw. Exit the console, and go right, interacting with another console near the claw and sphere, moving it to the end of the platform you just used as an elevator.
Get inside the sphere, and follow the new path. After the short cutscene, go right for an Ammo refill module. Backtrack from there, and follow the path right, around, down, and left across a gangway, passing an enemy and going through another sphere before turning left.

Use your first weapon on the console ahead to open the gate on the right. Go through the new circular room, and turn left. Bait and lure the new hulking enemy back toward the circular room you were just in to save Ammo and health, then continue along the path to another circular room, interacting with the mechanism on the right to open another gate.
Follow the path through the corridors, then right when you can go right or left. Take the elevator tucked into the wall on the right.

Go right at the top, and interact with the mechanism by the light to the right, opening a new path below. Take the elevator back down, go left, then left again into a circular chamber with another red plant with buds. Operate the mechanism on the right to open another gate.
Interact with the console ahead to get the Level 3 key, and be sure to use the Ammo dispenser in the same room. Go back to the elevator, go left, and use the key on the door. Get the health just inside to the left, then take the sphere up and around.
Scorn Act 4
Here, you’ll be outside. Go up the ramp and stay right to go around, going past the second sphere and left into a small tunnel ending in an elevator.
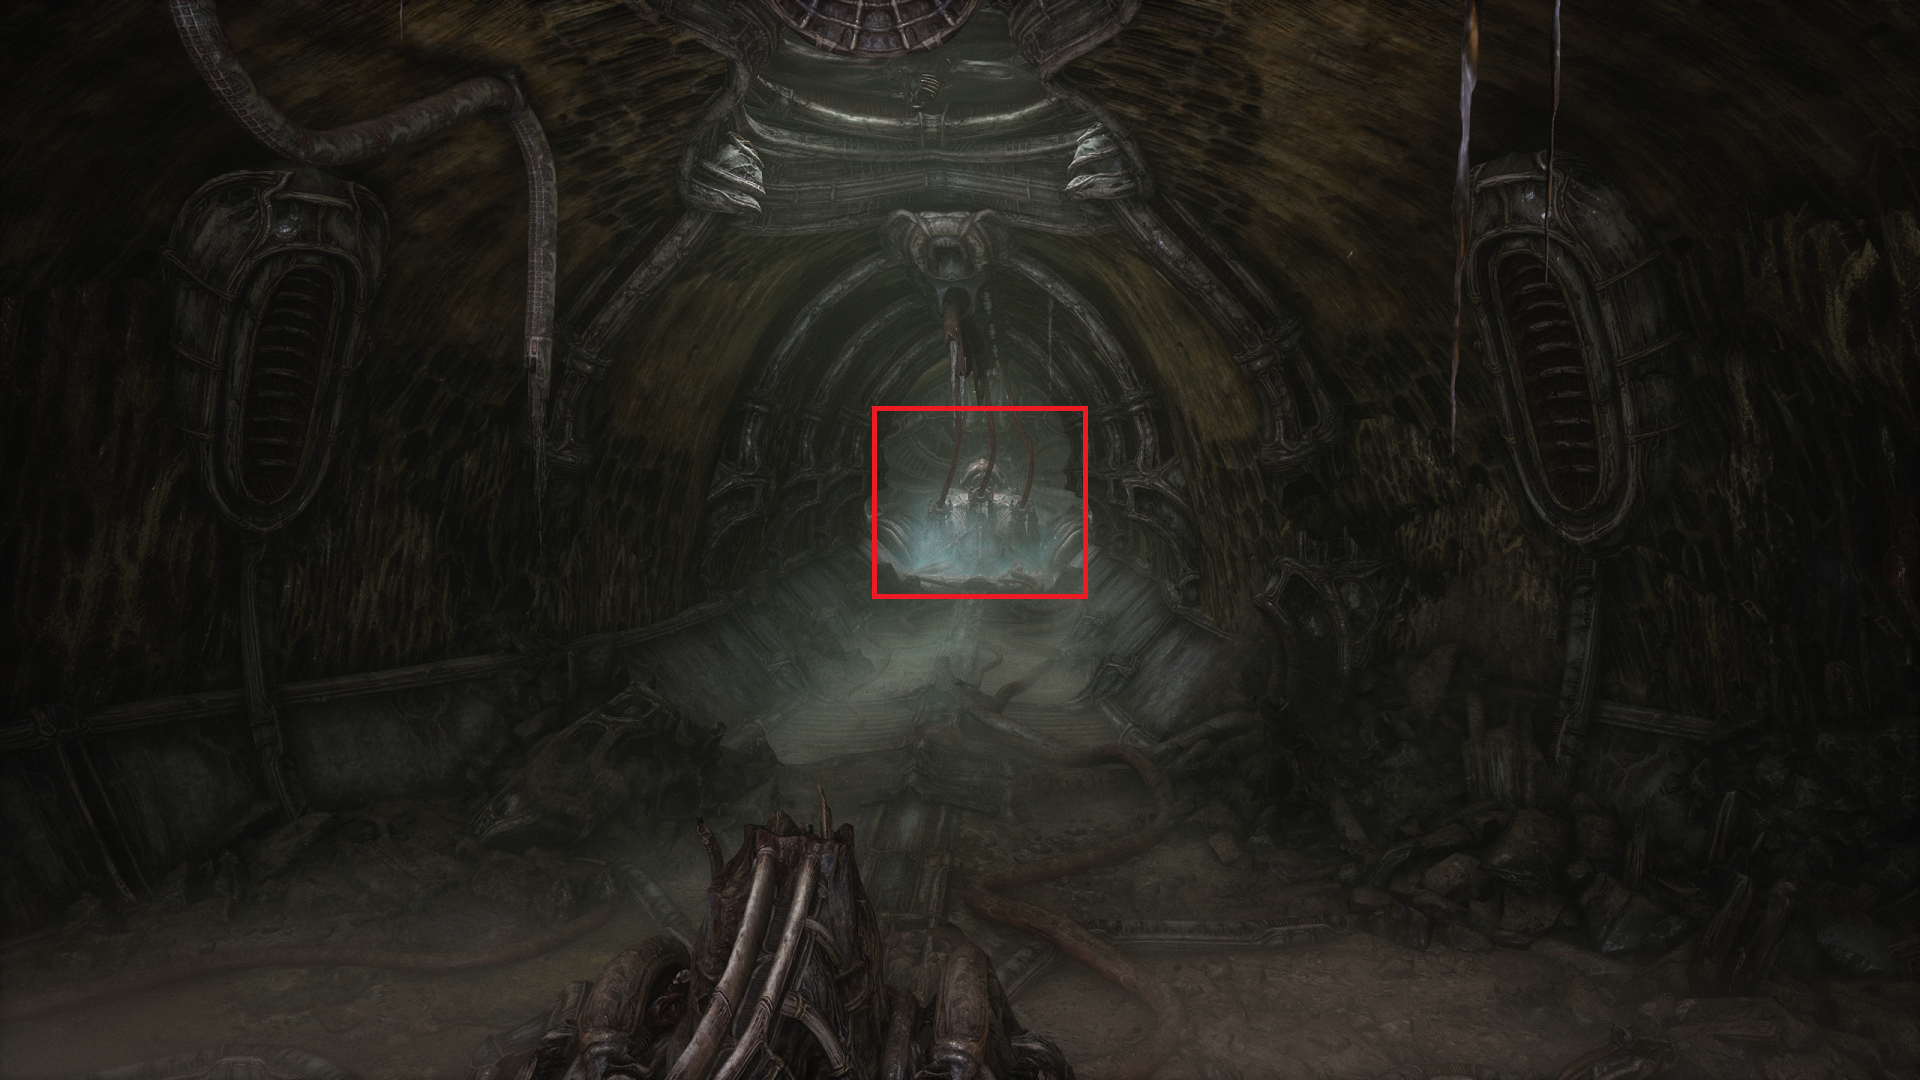
Exit the elevator, and take the path down. If you go left, there’s a health recharge, but there far too many enemies to make it worth it. Go right instead, and interact with the console at the top of the path at the end. Use it to bust open a door into the slug creature.
Go into the new opening below (right of the ramp as you descend), and use the switch to elevate the module with the small maze and light sphere on it. Turn right and take the path leading up (to the left of the opening leading back to where you came from).
Follow the path left, running past the enemies, then up a ramp at the end that leads into a building with paths branching left, middle, and right.
Go left and to the end. Interact with the health dispenser on the left and then the console on the right overlooking the slug to bust another opening in it.
Return the way you came, taking the middle path down and straight ahead. Follow it down again at the stairs, and you’ll see the module with the Maze and light sphere you elevated earlier. Pass that for now, and enter the room at the end of the corridor behind it for your third weapon. Be sure to refill your ammo in the same room.
Exit left, and take the elevator at the end of the corridor. Mind the hulking ram enemy in the corridor and the two ranged enemies to the right and left at the top of the elevator.
Follow the path right, up, and stay left. Beware the ram enemy, the acid spitter, and the ranged enemy that spawn here. Take the right path up, then left, and slightly up again. Interact with the console at the end for the Level 4 key upgrade.
Go back down, and open the door in the back right corner of the room where you just fought the three enemies. Now you’re back at the second console you used to make the second opening in the slug. Go past that and back into the room with three diverging paths.
Go down and left, using the Level 4 key on the module on the left to open the gate. Mind the hanging slug that spits acid, and go through the opening on the right, using the mechanism to raise another maze/light module.
Return to where you got the third weapon, and open the Level 4 door nearby. Take the elevator up at the end of the corridor, and beware the acid spitter ahead of you. Kill it, and use your first weapon on the mechanism to open a gate and shortcut back to the main area of divergent paths.
Turn around and go past the elevator toward the ram enemy; you’ll pass the door leading into the slug for the final maze/light module on the left. Keep going and kill the enemy to access the health station near it.
Continue along, and take a different elevator up. Interact with the console on the right about halfway down to open a new path into the slug, minding the ranged enemy at the end of the area. There’s an Ammo refill at the end, but using it spawns two hulks, one in front of you and one behind you.
Once you’ve made the opening in the slug, take the elevator back down, and kill the two acid spitters, the ranged enemy, and the ram that spawn. Then use the door on the right past the health station to go down and elevate the last maze/light module.
Use the shortcut to go back to the central path and down the maze/light modules for a quick puzzle.
Maze Light Puzzle Solution
This puzzle is fairly straightforward, tasking you with leading a white orb of light through a maze to connect with an orange orb of light in the middle. You’ll find that certain pathways are blocked off in the maze. When you reach these, switch to the next maze module to continue moving forward until you’re able to merge the light orbs.
There are three modules, and we’ll number them 1-3 from left to right for the p purpose of this solution:
- Module 1: Move the white light orb down:
- Up
- Right
- Down x2
- Left
- Down x2
- Right x2
- Module 2: Switch right to Module 2. Move the white light:
- Right x2
- Down
- Module 3: Switch right to Module 3. Move the white light:
- Right
- Up x2
- Left x2
- Up
- Module 2: Switch right x2 to Module 2. Move the white light:
- Right x2
- Module 3: Switch right to Module 3. Move the white light:
- Up
- Left
- Up
- Left
- Module 1: Switch right to Module 1: Move the white light:
- Down
- Module 2: Switch right to Module 2: Move the white light:
- Left
- Down (merge with the orange orb).
After completing the puzzle, take the stairs up, and follow the path through a few areas until you reach a monorail (there’s a scene just as you enter the monorail, so don’t go left or right when approaching it to avoid a freeze bug).
Scorn Act 5
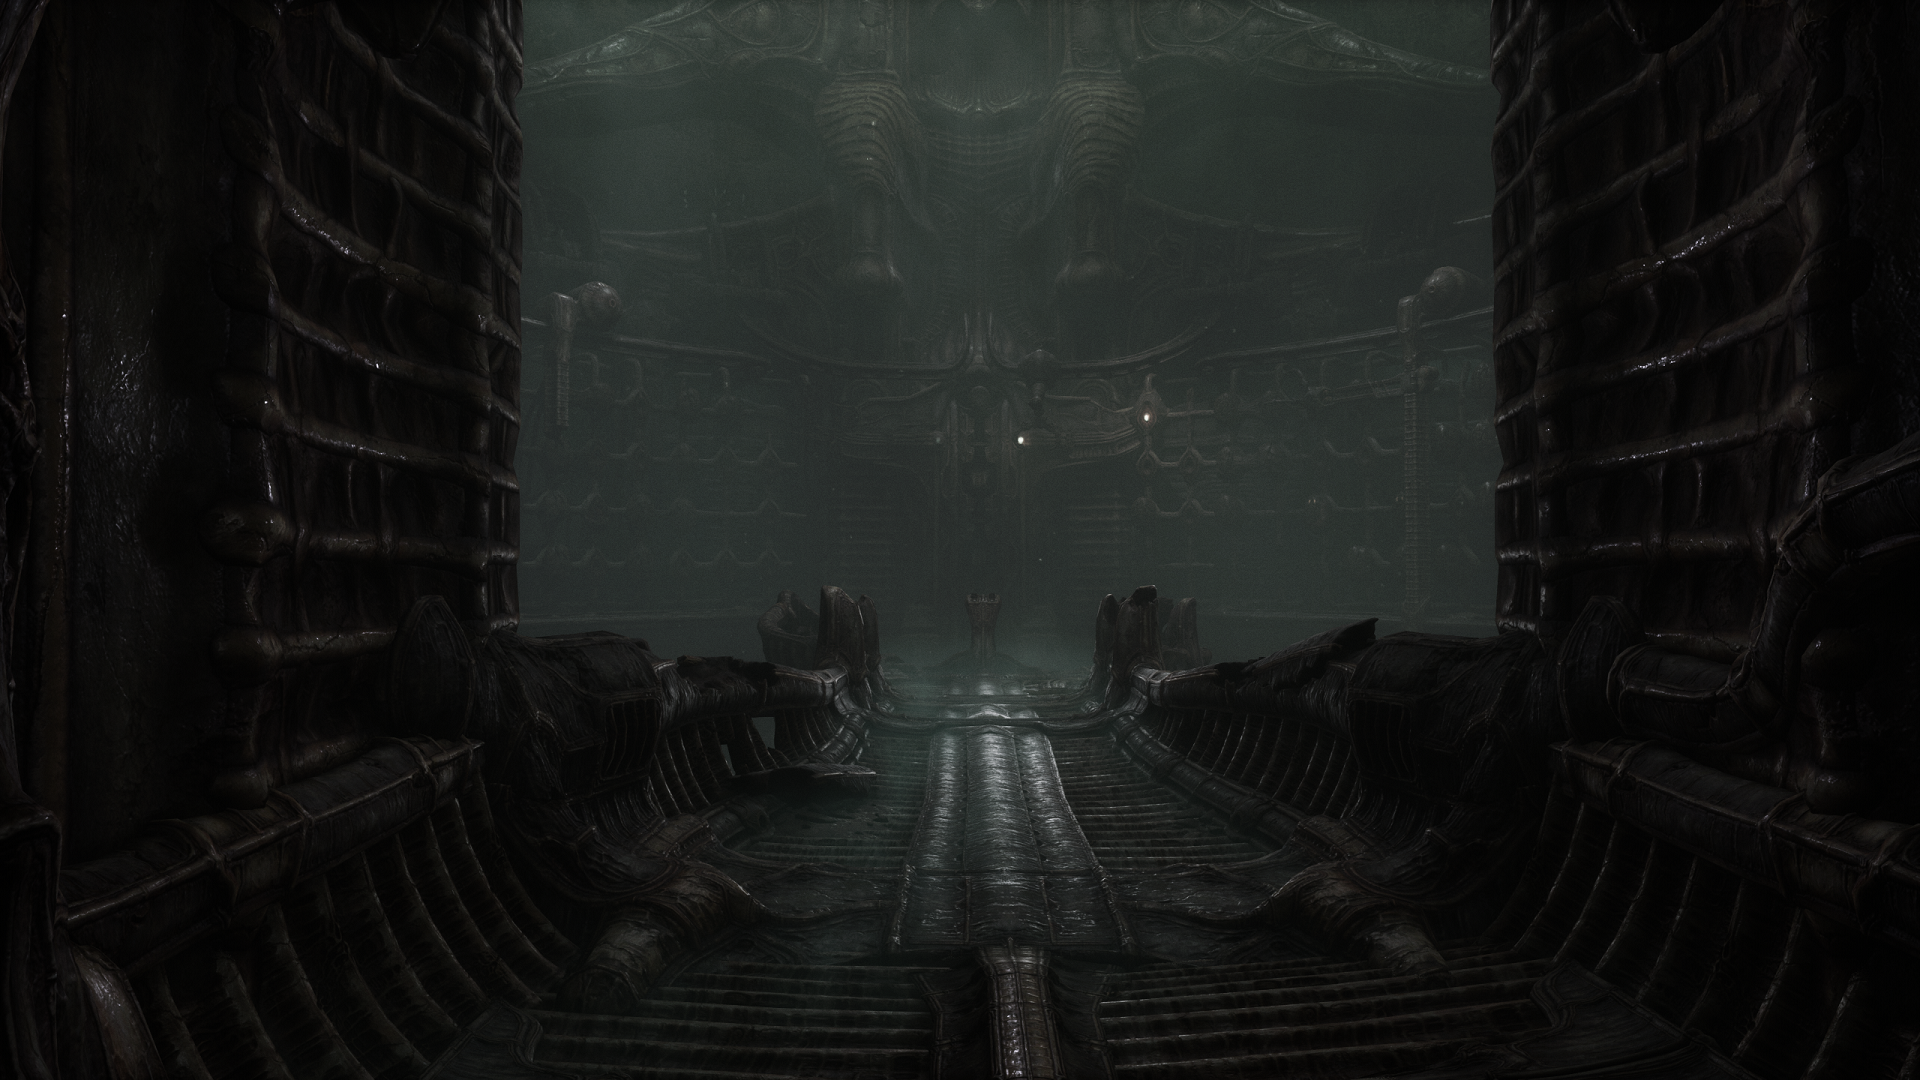
Exit the monorail and go up the stairs. When you reach the courtyard, go up the stairs on the left into the temple.
When you enter the central area of the temple, go through the archway on the left (if you’re looking at the “statues”), and down the stairs into an area with two bodies on platforms.
Go up on the platform, and interact with the tube holding the vial above the right body to get the vial. Go down the central corridor nearby, and place the vial in the contraption by the gate at the end.
Through the now-open gate, you’ll find a larger room with two racks full of body parts, and a strange mech/automaton on a chair on the left side. On the right side is another gate, floor pressure switch, health and ammo stations, and two pods with red liquid and demon fetuses inside.
Take a pod and insert it into the automaton. Shoot the pod, then the fetus. Take the fetus back to the vial receptacle, and place it inside to squish it. Take the vial back to the two bodies, and use it on the right side (the side with the raised receptacle).
Take the vial out of the receptacle again, and go back down the corridor. Insert the vial into the contraption, go back into the pod room, and place another pod in another automaton. But be ready for a fight this time.
How to Beat the Automaton Mech
The automaton mech can be a real pain in the ass. It will lob 2-3 grenades that explode when hitting you, or go off in an AoE shortly after hitting the ground. Move and strafe around the cages in the room to (mostly) avoid the grenades. After about 4-6 total shots, it will reload before firing another volley.
Shortly after the second round of attacks, it will kneel, exposing the red organs on the sides of its body. Shoot both organs twice (4 total times), and it will fall to its knees, rise, then fall again. Approach it, and try to take the Grenade Launcher from it. The mech will reanimate, and throw you to the ground.
Now it will shoot single shots at you about 6-8 times before reloading. However, you must bait it into melee attacking you, which opens the armor protecting the pod in the middle. Switch to your big gun here for maximum damage.
It has two melees attack animations: one short and one long. Take some time to familiarize yourself with both, and how close you’ll need to be to bait it without getting hit. The long animation exposes the pod in its chest; shoot that twice to kill it. Once you do, take the Grenade Launcher, and pick up the fetus. Take the fetus to the vial contraption, and smash it to fill the vial halfway.
Return to the pod room, and step on the floor switch on the right side, exposing an opening with two chains. Shoot a grenade between the two chains to open the gate to your right. Grab the last pod, and insert it into another mech.
Automaton Mech Fight #2
You’ll have to fight another automaton. This time though, wait for it to reload and expose the ammo in the container on its back. The container will glow red when it kneels; shoot a grenade inside to kill it in one hit.
Take the third fetus from the automaton to the device, mush it for the blood goop, and go back to the chamber with the bodies. You won’t be able to access the receptacle at the second body just yet. Instead, go to the stairs leading up, and enter the hidden passageway at its base to the right.
Step on the floor switch in front of you in the next room, and shoot a grenade at the chains as you did before to open the gate to the left. If you need grenades, interact with the cutting device near the automaton to rip part of the parasite off, which causes continuous damage for a short duration.
Go through the gate and stay right to go to the Level 4 door, and use the cutting device to the left of the door to temporarily remove the parasite and use the door key (move quickly because it grows back). There is a health station in this same area, to the right of the door if you need it.
Step on the floor plate in the next room and shoot between the chains in the distance, waiting for the overhead containers to make a shot lane. Once you’ve opened the gate, you’ll see the console for the Level 5 key. Return to the cutting device, use it, return to this room quickly, and grab the Level 5 key.
After getting the key, go back to the cutting device near the gate in the room you first entered from the stairwell. Use the device yet again and run across the nearby bridge outside the gate to the Level 5 door.
Open the door, then go inside to see a contraption. You’ll need to be free of the parasite again, so go back to the same cutting device by the gate and haul ass from the cutting device back across the bridge, through the door, and to the new device, frantically pressing interact as you get close to not miss prompt.
Next, use the device on the head to remove the parasite. It drops the vial. Take the vial back to the bodies by taking the path right at the bridge, opening another gate, and going through the front of the temple as you did originally.
Insert the vial into the receptacle. When the platform raises, you’ll be in the center of the temple on the main floor. Turn around, and interact with the rack device behind you up the small steps.
When that’s done following a short cutscene, walk back up to the device and interact with it. Then take what you’re carrying up to the large fleshy door further into the temple and stand on the switch plate on the floor in front of the door. Then switch, and go toward the door but interact with the arm tube device on the right. Now go up the steps, and interact with the device facing the door. Switch back to the plate and walk through the hallway to the end.


Published: Oct 14, 2022 05:37 pm