As you’d expect with any sprawling sci-fi RPG, Insomnia: The Ark is filled to the brim with craftable items. Some are resources used for repairing your weapons and armor, while some are components for explosives and shell casings.
However, to actually craft any of them, you’ll first need to find their recipes and schematics strewn all across Object 6. The locations for many of these recipes and schematics are in out of the way places, so it can take a while to find them all.
Although currently a work in progress, this guide will show you where to find all of them so you can quickly start using the workbench to craft some of the game’s more important items, such as grenades and iron plates.
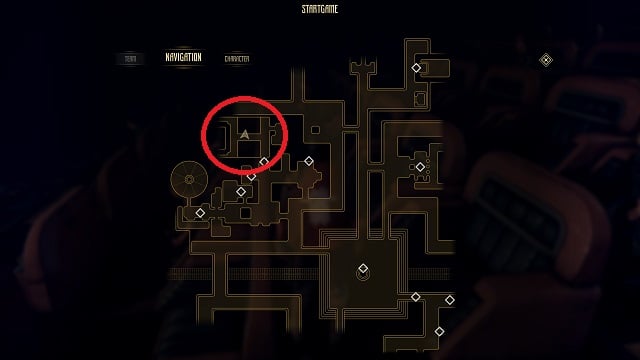
The locations below are in sequential order.
EMP Grenade Schematic

When you arrive at the garage in Vulture’s Nest, go to the back of the area and take the elevator down. When you get off, turn left. The recipe will be in the lockers along the left wall, just behind Lashta.
Gunpowder Recipe 1
After getting the EMP recipe, turn right and cross the bridge. Keep going straight, go up a set of stairs, and into the next large room.
Turn right and go through the doors in front of you. On the other side, turn right again, go through the weightlifting area, and through another door.
Turn left and go through the dark barracks area with the beds. Go all the way to the end and turn right. In the nook with all the trash, you’ll find the Gunpowder recipe.
Microchip Device Schematic

From the Gunpowder recipe, go back to the bridge. Turn left and follow the path around until you reach a ramp leading down to the lower level on your right. Go down.
Go left at the bottom, then right. You’ll pass the two men talking in the street. Follow the street as it curves left and go into the door straight ahead. Inside, you’ll find a dark engineering bay with a machine in the middle (it looks like a cross).
The microchip device schematic will be in one of the shelves in the wall behind the machine.
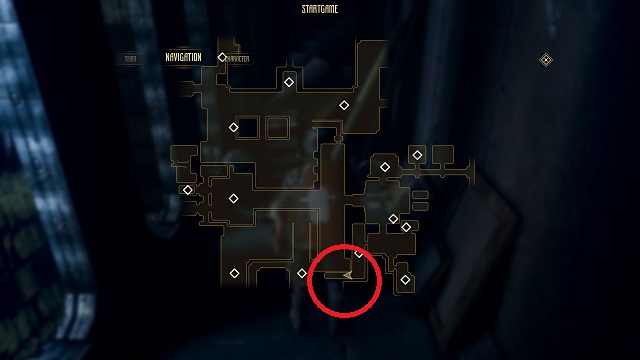
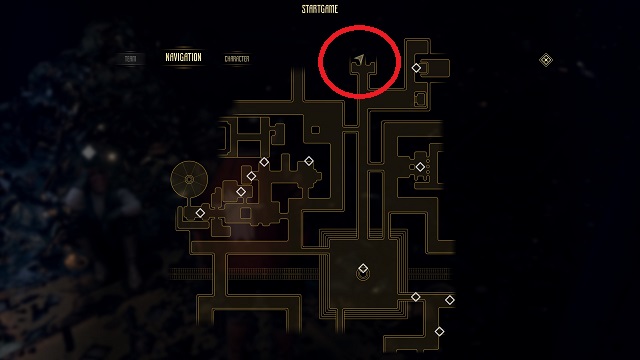
RGD Grenade Schematic
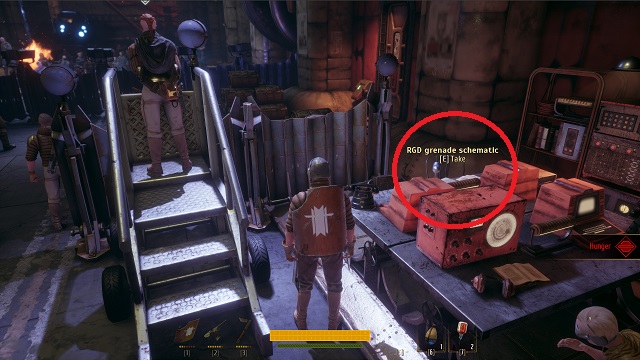
When you arrive at Outpost B-10/2 (after receiving your first orders from Captain Reibel), go straight ahead toward the barricade ahead, where angry Ghetters are throwing firebombs at the soldiers.
Turn right and go toward Lieutenant Yarva, who is standing on stairs near the barricade. To her right are two tables with comms equipment. You will find this schematic there.
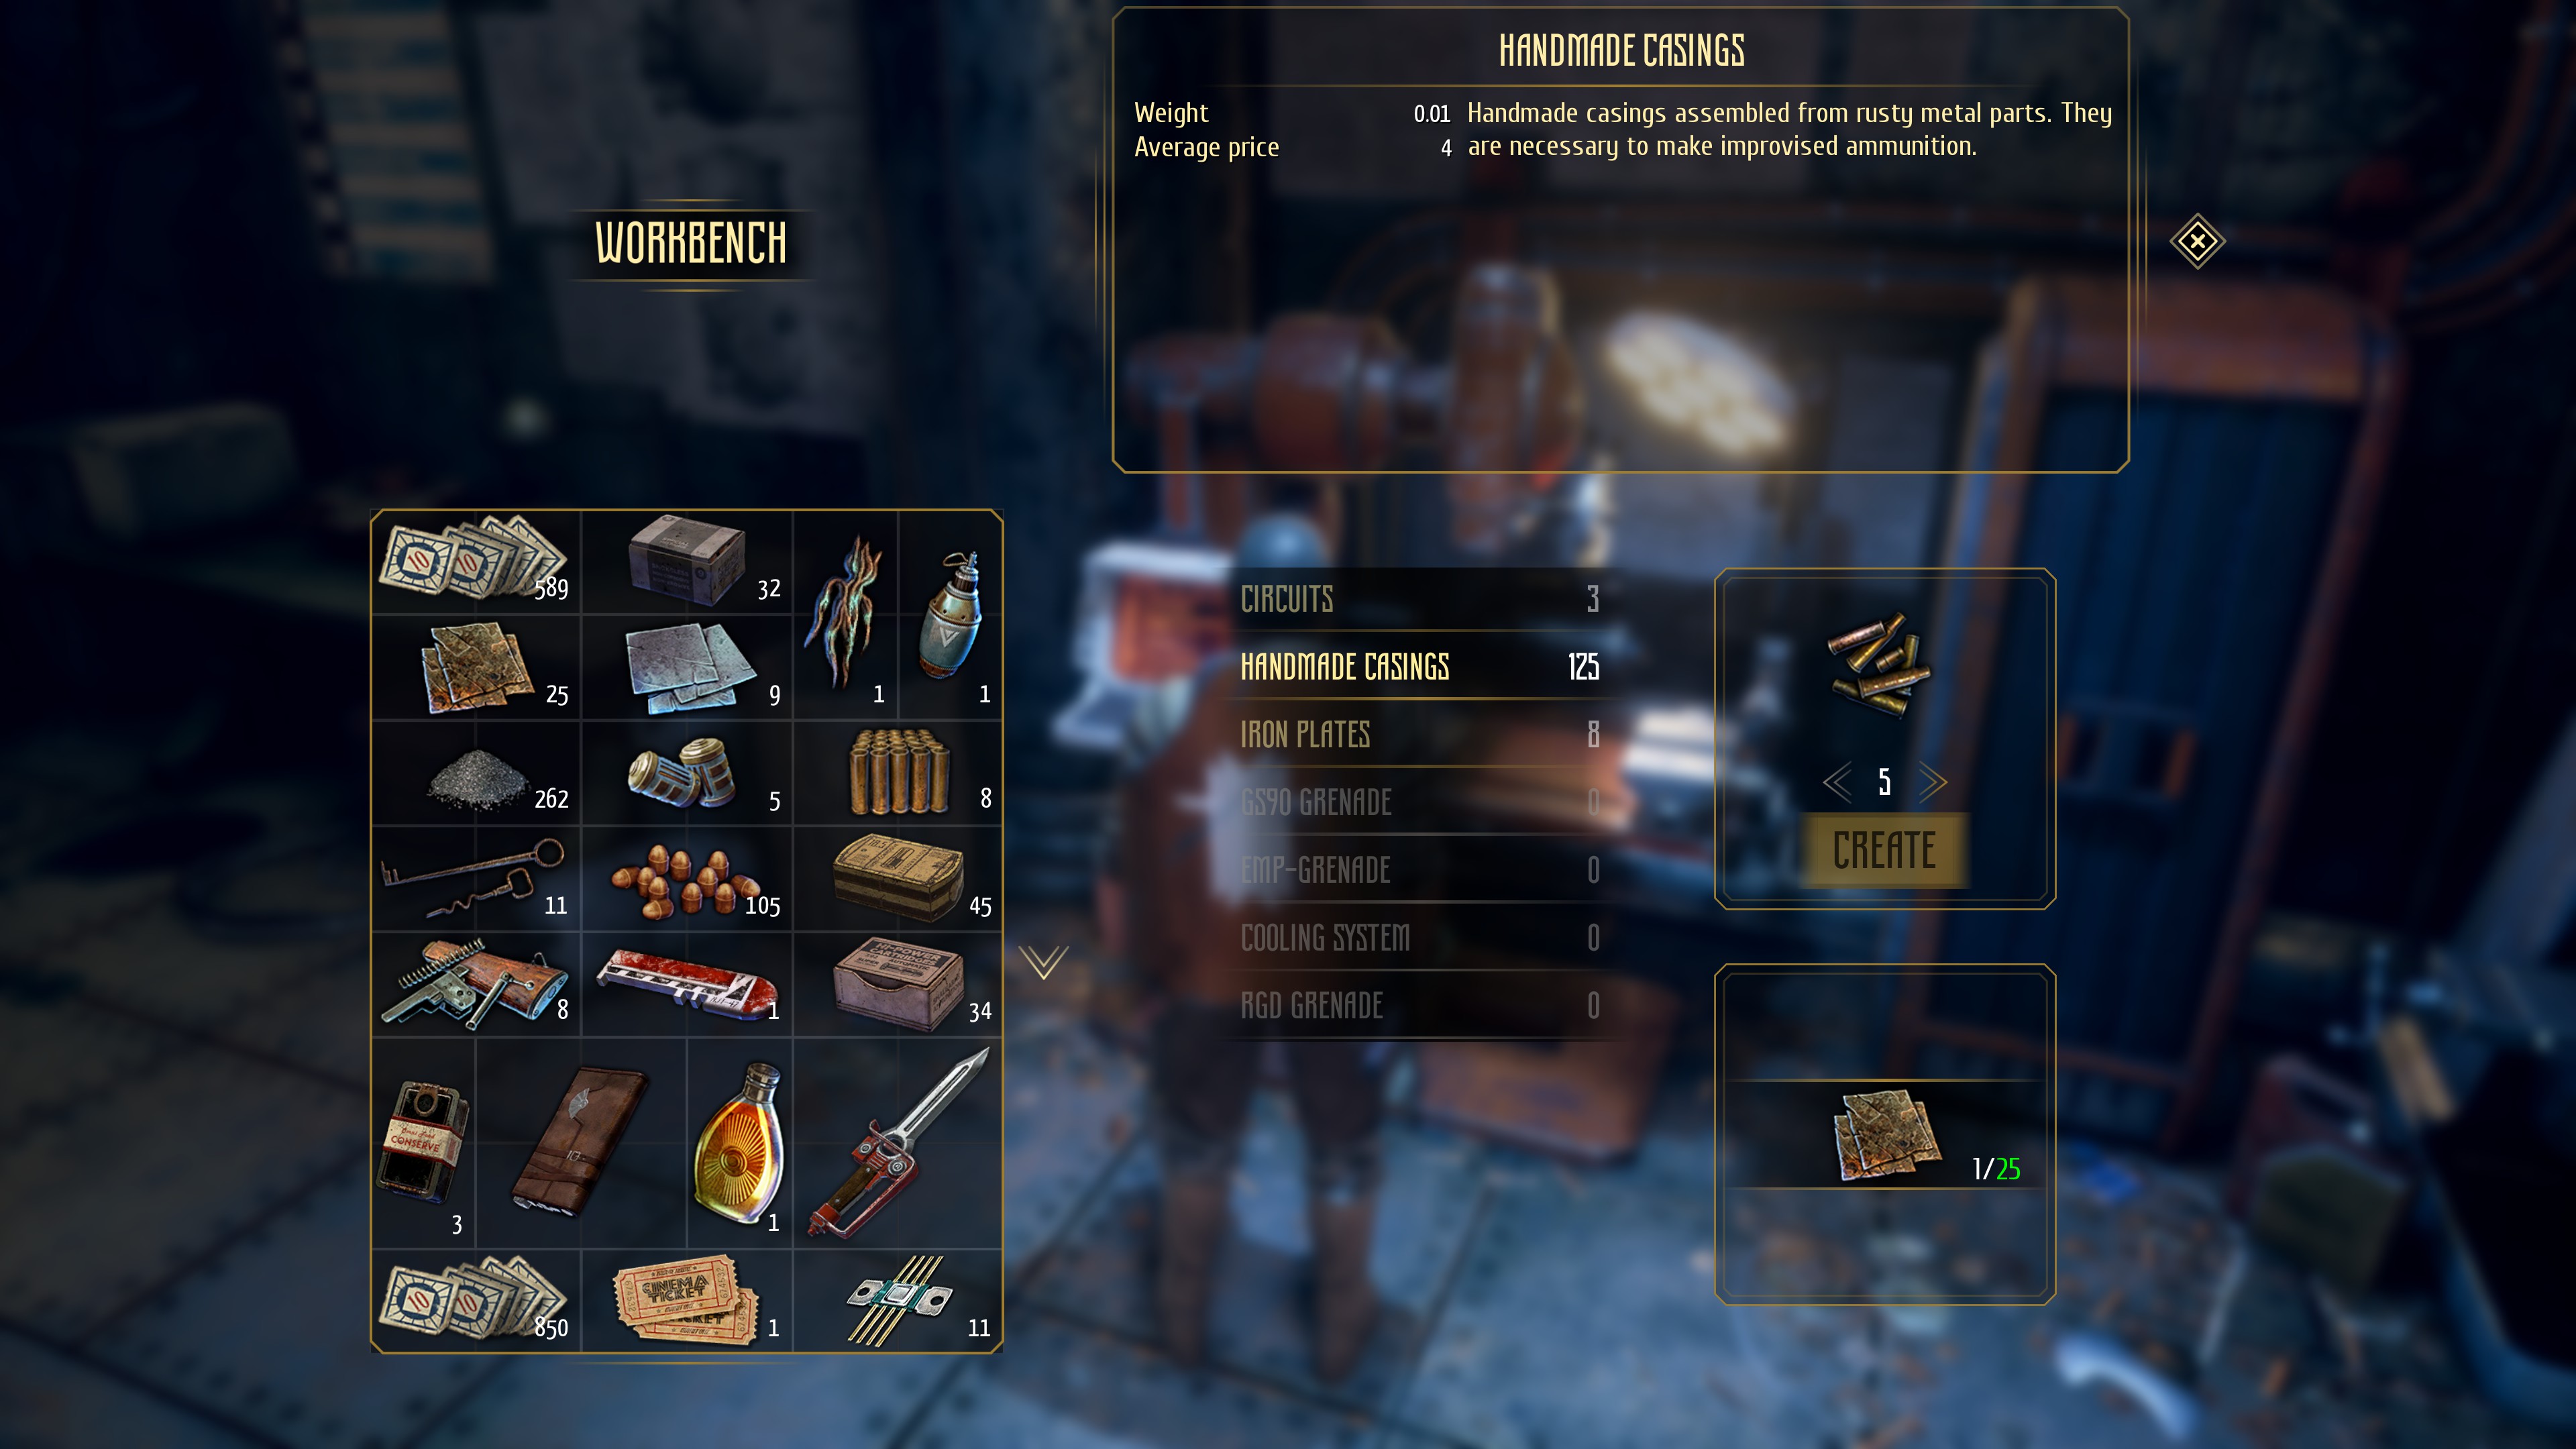
Handmade Casings Recipe
You’ll find this recipe in The Square of Glory, a story location that can’t be missed. When you arrive in the area, select Square of Glory Station from the options. When you spawn, go straight and take the first right (underneath the hanging, sparking wires).
Go straight and to the end of the area. There will be a wall with a tall red door to your right, a man sleeping on a mattress in the middle, and a door to your left with junk piled around it. Go into the left door and examine the junk pile to the right of Cron to find this recipe.
Gun Powder Recipe 2
This recipe can be found in The Square of Glory’s Movie Theater area. When you arrive in the area, select Movie Theater from the options. When you spawn, follow the path to the left and take your first left.
Go right, past the dining area and down the hall. Go through the door at the end and into the theater itself. Go to the fifth aisle on the right — it’s on the fourth seat down.
Sprinter-M Stimulant Recipe

From the Gun Powder 2 recipe in the movie theater, back track to the purple dining room. Take a right and go toward the Balls of Fun pleasure area.
Go toward the bar. Halfway down the hallway on the right side you’ll see a guy named Vis drinking his sorrows away. Exhaust his dialogue options, and he’ll give you some “leftovers from the war”. One of which is the Sprinter-M Stimulant recipe.
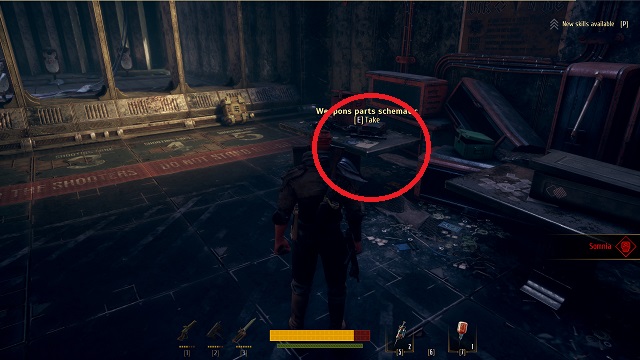
Weapons Parts Schematic 1
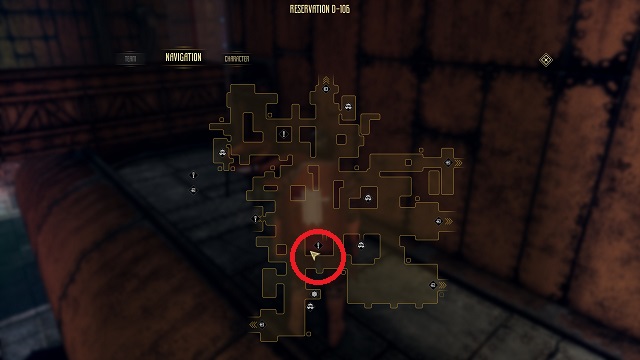
Eventually you’ll make it back to Reservation D-106 looking for Thyper. You could go here earlier, but it’s just as easy to come back on the Bane of Mills quest.
Go to the Administration building in the center of the area. Go to the second floor and find the Commissar. Across from his desk is a door. Go out onto the balcony and turn right. The schematic will be on the second chair at the end of the balcony.
18.5mm Cartridges Recipe
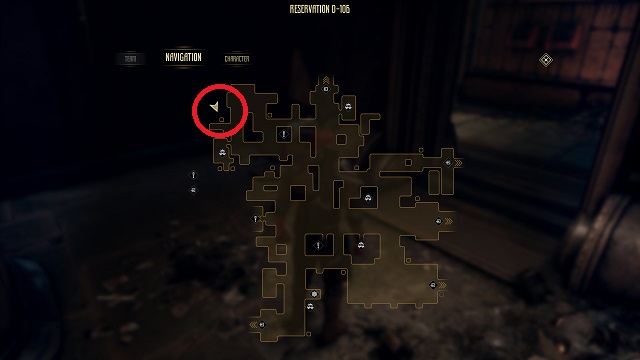
This recipe is also in Reservation D-106. Go to Wanda’s Studio in the upper left part of the map. When looking at her studio from the outside, go right, toward the large pile of grey crates.
Take the stairs to the left and go right at the top. There will be a door to your right with a yellow poster on the wall next to it. Go inside and look for the backpack against the right wall.
You’ll find the recipe inside.
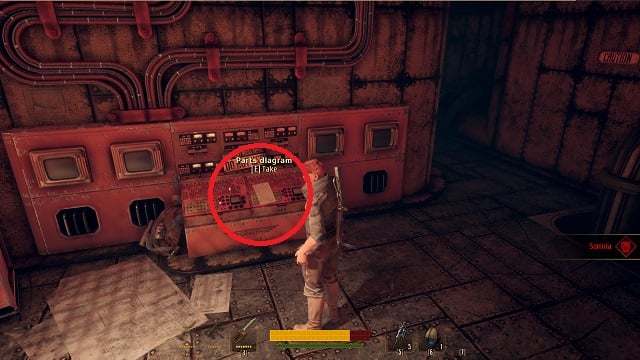
Parts Diagram
From the 18.55mm Cartridges recipe, go up the stairs behind you and follow the path all the way down. Go to the upper level.
There, turn right and go all the way down the hallway. Once you reach the room at the end, turn right and the Parts Diagram will be on the red control station against the wall.
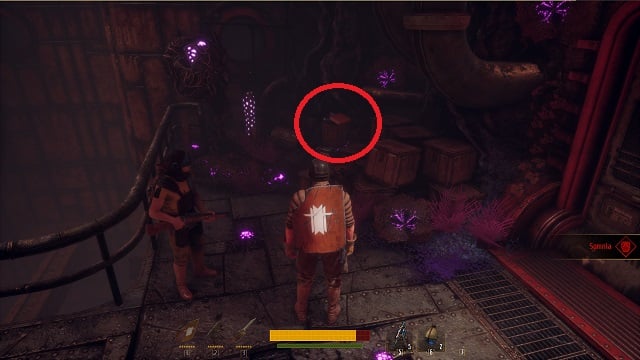
Weapons Parts Schematic 2
From the Parts Diagram above, fight your way into Thyper’s apartment during the Bane of Mills questline. Once you’ve cleared it out, go to the firing range inside the apartment.
There will be a table among all the scrap in the back of the room. This schematic will be on the table.
Handmade Bullets Recipe

After you’ve met the mercenary in training room in Thyper’s apartment, you’ll receive a keycard to get into Thyper’s living quarters.
As soon as you enter the door, turn left. The recipe will be on the table.
GS90 Grenade Schematic
This schematic is a bit different than the rest. As you travel from location to location, you’ll come across (seemingly) random encounters in the world.
As I was traveling between D-106 and The Square of Glory delivering a package from Voznek to Hastir, I came across an encounter where a battalion of soldiers was cleaning up a Crioma Bloom — and they urged me to leave the area.
If you come across this encounter, stay and look to the right just as you enter (before you cross the bridge). There will be a pile of junk in the corner with this schematic in it.
Note: If I find this schematic in a more concrete location in Insomnia, I’ll update this guide with that information.
—
There are dozens more recipes and schematics to be found in Insomnia: The Ark. As we find more, we’ll be constantly updating this guide, so be sure to bookmark it for quick reference.
If you find any recipes or schematics that we don’t have here, let us know where they are by leaving a comment below. We’ll add them and credit you with the find.


Published: Sep 27, 2018 09:15 am