
Devolver Digital’s Absolver is a martial arts action role-playing game that requires skill, a keen eye, and a lot of patience. And I’m not just talking about the combat. Although it adds a sense of exploration and discovery to the PvE section of the game, Absolver’s lack of a map makes finding your way around pretty difficult. This guide will focus on helping you navigate the world to find all of the major enemies in the game.
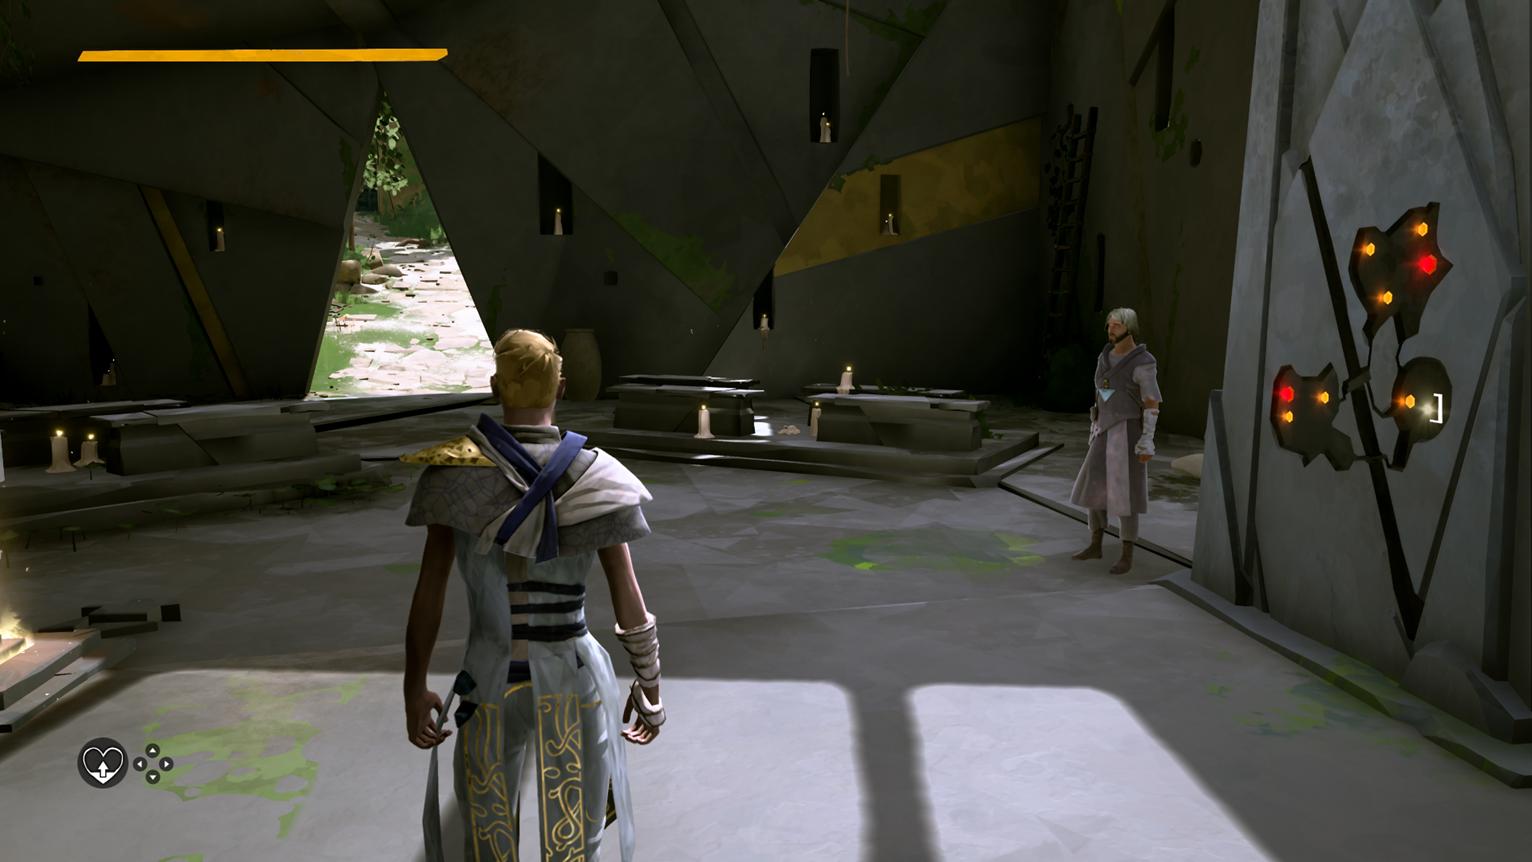
Once you make it past the game’s tutorial area, you’ll find yourself at the Guidance Bridge, where you’re tasked with finding and defeating a total of 9 enemies: 6 Marked Ones and 3 bosses. They are represented on a stone slab with yellow circles indicating the general whereabouts of Marked Ones, red circles marking 2 boss locations, and a white oblong showing the final boss’ location.
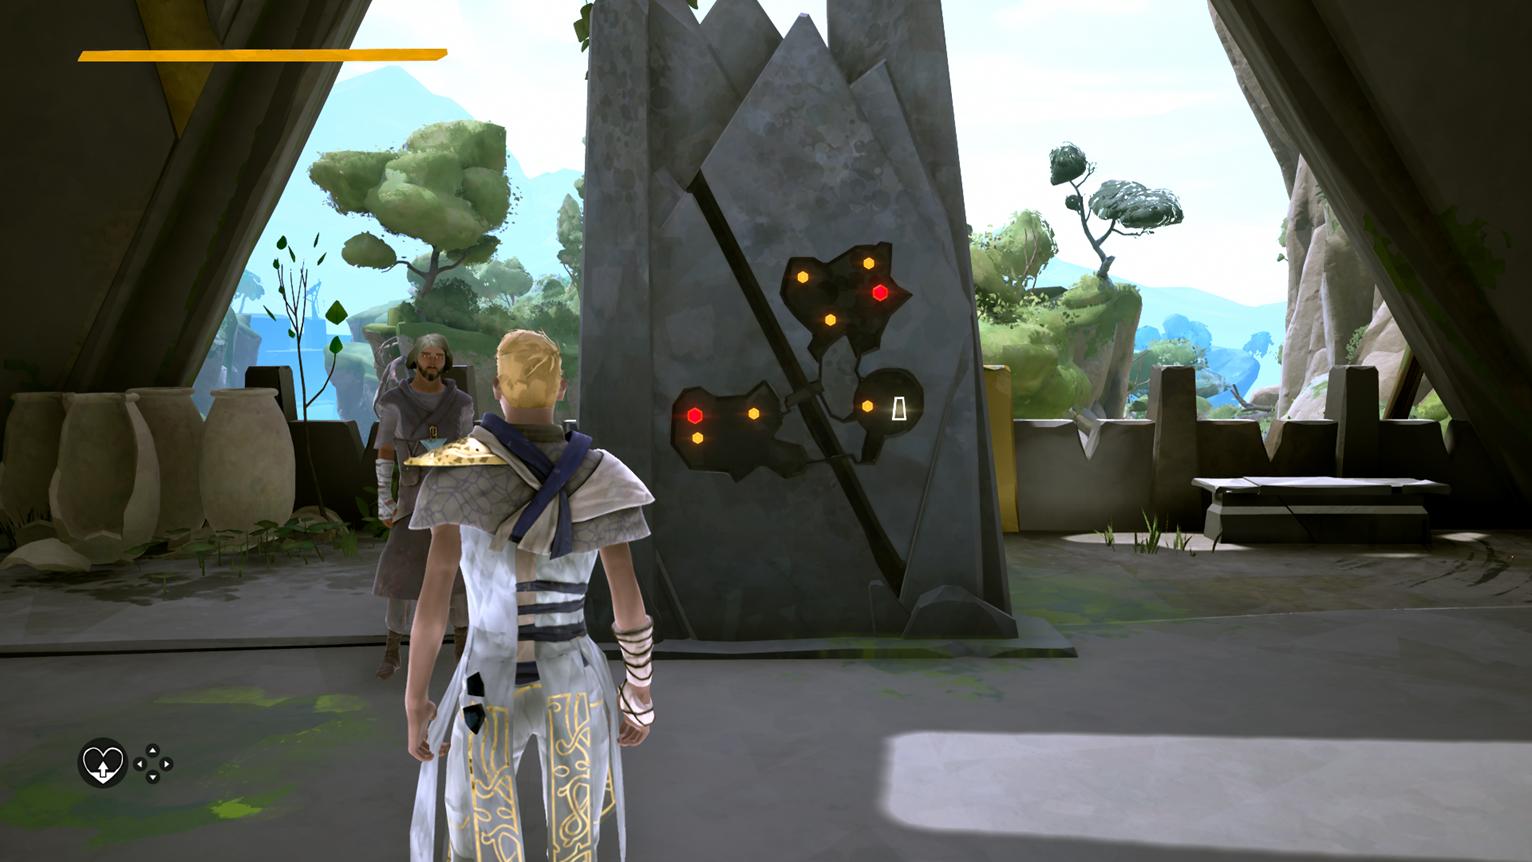
Marked Ones are more powerful than your standard enemy but won’t trouble you as much as bosses will. Once a Marked One is defeated, you are awarded with a new power that you can assign to either the right or left buttons on the D-Pad — I’ll cover what each Marked One drops as we go through each one.
Bosses on the other hand, offer unique challenges such as swarming you with enemies, or summoning a weapon to make you rethink your strategy.
One more thing before we get started; don’t head straight for the last boss. In order to access the final boss you’ll need to have beaten all 6 Marked Ones and the 2 bosses. Aside from that, you can actually challenge the rest of your targets in any order you like as the game’s entire map is open to you. The order in which this guide lists the 9 targets is the order that I came across them during my playthrough.
Now let’s get to it!
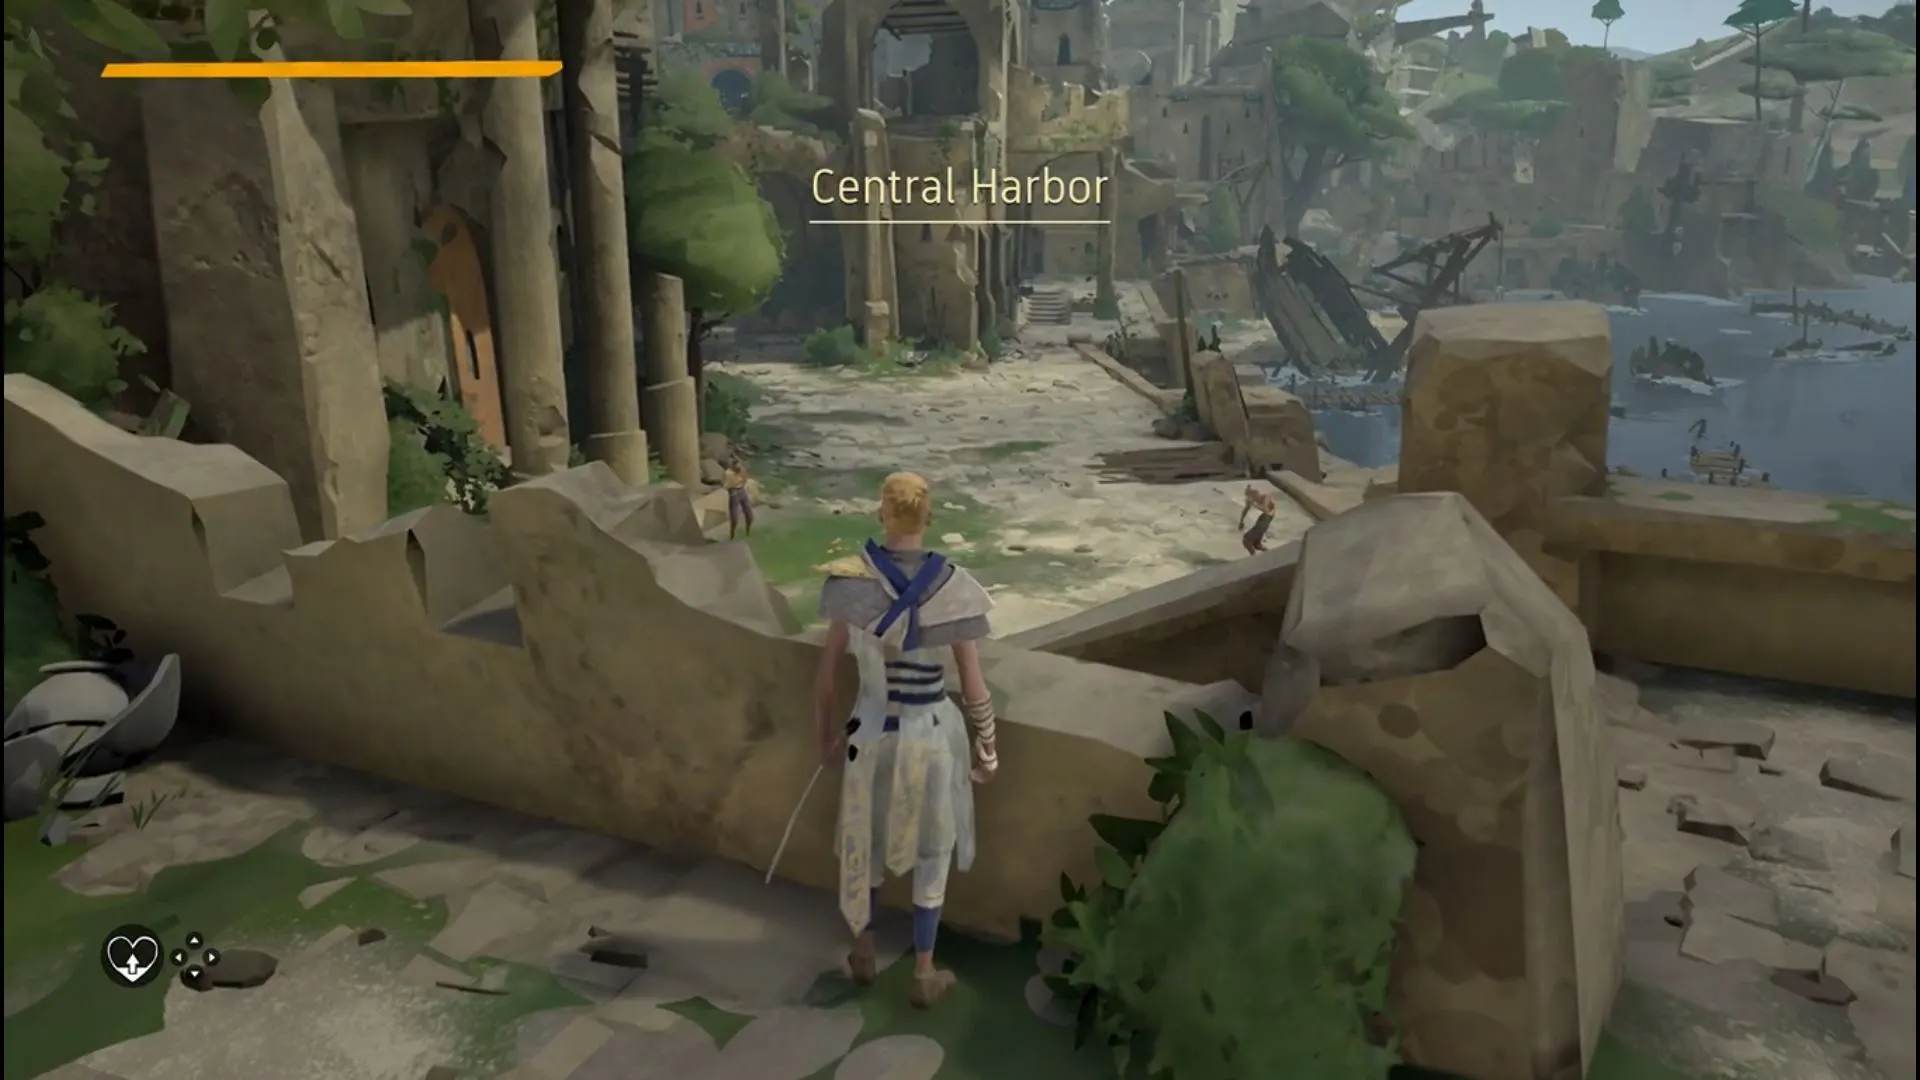
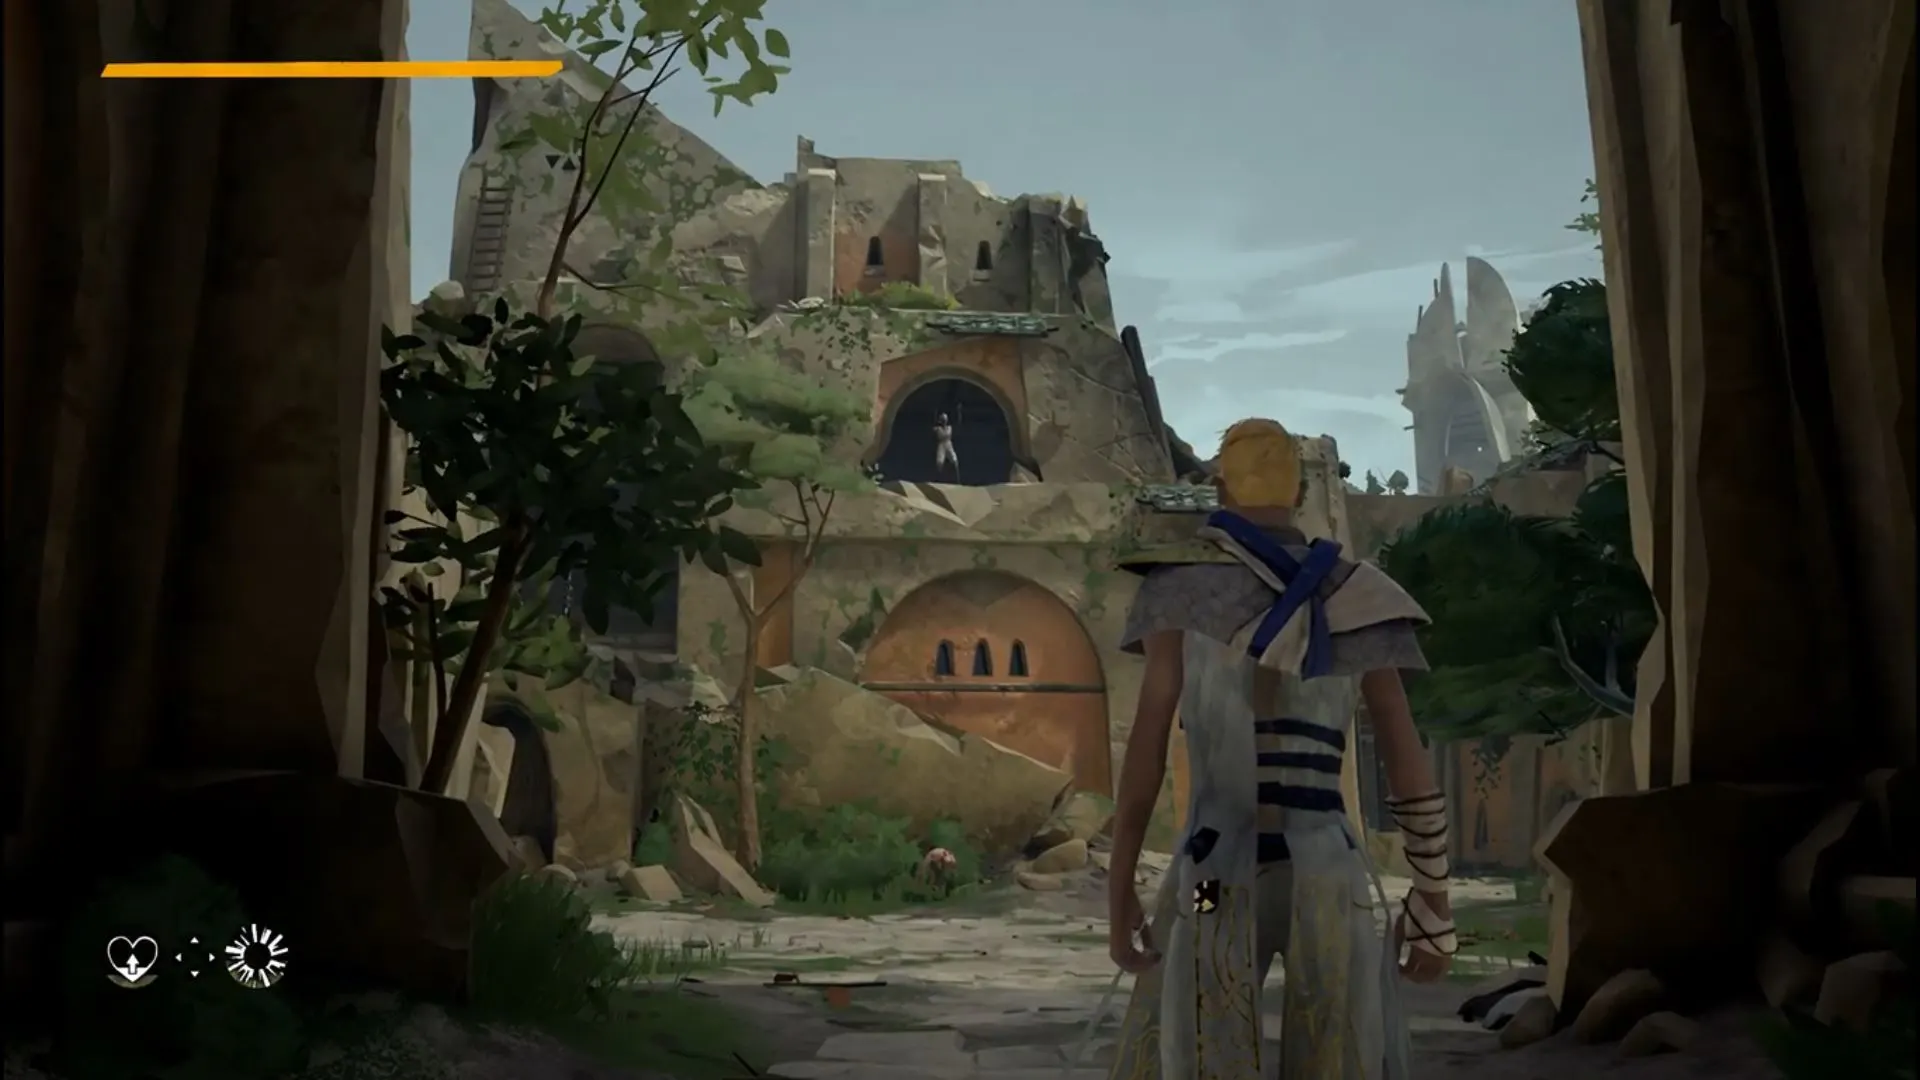
Central Harbor
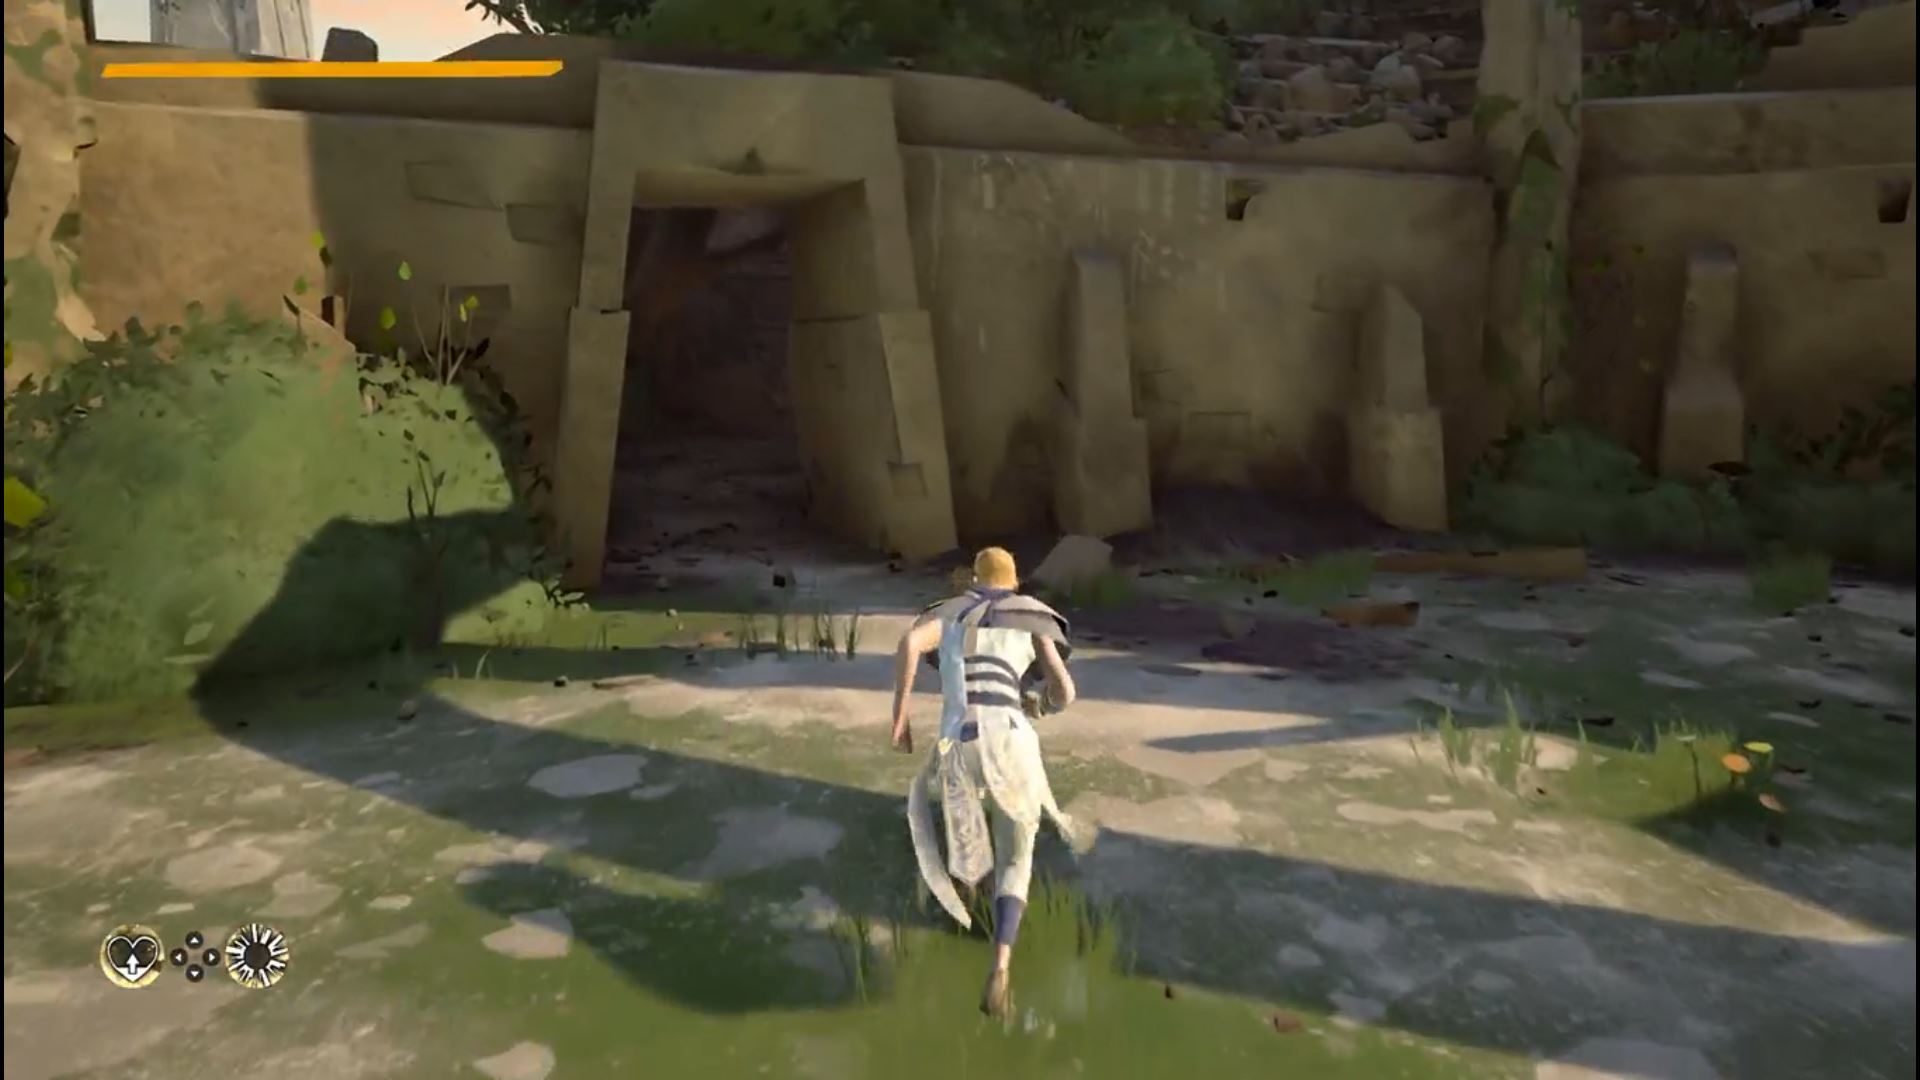
Our first group of enemies are located in Central Harbor. To get there, head through the triangle-shaped doorway to the left of the map and follow the path until the words “Central Harbor” pop up on your screen.
Lamren – Fourth Marked One
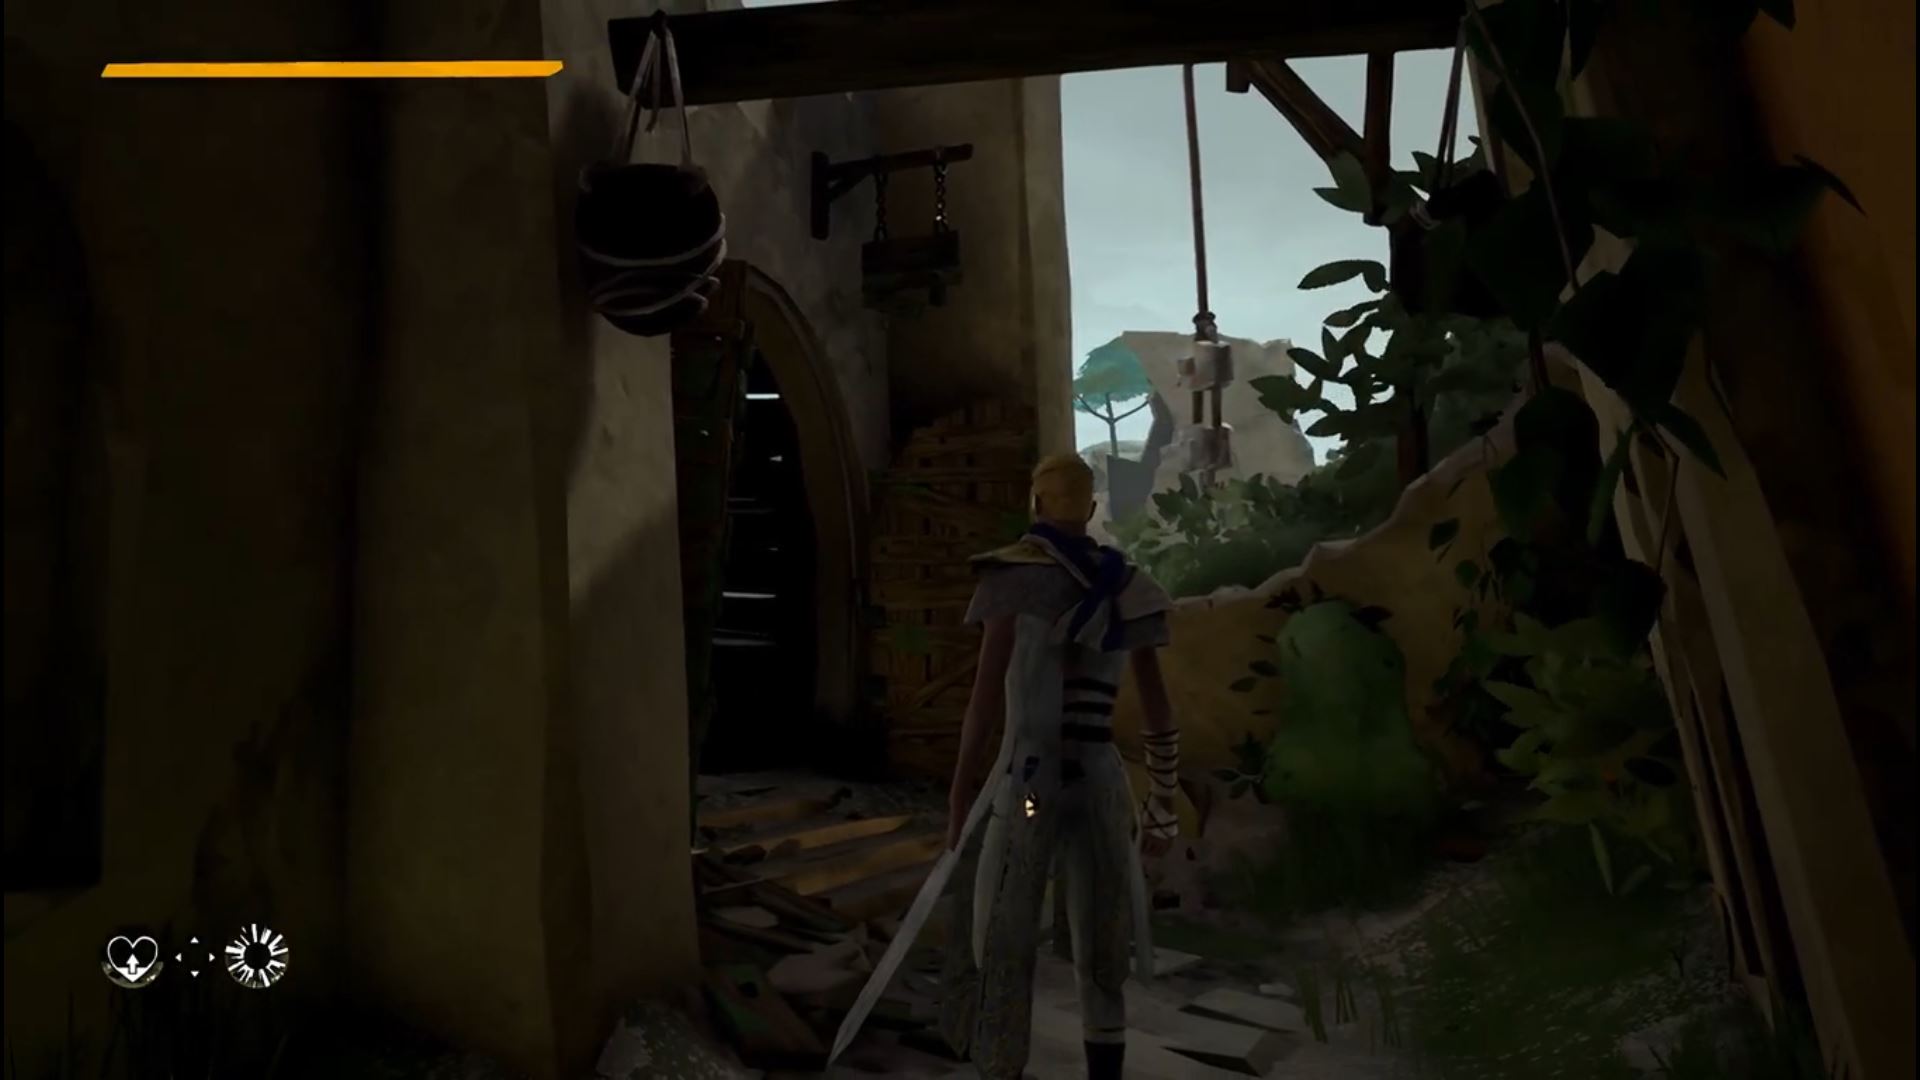
After making your way down the stairs, keep to the left, turn into the alleyway and follow the path to find your first worthy opponent. If he proves to be too worthy, try teaming up with another player who might also be trying to take him down. This applies to all the Marked Ones you’ll come across in the game – two sets of fists are better than one.
If you’re struggling with the combat, check out our guide on how to kick butt in Absolver.
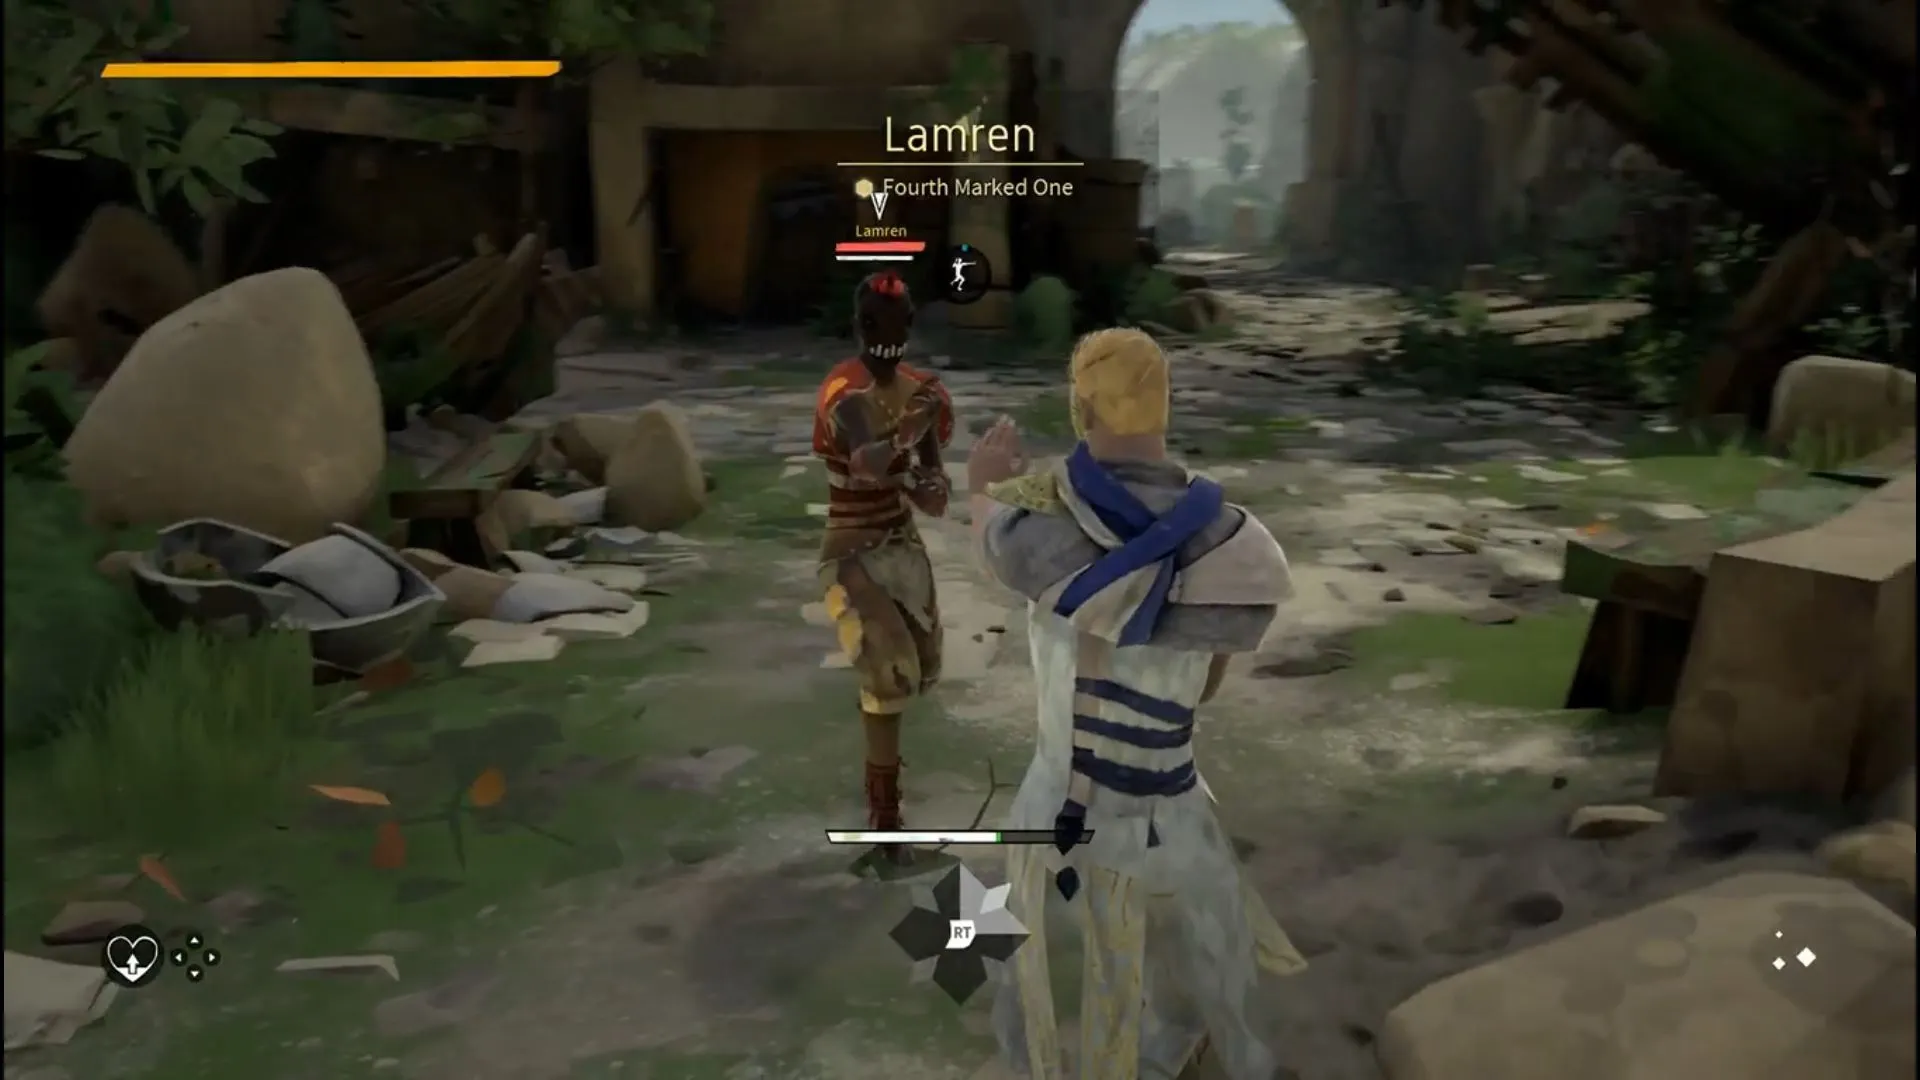
Defeating Lamren unlocks the Shockwave power, which pushes back opponents close to you. This is especially useful for pushing enemies off ledges when you find yourself being overwhelmed.
Kuretz – Boss #1
Starting from where you defeated Lamren, follow the alley back to the Central Harbour area. Take a left and follow the path until you reach this area.
Head down the alley on the right side of the building and follow the path. You’ll eventually find a hole in the wall which will lead you to the Raslan Coliseum.
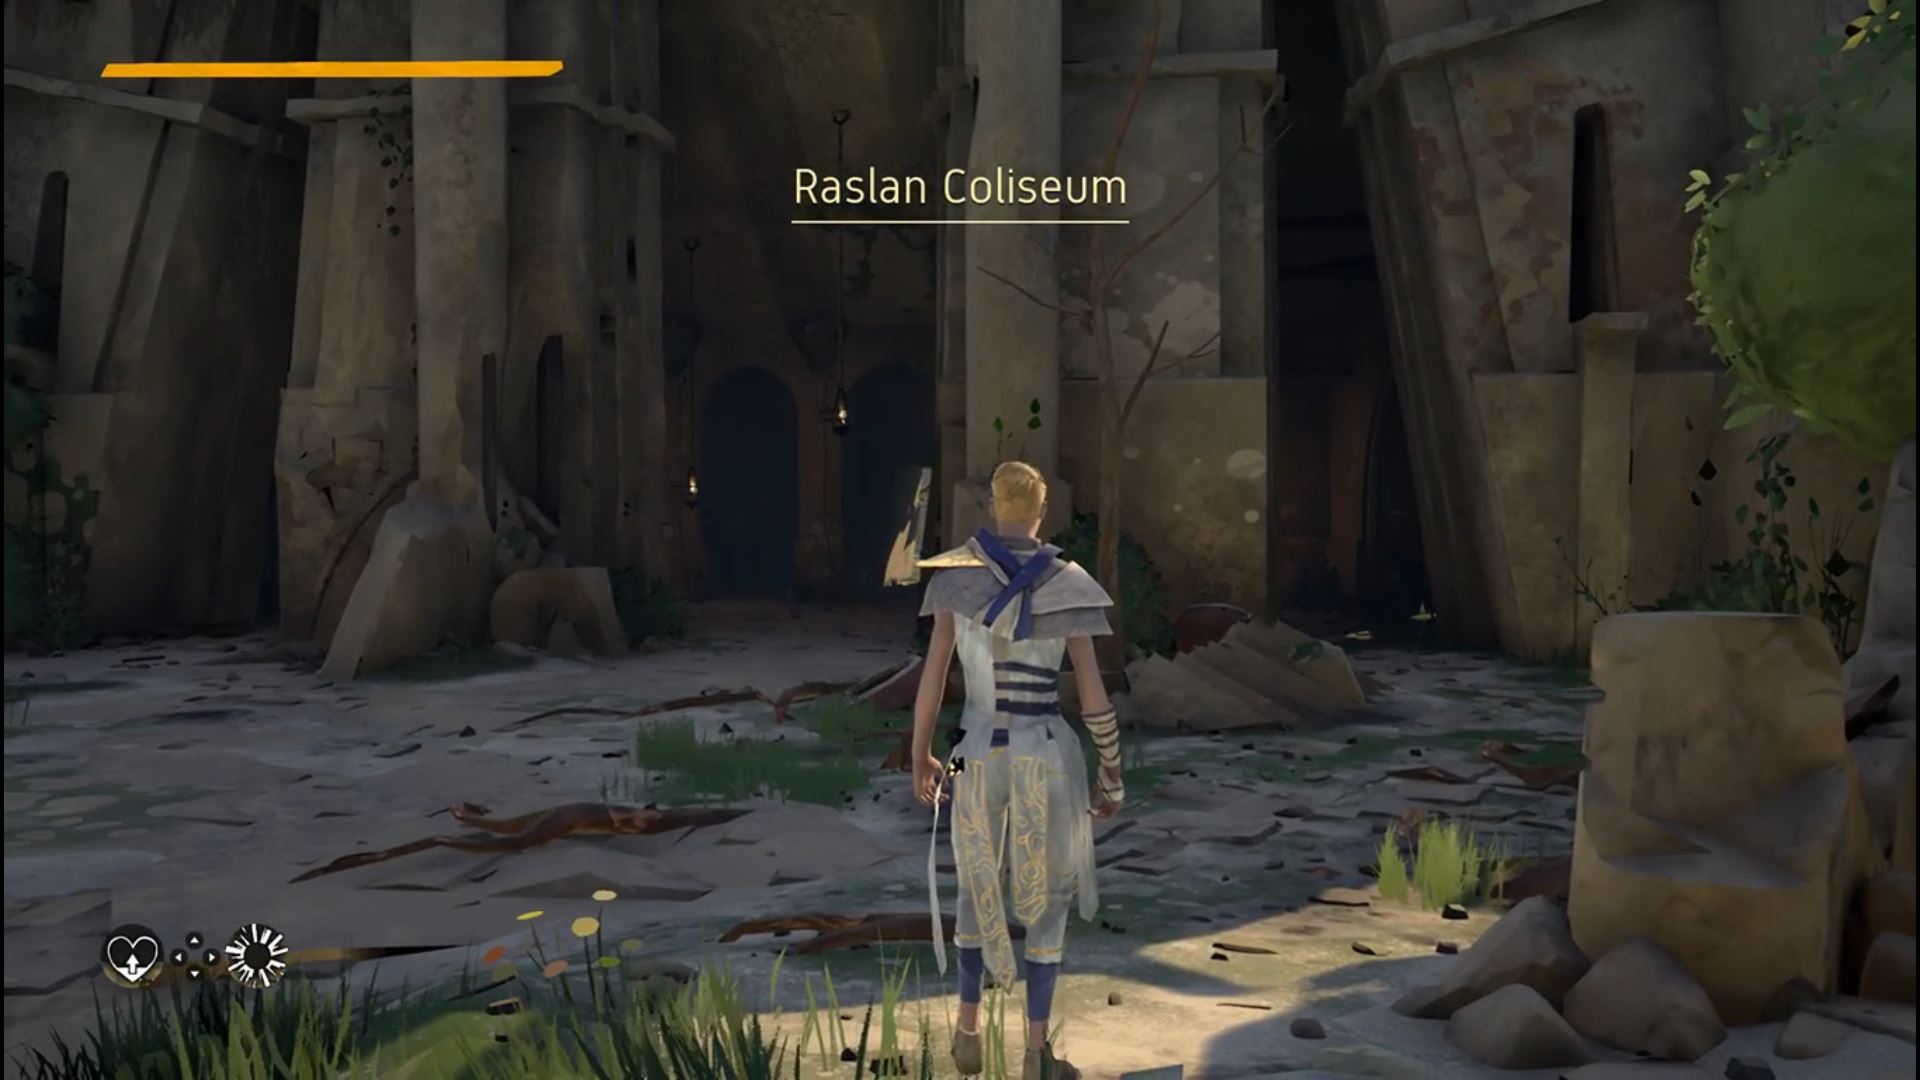
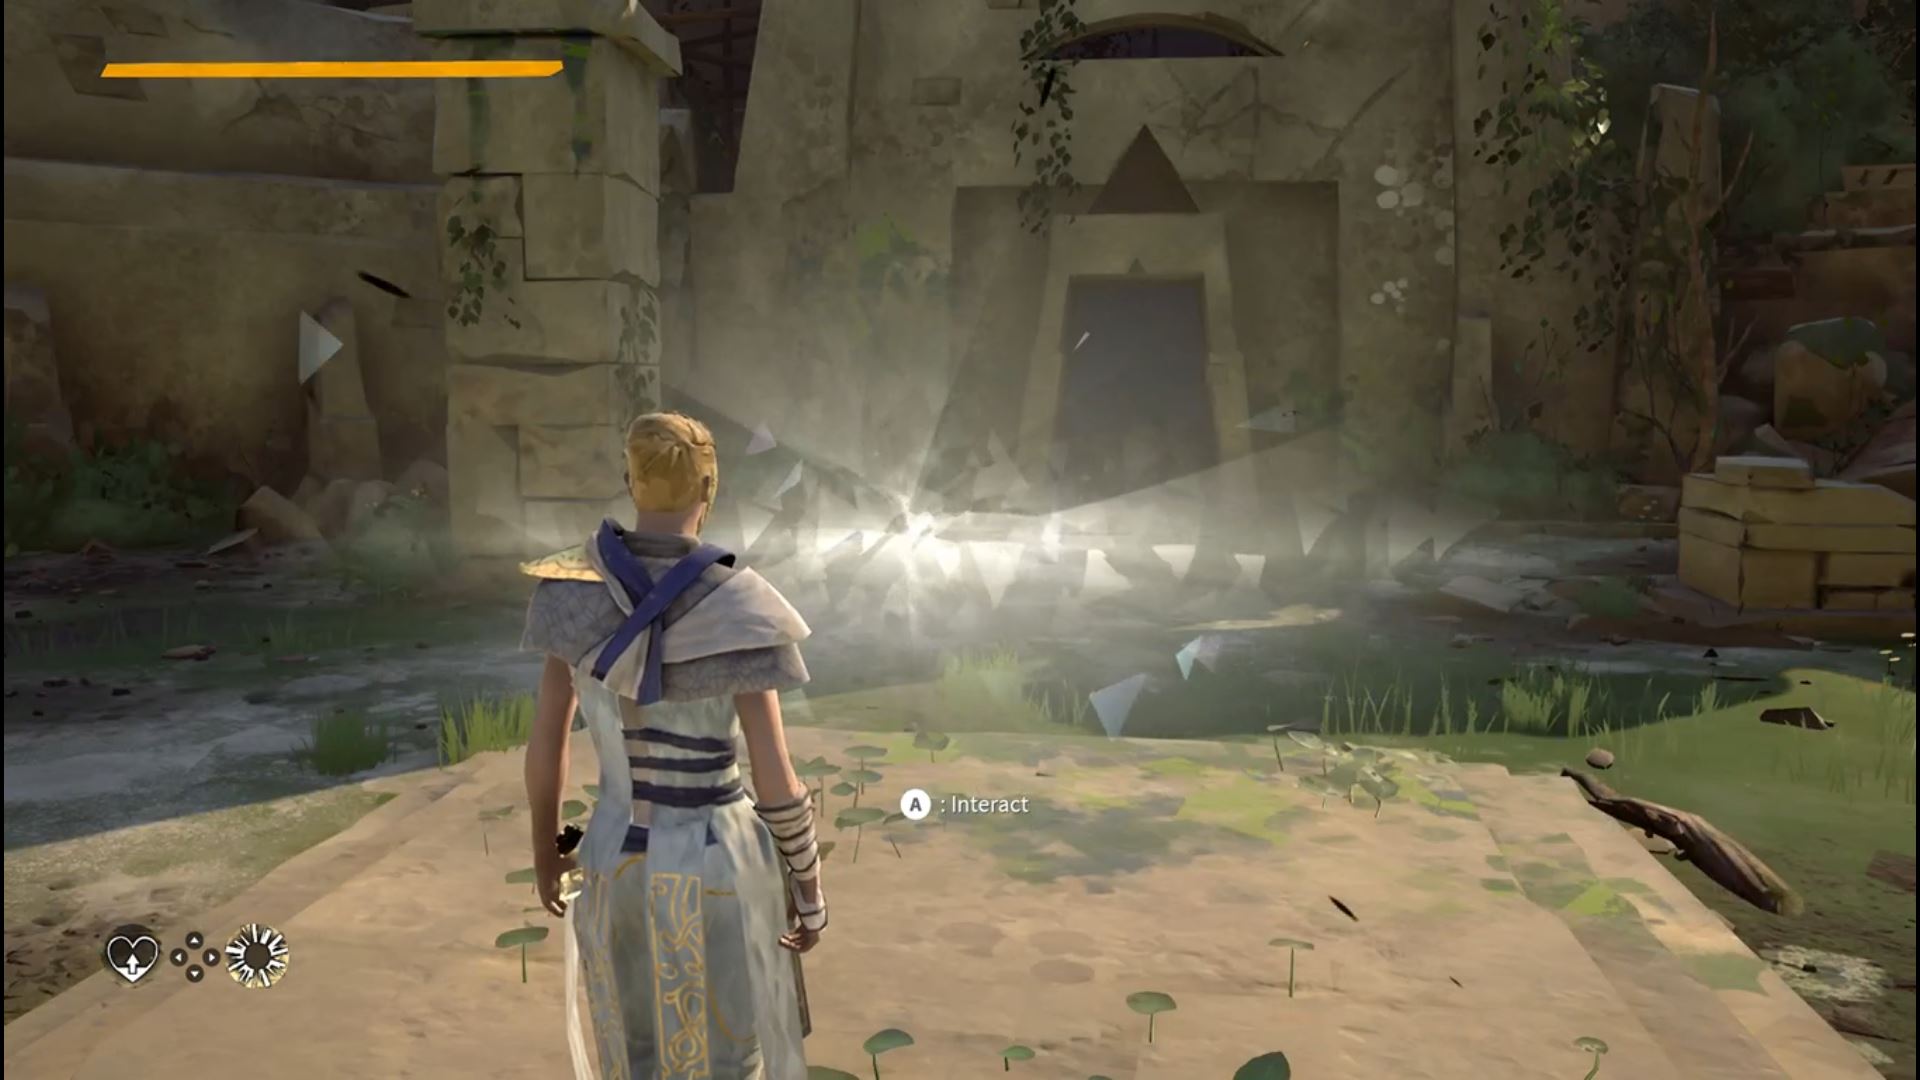
Interact with the weird glow in the centre of the Coliseum to trigger the boss fight. To gain some experience, I skipped this one in favour of facing the next nearby Marked One first, but that’s your call.
After a brief cutscene, you’ll being your fight with Kuretz. Here’s a couple of tips:
- After losing about a quarter of his health he’ll summon some of his weak mind-slaves to attack you. Each one you defeat restores some of your health so pick them off when you need a top-up.
- Remember to focus on Kuretz though, as they’ll keep coming until he’s at about a quarter health.
- At this point in the fight he’ll summon a weapon.
- Kuretz isn’t a very defensive fighter, so as long as you keep the pressure on and avoid his long combos, you should beat him fairly easily.
Defeating Kuretz will award you with your first weapon; the Spike Turtle War Gloves.
After entering the Coliseum, go left into a doorway, head up the stairs, and follow the wooden ramp up to the top. Ristael is up here enjoying the view.
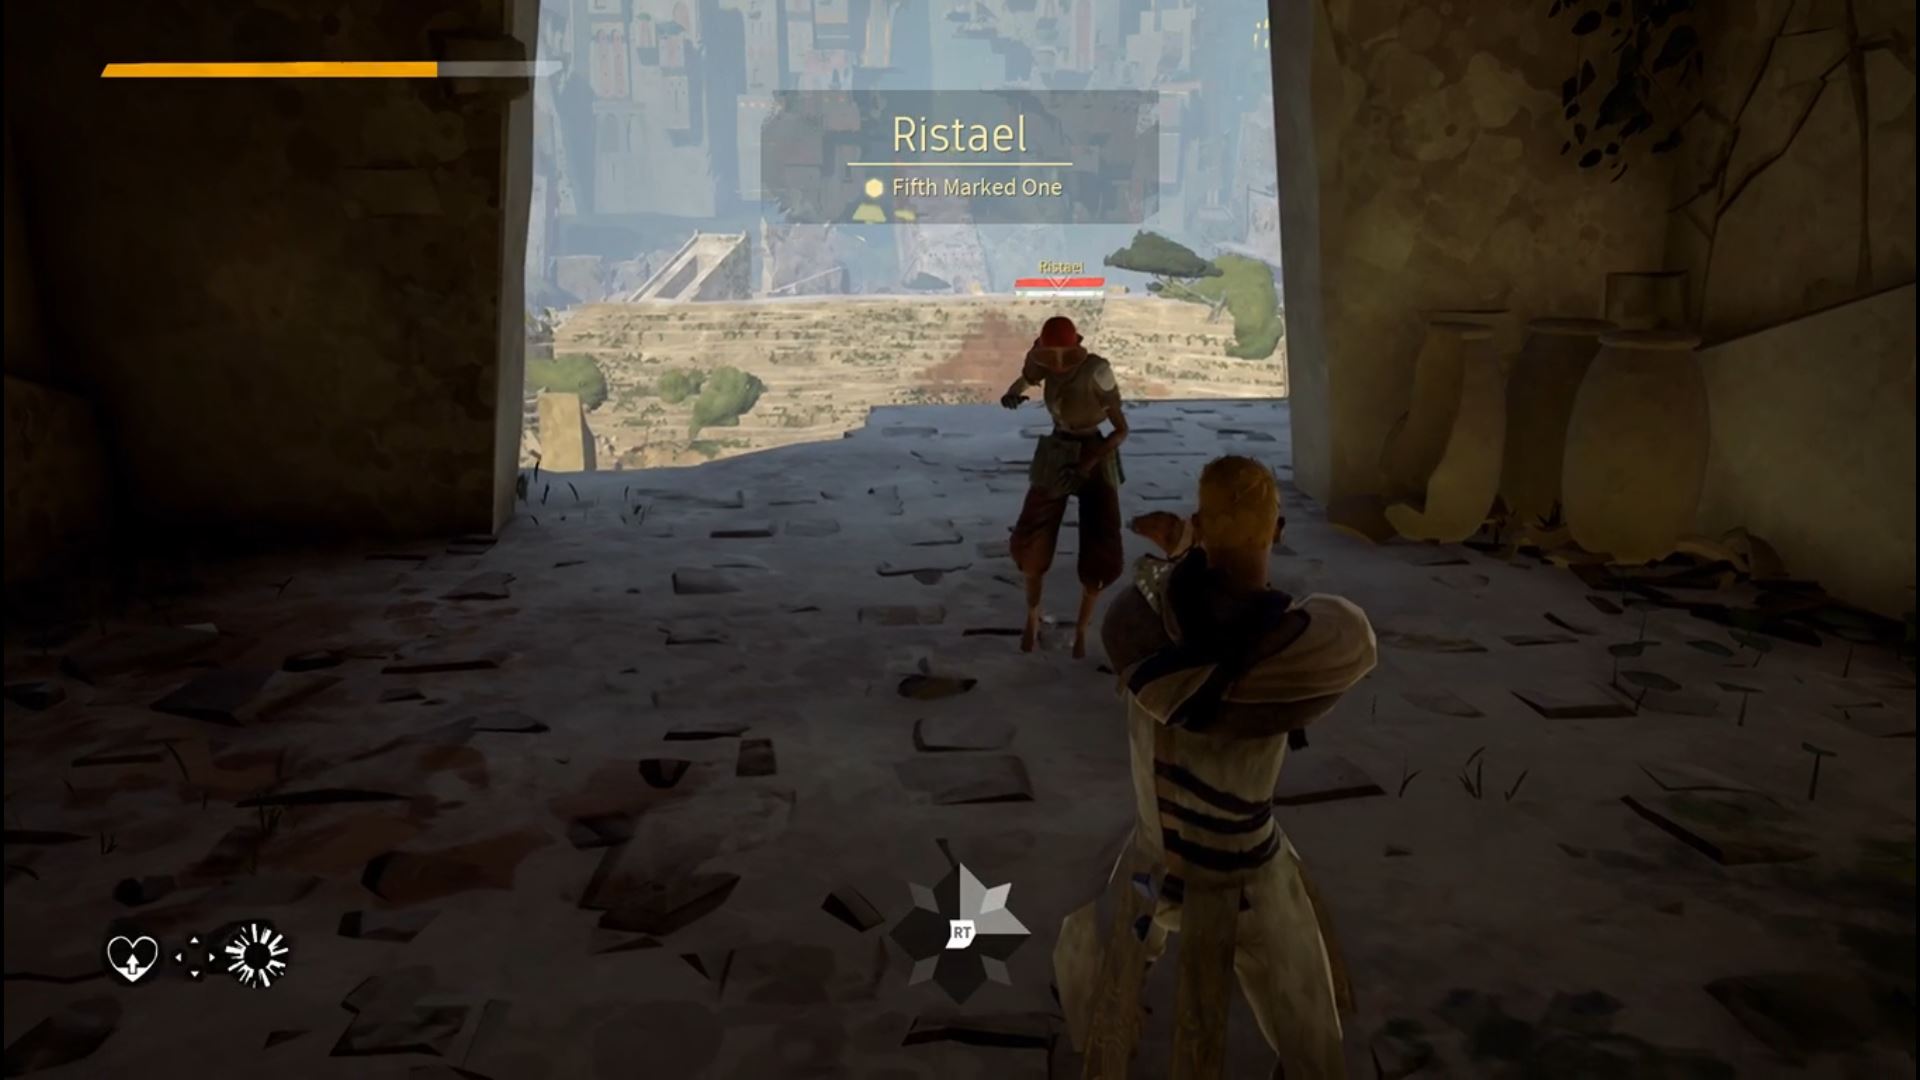
Defeating Risteal grants you the Gravity power which stuns enemies, leaving them vulnerable to a heavy attack. It also causes their stamina to regenerate at a slower rate.
That’s it for the Central Harbor! Now head back to the Guidance Bridge, where the map is, and we’ll move onto the next area.
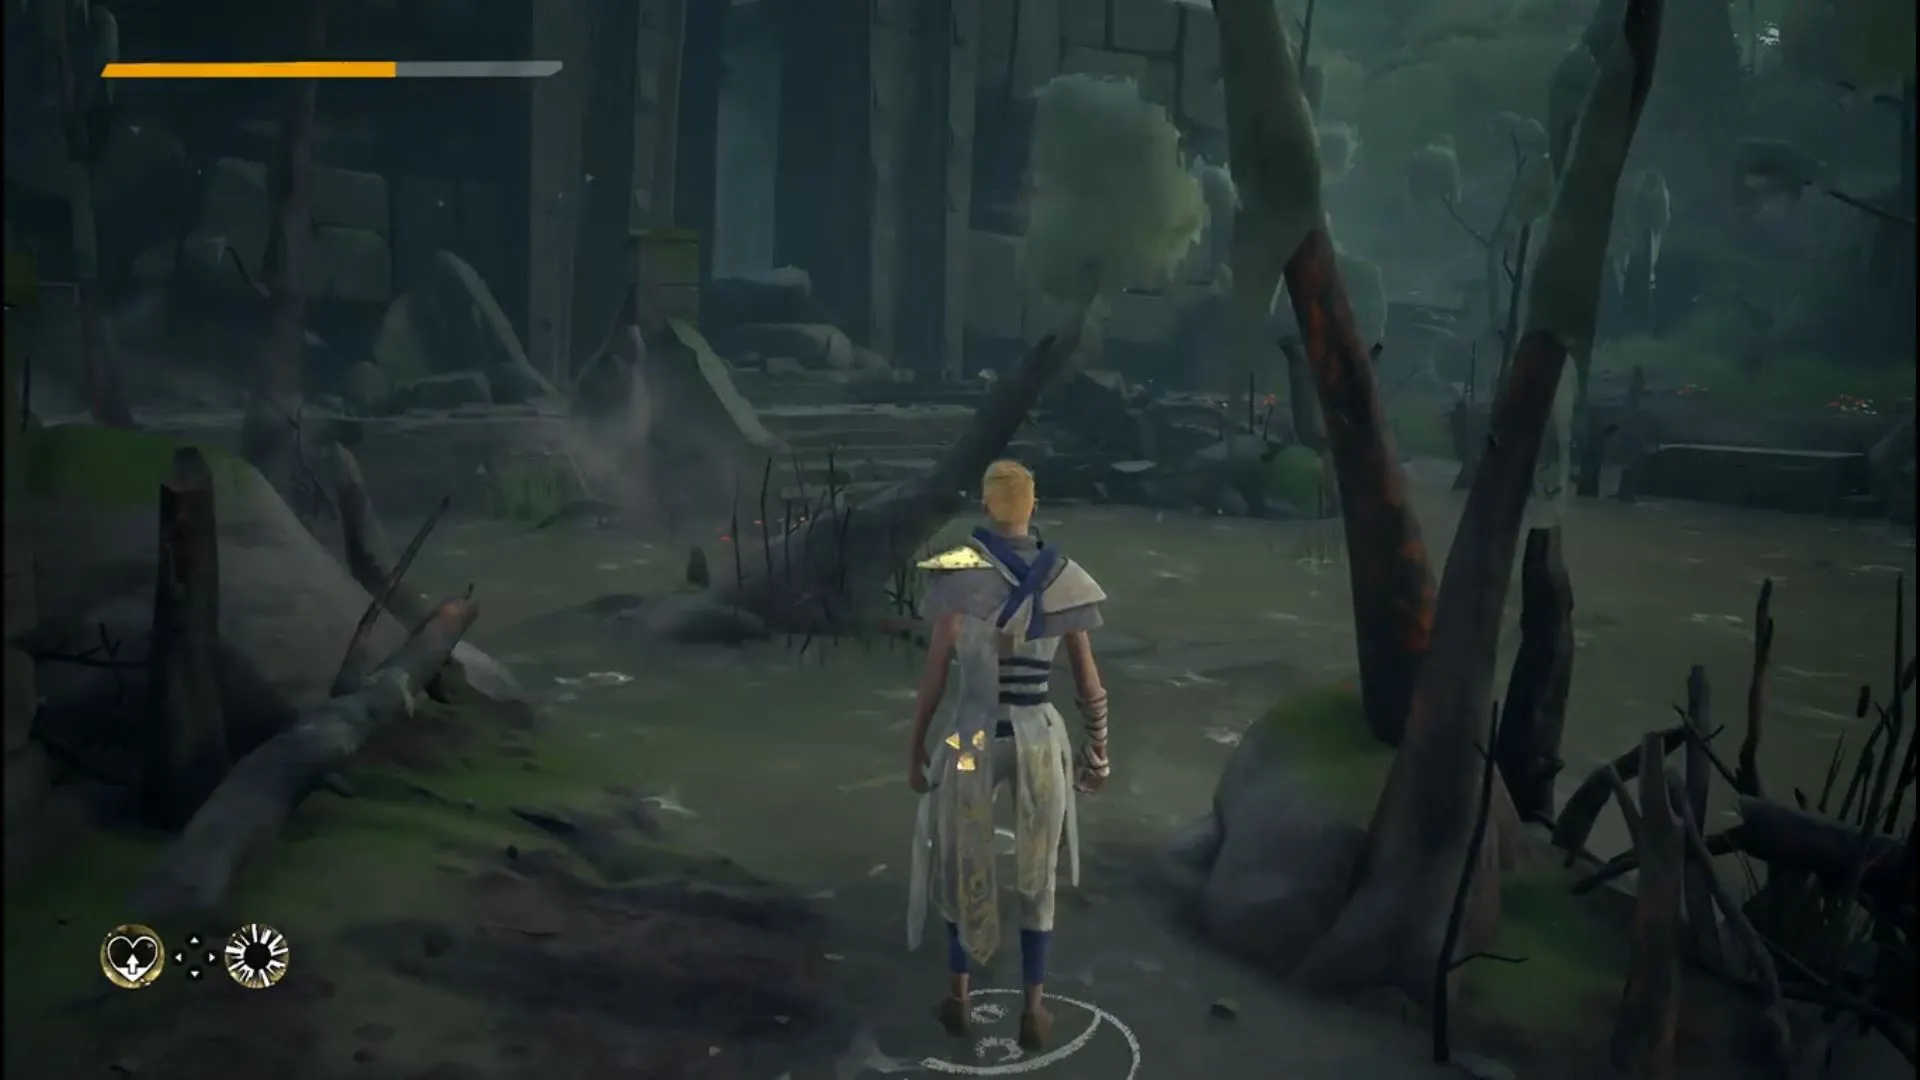
The Hunting Path
This time head up the small set of stairs to the right of the map, continue through the door, and follow the path until you get to the area in the picture below.

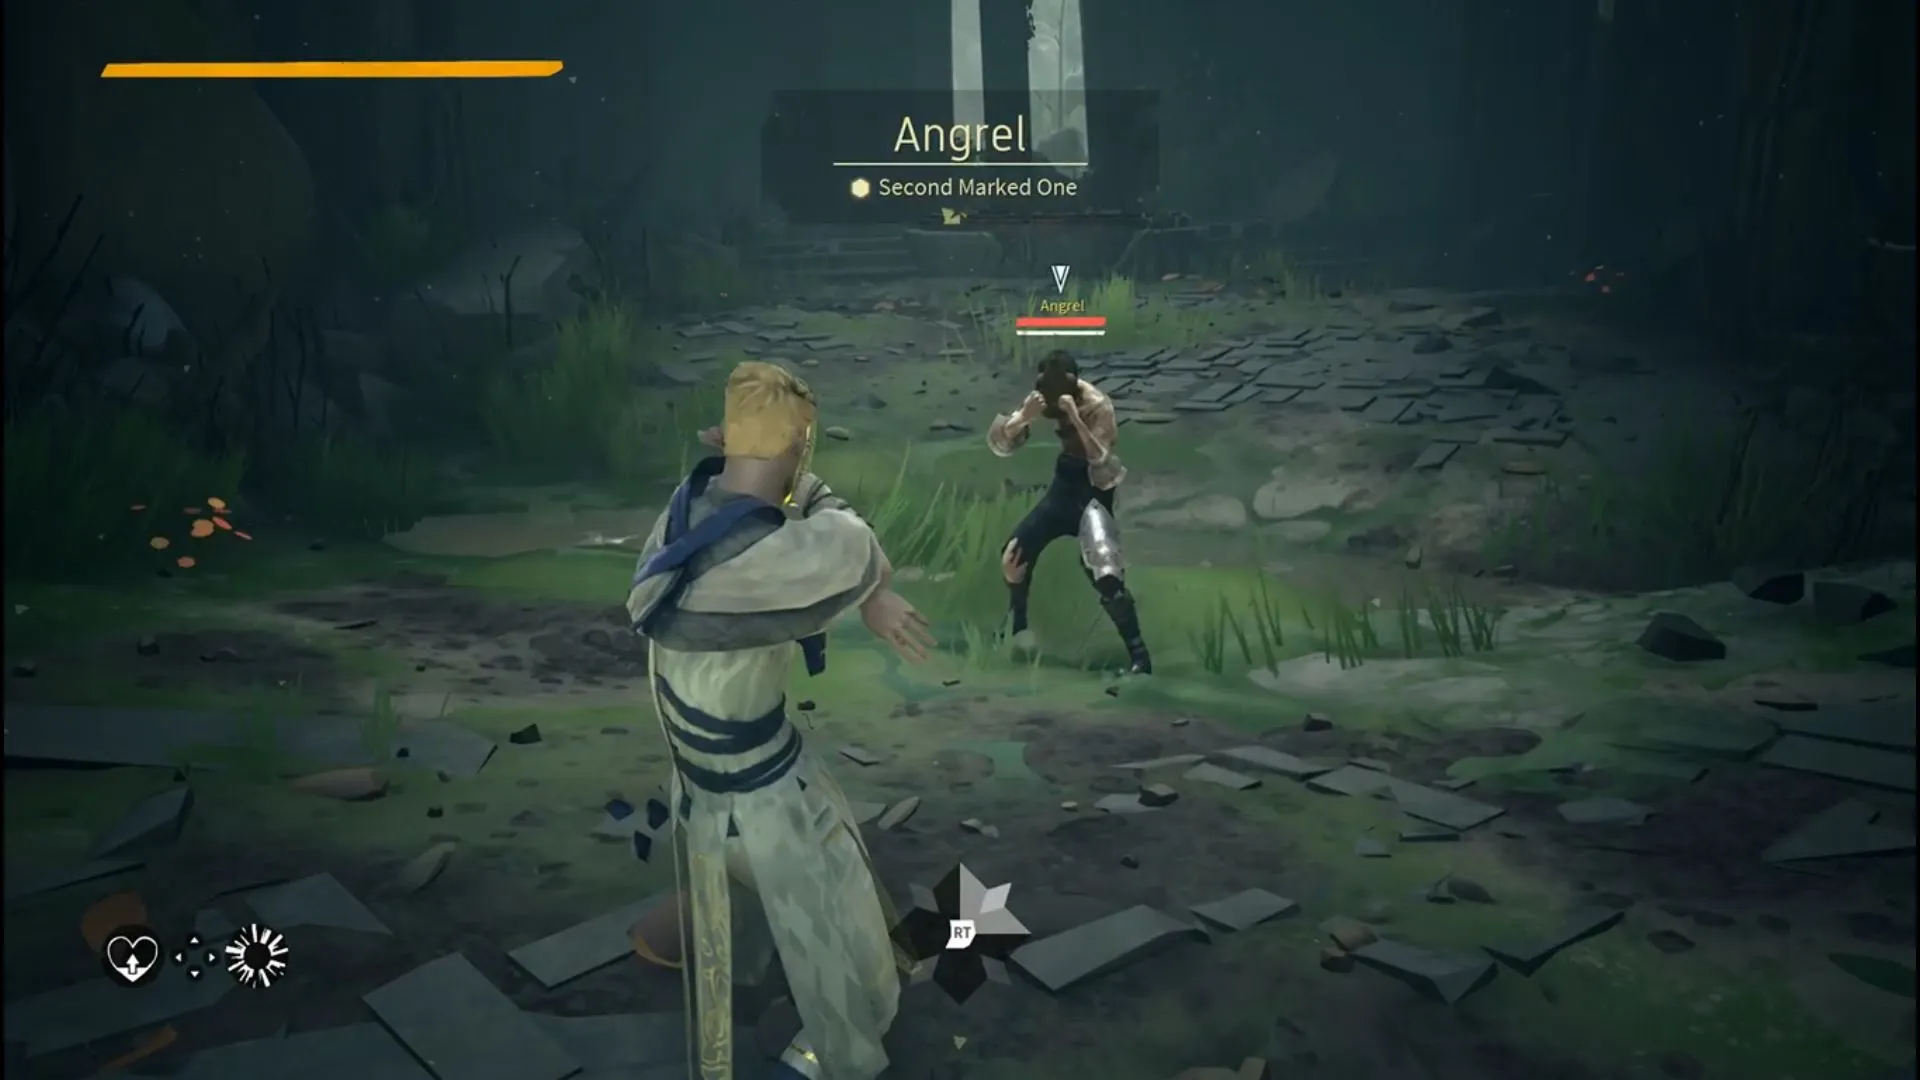
Angrel – Second Marked One
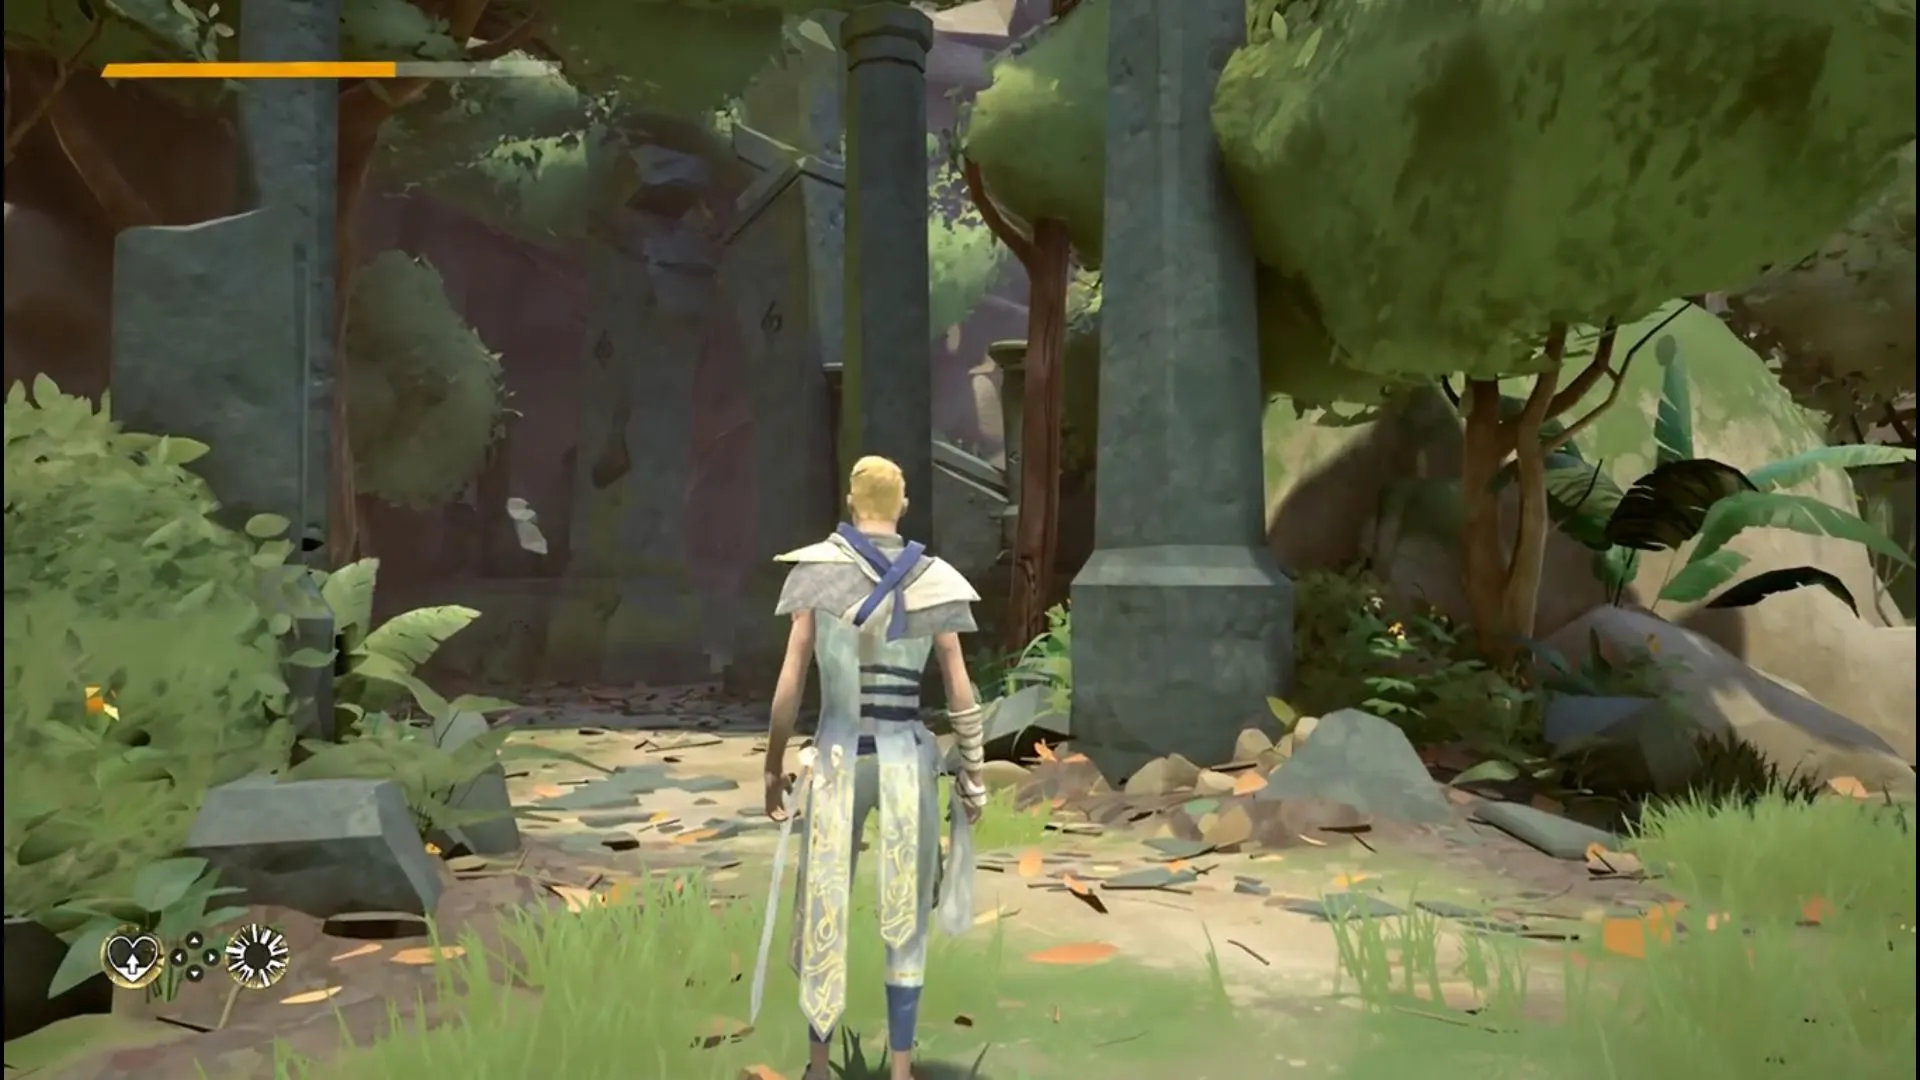
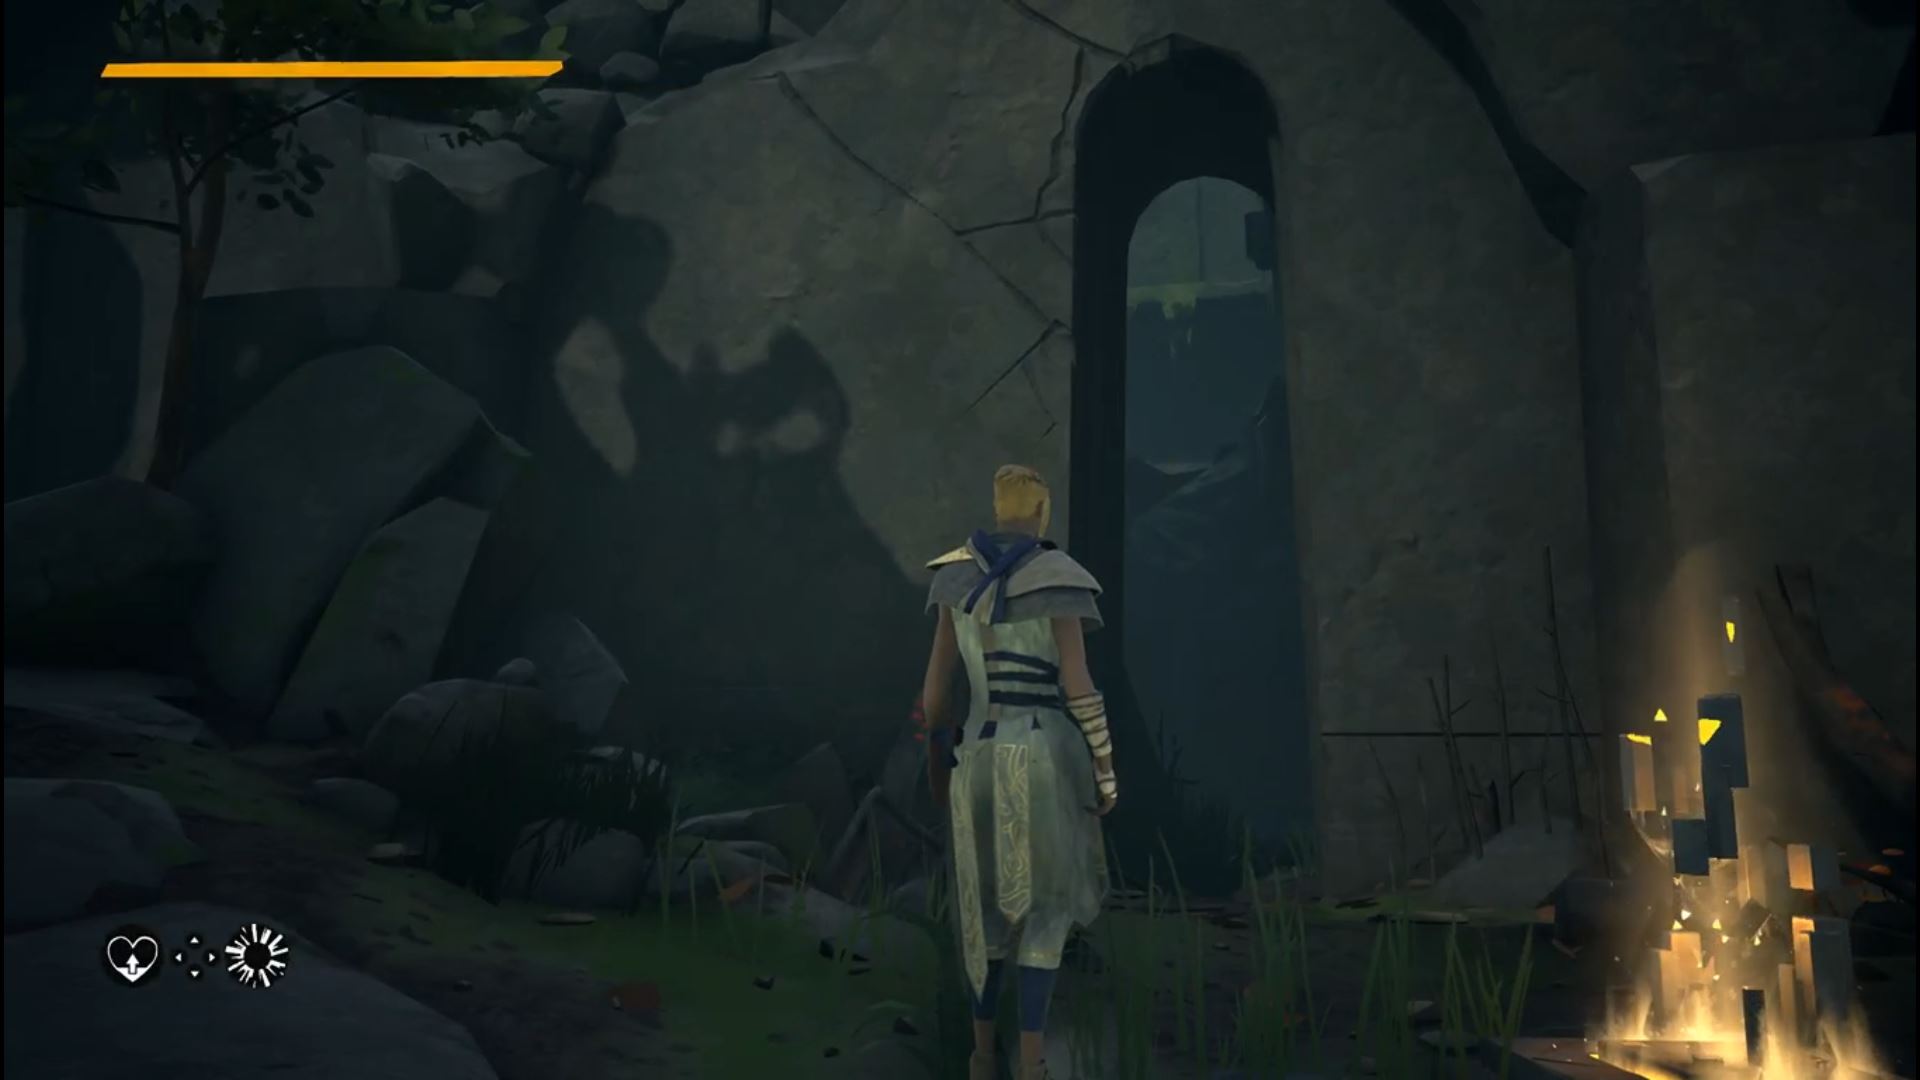
Going left through the ditch and heading through the stone pillars will lead you to the Forbidden Temple.
Now head to the right of the temple, follow the path across the wooden bridge, and you’ll eventually find an altar.
Going through this tall arch will lead you to Angrel.
Defeating Angrel unlocks the Shield power which reduces the amount of damage and knockback you receive.
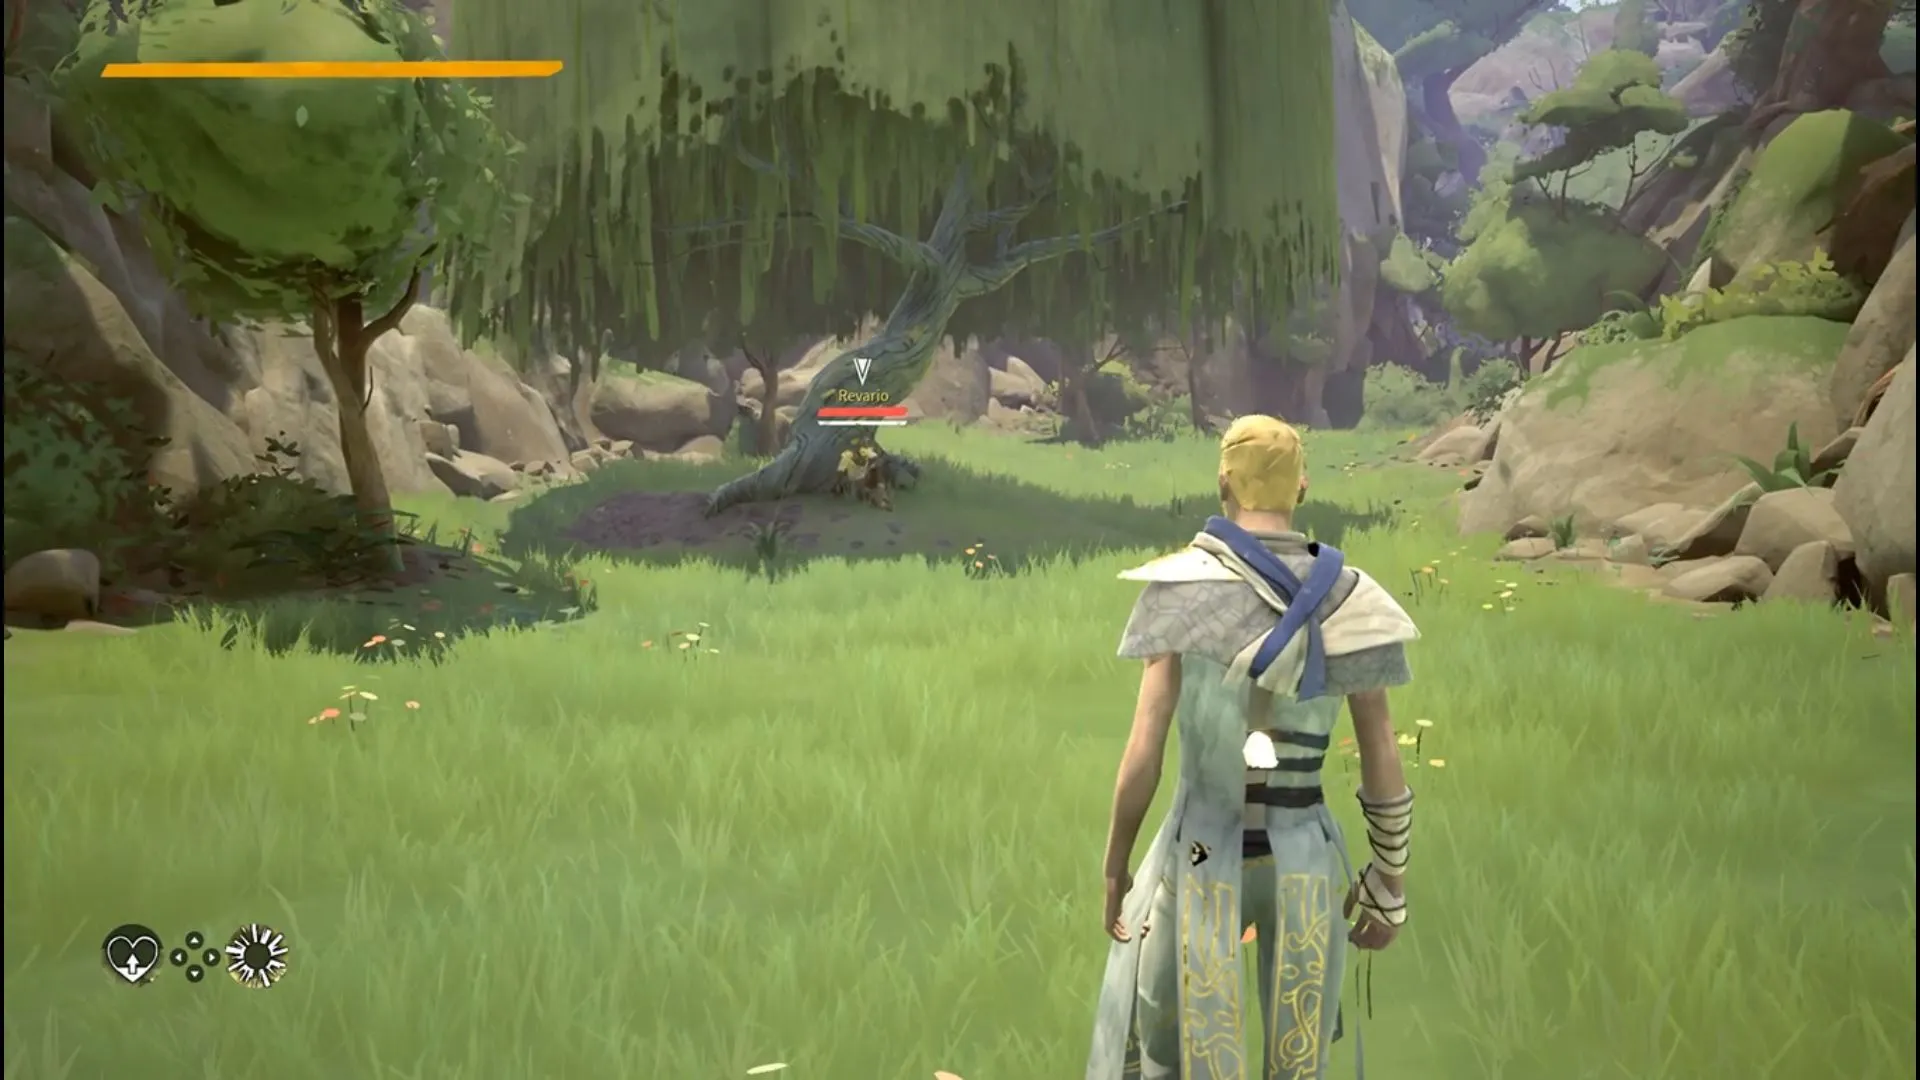
Revario – First Marked One
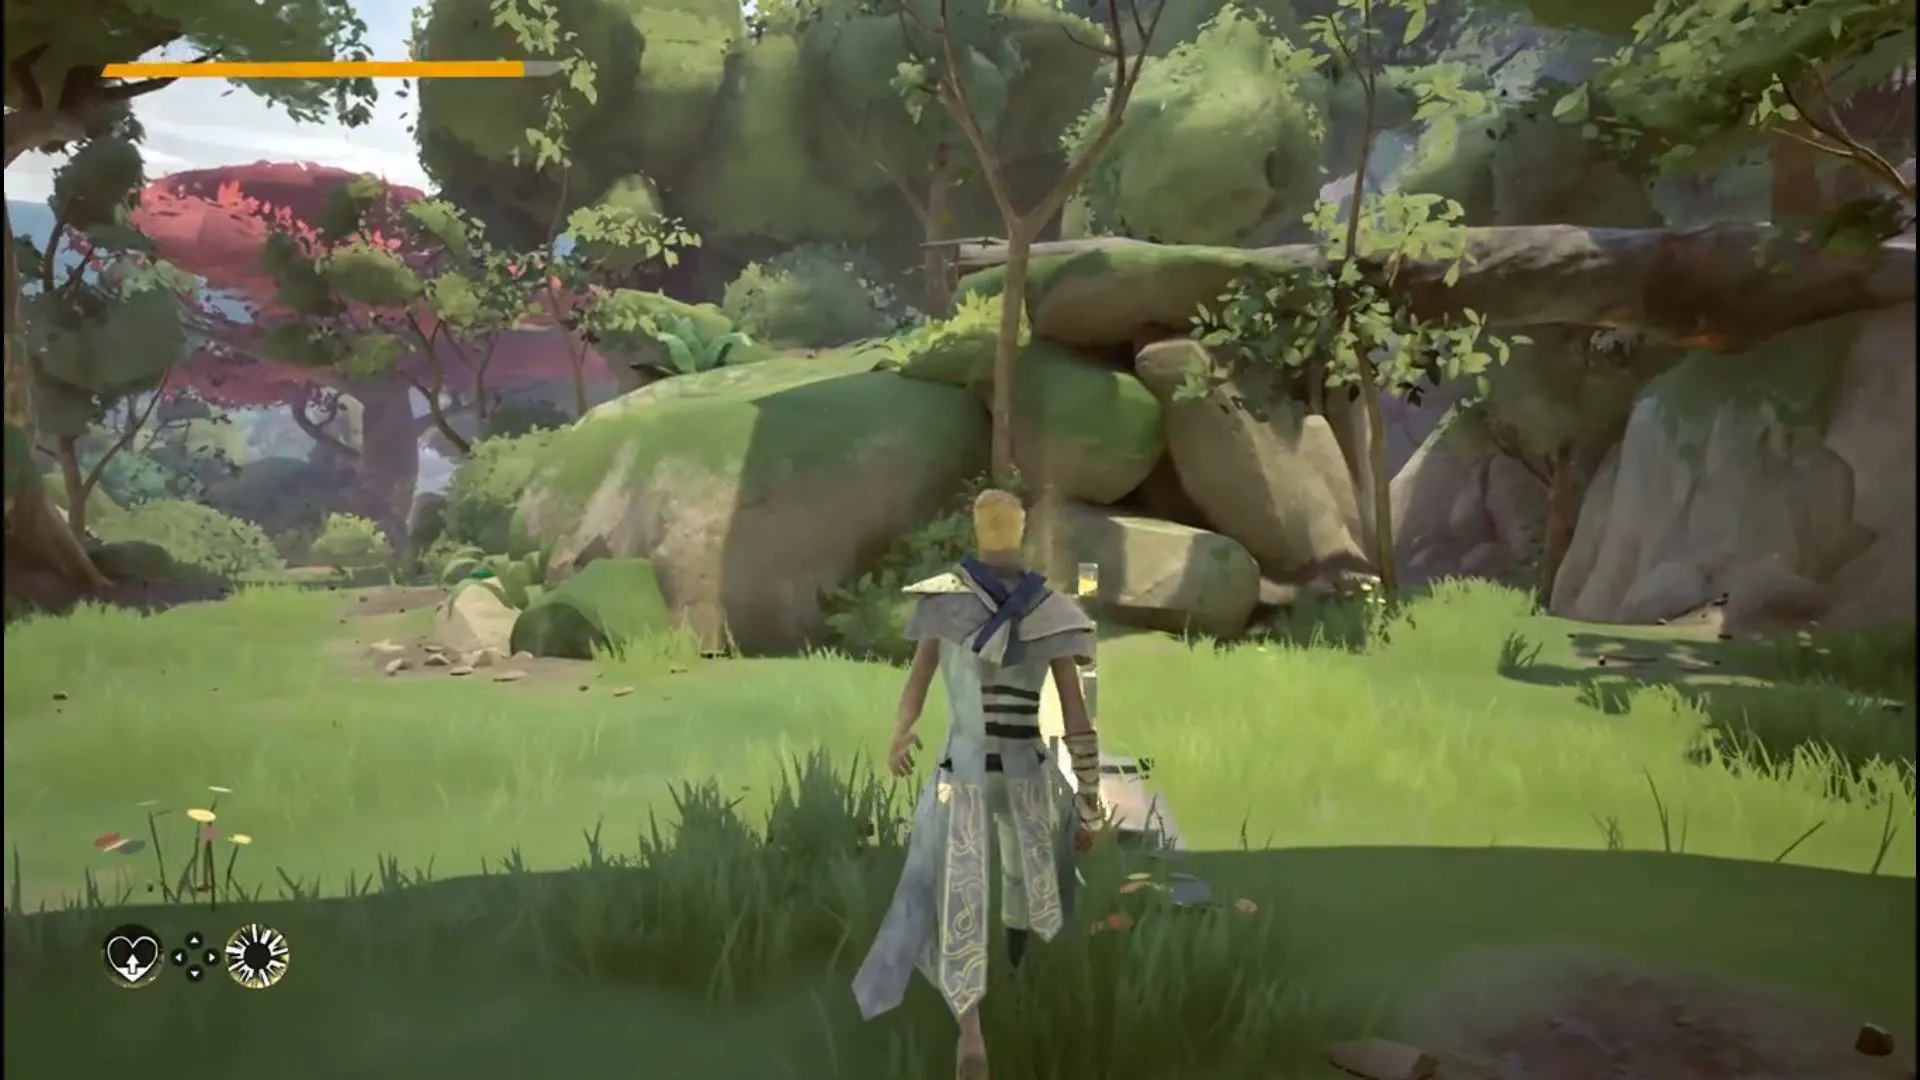
Head back to the location pictured below, but this time we’re going right.
Keeping to the right, follow the wall around and up the hill to the next Altar. Now follow the path going under the fallen tree trunk.
You’ll find Revario sitting beneath beneath a large tree. Defeating him will grant you the Earthquake power which stuns enemies and imbues the user with absorb properties.
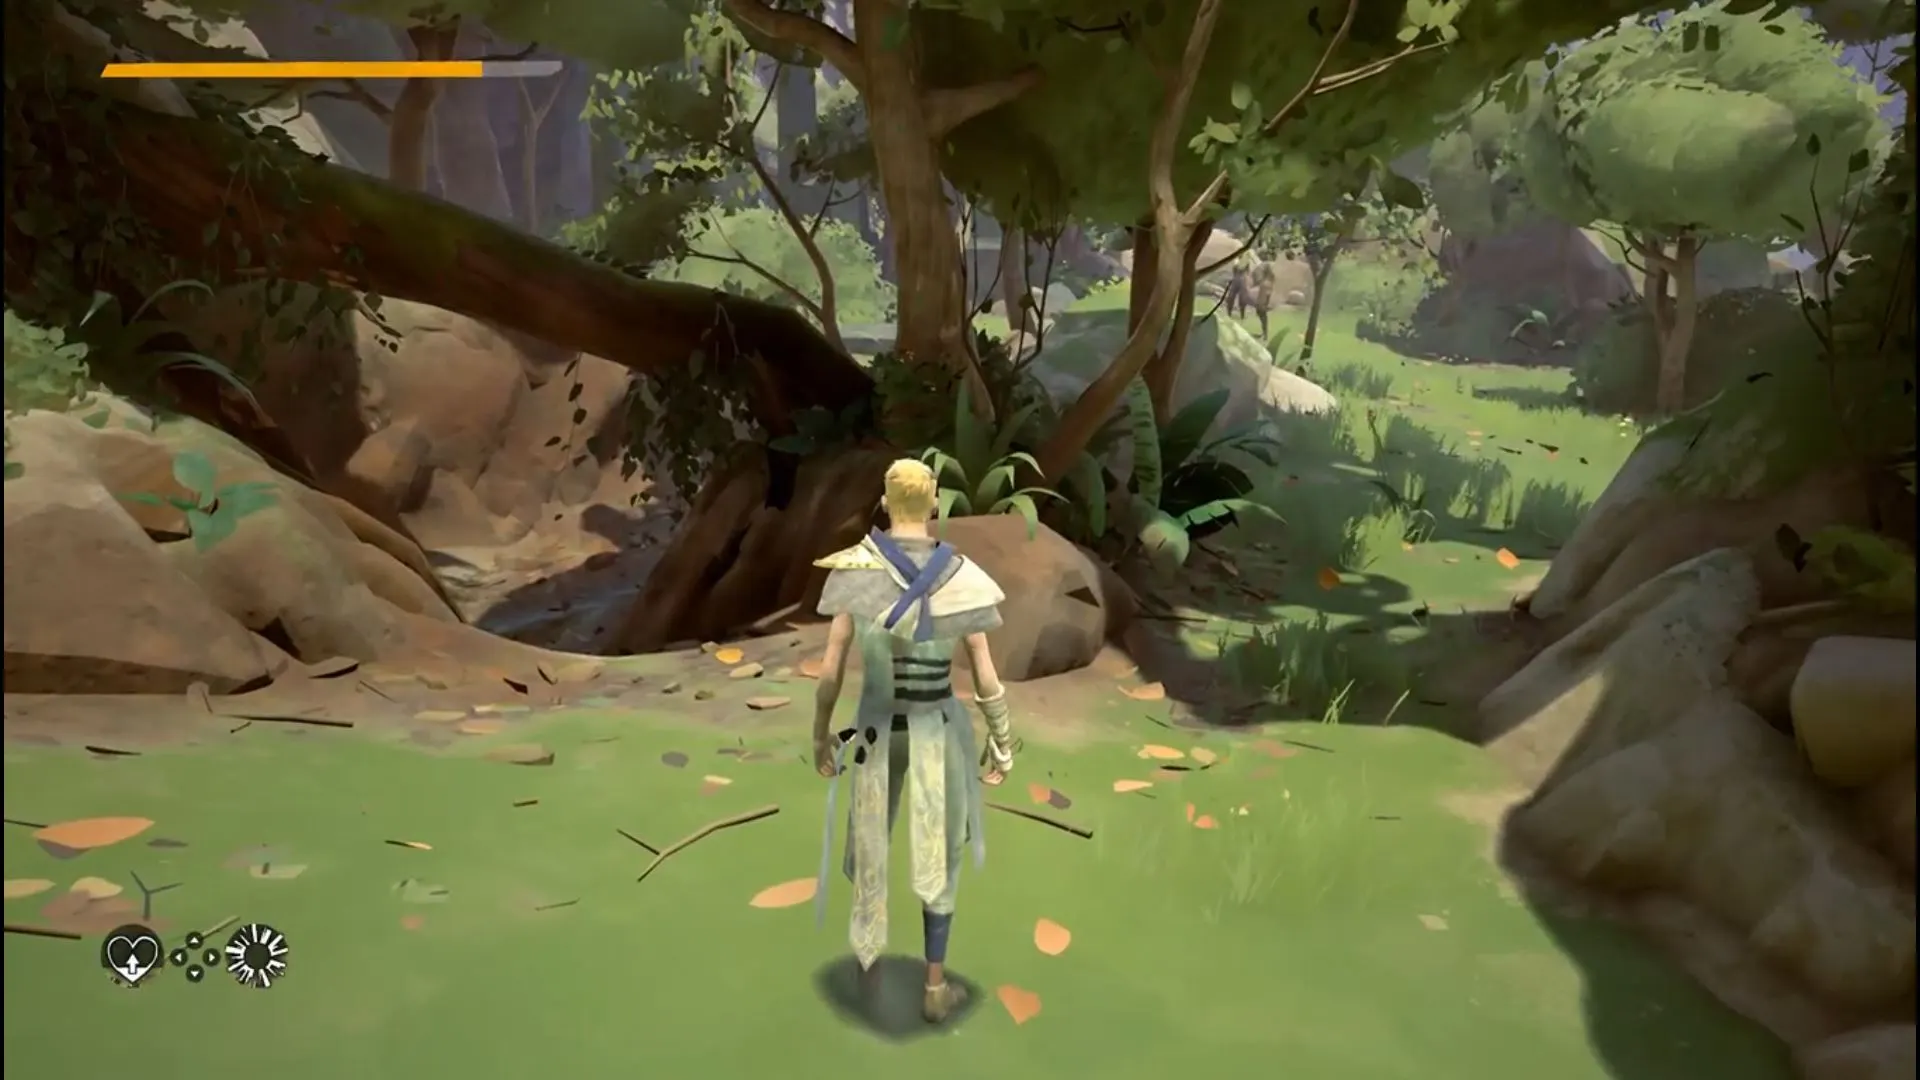
Ama Saba – Third Marked One
From the altar before Revario, head towards the cherry blossom and you’ll enter the Bird Caller’s Outpost.
From the altar here head straight down the street towards the large house and Ama Saba will be waiting for you.
Defeating her will grant you the Exhaust power which causes your enemies to use more stamina for every move.

Kilnor and Cargal – Boss #2
Go to the right of the building that Ama Saba was in and follow the path all the way to the top of the mountain. It’s a pretty linear path up, so you should have no problem reaching the Adalian Columbary.
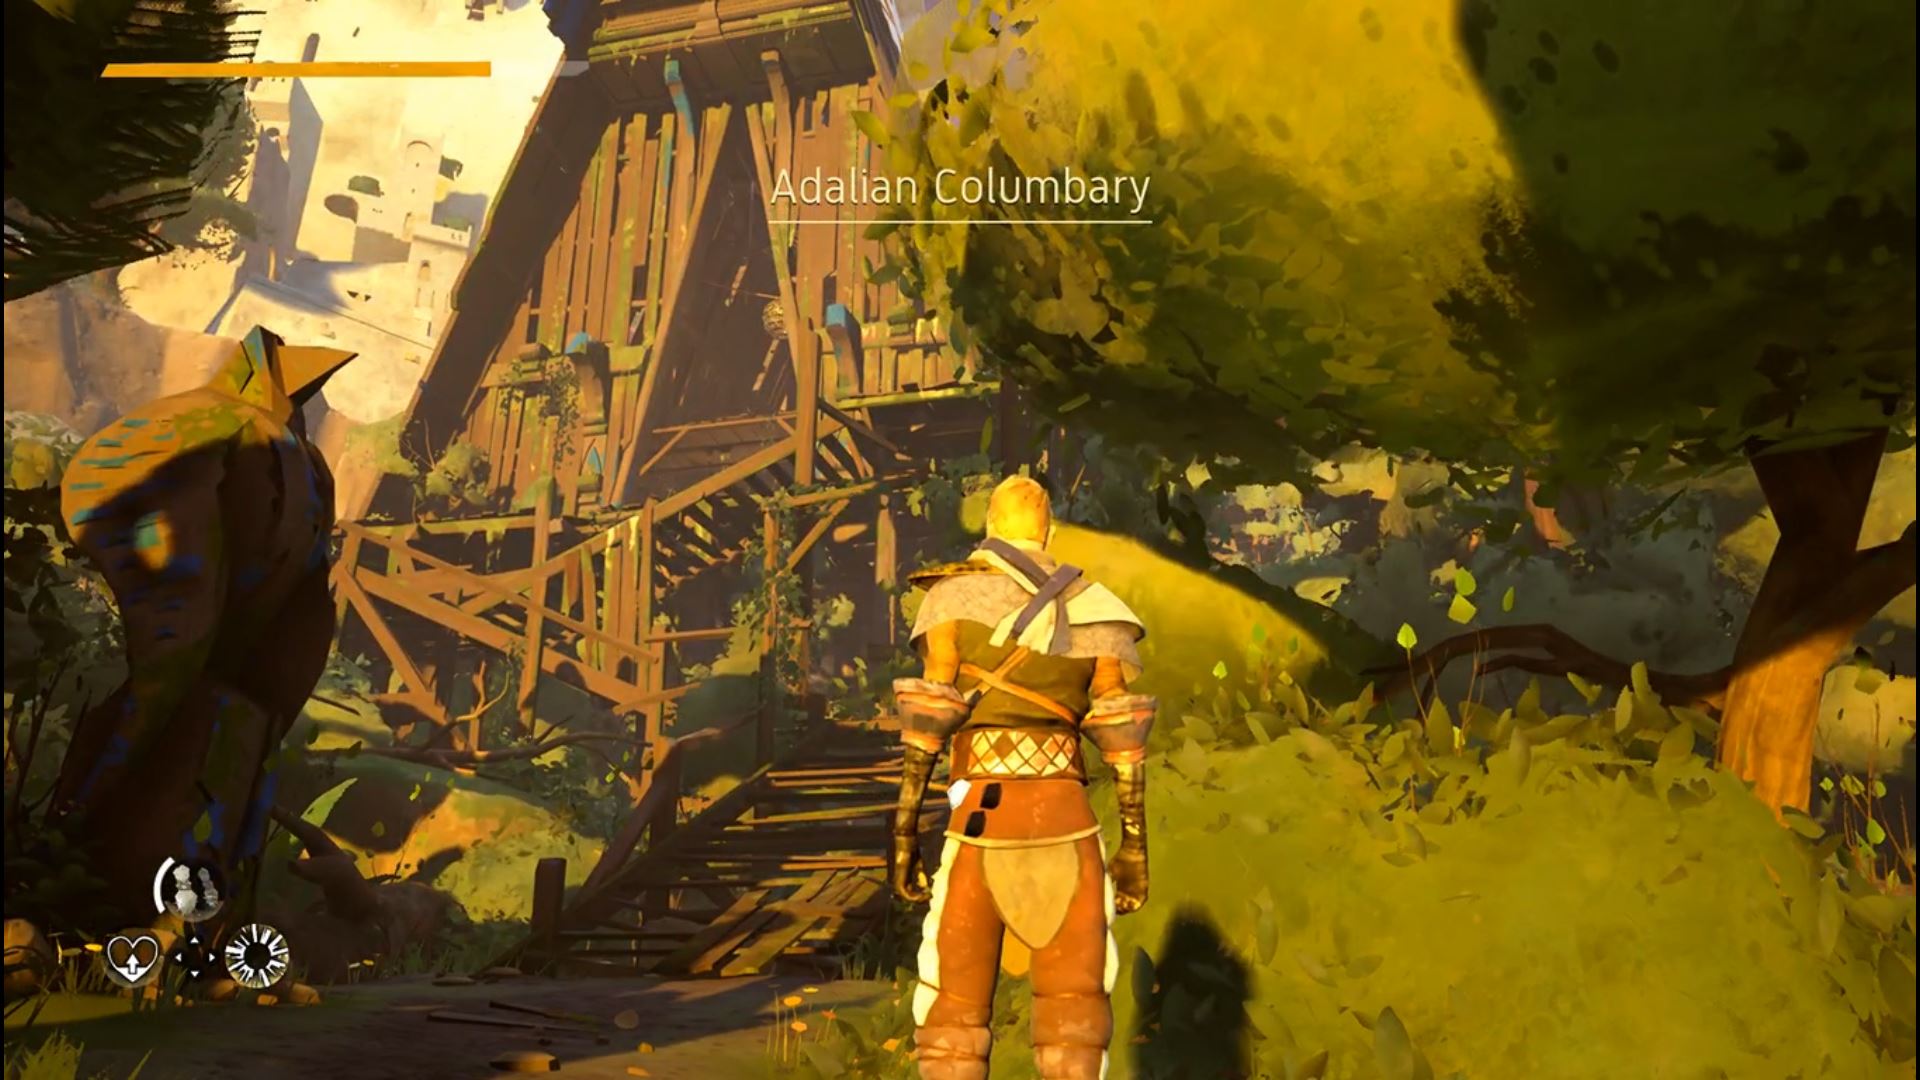
Head into the wooden structure to find a familiar looking white glow-y thing. Activate it to begin the boss encounter.
So the second boss is actually a tag team, and once you’ve whittled down about half of both of their health bars, they’ll simultaneously summon weapons. So be careful and good luck!
Once they’ve been defeated you unlock the Curved Sword weapon.
Tower of Adal
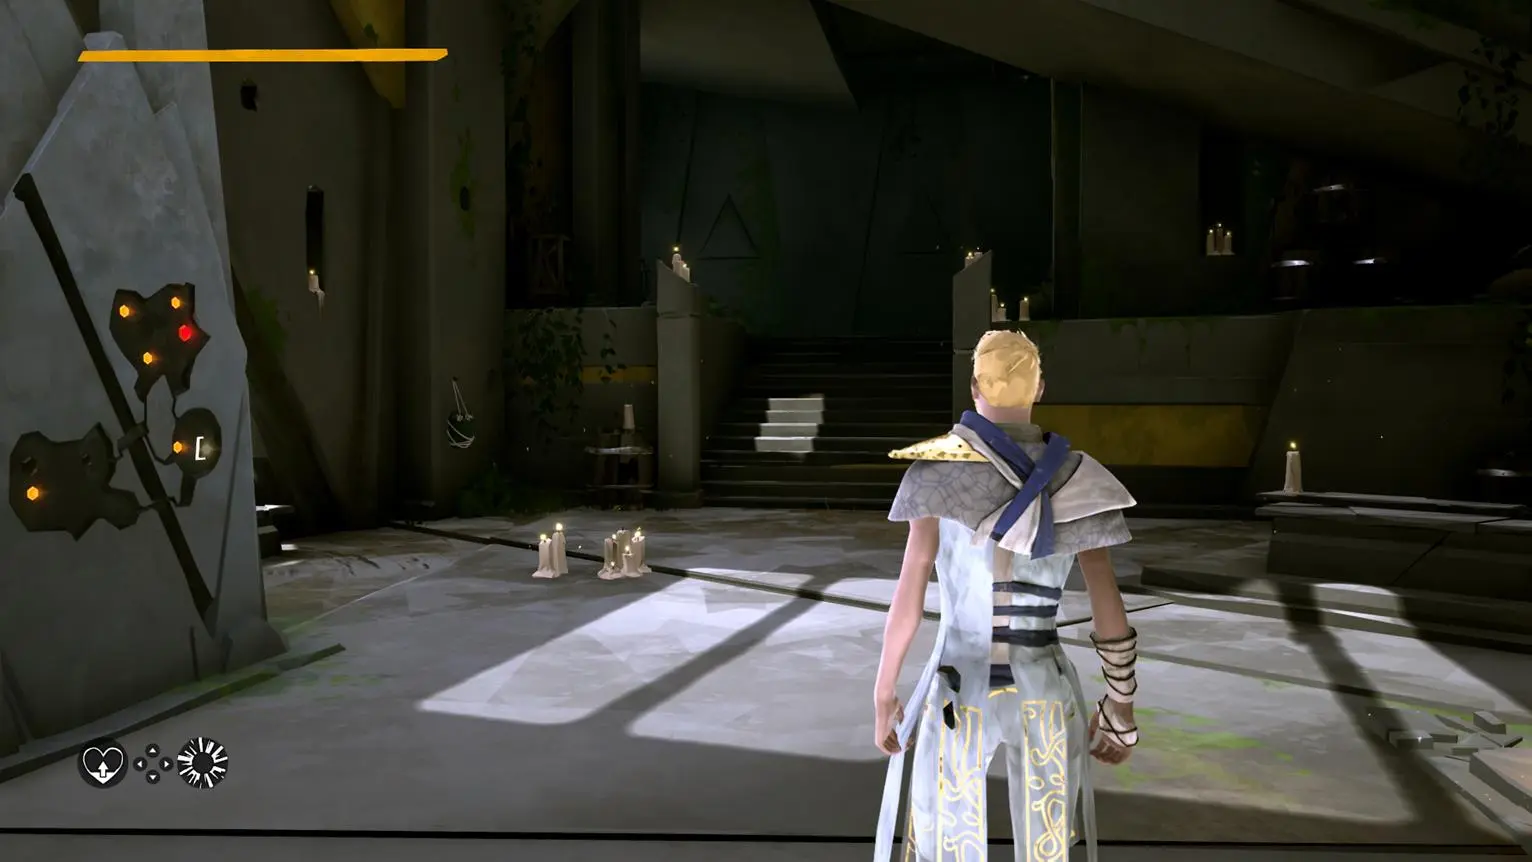
From Guidance bridge, head up the large staircase and follow the path until you find the altar inside the Tower of Adal.
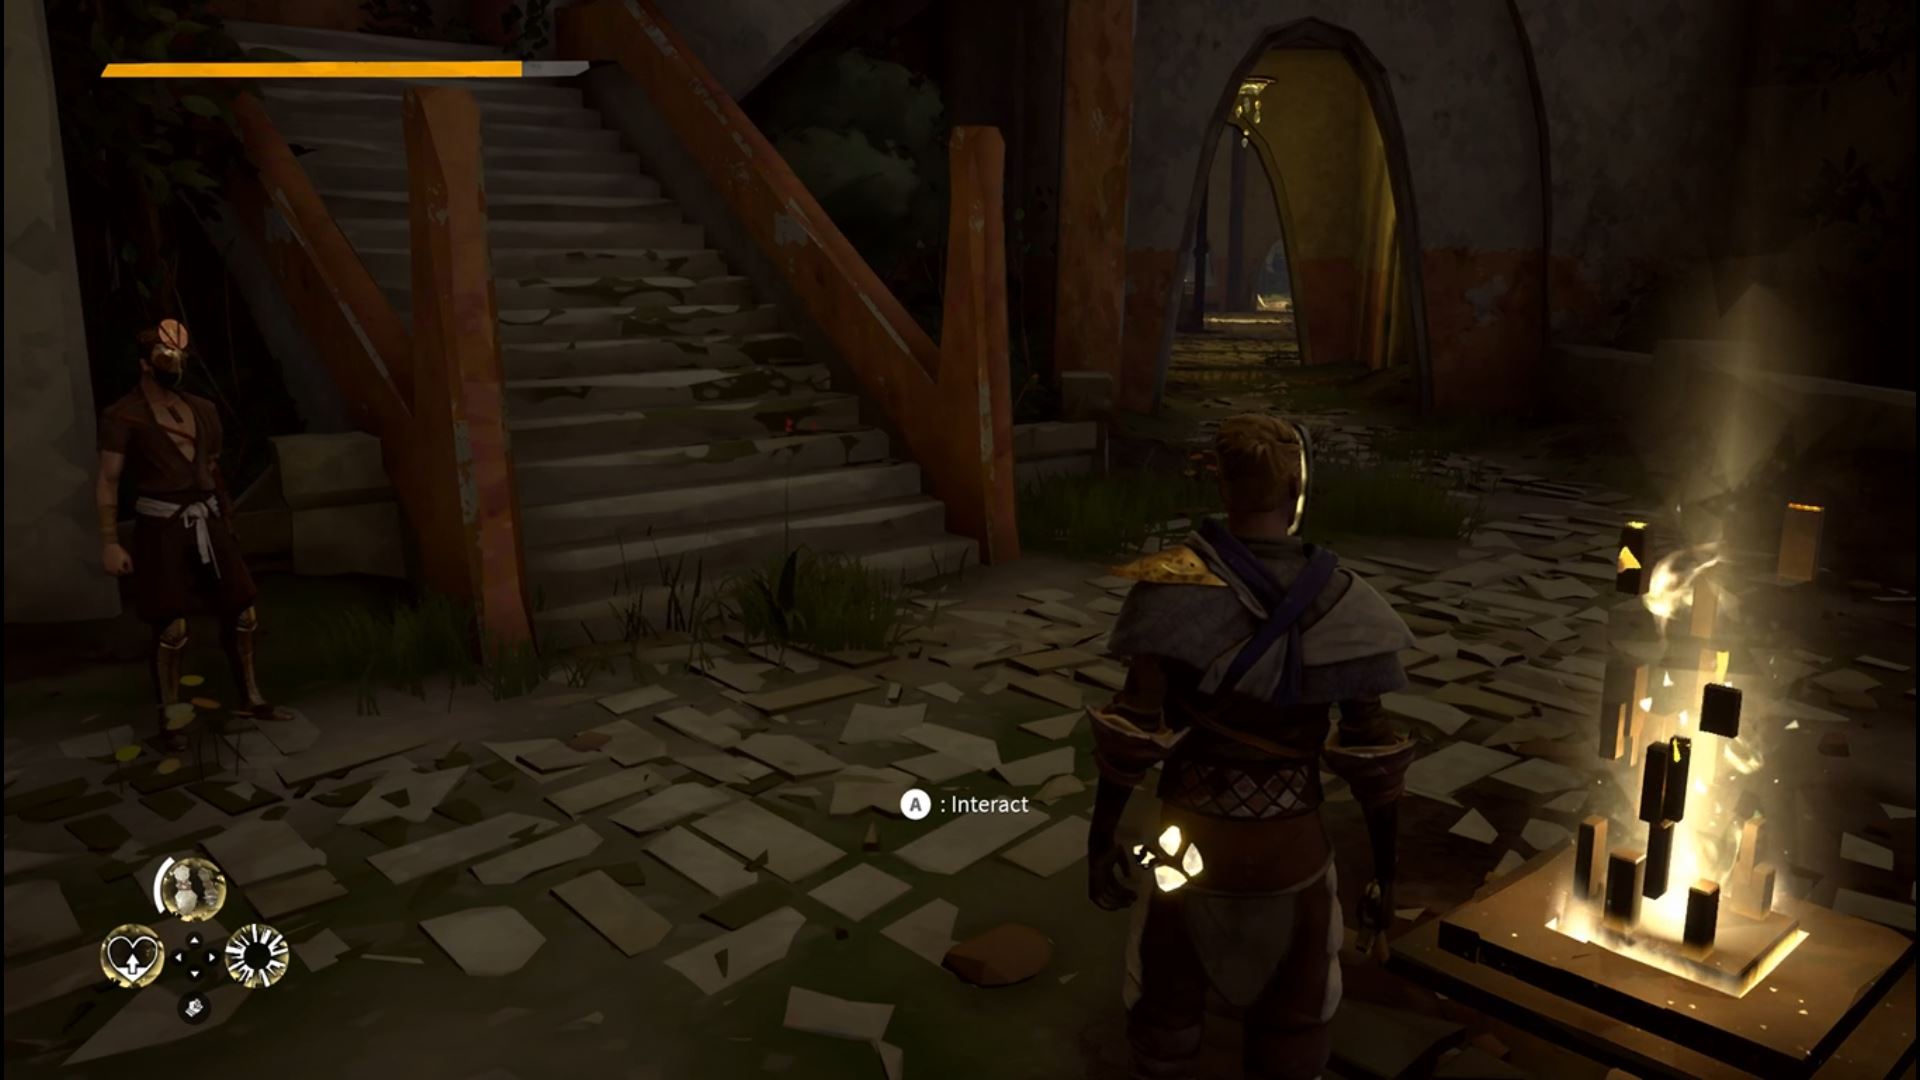
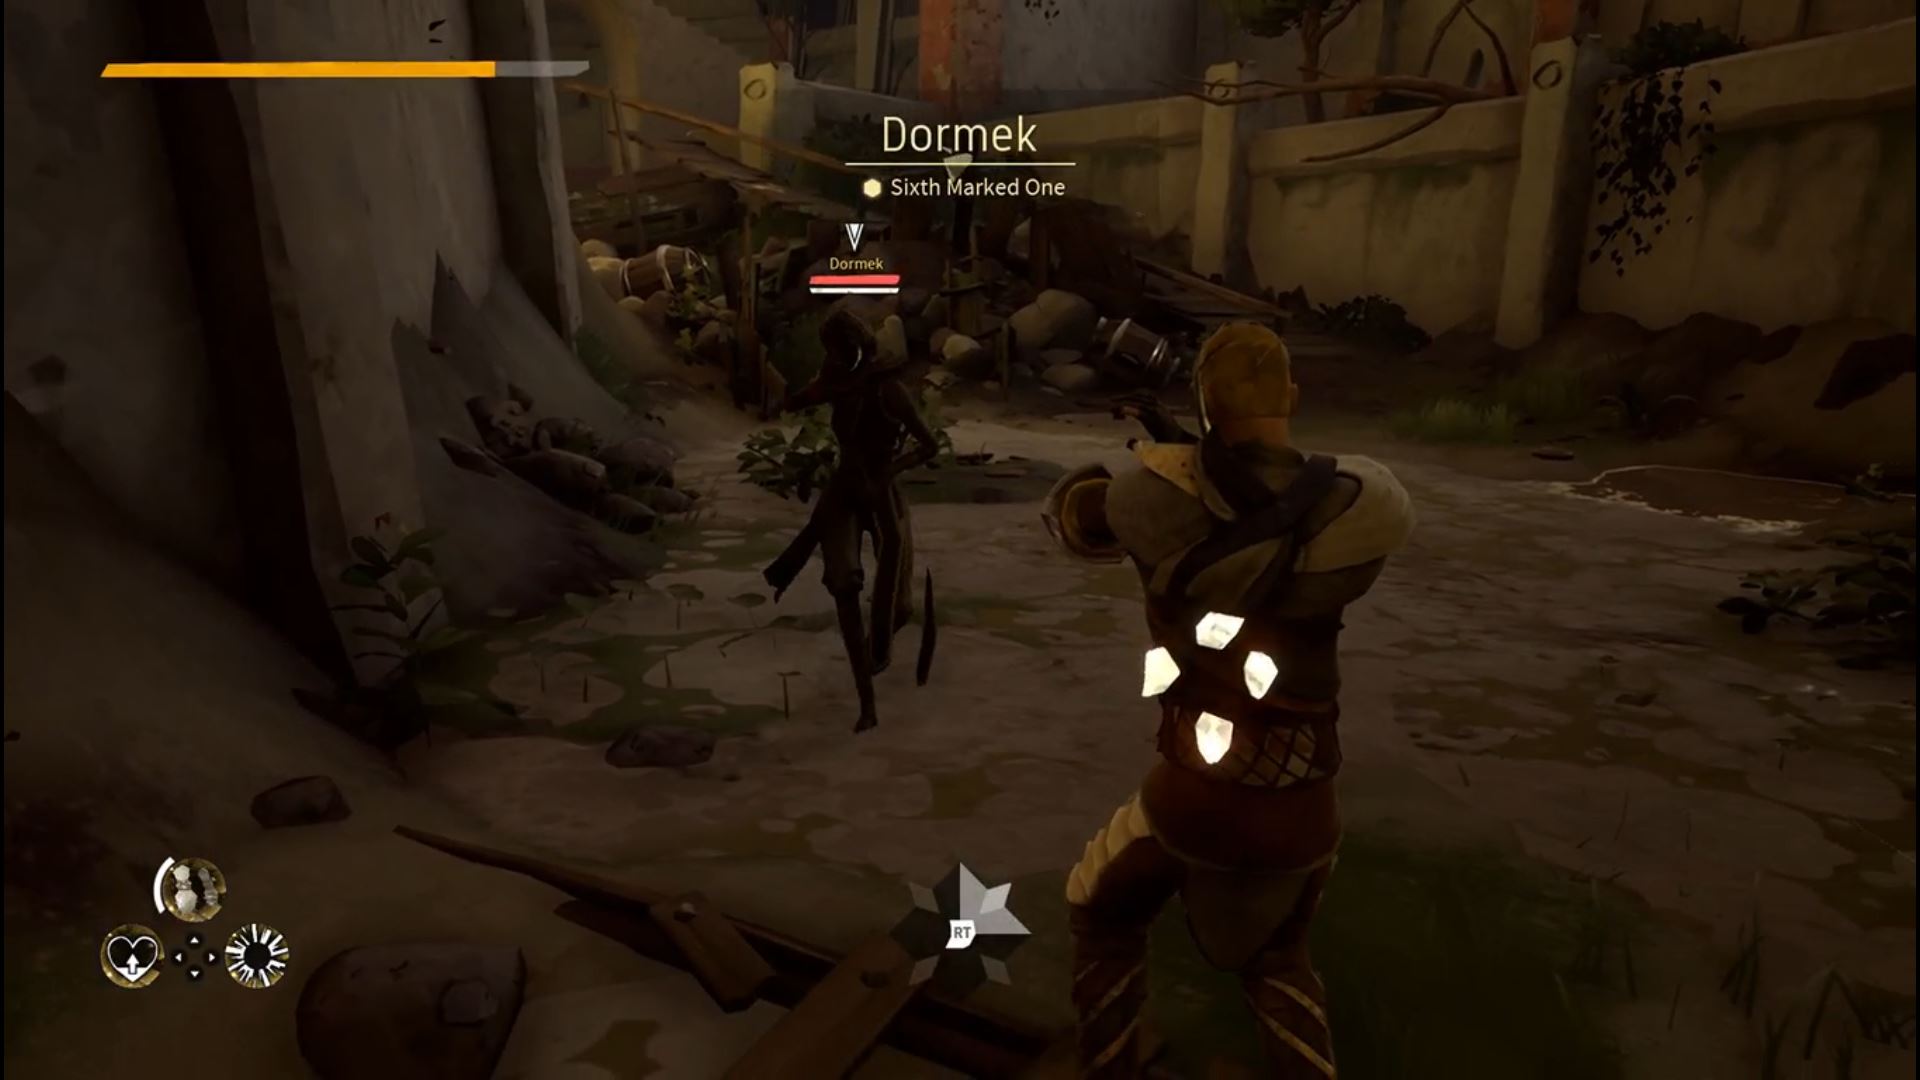
Dormek – Sixth Marked One
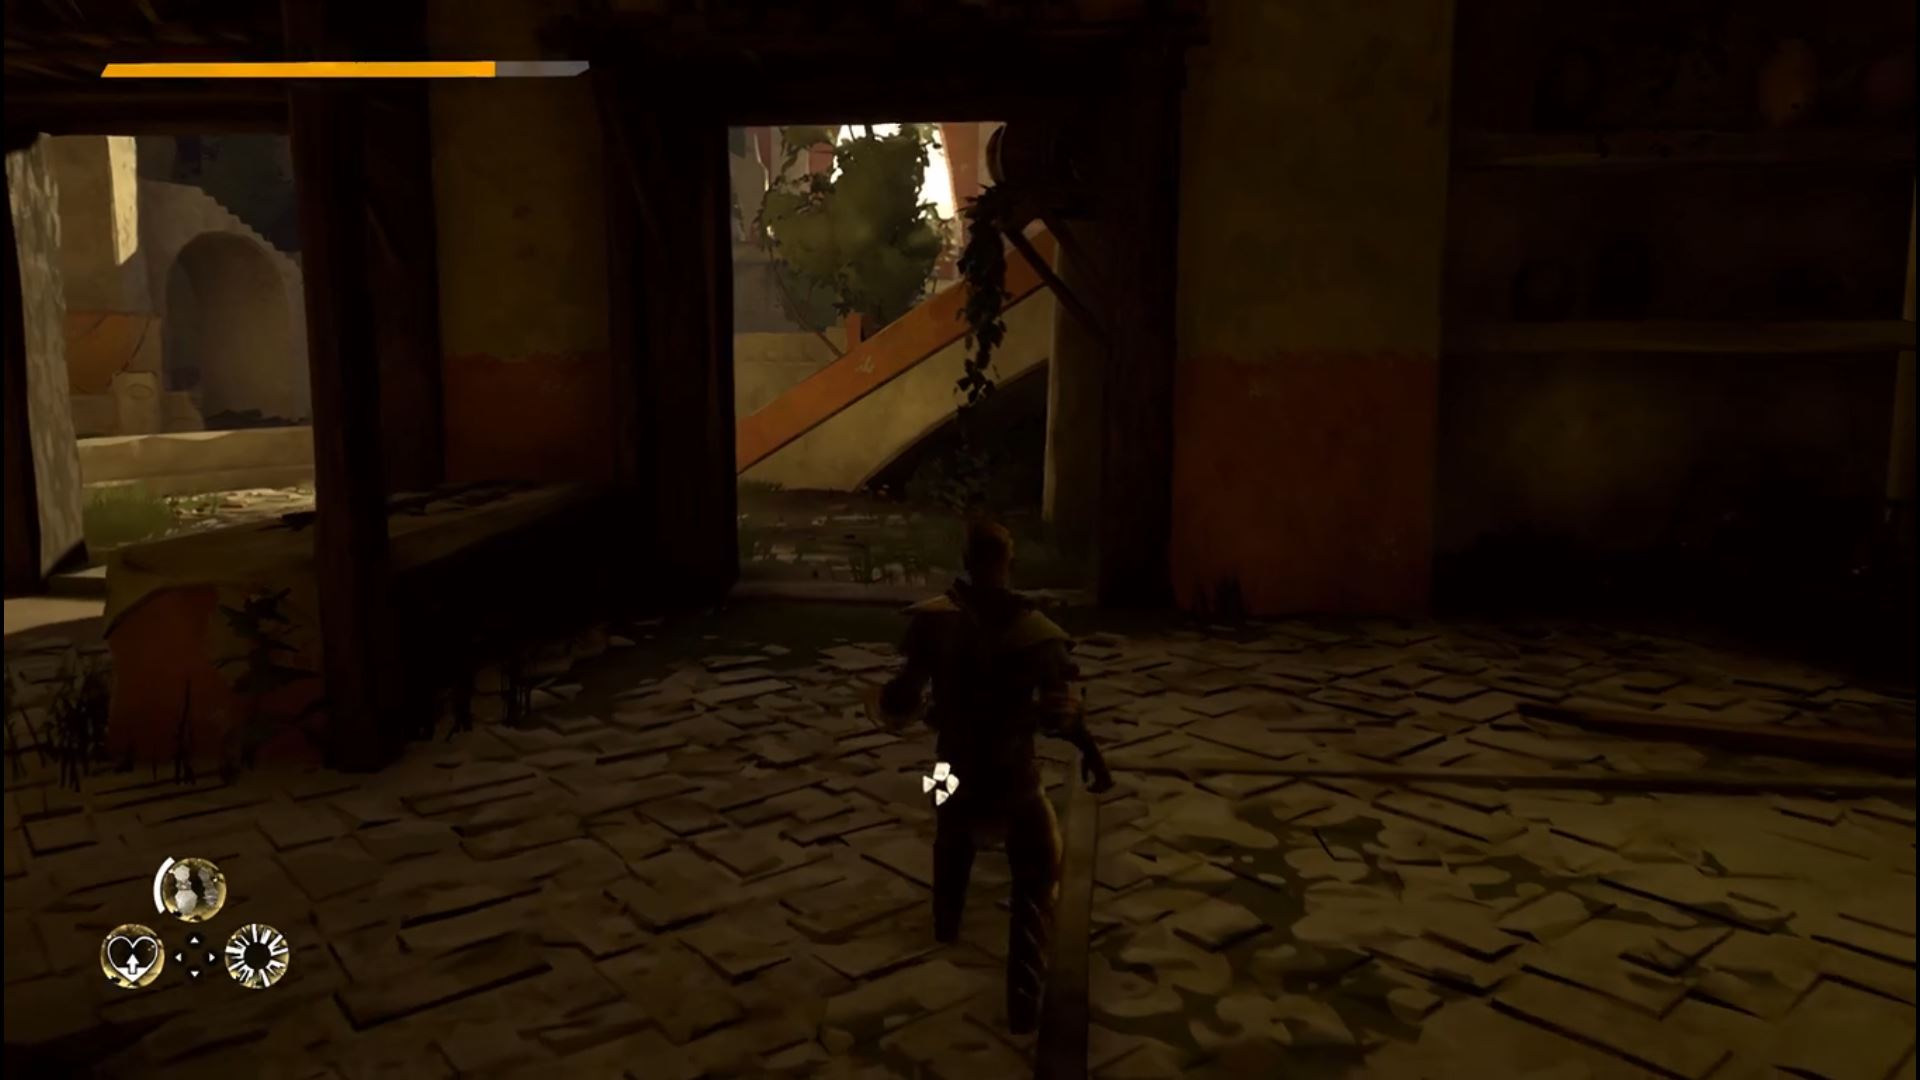
Head down the hallway to the right, pictured above. Then take a hard right and you’ll see an area under some stairs that you can drop down to.
Defeating Dormek unlocks the Silence power which stops you opponent from using their powers for a period of time.
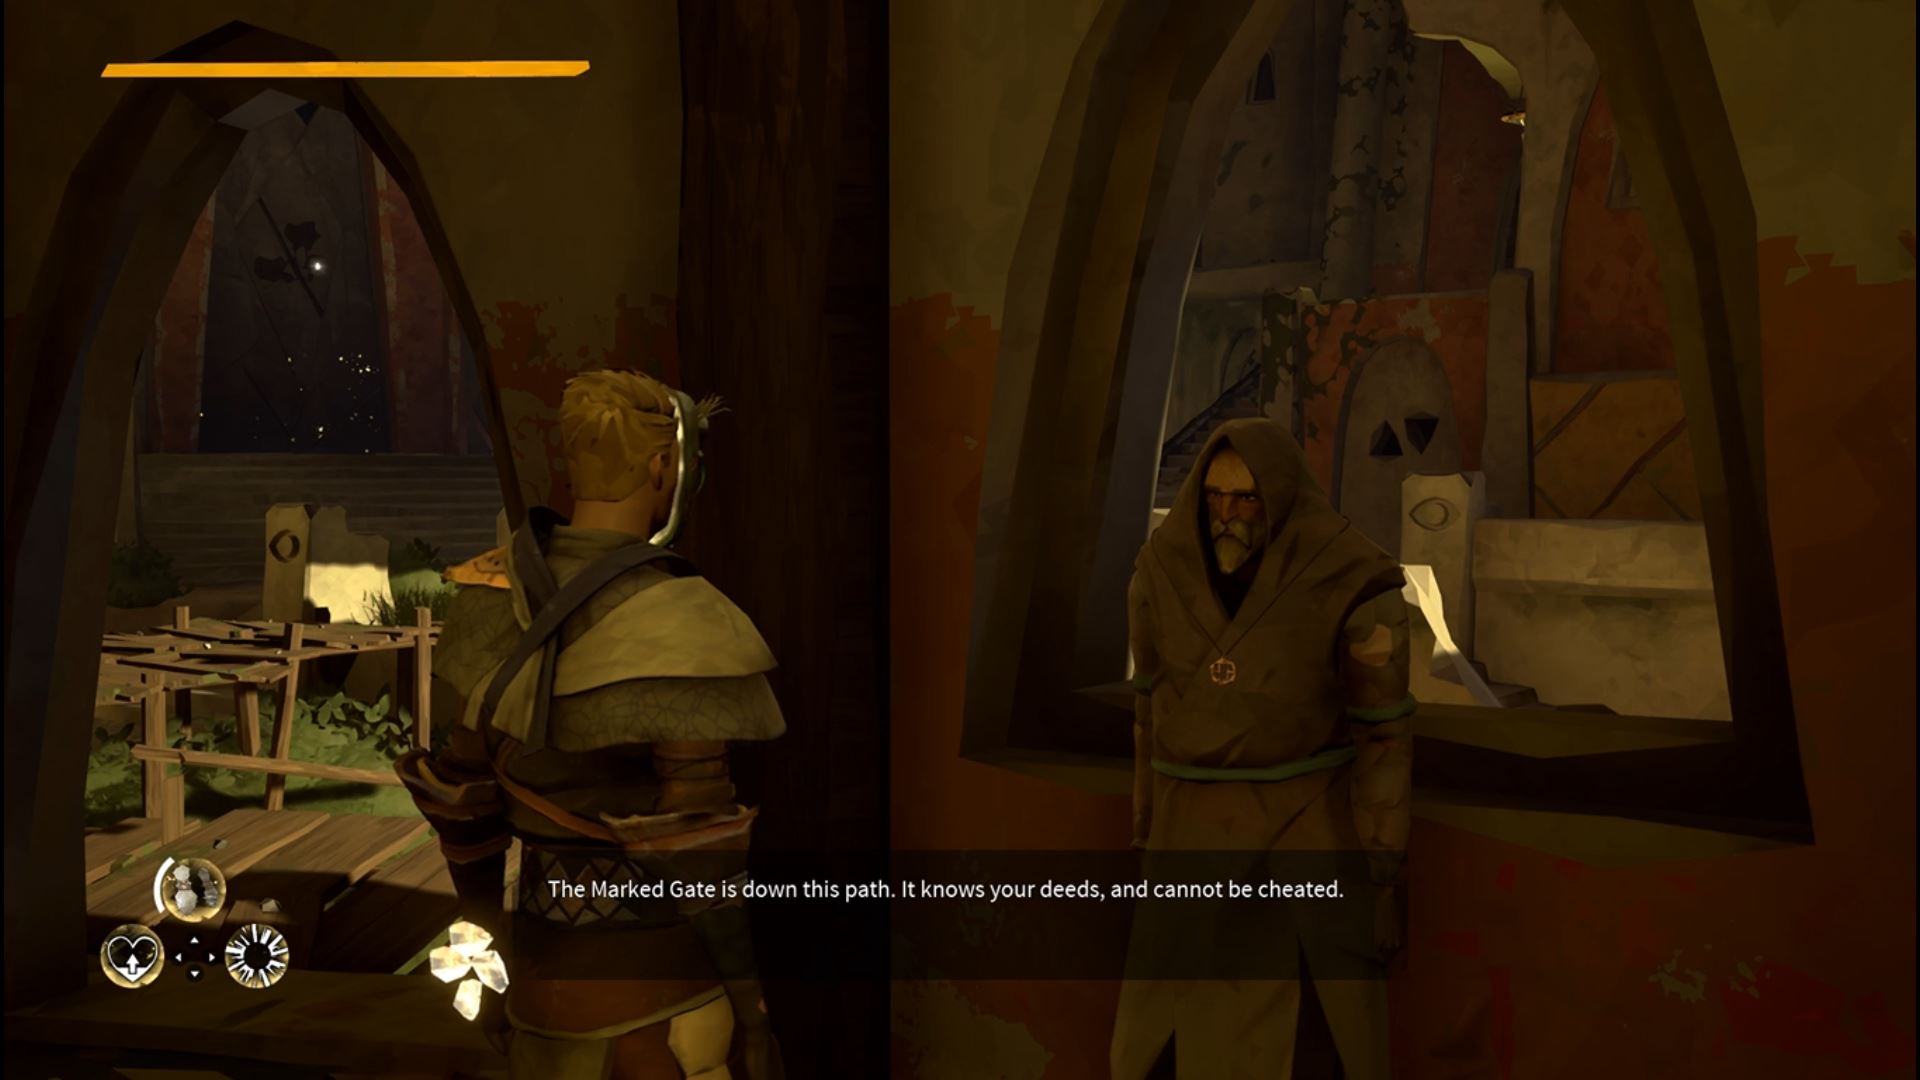
Risryn – Final Boss
Congratulations! You’ve defeated all the Marked Ones and now just Risryn, the final boss, awaits your challenge. Make your way to the Marked Gate at the far end of the Tower of Adal, which you will now be able to open.
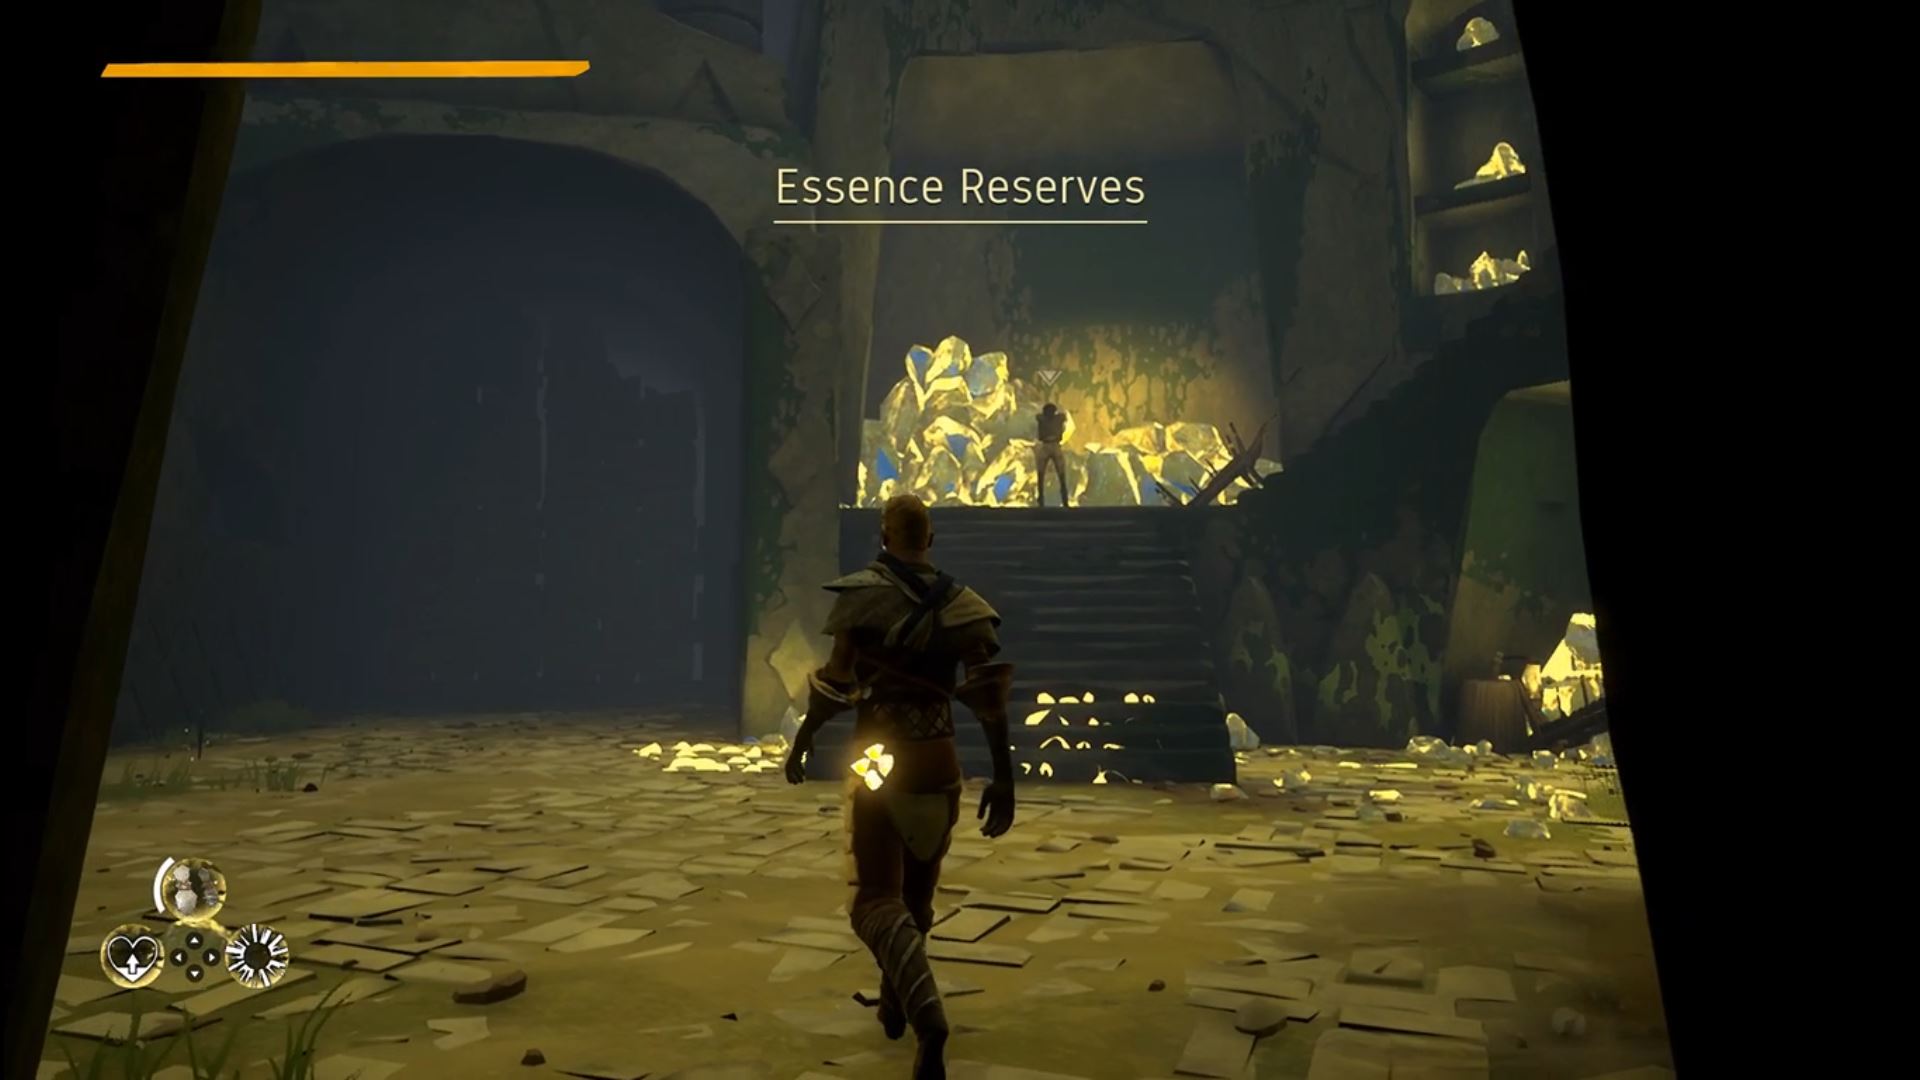
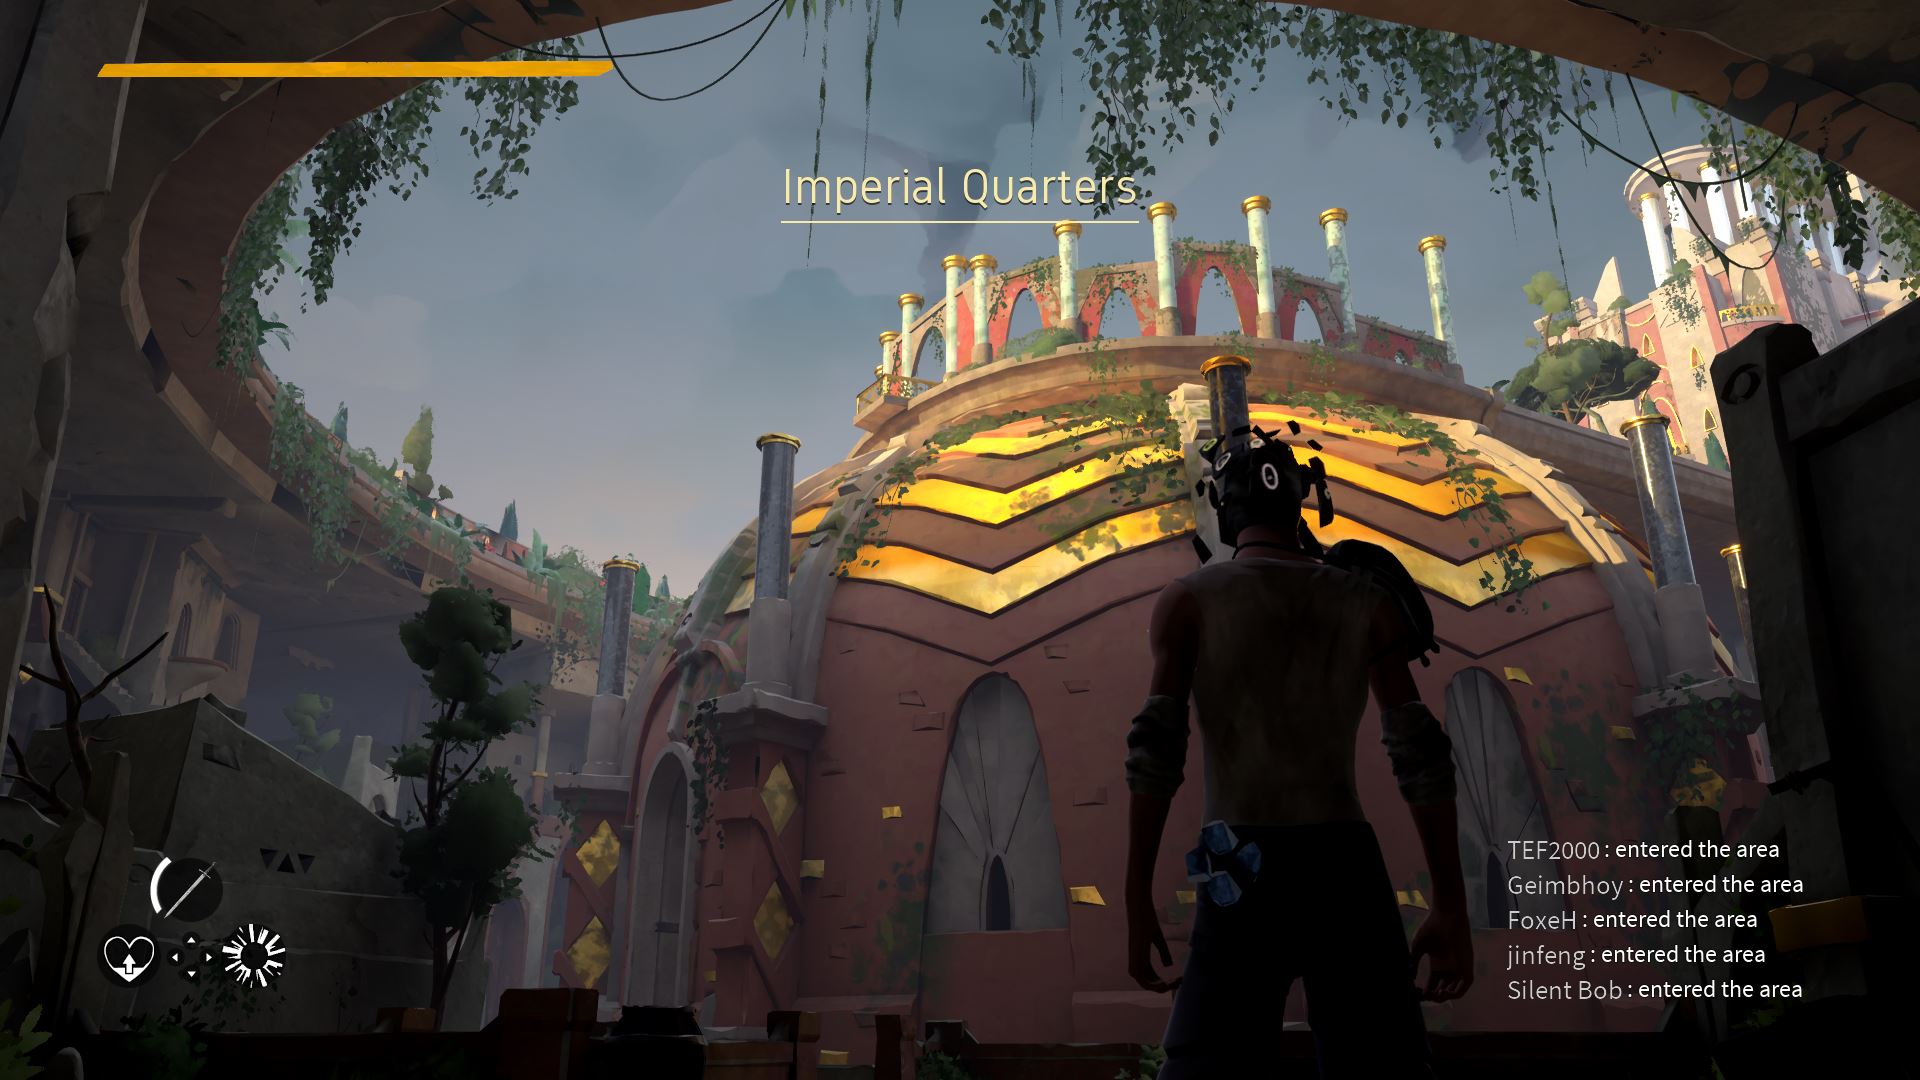
Follow the corridor to the Essence Reserves and keep heading up. It’s a pretty linear area so you shouldn’t have much trouble finding your way and eventually you’ll come to the Imperial Quarters.
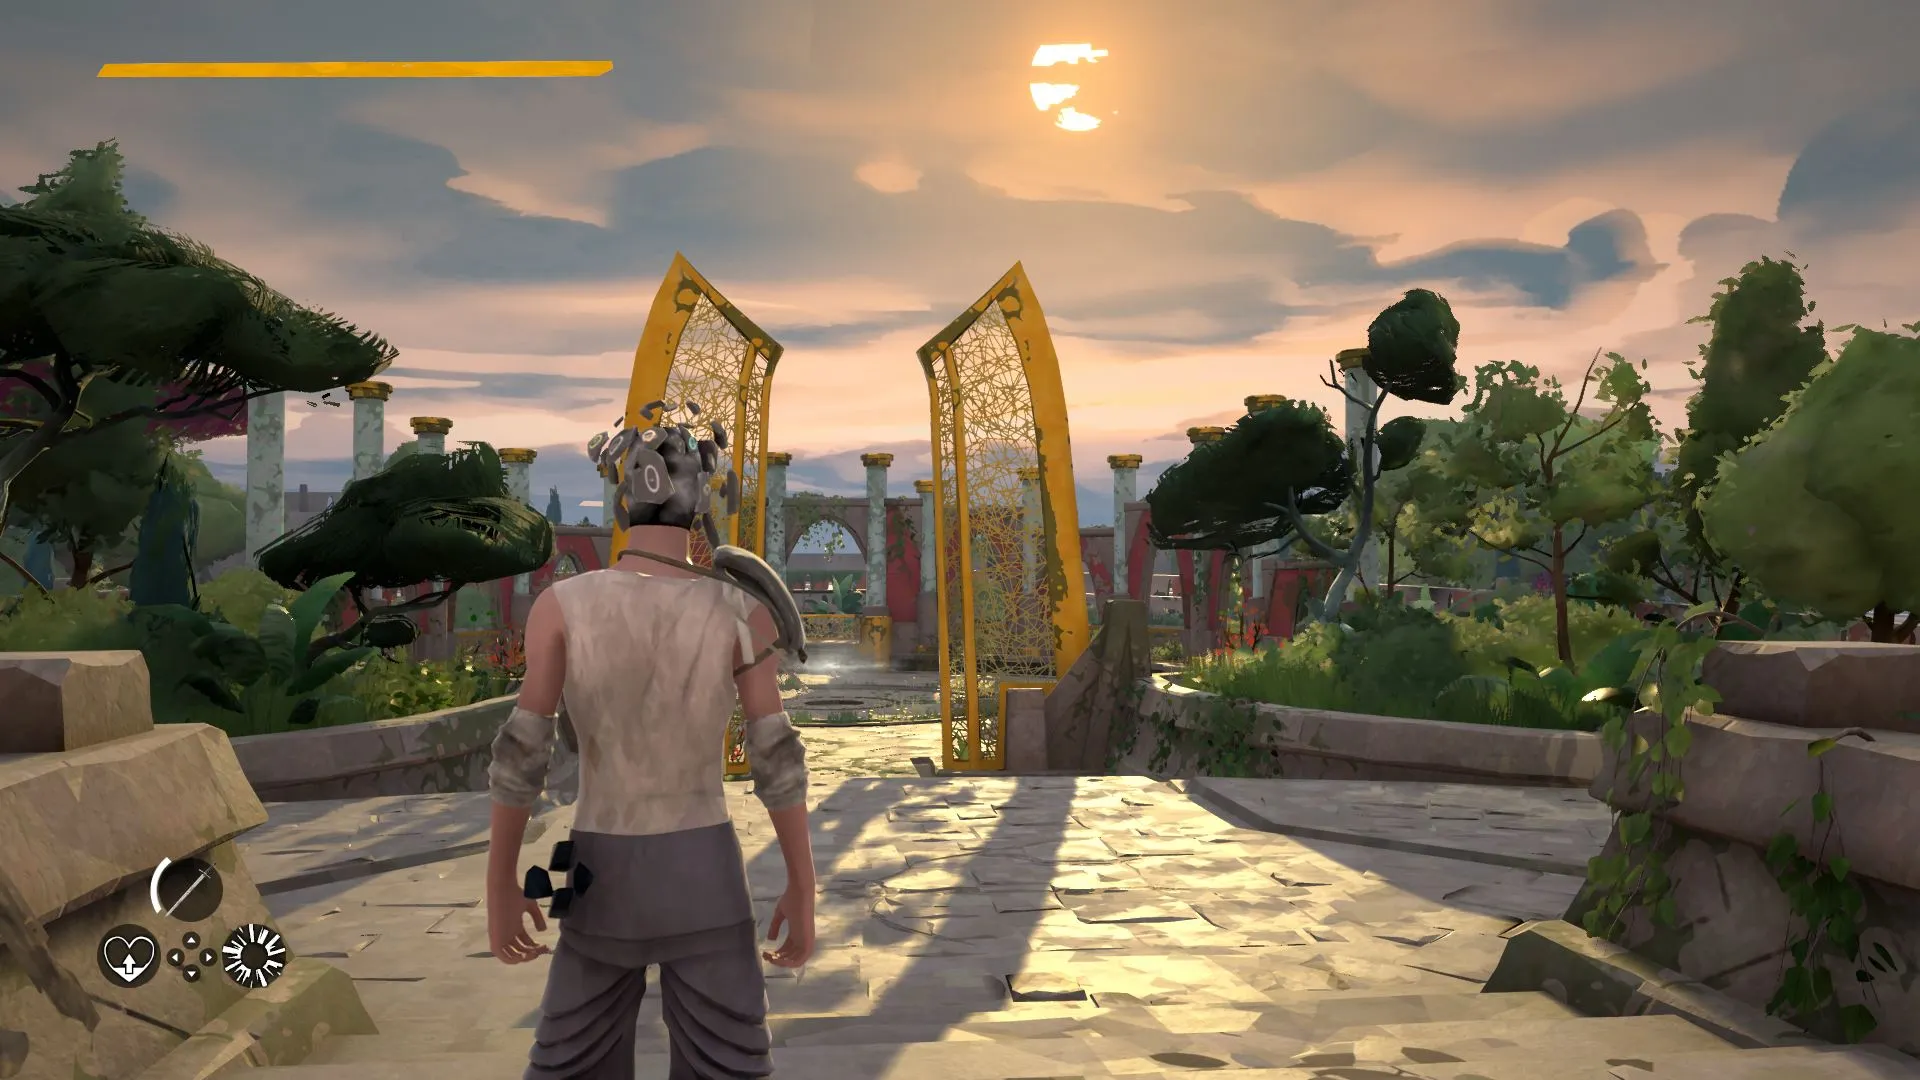
Once you reach the very top you’ll find another altar. Head straight towards the open golden gates and trigger the final boss fight by activating the white mist. Risryn will summon a sword sporadically during the fight so be wary of the style change.
Once you defeat her you unlock the Absolver Cape and Risryn’s Sword.
That’s everthing you need to know to find all of the Marked Ones and Bosses in Absolver. If you enjoyed this guide, be sure to check out our other Absolver guides.


Published: Sep 2, 2017 06:49 pm