The Resident Evil 2 remake had 15 Mr. Raccoon statues for you to seek out and destroy for the Complete Vermin Extermination achievement/trophy.
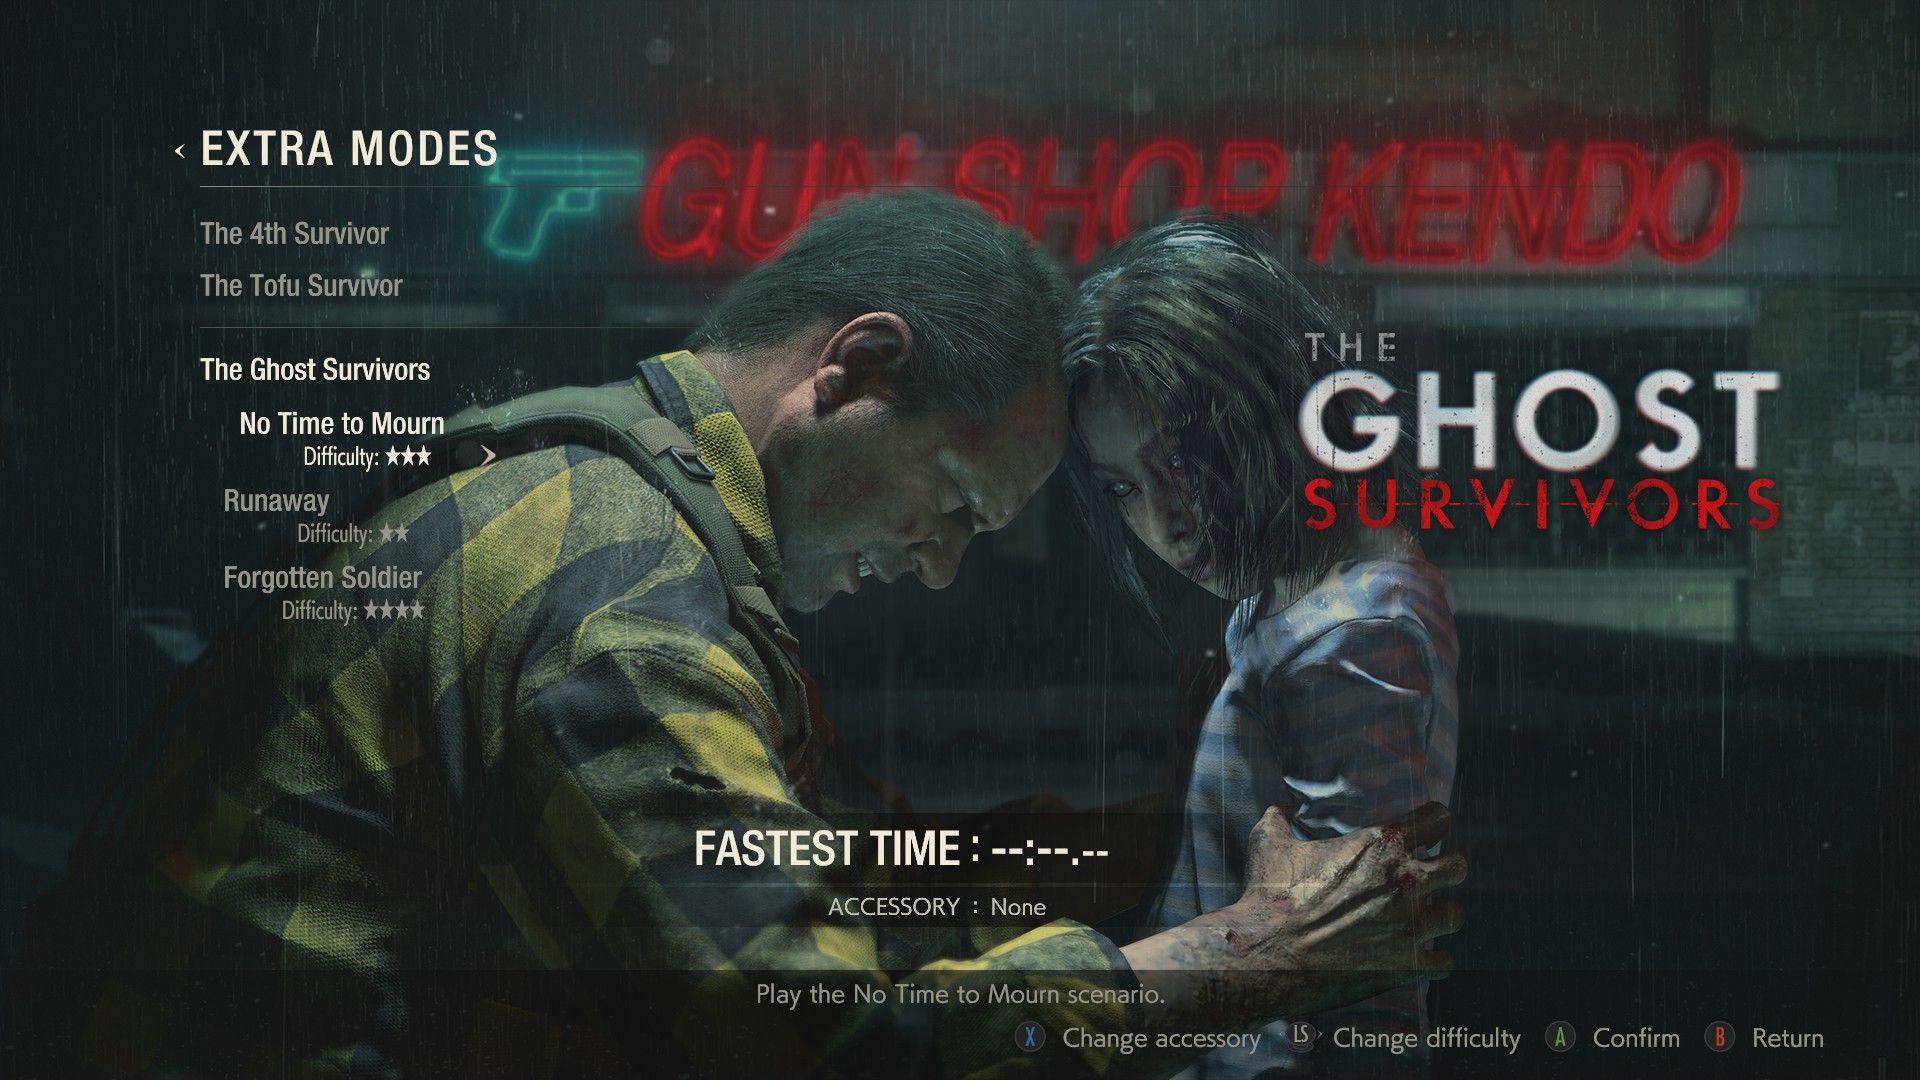
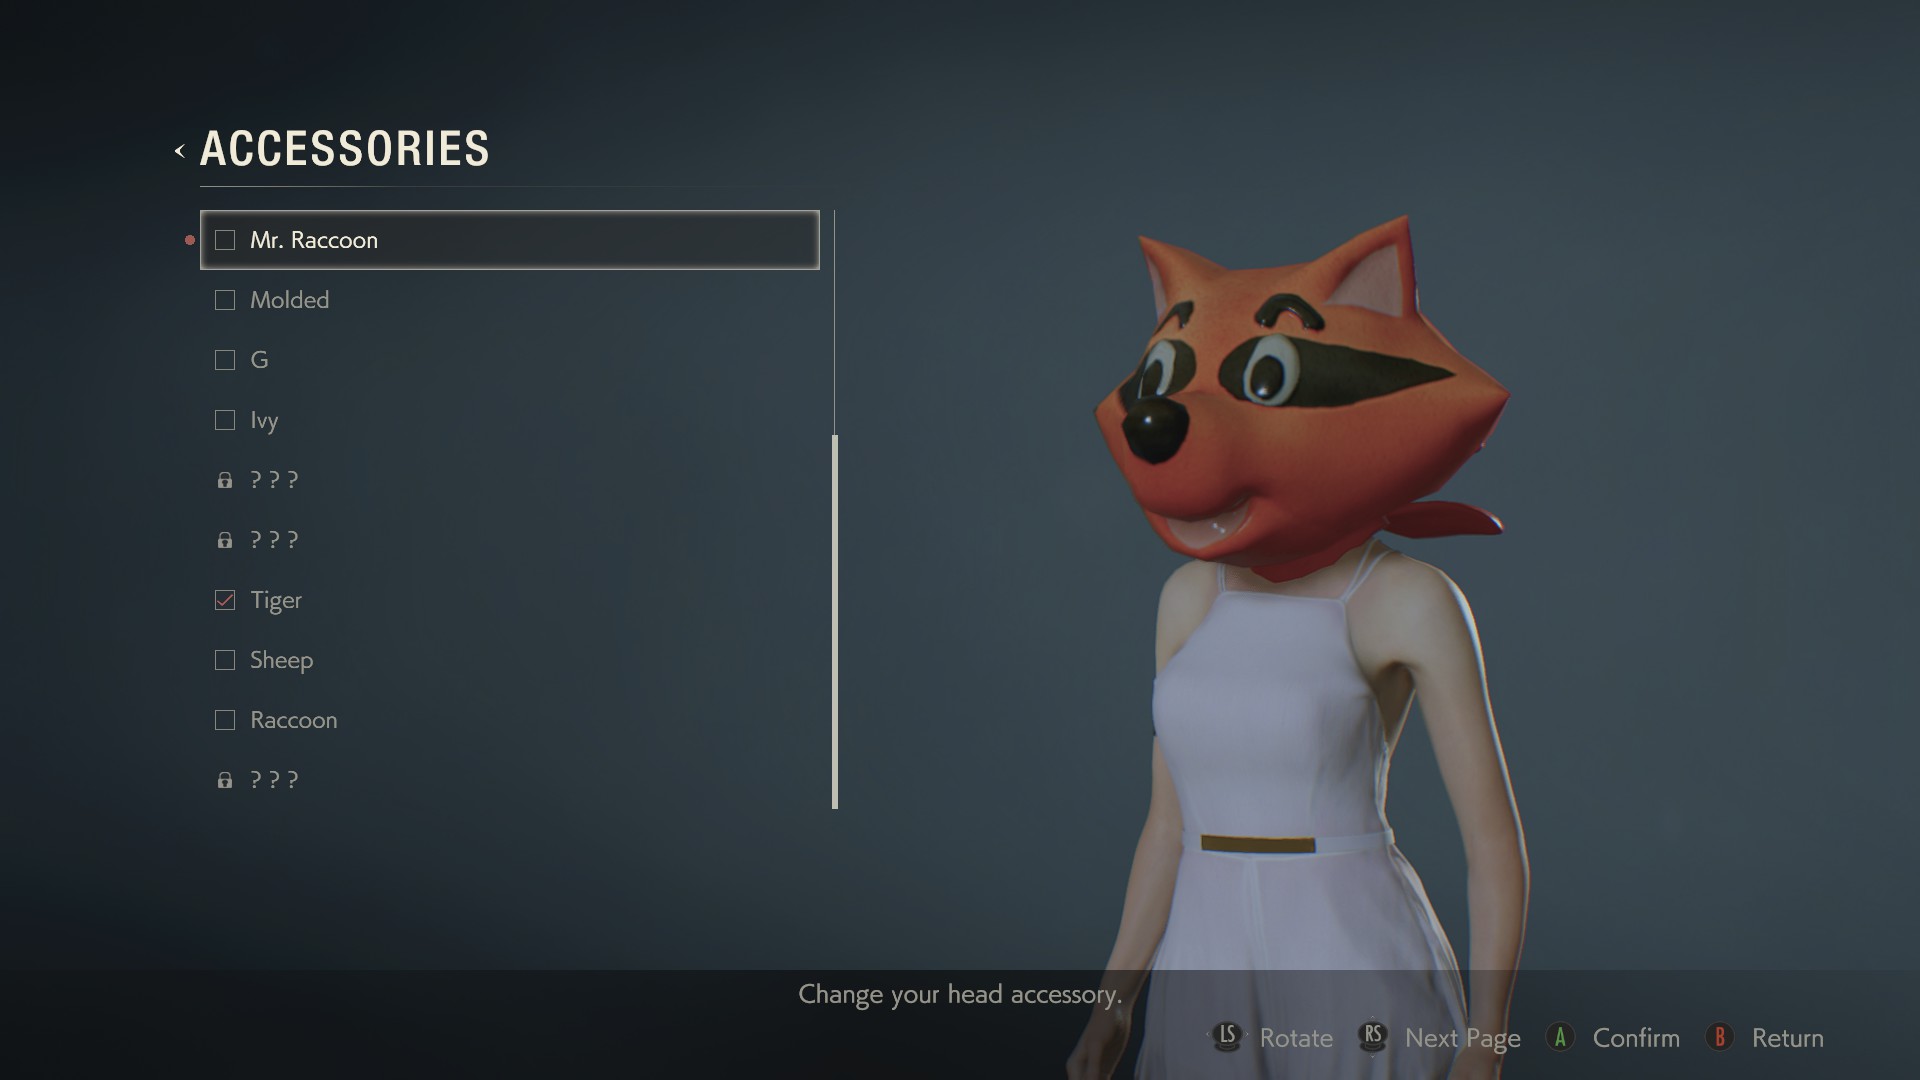
Now, there are 10 more Mr. Raccoon statues hidden in the game’s free DLC, Ghost Survivors. Finding and destroying them all unlocks a new achievement/trophy, Got ‘Em, as well as letting you use a new in-game mask for future attempts.
Yeah, it rewards you with silly hats. It’s that sort of thing.
As in the main game, once you destroy a Mr. Raccoon statue in Ghost Survivors, it’s gone for good. Its destruction is auto-saved to your profile on the spot and the statue will stay gone on your future runs through the scenario.
You can find and destroy all 10 Mr. Raccoon statues in Training Mode, and use any weapon you have on hand to take them out. Below, we cover the locations of each of the statues in each of the DLC’s four scenarios.
No Time to Mourn (4 Statues)
Statue 1
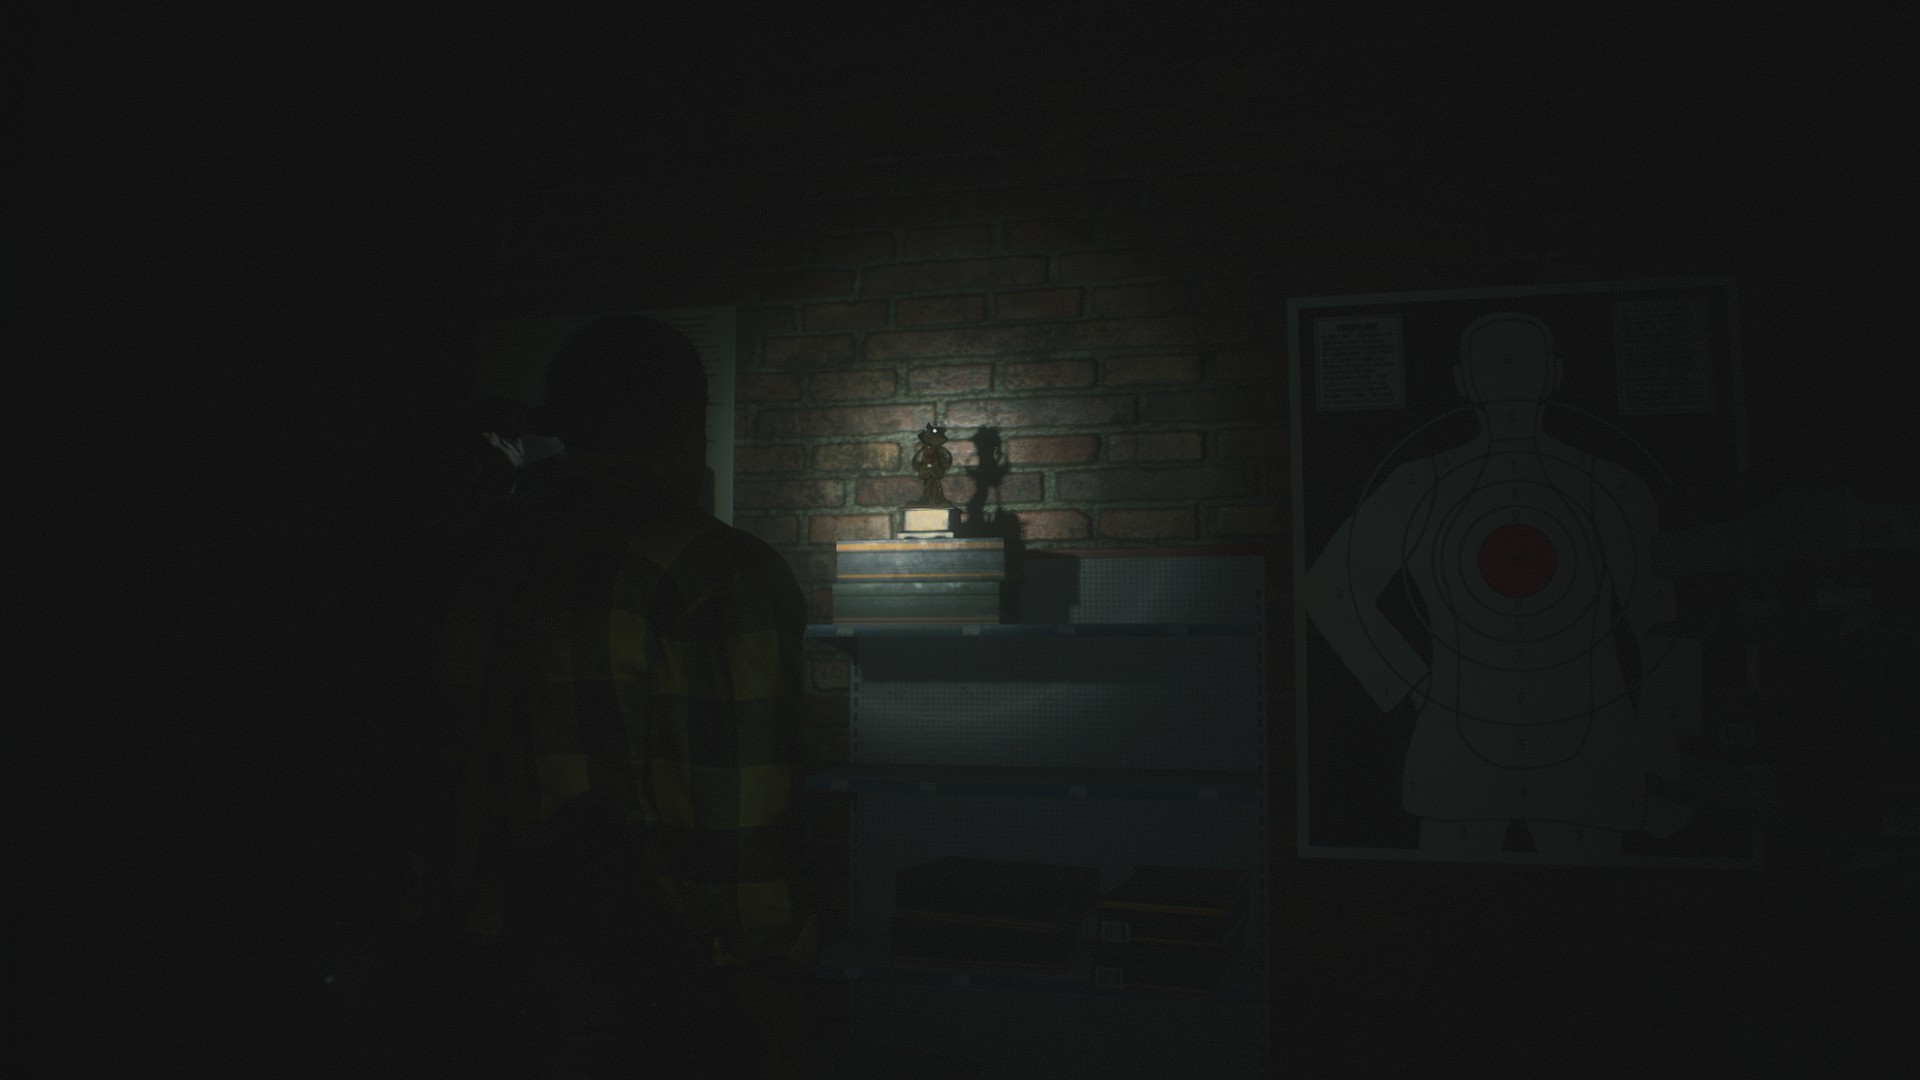
Check the shelves near the exit from Kendo’s gun shop, close to where Leon found the shotgun mod in the main game.
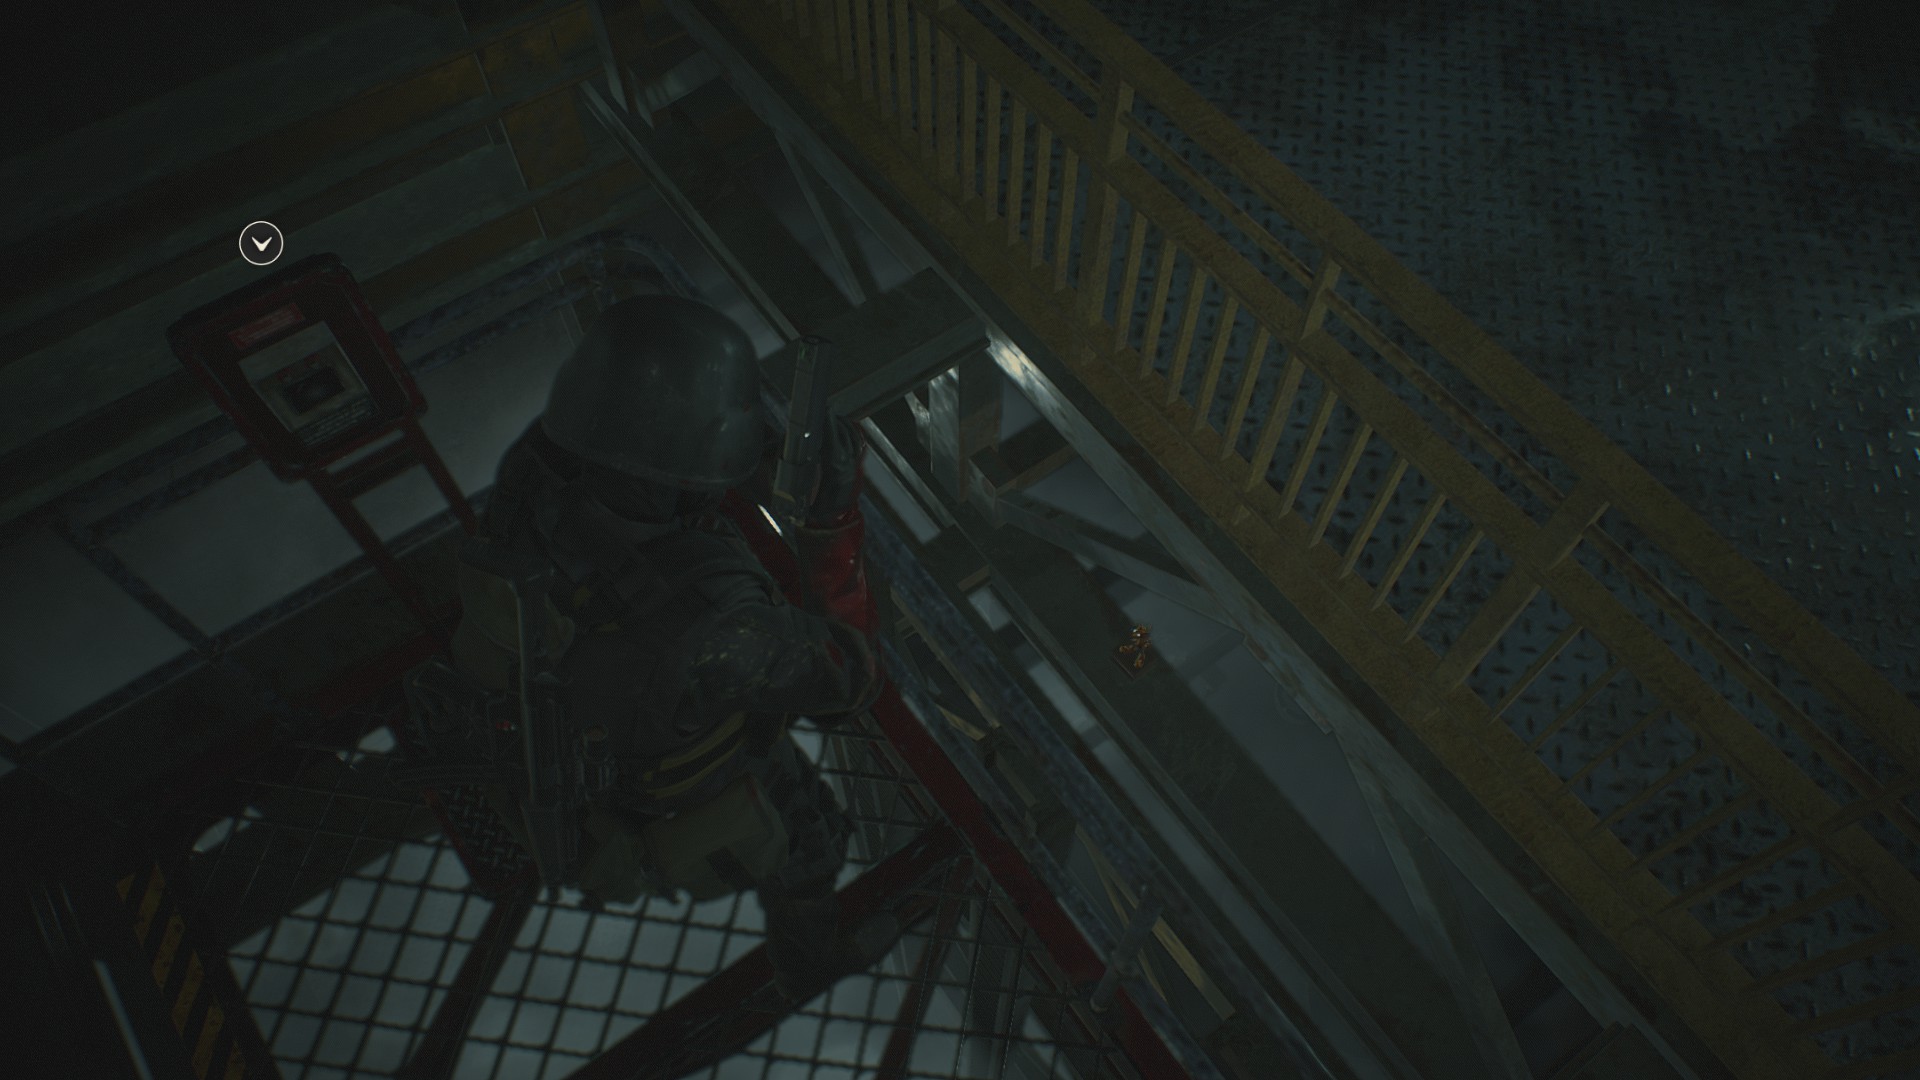
Statue 2
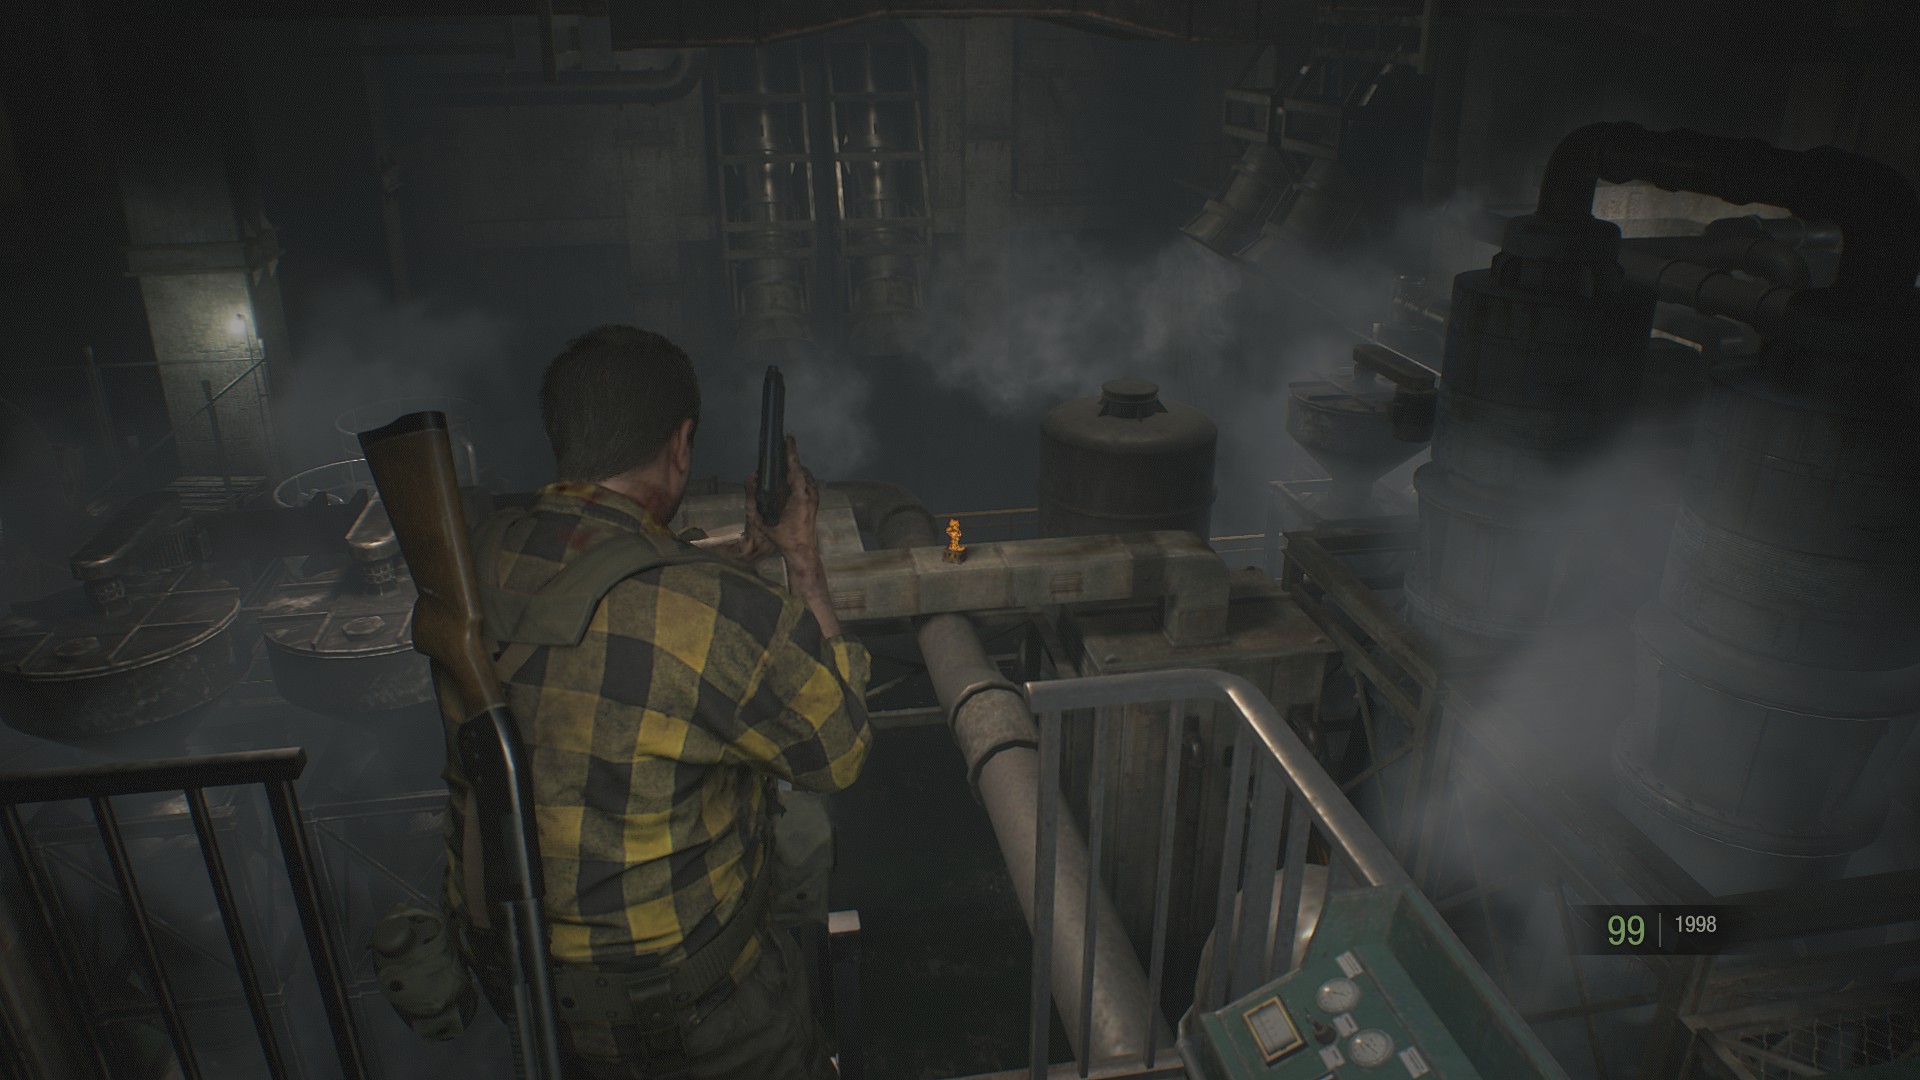
On your way back through the maintenance area, look down into the machinery room where you fought the first G-Type in the main game.
There’s a Mr. Raccoon on top of the ductwork. It’s easiest to shoot from the top of the escape ladder.
Statue 3
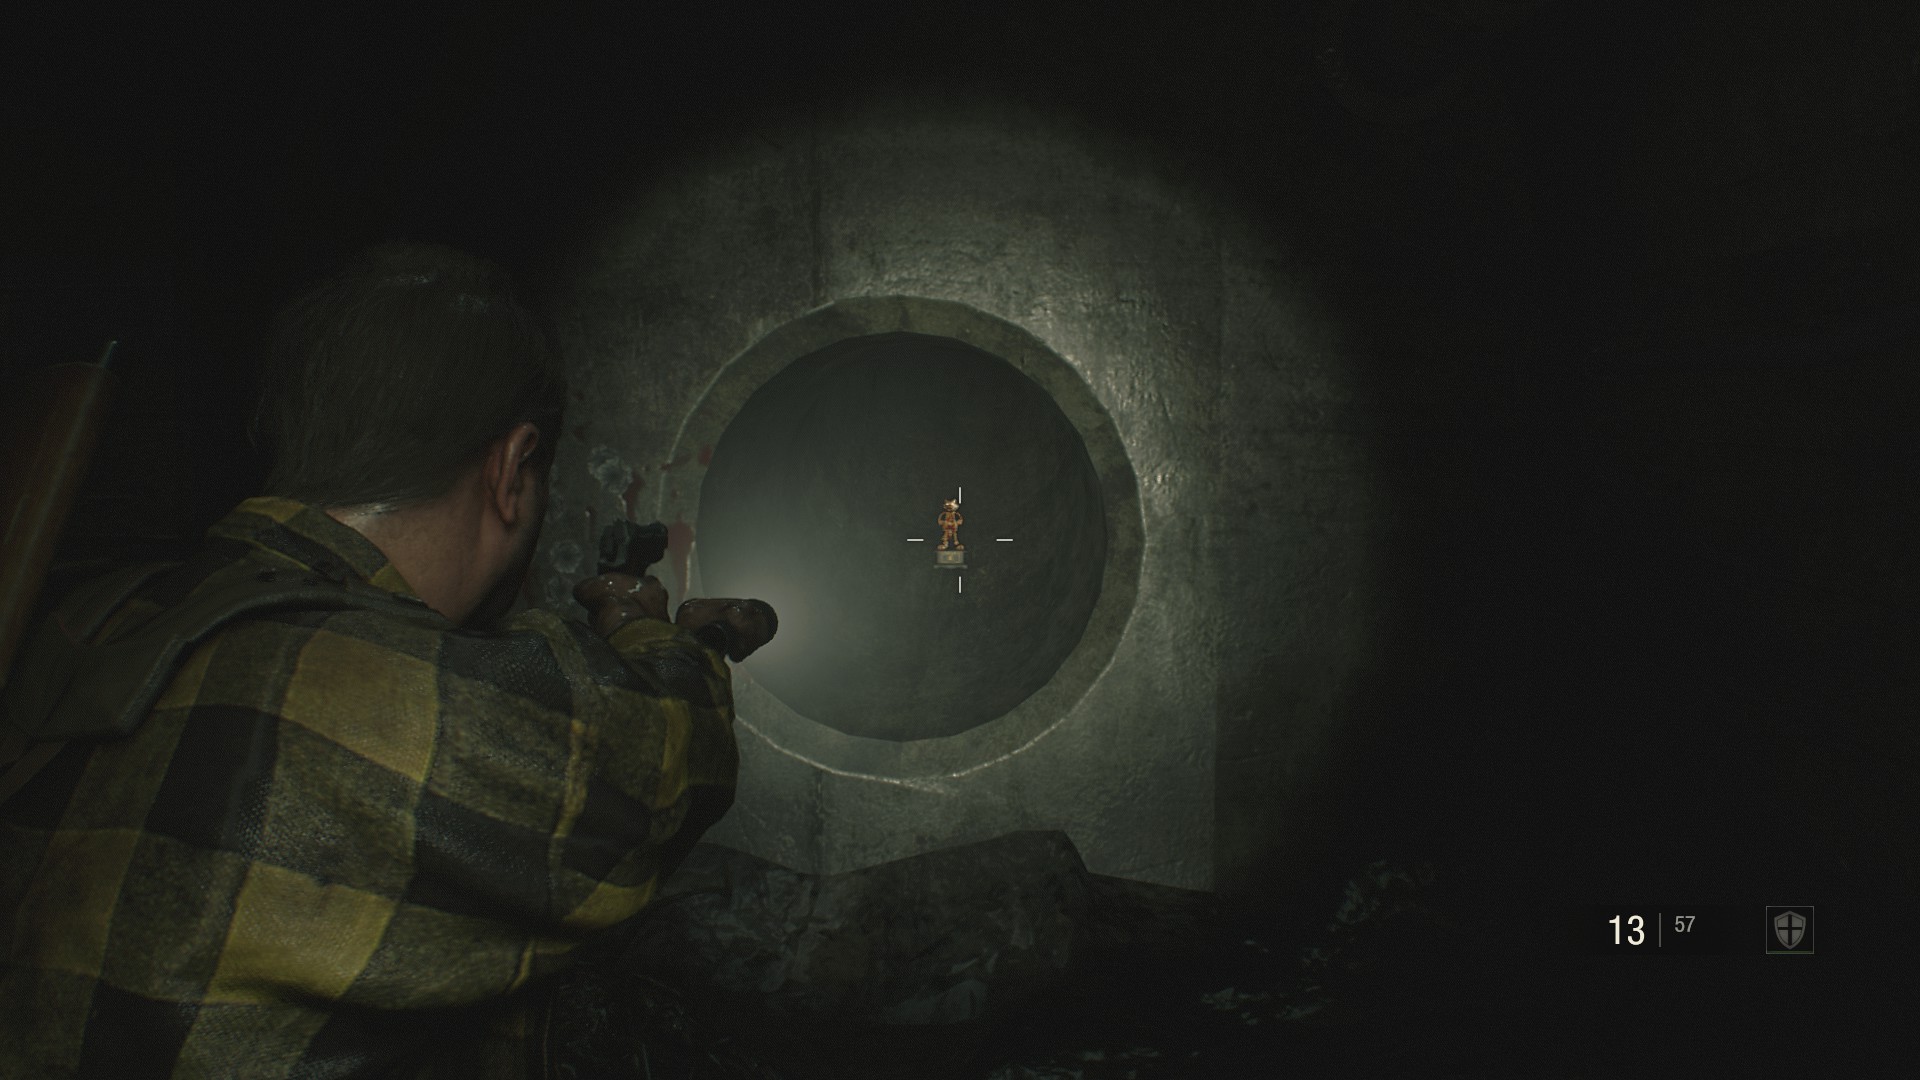
This scenario features a choice of routes you can take once you reach the Workers’ Break Room in the sewers.
If you turn right to go along the harder of the two paths, once you get past the three G-Mutants in the water and the Ivy at the end of the hall, you can find this statue waiting inside one of the pipes.
Statue 4

If you turn left instead, then make your way to the base of the slide in the Lower Waterway, this statue can be found above you.
This does mean that you can’t collect all 10 Mr. Raccoon statues without running “No Time to Mourn” twice.
Runaway (3 Statues)
Statue 5
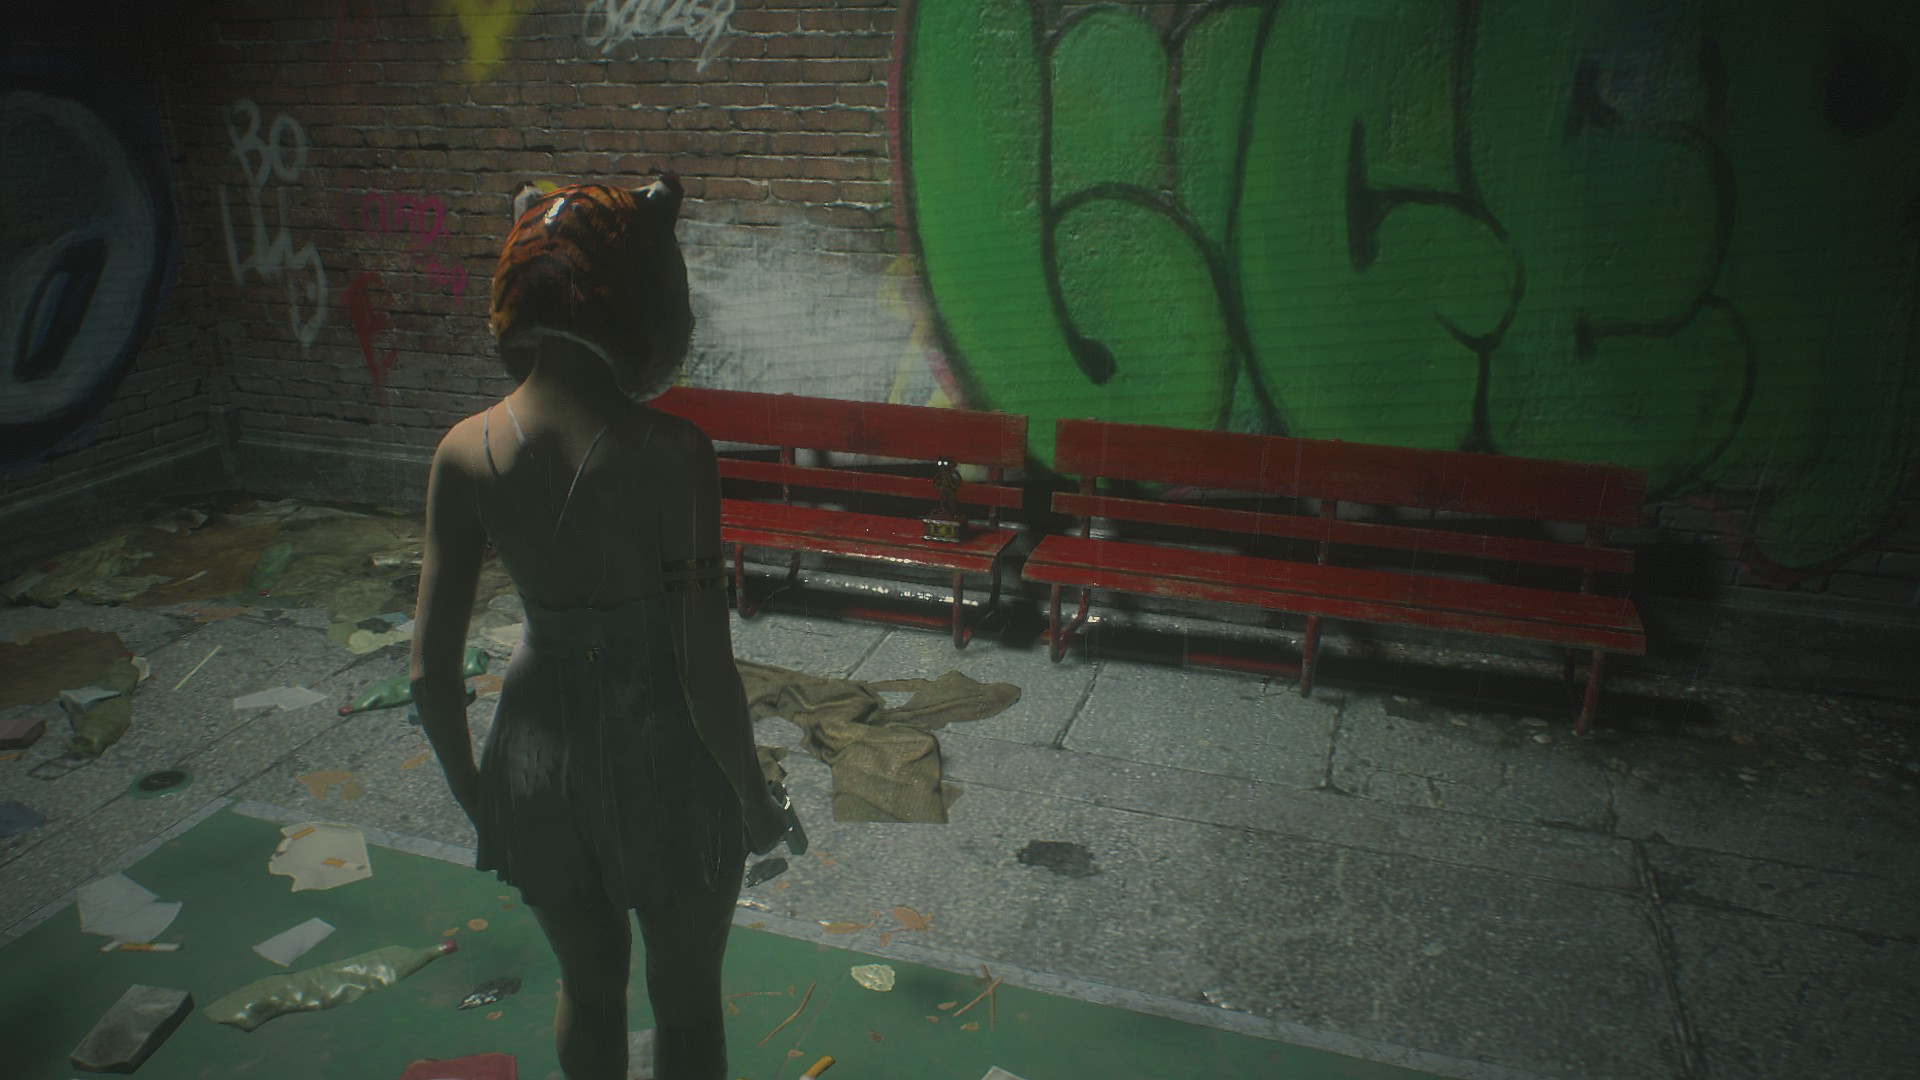
Check the bench at the back of the basketball court. You can shoot it through the fence from the street to avoid alerting the Lickers nearby.
Statue 6
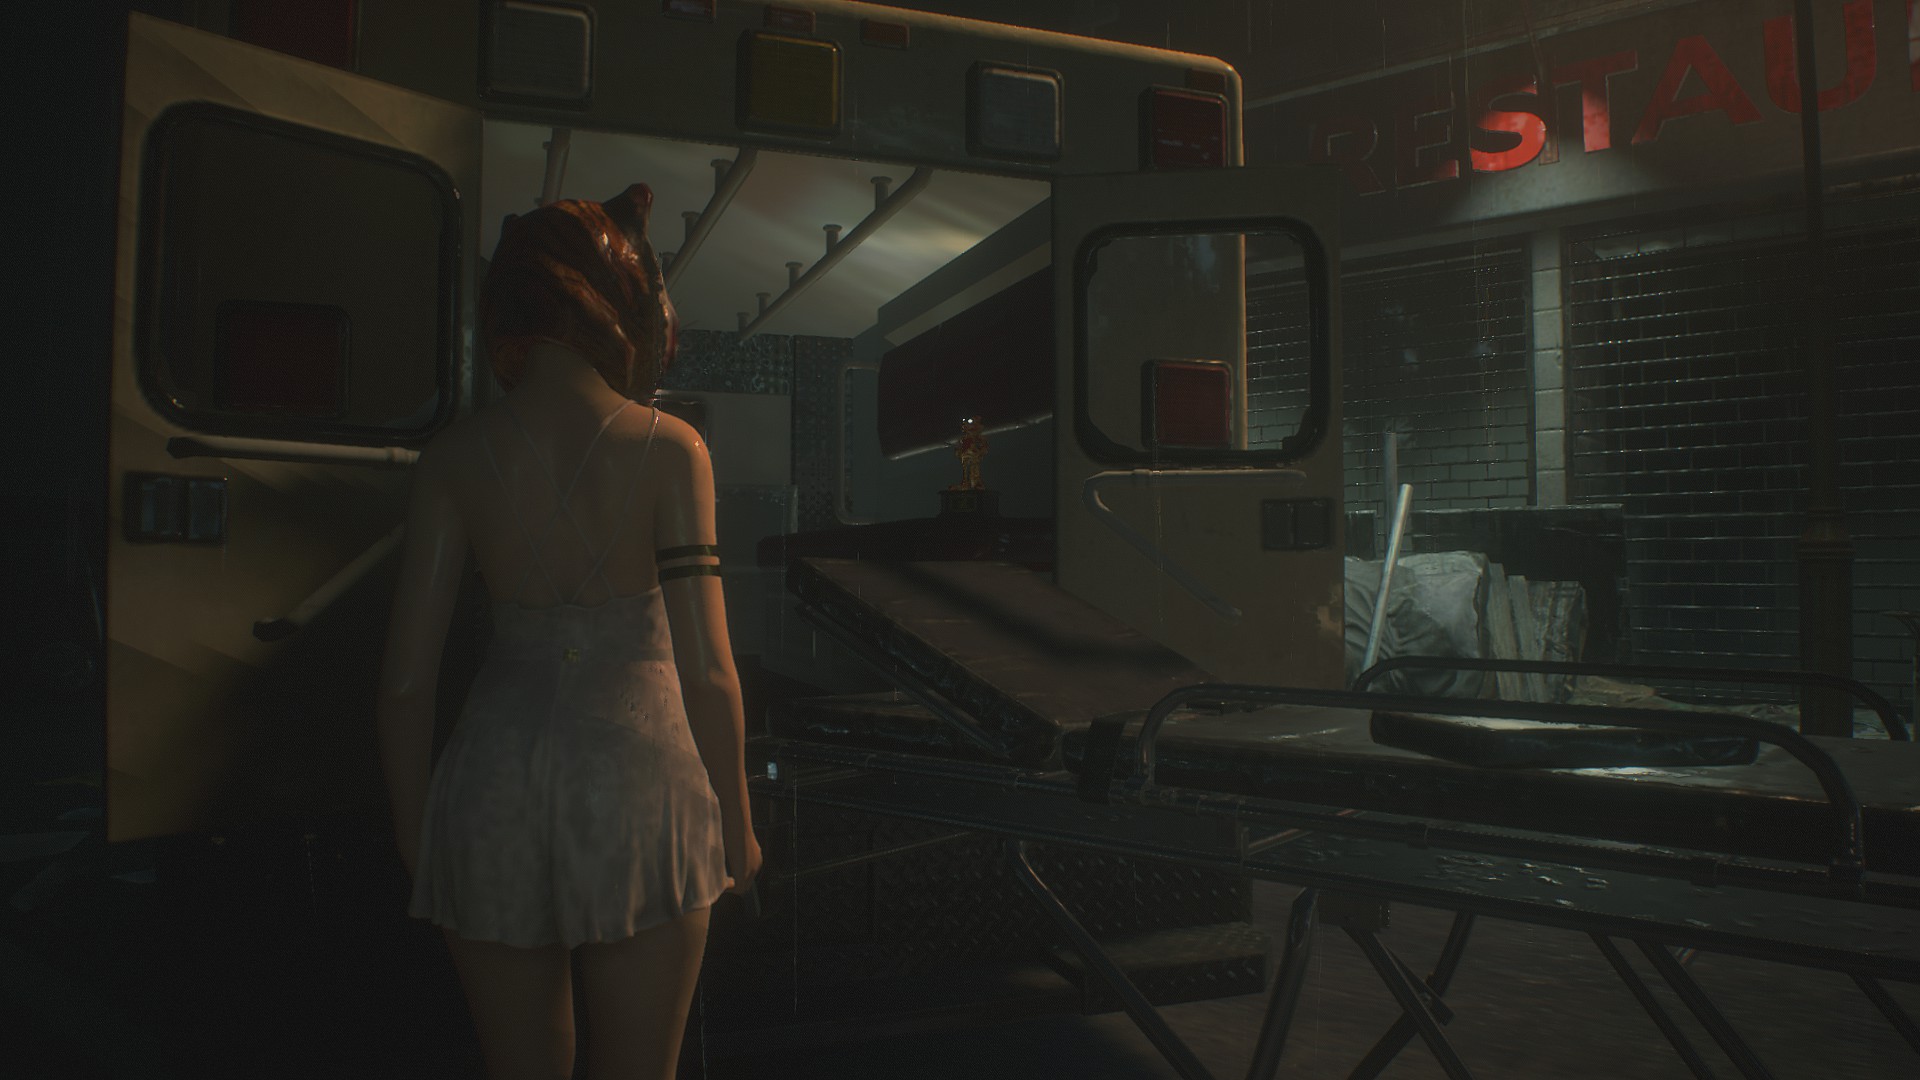
Look inside the parked ambulance outside the RPD Parking Garage.
Statue 7
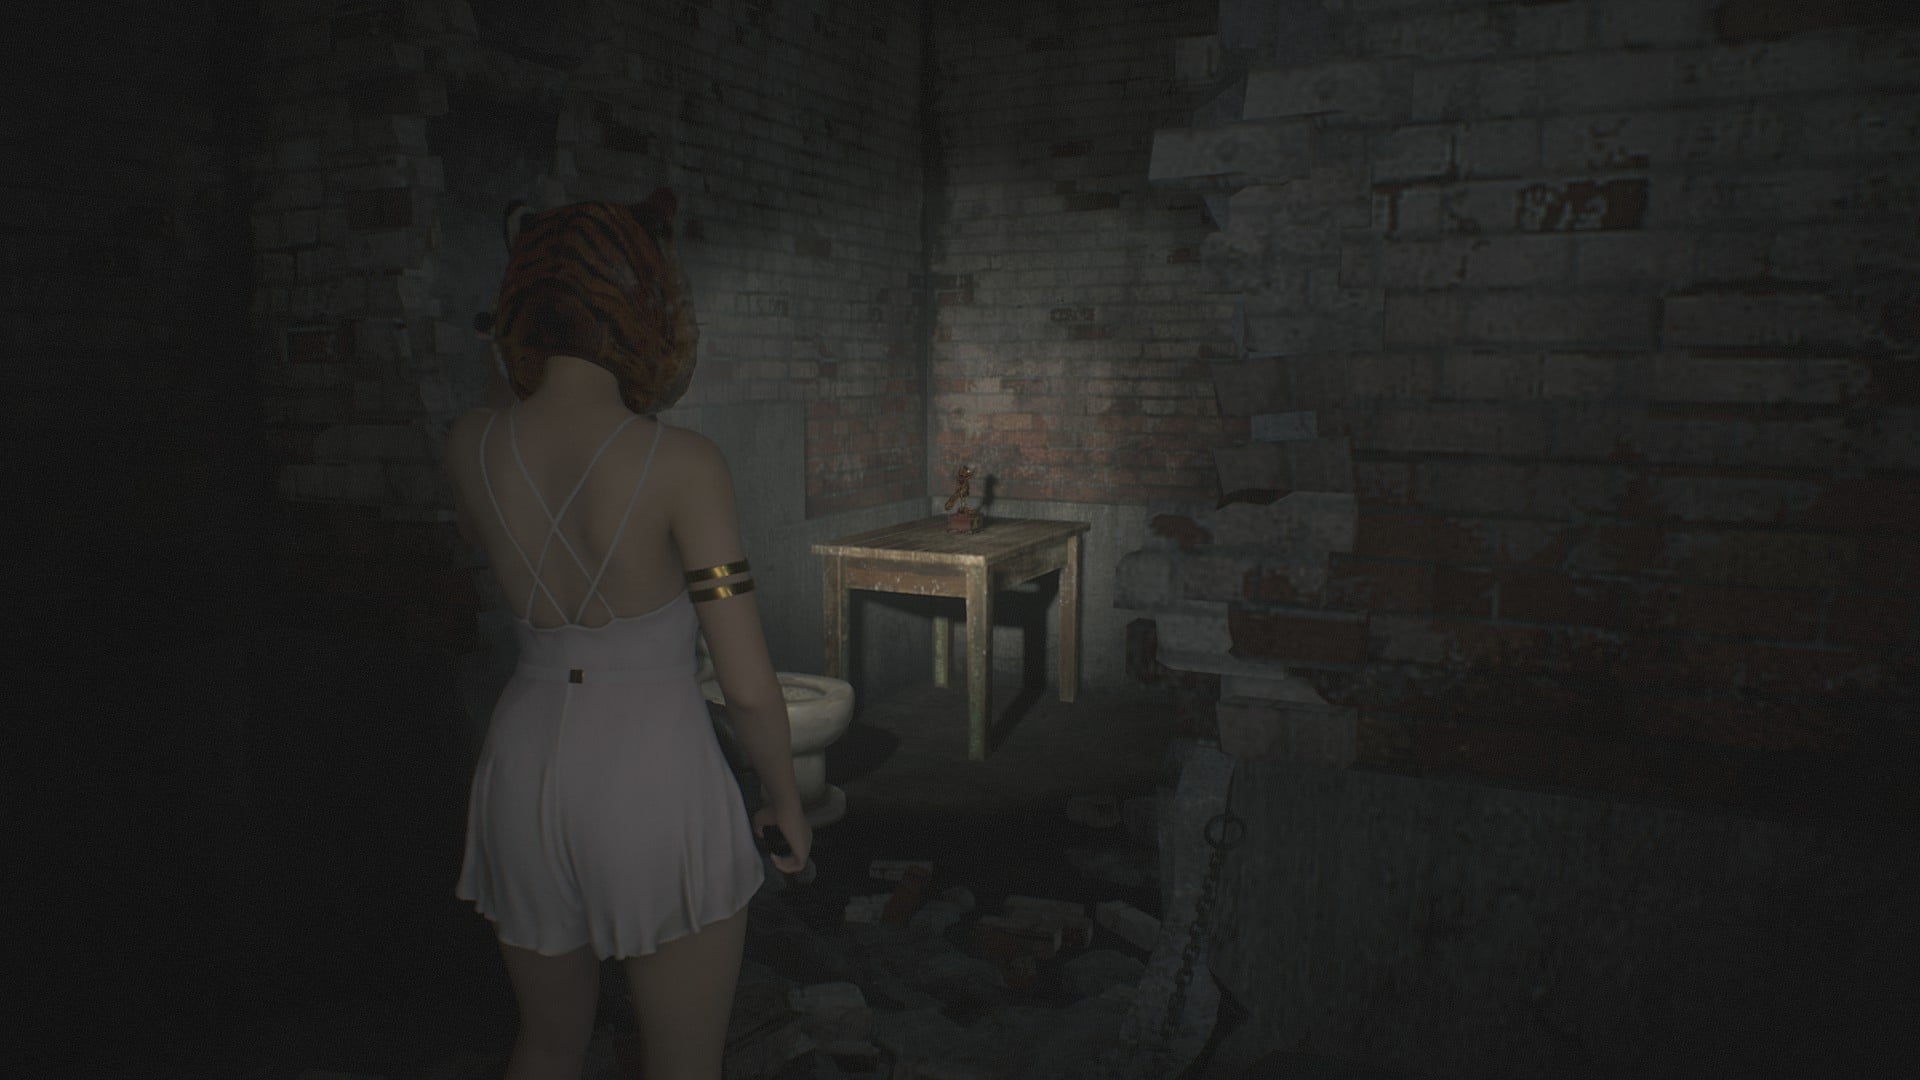
When you reach the Cellblock and the jailhouse doors all open at once, look to the right. The door to the side passage is also now open, where you can find this statue waiting for you in one of the wrecked cells.
Forgotten Soldier (2 Statues)
Statue 8
When you take the lift up from the Pump Room, keep an eye on the closest wall. This statue stands atop a support beam about three-quarters of the way up. Fortunately, you can shoot it from the top of the lift.
Statue 9
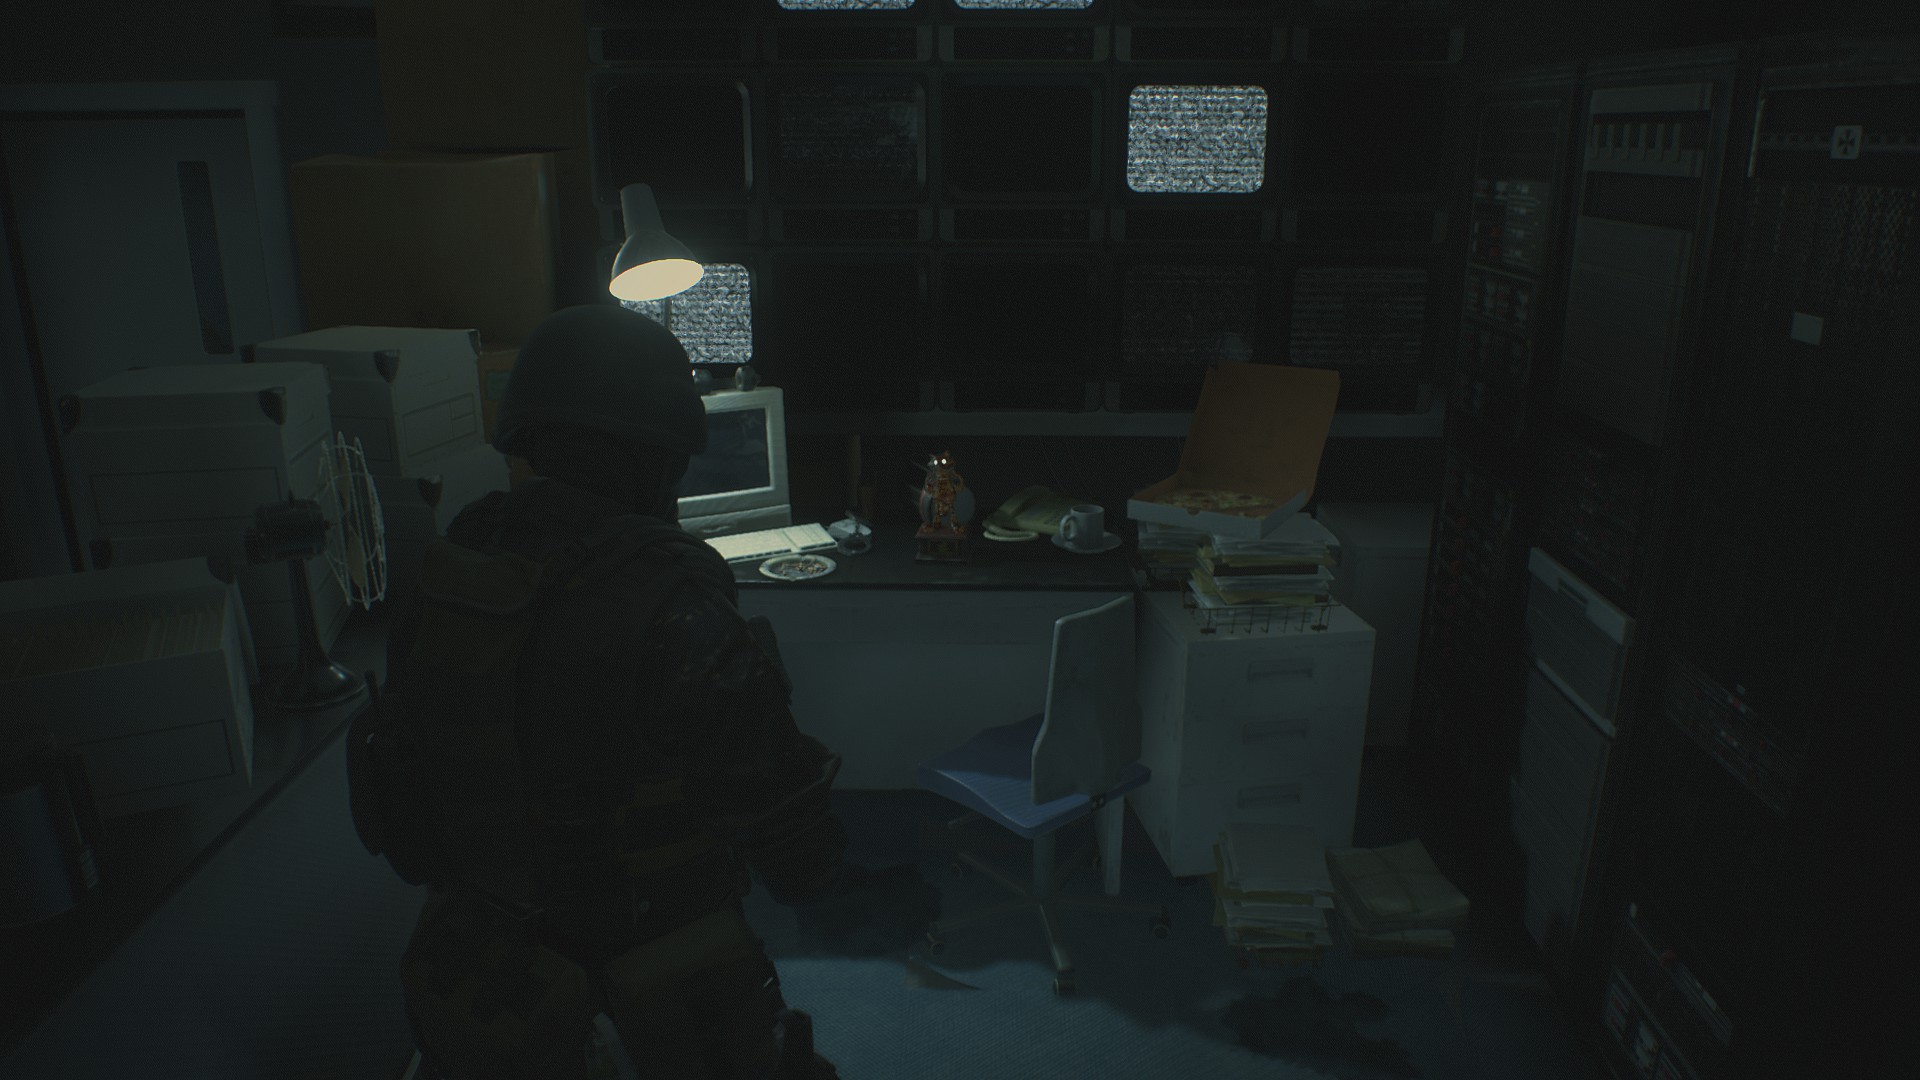
This one’s mean. When you trigger the security doors in the lab’s front office, the previously-barred door to the Security Room opens, and Mr. X comes after you.
You’ll more or less have to stun him to get around him and into the Security Room, where Mr. Raccoon is hiding on top of the monitor desk.
No Way Out (1 Statue)
Completing all three other scenarios on any difficulty unlocks “No Way Out,” where you play as Dan Cortini, the previously-unnamed sheriff from the very start of the game. This is a survival mode where you must withstand an attack by waves of zombies in close quarters.
Statue 10
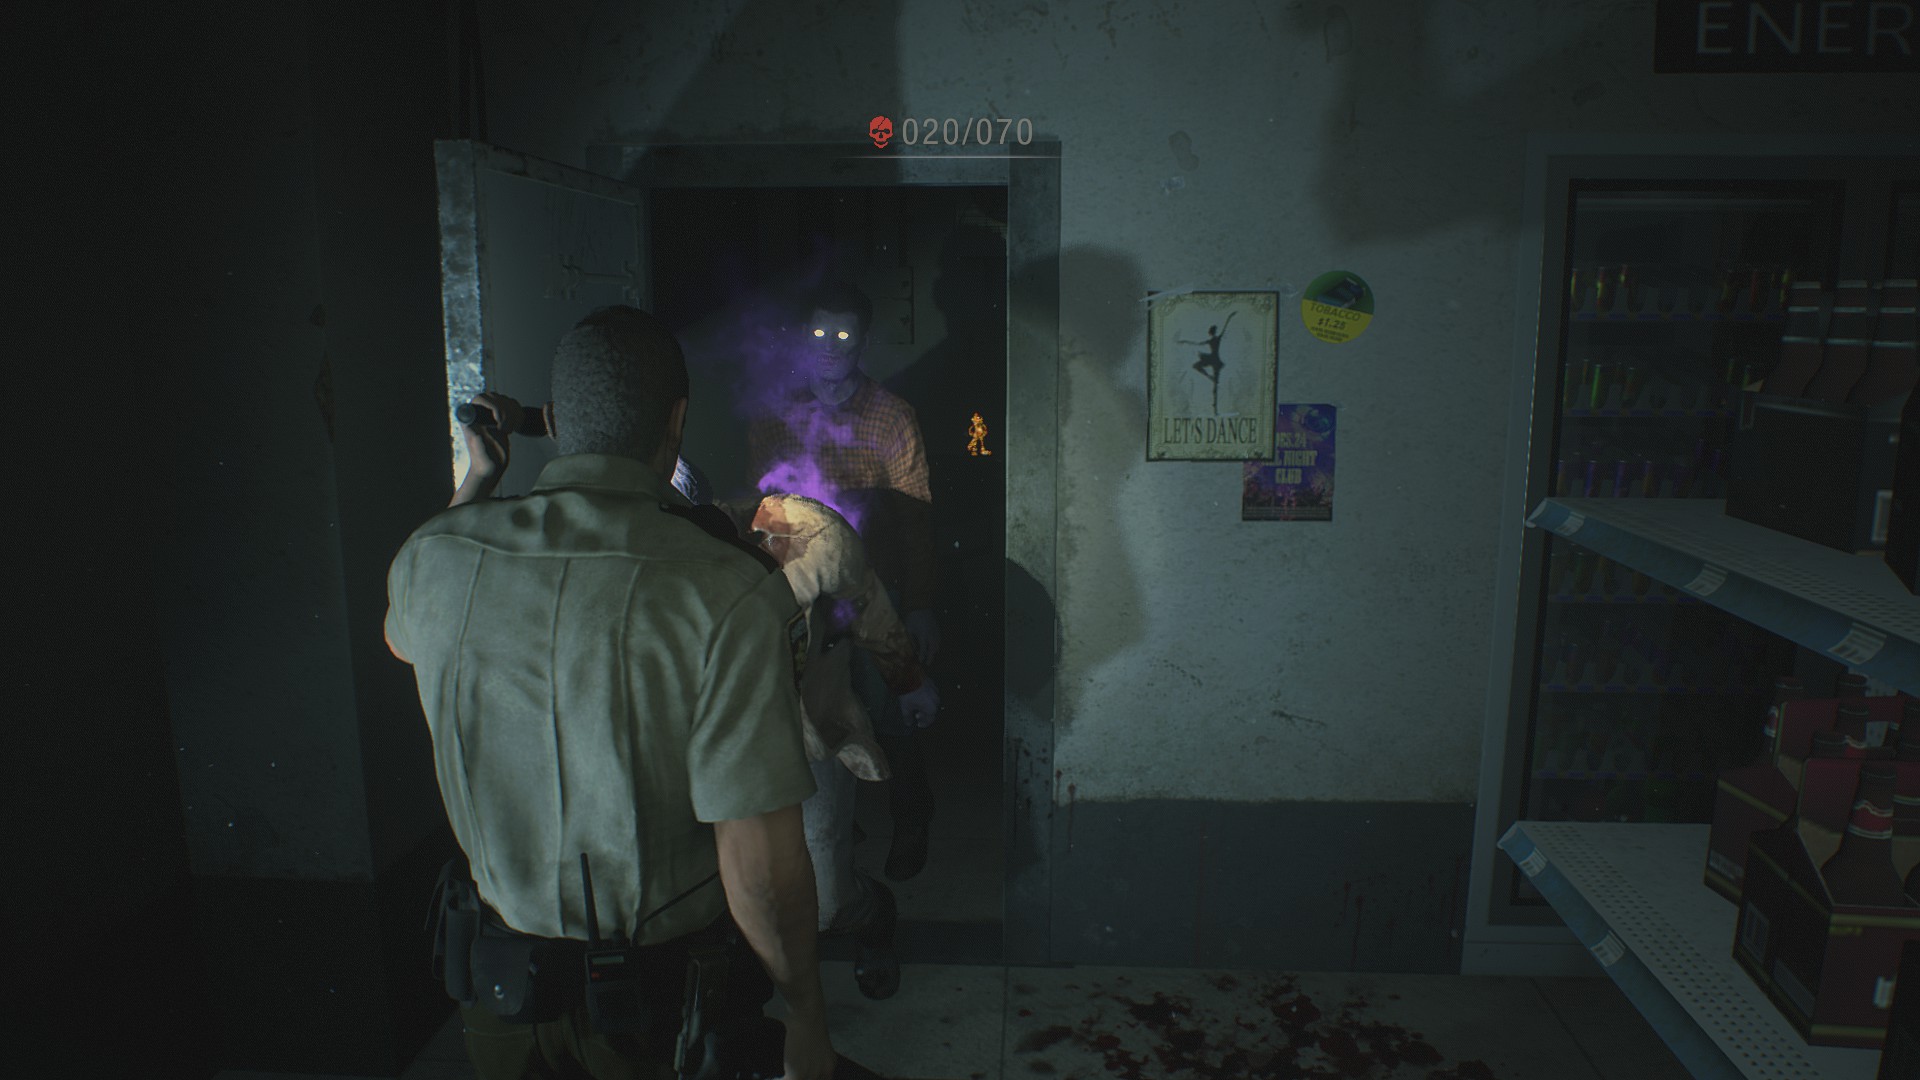
When zombies enter the room from the freezer door, you have a slim window of opportunity to see and destroy a Mr. Raccoon in the storage area behind them. This is easiest to do with the Mac-11 SMG or the chemical flamethrower, both of which can show up as loot from dead backpack zombies.
—
Once again, you have made the world safe for people who hate anthropomorphized raccoons. Please enjoy your new hat, Record, and Achievement/Trophy. To find more tips and guides on the RE2 remake, head over to our Resident Evil 2 guides page.


Published: Feb 15, 2019 03:09 pm