For all the great mysteries in Sea of Thieves, none are as elusive as the legendary Shrouded Ghost. Some Pirate Legend guides writers with nearly 1,000 hours have never caught a glimpse of this mythical Megalodon. Yet worry not, enterprising buccaneers. A limited time adventure called the Shrouded Deep will give your crew a chance to take on this slippery super shark.
This Sea of Thieves guide will tell you how to find the shrouded ghost and complete the Shrouded Deep Adventure. Avast!
How to Complete the Shrouded Deep Adventure in Sea of Thieves
Shrouded Deep is the third Sea of Thieves’ Adventure, a series of limited-time missions that tell a narrative focused story. This particular adventure is only available from April 21 to May 12.
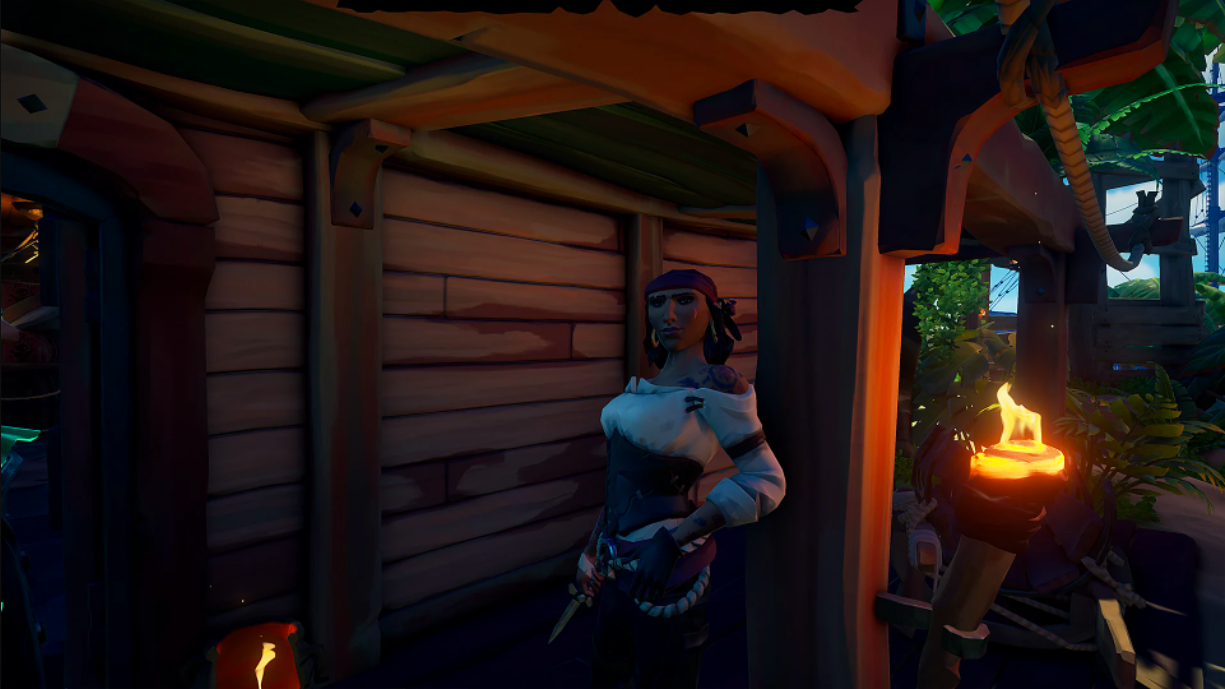
Your Adventure begins at any outpost. Locate Larinna near the Tavern and strike up a conversation. Choose the fourth dialogue option: “[BEGIN ADVENTURE] I’m ready to seek out Belle and Merrick”.
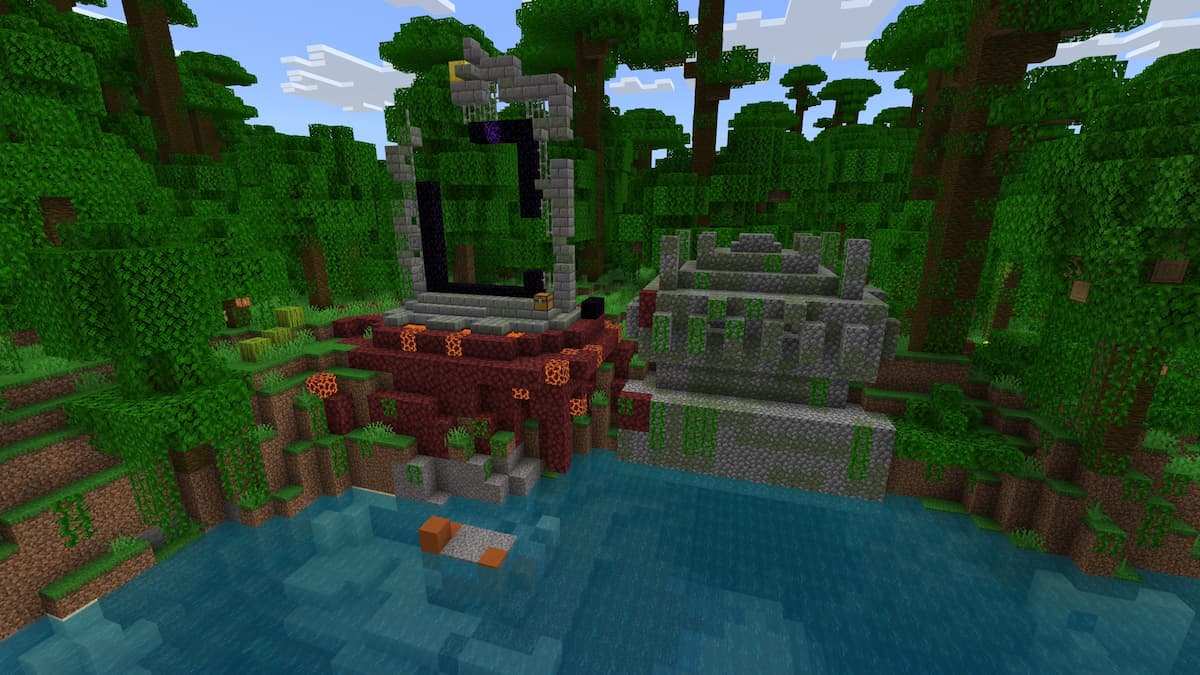
A note directing you to M12 is in your quest radial, leading you to a location near the center of the Seas on your map. Sail there to find The Killer Whale, Merrick the Hunter’s run-aground ship. Speak to Merrick to hear tale of his misadventures hunting the Shrouded Ghost, and Belle who will explain the how to summon the Shrouded Ghost.

Your task in Shrouded Ghost is to hunt each of the four other Megalodon types that appear in Sea of Thieves and capture their spirits in effigies to start a Ghost Summoning ritual.
Finding each enormous shark would normally be an RNG nightmare but fortunately, Belle has special flares that can summon specific Megalodons when fired from the correct cannons. You are given the choice of which Meg to tackle first, and can take them on in any order.
Each Megalodon hunt follows the same general framework:
- Tell Belle which hunt to you want to begin.
- Receive a note detailing where to perform the summoning ritual, a flare and an effigy.
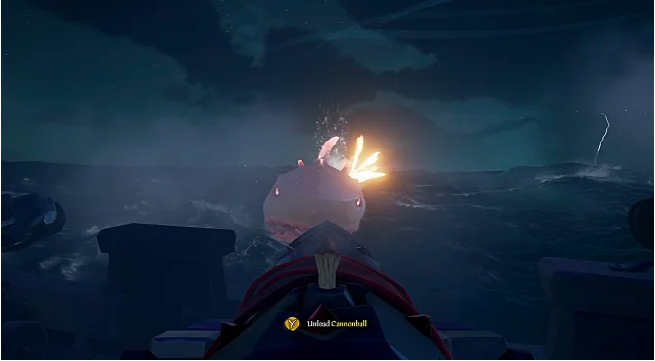
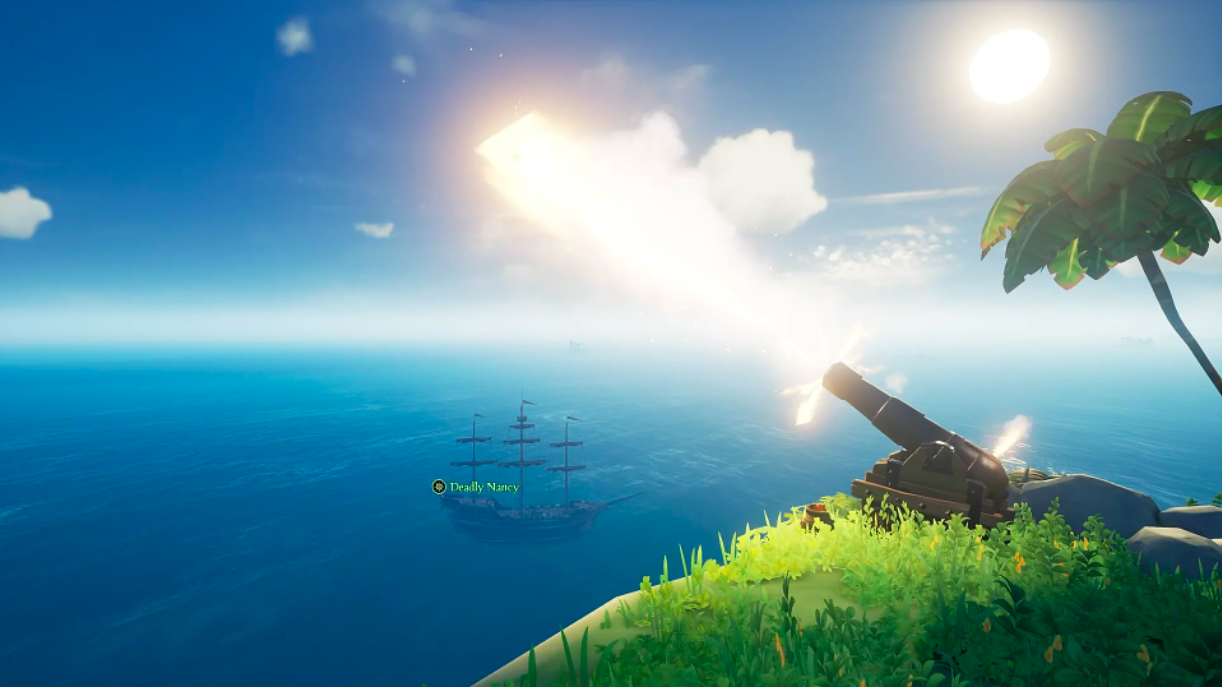
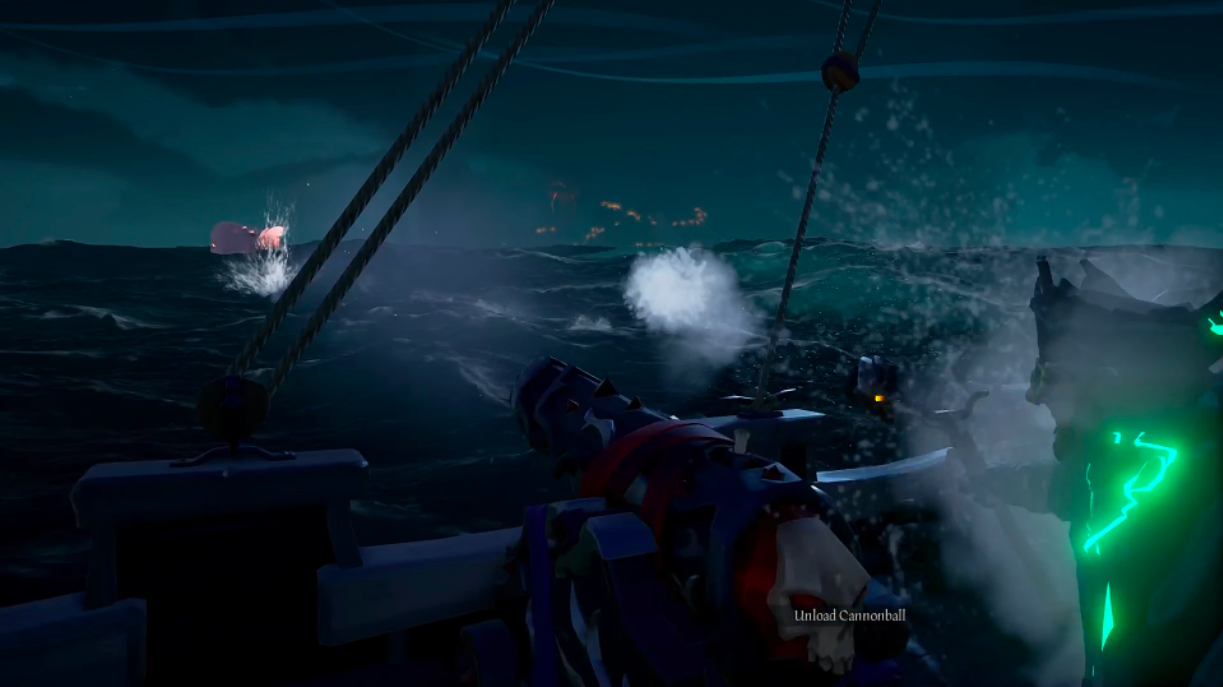
- Sail to the designated island, and find the special cannon that can only fire that flare (it can’t be used to load cannonballs or aim).
- Pull the flare out of your quest radial, load it, and fire it to summon the Meg for you to defeat. Your ships cannons will make quick work of it.
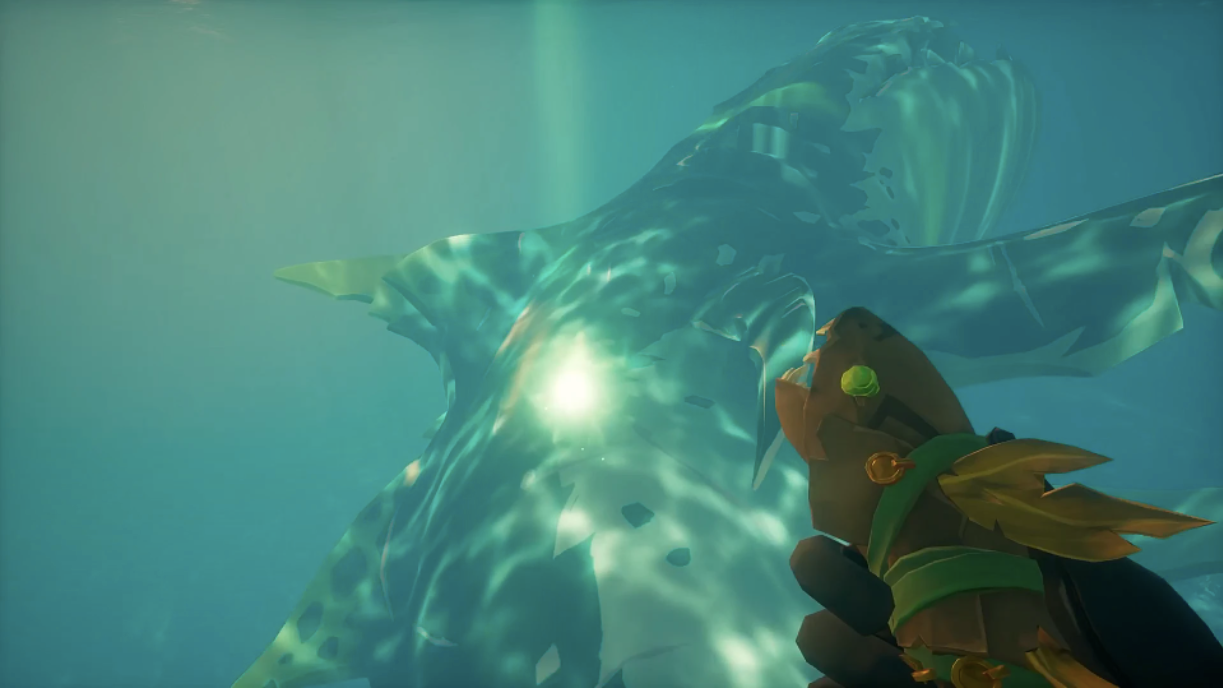
Once the Megalodon is belly-up, swim to it and pull the effigy out of your quest radial. There will be a shaft of light coming from the big, dead fish leading to a luminous orb. Swim close to it (you may need to wait for the shark to de-spawn), extend your hand, and follow the button prompt to collect the soul.
Return to the Killer Whale, and place the now Enchanted Effigy on the table. Once you’ve done that for each of Megalodons, you will be ready to summon the Shrouded Ghost.
Finding the Megalodons in Shrouded Deep
The Megalodons for Shrouded Deep are scatted across Sea of Thieves and can be summoned at these locations:
- The Hungering One: Sail to Mermaids hideaway (B-13 and C-13 on your map) and look for a cannon near the highest point of the island, on the edge of a cliff facing west.
- Shadowmaw: Shadowmaw prowls around Ruby’s Fall, far into the Devils roar, at Y-16 on your map. The cannon you are looking for is near the center of the main island, facing west.
- The Ancient Terror: The massive island of Thieves’ Haven sits at L-12 and M-20, on the southern edge of the map. Head to the very top of the island and work your way towards the southern edge of the Eastern half of Thieves’ Haven to find the cannon facing south.
- The Crested Queen: Head to Marauder’s Arch, near the north edge of the Sea at Q3. The island is shaped somewhat like a crab claw. The cannon is located on the upper southwest tip of the southern claw, facing west.
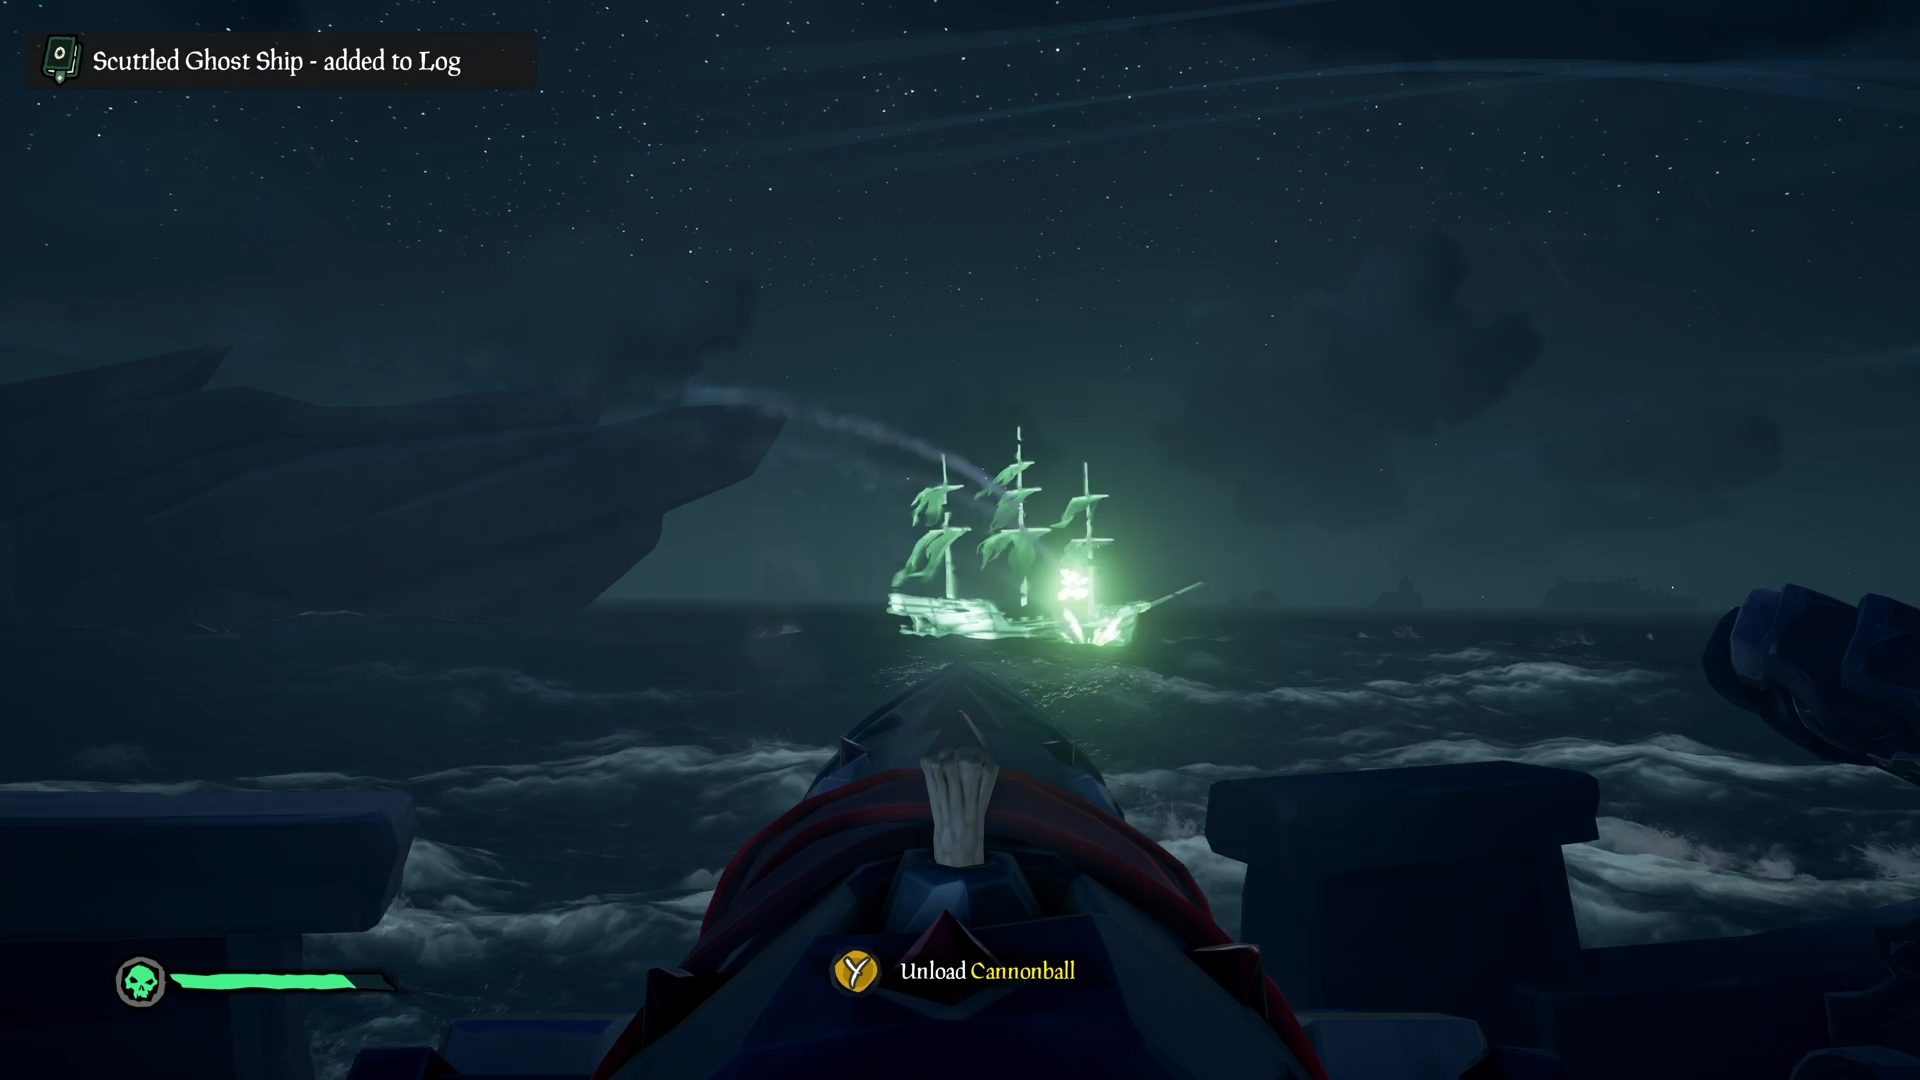
How to Summon the Shrouded Ghost
Calling forth the Shrouded Ghost requires five pirates to gather aboard the Killer Whale and play the Summon Megalodon shanty. Only four pirates can be on a single ship, so you will rely on the participation of random crews to help.
Fortunately, gathering all of the effigies casts a teal beacon into the sky, letting everyone know that a Shrouded Ghost may be imminent. Gather your party, play the song, and get ready for one hell of a fight across four phases.
Phase one sees you fight the Shrouded Ghost directly. The Ghost is significantly more aggressive than it’s brethren and will attack your ship repeatedly. Don’t fall behind on ship repairs, and keep firing until the shark disappears into the water.
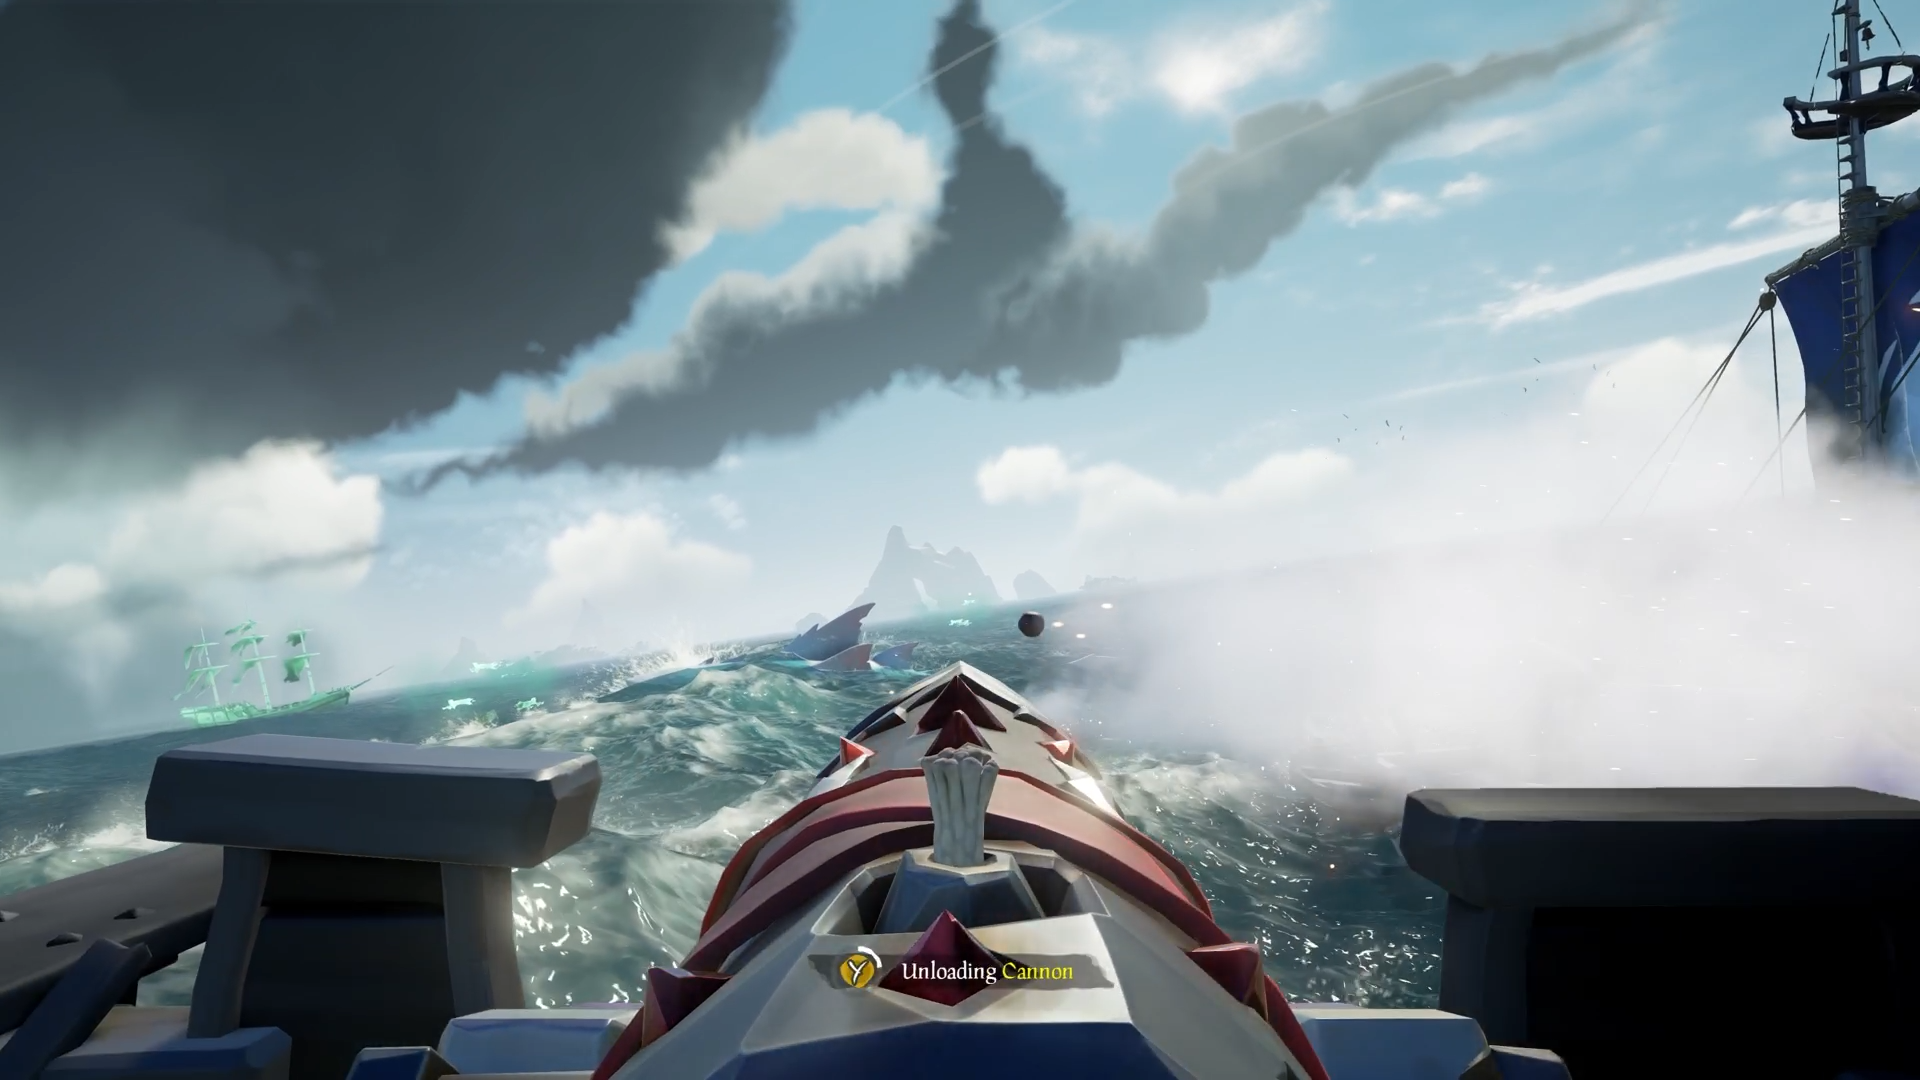
Phase two features the surprise arrival of an old foe: Captain Flameheart’s ghostly fleet. Your focus is now the armada of ethereal ships teleporting in. It’s best to keep your ship moving as you work to lineup shots and avoid incoming fire.
Three cannonball hits to a spectral galleon will dispel it. Once you’ve sent enough of them back to the great beyond, the fleet will disappear and the second phase will be complete.
Phase three swaps out the swarm of weaker ghost ships for a two-front battle against a single, more powerful flagship, and a returned Shrouded Ghost. The Shrouded Ghost will follow your ship wherever it goes, so it’s best to focus your sailing on lining up shots on the opposing ship. It’s a more difficult encounter, so focus on keeping your ship repaired and lower decks dry until the flagship and Ghost disappear.
Phase four is absolute bedlam. The ghost fleet and flagship return, as does a very angry Shrouded Ghost. The number of things trying to punch holes in your ship is staggering, and this is one of the most challenging encounters in all of Sea of Thieves.
Focus on the Shrouded Ghost as much as possible; defeating this Megalodon is the only thing that will end the chaos. Once the Ghost is laid to rest, Flameheart will call off his fleet, and victory will be yours. Return to Belle aboard the Killer Whale, and speak to her to start a short scene, completing the Shrouded Deep Adventure.
Tips and Tricks for the Shrouded Deep Adventure
Shrouded Deep is a difficult and time-consuming Adventure. Here are a few quick tips that may make it easier.
- Four Megalodon effigies are needed aboard the Killer Whale, but they don’t all have to come from the same ship. Check the table when you arrive, as there may already be Enchanted Effigies. If so, you can skip hunting those particular Megs.
- If anybody in your crew Enchants an effigy with a fallen Megalodon, then everyone in your crew will have it in their inventory. That means it can be useful to leave a person behind on the Killer Whale to place the effigies and select the next target, saving time on backtracking.
- The final encounter is a massive battle. Buy supplies from outposts, and ransack the barrels aboard the Killer Whale before starting the fight with the Shrouded Ghost.
- It is OK to sink! There isn’t a fail state for the Shrouded Deep adventure. If you are sunk, just use a mermaid to teleport back to your ship and sail back to M-12.
- Anytime you are on the Seas, another crew could be doing the Shrouded Deep adventure. Look for the teal lights rising from the center of the map, and you may be able to help another crew, skipping right to the last phase of the adventure.
Now that you’ve felled the most mythical foe in Sea of Thieves you may want to turn your attention to other pursuits besides Shrouded Deep, like collecting the party boat pieces or creating your own treasure maps. We’ve got guides to those and more on our Sea of Thieves tips page.


Published: Apr 25, 2022 02:44 am