We’re moving on into the side quests in Dead Island 2, many of which feature a wealth of background detail and lore, to really bring the “zompocalypse” to life. Others are just some crazy person fussing at you. Either way, here’s how to find all the collectible Journals in your Side Quests tab.
Many of DI2‘s side quests will allow you to break their sequence. You can simply skip over a couple of intermediate steps if you happen to be in the right place, which can make it difficult to complete the associated Journal. That’s what this list is for.
If you’re looking for other Journal collectibles in Dead Island 2, follow the links to our other mini-guides, generally broken up by category:
- All Main Quest Journal Locations
- All Beforetimes Journal Locations
- All It Begins Journal Locations
- All Life in Hell-A Journal Locations
- All The Truth Journal Locations
All Side Quest Journal Locations in Dead Island 2
Body Art: 5
Once you learn how to harvest zombie parts in “The Giant-Slayer,” you can return to Beverly Hills to find Francesca in a house to the north. She’d like you to bring her increasingly rare undead bits.
- #1: Oversized Arm Bones: Complete “Body Art: The Visionary” in Beverly Hills, then grab this off the corkboard next to Francesca. Oversized Arm Bones are a common drop from Crushers.
- #2: Chthonic Ichor: The next time you come to Beverly Hills, Francesca will have another note, and another quest, for you. Chthonic Ichor is obtained from Slobbers.
- #3: Infected Spines: Once again, make a third trip to Beverly Hills and check Francesca’s board. This time, she wants Screamers’ Spines.
- #4: Blade Arms: Now Fran wants you to go hunt Butchers. You know the drill.
- #5: Mutated Hearts: Your final trip to Francesca’s ends with a request for these Mutator parts. In exchange, she’ll reward you with the legendary knife Blood Rage.
Creature Comforts: 4
 Screenshot by GameSkinny
If you’ve completed “Life of the Party,” Curtis Sinclair offers this quest from the gaming room at Emma’s place in Bel-Air once you’ve unlocked fast travel. You’ll receive the Goat Pen Master Keys in the course of completing it.
- #1: Ardkillin Distillery: Return to Curt Swanson’s house and grab this off his kitchen island.
- #2: Last Call: [You receive this upon turning the quest in to Curtis, but I’ve not found where it shows up in-game.]
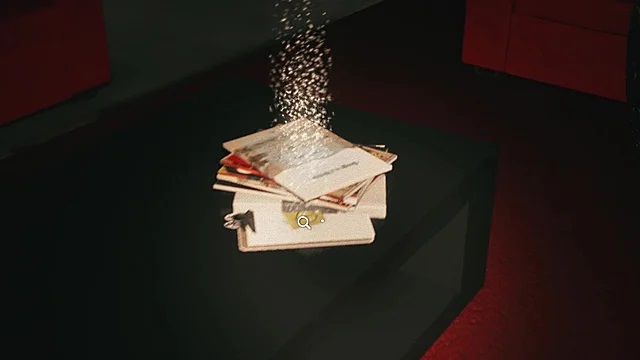
- #3: Hell or High Water: During “Desperately Seeking Emma,” you might’ve noticed a room in Curt Swanson’s mansion that was barred from the inside. If you return there now, its exterior door is open, which lets you navigate a gauntlet of shotgun traps to retrieve this phone from its closet.
- #4: Corporate Narc: Check the note on top of the fancy bar on the Goat Pen House’s second floor.
Resurrect the Rex: 1
- #1: Gods and Whiskey Jam: When you recover the second set of tapes from Rikky’s producer’s house, you automatically receive the song in question as an audio diary.
The Rav-Ages of Caustic X: 2
 Screenshot by GameSkinny
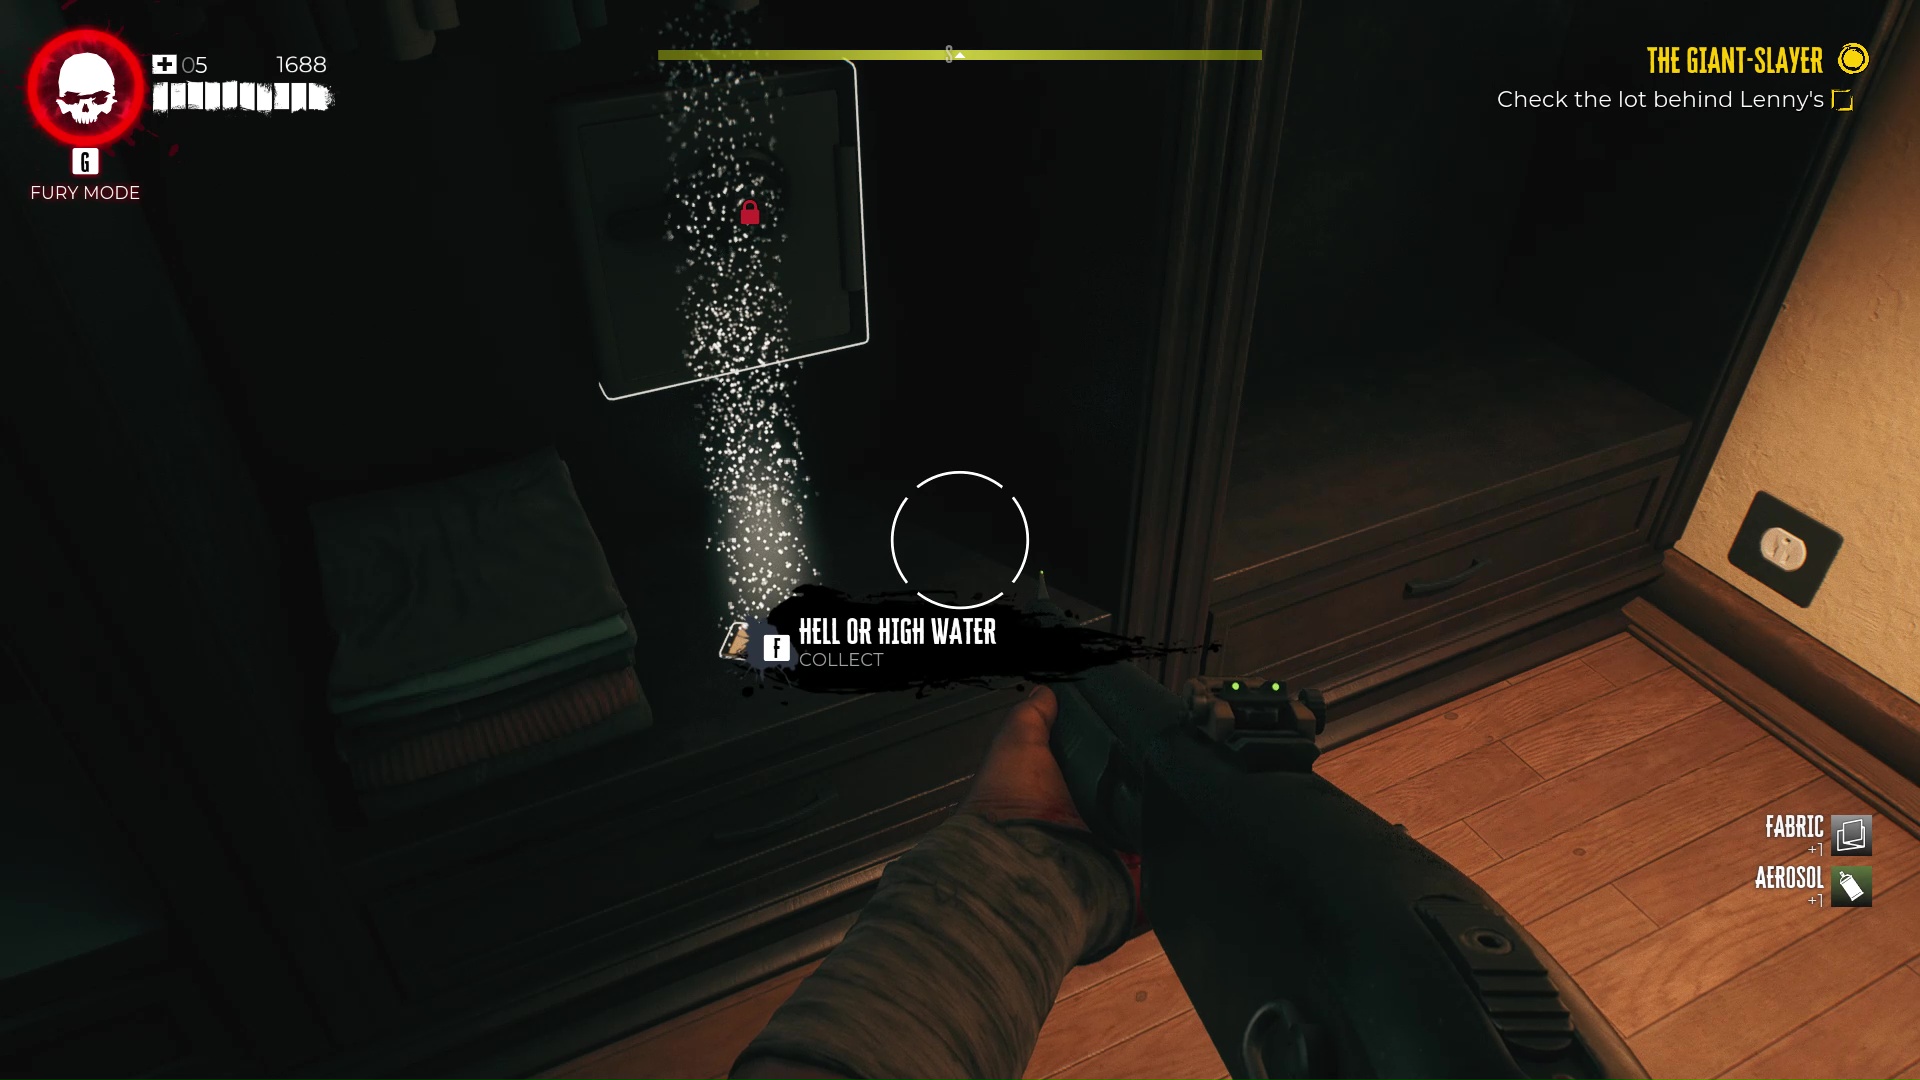
- #1: Caustic-X Shipment Receipt: This clipboard is on a crate in the Halperin Hotel’s parking lot, next to the two red ambulances.
- #2: Silly Goose: As an additional reward for completing this side quest, you’ll receive this track as an audio diary.
Dez and the Mother of Satan: 4
Once you’ve reached the Pier, Hana will call via the radio to start this if you’ve completed Rav’s quest.
- #1: Autophage: Taxonomy: Look on the table in the Quartermaster’s tent.
- #2: Autophage: Vector Mechanics: This is taped to a whiteboard in the Quartermaster’s tent.
- #3: Quartermaster’s Records: In the same tent, this is found behind the sparking wire on the floor.
- #4: Mystery Apocalypse Goodie-Box Op: When you complete the quest, Hana will push this file to your phone, as promised.
It’s Not Your Fault: 4
Luciana at Emma’s house offers this side quest in the post-game.
- #1: Seismometer Placement: When you get to the sewer entrance in Bel-Air, you’ll find a dead guy next to the old truck with this clipboard on him.
- #2: Niran’s Note: Go back to the office above the Filtration Access and Servicing Room in the Brentwood Sewers and take this off the desk.
- #3: Eli’s Note: From the above clue, go down to ground level and check the gross tunnel full of meat slurry for the late Eli and his memo.
- #4: Fieldnotes Journal: Check the dead guy in the tunnel just outside the west gate in the Filtration Access and Servicing room.
Scooped!: 2
- #1: LA 24 News Crew’s Plan: Once you’ve got access to the LA24 building on Ocean Avenue, check out the reception desk in the lobby.
- #2: Zompocalypse Assignments: In the same lobby, look on the table in the waiting area.
 Screenshot by GameSkinny
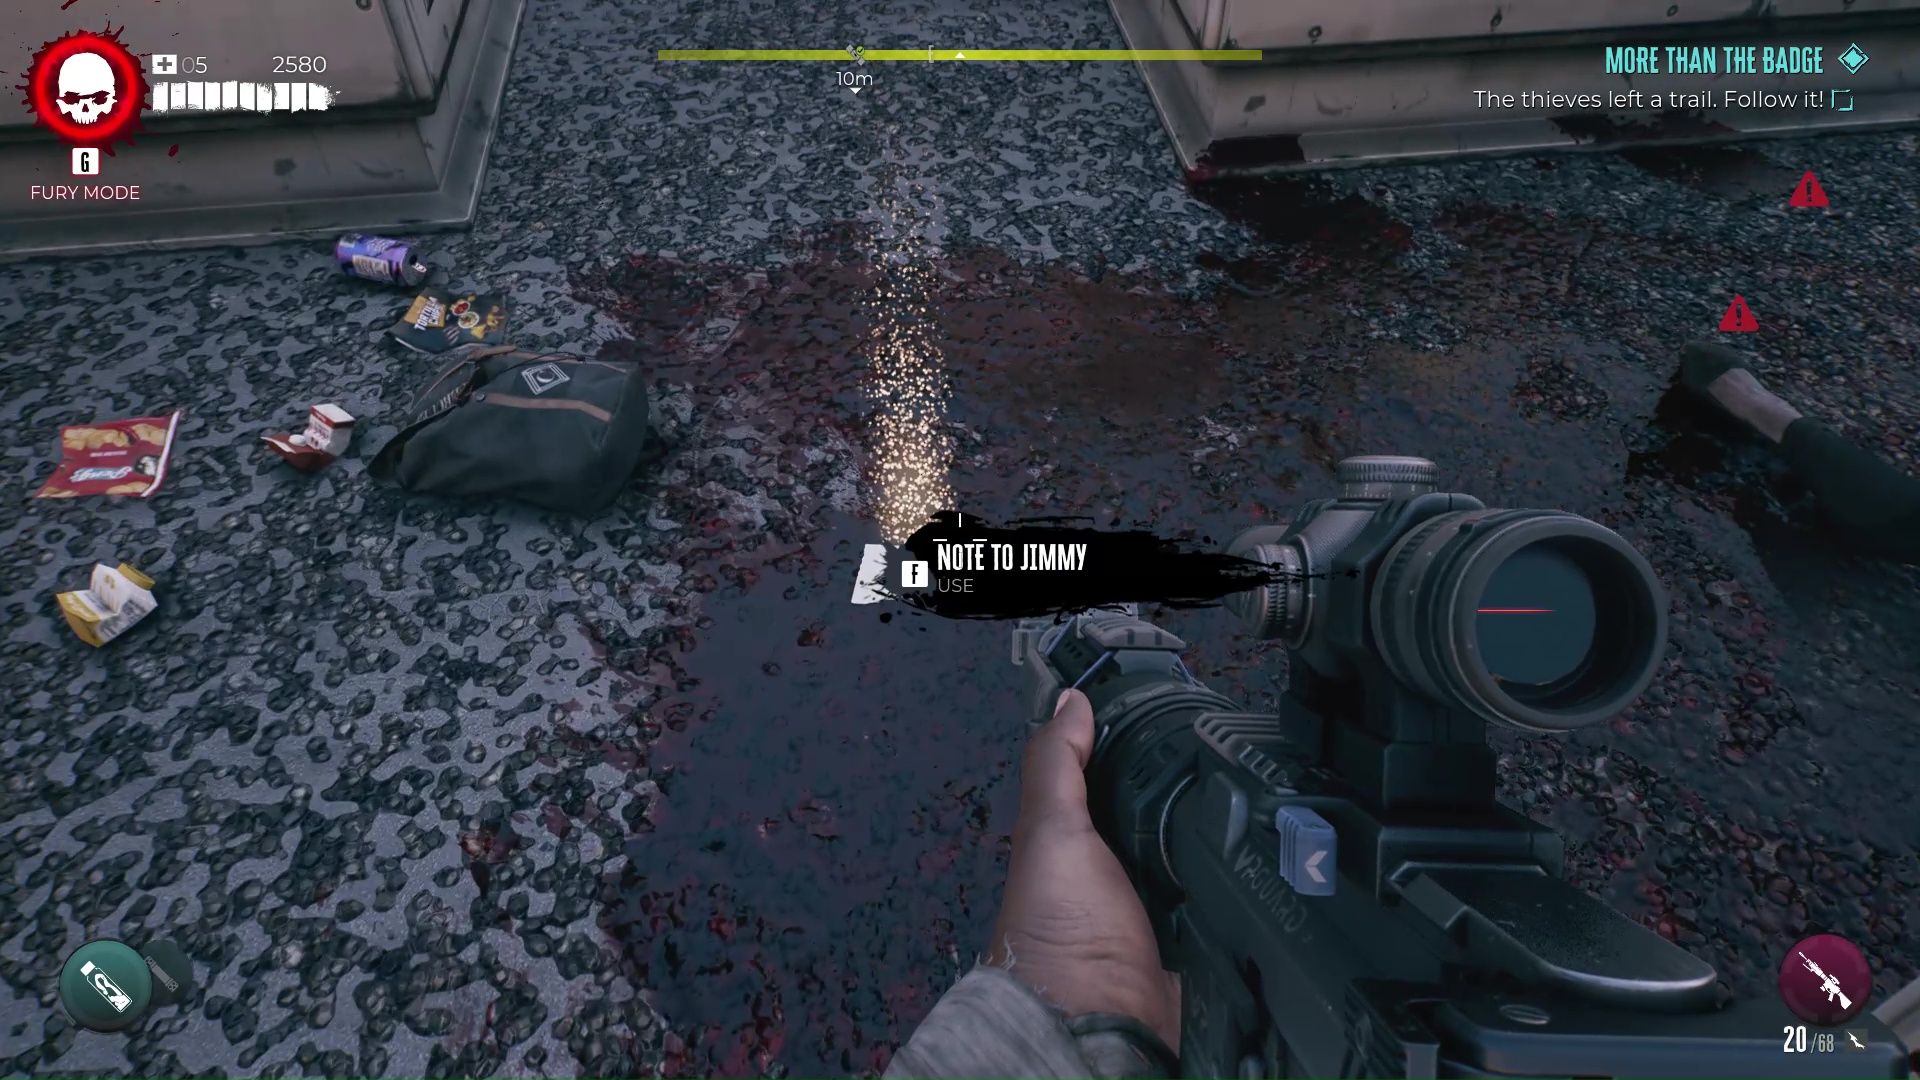
More Than the Badge: 2
- #1: “The Badge” Poster: When you reach the alleyway Jimmy mentioned, check the poster on the back wall, then turn around to deal with Sasha, a Screamer who’s just appeared behind you. She’ll drop this file.
- #2: Note to Jimmy: Go to the parking garage on the east side of Ocean Avenue. The trail of “Badge” merch and fresh blood should lead you to the roof, where you’ll find this note.
 Screenshot by GameSkinny
Message In a Bottle: 4
- #1: Message in a Bottle: This appears next to you on the beach when you wash up ashore after “Boardwalking Dead.”
- #2: Review: Bucket O’ Fish: One Star: Go to the Bucket O’ Fish restaurant on the Pier and navigate the gauntlet of tripwires to get downstairs. At the end, you’ll find this note in a crate.
- #3: Review: Pier Grill: Two Stars: After you find the above note, this can be located on one of the tables outside the Pier Grill.
- #4: Review: Hotdg Shak: Twelveteen Strs: After finding the previous clues, go to the lot next to the Hot Dog Shack on the north side of the Pier to find a particularly angry Slobber. Grab this note off its corpse.
Red Tide: 5
To get this side quest, you must complete “Coast Guardian” in Venice Beach, then “The Hero’s Journey” at the Pier.
- #1: Dude, Where’s My Boat?: You automatically receive this entry when you accept the quest from Carmen.
- #2: Cashing Out: Return to the CDC facility off the Pier to find Cooper’s research station. This Journal’s inside an open biohazard container near the door.
- #3: Paging Doctor Whom: Check the clipboard on the desk in Cooper’s tent.
- #4: Change of Scenery: The airlock towards the back of Cooper’s tent is permanently wrecked. Face it, then turn around to find this note in a dark corner.
- #5: Huang’s Warning: Kill the Vicious Butcher who’s on patrol inside the CDC main dome.
The Art of War: 3
- #1: Digital Artwork: In the big trainyard in the western Metro, go west until your character mentions a laptop. It’s open on a table near one of the disabled airlocks. Interact with it, then kill zombies until the laptop boots.
- #2: More Than Gangbangers: If you were wondering why there are so many subway cars on the west side of the Metro map with traps in them, this explains that. This is found towards the back of one of them.
- #3: Javier is Disappointed: Return to the tunnel before the Brentwood Sewers exit and you’ll run into a mixed pack of zombies. Take them out, then grab this file off the Crusher’s body.
Going Viral: 3
This shows up in the post-game once you’ve completed “#Clickbait” and “Like and Follow!”
- #1: Amanda’s Phone: Depending on when you completed “Like and Follow!” you can find this in the Re-Aging Clinic on Hollywood Boulevard or the Lifeguard HQ on the Pier.
- #2: Sorry: Kill the final named zombie in Amanda’s celebrity gauntlet and take the note off the body.
- #3: Goodbye_Vid_Intro_Take2: You’ll automatically receive this audio diary when you complete “Going Viral.”
That’s how to find all of the side quest Journals in Dead Island 2. If you need help with anything else, check out our dedicated guides tab for Dead Island 2.
Featured image by GameSkinny.


Published: Apr 23, 2023 10:11 pm