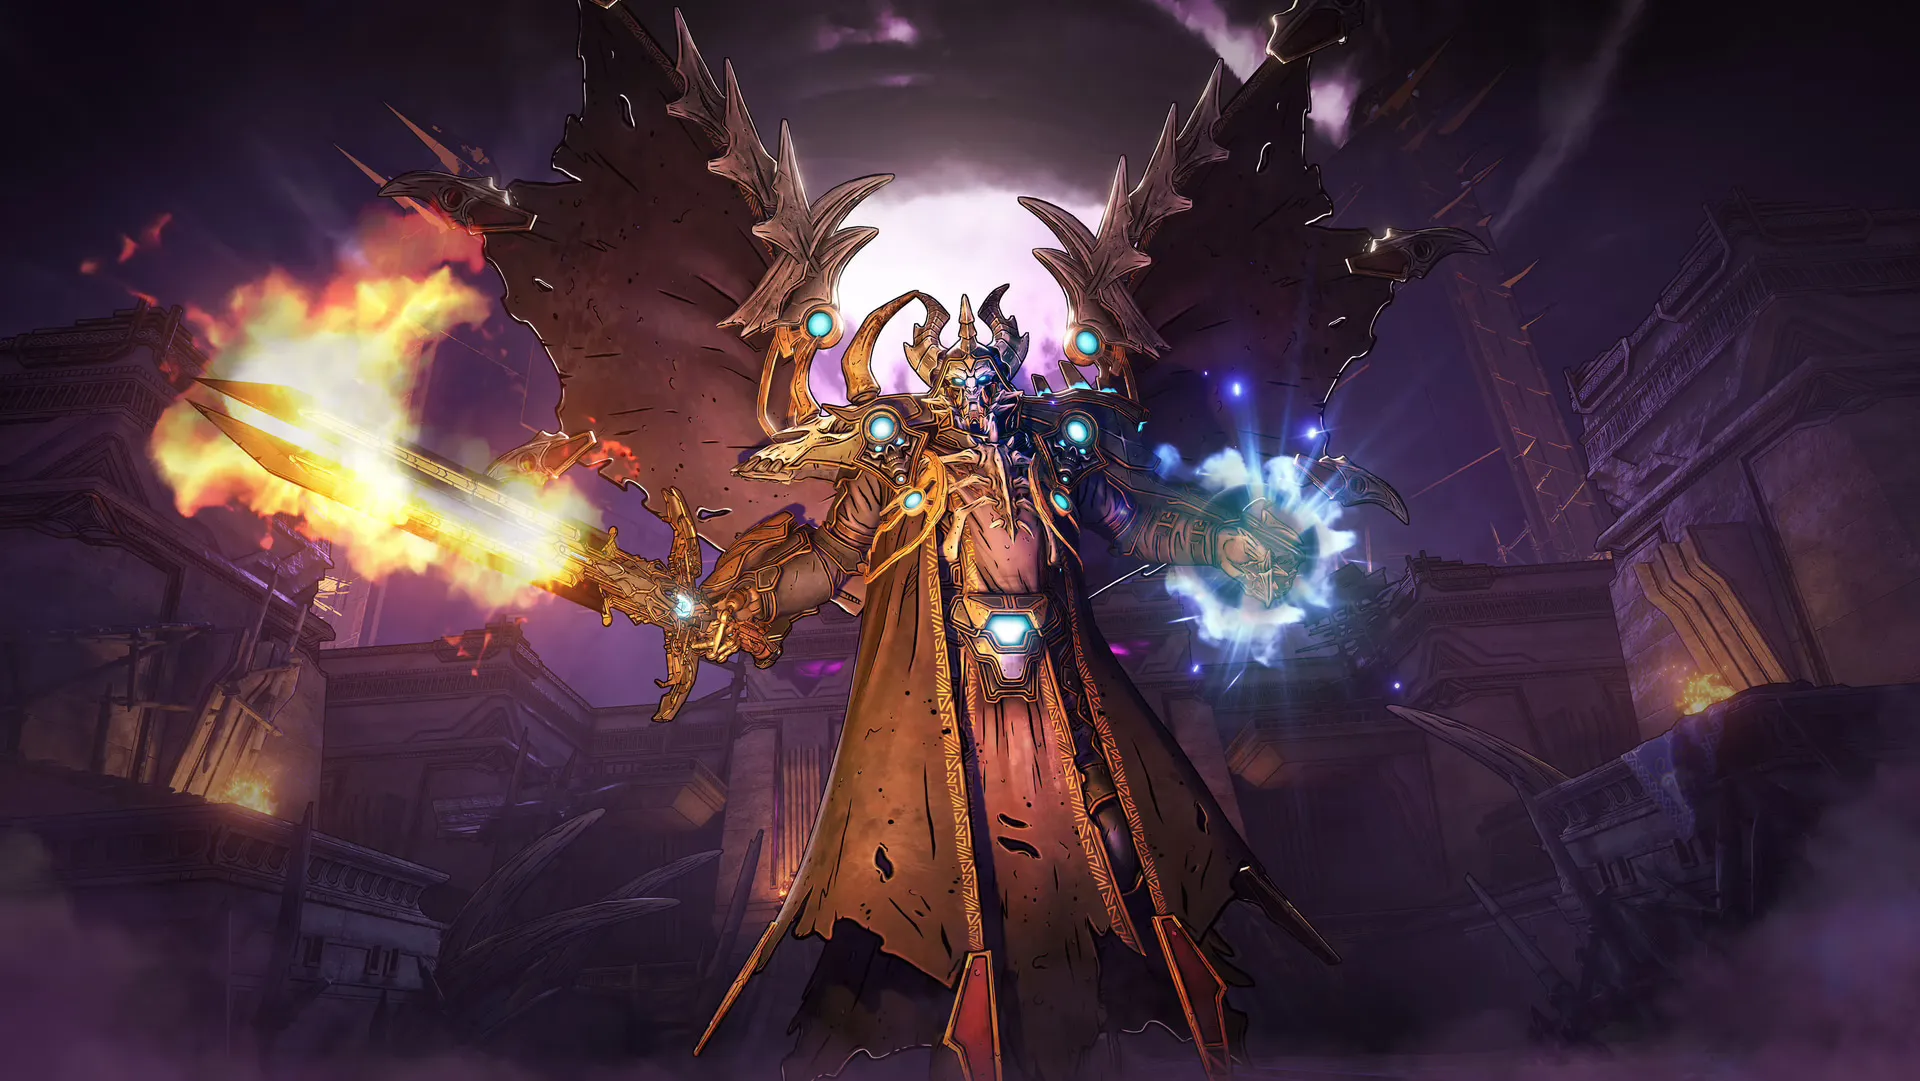
The Dragon Lord is the final boss of the Tiny Tina’s Wonderlands story campaign. Befitting his place as the last challenge you face, he easily has the most attacks and pattern shifts out of any boss you’ve encountered before. The only fights that compare are the secret raid bosses hidden in the Chaos Chamber.
This guide will cover everything you need to know about beating the Dragon Lord.
How to Beat the Dragon Lord in Tiny Tina’s Wonderlands
Fighting the Dragon Lord takes you through two distinct phases, but both have more attacks than any other boss. There’s even enough differentiation that there could almost be sub-phases.
Expect multiple mechanics to break immunity, area of effect and DoT damage effects, and attacks from every element in the game. That’s just the first phase.
Dragon Lord Phase One Attacks
Somehow the simpler of the two phases, the Dragon Lord spends much of his time here teleporting around the arena casting spells.
He doesn’t do much melee combat, focusing instead on using his many abilities and summoned mooks to do his dirty work for him.
Attack 1: Four Lines of Ice Spikes
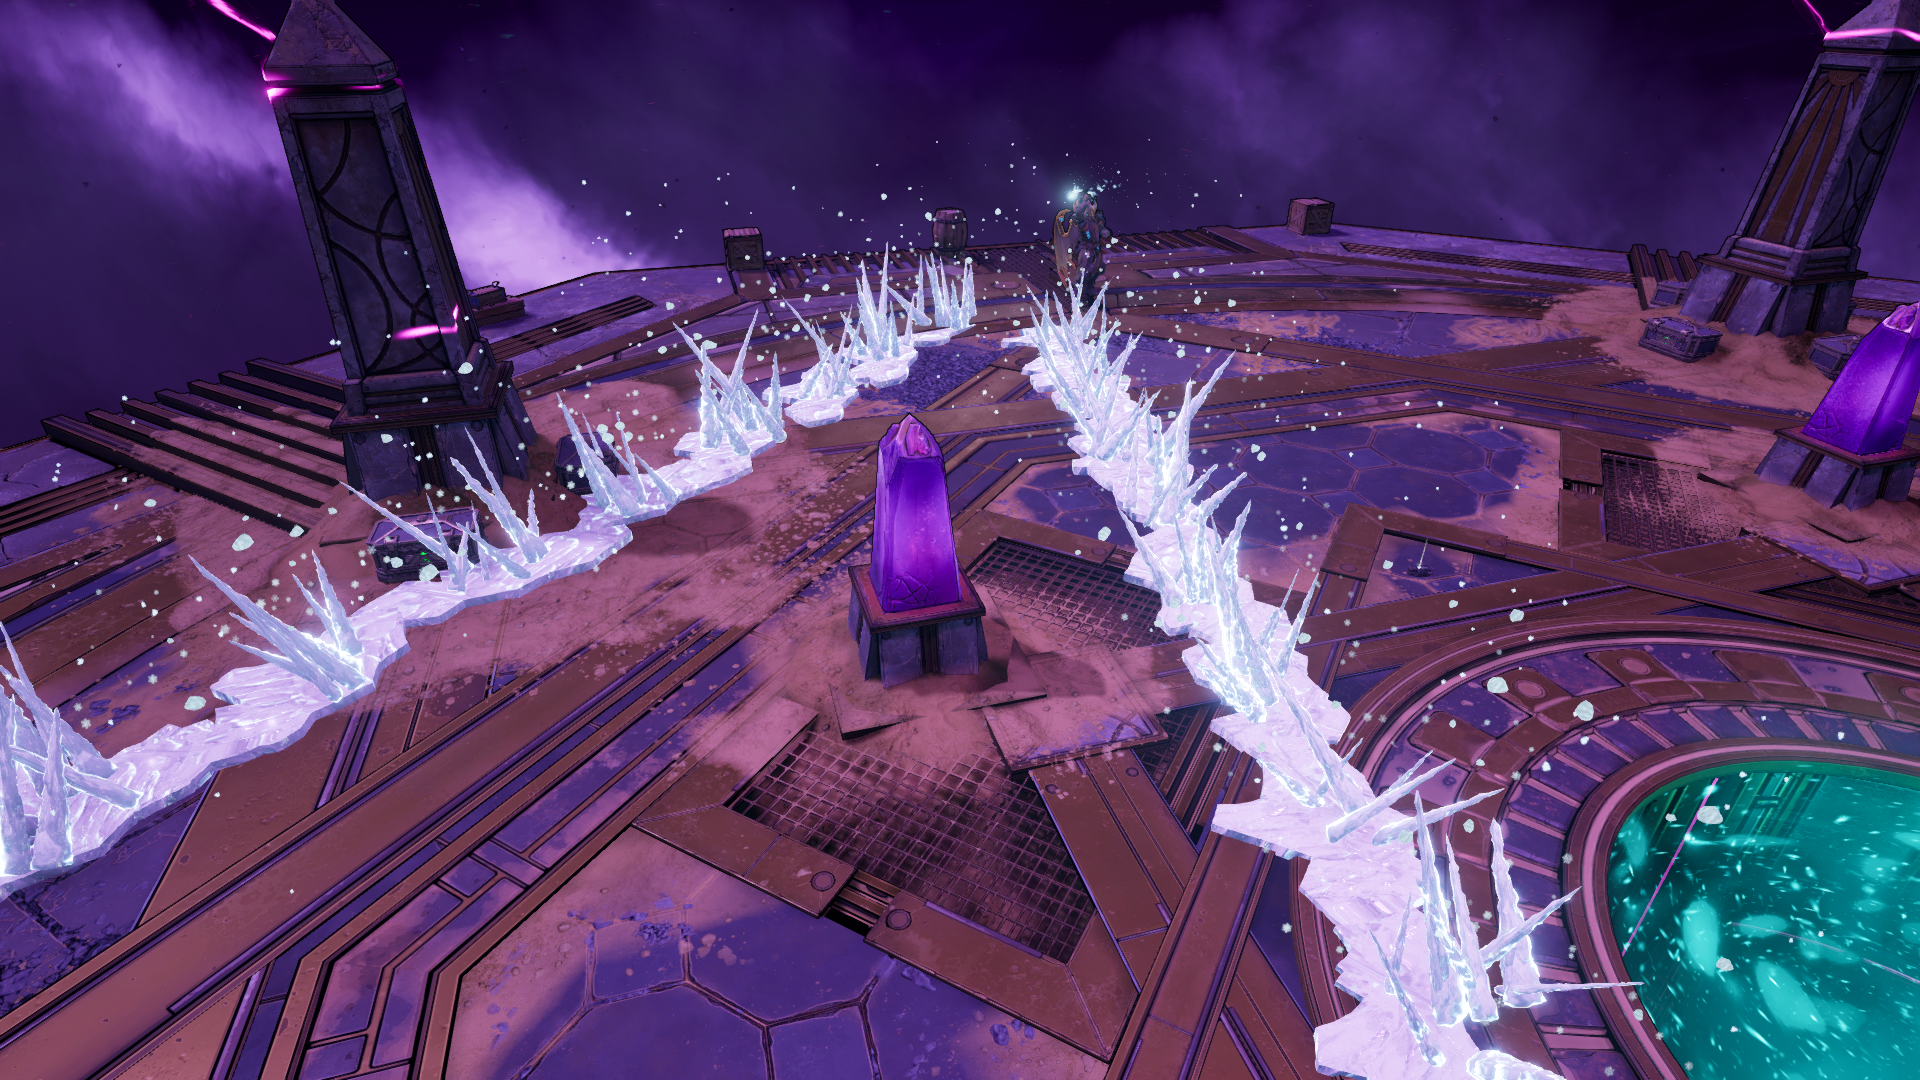
One of the Dragon Lord’s favorite phase one attacks, he underhanded a ball of ice magic, sending out two lines of spiky ice to your left, then to your right.
These lines linger for almost ten seconds, and he’s more than happy to keep attacking while they’re up and dangerous. If you stick to the middle of the arena, you’ll have plenty of space to maneuver, and you can jump over the spikes, though the spacing is pretty specific.
Attack 2: Three Purple Energy Waves
Another of Dragon Lord’s favorite attacks, he extends his sword to one side, then swipes across his front, sending out a purple wave of energy. He repeats the process three times: one directly in front of him, one to the left, and one to the right.
The beams are all at different heights, so you can duck under some of them, but your best bet is to move to the side he’s already attacked, as there won’t be another beam there in the sequence.
Attack 3: Poison Ring
The Dragon Lord jumps into the air and, upon landing, sends out a large green ring that deals Poison damage. The ring travels close to the ground and moves slowly, so jumping it isn’t hard.
The tricky part is he likes to combo this attack with others that deny you access to parts of the arena, so if you don’t see it coming, it can deal severe damage.
Attack 4: Summon Skeletons
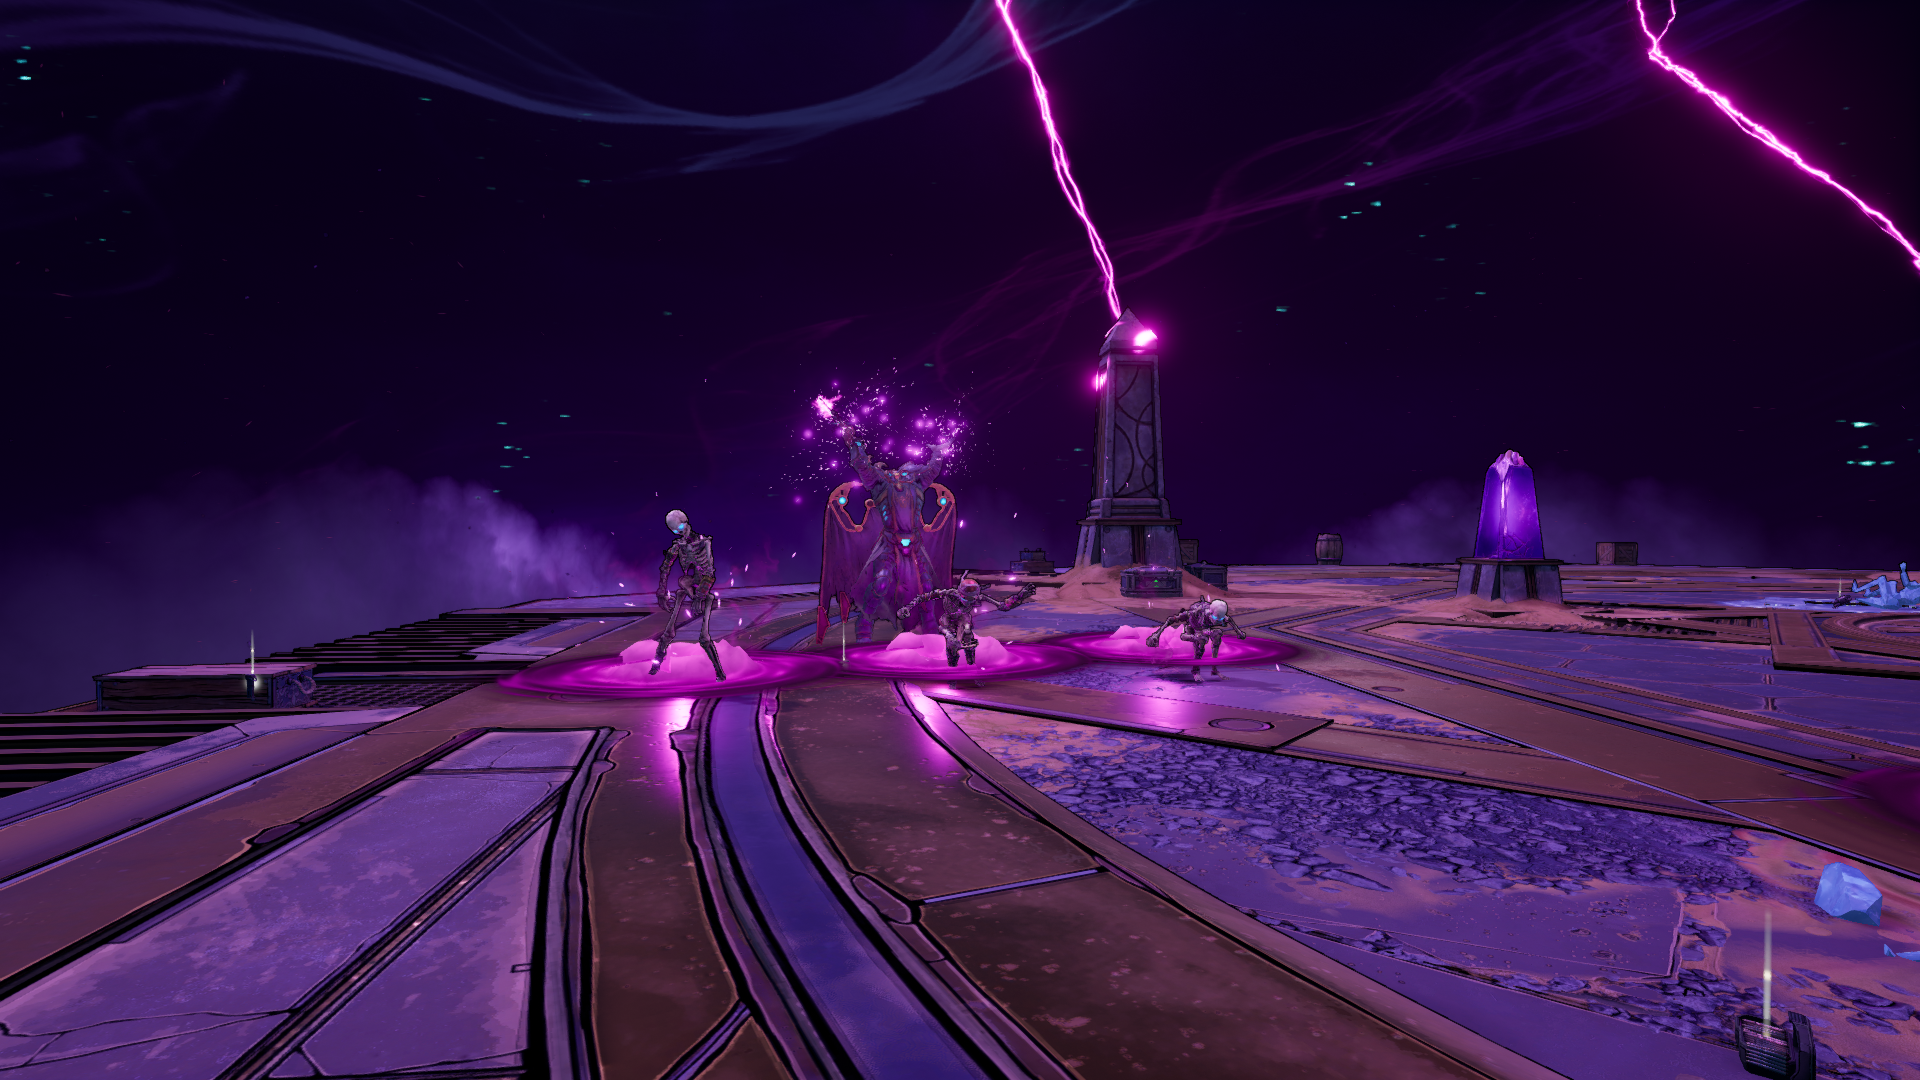
After creating deep pink ooze puddles on the ground, the Dragon Lord summons three or more standard skeleton mooks into the fight.
Neither he nor the skeletons pose any real threat during the summoning, so wail away. The attack has no other purpose, so you’re free to do damage while the animation plays.
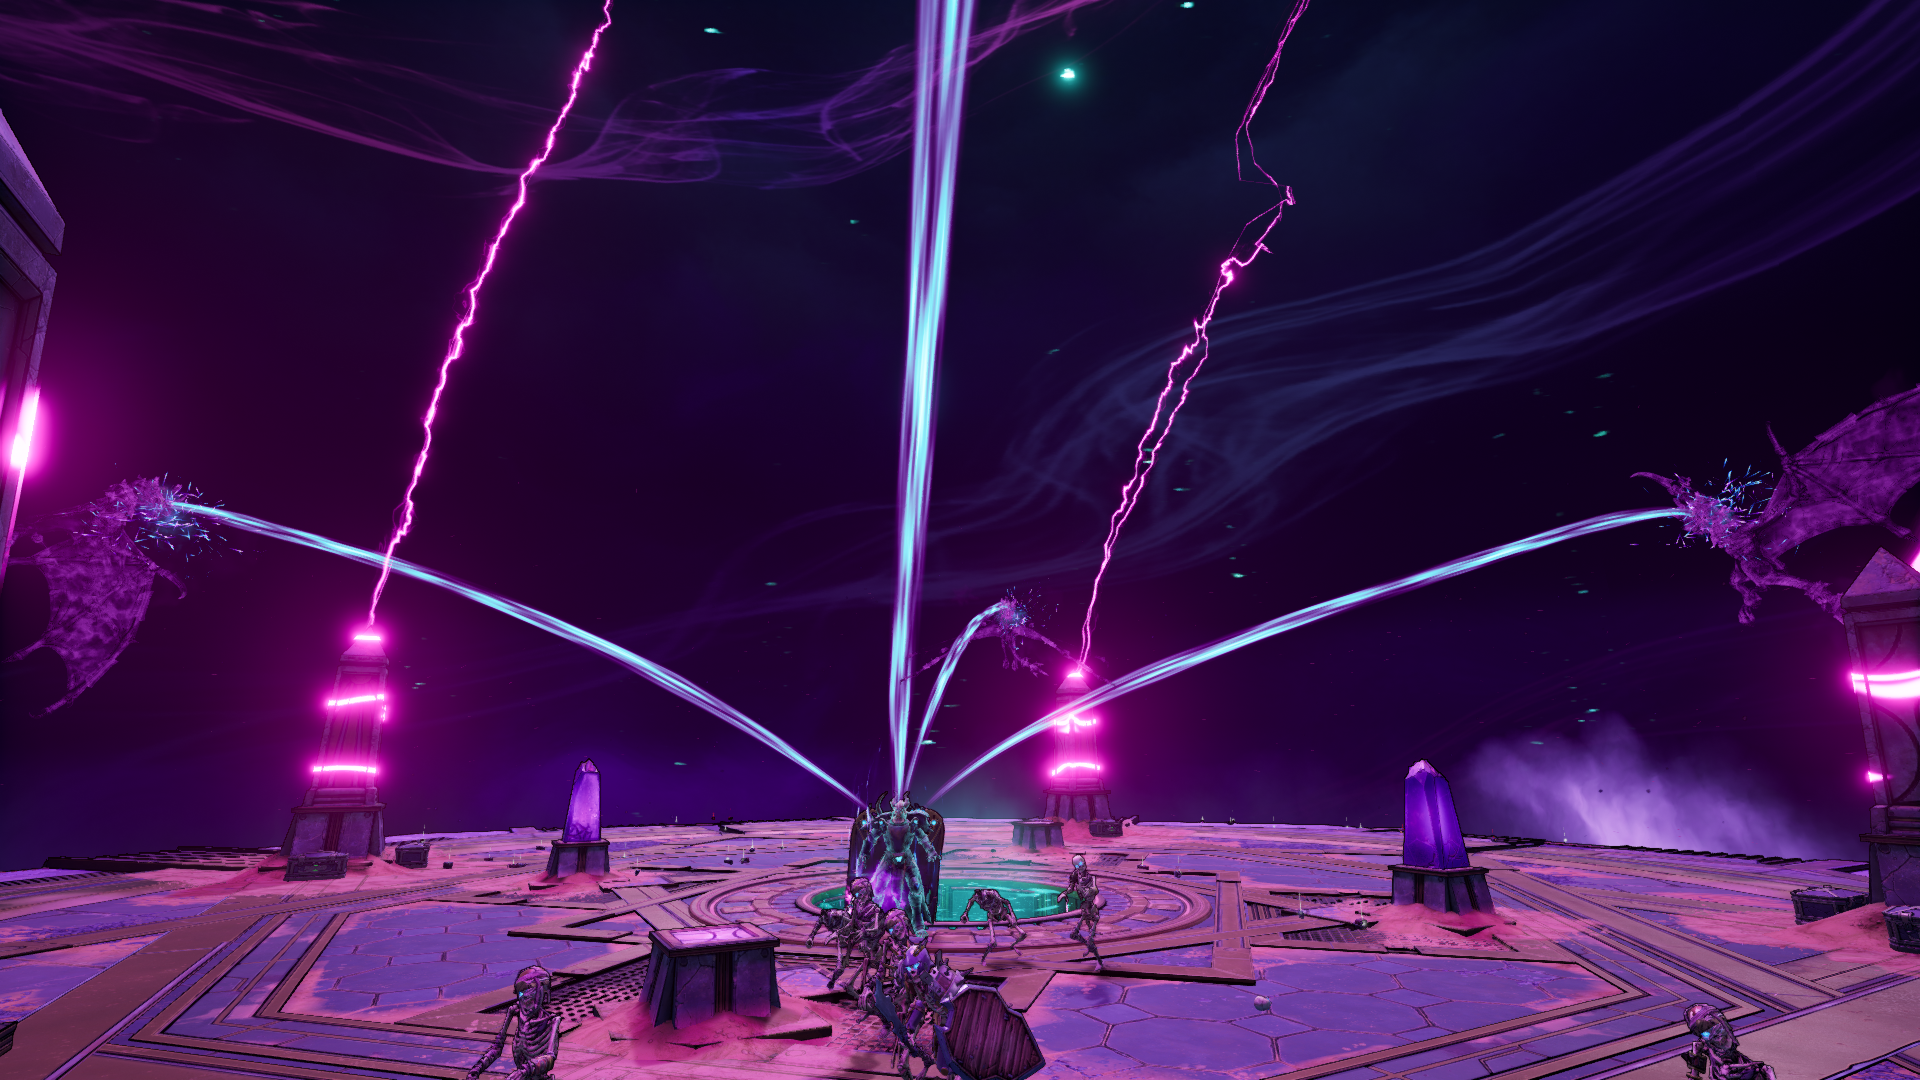
Attack 5: Activate Crystal Sludge
The Dragon Lord extends his sword, and pink energy shoots out in a line into one of the four crystals around the central green entry circle.
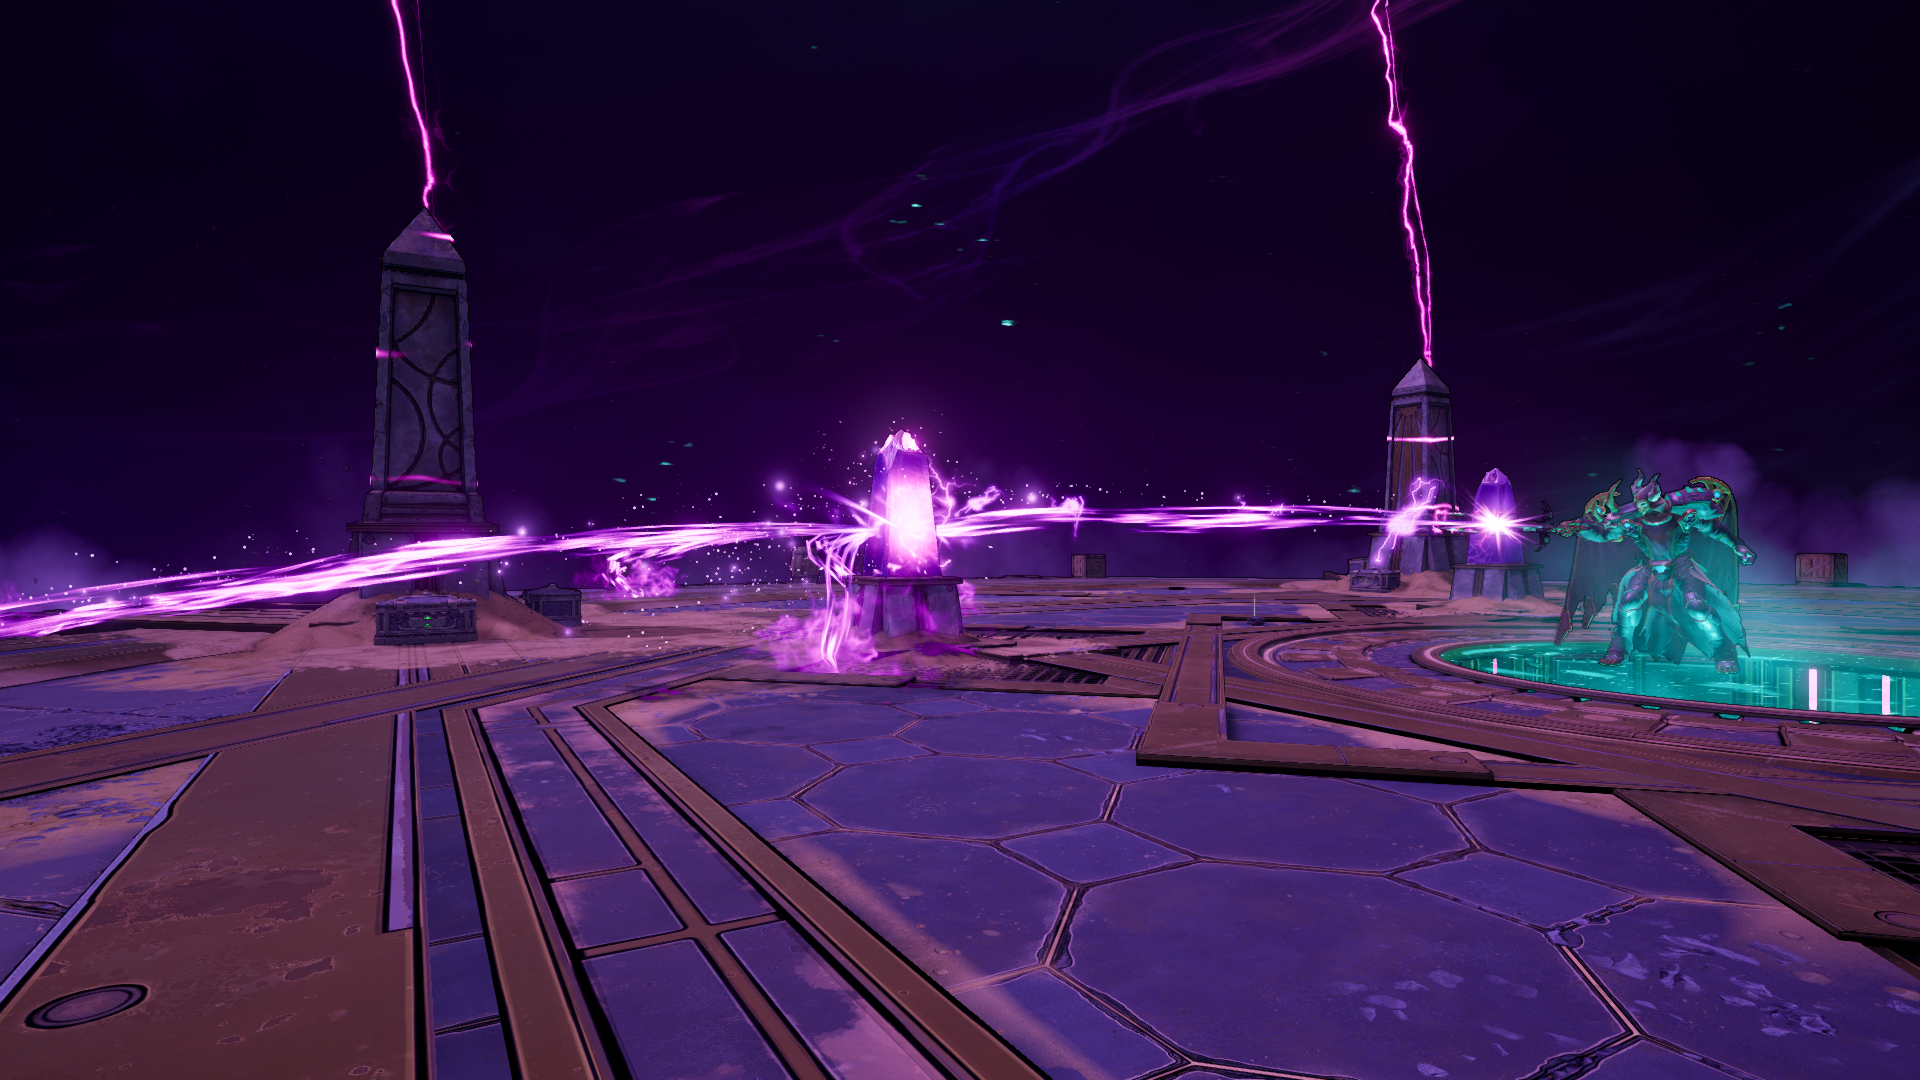
The crystal then sends out a flood of purple sludge that covers about a quarter of the arena.
This sludge deals DoT damage as long are you’re in it, but you can remove the sludge by damaging the active crystal enough.
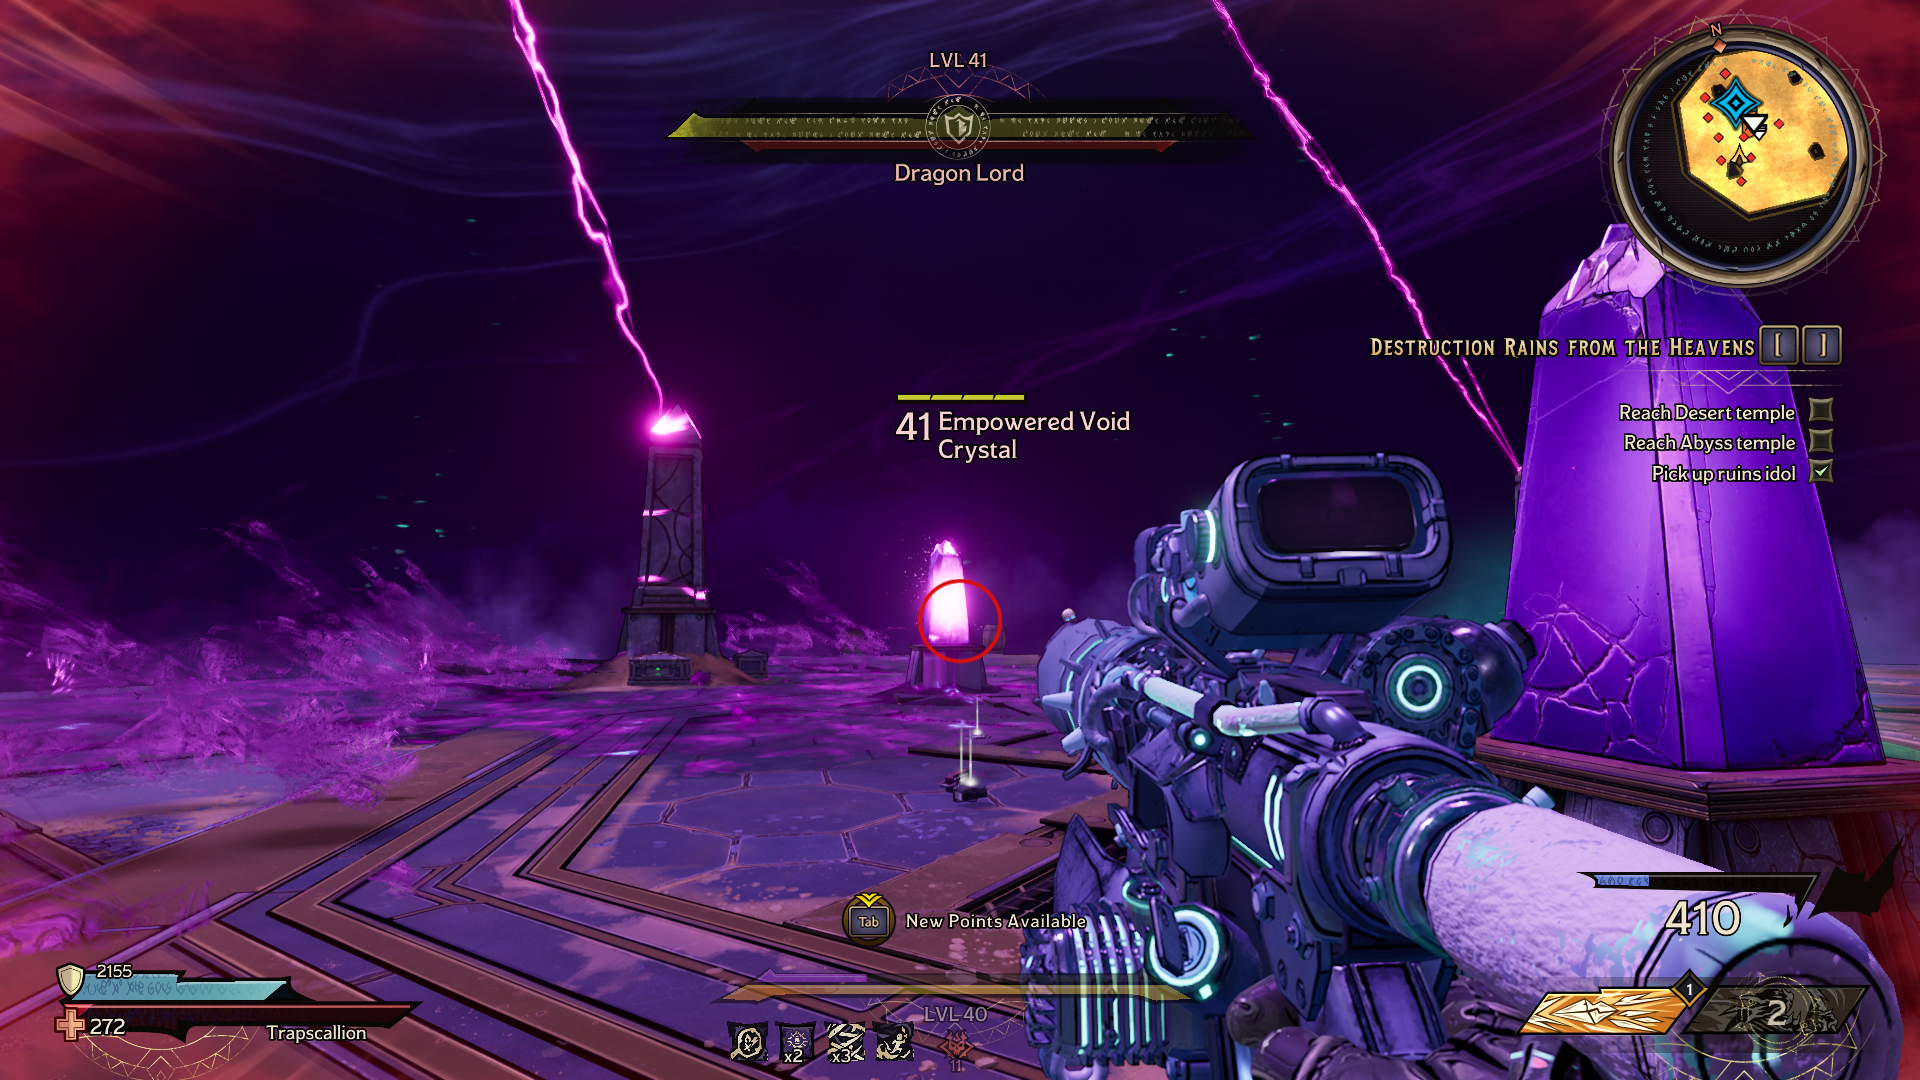
A health bar will appear over any activated crystal, and they don’t take too much to turn off.
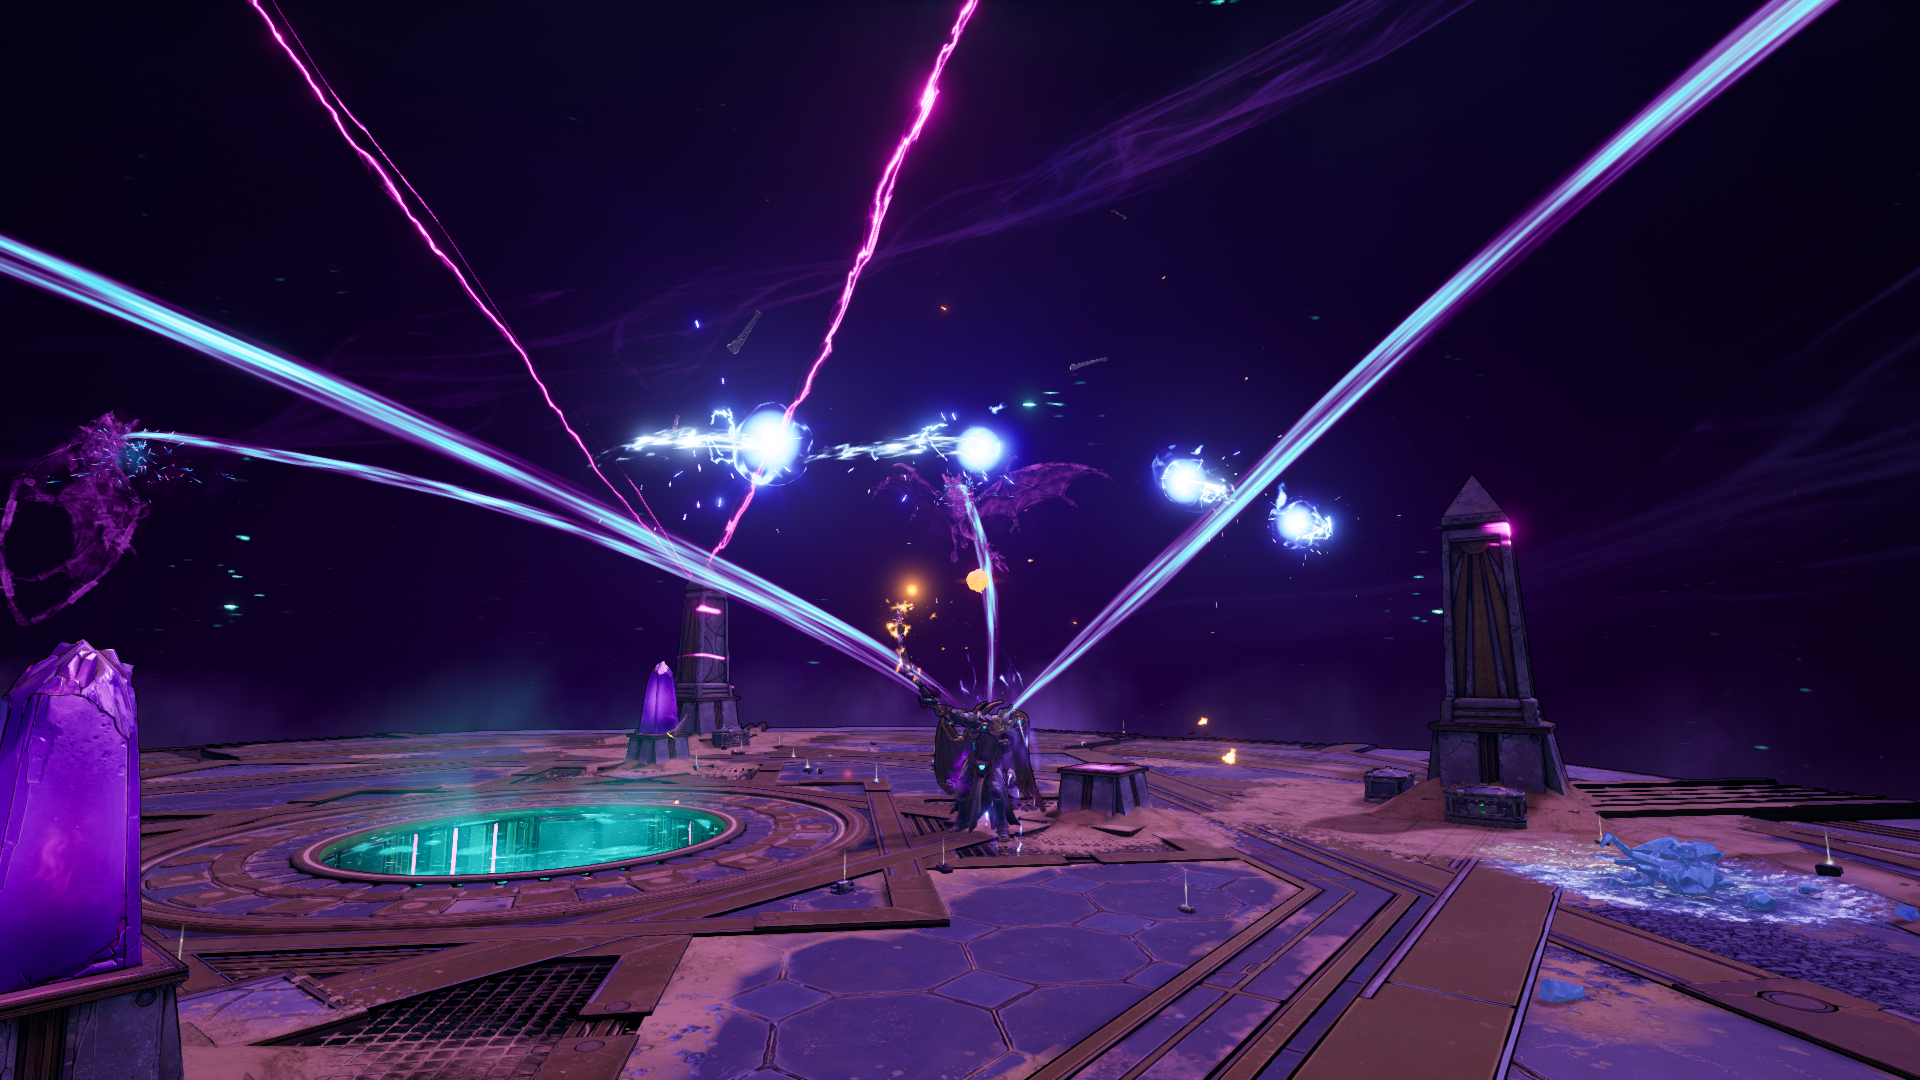
Attack 6: Wyvern Cavalry Charge
After depleting the Dragon Lord’s first health bar, he’ll start teleporting out of the arena and summoning four lines of purple energy Wyverns.
The line extends to both ends of the space, but with a few well-placed bullets or spells, you can destroy any or all of the Wyverns, buying yourself a free way out of the attack.
Attack 7: Empowering Wyverns
The Dragon Lord teleports to the middle of the arena and summons four more spirit Wyverns that channel energy to him. This doesn’t refill his shields but does grant him two new attacks.
You can kill these Wyverns to stop the new attacks and send the boss back to his previous patterns.
Attack 8: Shock Energy Balls
Waving his sword over his head, the Dragon Lord sends out four slow-moving balls of Shock energy. These circle around him for about ten seconds, and coming into contact with them will deal a big chunk of damage.
Attack 9: Spiky Ball of Fire
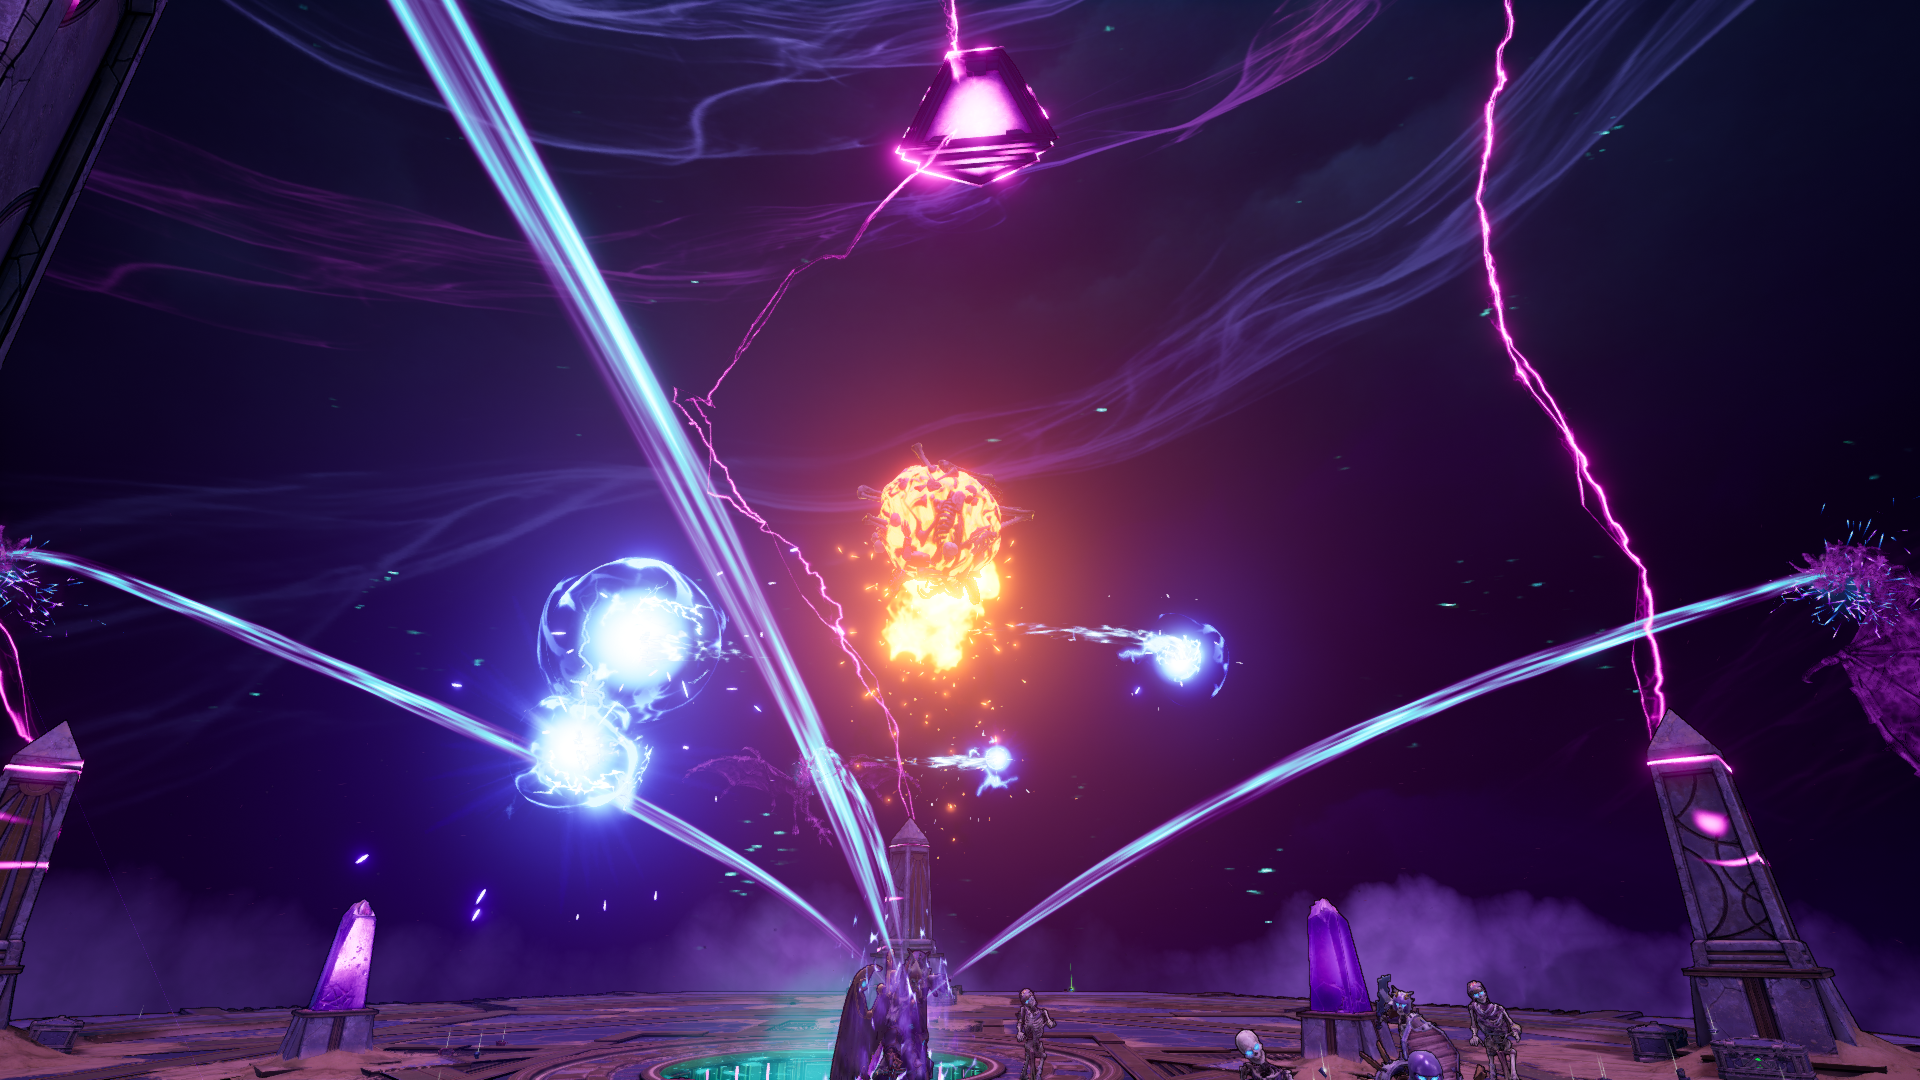
As long as the energy Wyverns are empowering Dragon Lord, he can summon a giant, spiky ball of molten metal that he will proceed to throw at you.
The ball doesn’t move quickly, but its hitbox is slightly larger than the model, so take care not to be anywhere near the thing when it lands.
Attack 10: Summon Giant Skeleton Hands
As you close in on the end of the Dragon Lord’s first health bar, he summons a small, stony barrow from which erupts a giant skeleton hand. The hand spends its time slamming the area around its barrow, effectively creating a no-go zone on that side of the arena.
Avoiding the skele-hand is a matter of not being near it, as the slams are random and far faster than you’re likely to give them credit for.
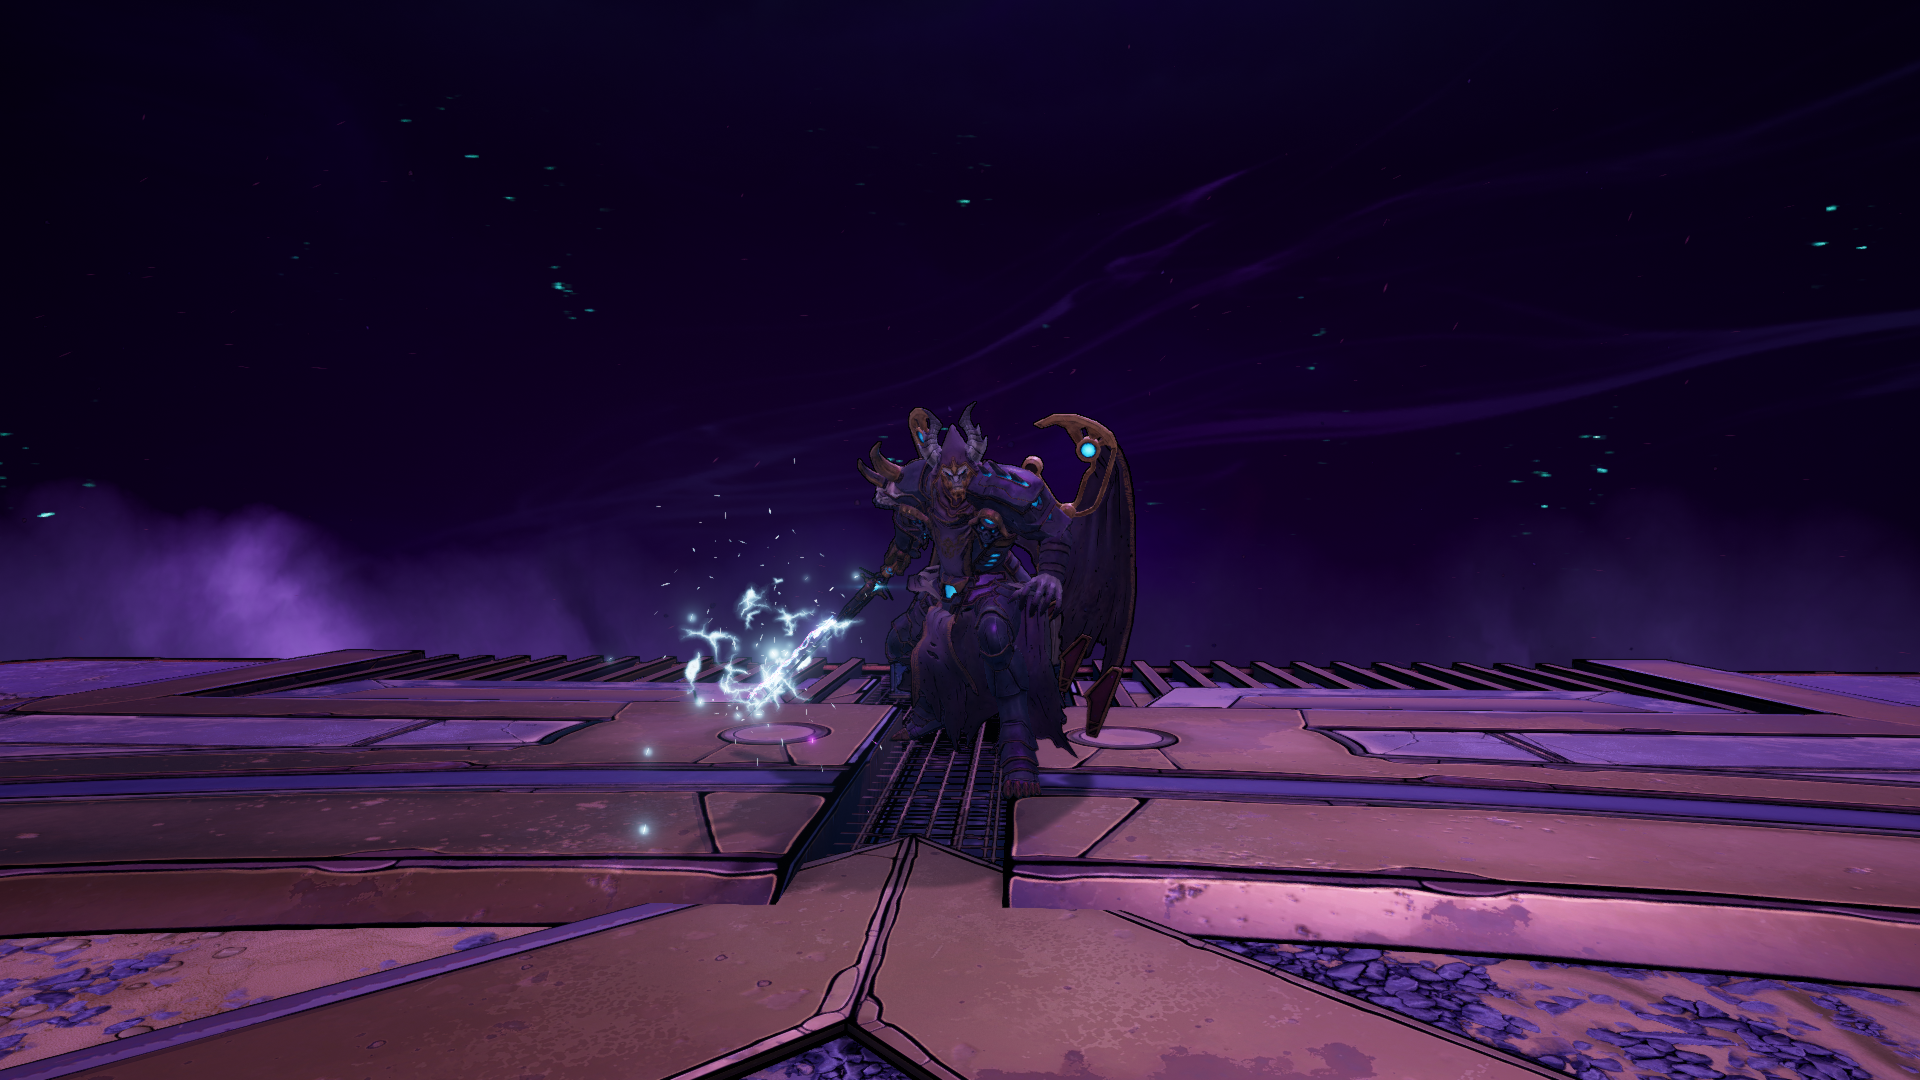
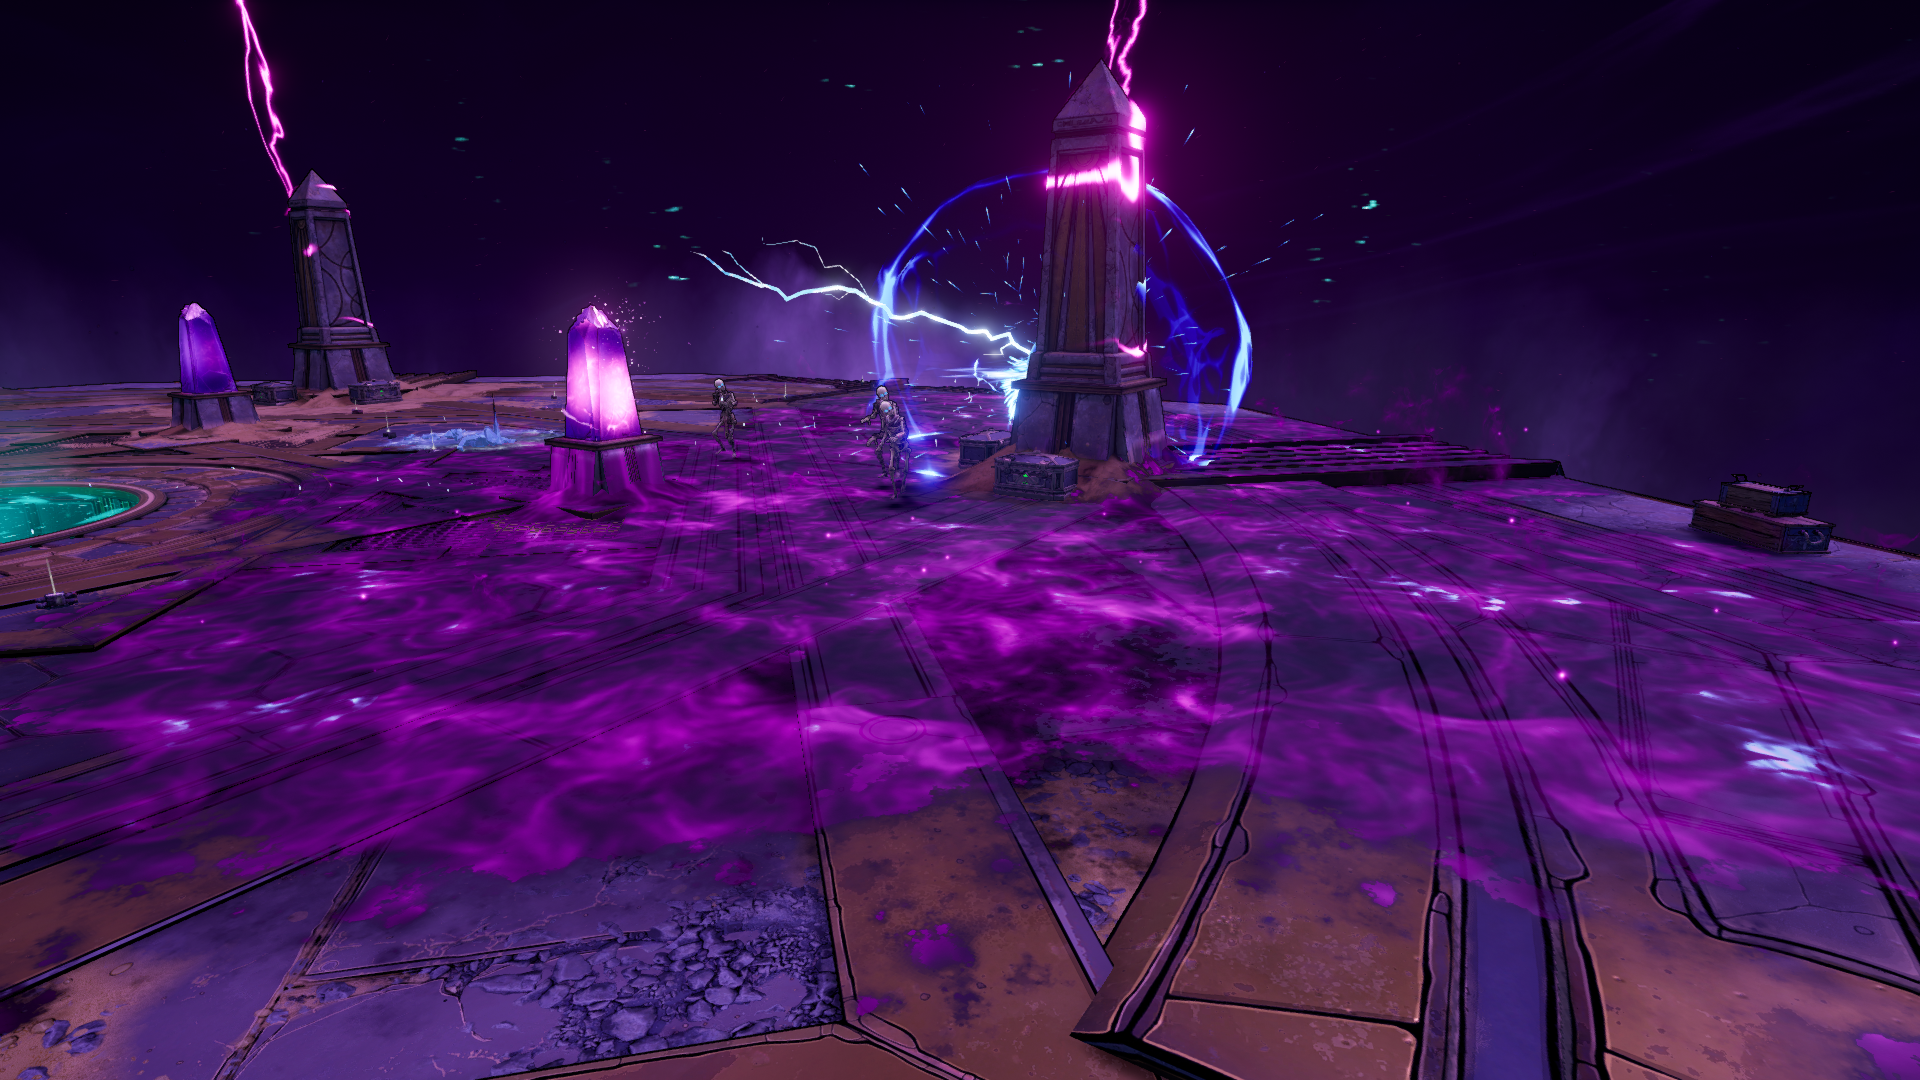
Dragon Lord Phase Two Attacks

Once you deplete the Dragon Lord’s first set of health bars, he retreats into two skele-hands, then transforms, gaining wings.
Rather than summoning skeletons, he’s surrounded by Reanimated Wyverns that breathe fire and swoop down to attack of their own accord. He is also much more melee-focused, with only two magic attacks he uses pretty infrequently.
Attack 1: Purple Energy Swing
The Dragon Lord will fly up to you and raise his sword over his head, charging it with purple energy, then make an underhanded swing that arcs back up into the air.
There’s a slight angle to the attack, so if you jump slightly to the left of the swing, you can avoid being hit. He has a horizontal version of this attack that combos into the vertical slash. The opposite can also be true, with the vertical going into the horizontal.
Attack 2: Frost Slam
After flying a bit back and upward, the Dragon Lord slams his sword down in a large explosion of Frost. The slam travels a significant distance and will track you, so your best bet to dodging it is to jump back just before the attack lands as you strafe to either side.
Attack 3: Poison Slam and Ring
The Dragon Lord rises into the air a bit, then slams his sword down into the floor, releasing a small explosion of Poison energy and sending out a ring of the same.
You dodge this ring of Poison the same way you did in the first phase: jump over it. The initial slam and explosion don’t track, so when you see the attack coming, get out of the way and start hopping.
Attack 4: Three Swords and Beams

Raising his hands into the air, the Dragon Lord summons three purple energy swords and swings them down in front of him. The swords neither track nor have anything resembling range, so take a few steps back to avoid the blades themselves.
The swords also send out small energy beams that travel about halfway across the arena. You’ll need to avoid these too. A quick step to the side is more than enough.
Attack 5: Summon Bernadette
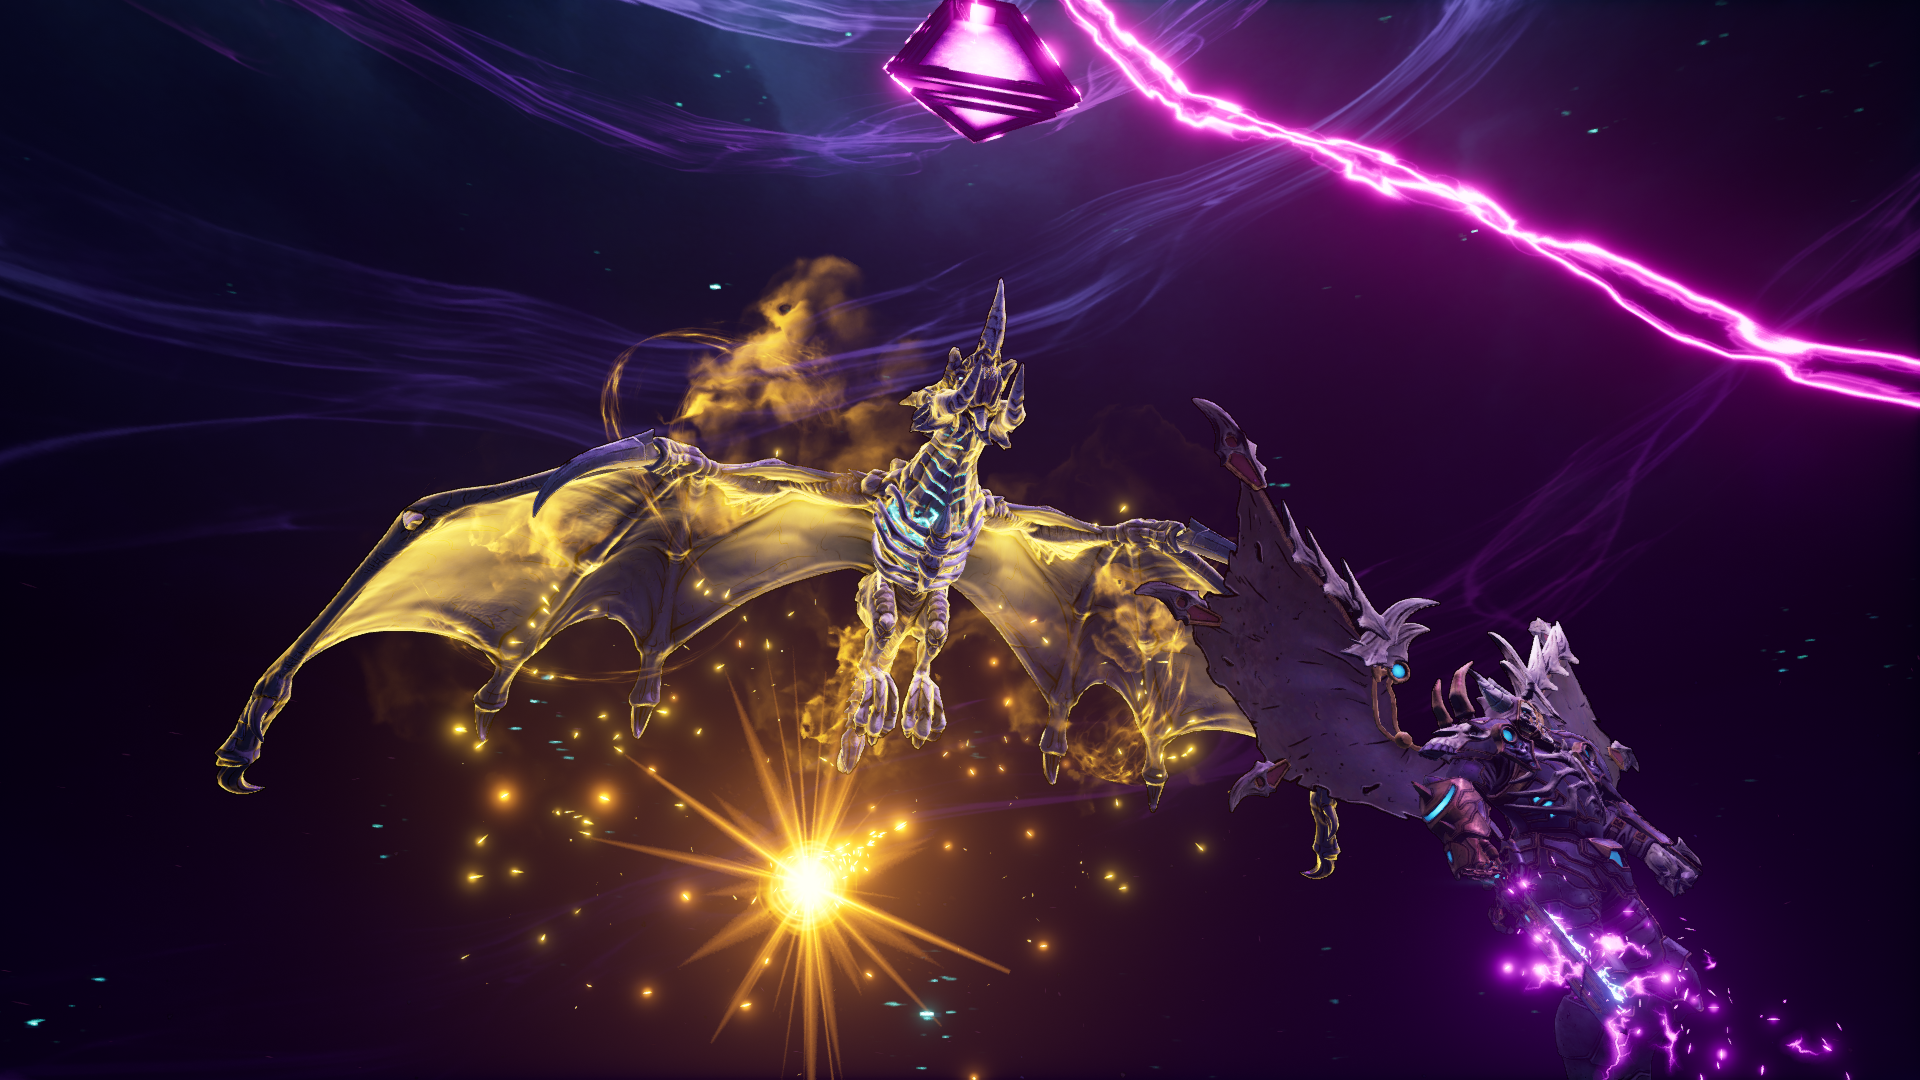
One of the jokes leading up to the Dragon Lord fight is Tina retconning his backstory to love someone named Bernadette. The villain is less than pleased, but because he lacks complete control at that point, suddenly, this person exists and is vitally important to him.
As it turns out, she is. After you deplete the first of his two health bars in his second phase, he summons Bernadette, the Dracolich. She’s an enormous undead dragon who connects to the Dragon Lord via a tether of yellow energy.
The Dragon Lord becomes immune to damage every 25% of his final health bar, and you’ll need to remove a quarter of Bernadette’s. This process repeats every 25% until Bernadette dies, at which point the Dragon Lord is vulnerable to a final defeat.
Those are all the his attacks when you fight him in Tiny Tina’s Wonderlands. He doesn’t gain anything additional when you fight him again through either the Chaos Chamber or on higher Chaos Modes.
Thanks to his many immunity phases, Dragon Lord isn’t a great boss to test your build unless you’re looking to see if you can sequence-break him and do so much damage you skip his transitions.
Check out our Wonderlands guides hub for additional boss guides and other content while you’re here.


Published: Apr 16, 2022 09:00 pm