
Orendi is a 4-armed witch in Battleborn who is absolutely insane, and I love it. She’s quick and deals a lot of damage, but also has low health and shields so you need to be careful.
Orendi is fast, can attack at range–though not as good as say Marquis or Thorn, and has very powerful skills. Since she is so squishy, it can be difficult to play with her at first, but she is a beast when played correctly. I’ll go over her info, helix options, and tips on using her.
This guide will cover everything about Orendi in Battleborn including:
- Orendi Info – Info on their weapons, skills, and general play style.
- Orendi Tips – Tips on their Helix, mutations, and general gameplay.
Orendi Info
Her primary attack shoots ranged energy shots, Chaos Bolts, from each of her 4 hands, 1 at a time. Her secondary attack shoots them all at once, but rate of fire is slower than her primary.
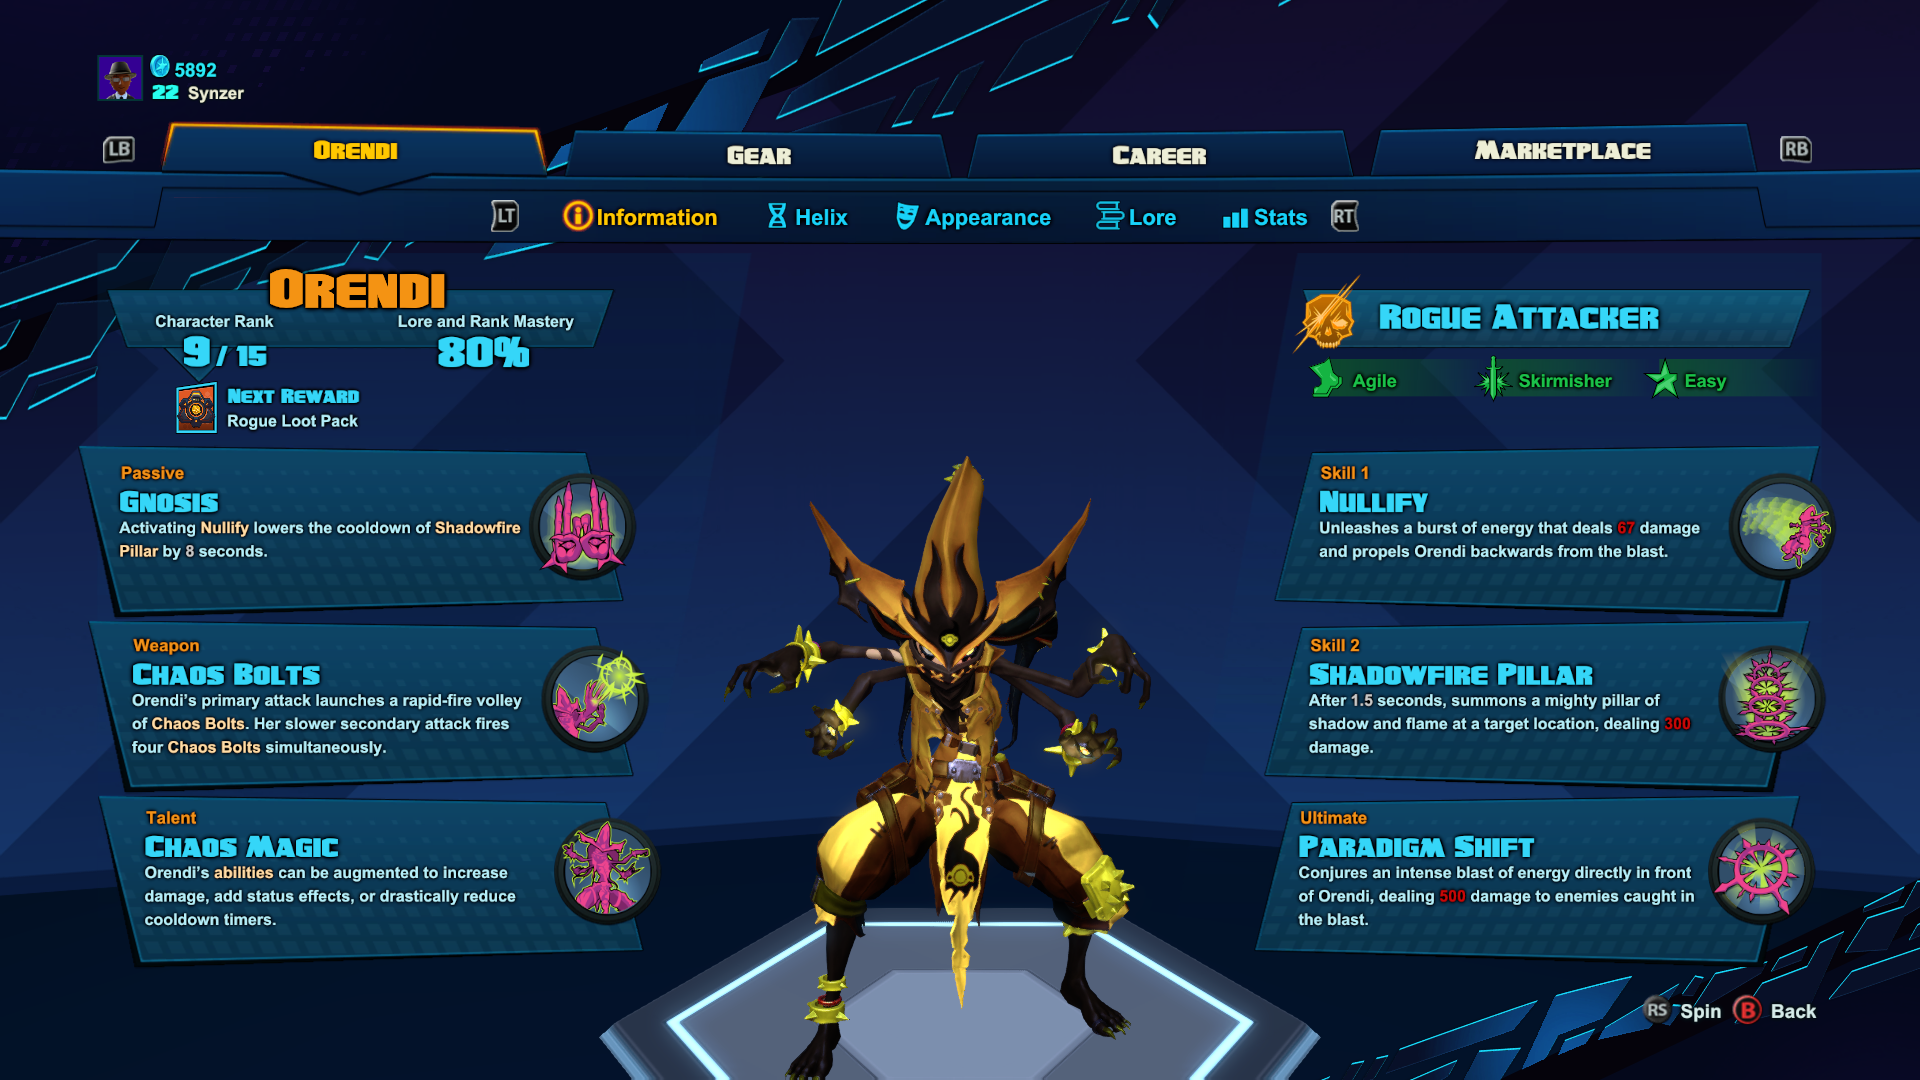
Skill
- (Passive) Gnosis – Activating Nullify lowers the cooldown of Shadowfire Pillar by 8 seconds.
- Nullify – Unleashes a burst of energy that deals 67 damage and propels Orendi backward from the blast.
- Shadowfire Pillar – After 15 seconds, summons a mighty pillar of shadow and flame at a target location, dealing 300 damage.
- (Ultimate Skill) Paradigm Shift – Conjures an intense blast of energy directly in front of Orendi, dealing 500 damage to enemies caught in the blast.
Orendi is someone who fights at a distance. Never let melee characters stay on her since she’s so fragile. She is someone who revolves around Skill Damage and constantly hitting with her skills.
Orendi Tips
Orendi’s 2 Helix styles, Chaos and Carnage, change how you play the character.
I’m going to list the Helix Options and bold the one I usually go with for each level. The first listed is under Chaos, then Carnage after. If there is a mutation, it will be listed last.
Helix
Level 1
- Fire Walk With Me – Nullify’s propulsive burst produces a trail of fire on the ground that deals 40 damage over 5 seconds.
- The extra damage is more helpful than revelaing enemies.
- Burned and Busted – Shadowfire Pillar reveals all cloaked enemies in the area
Level 2
- Dimissed – Adds a push effect to Nullify.
- This one helps with a lore challenge and is all-around very useful compared to the 1-second blind from the other option.
- I Hate Your Pretty Eyes – Nullify blinds the enemies it hits for 1 second.
Level 3
- Let’s Bounce – Being able to bounce the boomerang between multiple enemies helps a lot with this play style.
- Oh That Reminds Me – Activating Nullify immediately starts recharging shields.
- Considering how squishy she is, shield recharge is much more helpful
- Mind Bullets – Chaos Bolt’s secondary attack homes in on enemies in close range.
Level 4
- Preamble of Pain – Shadowfire Pillar deals damage over time to nearby enemies before detonation.
- I like this one because you can get some extra damage before detonating the pillar. Activating a second pillar usually won’t hit unless the enemy isn’t paying attention and it slows down your damage.
- I’d only pick the mutation if you really have a hard time hitting people with it.
- Encore – For 5 seconds after using Shadowfire Pillar, you can cast a second one that deals half as much damage.
- Instant Gratification – Shadowfire Pillar instantly activates, but deals 50% less damage.
Level 5
- Prognostication – Gnosis reduces cooldown time by an additional 4 seconds.
- This allows you to have nearly back to back Shadowfire Pillars if you use Nullify after Shadowfire Pillar.

- Prognosticombo – Shadowfire Pillar reduces the cooldown of Nullify by 5 seconds.
- Renaissance – Gnosis reduces the cooldown of Paradigm Shift by 5 seconds.
Level 6
- Nihilism – Increases Nullify’s damage by 15%.
- Shadowfury – Increases Shadowfire Pillar’s damage by 15%.
- Your main source of damage is pillar, so increase that.
Level 7
- Force of Will – Increases the damage of all skills by 15%.
- You need as much damage as you can get and the lifesteal doesn’t give enough.
- Essence Theft – All skills give 15% lifesteal, which heals Orendi for a portion of the damage dealt.
Level 8
- Rapid Deterioration – Decreases Nullify’s cooldown time by 20%.
- You main use of Nullify is to decrease cooldown of Shadowfire Pillar, so using it more often is the most helpful.
- I Hate Your Pretty Shields – Nullify’s damage penetrates enemy shields by 60%.
Level 9
- Shadowfire Storm – Decreases Shadowfire Pillar’s cooldown time by 20%.
- Still Hating Your Shields – Adds 60% shield penetration to Shadowfire Pillar.
- The first one could be useful when you are on the second cooldown, but the extra damage this one provides helps more overall.
- Chaotic Reach – Increases Shadowfire Pillar’s max cast distance by 25%.
Level 10
- Thought Rejection – Enemies hit by Paradigm Shift are pushed back and blinded.
- Reign of Chaos – Activating Paradigm Shift instantly resets Shadowfire Pillar’s cooldown.
- You want as many pillars as you can so this is what I usually use. The mutation could be useful however if there are enough enemies nearby. You’ll have to play with this one to see what you like the most.
- Pillarstorm – Activating Paradigm Shift places a Shadowfire Pillar underneath each enemy Battleborn in range.
Lore Challenges
You unlock the Orendi-specific legendary gear, Variable Morpher, for completing all the lore challenges.
It gives +6.11% Skill Damage, +85 Maximum Shield Strength, and if Shadowfire Pillar misses, the next one deals 30% more damage.
- Very Morphic Pillars – Damage 3 enemies siumltaneously with Shadowfire Pillar, 40 times.
- Shifty Witching – Deal 12,000 damage with Paradigm Shift in a single match.
- The Essence of Chaos – Use Nullify to knock enemies back into your Shadowfire Pillar, 20 times.
- This one is difficult until you get used to it. You have to cast the Shadowfire Pillar behind the enemy, then immediately hit them with Nullify to knock them into it. It takes practice to get right.
- The Eyes Have You – Deal 100,000 damage with Orendi’s secondary ranged attack.
- That’s a Very Nice Hat Trick – Use Shadowfire Pillar 50 times in a single match, 10 times.

Gear Loadout
Orendi is all about Skills, so go for Skill Damage gear, in addition to her legendary.
Shield recharge, max shields, and health can also be helpful, but try to also have Skill Damage on them if you can.
I suggest using green or blue for the other 2 slots, but the important thing to look for is activation cost. Since the legendary costs 1800, you want to shoot for the 300-500 cost range for the other 2.
Combat Tips
- Stay near teammates
- You never want to fight people alone with how fragile Orendi is, so stay with others. You can also use hit-and-run tactics.
- Predict enemy movement for Shadowfire Pillar
- Since it has a delay before attacking, many people can dodge it.
- Study your enemy and practice so you can better predict where they will go and increase your chances of landing the pillar.
- Constantly move
- Orendi can’t take a lot of hits, but she is very fast and agile. Use that to your advantage by constantly moving while you attack.
- Try to back people into corners
- The best way to hit a pillar is to make sure the enemy has nowhere to go.
- Flank them and have your teamamtes chase so that you can get them in a corner and unload your attacks.
- Use Nullify to travel and escape if needed
- Even though you want Nullify to reduce pillar’s cooldown, it can save your life if used defensively.
- By adding the push effect in the Helix, you can push melee characters away from you.
- You can also use the innate propel it gives Orendi to cross gaps and make distance between you and the enemy as you make your escape.
That’s all for my Battleborn Orendi guide. Let me know if you have any questions!


Published: May 12, 2016 10:33 am