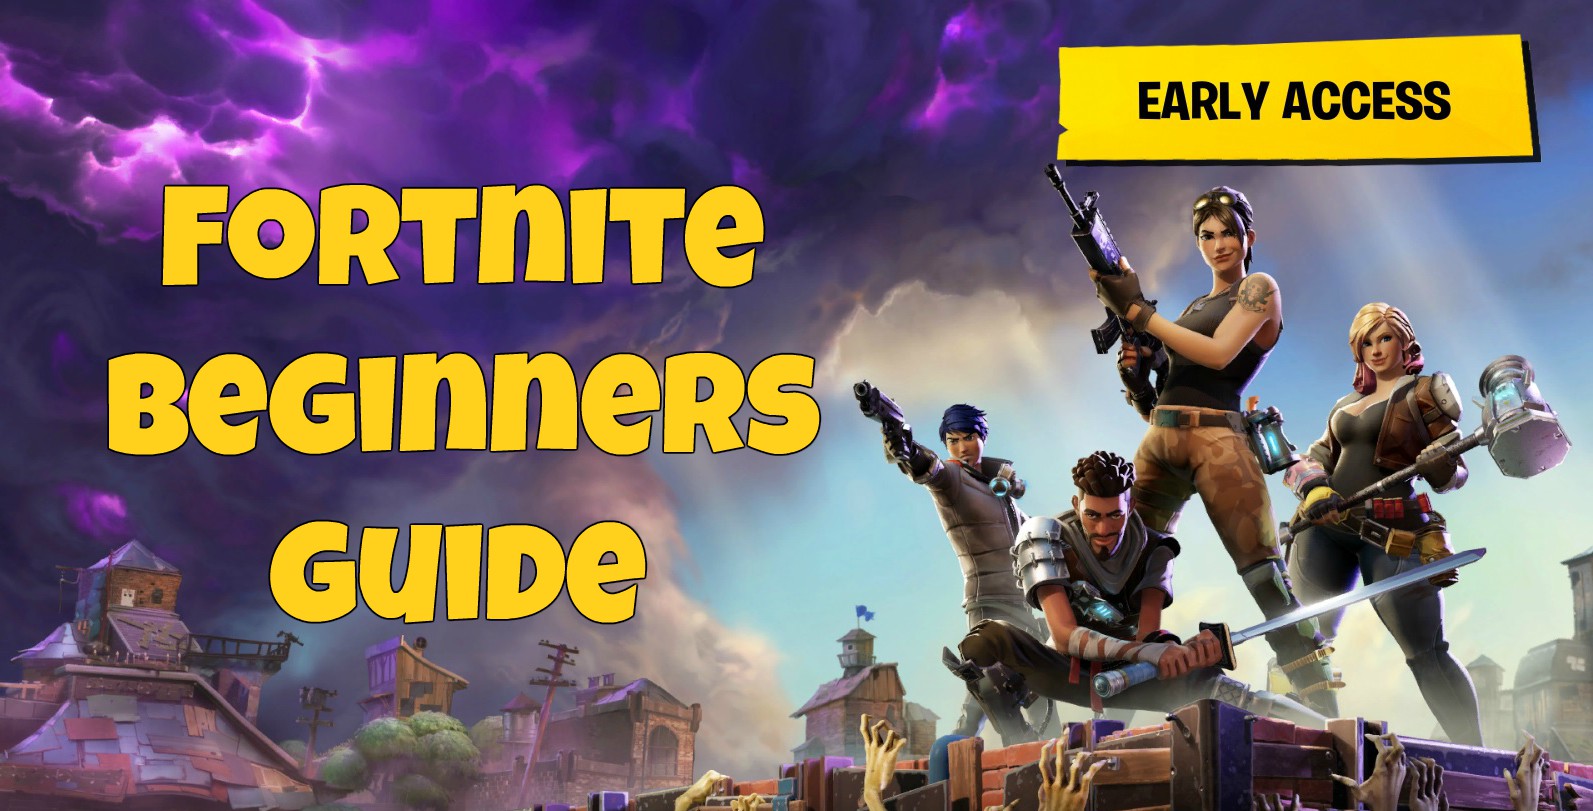
Get ready to ditch your MOBA, forget about your favorite CCG, and uninstall your online survival games, because your new multiplayer craze is about to arrive with Fortnite!
Essentially what you’ve got here is Ark meets Dungeon Defenders, but with grenades and zombies. The game is broken into three main phases, all covered in more detail below:
- Search the map and scrounge parts
- Build a base and defend against waves of enemies
- Upgrade your heroes, squads, schematics, and home base
Open beta is coming soon for everyone, but we were lucky enough to get in on closed beta ahead of time. After a whole lot of building and shooting, now we can provide you all the strategy you need when you finally get in on these husk-destroying rounds of adorable mayhem.
Get ready to score some points for reckless amateur science, which may or may not have caused the apocalypse to begin with!
 You too can help insane “scientists” float away in ill-conceived van blimps!
Collecting Phase
In the searching / collecting phase of any mission, spend as much time as you can exploring every nook and cranny of the map while destroying everything — and I mean literally EVERYTHING — to get crafting parts and building materials.
Let me reiterate: everything. Rocks, barrels, shopping carts, bridges, house walls, cars, mail boxes, shrubs, trees… if it’s not obviously the ground or the edge of the map, you should be swinging your pickaxe at it to nab some supplies.
But wait, there’s an exception! Some items can be searched first. Make sure to search these for bonus materials before you whack it to pieces with your pickaxe. While searching plants typically offer up crafting materials like Fibrous Herbs and Flower Petals, other searched objects can yield ammo or even weapons like rocket launchers.
Don’t jump the gun and immediately start the wave — instead explore 100% of the map to get an Explorer’s Badge, which increases the quality of your loot after the match.
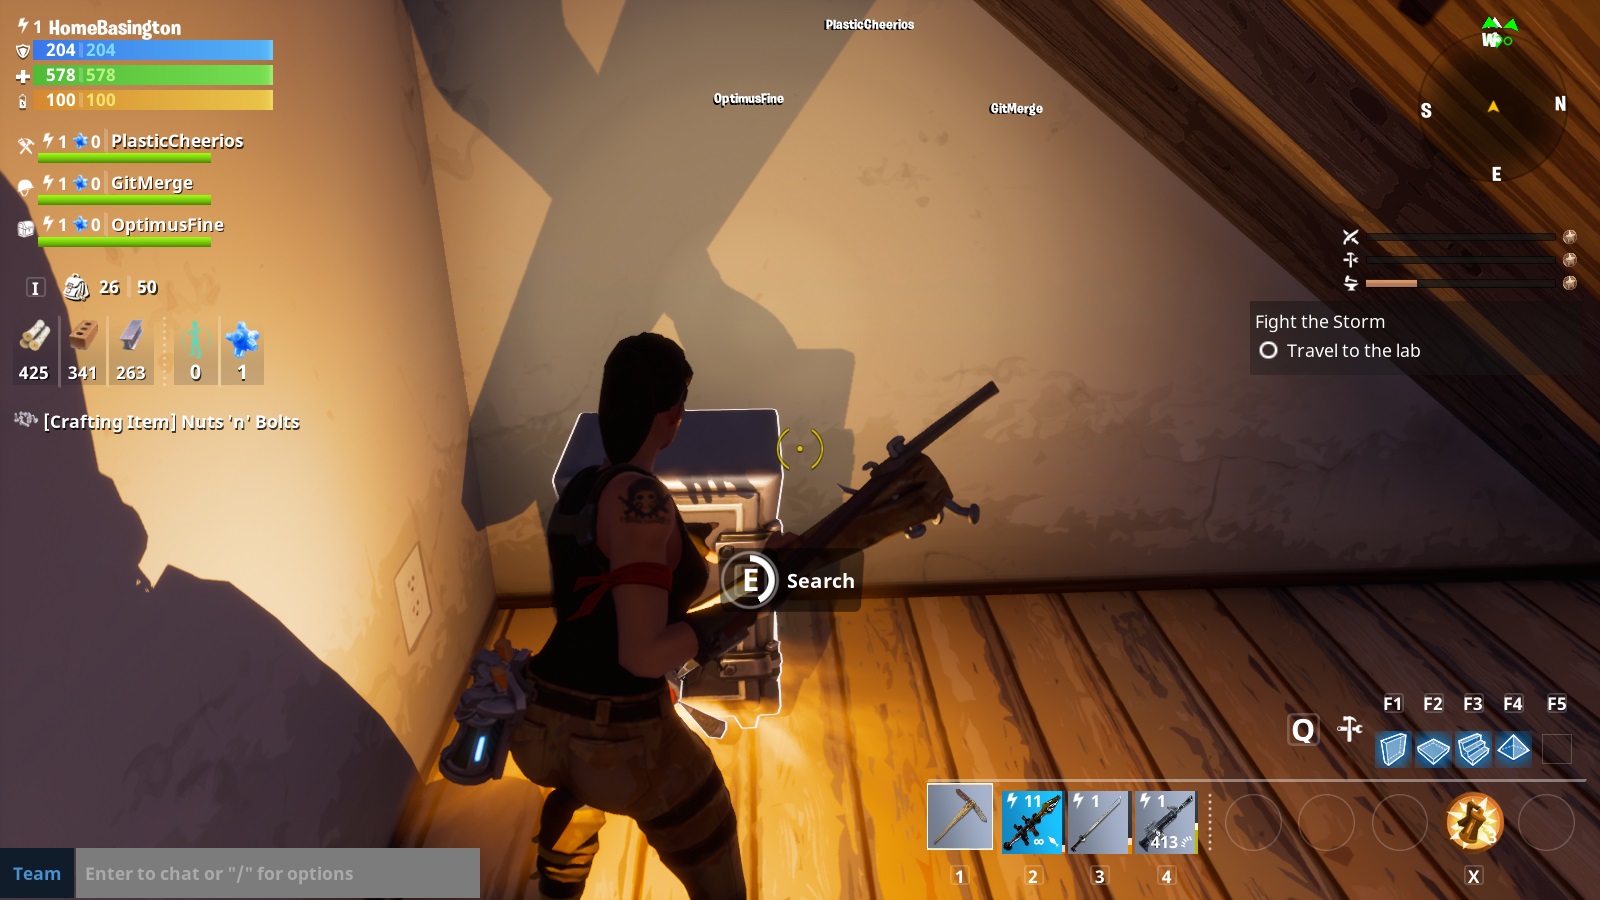 Search first, THEN bash to bits
Before the combat wave starts, craft more ammo than you think you need. If playing a ranged class, it’s not uncommon to chew through 600 bullets in a wave.
There’s two ways to do this — the slow way, and the fast way. The slow way is pulling up the inventory screen and selecting the specific type of bullet to craft, hitting C a bunch of times, and then exiting out. Besides being inefficient, it’s easy to craft the wrong ammo, since each gun doesn’t say on its stats what kind of ammo it uses.
Instead of doing any of that, return to the main screen, switch to the gun you are using, and then just hold down R. Your character will automatically keep crafting new ammo for that gun as long as you hold down the reload key and you have the components you need.
Besides ammo, weapons themselves break down over time, so keep at least one copy of every Schematic so you can build a new weapon during a round if your current one breaks.
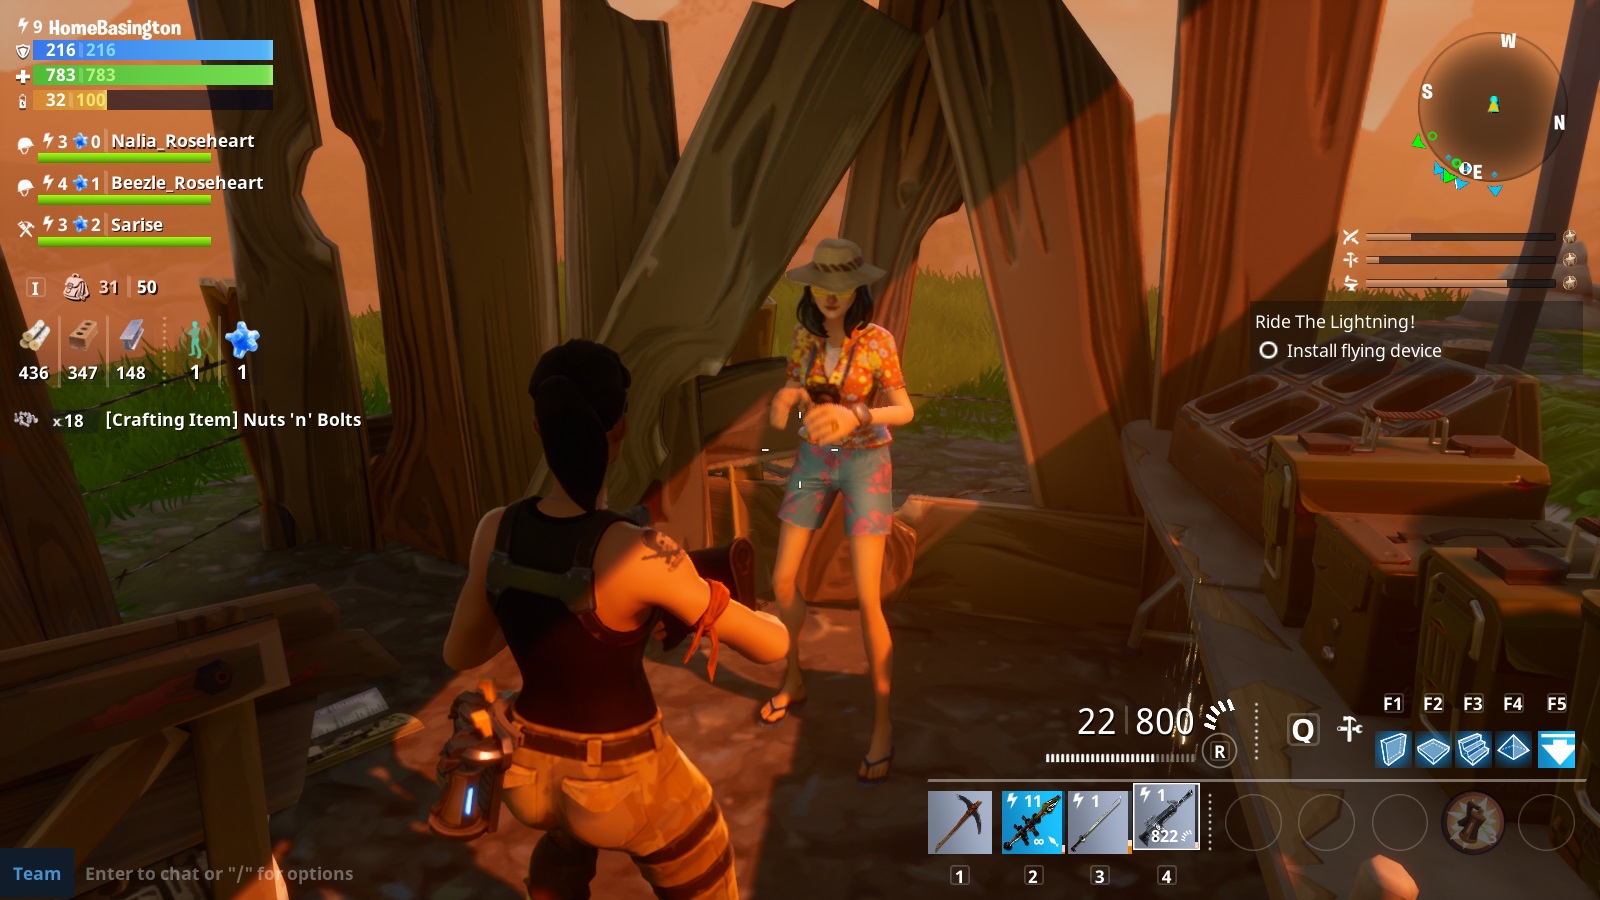
Before we get to building defenses, be on the lookout for trapped survivors, as there is usually at least one per map. Some just have to be found and talked to, while others have to be defended against zombies before they will give you the time of day.
After rescuing a survivor, everyone in the match gets a player-specific item that can’t be picked up by anyone else.
Defending Phase
When you complete the map’s starting objective (turning on a machine, powering up a vehicle, finding a base location, etc.) your team can finally start building a base.
First and foremost, take a look at the mini-map before you place any structures or traps. Purple clouds indicate where the enemy will come from during each wave. There’s no point in building traps in the wrong direction where they’ll never be sprung.
Remember that metal structures can take the most damage before falling (switch between material types by right clicking), but if you’re low on supplies you don’t always need metal on the floor panels and wood or brick will do just fine.
Always surround your primary objective with walls (don’t forget a door on one segment), then build traps outward. Hit T to switch to traps, but don’t forget you have to craft them first from the inventory menu before they will be available to place.
It’s also a good idea to build a low wall of just one line immediately before your floor traps to stop enemies and give you some cover. Wall traps can then be placed on the outside to take down enemies before they get into your main defenses.
You can build multiple floors of a structure using walls, which can be nice for having a high vantage point for ranged combat before the wave of husks even gets close.
 Defending a base location
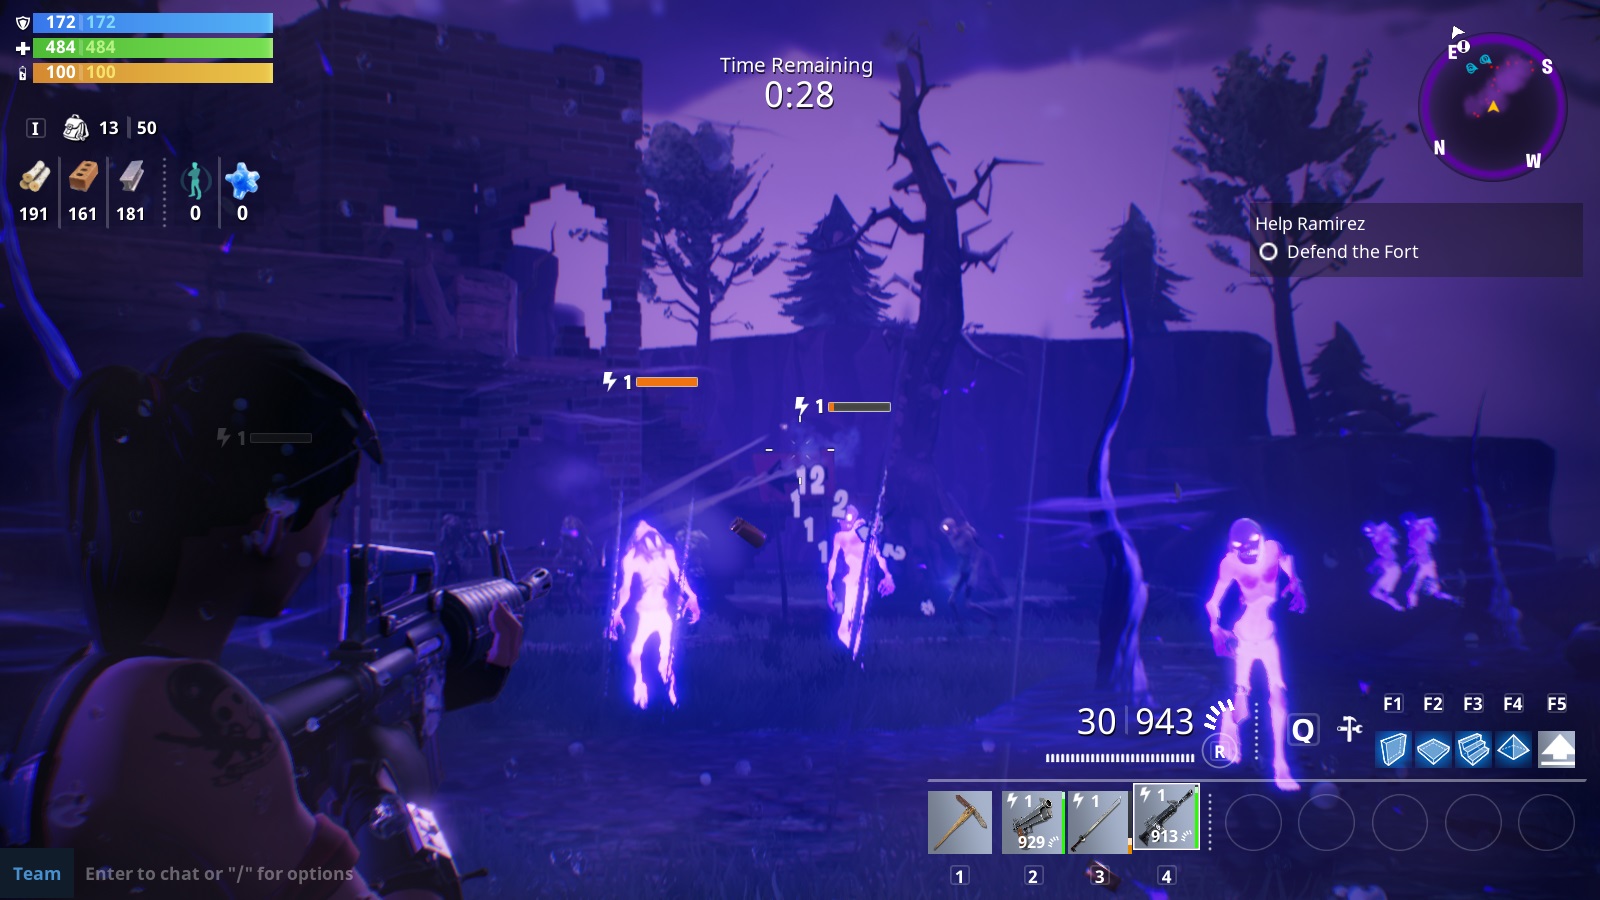
Now hit that switch and get ready for the fun! During combat, use your special abilities like grenades routinely, and if you are use a ranged character, aim for head shots to deal bonus damage. Multiple head shots in a row offer bonuses.
The normal Husks aren’t much of a threat, but be on the lookout for the Pitchers, who throw ranged bones, as well as the larger and slower moving enemies who deal much more damage.
Lobbers are the main threat in the early game to your base, as they will throw flaming skulls over you to hit whatever you are defending. Make sure to put a roof over your base to keep it safe, and go out of your way to kill long range Lobbers first.
During a wave, always strive for bonus objectives (don’t build more than a certain number of items, don’t let the base take X amount of damage, and so on) to get better loot drops after the mission!
If any Husks get through and start tearing down your base, you or other members of the team can repair objects on the fly by holding down the F key. You do need resources for repairing, but don’t forget you can still harvest even during a combat wave.
 Wait a minute, when did Borderlands suddenly invade this game?
Upgrading Phase
You’ve defended against waves of the undead, and now it’s time to spruce up your roster before moving onto the next quest.
Make sure to hit the Loot tab and destroy all your a reward llamas to get new cards and earn Hero XP, Survivor XP, and Schematic XP. Yep, they all take different kinds of experience to level up, and they are assigned randomly as you get reward llamas or unlock loot chests.
Head over to the Armory to improve your Heroes, Schematics, and Survivors, or if you have too many of the same card, just recycle them to get some resources back. Although this isn’t clear from the menu, you can’t change your currently active Hero from that screen, and instead need to back out and hit the Heroes tab to change your primary Hero and select squad bonuses.
How you choose to level up is half the fun of the game, but in general you’ll want to increase the effectiveness of your most frequently used traps, upgrade whatever main Hero you prefer to use, and bump up the level on any weapon Schematic you find yourself wielding most often.
For bonus abilities, you can evolve your base Heroes when they hit certain levels and gain certain skills — navigate to the Bonuses tab to see what’s available and what requirements need to be met.
Next up you’ll want to change your Squad lineup by swapping out Survivors. This isn’t spelled out on the Squads screen, but you have to actually unlock each type of Squad from the skill tree first before assigning during a mission.
When building Squads, keep in mind that Survivors have personalities like Adventurous or Pragmatic – keep all the Survivors in a group to the same personalities for bonuses to damage, shield regeneration, and ammo recovery.
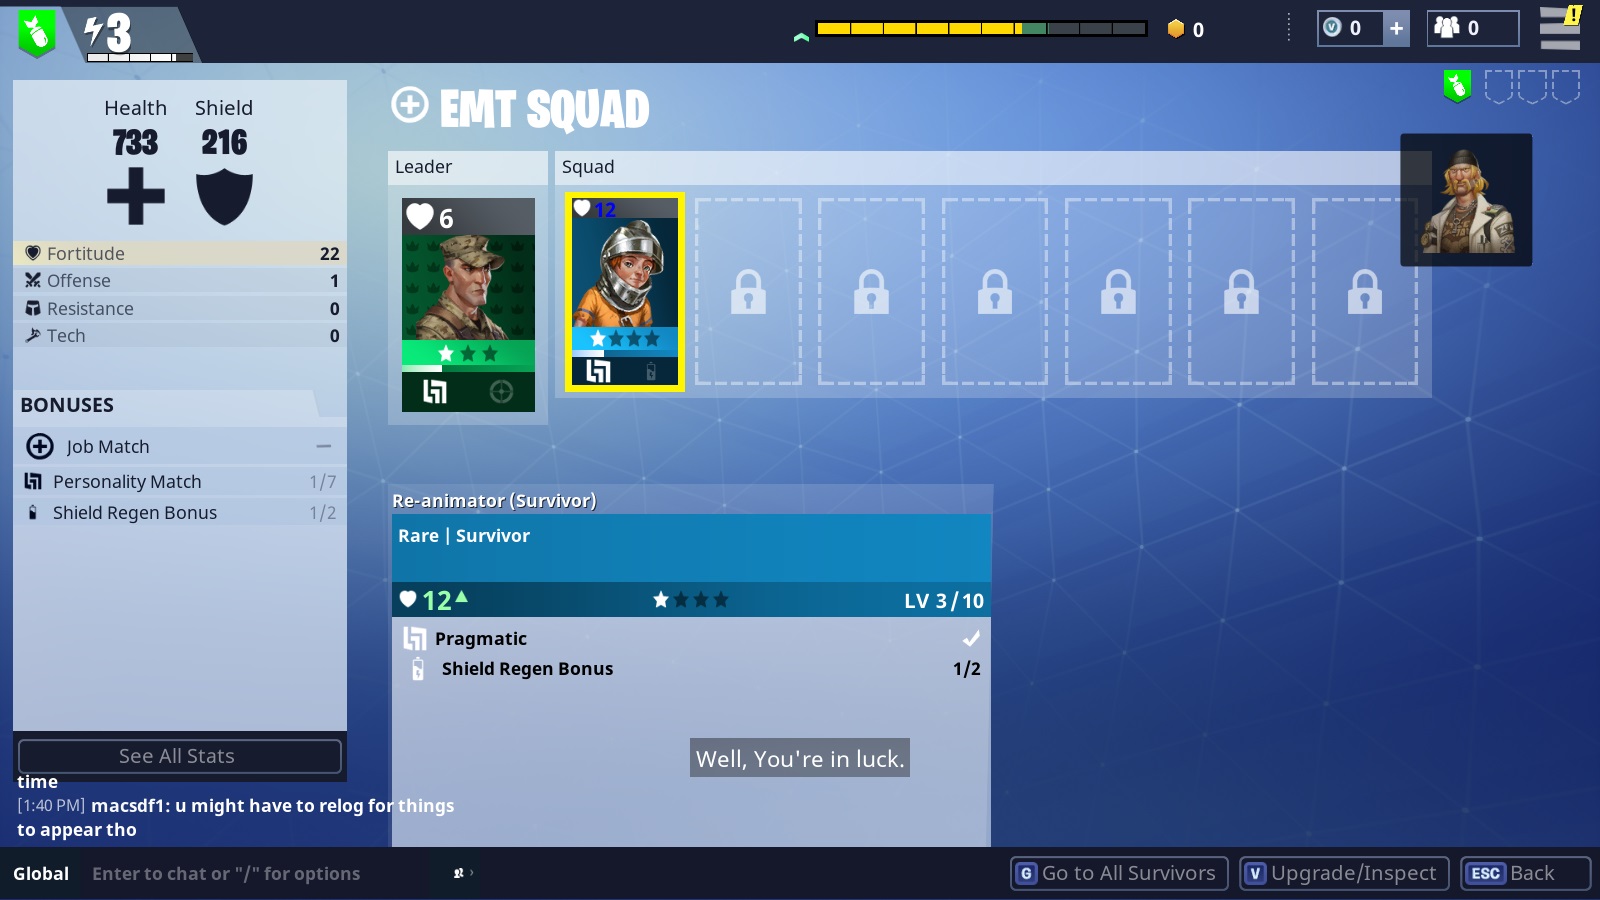 Putting together an EMT Squad
Got any other tips for staying alive as a Fortnite newbie? Let us know in the comments section, and stay tuned for more guides covering the full class break down, proper base design, and plotting out your skill and research trees!


Published: Jul 21, 2017 05:27 pm