Finding all of the Cyberpsycho sighting locations in Cyberpunk 2077 is both long and hard. You’ll be taken all across Night City, hunting down minibosses at 17 different locations. After beating the minibosses in all 17 areas, you’ll receive the “I am the Law” achievement/trophy for your troubles.
Some locations also require you to complete certain story missions, so while some become available in Act 1, it’s best to leave this chain of encounters until after you complete Cyberpunk‘s main story to clean them all up at once.
Additionally, Regina will ask you to take all of them down in nonlethal ways. However, there doesn’t seem to be any different result if you choose to gun down every Cyberpsycho instead. If you wait until the end of the game and completed the story mission requirements, you can do these in any order you choose.
Cyberpsycho Sighting Locations
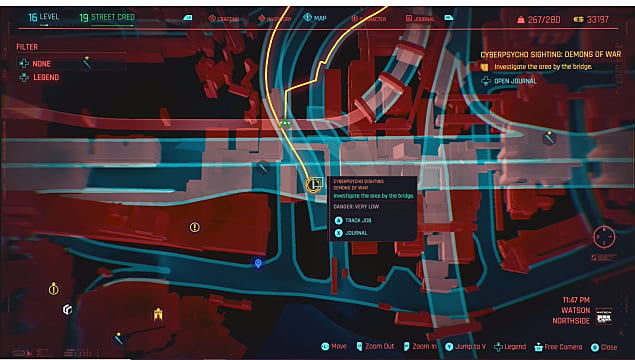
1. Demons of War
Story Mission Requirement: The Rescue
For Cyberpsycho Sighting: Demons of War, teleport to the Charter Street fast travel location. You will get a call from Regina saying that she found a Cyberpsycho, Matt Liaw. He uses a sniper to try and take you down.
After dealing with Matt, you’ll have to examine a laptop. Read the emails on the laptop to complete this sighting.
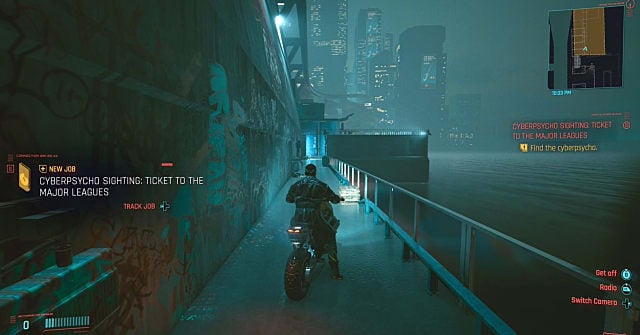
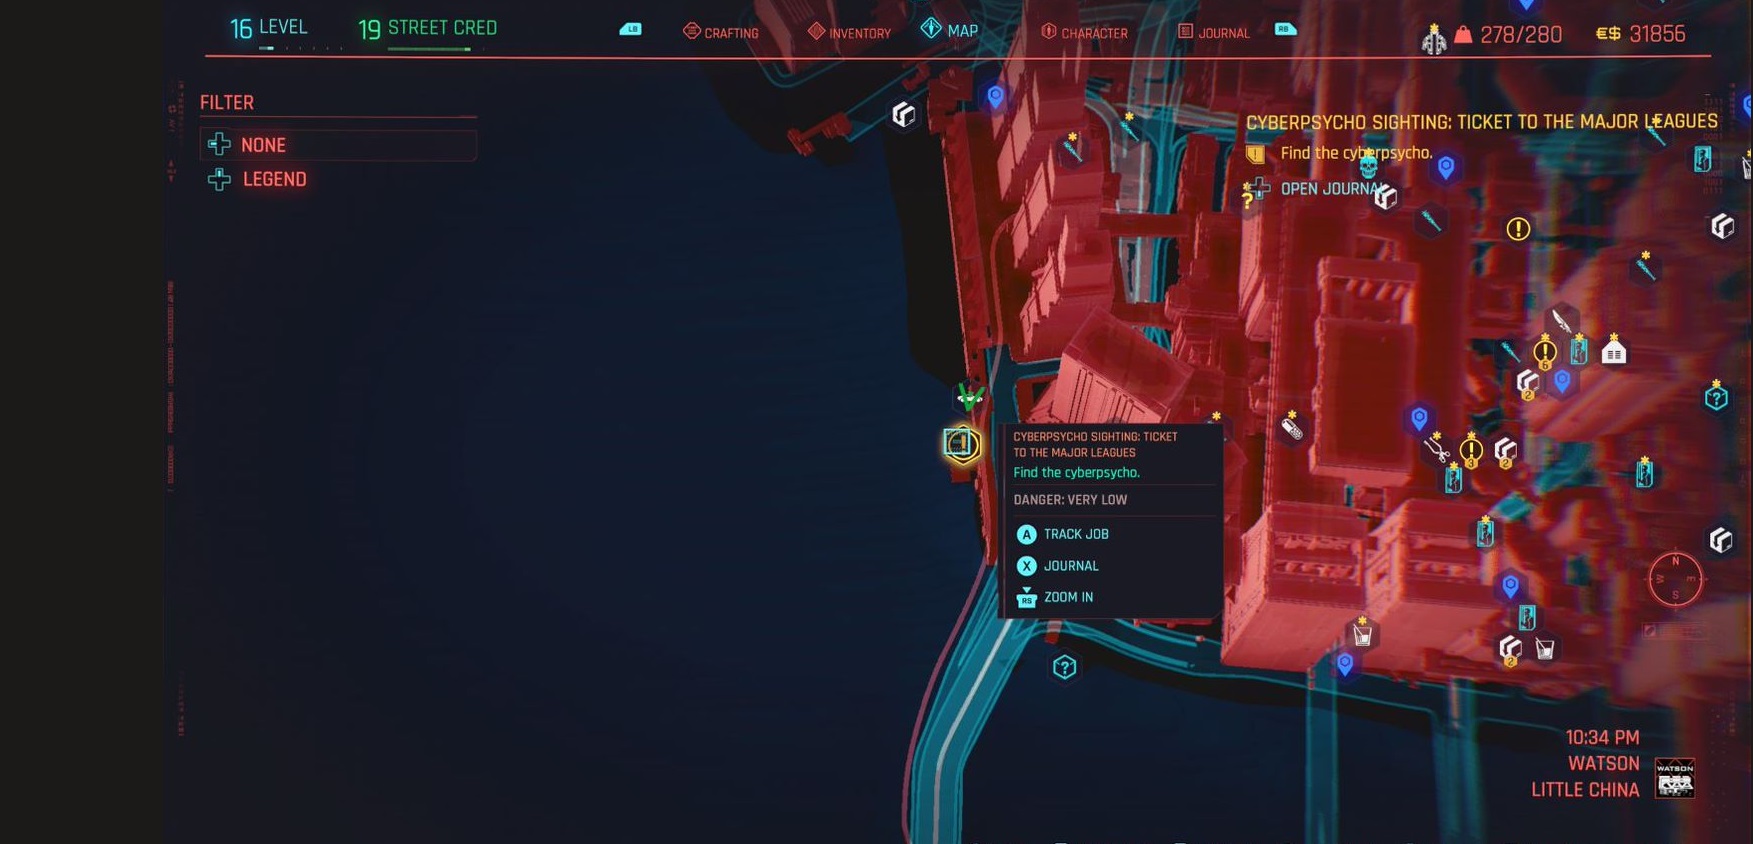
2. Ticket to the Major Leagues
Story Mission Requirement: The Rescue
Ticket to the Major Leagues is pretty easy. Fast travel to Clarendon Street, and go near the area shown in the picture below (near the western edge of the area along the water). Regina will notify you of the Cyberpsycho sighting there.
When you discover a corpse nearby, Alec Johnson will throw a fit, and you can actually sneak up on him or use a quickhack to get an early advantage. He will then jump on the helipad nearby and try to gun you down. There’s a lot of cover around the area, so utilize that to beat him.
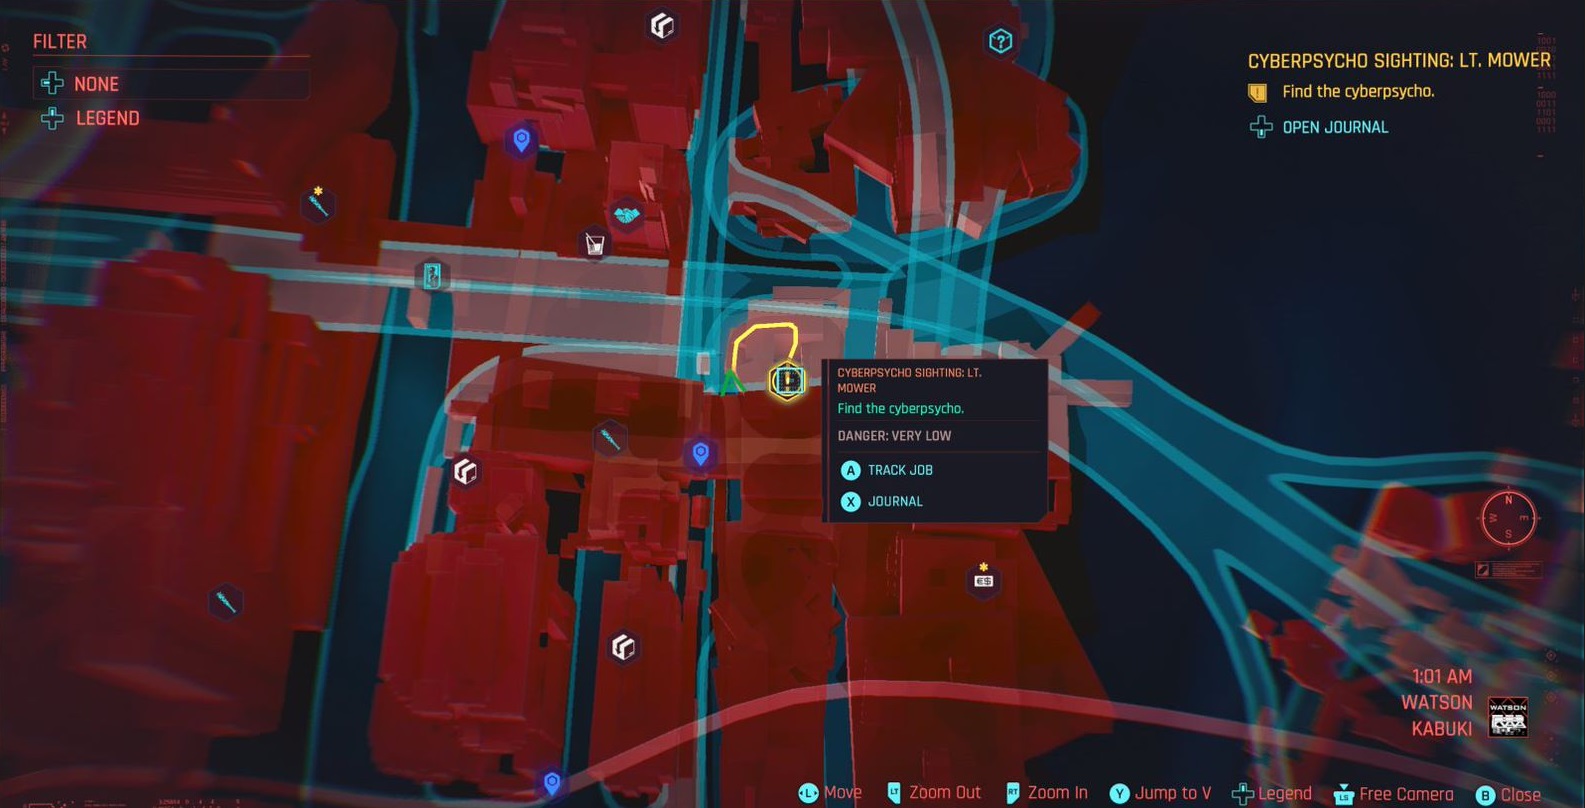
3. Lt. Mower
Story Mission Requirement: The Rescue
For Lt. Mower, fast travel to the Bellevue Overwalk. She’s located in an area with empty buildings surrounded by vehicles. Your waypoint should take you there, so check out the picture below for reference. You fight her in an open area, and she can be a bit tough.
Try to keep your distance during the encounter. If she closes the gap, she can do some serious damage with her melee attacks. After dealing with Lt. Mower, pick up the shard she drops and report back to Regina.
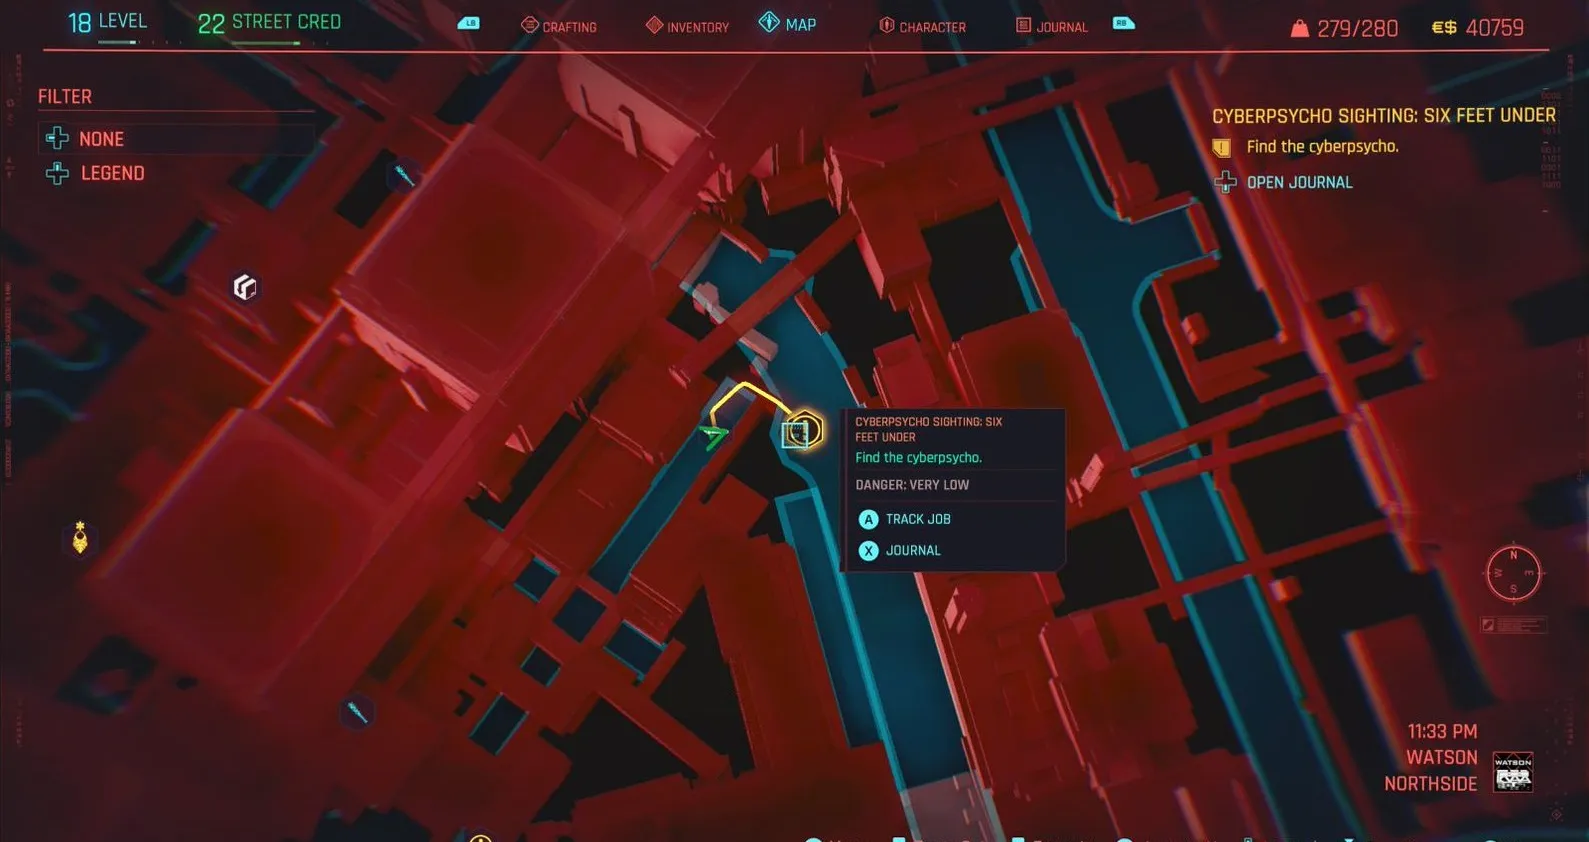
4. Six Feet Under
Story Mission Requirement: The Rescue
Lely Heins is the next Cyberpsycho on your list. Fast travel to Ebunike in North Watson, as shown in the screenshot below. Lely uses a sniper, so it’s best to fight him in close quarters, with a melee weapon or just your fists.
After he’s down, pick up the shard from his body and read it. To do so, go to your main menu, click on Journal -> Shard -> and scroll down until you see one with the title, “Farewell.” Read it and report to Regina.
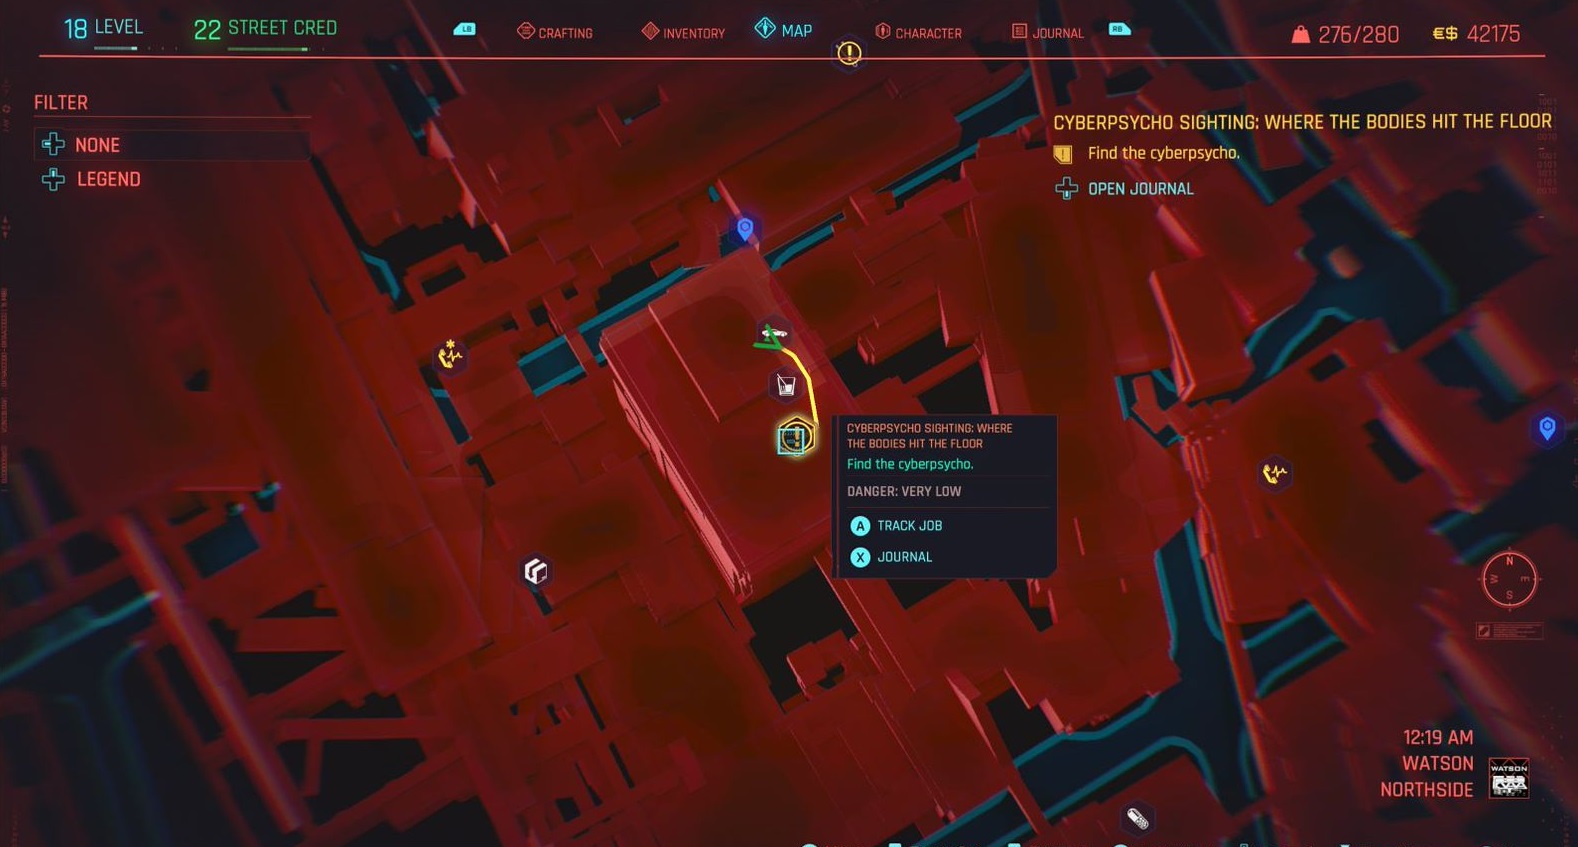
5. Where the Bodies Hit the Floor
Story Mission Requirement: The Rescue
Ellis is the next Cyberpsycho, but he is very easy to beat. Fast Travel to Pershing Street and make your way to the objective marker. You’ll see Ellis behind a dumpster.
After taking him down, pick up the shard on his body, as well as the one near the dumpster. Read both “Brick and Ellis” and the “Hoof and Sanders” shards to complete this sighting.
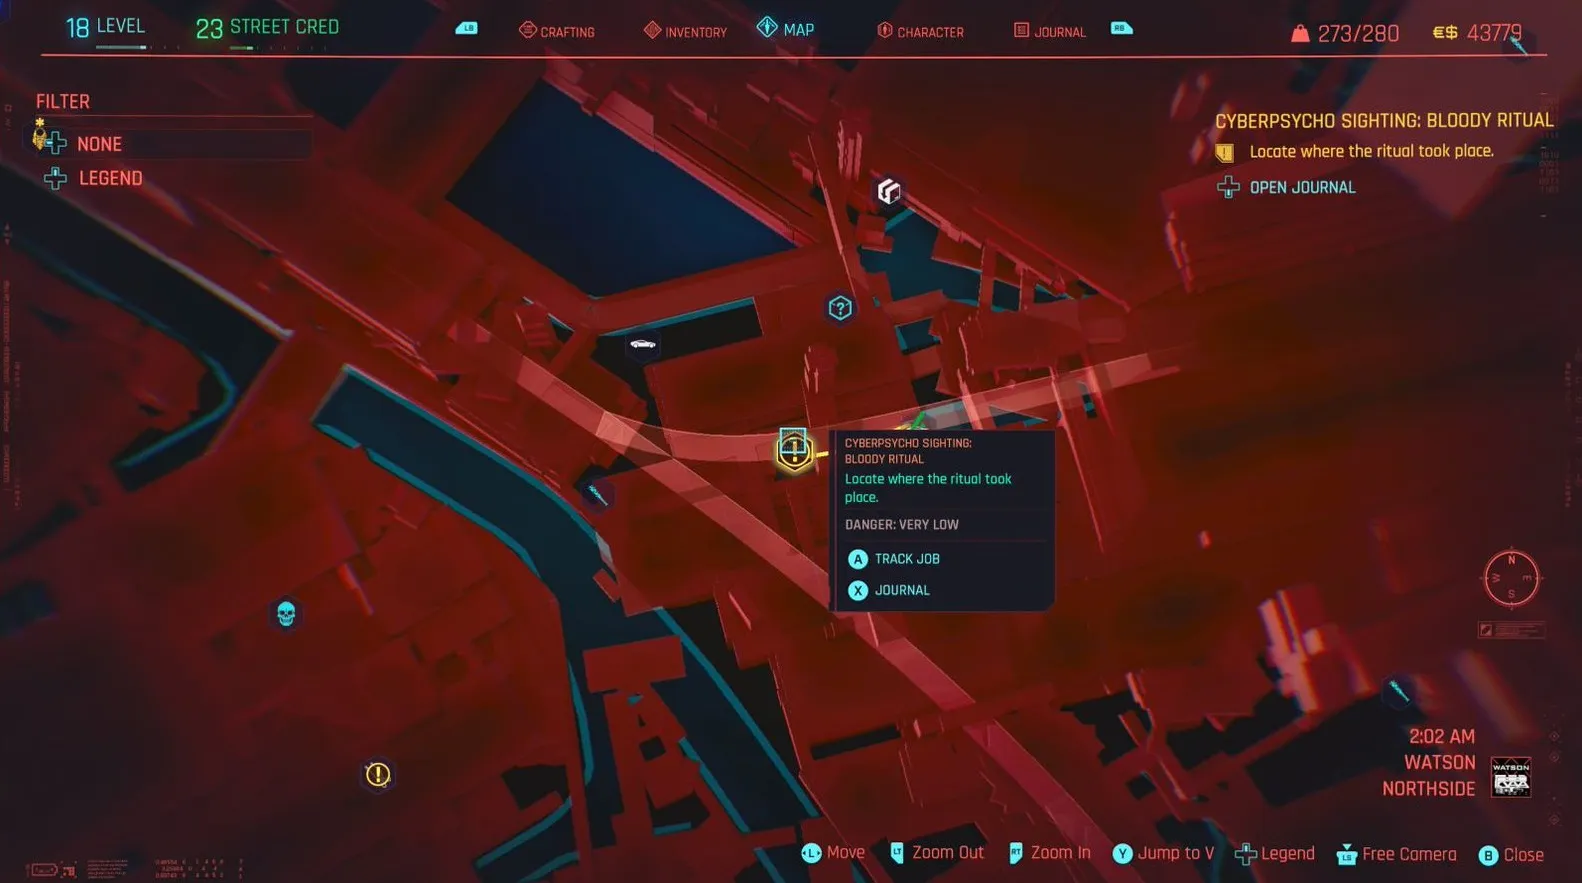
6. Bloody Ritual
Story Mission Requirement: Playing for Time
You’ll fight Zariah in this sighting. She only appears after 8 p.m., so just skip time in the menu. After that, fast Travel to The Docks and make your way to the area shown in the picture below. When you’re there, you’ll come across someone dying, and you’ll have to pick up his Shard. Crack the Shard, and then look around for some other clues.
After a little bit, Zariah will show up and attack you. She has Mantis Blades, so she can be a bit difficult to beat. Like with Lt. Mower, it’s best to keep your distance. After she’s down, pick up her Shard, called “!!!,” and read it so you can message Regina about it.
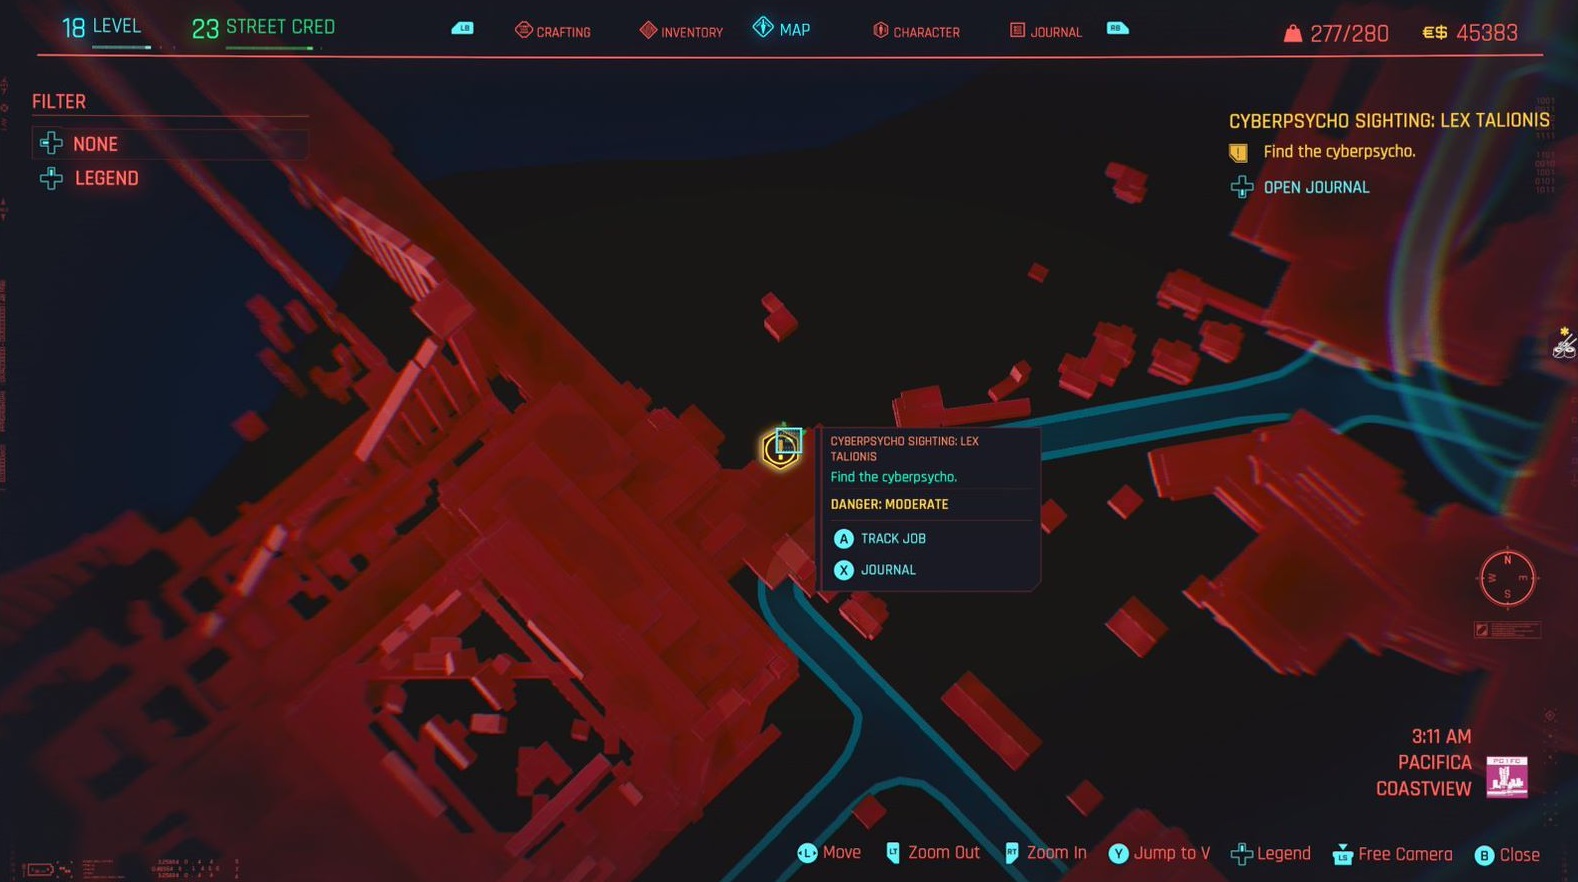
7. Lex Talionis
Story Mission Requirement: Transmission
Fast Travel to The Grand Imperial. As you make your way toward the Cyberpsycho, you’ll come across a few enemies. Take them out.
When approaching the large metal gate, Regina will call you to give you more details about the Cyberpsycho. Open up the metal gate, and there will be two cameras immediately to either side, so take care of those. There are two drones, as well as two robots, that could appear too.
After you dispatch Ben, go to the far end of the area, where his personal laptop is. Read the email, “I’m in deep shit” to complete this encounter.
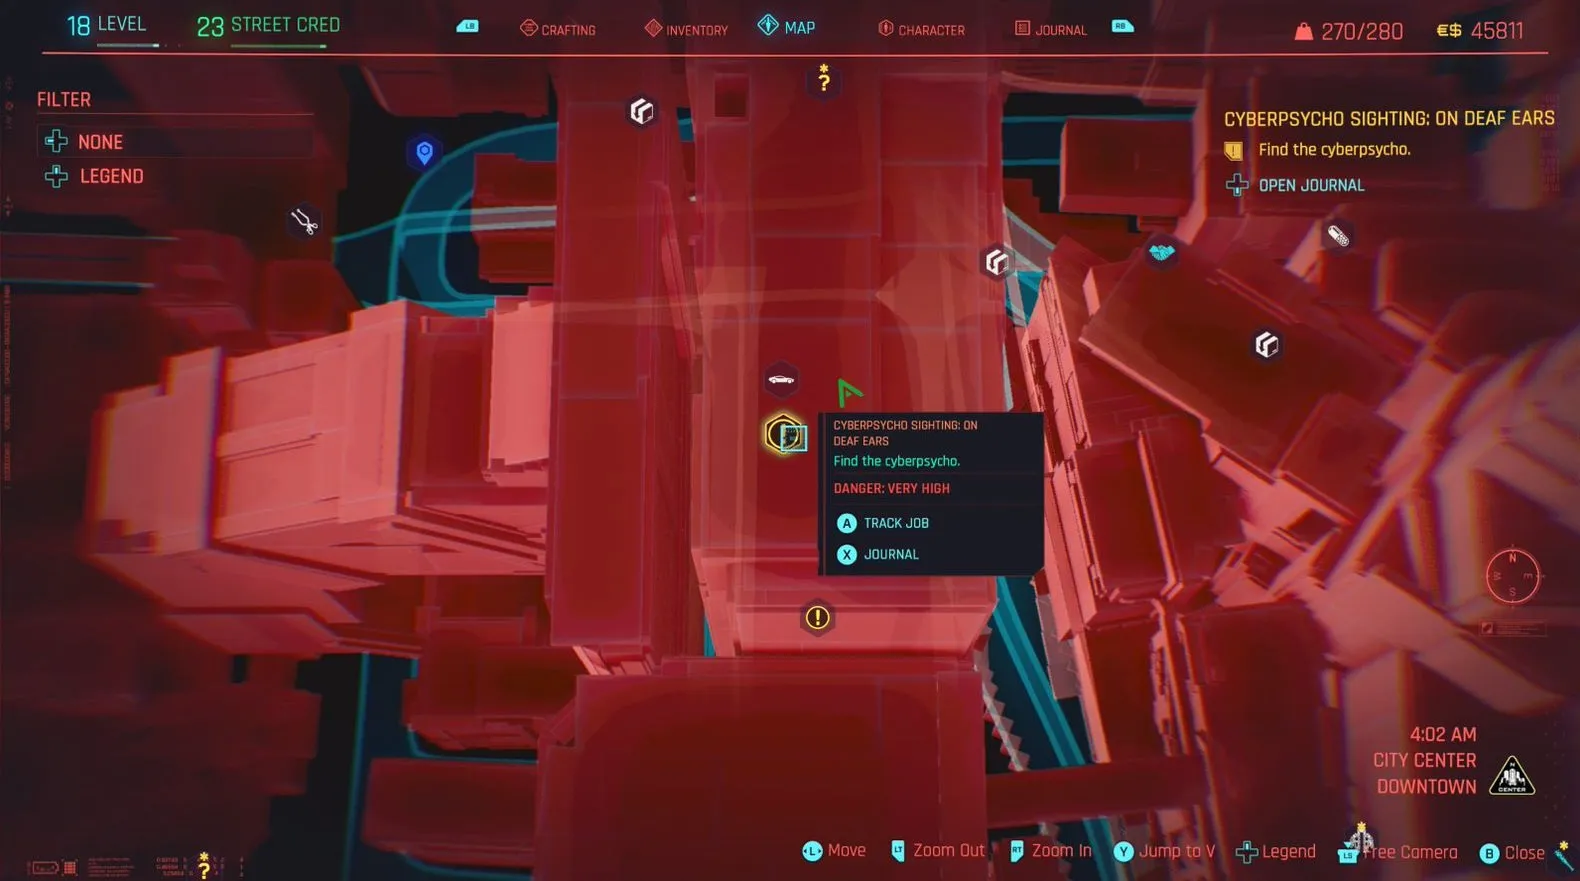
8. On Deaf Ears
Story Mission Requirement: The Rescue
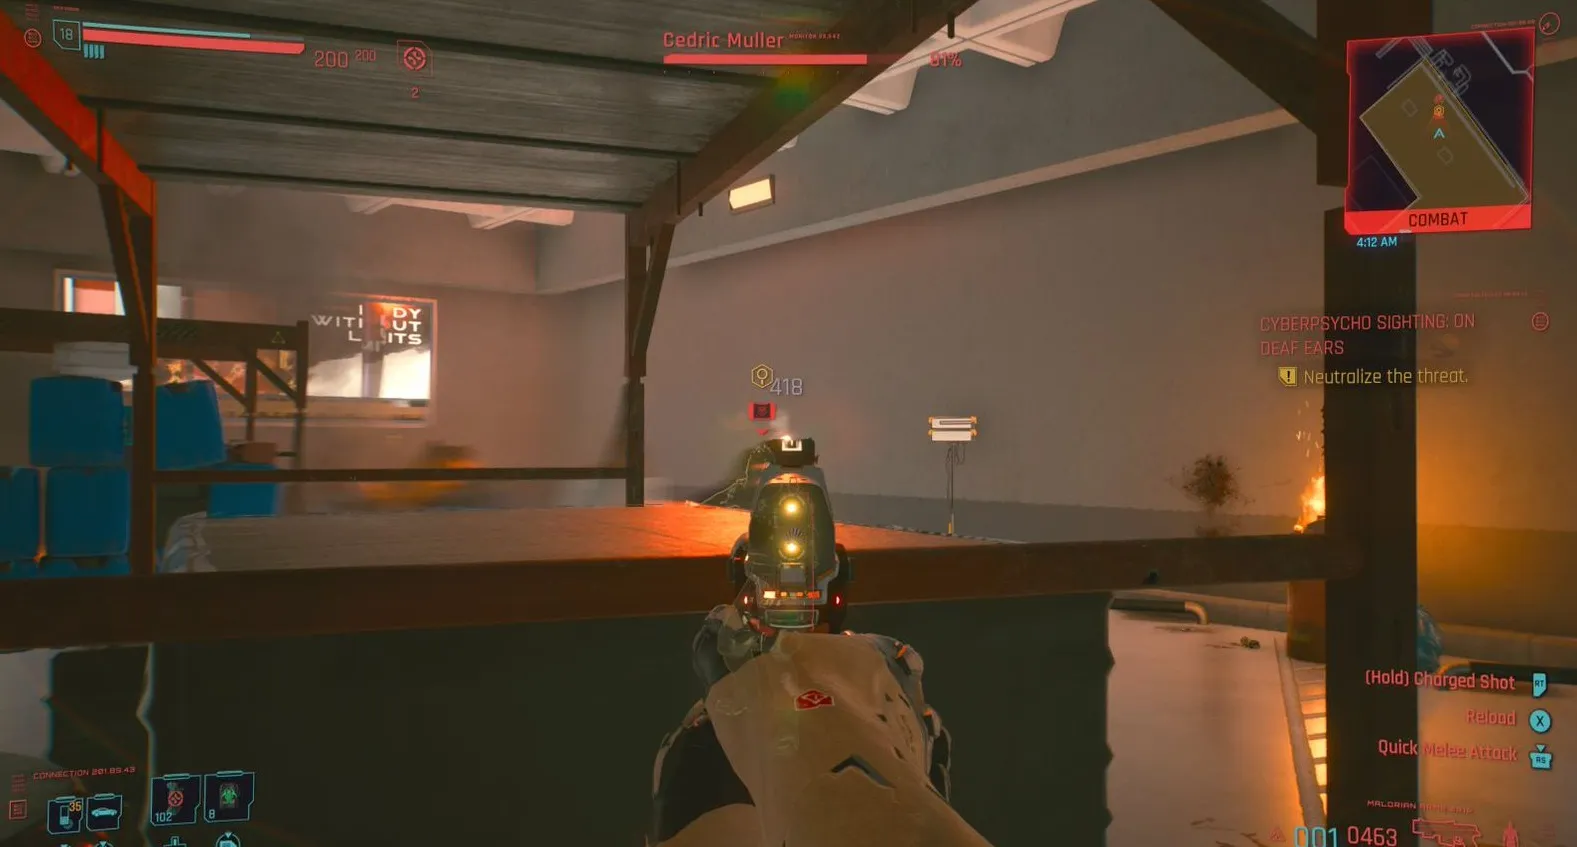
Fast travel to Downtown Central and confront Cedric in a parking garage. He’s actually pretty difficult and can deal a lot of damage. The recommended level is 30 for this one.
If you have trouble with him, I suggest kiting him using the big structure near where he spawns (seen below). This allows you to get a very accurate view of head for headshots, and the structure itself blocks his gunshots. Sometimes he won’t even move for a while, giving you the opportunity to just pour bullets into him. If he dashes around the corner, just move to the opposite corner and repeat.
Once you’ve beaten him, pick up the Shard from his body, and the one in the gray box near where he spawned.
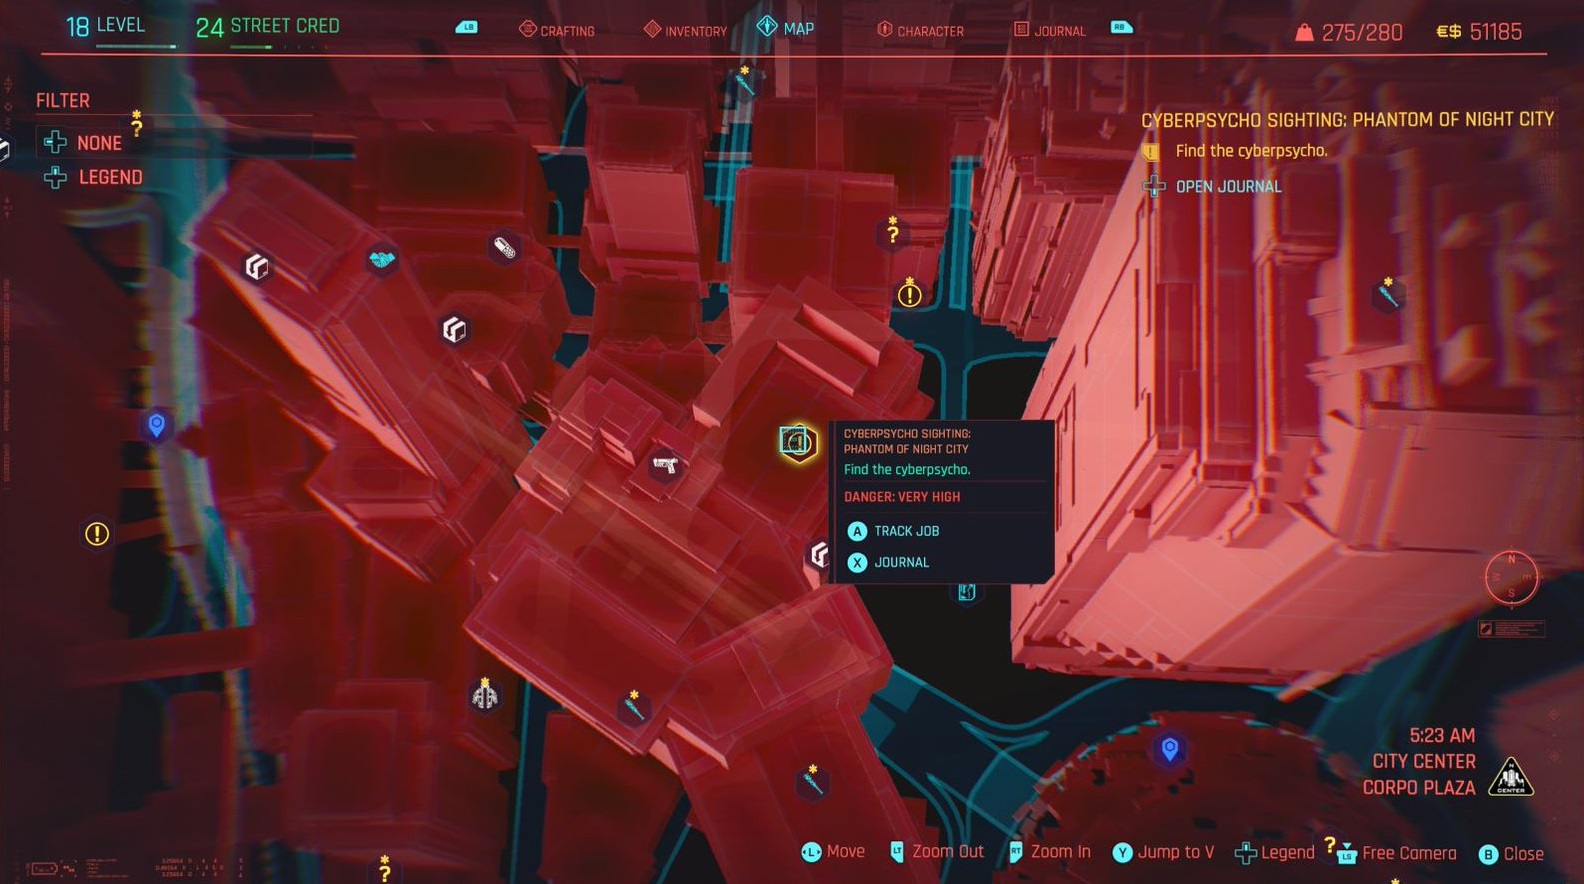
9. The Phantom of Night City
Story Mission Requirement: The Rescue
This one is another difficult Cyberpsycho Sighting if you’re underleveled. Fast Travel to either Downtown Central or Halsey & MLK. Then make your way to the waypoint below.
I recommend having a sniper for this encounter. Norio will have two guards, and they’ll both come after you. You can lead the two guards outside of the gate and take care of them there. Norio won’t follow you out of the gate, so use this to your advantage.
After taking care of the two guards, Norio will stand helpless in front of the gate, and you can pick him off. He can still shoot you, but he won’t be able to use his deadly katana against you if you use a weapon like a sniper rifle.
After getting Norio to 50% HP, he’ll run to the back of the area, where multiple Tyger Claw gang members will be. If you wait long enough, they will actually take care of Norio for you. If you don’t want to wait, fall back and pick the gang members off one by one.
After you beat Norio, grab the Shard off of his body and report to Regina.
10. Seaside Cafe
Story Mission Requirement: The Rescue
Fast Travel to Megabuilding H2 and make your way to the objective marker. You’ll come across some civilians and as you lean over the balcony, you’ll find the Cyberpsycho, Dao Huynh, who jumps up to your level.
Dao is actually pretty easy. She has a handgun, but if you’re directly in front of her, you can use your fists to bring her down. She’ll retaliate every once in a while by hitting you, but she does very little damage.
Afterward defeating Dao, grab her Shard, and go down to where Dao originally was. Grab the Shard off of Linh. After that, look to your left and jump onto the beach to find another Shard on another corpse. This third Shard references a show called Saigon Sisters. After reading all three Shards, report to Regina.

11. Letter of the Law
Story Mission Requirement: The Rescue
This Cyberpsycho Sighting is near the previous mission at Seaside Cafe. Fast travel to Pointe Del Mar or just drive a car there. Eventually, you’ll come across a garage with a bunch of traps.
If you want to take down the Cyberpsycho, Gaston Phillips, nonlethally, you should deactivate the traps here so he doesn’t accidentally kill himself if he runs into them.
To beat Phillips, you can use the same strategy can you used with Dao. Put him in a corner and punch him until he goes down. You can take advantage of his AI, too, as he’ll only try and hit you with the butt of his rifle.
After he’s down, go to the computer near where he originally was and read the three emails on it. Report to Regina to complete this Sighting.
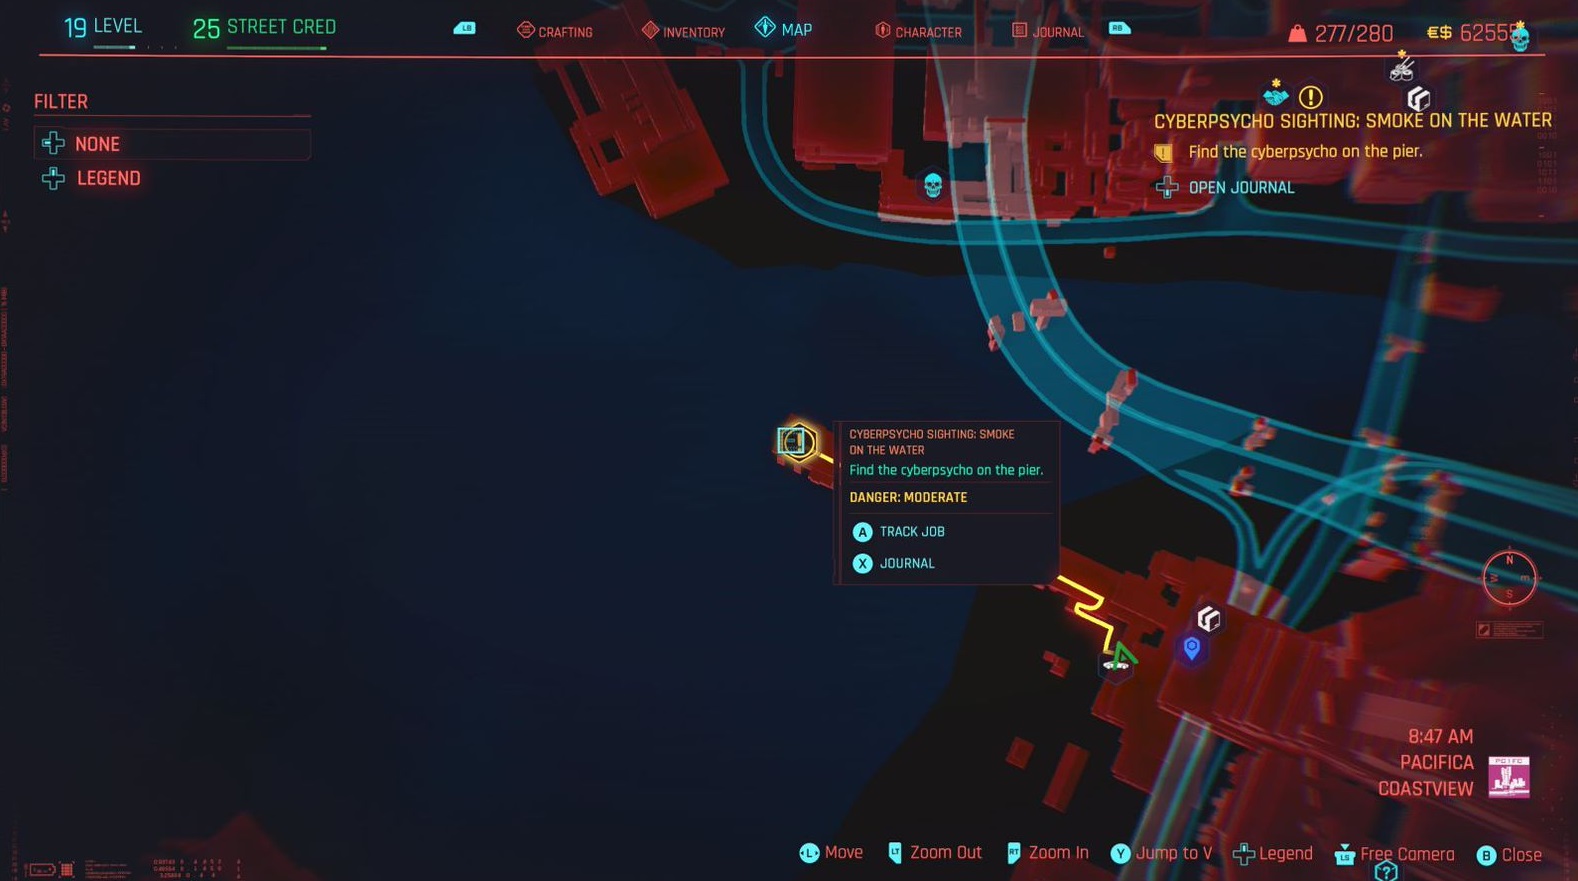
12. Smoke on the Water
Story Mission Requirement: The Rescue
This Sighting is close as well. Fast travel to Pacifica, and you’ll find your next Cyberpsycho.
First, you’ll be prompted to look at the van underneath the pier. Then, on the pier, you’ll see a bunch of dead bodies. Go down the pier, and near the end, you’ll find a corpse wearing a red jacket. It has a Shard you’ll need to read. After reading that Shard, head all the way to the end of the pier to find Diego, your target. He should be easier to take care of than the last three Cyberpsychos.
After he’s down, pick up his Shard, read it, and report to Regina.
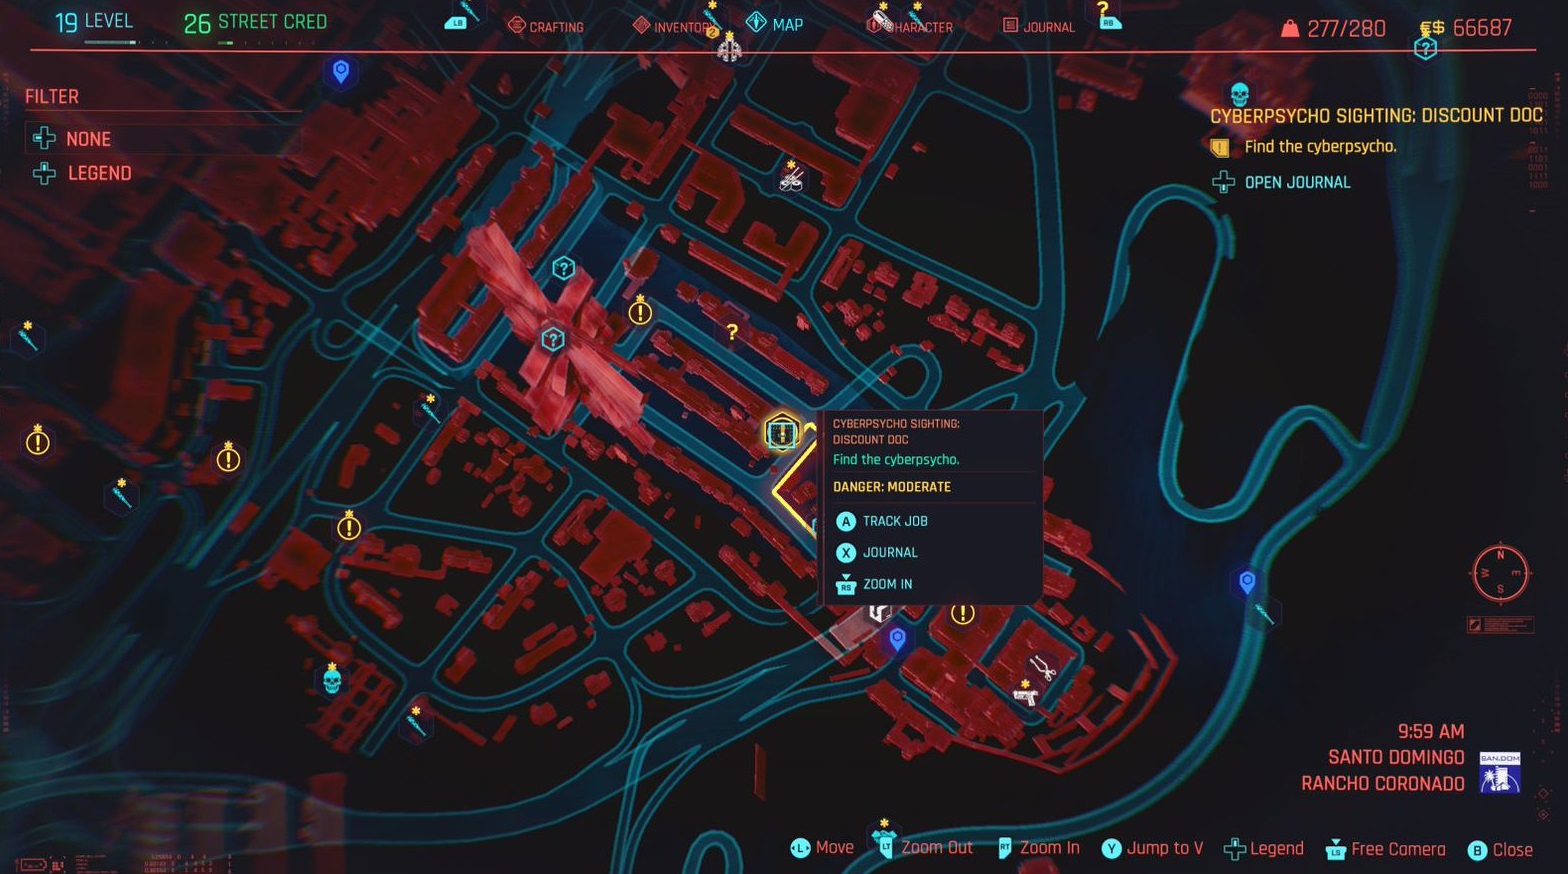
13. Discount Doc
Story Mission Requirement: The Rescue
Fast Travel to Rancho Coronado and head toward the marker in the picture below. You can actually take the height advantage here, so climb onto the buildings and peek over the edge into the area.
The cyberpsycho is the person in the big red power armor suit, Chase Coley. Having the height advantage, you can easily take shots at him while backing off whenever he decides to shoot at you. He’ll raise his shield sometimes to block your shots, but he periodically needs to recharge — that’s when you have a clear shot at him.
After Chase is down, take the Shard off of his body, as well as the Shard on a nearby corpse. Then go into the building and read the emails on the laptop. Report to Regina after reading all three.
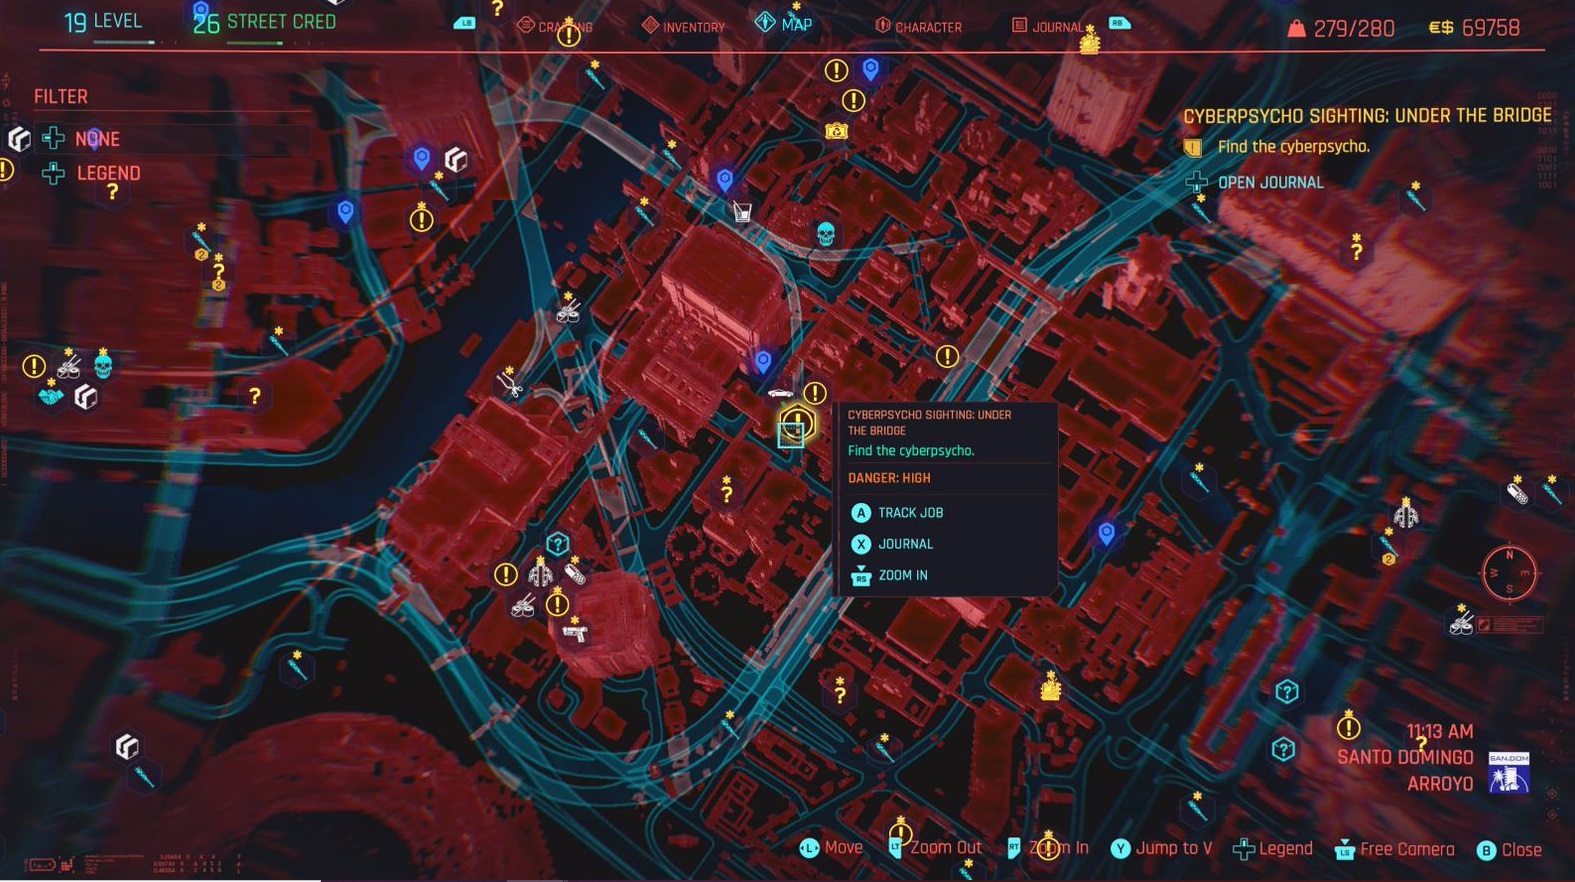
14. Under the Bridge
Story Mission Requirement: The Rescue
Fast travel to Hargreaves Street and head to the waypoint marked in the picture below. When you head into the area, you’ll find two turrets that need to be dealt with. Take them out or hack them.
After they’re taken care of, take out Tamara Cosby. She’s not too tough, but she can quickhack you. When she’s down, pick up the Shard from her body, as well as a shard inside the green container with mattresses. Report to Regina.
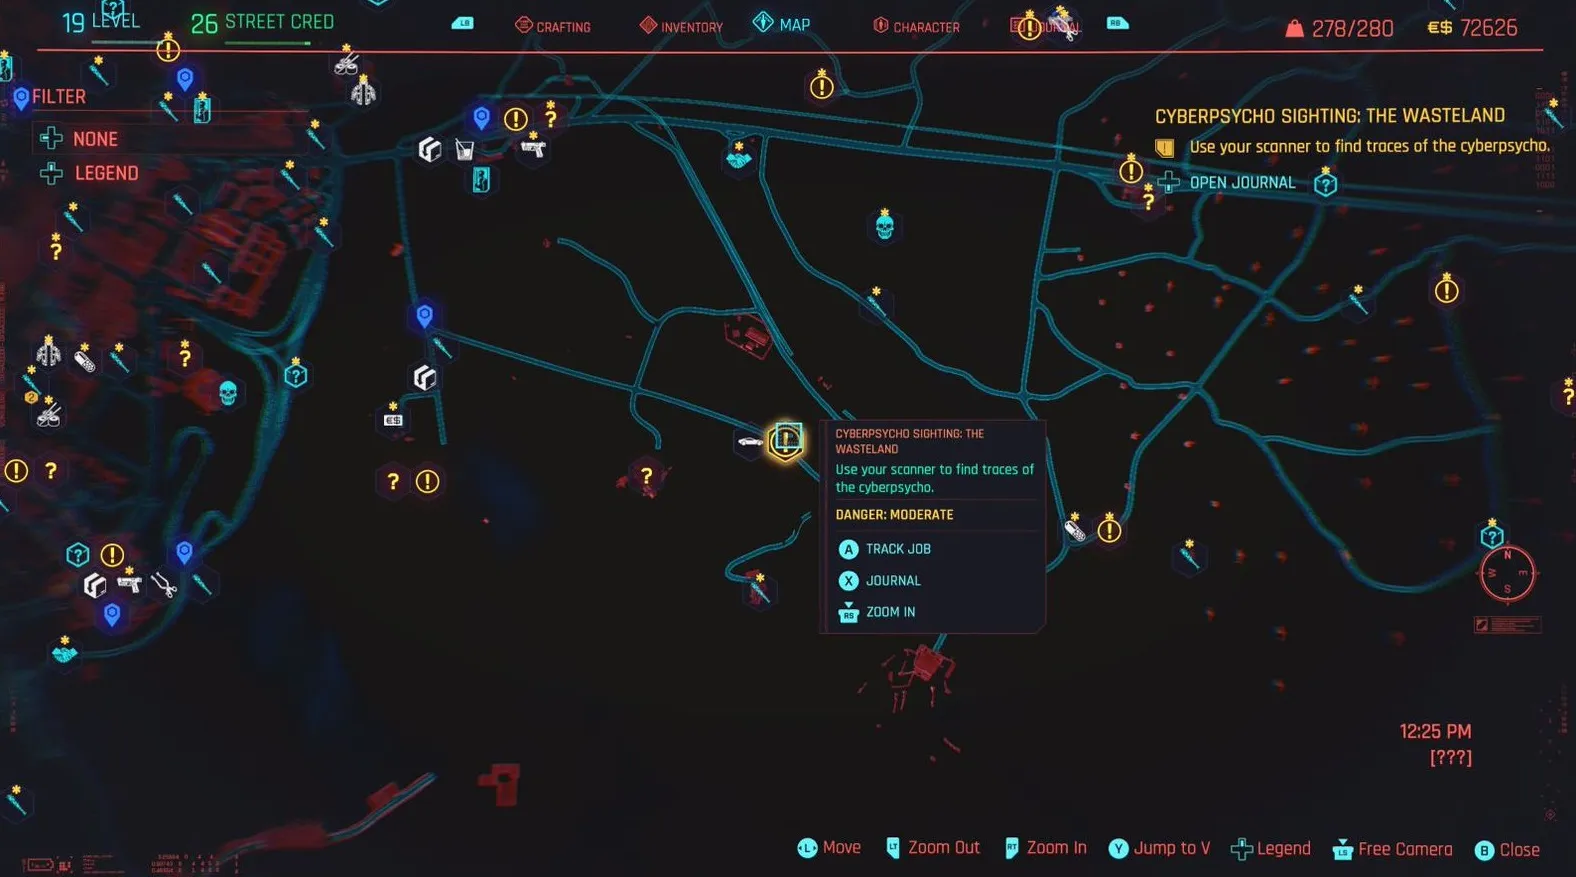
15. The Wasteland
Story Mission Requirement: Ghost Town
Fast travel to the Medeski Fuel Station in the Badlands. If you haven’t been there yet, you’ll have to drive there to find this Cyberpsycho at the point marked on the map.
You’ll come across a car accident. Scan the pool of blood behind the van, and follow the blood trail to an empty trailer park area, where you’ll find Euralio Alma.
This fight is similar to Discount Doc; Alma will be wearing a power suit. You also have the height advantage here as well. Just climb on top of one of the trailers, and then take shots at Euralio while backing off whenever he shoots at you. He’ll raise his shield to block your headshots, but he needs to recharge every once in a while. That’s when you can get some clean hits in.
After he goes down, just take the Shard off his body and read it. Report to Regina.
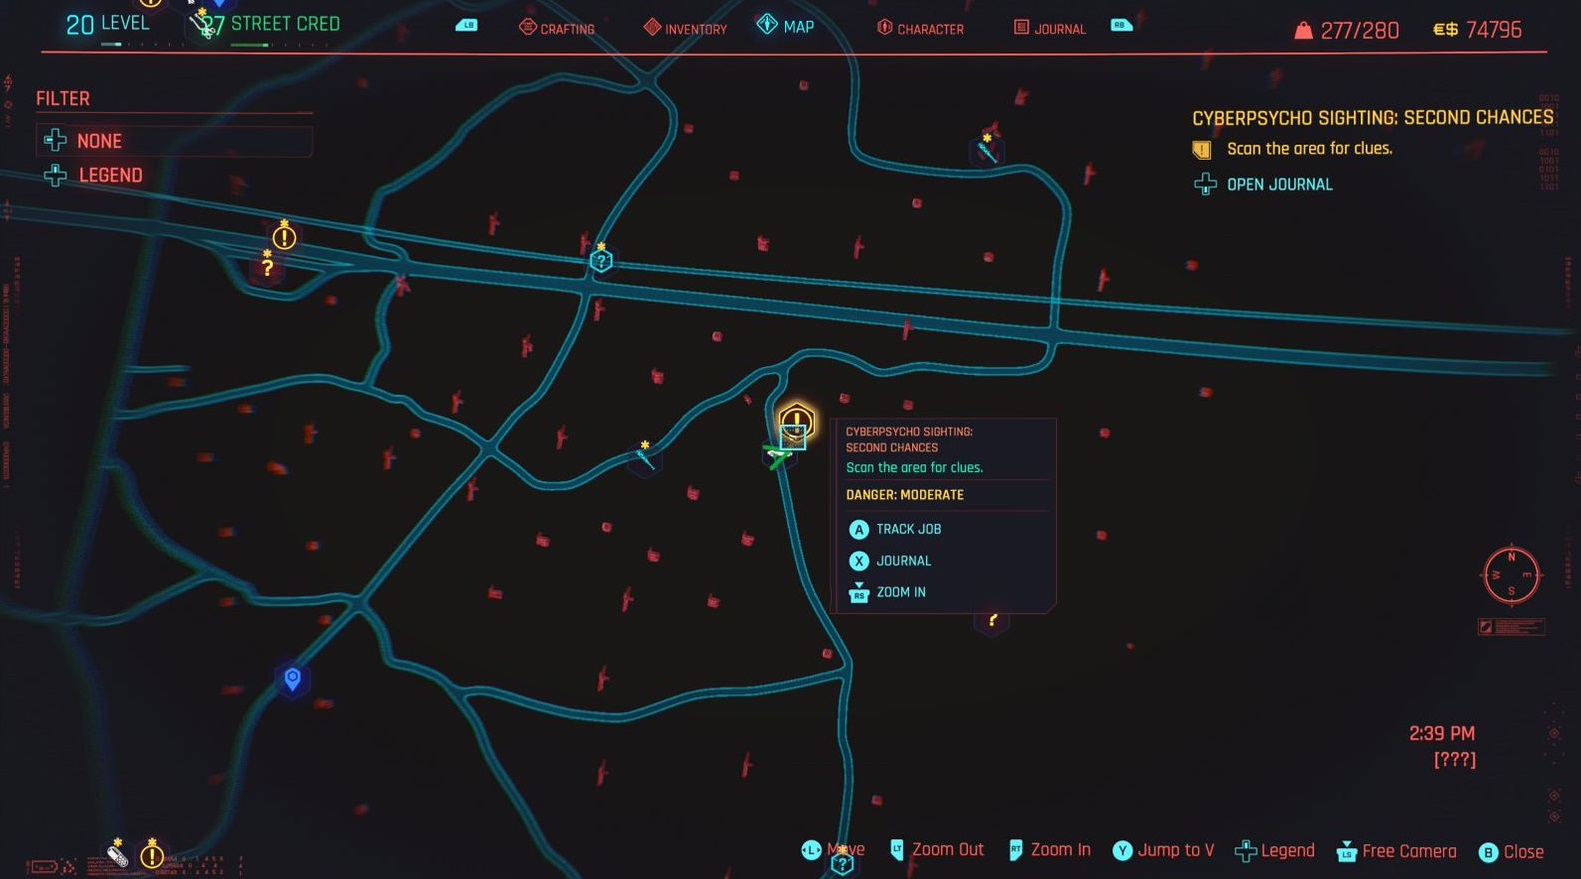
16. Second Chances
Story Mission Requirement: Ghost Town
Fast Travel to Old Turbines. You’ll come across a few corpses that have been slain by a sniper rifle. Scan these corpses until you reach a Hostile area. After scanning the last batch of corpses, loot them to alert the Cyberpycho, Zion Wylde, of your presence.
He’s far away and has a sniper, so you could engage in a sniper war with him. If you decide to engage in close-quarters combat, be careful as you climb the ladder to his post as there is a tripwire mine as you climb up. However, if you’re successful in getting up to his area unscathed, Zion is pretty weak. You can take him down with your fists if you corner him.
Grab the Shard off of his body when he’s down, read it, and report to Regina.
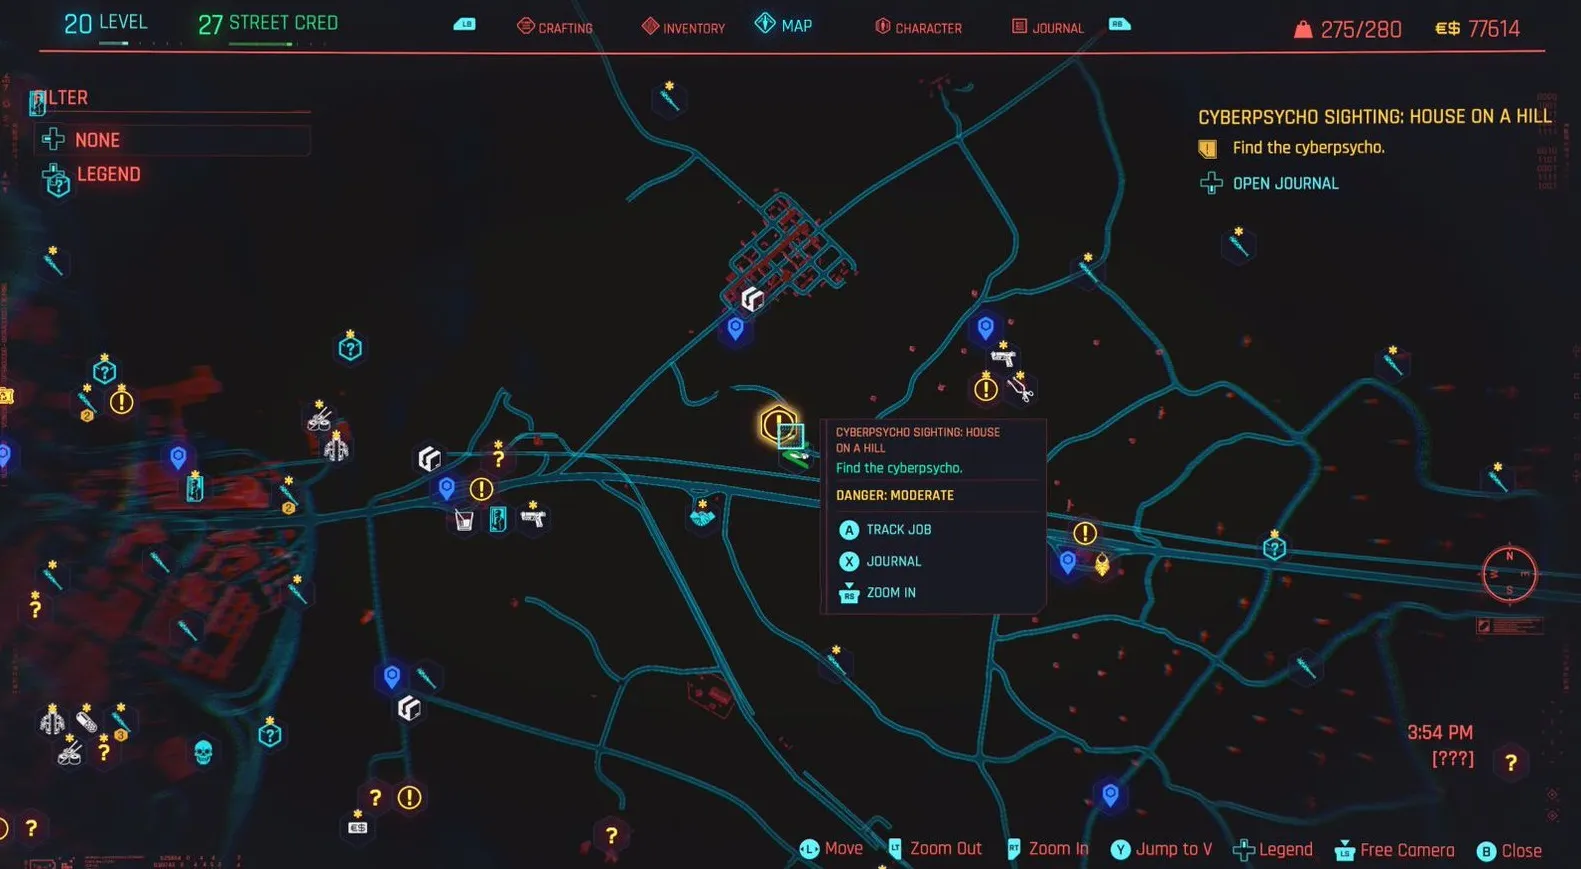
17. House on a Hill
Story Mission Requirement: Ghost Town
The last Cyberpsycho is Russel Greene. Fast travel to Sunset Hotel or Mobile Camp and go to the fortress area marked on the map below. There are several other enemies here besides Greene, including two drones. Try to quickhack them and destroy them without being seen. It’s also worth turning off the two cameras on the roof.
Russel has a shotgun, so it’s not wise to get in close. After he’s down, loot his body and the dead woman’s body nearby for a Shard.
That’s that for our Cyberpsycho Sightings location guide for Cyberpunk 2077. After reporting to Regina for the final time, you should receive the “I am the Law” Achievement/Trophy. For more Cyberpunk 2077, head over to its main page here.


Published: Dec 22, 2020 10:32 pm