
The Shovel in Animal Crossing: New Horizons is a bit elusive and requires a few extra steps to unlock. That’s because unlike previous Animal Crossing games, you won’t be buying your tools in New Horizons. You have to craft them, and some require flimsy versions first.
In this Animal Crossing: New Horizons guide, we’ll tell you how to get the Shovel so you can start digging up fossils, bells, and manila clams. You’ll also be able to use the Shovel for removing tree stumps and hitting rocks for all kinds of crafting materials and Nook Miles.
Note, there are some ACNH spoilers below, so continue at your own risk!
How to Get the Shovel in Animal Crossing: New Horizons
There’s a lot to do before you can even get the Shovel in Animal Crossing: New Horizons. When your first day starts, your neighbors will tell you Tom Nook is hosting a DIY workshop, which is your clue to head over to Resident Services. Nook teaches you all about crafting and has you gather materials to create a fishing rod.
After that, Nook gives you a Flimsy Net DIY recipe and a hint about what to do next: He wants to see some of the island’s wildlife. Your goal is giving Nook five unique species of bugs or fish. You’re on your way to getting the Shovel now!
You can grab more wood to make the Flimsy Net or just use the Fishing Rod to get five fish. Each time you hand over a fish or bug to Nook, you’ll get a small reward, including the Flimsy Axe DIY recipe.
Go ahead and make that, too, because you’ll need it for the Shovel. If you’ve somehow run out of branches lying around on the island, remember you can shake trees to make branches drop.
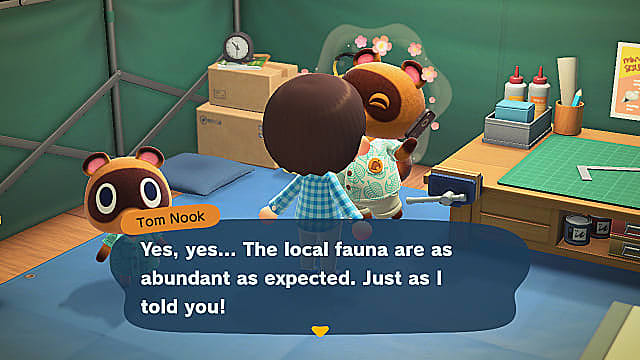
After you give Nook the fifth bug or fish, he gets a call from Blathers. The abundant wildlife on the island has convinces Blathers he should head to the island and set up shop.

Your next task is finding a suitable place for the Museum tent. Try to space things out. The Museum is big, and you’re limited on space until you get the Pole Vault. There are more neighbors to move in and more shops to plan, so you don’t want everything crowded in the same place (unless you do).
Blathers will give you the Flimsy Shovel DIY recipe once he arrives. The kicker here is that he won’t arrive until the next day.
Once you do get the Flimsy Shovel recipe, you’ll need 5 Hardwood to make it. That’s where the ax comes in handy.
Take your Flimsy Axe and go hack at a few trees. You’ll potentially get a few different varieties of wood to fall out, but you want the dark wood for the Flimsy Shovel.
How to Upgrade the Flimsy Shovel
Flimsy Shovel is key here. Your tools, including your lovely new Shovel, won’t last forever. After you upgrade your Tent by paying off your initial 5,000 Bells loan, Tom Nook upgrades your Nook Phone to the + version, which grants you access to new items, like the hardier Shovel.
One of those is the Pretty Good Tools book, and you’ll get it at the Nook Stop machine in the corner of Resident Services for 3,000 Nook Miles. Once you’ve got it, you can upgrade your Flimsy Shovel (and other tools) using existing Flimsy tools and Iron Nuggets.
That’s all you need to know about how to get the Shovel in Animal Crossing: New Horizons. You can’t get it on day one, but you can at least get everything ready for it while you wait for Blathers to arrive. For more tips, check out our other Animal Crossing: New Horizons guides.


Published: Mar 20, 2020 10:59 am