Days Gone has a frankly excessive number of collectible items scattered throughout its running time. Post-apocalyptic Oregon is full of tourist attractions, obscure history, character details, fevered rants, and rare herbs, all of which can be picked up and stowed for later inspection.
The good news is that most of the collectibles are either labeled on your map, found automatically during storyline missions, or are at least found in or near a place that you’ll have to go anyway.
You could run through the whole game actively dodging collectibles and you’d still end up with something like 40 of them. There are very few of them that are legitimately out in the middle of nowhere with no clues whatsoever as to their locations.
As every collectible counts as an interactive object in the world, they appear on Survival Vision if they’re in range. There’s also a handy checklist on your in-game map that tells you how many items remain to be found in a zone.
Your first collectible, which will likely be the first herb you pick up, unlocks the Finders Keepers trophy. For further trophies, you have to do some more searching:
- Getting 121 out of 240 collectibles unlocks the Wannabe Fortune Hunter trophy.
- For finding 161 collectibles (or just over 75% of the total count), you get The Broken Roadshow trophy.
This guide will help you find all the collectibles in Days Gone. They’re organized here in the order and numbering scheme where they appear in Deacon’s in-game collection menu.
Many of the collectibles are locked behind specific missions, have to do with characters who aren’t introduced until later in the game, or are otherwise riddled with major spoilers.
There do not appear to be any collectibles that become permanently unobtainable. It’s safe to wait until you’ve cleared the game’s story, then go back and use these guides to fill out your collection in free roam.
Characters: 33
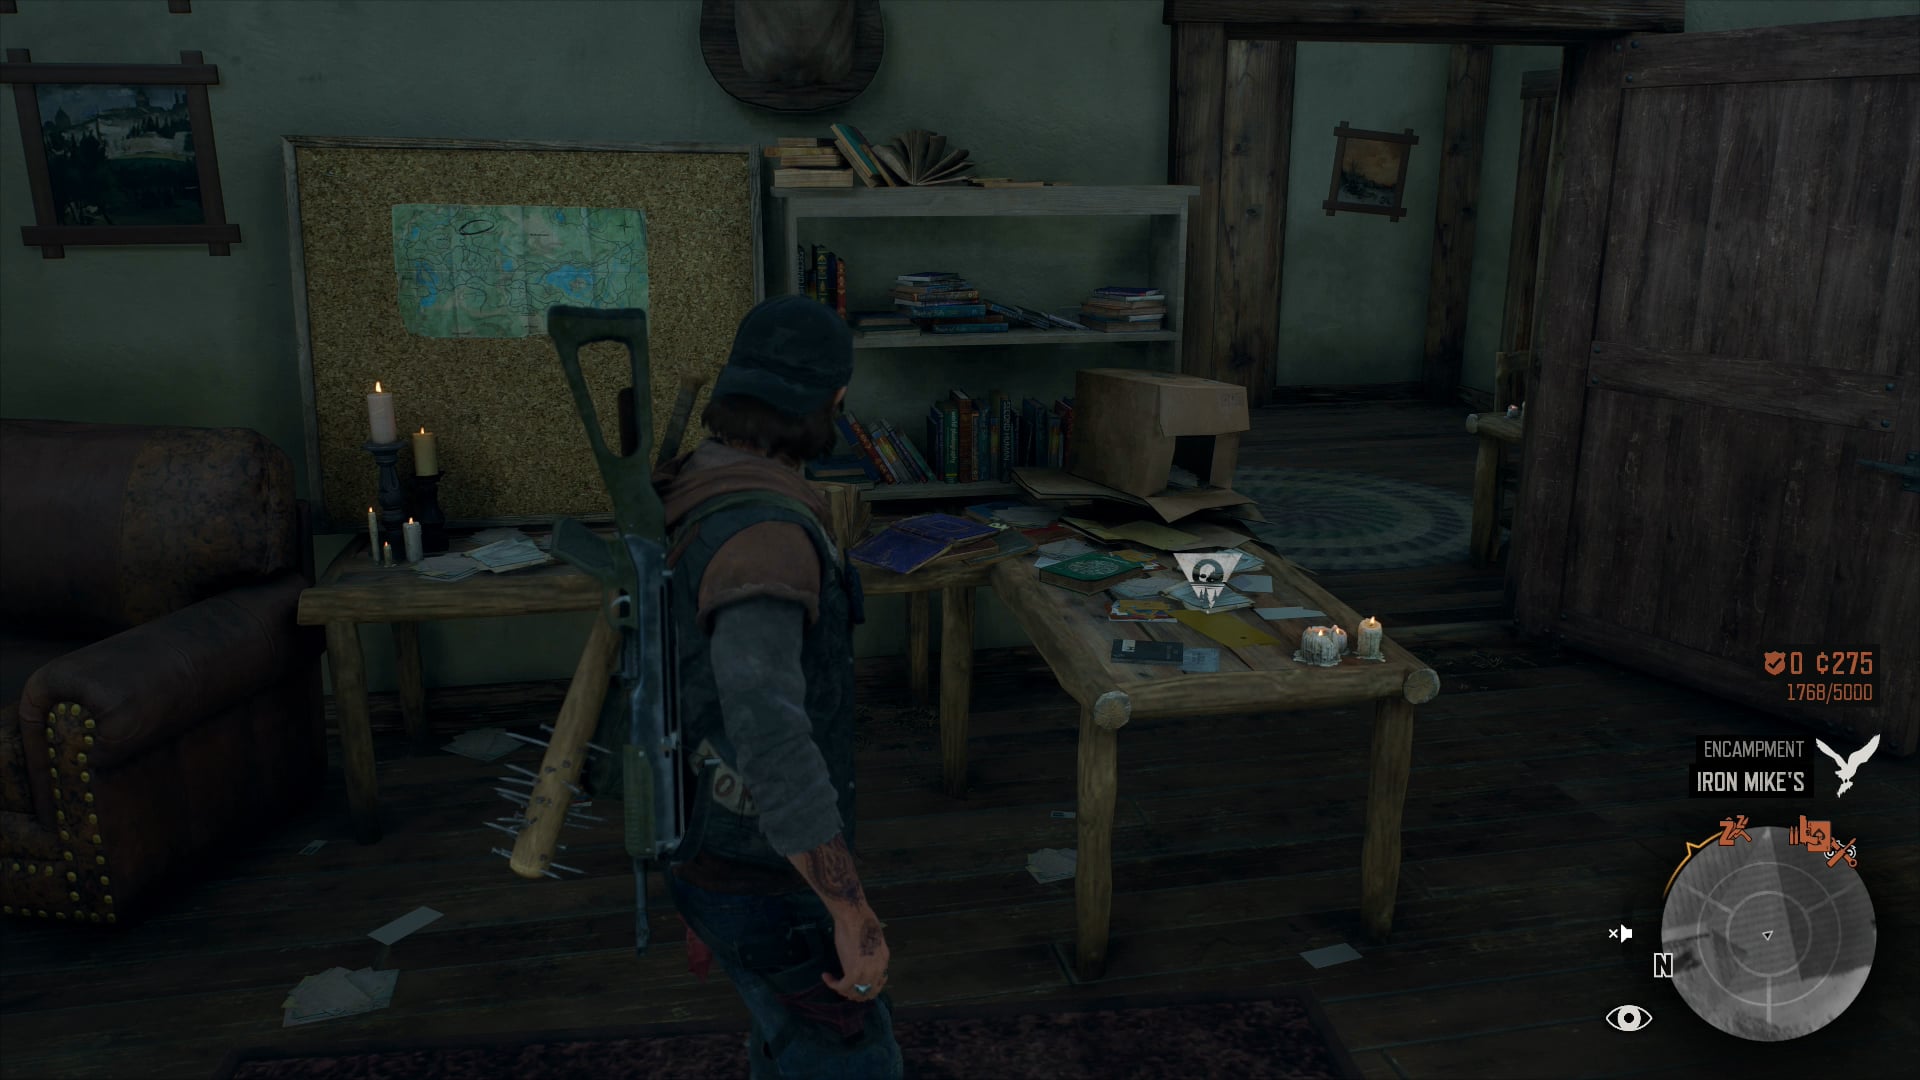
![]() Throughout the game, you can find various notes, files, and items that are important to the characters that make up the central cast of Days Gone.
Throughout the game, you can find various notes, files, and items that are important to the characters that make up the central cast of Days Gone.
Most are found in characters’ homes, or former homes, and can provide extra background or context to their actions. A character collectible has the same icon over it (see left) as scenario items do.
Notably, you don’t take these collectibles with you. They stay in the world after Deacon’s had a look at them.
1: Leon – “Crude Drawing of an Angel Statue”
Automatically received at the start of the game.
2: Copeland – “The Right to Bear Arms”
The second time you visit Copeland’s Camp in Cascade, go up to the top level of the camp and check the table next to the leather sofa.
3: Copeland – “Hunting Season”
In the same area as #2, next to the radio on the desk.
4: Manny – “Happy Birthday, Stud”
Manny’s the mechanic at Copeland’s Camp. Go into his booth and check the colorful greeting card on the bench behind him.
5: Manny – “Zen and the Art of Bike Repair”
As in #4, but look for a black book on a different bench.
6: Tucker – “Trust No One”
Look on the bench outside the big house in the Hot Springs encampment. Eventually, Ada takes a seat here to offer you various side jobs, but you can pick up the collectible before she arrives.
7: Tucker – “I Can’t Go On”
This might be the hardest collectible of the lot to find. The only real clue you get about this one is when Lisa tells Deke that Tucker used to be her neighbor.

Tucker’s old house in Marion Forks is the one south of town with a greenhouse in its backyard, which used to share a fence with the church’s back lot. There’s a lot of useful stuff inside, including this collectible on the kitchen counter.
8: Alkai – “A Portrait of Salome”
Visit the Merchant’s booth in Hot Springs. If you’re facing his desk, the collectible’s on your left.
9: Lisa – “Have A Good Day”
After you rescue Lisa Jackson at the start of “You’re Safe Now,” return to the first floor of her house in Marion Forks and look on the kitchen counter.
10: Lisa – “I Can’t Forget”
Unmissable. After you reach Lost Lake for the first time and complete your first run for Addy the doctor, you’ll receive a new mission in the “You’re Safe Now” chain called “Searching for Lisa.” Finding this collectible at the nearby Rogue Camp completes that mission.
11: Boozer – “Our Only Guest”
Once you finish the “He’s My Brother” missions, Boozer moves to your cabin in Lost Lake. Go inside and look on the table next to your bed.
12: Boozer – “My Beautiful Wife”
As with #11, but check the table next to the other bed in the main room.
13: Rikki – “Wrench in Hand”
Rikki lives in a cabin in Lost Lake that’s almost directly south of the ornamental tree in the center of town. To get credit for this collectible, inspect her wrench on her kitchen counter.
14: Rikki – “Your Lamp in the Sky”
This shows up later in the game in Rikki’s cabin in Lost Lake, on the interior wall next to the door. It’s definitely there after you complete “Outta the Darkness” and turn power back on, but I’m not sure exactly what causes it to appear.
15: Skizzo – “The Shit List”
Skizzo’s cabin on the west side of Lost Lake is guarded night and day by two guys with guns, right up until you complete “They Will Never Stop” in the “Ripped Apart” mission sequence. Afterwards, you can pick up this collectible from the corner of his living room.
16: Skizzo – “With Honors”
As with #15, go to Skizzo’s place once his guards take a powder and check the greeting card on the table.
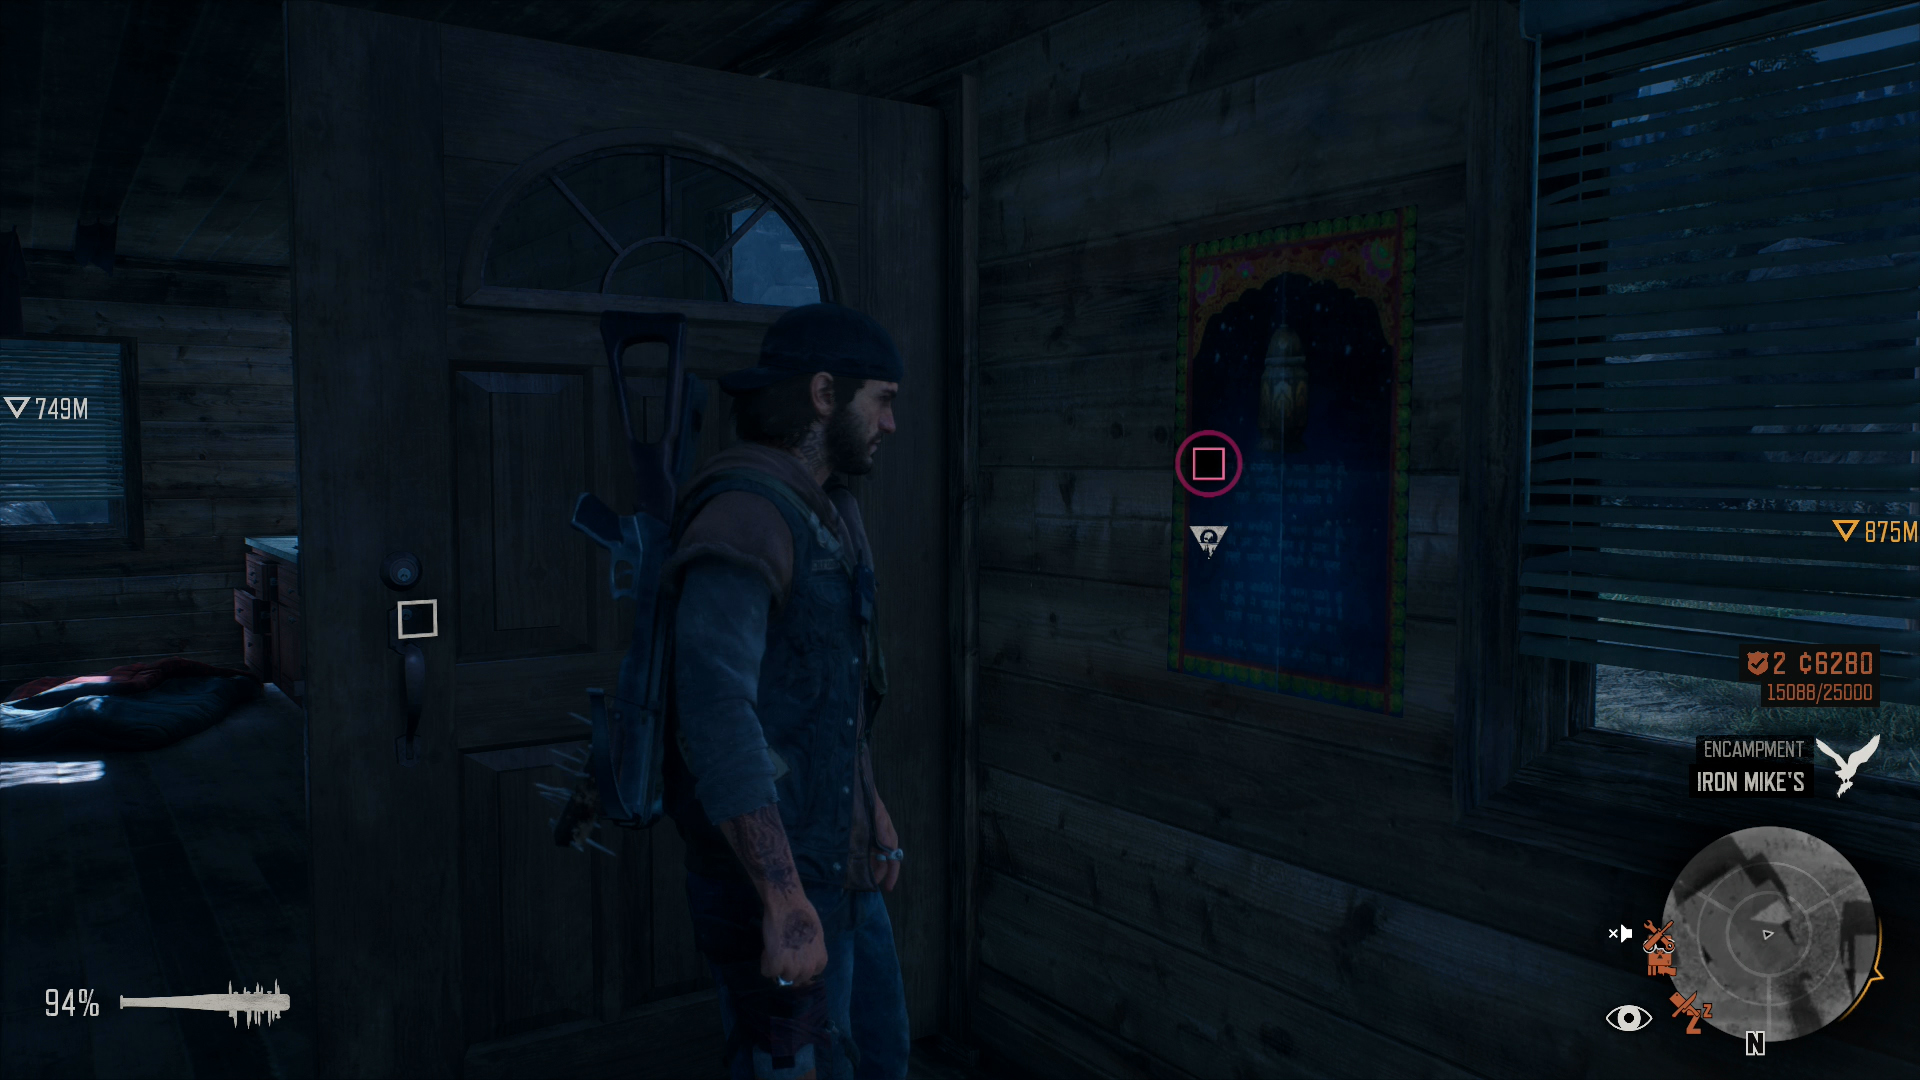
17: Iron Mike – “I’ll Always Be With You”
After you reach Lost Lake and have your conversation with Iron Mike, return to the clubhouse and go upstairs to his bedroom. This letter is on his desk.
18: Iron Mike – “Let There Be Peace”
Return to the first floor of the clubhouse in Lost Lake. If you’re facing the fireplace on the first floor, this note is on a bench to your left.
19: Addy – “Straying From the Path of God”
There’s a well-hidden staircase in the back corner of the infirmary in Lost Lake that leads up to Addy’s workspace. You can pick this card up off her desk.
20: Addy – “The Old Generator”
In the Lost Lake infirmary, check the top of the file cabinet in the southern corner of the first floor. You can get this as early as during “Not Gonna Kill Anyone,” when you sneak into the building.
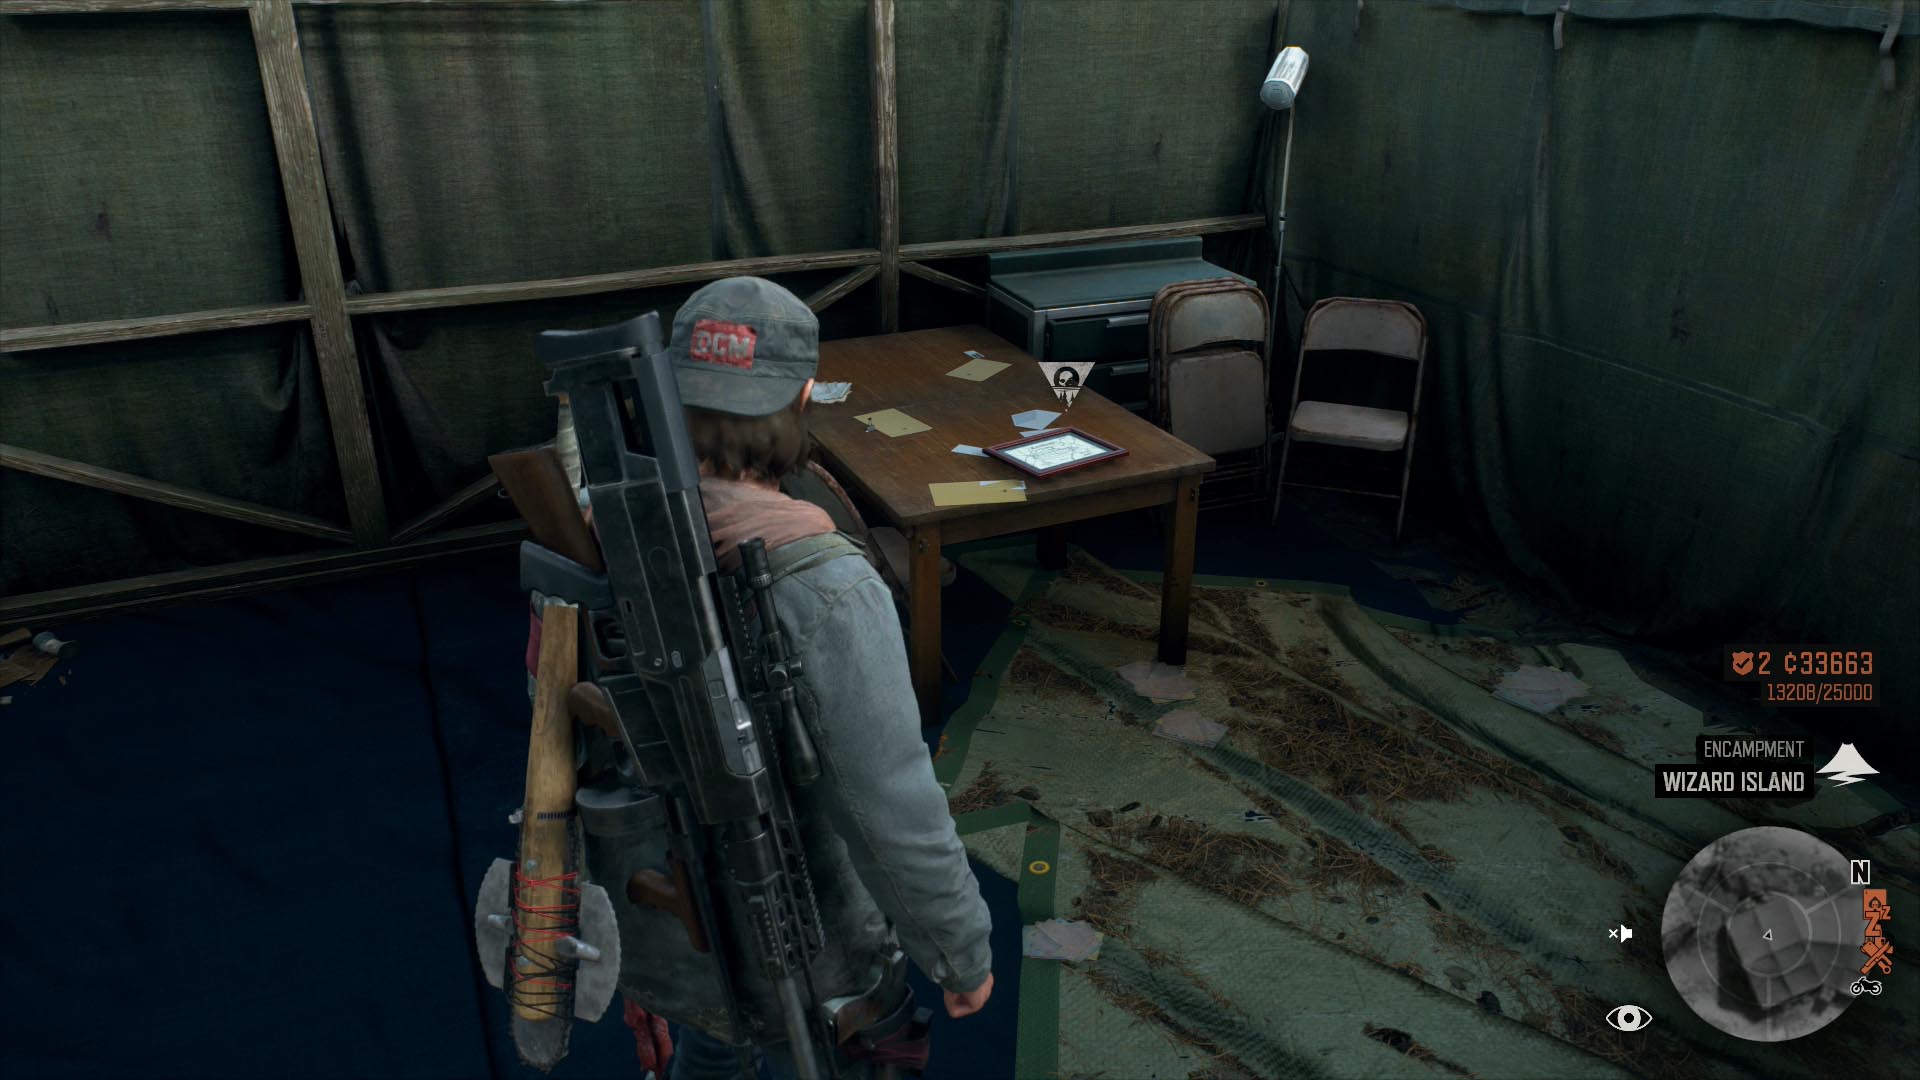
21: Colonel – “Sleepy Tea”
On the right side of the Colonel’s tent at the top of Wizard Island. You’ll first go there as part of “We Will Take Back This World.”
22: Colonel – “The Good Book”
As #21, on the other side of the tent.
23: Kouri – “To Have and To Hold”
Unmissable. When Kouri shows Deacon his photo of his wife during “A Target On Their Backs,” it counts as a collectible, although there’s no indication thereof.
24: Kouri – “To Protect and Serve”
Look inside Kouri’s tent in Diamond Lake to find this on a footlocker at the foot of his bed. You can get this on your first visit to town, while you’re searching the tents.
25: Doc Jimenez – “Doctor Arturo”
When you get back to Wizard Island after “We Couldn’t Take the Risk,” you’ll immediately pick up a new mission at the infirmary, “This One’s On Me.” Afterward, go around to the infirmary’s rear entrance and look at Jimenez’s diploma on the table.
26: Weaver – “Look to the Stars”
Unmissable. Complete “He’s Not Big on Tunes.”
27: Weaver – “Chemical Reactions”
Unmissable. Complete “You Alone I Have Seen.”
28: Taylor – “Flying High”
When you start “We Will Take Back This World” on Wizard Island in Crater Lake, go into the barracks and look on the table near the entrance.
29: Taylor – “Delivery Boy”
In the same room as #28, on the footlocker next to your bunk.
30: Sarah – “My Old Lady”
When you gain access to the Cloverdale building in “Expect the Worst,” late in the game, look for this to your left after you come through the skybridge. It’s a photo attached to the screen of an open laptop on the second floor of the lab.

You can actually go back to Cloverdale after this mission if you missed the photo, although it’s easy to think otherwise. There’s now a small gap in the fence near the front gate that Deacon can slip through.
31: Jessie – “Riding With the Mongrels”
Unmissable. When you return to Lost Lake after “I Guess I’m Good With That,” you get this automatically without being told it’s there.
32: Jessie – “They Shall Be Of One Mind”
Unmissable. Once you complete “I Kept My Name,” you just sort of have this.
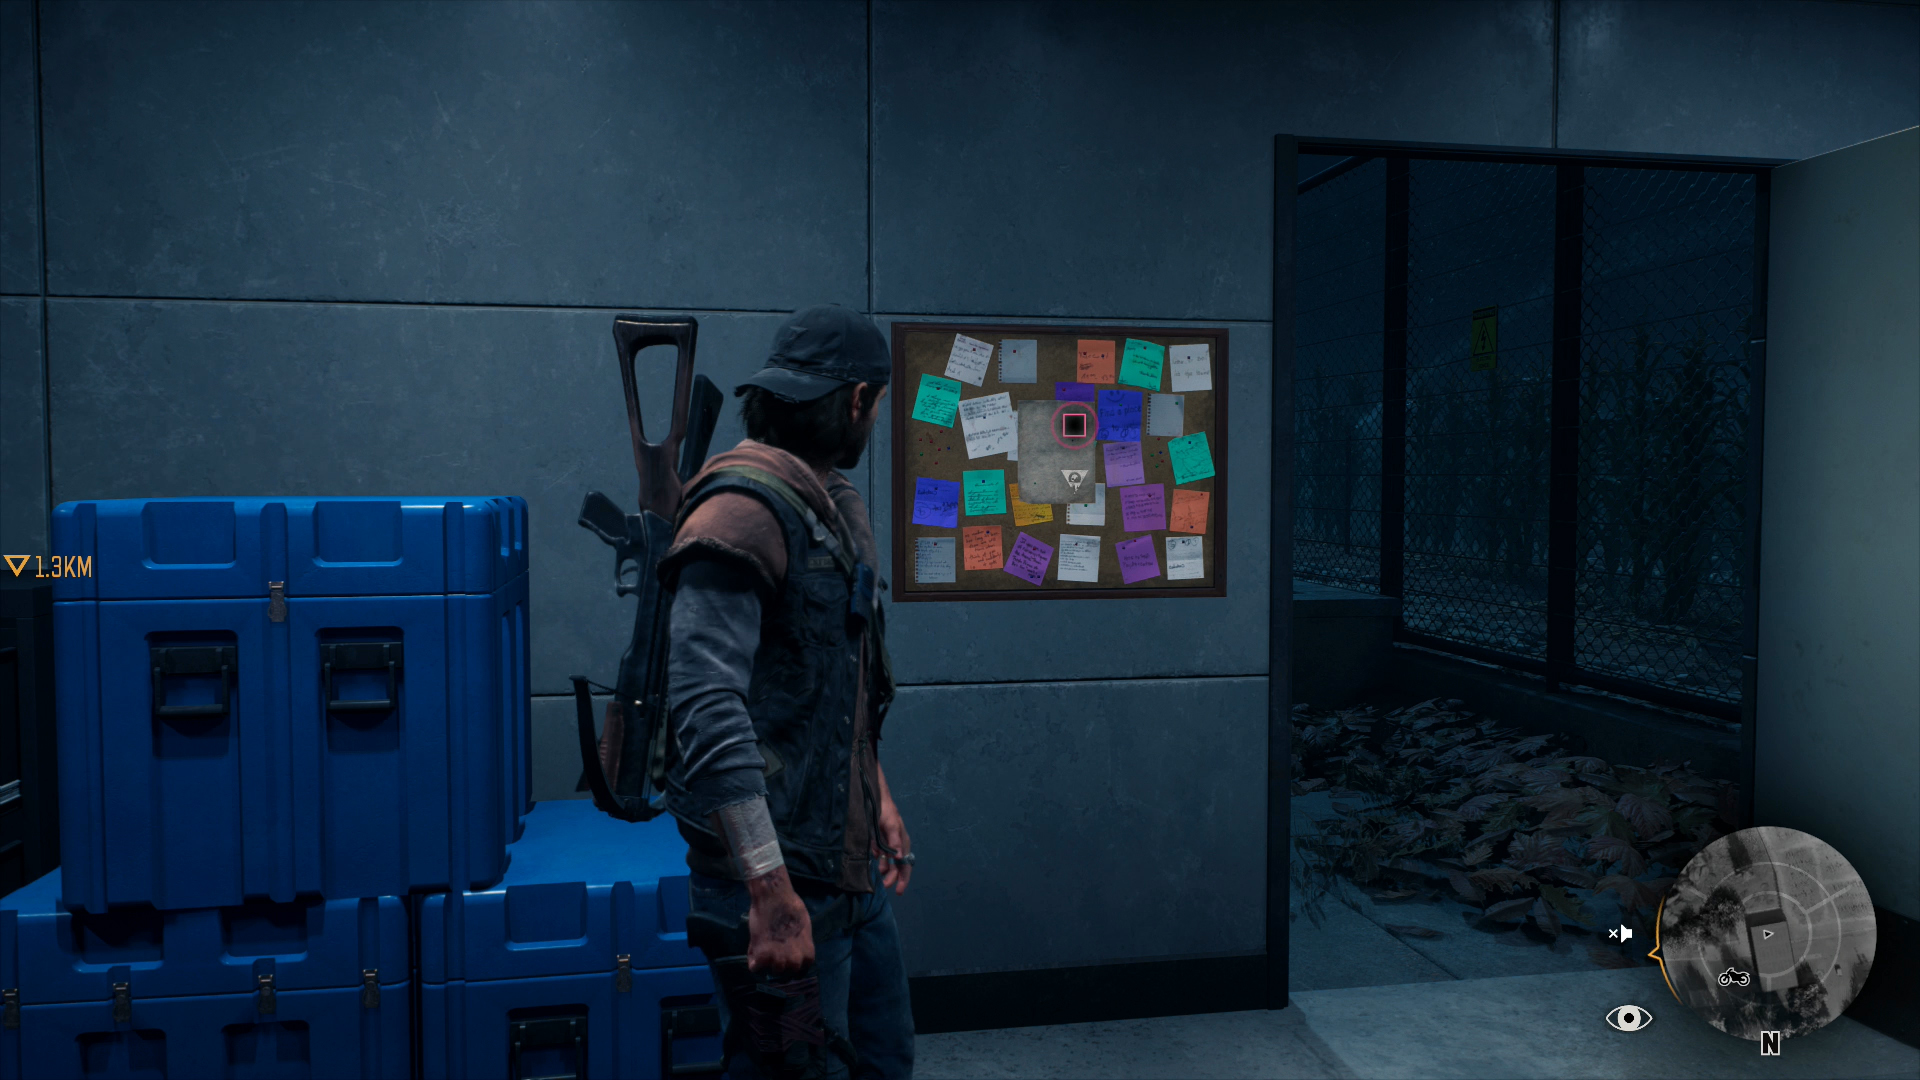
33: Jim – “Advisory Warning”
Walk into the Cloverdale campus’s security checkpoint in southern Iron Butte and look at the bulletin board by the door.
You can get this as soon as you unlock Iron Butte for free roam later in the game, after “I’m Good With That.” You’re eventually sent back to Cloverdale on a story mission that unlocks the rest of the campus, but you can always get into Jim’s office. Which would annoy him.
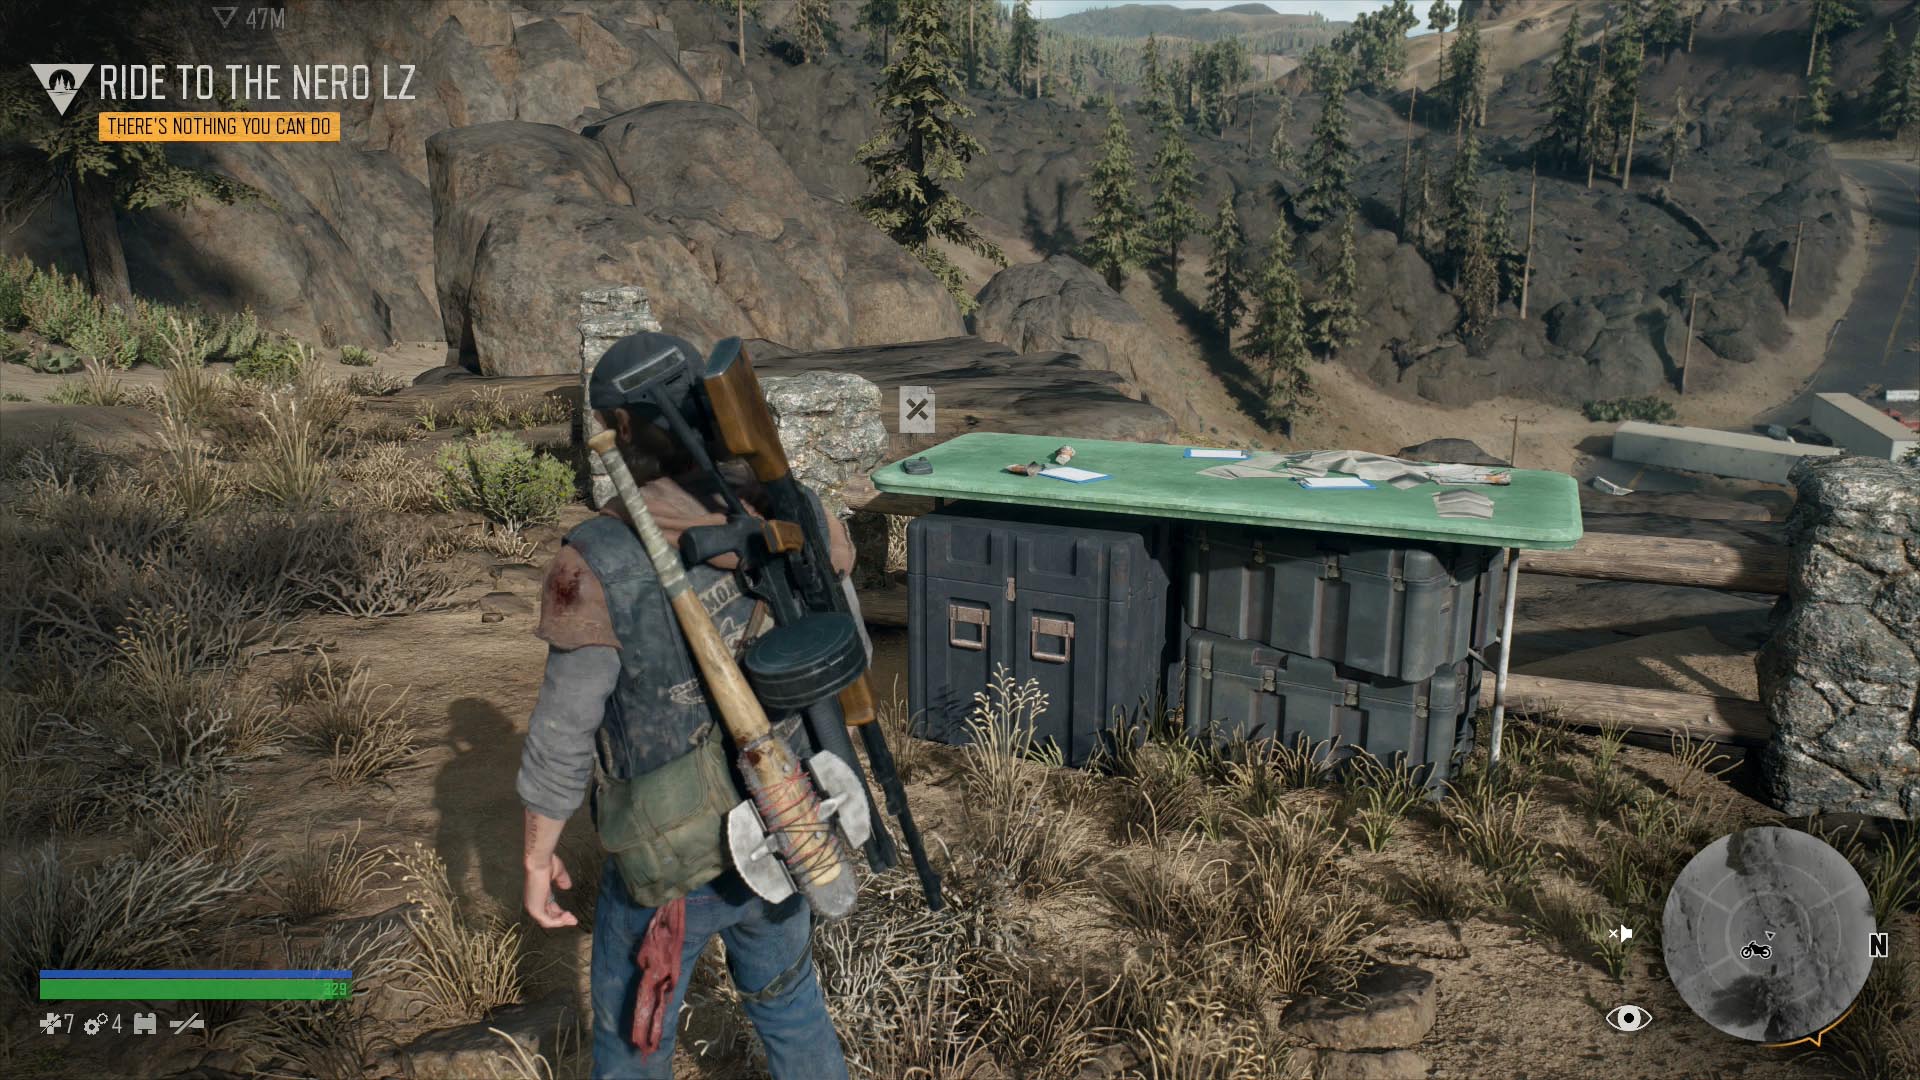
NERO Intel: 52
![]() Where there’s a zombie apocalypse, there’s an ominous government organization that, having botched their initial disaster response, has moved on to being up to no good in the aftermath. NERO has left bunkers, trailers, and resources scattered throughout Oregon, and figuring out the real story of the initial outbreak will require you to hunt down as much leftover intel as you can.
Where there’s a zombie apocalypse, there’s an ominous government organization that, having botched their initial disaster response, has moved on to being up to no good in the aftermath. NERO has left bunkers, trailers, and resources scattered throughout Oregon, and figuring out the real story of the initial outbreak will require you to hunt down as much leftover intel as you can.
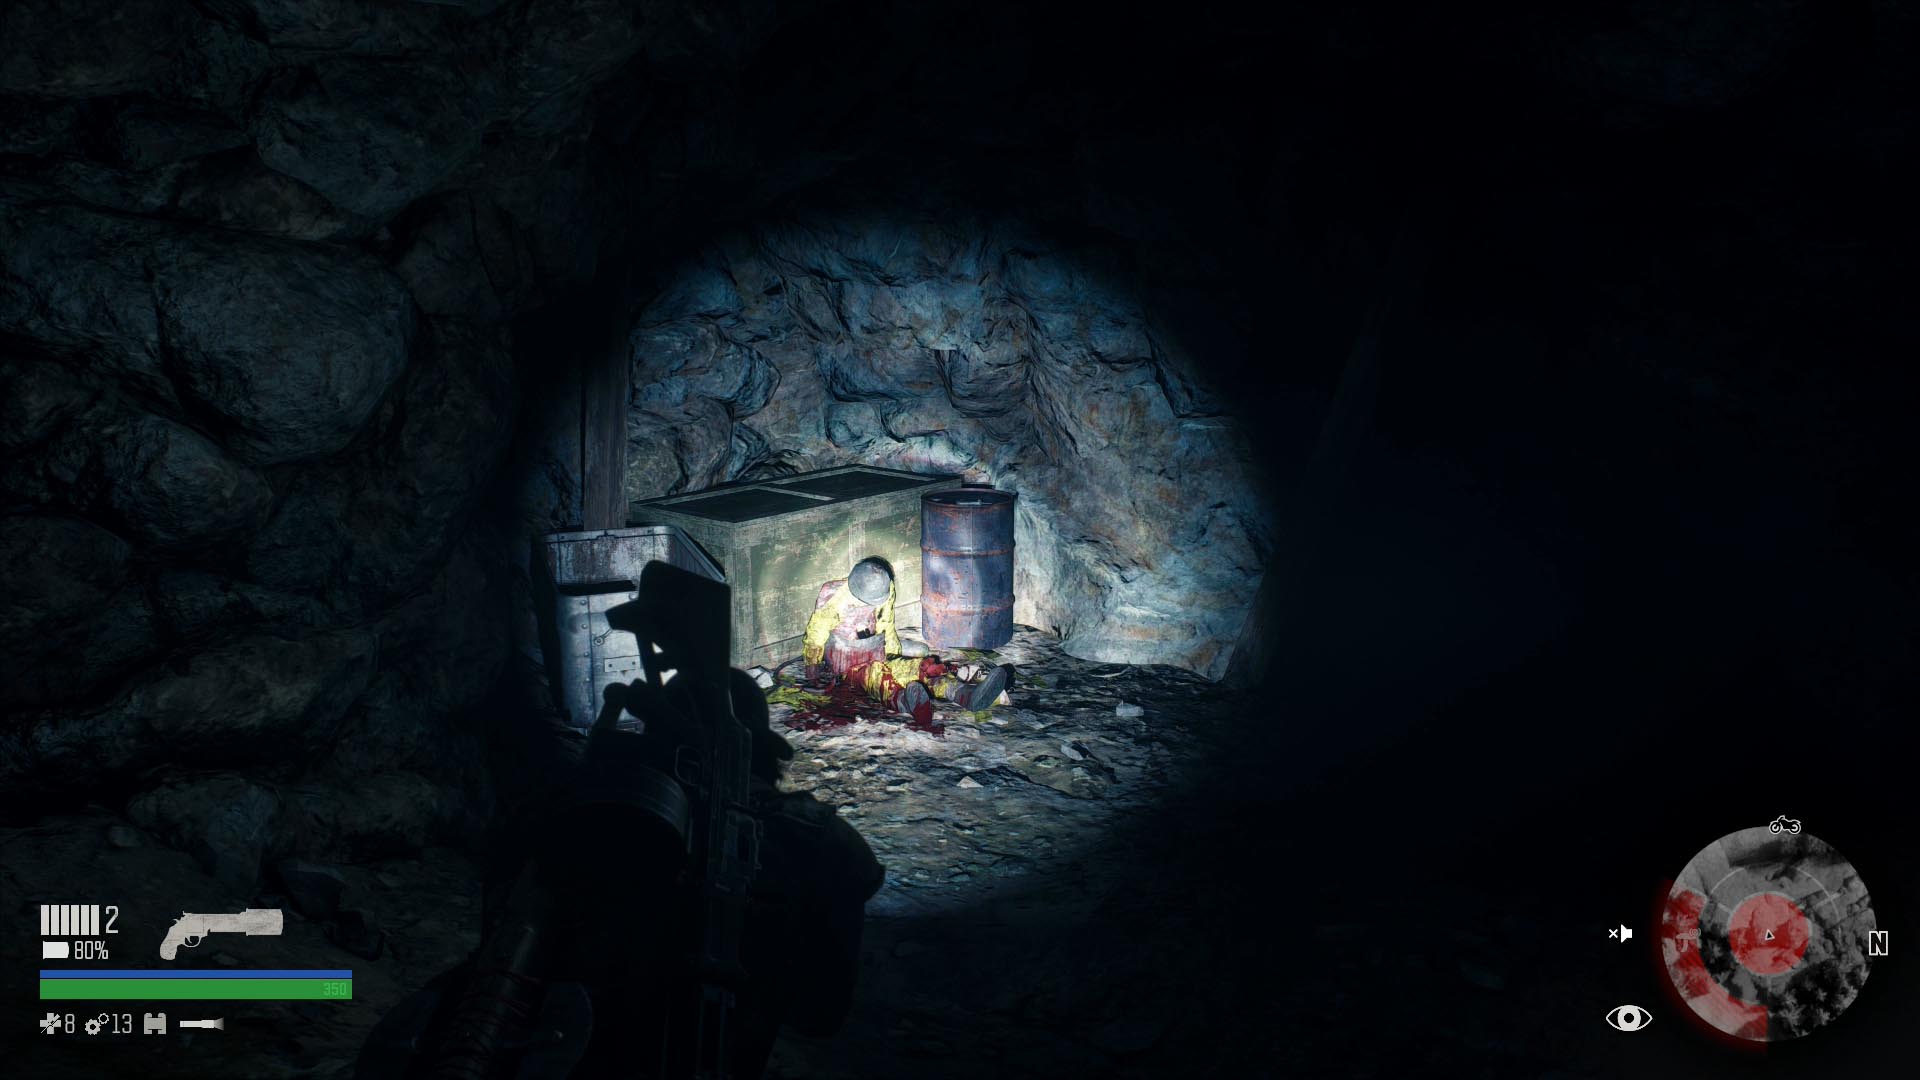
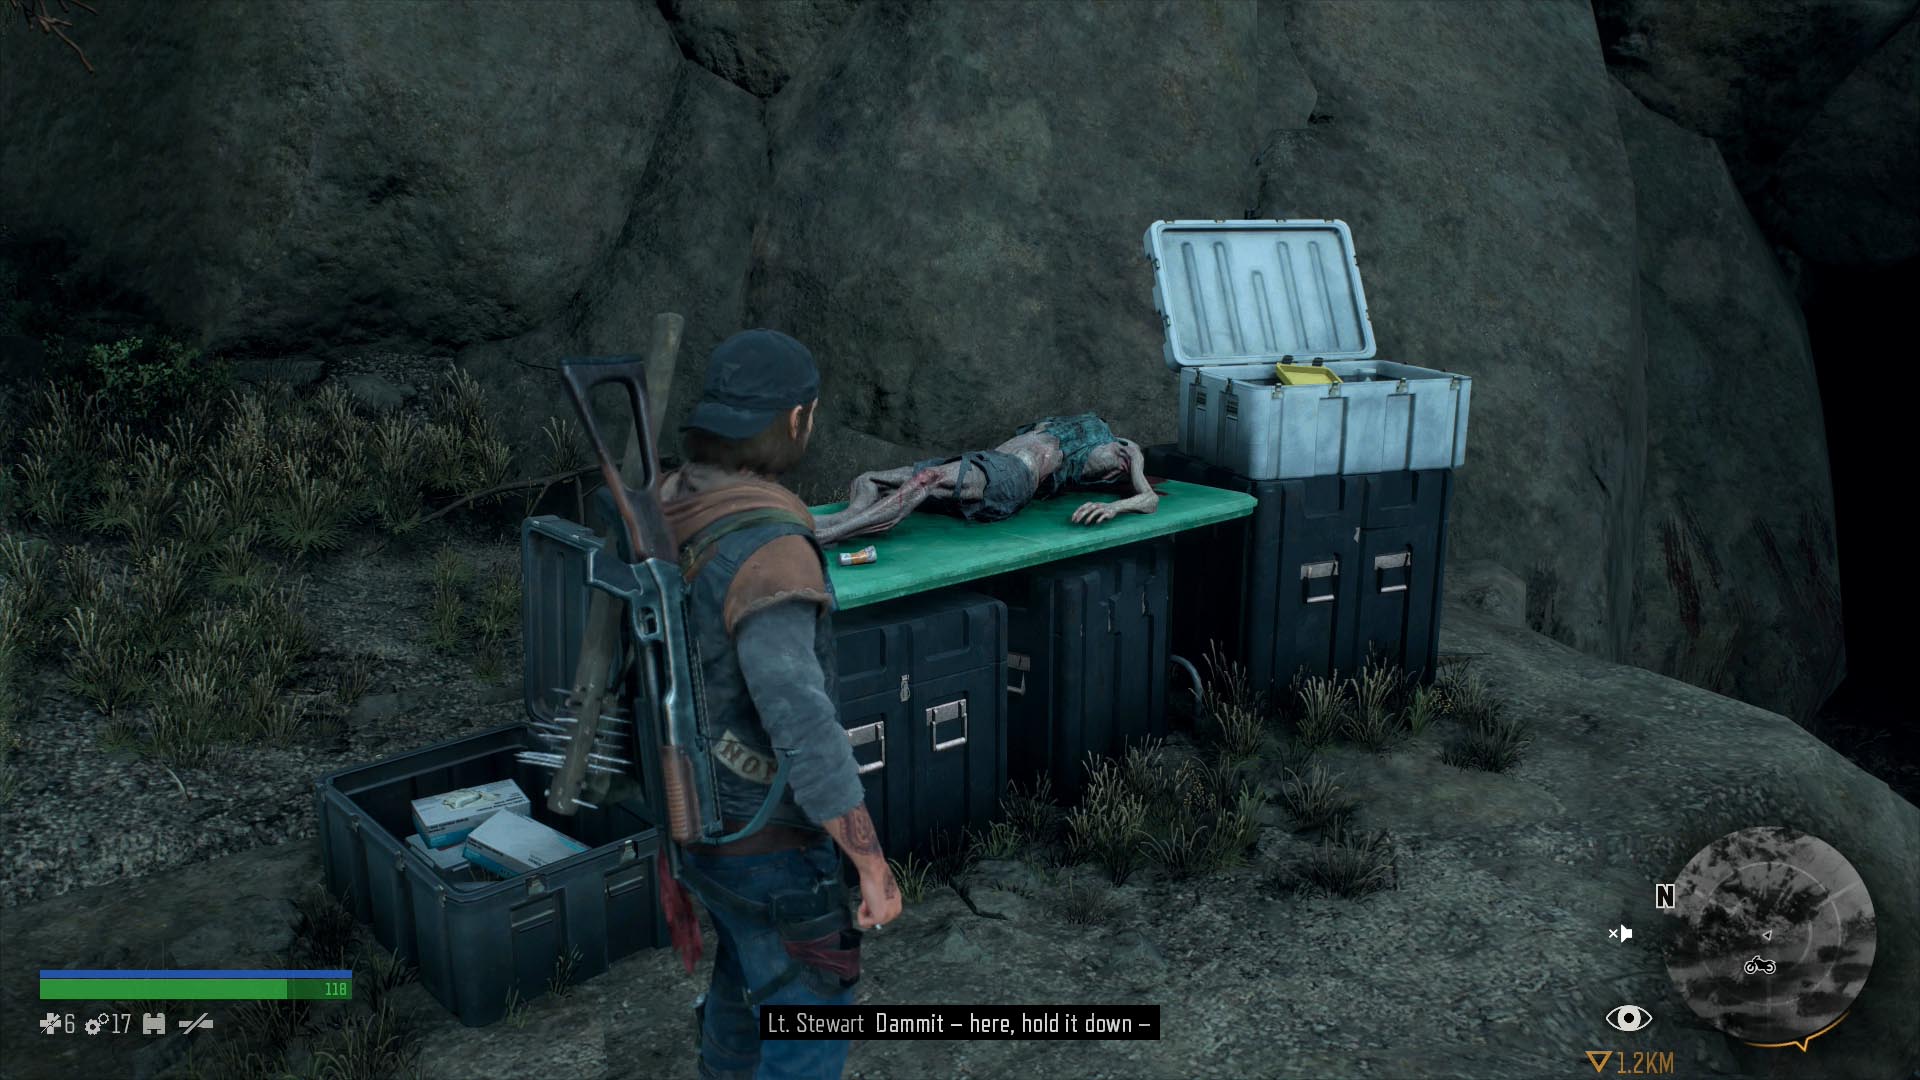
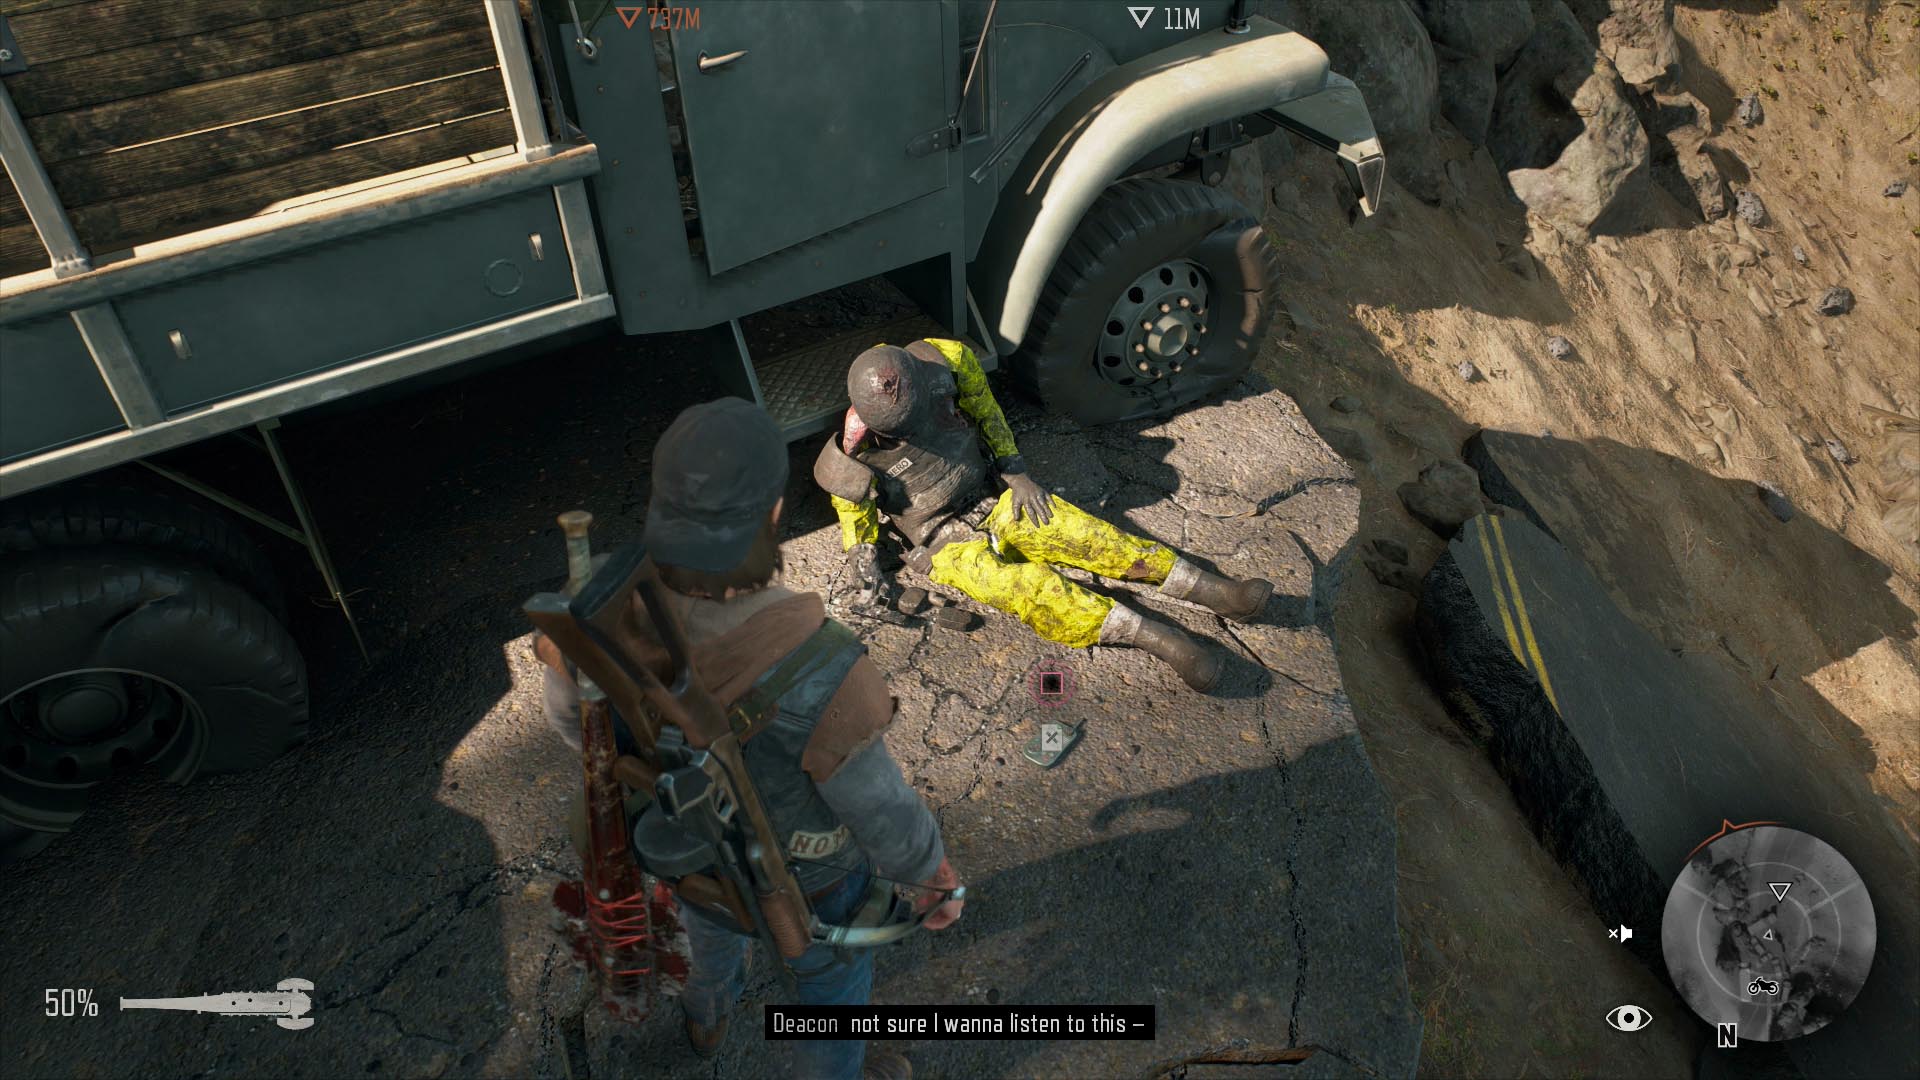
Most of the NERO Intel collectibles are handheld audio recorders. You’ll always find one inside a NERO bunker or at a NERO research site, near one of their stat-boosting injectors, and a few more can be found throughout the world.
The first time you find a recorder, it automatically plays its file aloud. Listen to the end to get some extra dialogue from Deacon, which can add additional context to the information on the recorder. The voice file is stored for later playback in your collectibles menu, along with a written transcript, but Deacon’s reaction is not.
While NERO research sites tend to be out of the way or require some finesse to reach, they’re also labeled on your in-game map whenever you take over a nearby ambush camp. As such, finding most of them doesn’t require that much effort. The NERO Intel that’s placed randomly out in the world, on the other hand, is more difficult to stumble across.
1: Researcher Field Note – 2000
Unmissable. Successfully eavesdrop on Booth’s conversation during the “They’re Not Sleeping” mission in Cascade.
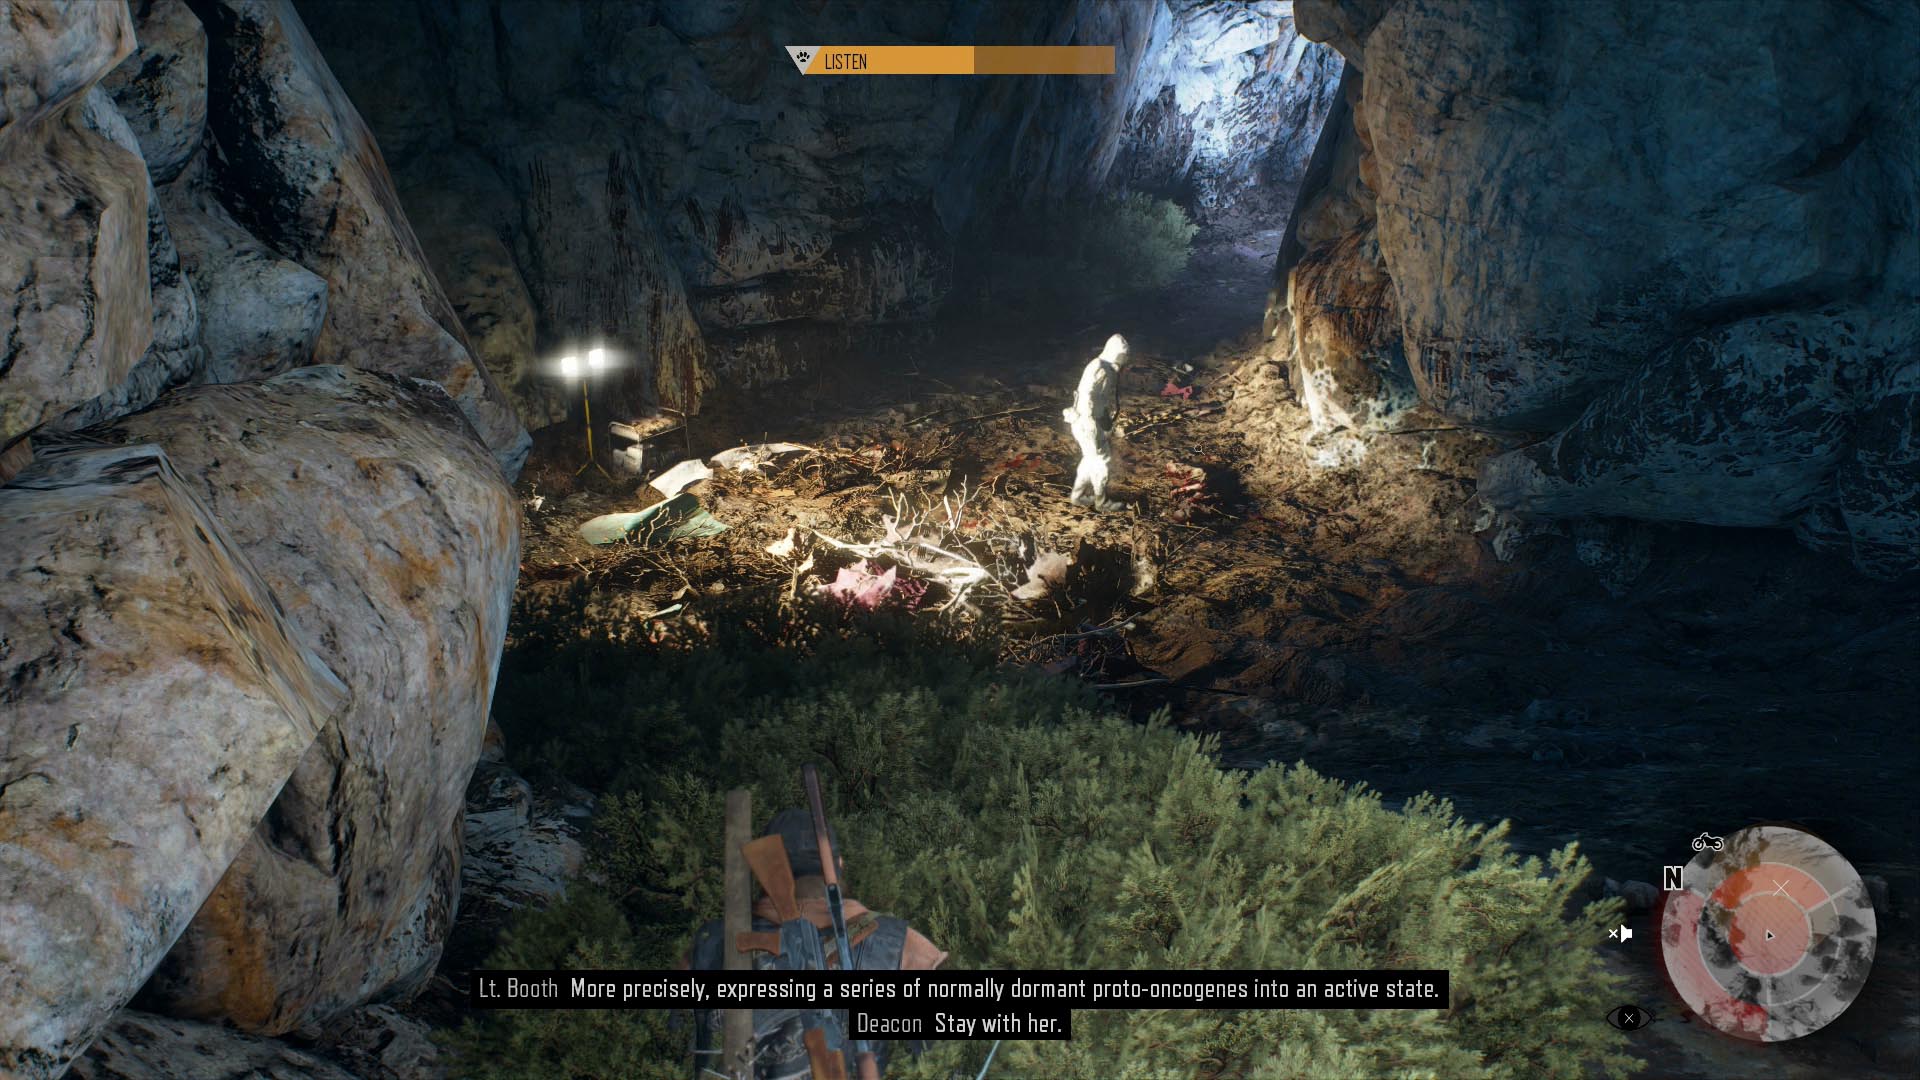
2: Researcher Field Note – 2064
Unmissable. As with #1, successfully eavesdrop on Booth during the “It’s On A Mission,” uh, mission in Lost Lake.
3: Researcher Field Note – 2068
Unmissable. As with #1, successfully eavesdrop on Booth during “Moments of Lucidity” in Lost Lake.
4: Researcher Field Note – 2060
Unmissable. As with #1, successfully eavesdrop on Booth during “On Herod’s Birthday” in Lost Lake.
5: Flight Data Recording – 2044
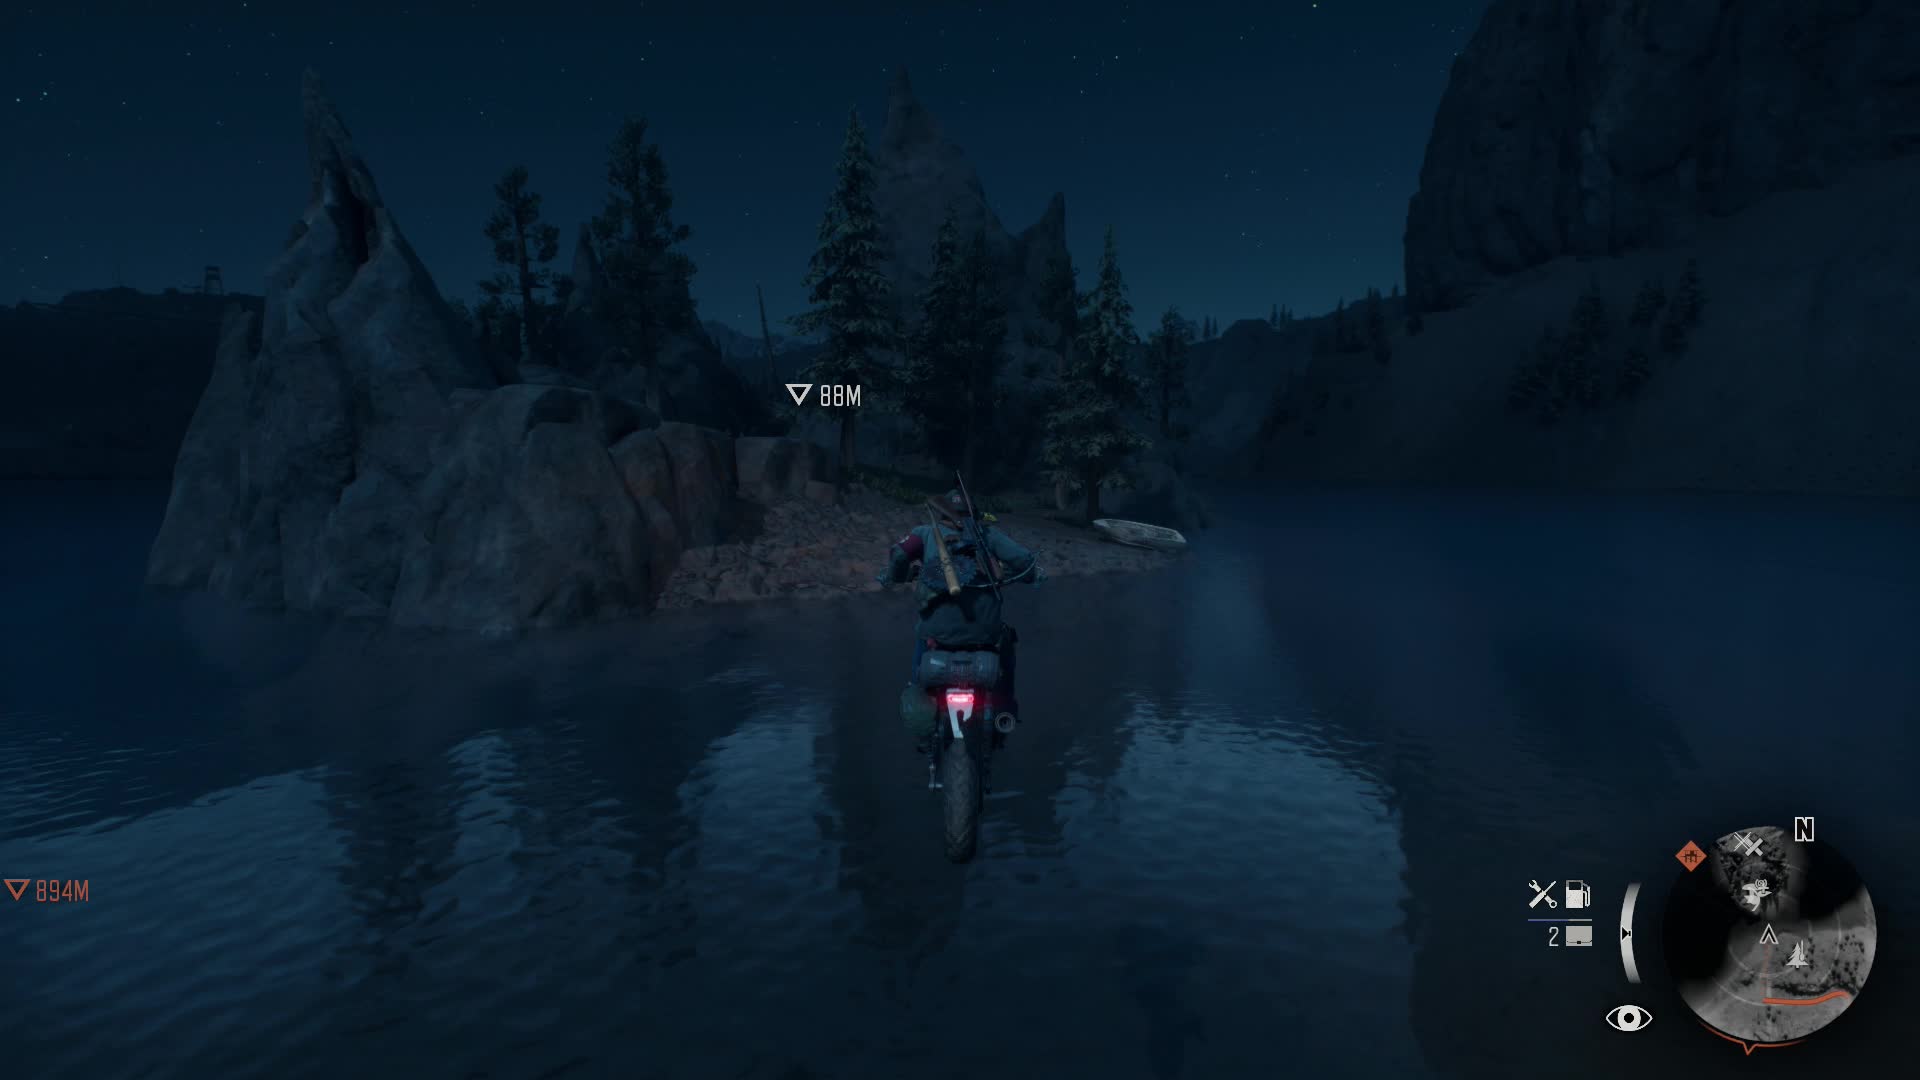
Just east of the Old Sawmill NERO Checkpoint in Lost Lake, there’s a helicopter crash on an isolated plateau. The only way to reach it is to ramp off of the nearby ravine from the east side, which requires you to have installed engine upgrades and/or a nitrous booster on your bike. The latter makes the jump a lot easier, but you can get it done with the former as long as you give yourself a lot of room to pick up speed.
In the crash site, you’ll find some supplies, a NERO injector, and this recorder.
6: Field Recording – 2011
Found in a NERO research site, located in a cave tunnel south of the Aspen Butte ambush camp in Crater Lake. If you’re riding out to take care of the “Never Give Up Hope” mission for the Colonel, you’ll ride right past it.
7: Flight Data Recording – 1787
The island in the southeastern part of Crater Lake is the site of a NERO helicopter crash, where you’ll find a NERO injector and this file.
To get there, upgrade your bike’s engine and nitrous booster, then get up to max speed and ramp off the shore. You can usually get to the island, but the trick is actually getting the bike close enough that it doesn’t end up underwater. Be sure to engage the nitrous well before you hit the ramp to get the most out of its acceleration.
8: Flight Data Recording – 1377
There’s a helicopter crash across a short stretch of the river southeast from the Chemult Community College on Highway 97. The river’s too deep to swim or ford it, so the only way across is to fire up your nitrous booster and go off the nearby earthen ramp, then land, back up, and do it again to clear the next stretch of the water.

This is barely possible with a level 2 booster and is nearly guaranteed to wreck your bike unless you’re rolling with advanced parts. It might be easier to wait until you’ve maxed out your Diamond Lake rep and bought all the best gear for your bike. Your reward for this stunt jump is a NERO injector and this recording.
9: Flight Data Recording – 2041
West of the Hot Springs encampment in Belknap, as with NERO Intel #5, there’s a helicopter crash site on an isolated plateau that you need a nitrous booster to be able to reach. Once you’re there, you can find some scrap, a NERO injector, and this bit of intel.
10: Flight Data Recording – 2097
South of Copeland’s Camp in the Cascade region, another crashed helicopter sits on an isolated ledge. As with NERO Intel #9, you need to use a nitrous boost to get enough speed to make the jump to the crash site.
11: Researcher Field Note – 2102
As with intel #1 through #4, successfully eavesdrop on the NERO researcher during the O’Brian mission “You Twisted My Arm.”
12: NERO Evacuation Notice
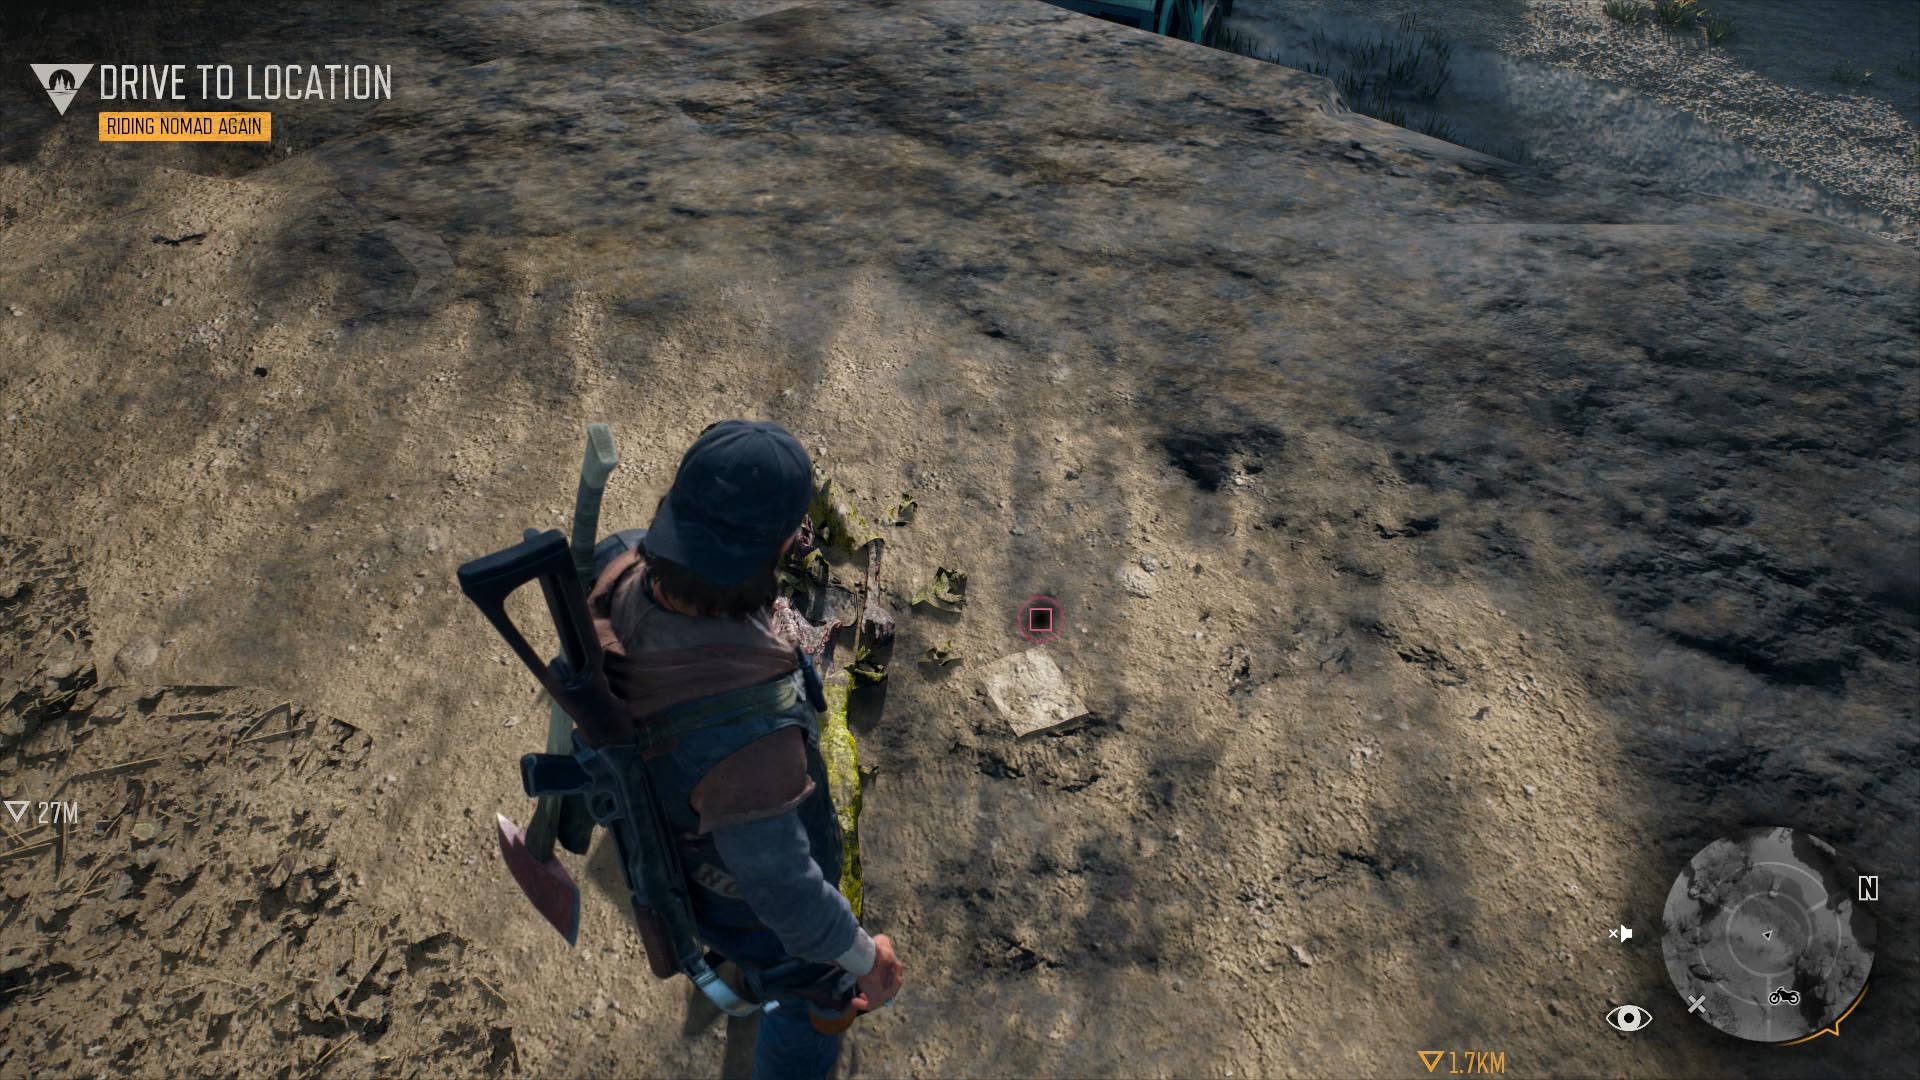
About halfway between the front gate of the Pioneer Cemetery in Cascade and the NERO checkpoint to its east, there’s a sign on the road that’s been defaced with graffiti saying “FREAKERS ALL DEAD.” Near it, mixed in with some road debris near a wrecked SUV, there’s a poster on the ground that counts as NERO Intel.
There’s a chance that Deacon may say something aloud about the evacuation order when you get close enough, but otherwise, this is very easy to miss.
13: NERO Site Order – TS-03-900SQM
In southern Iron Butte, just outside the Redwood RV Park, there’s a wrecked NERO helicopter on a high plateau. Use your bike to ramp off the opposite side of the ravine to reach the crash. It’s a long jump, but it’s easier than it looks, as long as you’ve got a level 2 nitrous booster; that, in turn, requires at least level 2 reputation with Lost Lake.
This piece of intel is on a dead moonsuit guy near the edge of the plateau. Weirdly, it’s a memo, not an audio file.
14: Mobile Medical Site Order – TS-27-760GDQ
Found inside one of the bunkers at the Rogue Tunnel NERO Checkpoint in Iron Butte. Like #13, this is also a memo. It’s like it’s there to force people writing Internet guides to add qualifiers to their introductions.
15: Mobile Medical Unit Recording – 0980
Inside the bunker at the Marion Forks Tunnel NERO Checkpoint in Belknap.
16: Field Recording – 1260
Inside the bunker at the Horse Lake NERO Checkpoint.
17: Mobile Medical Unit Recording – 1111
Inside the bunker at the Old Pioneer Cemetery NERO Checkpoint in Cascade.
18: Mobile Medical Unit Recording – 1231
Inside the bunker at the Santiam Tunnel NERO Checkpoint in Lost Lake.
19: Mobile Medical Unit Recording – 1301
Inside the bunker at the Old Sawmill NERO Checkpoint in Lost Lake.
20: Mobile Medical Unit Recording – 0805
You can find this inside one of the two northern bunkers at the Chemult Community College NERO Checkpoint. Notably, you don’t need to install a fuse to open the bunker with the intel in it.
While you can find this checkpoint and the infestation zone to its south as soon as you reach Highway 97, you can’t get onto the college’s campus until a bit later, after “You Couldn’t Stop Shaking.” At that point, both the main gate and back fence open up and you can explore the campus at your leisure on a second visit.
That being said, there’s a Horde in the athletic field near the NERO checkpoint, which seems to be A) permanently stationed there and B) in a place where it more or less has to be fought. Fortunately, there are a lot of useful supplies in the community college, including a lot of gunpowder to make Attractor Bombs with, and the checkpoint is full of more bright red explosives than usual. All in all, there are lots of worse places in the game to take on a Horde.
21: Field Recording – 1577
Enter Rebel Rock Cave, found northwest of the Salome Hot Springs in Belknap, and look for the NERO Beacon at the back. You’ll find this piece of intel and a NERO injector nearby.
Note that if you try to do this during the day, you will run directly into a Horde. The cavern’s mostly empty at night, although the roads outside will be a little more dangerous. Just don’t let sunrise catch you in the cave unprepared, as the Horde starts migrating back to its nest around 5 AM.
22: Mobile Medical Unit Recording – 1788
On a counter near the NERO injector in the Iron Butte Pass NERO Checkpoint.
23: Mobile Medical Unit Recording – 0817
Found in one of the wrecked NERO trailers in the refugee camp north of the Hot Springs encampment. If you don’t find it on your first visit, you’ll probably run across it during your multiple follow-ups, as you come back here several times over the course of the “I Remember” missions.
24: Researcher Field Note – 0988
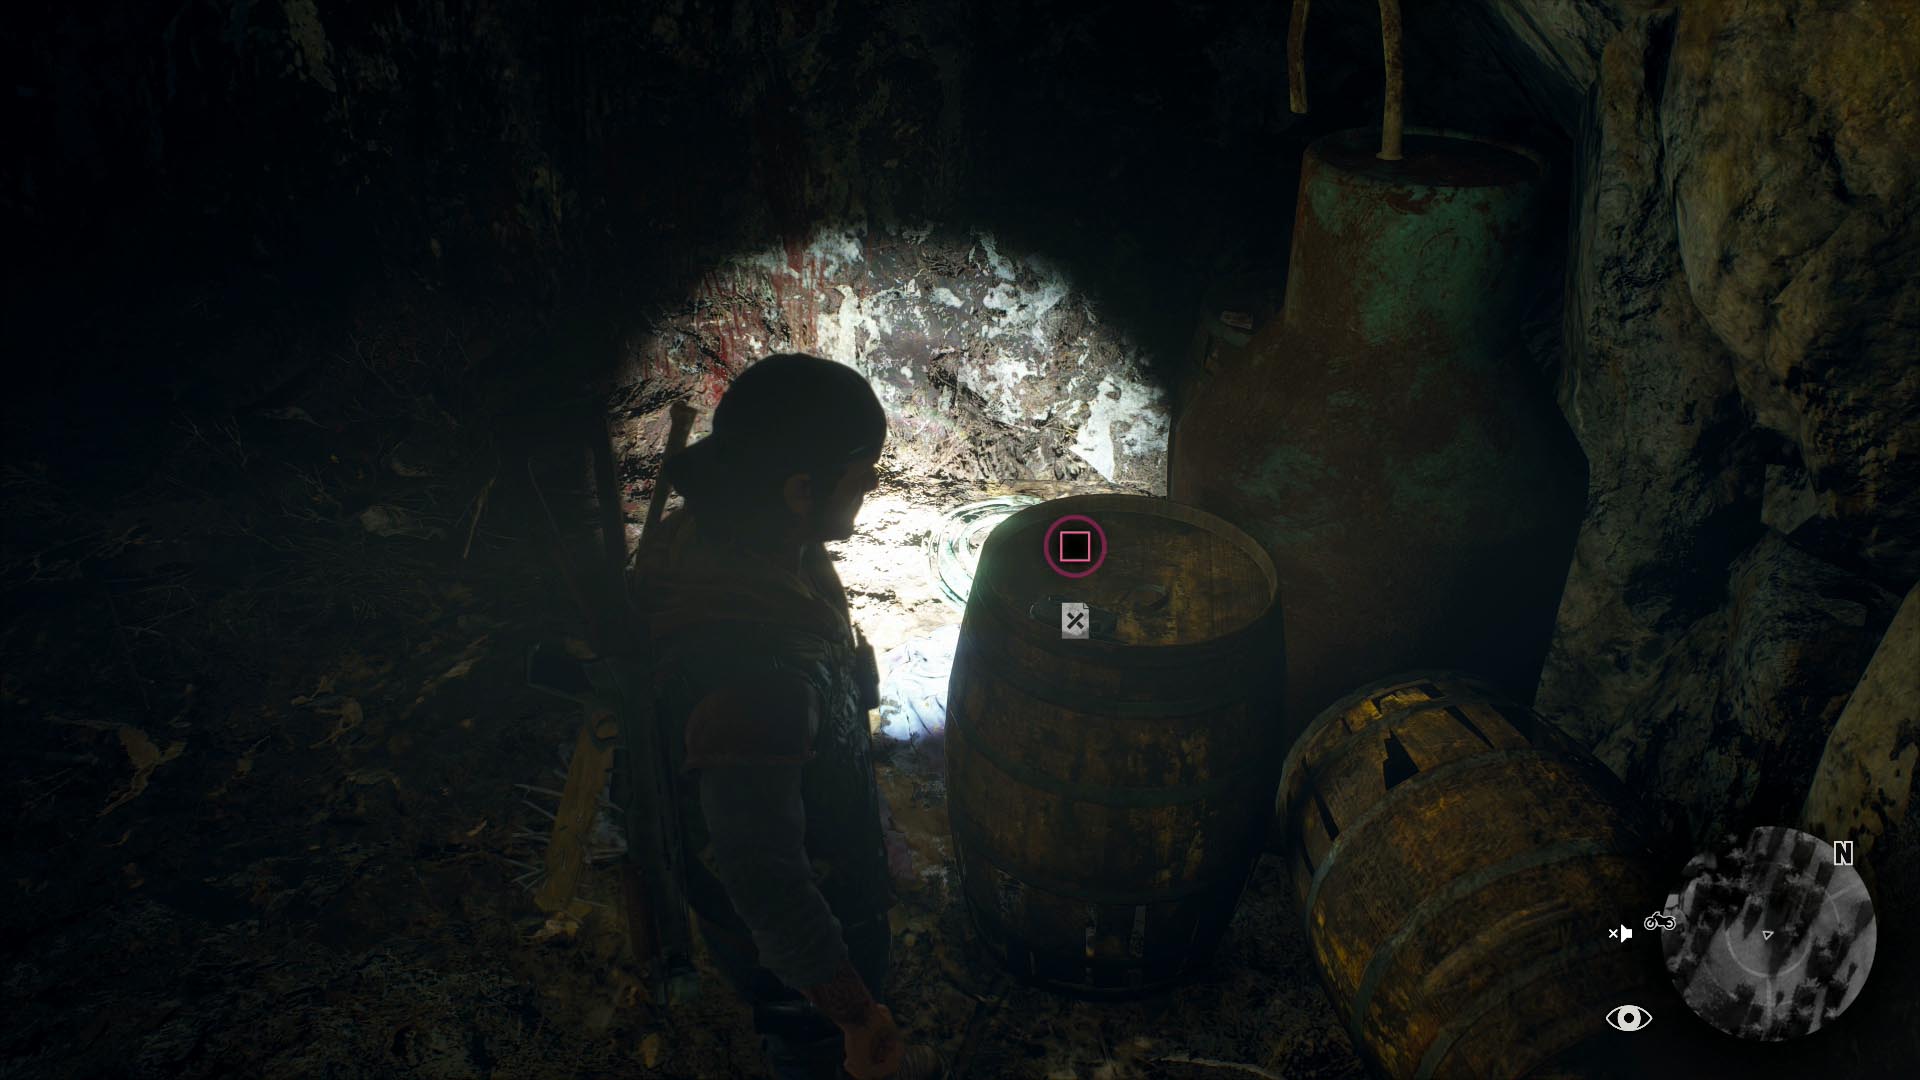
Enter the Metolius Lava Cave north of Iron Mike’s encampment in Lost Lake. This recorder sits on a barrel towards the back.
25: Researcher Field Note – 0701
Visit the NERO beacon at the back of the Grotto Caves in northeastern Cascade. There’s an intel recorder and a NERO injector nearby. A Horde holes up in here by day, so try to go in by night.
26: Researcher Field Note – 1677
Found next to the NERO Beacon at the back of the White King Mine in northwestern Cascade, north of the east entrance to the Marion Forks Tunnel.
27: Mobile Medical Unit Recording – 1682
Inside one of the bunkers at the Volcanic Legacy Scenic Byway NERO checkpoint in northeastern Crater Lake.
28: Black Box Recording – 1001
There’s an infestation zone in eastern Cascade that’s built into an abandoned logging camp. It’s a good early place to earn XP and bounties, so you’ll probably end up here sooner or later anyway.
If you follow the nearby rail line east across the bridge, you’ll find a bunch of warning signs that lead to a blocked tunnel. The general area is also home to a NERO research site, where you can find an injector and this recording.
29: Mobile Medical Unit Recording – 0820
This is on a counter near the sterile bandages in the NERO checkpoint during “Bugged the Hell Out.” It’s the first NERO Intel you can find and is effectively unmissable.
30: Researcher Field Note – 2069
Oddly, this isn’t hard to get to. It and a NERO injector are in the living room of one of the vacation houses along the southern edge of Crater Lake. The house is crawling with Newts, though.
31: Researcher Field Note – 1735
Check the NERO research site due south of the Frontier Motel in Belknap.
32: Researcher Field Note – 2073
The Lucky Lad Mine in eastern Lost Lake is the site of a historical marker, but you can’t get into the mine itself until after you wrap up “Lines Not Crossed,” a mission in Skizzo’s storyline. Afterwards, you can return to the mine and crawl under the beam blocking its entrance.
While you can’t get back into the mine tunnels from the mission, you can explore a bit. Head forward and take a left to find a side area with two dead NERO guys, one of whom has this recorder near him.
33: Researcher Field Note – 1960
Once you reach Iron Mike’s camp in Lost Lake, go as far southeast from it as you can until you reach the edge of the map. You can find this recorder on a NERO research site next to a cavern, behind a big farmhouse. It’s one of the only research sites on the map that you don’t have to do something stupid to reach.
34: Researcher Field Note – 1463
Check the NERO research site in Dead Coyote Lava Cave, in southwestern Crater Lake. If you don’t find this in the usual way, you might stumble across it while you’re searching for Anderson in the “Keeping Souvenirs” bounty mission.
35: Researcher Field Note – 1833
Check the NERO research site in the mountains due west of Diamond Lake.
36: Researcher Field Note – 2072
This isn’t technically unmissable, but you’re taken right to its location as part of “Leave All That At the Door,” a mission for Weaver in Crater Lake. You’d have to actively decide not to pick it up.
37: Researcher Field Note – 2043
Directly west of Wizard Island, on the road that circles Crater Lake, part of the road is blocked off by a multi-car pile-up. You can climb over it from the north side of the wreckage to find a dead NERO guy lying against a truck with this recorder on him.
38: Mobile Medical Unit Recording – 1685
Inside the bunker of the Pillette Bridge NERO Checkpoint in southwestern Highway 97.
This is one of the tougher checkpoints to capture, as there’s a Horde living right next door. Either come loaded to take them on or be very careful about destroying all the megaphones before you activate the generator.
39: Researcher Field Note – 2020
At a NERO research site in the central part of Highway 97, inside a shallow cavern. There isn’t much in the area to provide local landmarks (it’s just north of the town of Chemult, which is loaded with other collectibles and home to a Horde), but the site’s labeled on your map if you clear the ambush camp at Aspen Butte.
40: Researcher Field Note – 1005
Look underneath the broken bridge near the blocked highway on the southern end of Highway 97. There’s a barely-hidden NERO research site down there. The nearby trick jump off the ramp is a red herring.
41: Researcher Field Note – 2006
Unmissable. You’re automatically given this collectible upon successfully tailing O’Brian during “Making Contact.”
42: Researcher Field Note – 2071
Unmissable. This is received during “I Need Your Help” in the “I Remember” chain, after you successfully eavesdrop on a NERO researcher at Berley Lake.
43: Researcher Field Note – 2104
Unmissable. You get this automatically after “What It Takes to Survive.”
44: Researcher Field Note – 2105
45: Researcher Field Note – 2106
Unmissable. While the game never actually tells you that you’ve gotten them as collectibles, both these pieces of intel are transcripts of spoken dialogue from your exchanges with O’Brian and Cooper during “What It Takes to Survive.”
46: Inspector Field Note – 1375
Go north of Marion Forks in Belknap to find the site of a mass grave. This recorder is in a shed on the northwest side of the clearing. It, and the other “Inspector Field Notes,” tell the story of the unlucky NERO operative Martine Sinclair.
47: Inspector Field Note – 1375
Look on the front fender of one of the big fuel trucks outside the Horse Lake NERO checkpoint in Cascade. Fortunately, if the truck gets blown up during your mandatory fight with the nearby Horde, the recorder will survive the explosion.
48: Inspector Field Note – 1381
Head northeast from the O’Leary Mountain Safehouse in Cascade to find a mass grave along the side of the road. The recorder is on top of a crate amidst the corpses.
If you don’t stumble across this site on your own, you’ll likely find it by accident the next time you head out to Old Pioneer Cemetery.
49: Inspector Field Note – 1674
The recorder is lying directly in front of the blocked railway tunnel in central northern Cascade. It’s one of those “hidden in plain sight” sorts of collectibles, as there’s nothing at all in the area that would encourage you to investigate the rockfall.
50: Inspector Field Note – 1680
There’s another NERO “dig site” in the mountains on the north side of Crater Lake. You’ll stumble across it during your first mission for Kouri, when you first arrive in the zone. While you’re there, look at one of the earthmovers’ steps to find a well-hidden recorder.
51: Mobile Medical Unit Recording – 1683
Unlock the Spruce Lake NERO Checkpoint at the southwestern corner of Crater Lake to find this intel inside.
52: Researcher Field Note – 2055
East of the entrance to the Grotto Caves in northeastern Cascade, there are two easy-to-miss military crates stacked next to a boulder. The NERO recorder is sitting on one of them.
Lab Notes: 6
![]() I’ve edited this title to avoid a major spoiler.
I’ve edited this title to avoid a major spoiler.
All six of these recordings are automatically obtained as you complete a specific character’s missions near the end of the game.
1: Deacon’s Alive???
Complete “A War We Can Win.”
2: Yeast
Complete “I Know Things Are Strange.”
3: Silicate
Complete “Afraid of a Little Competition?”
4: Riding With Deacon
Start the sequence of missions that begins with “Just Another Requisition Form” and ends with “You Couldn’t Stop Shaking.”
5: The Cloverdale Virus
Complete “We Couldn’t Take the Risk.”
6: Teensy Tabby
Complete “This Could Be It.”
—–
We’re not quite done yet.
Move on to the next steps of our massive guide to Days Gone‘s collectibles where we delve into seeking out herbs, historical markers, and the camp guitarist as well as Radio Free Copeland, RIP sermons, and tourism-related collectibles. That’s not all, though — we have a few guides for Days Gone you may be interested in as well.


Published: Apr 29, 2019 10:12 pm