Like the first game, Layers of Fear 2 offers players multiple mind-melting endings based on decisions players make throughout the game.
Though it tends to be obvious when you’re being presented with an important choice, it may be less clear to figure out exactly which path you’re heading down in the five-hour horror story.
If you want to be sure you get the ending you want (and don’t mind spoilers), use our guide to unlock your favorite — or even all three of them for you achievement and trophy hunters.

Determining Factors
There are four instances of player choice that will determine which ending you earn by the time the credits roll on Bloober Team’s twisted thriller. They appear one in each chapter for the first four acts, while the fifth and final act bears the fruit of your decision tree. These moments are:
- Mannequin shooting in Act I
- Man versus dog fight for food in Act II
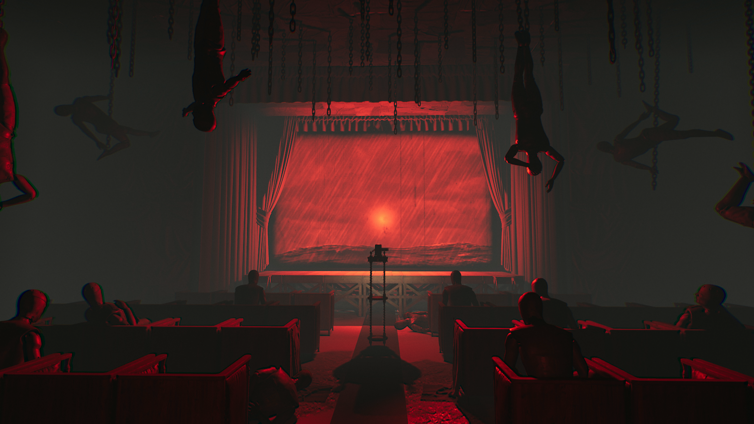
- Lily walking the plank of the pirate ship in Act III
- The flooded hallway on fire in Act IV
Collectively, how you act in these four moments will lead you irreversibly down a path toward the Flame, the Forever, or the Formless ending. Let’s take it one finale at a time.
The Flame Ending
To earn the Flame ending, you must follow the director’s orders at each of the above moments. Because the game is so deliberately confusing, it may be less than totally clear what he always wants you to do.
In this case, to earn the Flame ending, you’ll want to:
- Shoot the mannequin on the right
- Wrestle the food away from the dog
- Shoot the two puppets for a total of three times
- Not shoot Lily on the plank
- Run away from the flames in the hallway
Showing this level of obedience throughout Layers of Fear 2 will net you the “bad” ending to the game.
The Forever Ending
Considered the “good” ending, earning Forever simply requires you to make the opposite choice in ech of the four crucial binary decision moments. That means you’ll want to
- Shoot the mannequin on the left
- Let the dog have the food
- Shoot Lily off the plank
- Step into the flames at the end of the hallway
Doing all four of these will net the Forever ending in Layers of Fear 2.
The Formless Ending
The Formless ending is considered the “true” ending by some fans early into the game’s life span, — though it’s a wonderfully weird story so give us time to sort out the details of this deliberate mess.
To earn this ending, you must split your four decisions, siding with the director twice and disobeying him twice.
It doesn’t matter which two you choose to reject the director’s instructions, just make sure you do it twice and only twice. Doing this will net you the Formless ending, wherein your character seems to permanently lose their mind over the struggle as a haunted actor.
Achievement/Trophy Hunters Take Note
If you don’t care which ending you get and you’re strictly in it for the achievements or trophies, note that you can earn all offsetting decision achievements/trophies in one playthrough, though the final ending achievements/trophies will remain locked, save for the one you ultimately earn.
How to earn both achievements each time is simple: As soon as you make your choice, no matter which way you go, pause the game and reload your checkpoint. Generously, the last autosave comes usually just a minute or two before your decision-making moment again, letting you go one way, pop the achievement/trophy, then quickly go back in and earn the other option.
Of course, if you’re in it for the platinum or achievement list completion, you’ll need to play it legitimately three times anyway.
Want more on Layers of Fear 2? Check out our other Layers of Fear 2 guides!


Published: May 30, 2019 12:25 am